
Last winter, I noticed a big hole in my wardrobe: a winter coat that wasn’t just a ski jacket. This wasn’t always a hole in my wardrobe. In fact, I have a beautiful duffle coat that I made 6ish years ago. But it doesn’t fit anymore. Because climbing shoulders. So I just made do with wearing my ski jacket every time it was cold last winter, which just was not a fun style choice. Especially because it wasn’t even a ski jacket I chose to buy, it was a hand-me down from my father literally 12 years ago. Making a warm wool coat that would fit my shoulders and look great with everything was a priority for this winter. I started thinking about this at the end of last winter, when obviously no coating fabrics were for sale locally. I thought I’d have to wait until the fall to get going on it once fabrics were more readily available. BUT in the summer, Patch had an amazing fabric swap event and I snagged 3.25m of this amazing navy blue wool melton from a friend of mine! She had changed her mind about the coat pattern she wanted to make, and 3.25m was no longer enough for her. Luckily, it was PERFECT for the Clare Coat I had in mind!
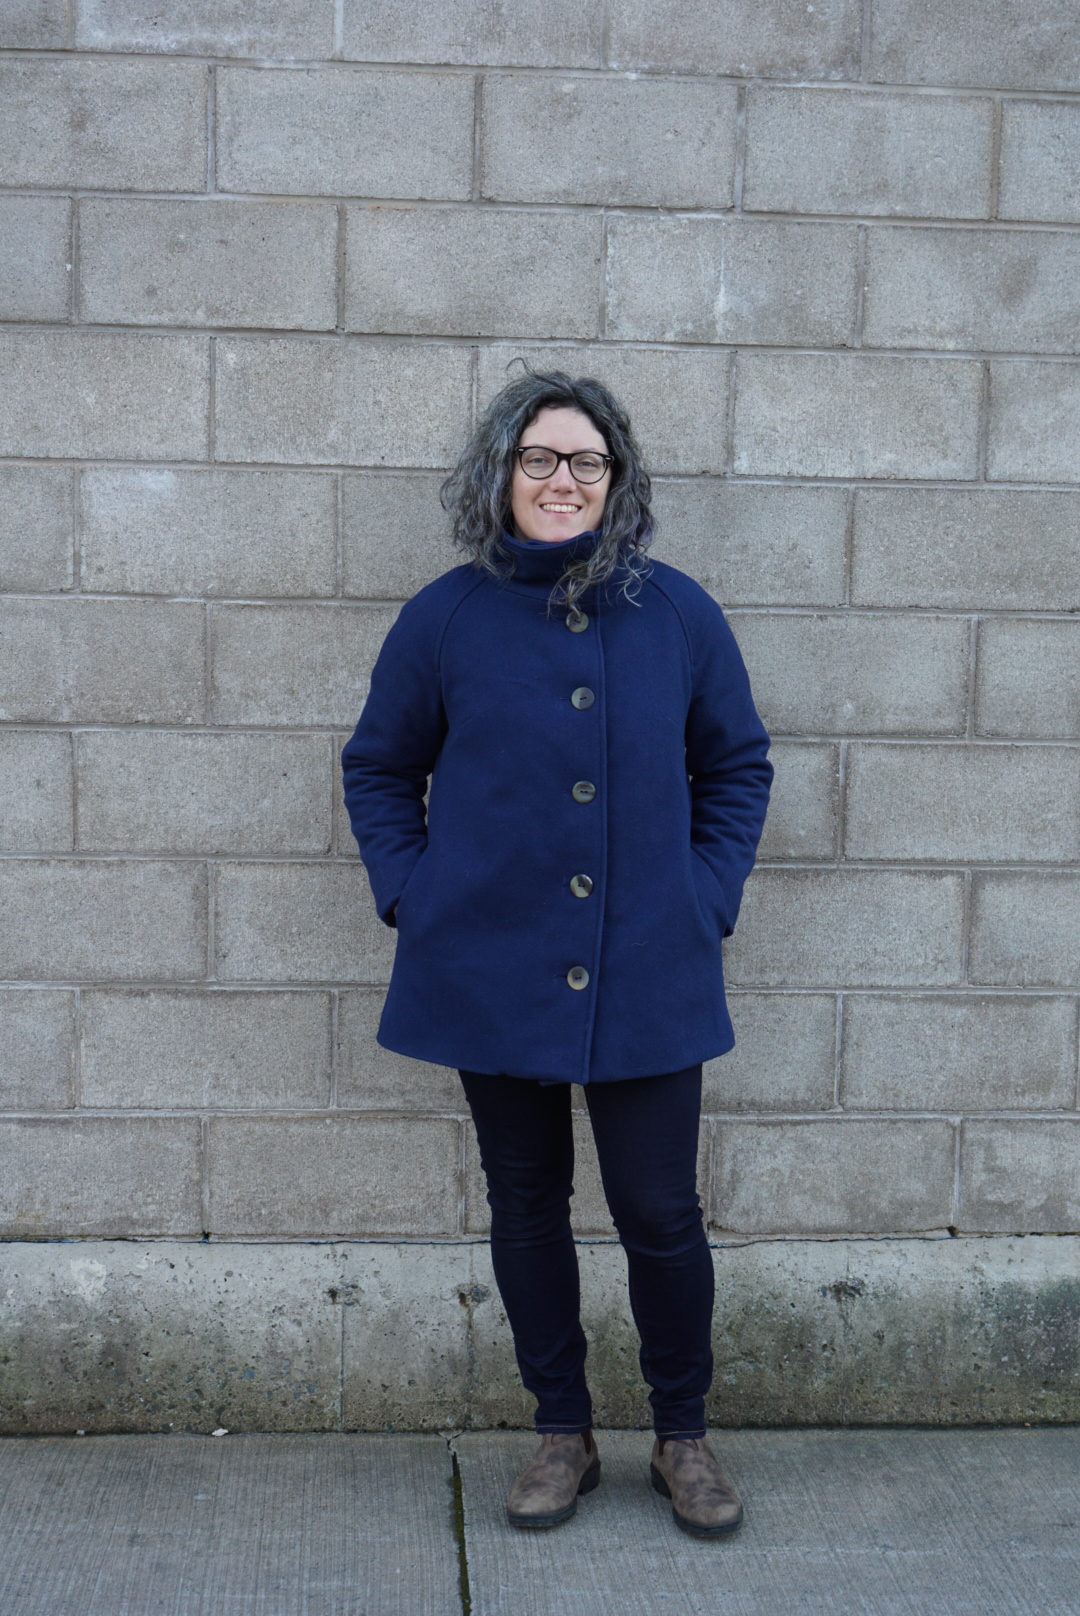

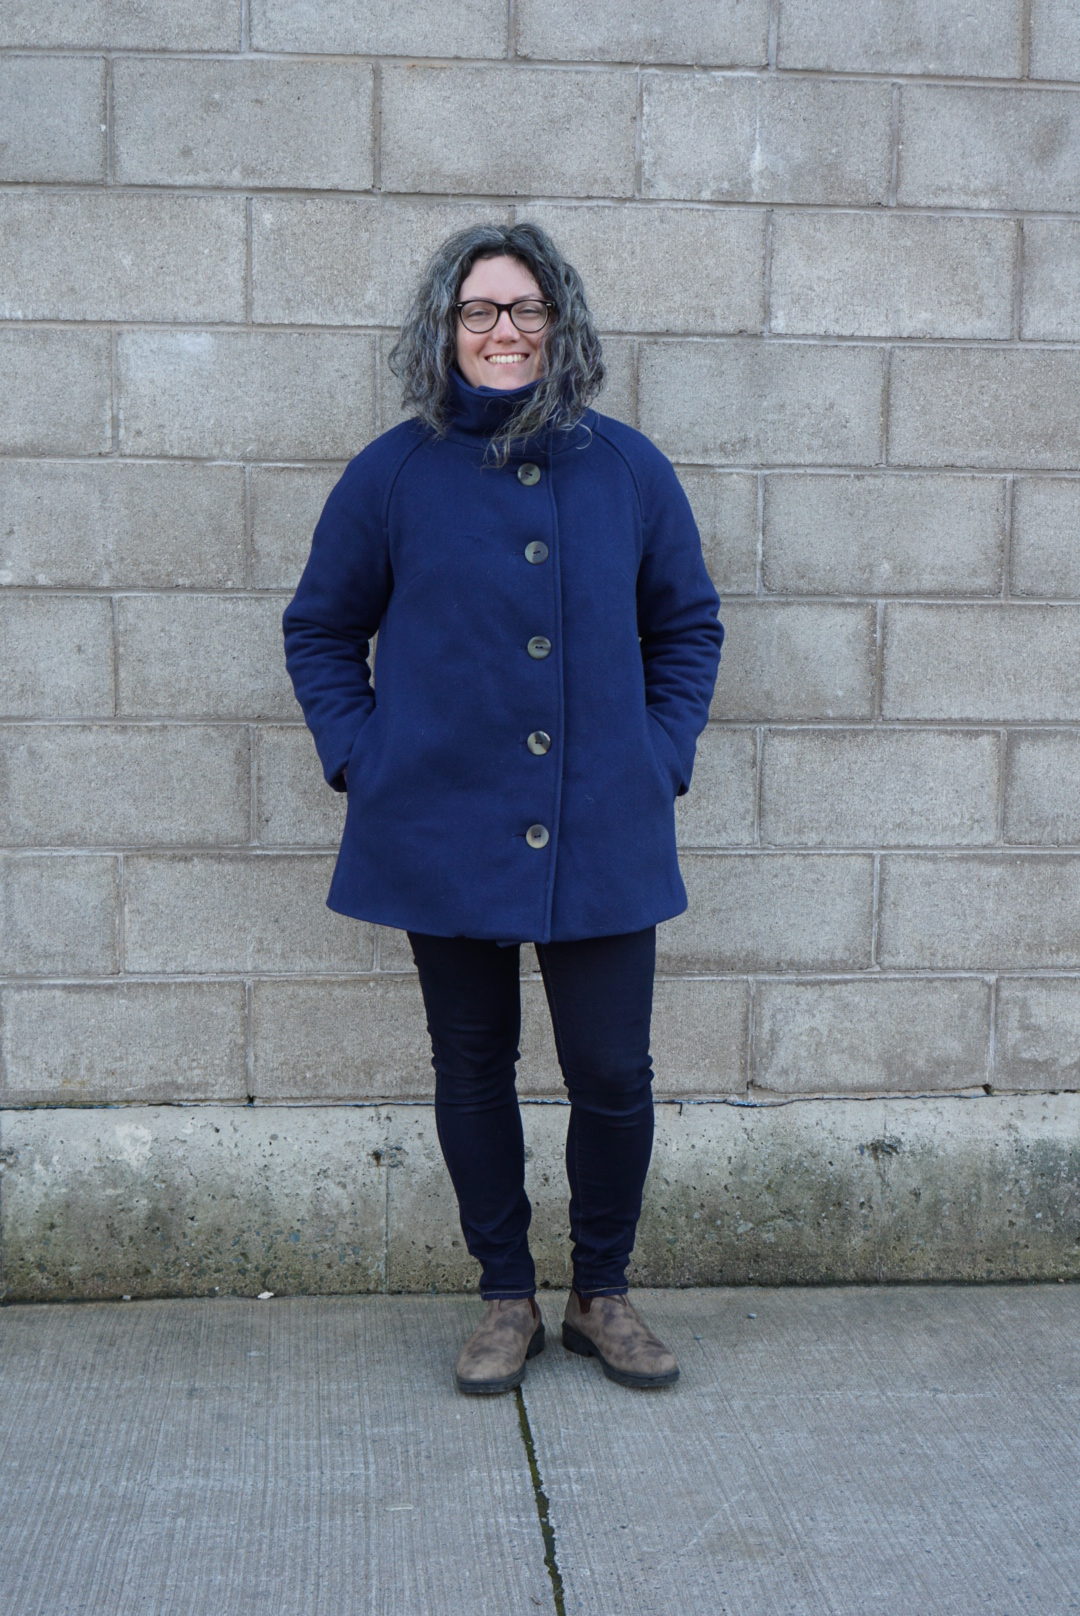
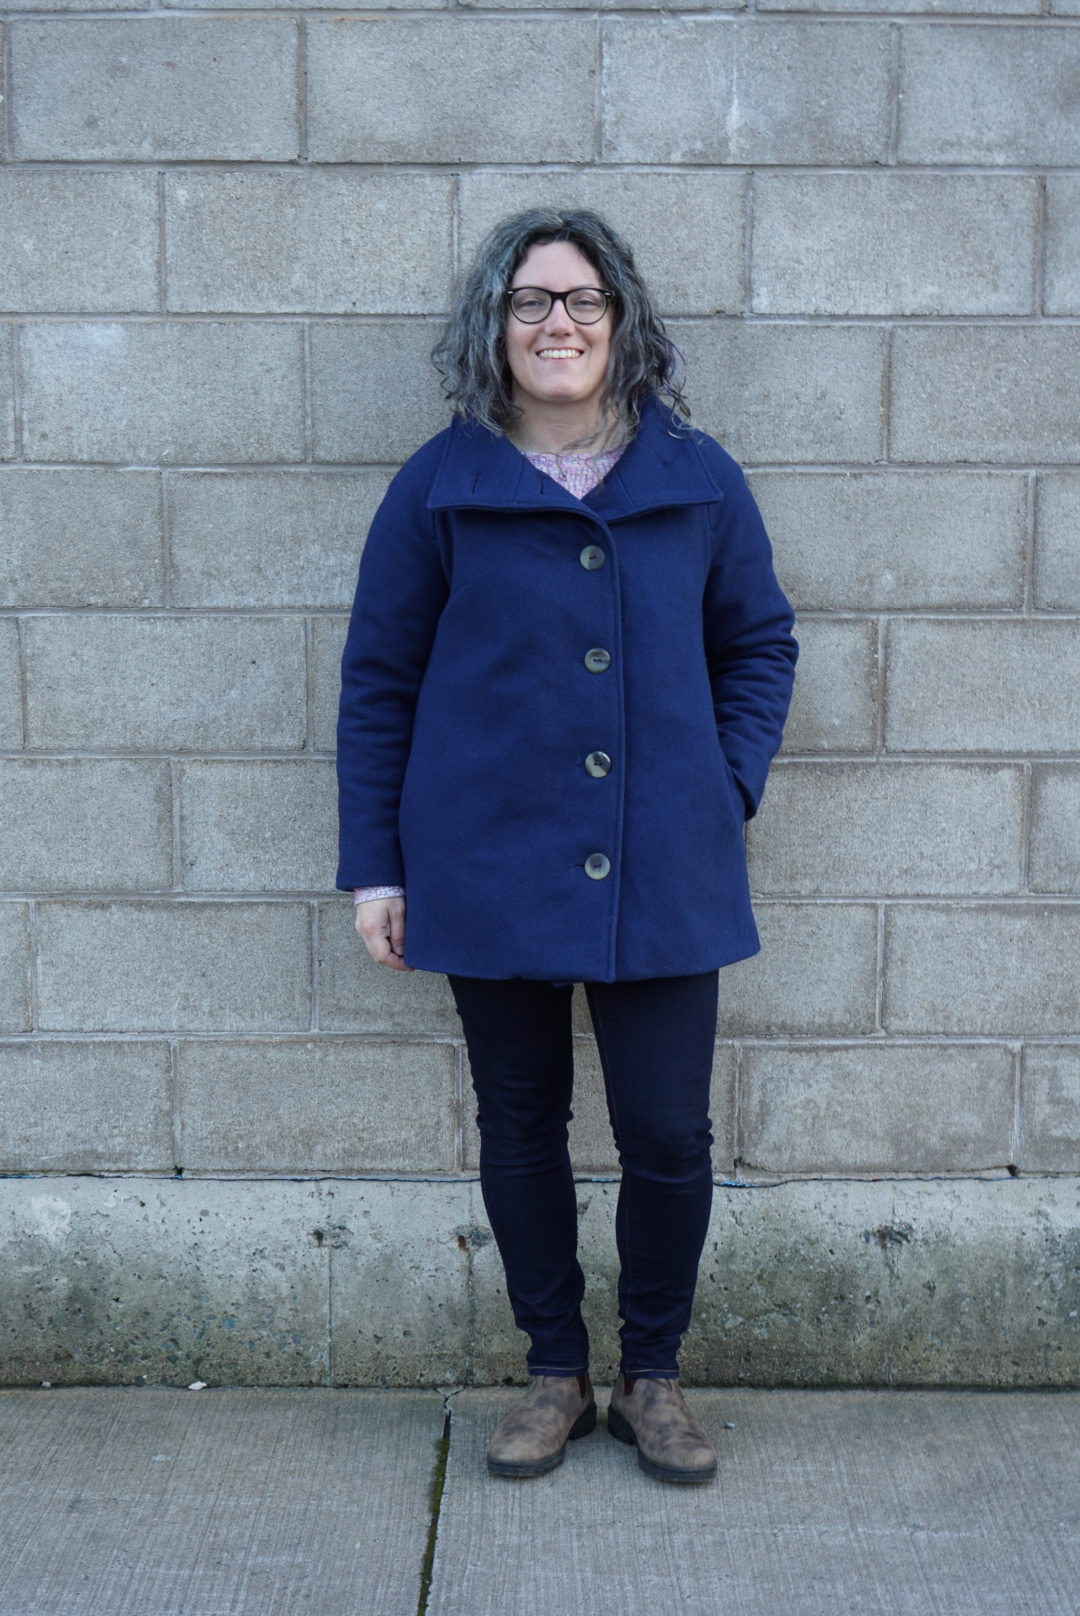
I love making coats. The Clare coat in particular I’d previously made twice, so this is my third! The first one was a gift for someone else, and the second you can read about here. The previous one I made for myself was View A, which has an asymmetrical front. I loved how it looked, but for someone who frequently wears their coat open when going between car and building, or while in transit, it was not a good choice due to the imbalance between the two sides when open. For that reason, I knew I wanted to go for View B of the Clare. I was also motivated by wanting the funnel collar! It looked so cozy and I also loved how it looked both fully buttoned and with it open in the versions I saw online.
To make the coat extra warm, I used kasha lining, which is slippery but with a flannel backing. This makes it warmer, but also makes the fabric so much more stable and easy to sew. Highly recommend! The other, beefier step, that I took was to interline the coat with Thinsulate. I follow this tutorial from Closet Core, which helped a lot. I ordered my Thinsulate from Club Tissus, which is located in Quebec for Canadians. I used a 100g weight, which is recommended for -20C. I debated about going one weight thinner or heavier, but I’m happy with what I chose. Club Tissus is also where I got my kasha, so it made it easy for shipping. In order to figure out what size I needed, since my body had changed since the last time I made the Clare Coat AND I was going to be adding a very bulky interlining, I made a muslin. I used a very pilled woolen blanket that I got at a thrift store for $3, which worked great. The Clare Coat is currently only available up to size 20, and I ended up making a size 16. I chose that based on my full bust measurement (40″) which put me at a 14, and then added a size to accommodate the Thinsulate. I was worried during the process that I should’ve gone up two sizes, especially for arm dimensions since I have Climber Arms. But I am able to wear a sweatshirt easily underneath, and it doesn’t feel constricting so I think I ultimately made the right call for me. The coat is so warm and satisfyingly heavy! I wore it out for the first time yesterday right after finishing it, and it was perfect. It even snowed a teeny bit while I was wearing it, and I felt really bundled up even without a scarf.
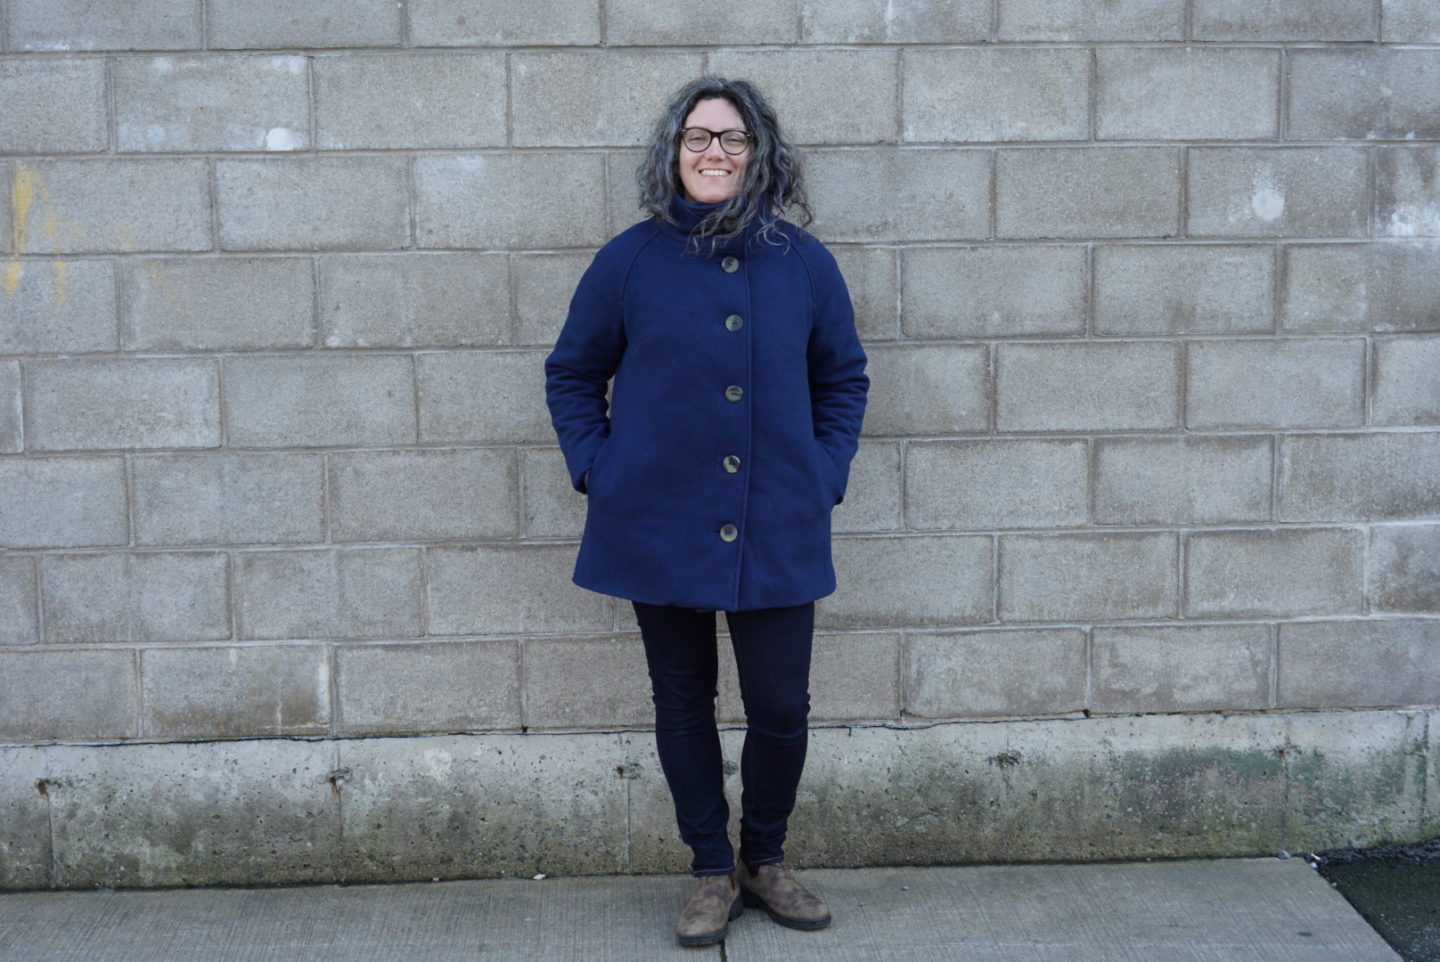

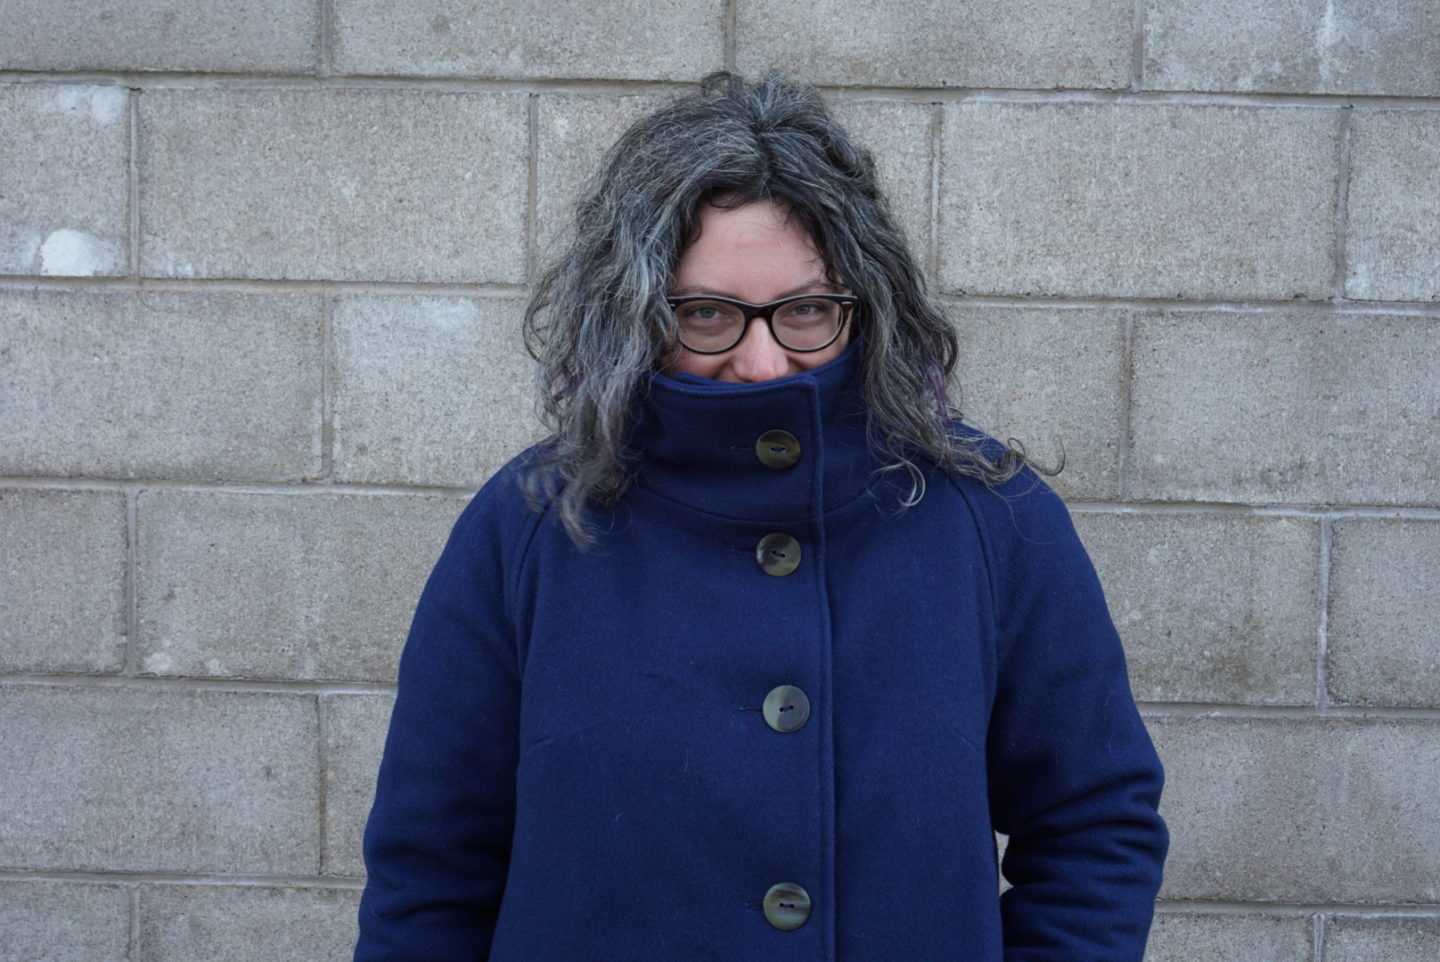

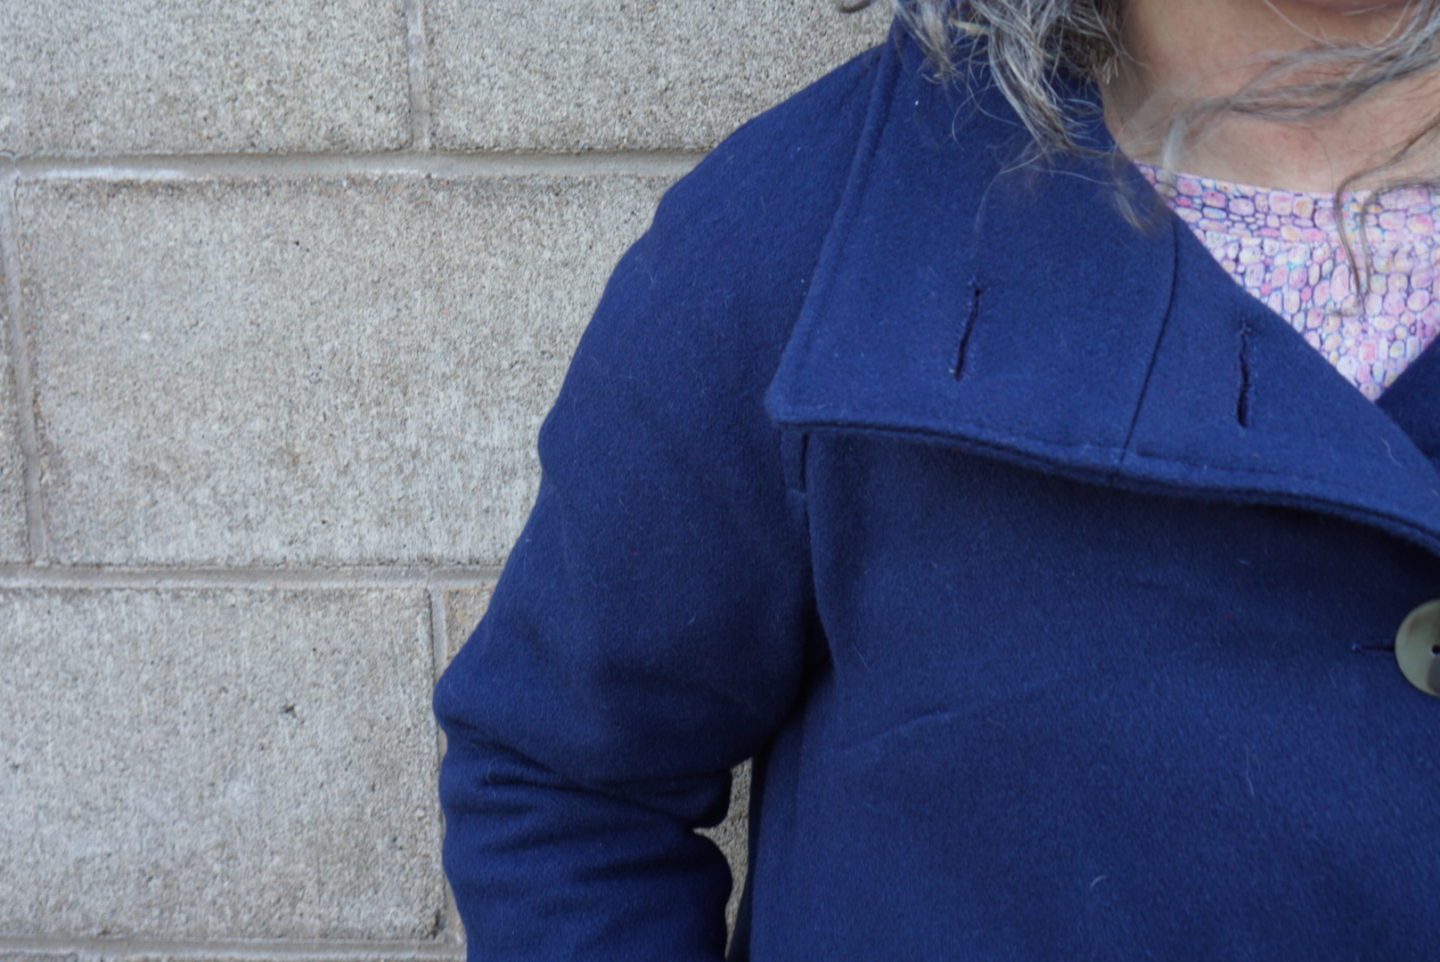
I really love the funnel collar on the Clare! You can wear it buttoned all the way up like I am in the photos above, or with the collar open as below. I haven’t tried it yet, but I think the collar open will be the better way for wearing a big cozy scarf. I’m envisioning this coat combined with the Nightshift Shawl I made in August – maybe I’ll try that out later today because it’s definitely chilly here in Nova Scotia! As you can see below, I added piping between the lining and the facings on my Clare. I wasn’t going to, but then I starting thinking about how similar-but-not-the-same the colours of the lining and the coat itself were. I thought it might be a good idea to put a contrasting colour in between so they weren’t sitting right up against each other. I’m happy I did! If you haven’t made piping before, it’s surprisingly simple to make your own. You just cut some bias tape from the fabric of your choice (I used a solid quilting cotton) and then use your zipper foot and matching thread to sew a length of cord inside the fold. My main tips for it are: pay attention to the type of cording you use, as I have made the mistake of using something too stiff and it looked silly AND was hard to work with. My second tip is to cut your bias tape wide enough to end up with the distance between the stitching of the cording and the edge of the bias tape matching your seam allowance. This means you can butt the fabric edges together when you attach the piping and makes it so much easier than trying to offset the edges!


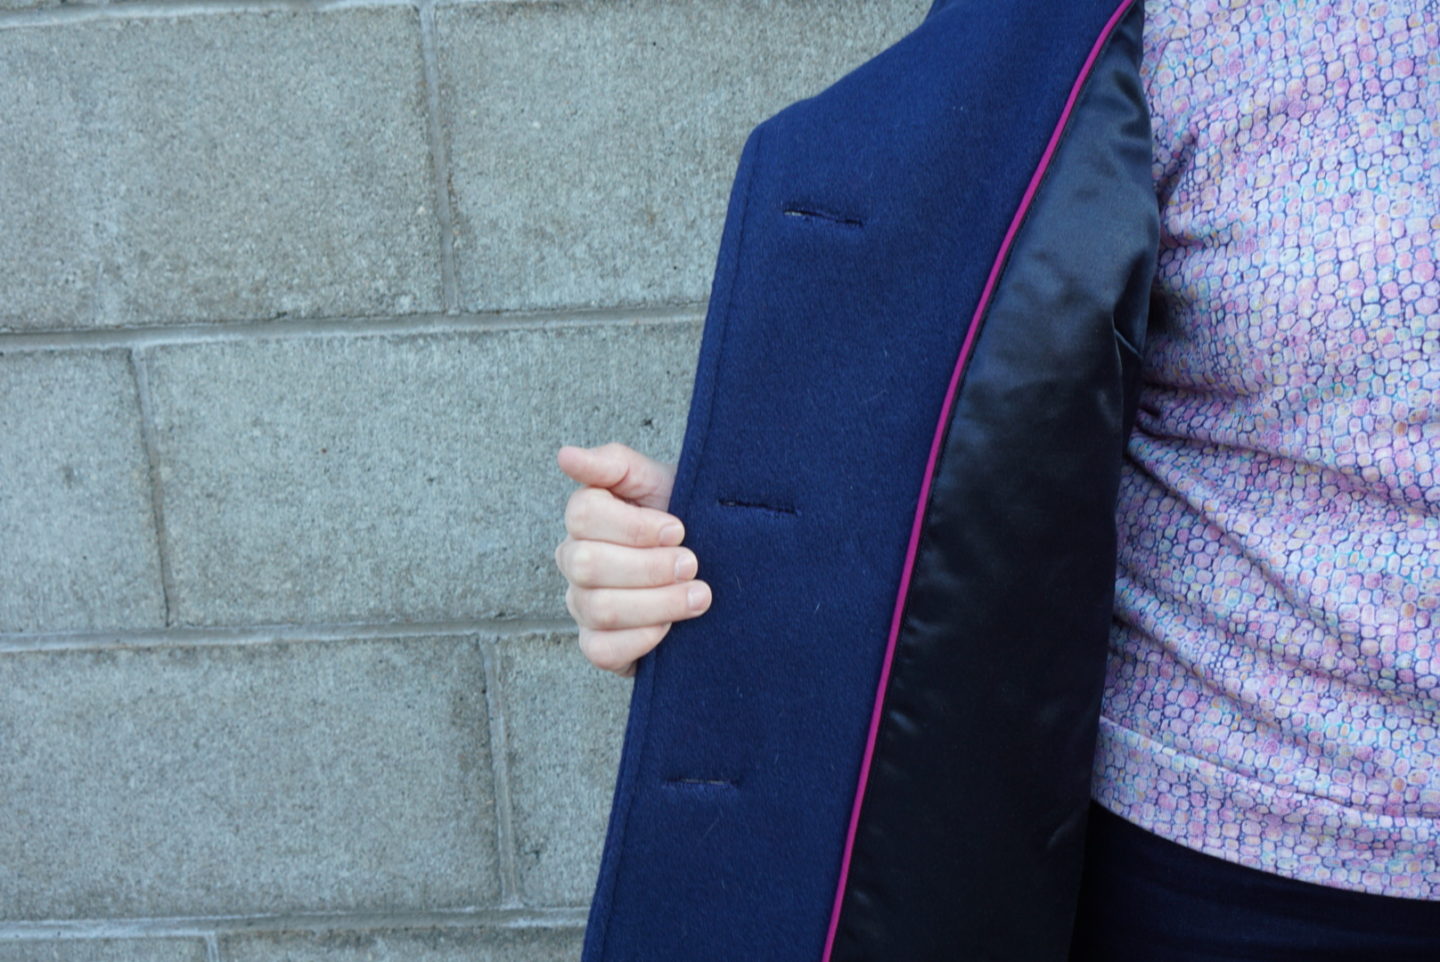
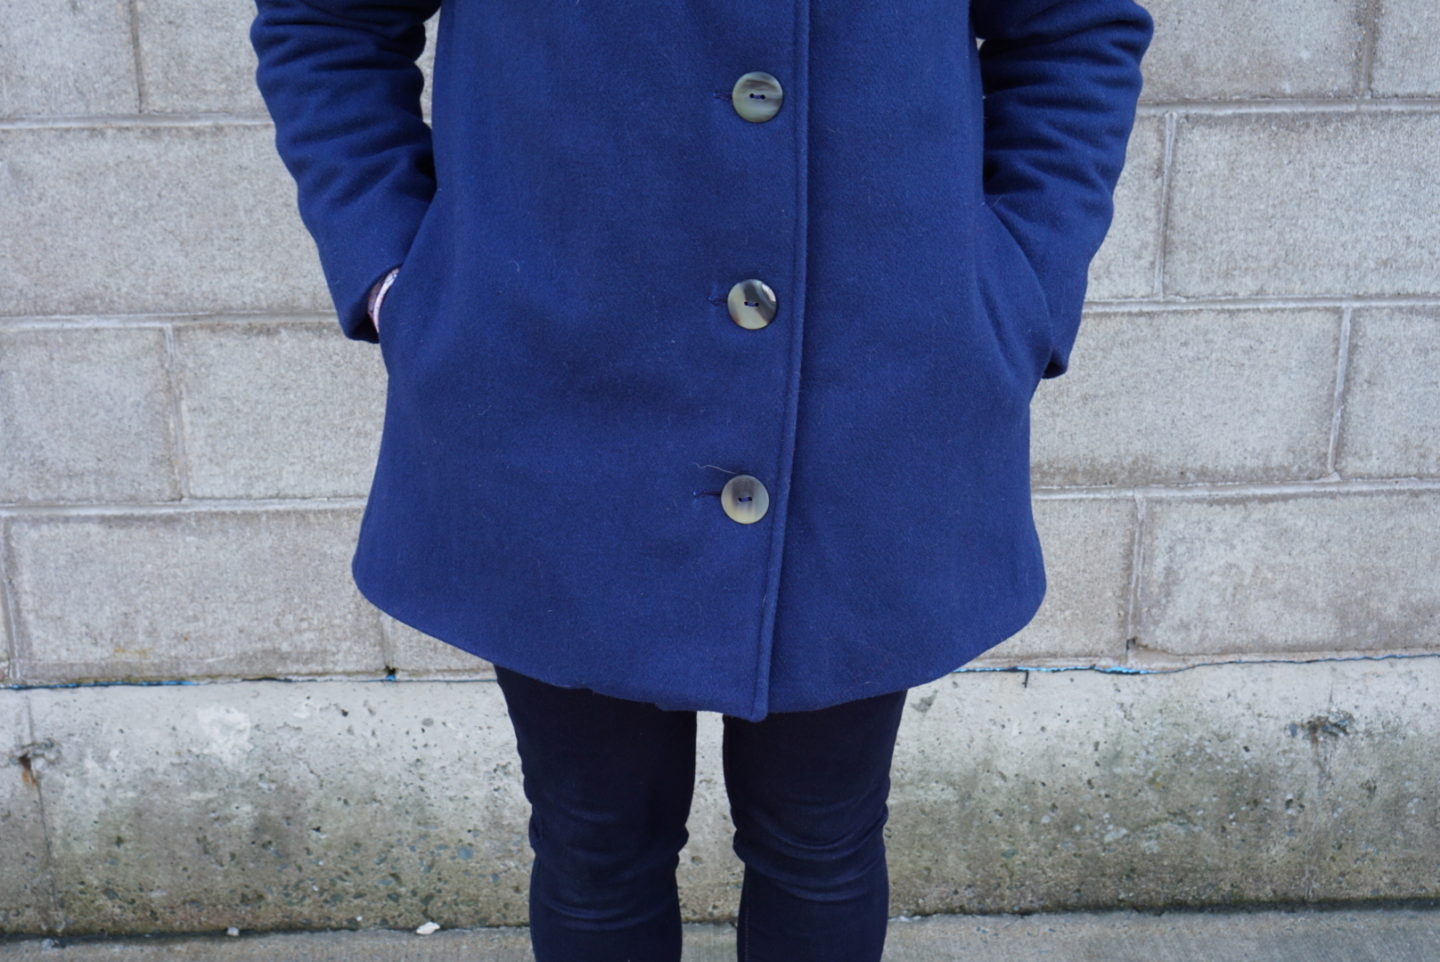
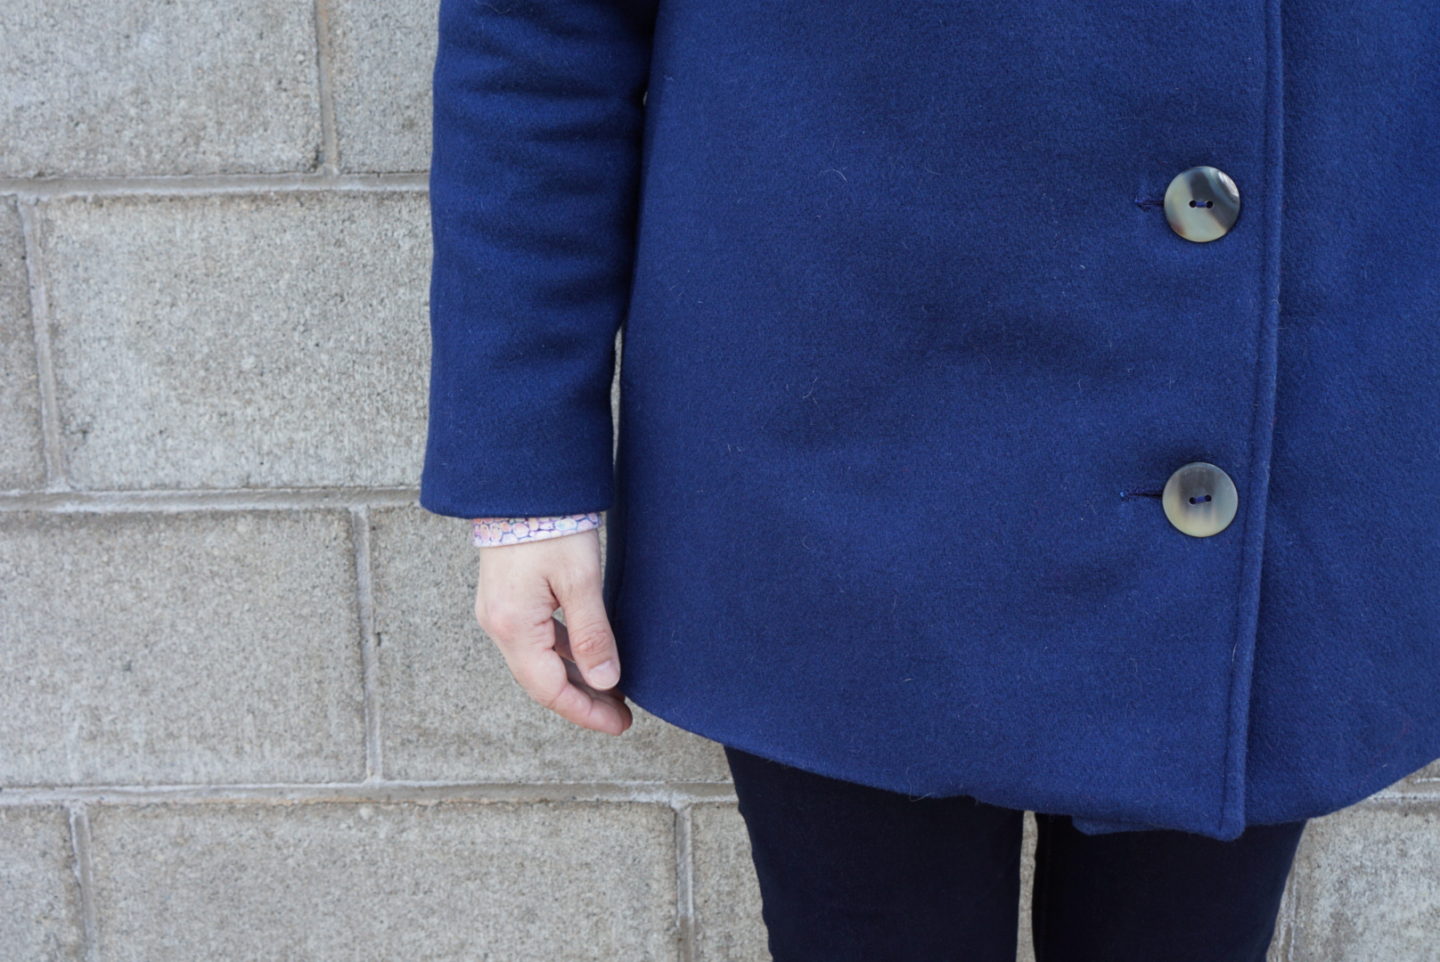
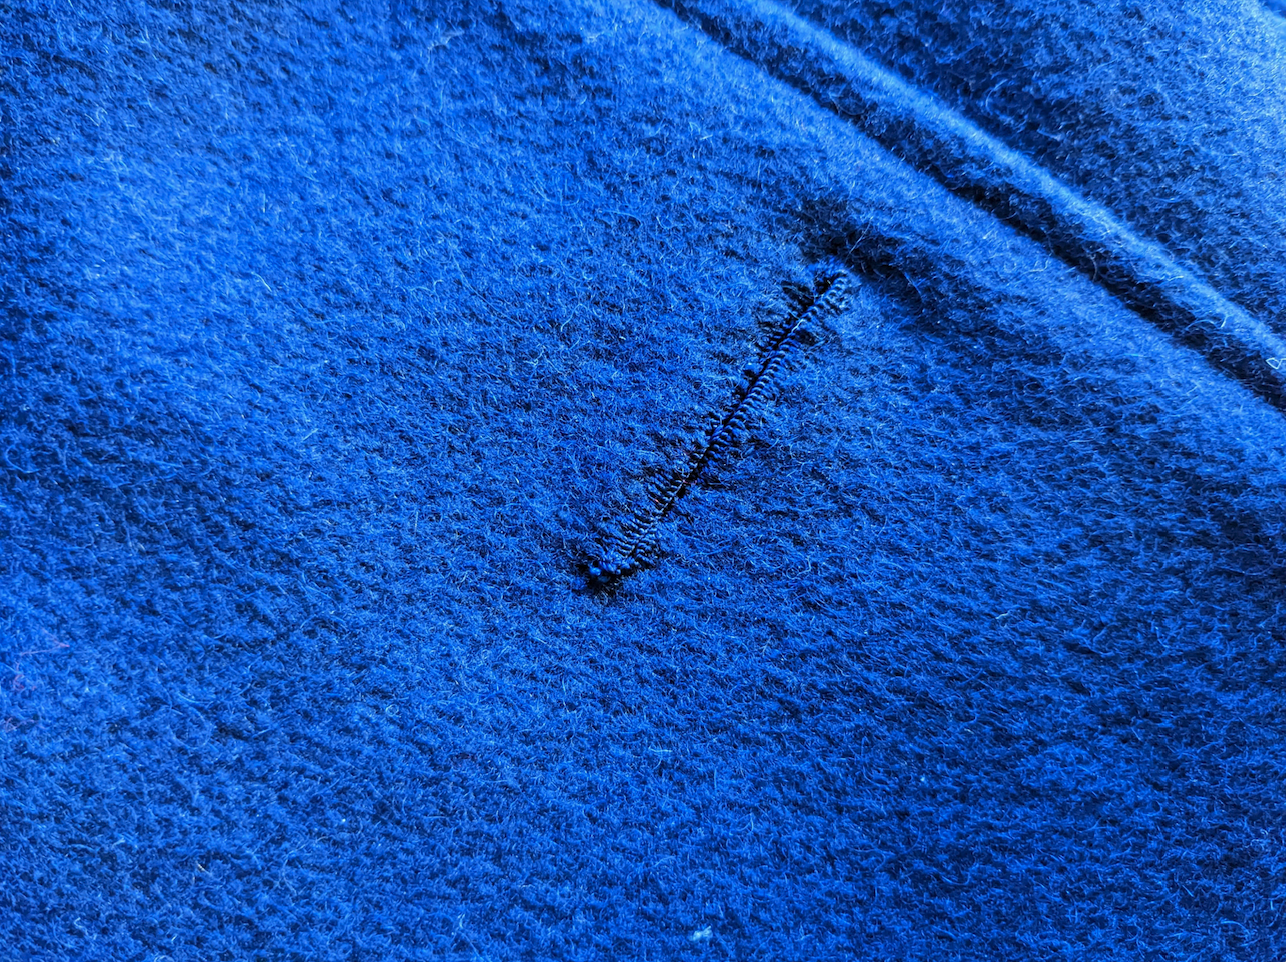
The final detail I want to talk about is the buttonholes! The pattern suggests you hand-sew big metal snaps on the inside of the coat so that you get a smooth finish from the outside. I did this on the first version of the Clare that I made, and I really loved how it looked. BUT in the time since I made that coat, I saw this one on Instagram (with fabric she wove herself!) and fell in love with the big chunky buttons. Full disclosure: I actually made ceramic buttons during a pottery course I took in the summer, but didn’t love the weight of them so I opted for these tortoiseshell plastic ones instead. They’re 33mm in diameter. I also went the extra step to hand-sewn my buttonholes. This is the first time I’ve done this, and I love how they turned out! I used this tutorial from James Williams, which was amazing and so helpful. I got the silk thread on Etsy, as well as the buttonhole gimp (disclaimer: this word has an offensive history; it is being used here as the technical name of this sewing substance) which is made from twisted silk, worsted, or cotton and has a cord or wire running through it. It stabilizes and reinforces the buttonhole, since you enclose it inside the little thread purls that you made along the buttonhole edge. I followed all of the steps in the tutorial linked above, so I’m not going to get into more detail since James does such a great job explaining everything with photos and videos. Just look at the photos below to see those satisfying little purl bumps along the edge! The last photo shows what the buttonholes look like from the inside of the coat. I chose a matching thread so that I wouldn’t feel so much pressure to make them look “perfect” but I think a contrasting thread colour would look great. I also used the silk thread to sew on my buttons, since I had it on hand already.


My Clare coat turned out exactly how I envisioned it, and I’m so happy it’s finished so I can wear it! I have to be honest: I’d finished pretty much the entire coat by the middle of September. Except then I got in my head about how I might choose the wrong location for the buttonholes or I might mess up the hand-sewing, and then I didn’t touch the coat until this week. Two months later. Don’t be like me. Have confidence! Finish your projects and don’t let them languish! The fact that the weather got substantially colder over the past two weeks was highly motivational in terms of actually finishing, so at least we got to the finish line before spring arrived!
