
I’m here to show you my very first shawl! I never thought I was a shawl person because I pictured mainly women my grandmother’s age with a triangle of knitting draped around their shoulders while sitting in a rocking chair. I was perplexed by how many knitters I saw online making shawl after shawl after shawl. But then a friend of mine came to an event this past winter wearing a gloriously cozy-looking scarf, which turned out to be the Nightshift Shawl after I asked what the pattern was. It looked super complicated but turns out to be one of those very satisfying projects where it looks very intricate but is actually very repetitive and simple to make!

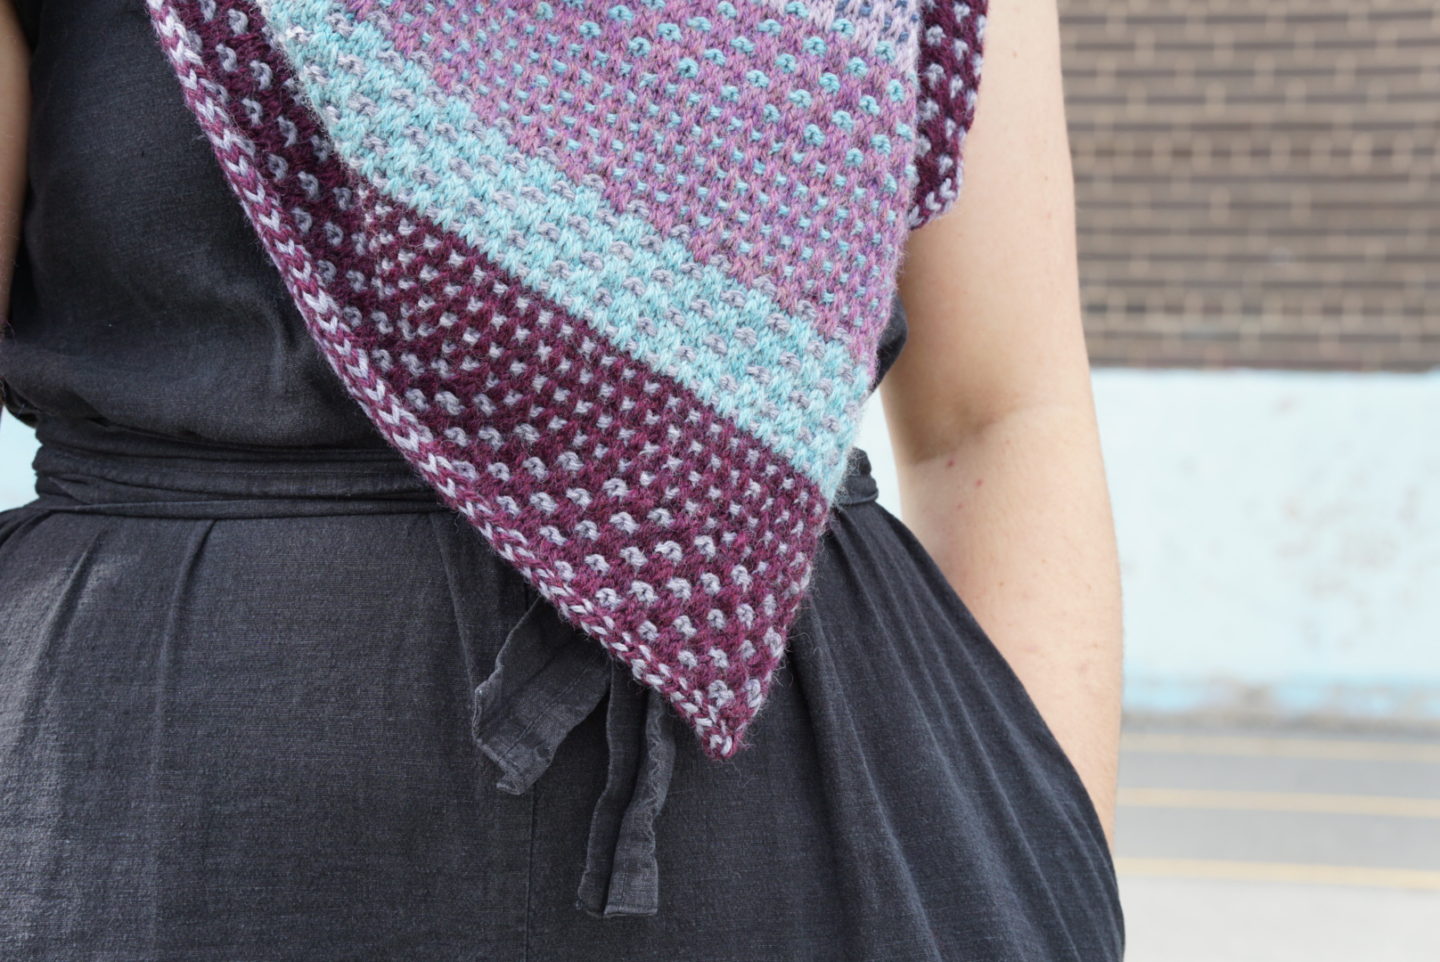

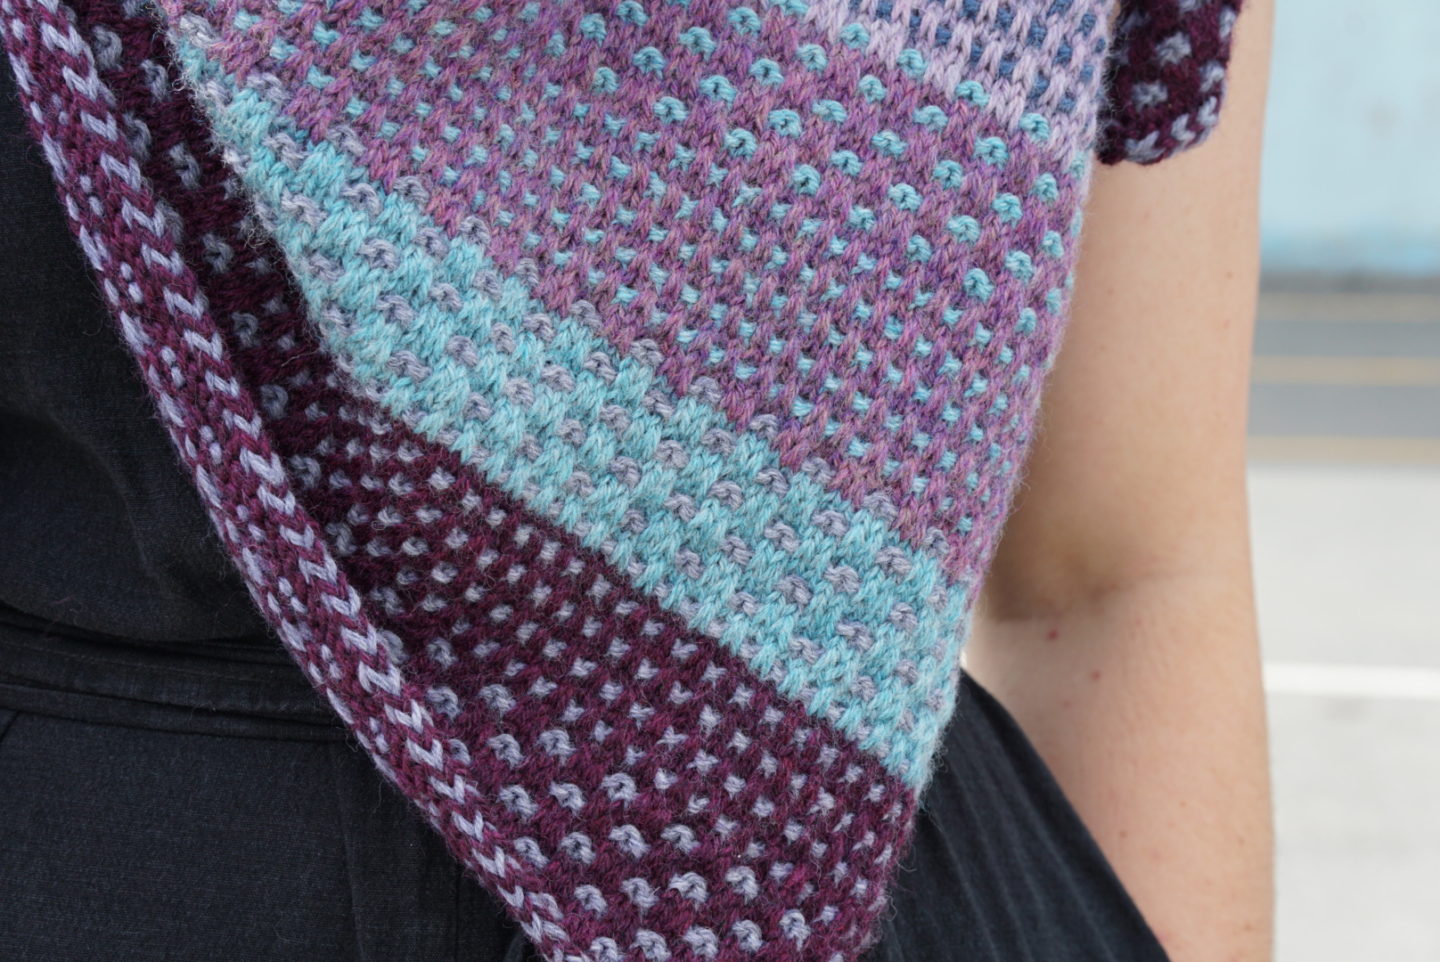
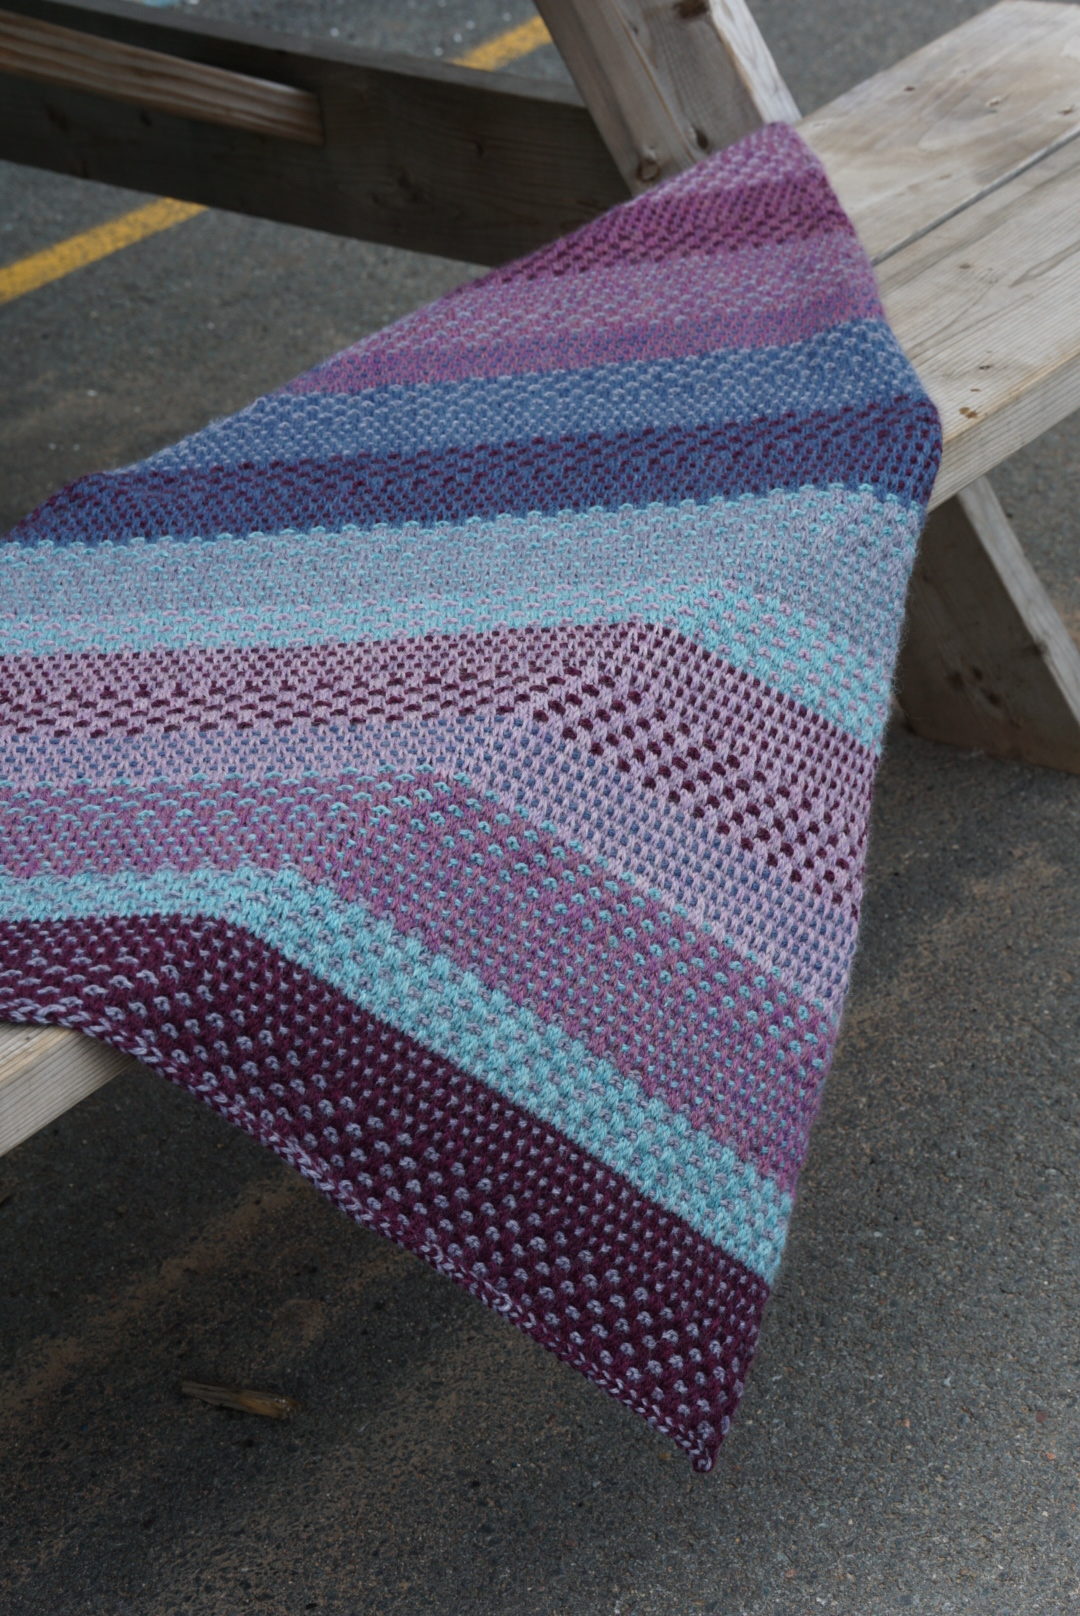
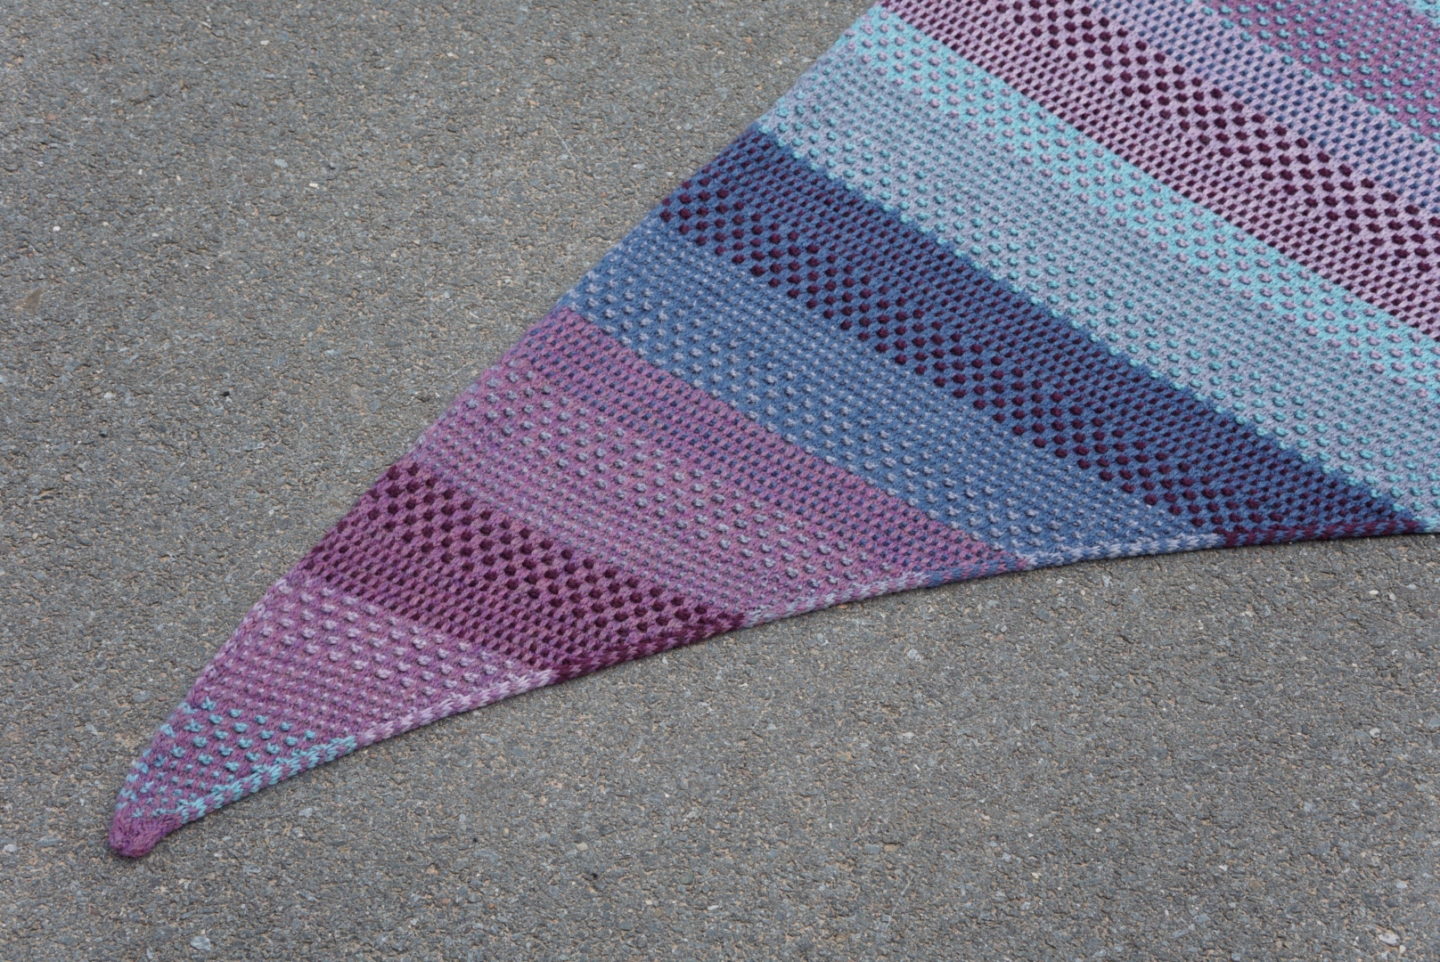
I’m not a capital-K Knitter by any means, so I’m not really tapped into the pattern trends on Instagram. But the Nightshift Shawl is SO popular. There are more than 8000 projects on Ravelry and more than 12,000 tagged posts on Instagram. It’s the Taylor Swift of shawls. And somehow I managed to be completely unaware of its existence. As you can see above, it looks quite elaborate. Colourwork, eek! Secretly, it’s not complicated at all. If you can knit, purl, and slip stitches, you can make this. It’s not even REALLY colourwork, because you never use more than one colour in a row. You only have to manage your regular single strand of yarn! There are two different stitch patterns, and what makes it look fancy is that there are six colours of yarn, and you use them in different pairs throughout the shawl. Sections with Big Blobs alternate with Small Blob sections. The other great thing is that you don’t really need to worry about tension or floats like you would with normal colourwork, because the space the yarn is crossing is at most 2 stitches wide. This simplicity combined with the fun of changing colours made the shawl an ideal knitting project for travelling earlier this summer. I knit it while camping, while driving through the Rockies, and while on the airplane!
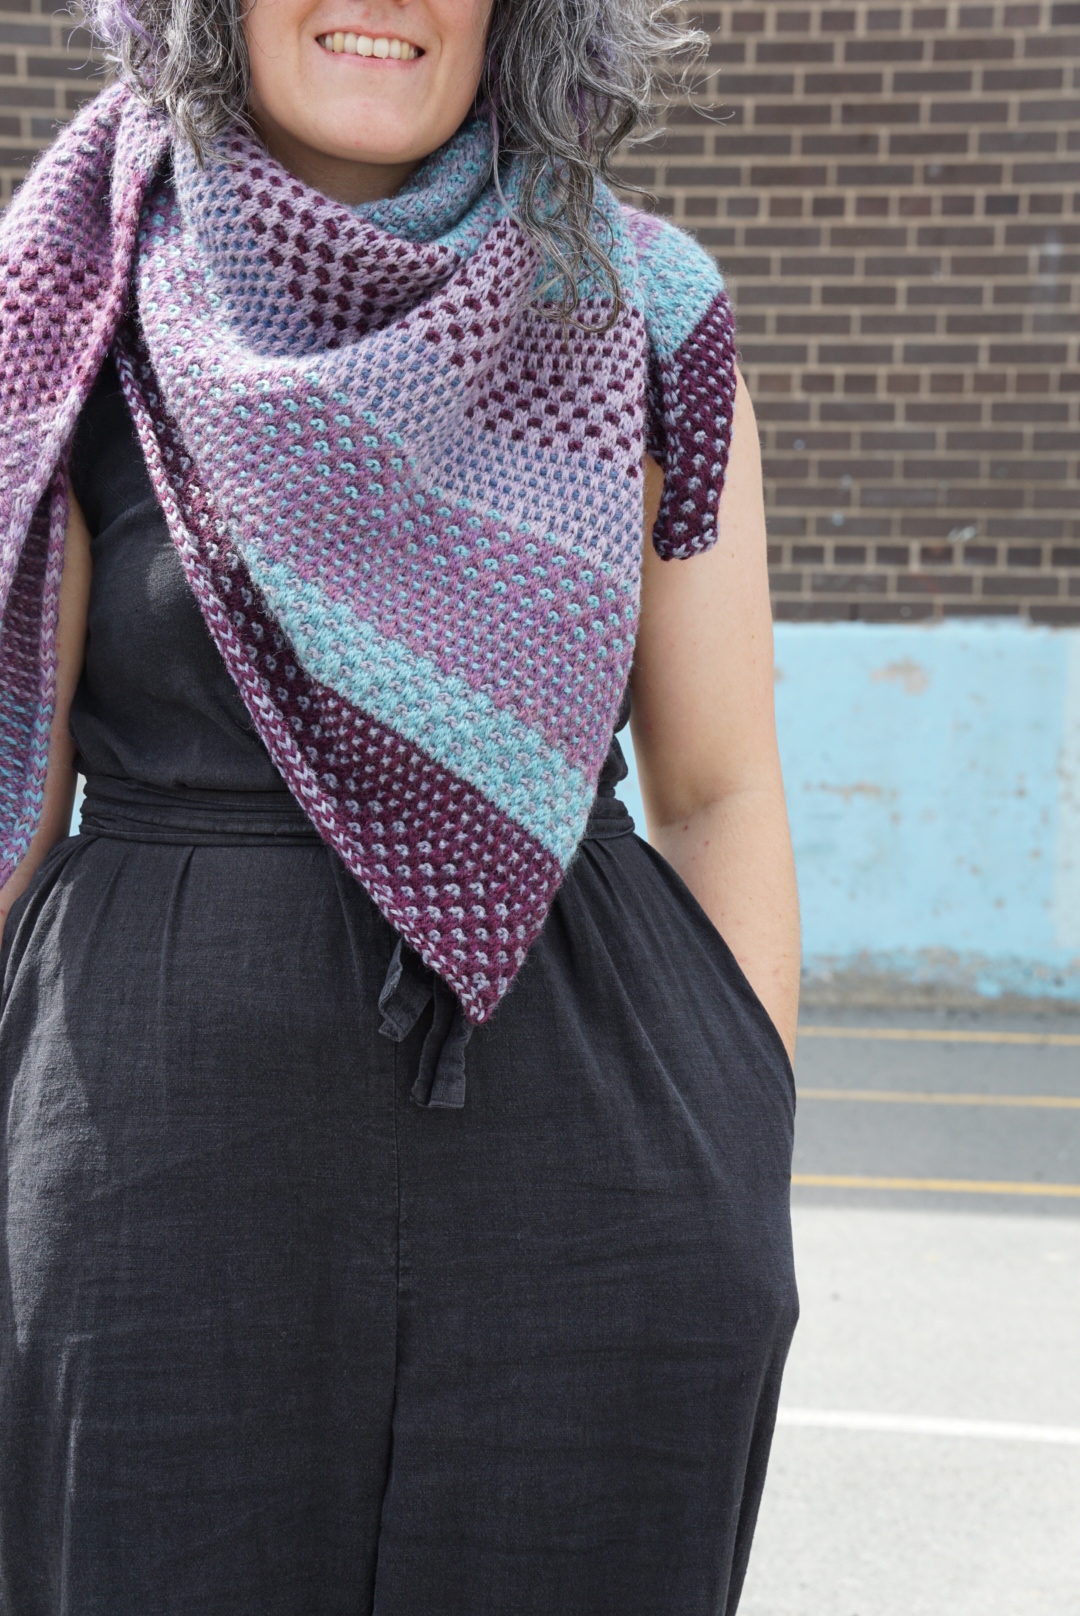
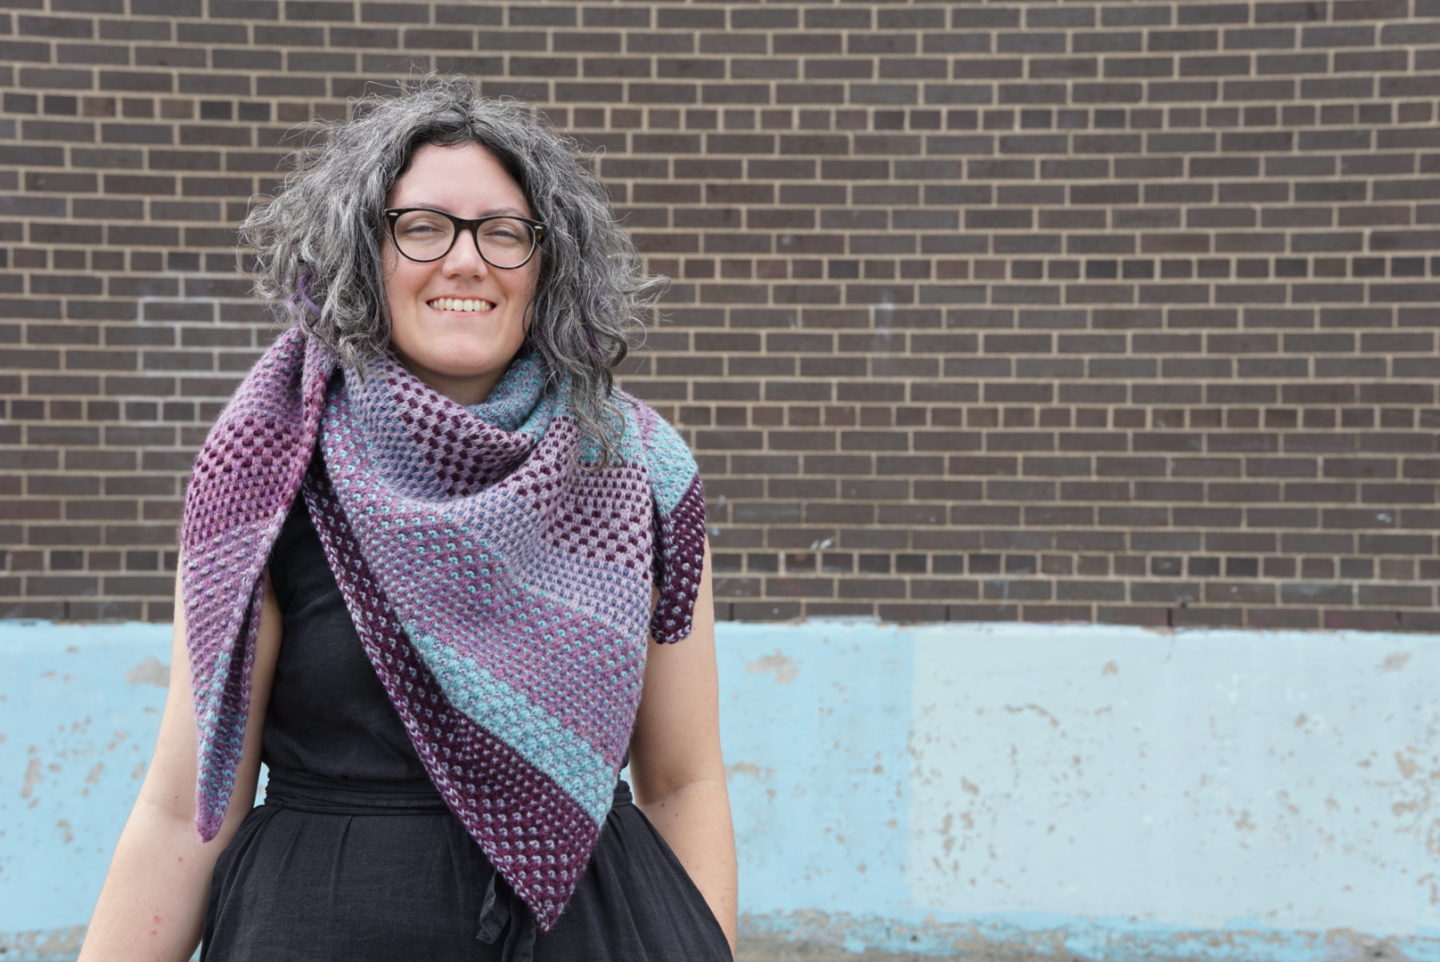
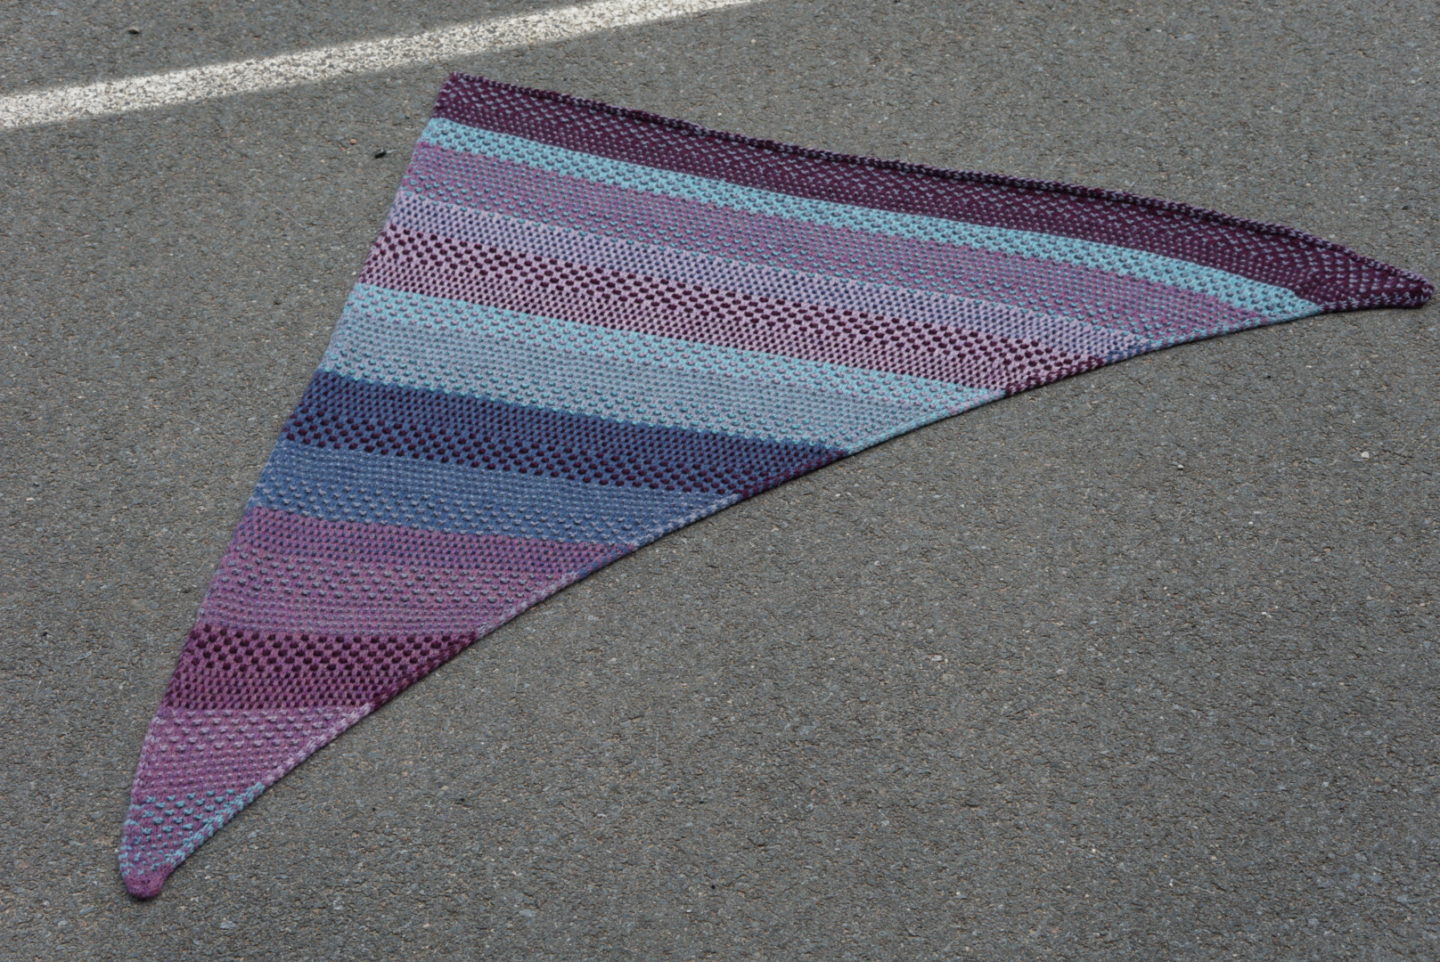
I decided to style the Nightshift shawl just like Andrea does in the pattern photos, which is how my friend was wearing it when I first encountered it. It totally avoids the image I had in my mind! I love how it looks, and I’m excited to wear it when the weather gets a bit cooler. It was a biiit sweaty today in 24C weather and 50% humidity, but I was impatient to show it off! The pattern left me with some leftover yarn, so I’ve already started making a slightly different version of this pattern, which I think was its predecessor. It’s called the Shift Cowl, and I’m going to knit until my yarn runs out so I don’t get saddled with random bits of six different colours. I used Cascades 220 for this, which is super soft and comes in a ton of colours. Highly recommend!
The thing is, I used the recommended weight of yarn and size of needles for this shawl, but I…didn’t do a test swatch. I know! I know! I’m terrible! But I figured, it was a shawl. It’s not like a sweater where you could accidentally end up with a garment that would only fit an ant. Being a little off on gauge wouldn’t be that big of a deal, I thought. Well. I finished the amount of knitting that was supposed to lead to the shawl being complete, and it seemed kind of small. I held it up, and it wouldn’t really go around my neck like it did in the pattern photos. So I measured the gauge. I was pretty close on rows per 4″, but my stitch gauge was wildly incorrect. It was supposed to be 20 stitches per 4″. I had 44 stitches in 4″! For non-knitters, this is like if someone tells you that the corner store is 100 steps away, but you don’t compare stride length and it turns out that person is actually a giant and you take 100 steps but you only make it halfway to the store. Ooooooops. So I kept knitting. Luckily, Andrea includes two different ways to knit the shawl in the pattern. Either you can follow her exact recipe of colour changes, which is what I was doing, or she gives you the pattern basics and you repeat it a specified number of times. It’ll get you to the same place, it’s just differing amounts of hand-holding. So I moved over to the basic pattern instructions and picked my own colour combos and kept knitting until it seemed like it was the size I wanted. This meant that I actually got to ensure that all six colours got used as background colours and contrast colours, which was satisfying! And it turned out proportionally pretty good, especially considering my rogue behaviour with regards to testing swatching.
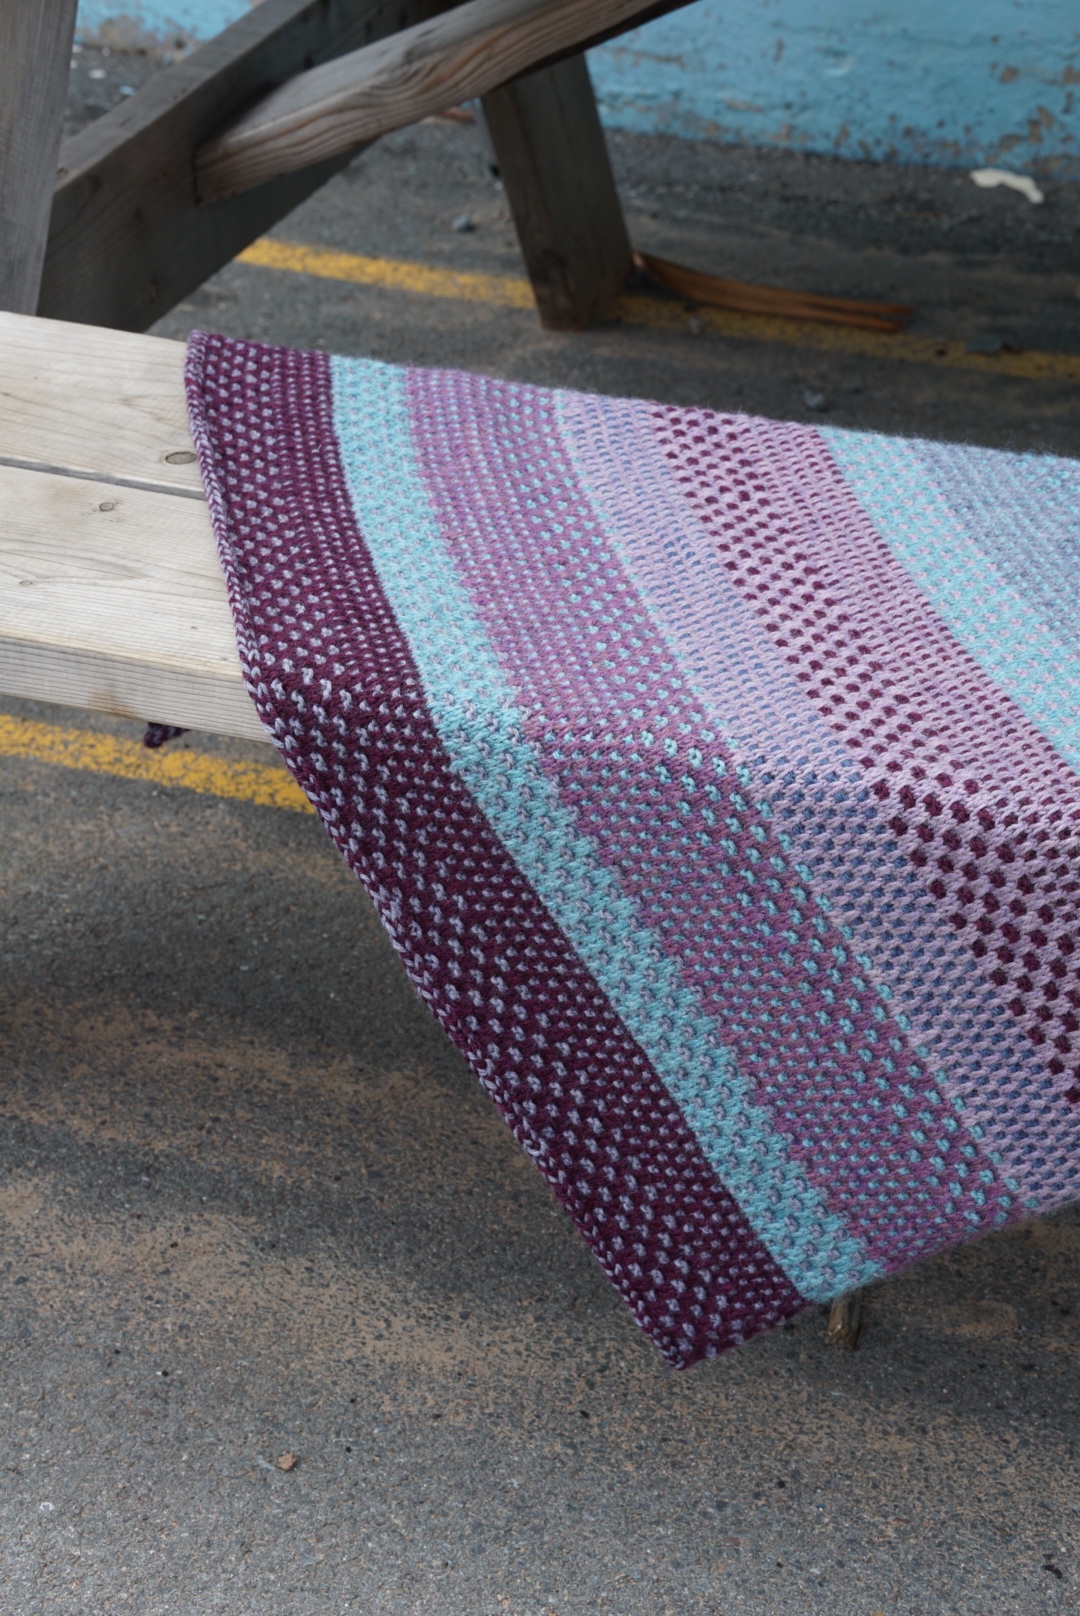
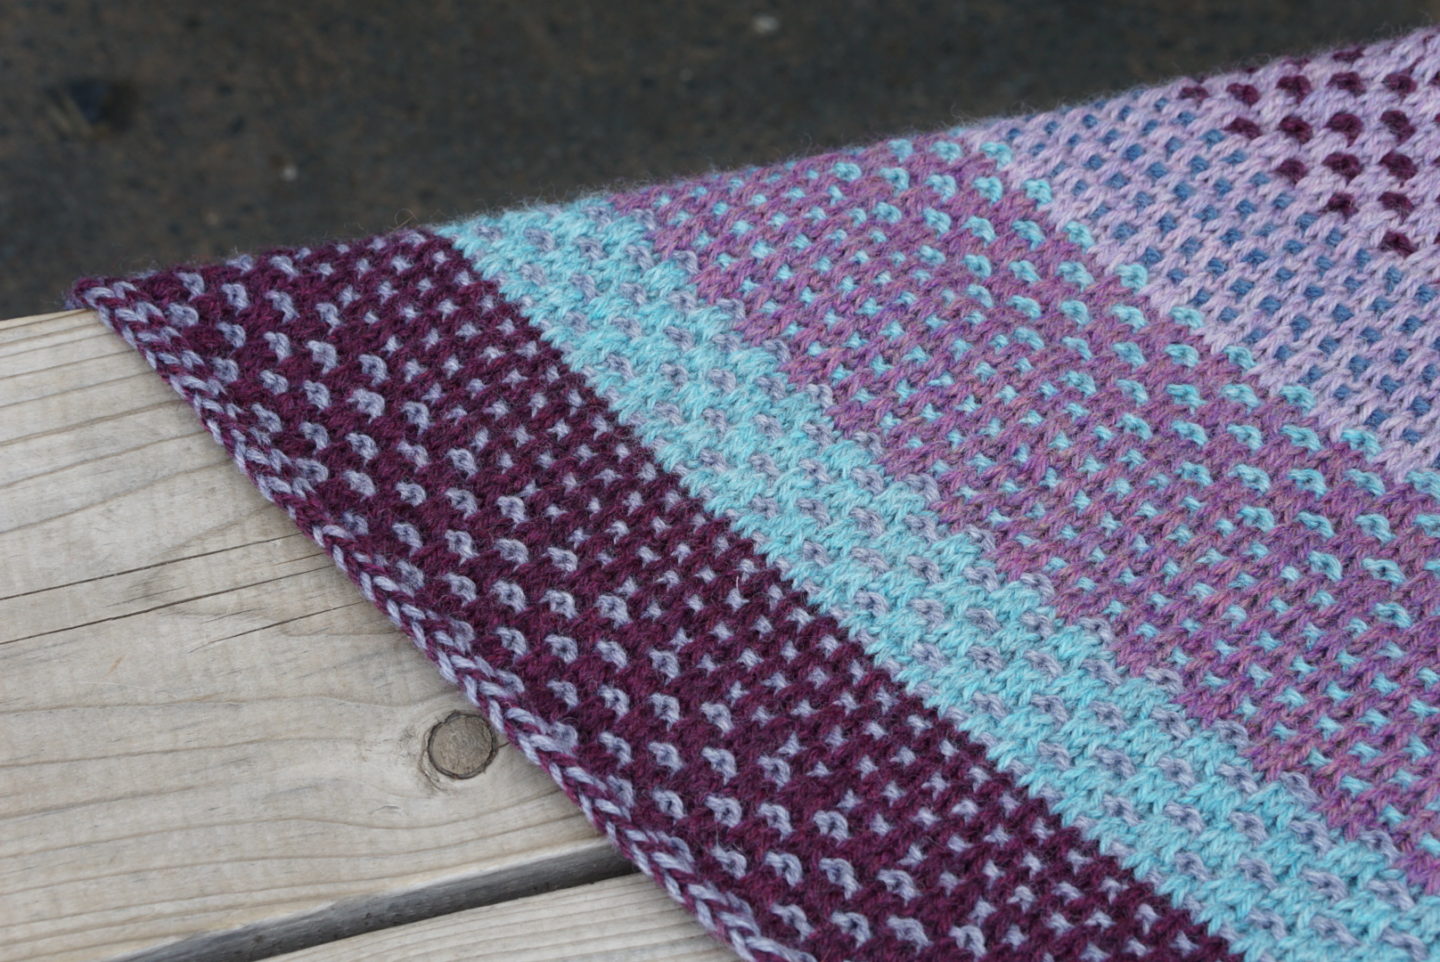
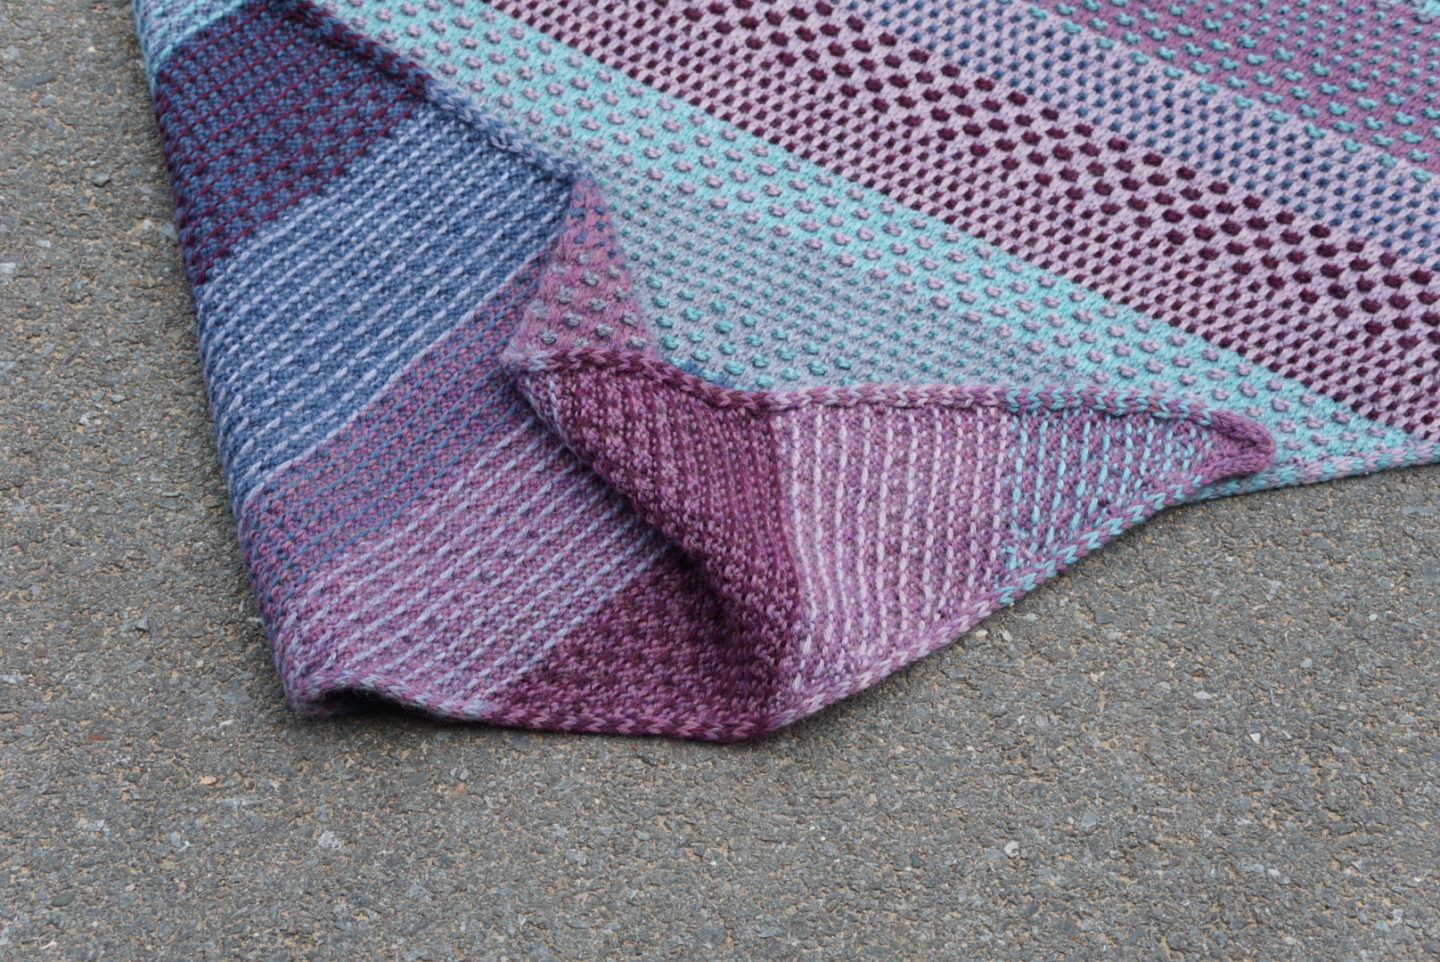
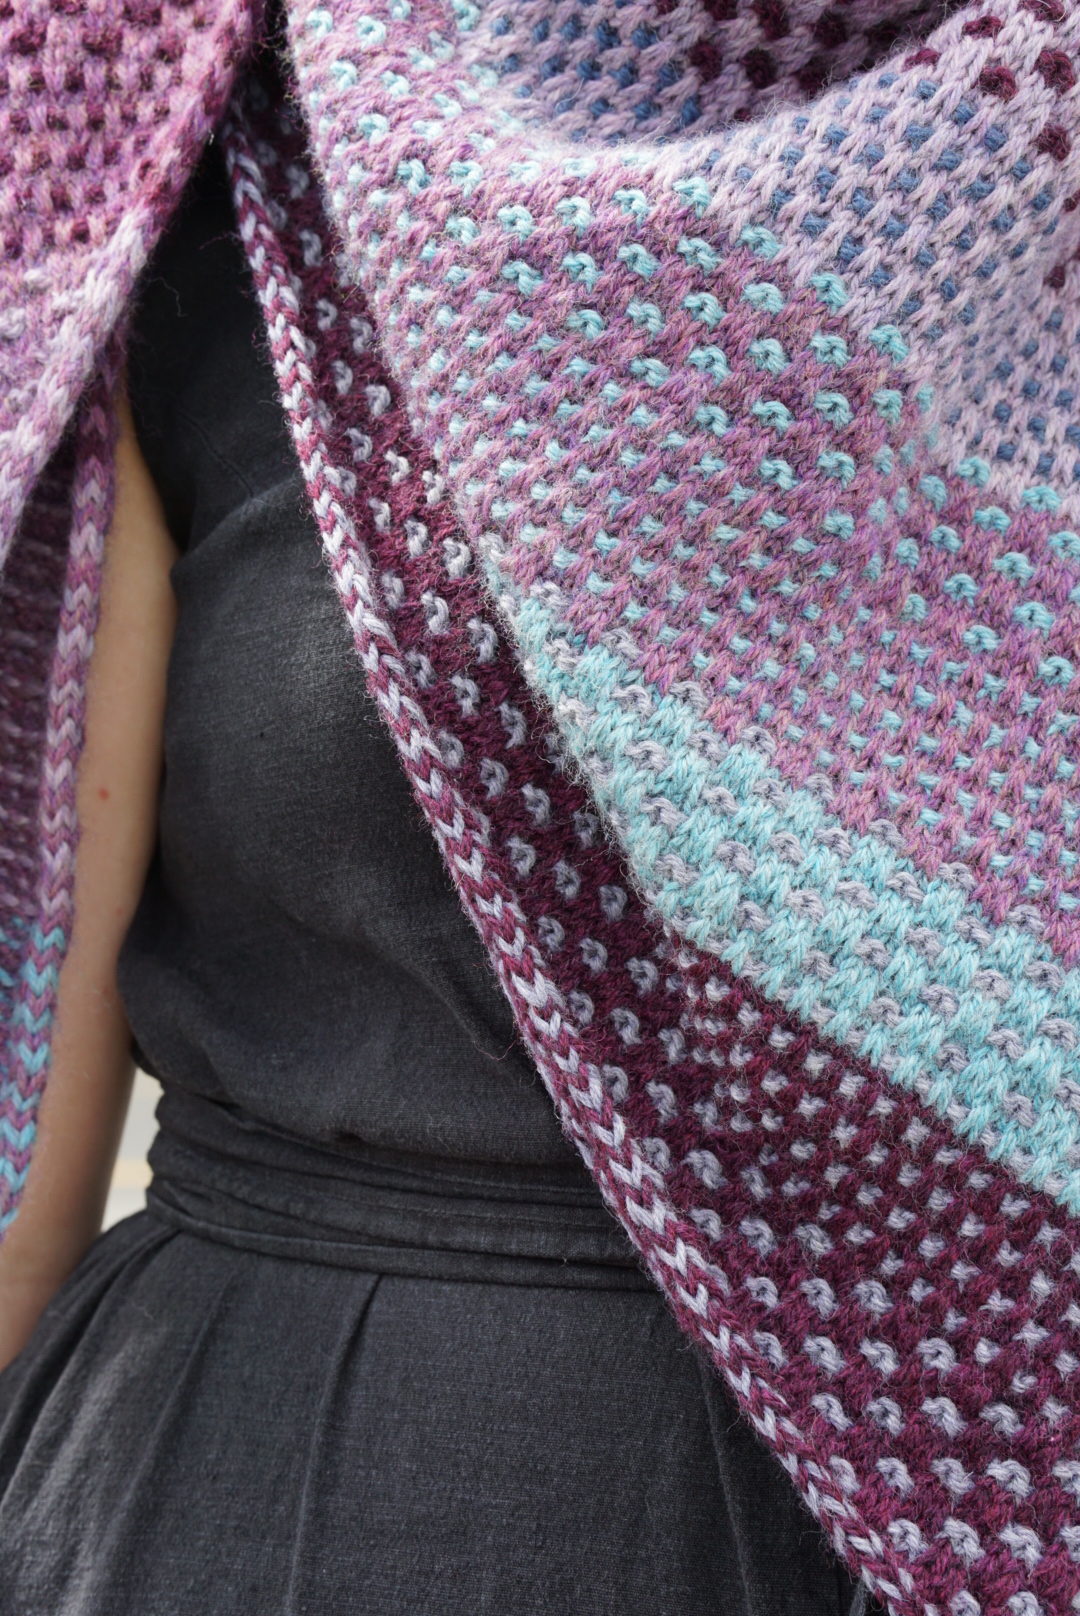
Two edges of the shawl are finished with i-cord, which I was very intimidated by. One of the edges just happens as you go, as long as you follow the pattern. It felt like it just materialized out of thin air without me having to really do anything. The other one happens when you bind off. This was actually not complicated at all, and just took quite a while. I’m very happy with how it all turned out! It makes me want to make another full Nightshift shawl right away, in different colours. It’s just so fun to see how the colours combine as you go along!

That’s a wonderful shawl! I enjoy easy knitting to relax my mind and heart. I’m knitting a sweater right now, but wasn’t sure what my next project should be. I don’t like having too many clothes, so I just make new things when old things wear out. Well, right now I’m sewing a few pairs of pants because my hips and thighs have grown a bit 😁. This might become my next knitting project! Thanks for inspiring me!
Author
Thank you so much! 🙂 🙂
I love this shawl so much but I don’t knit. Would love to see it in crochet. Any suggestions.
Author
Hi Lenore! I’m glad you like the shawl! Unfortunately I do not crochet and have no experience with writing or adapting knitting or crochet patterns, so I can’t help. Maybe looking on the Ravelry projects for the pattern might give you some ideas? Good luck!