
This summer, I grew my own indigo plants. You can read more about the growing process here! This post is about how I used those leaves to dye fabric! If I’m being completely honest, while it was very satisfying to see the plants grow big, beautiful, dark green leaves, I wasn’t really convinced that they were actually going to dye anything. I saw the whole thing as a giant experiment, and part of accepting that something is an experiment means accepting that some things along the way might not work. But to my surprise, the dye DID work! Below, I’ll tell you what I did – just know going into this, that this is my first time doing natural dyeing and that there are other people who know waaayyy more about this than me. 🙂
People have been using indigo as dye for a VERY long time. Here’s a little bit of history, as I understand it. Historians think that what made people realize the dyeing potential of indigo plants was that it stained the clothes of people who brushed up against the broken leaves of the plant, but that’s not a great way to intentionally dye lots of fabric. There are many many methods to dye using indigo, all of which were likely developed in order to get more juice out of the plants, to be able to transport the dye over larger distances, or keep the dye to use later. I felt very overwhelmed by how many ways there are to use indigo, and I ended up finding this amazing book by John Marshall called Singing the Blues. It wasn’t cheap to have it shipped to Canada, but I HIGHLY recommend it. If you want to grow your own indigo and use it for dyeing, it has everything you could possibly need. He has worked with indigo since the 1970s, after first learning about the process during the five years he spent living in Japan. He amalgamates a lot of Japanese texts in his book, which is helpful for me as someone who would not have been able to access this information otherwise.
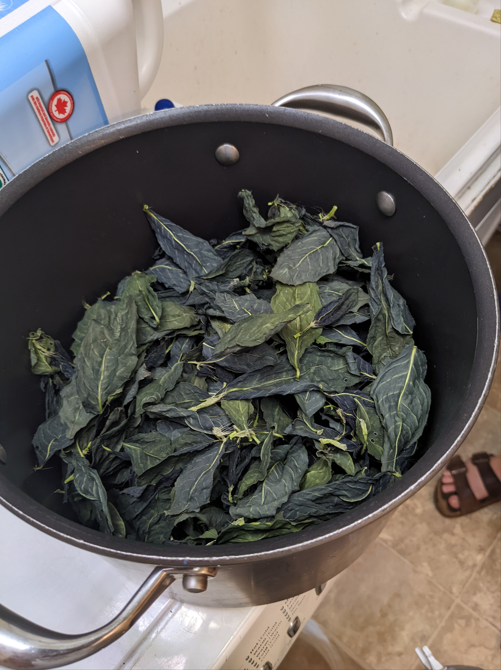
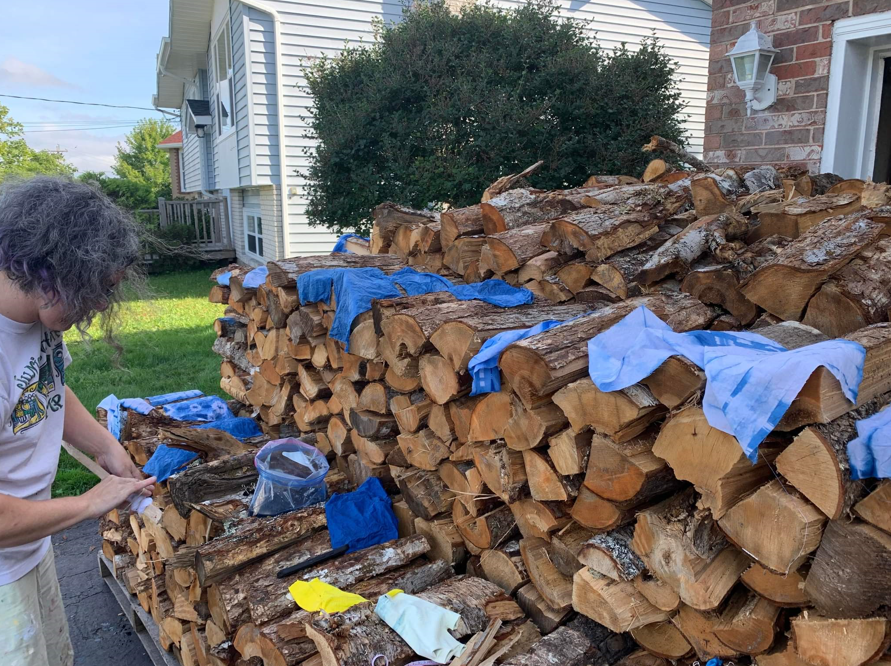
There are so many methods for indigo dyeing in his book. There are ones that use the fresh leaves straight out of the garden, and ones that use dried leaves. There are ones that are best for protein fibres, and ones that dye plant fibres the best. Some use enzymes, some use fermentation, some use composting, some push the pH. There are so many choices depending on what your intended use is, and the kind of time and space you have to devote to the project. I knew that I wanted to use a method that used dried indigo leaves, mainly because my indigo “patch” wasn’t that large. I needed to be able to accumulate leaves over multiple harvests instead of having to use what I picked straight away. By using dried leaves, I was able to amass a better quantity of leaves before I started to dye!
The amount of leaves I used for this dyeing day was only HALF of the mass listed in the recipe I chose. The leaves get sooo light as they dry! I got a good laugh out of weighing my accumulated leaves the day before I had plans with a friend to do the dyeing, because it wasn’t even close to the amount I thought I would have! We ended up just doing a half-batch, so to speak, and reduced the rest of the ingredients by half to match the leaf quantity.
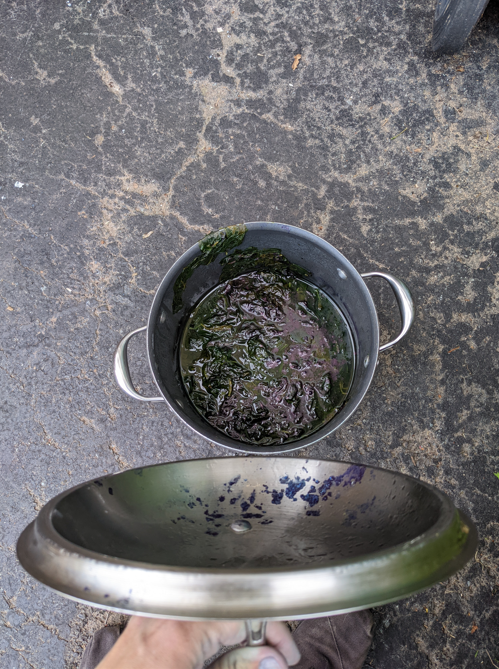
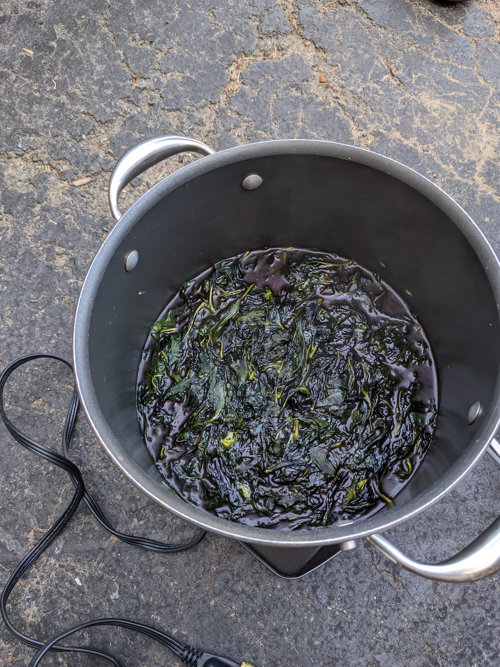
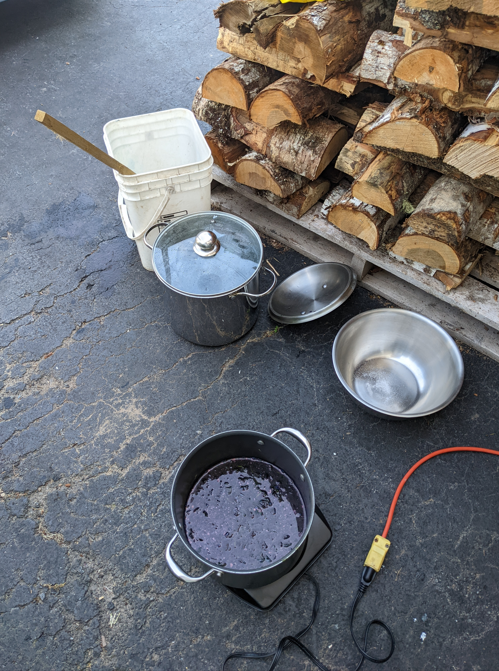
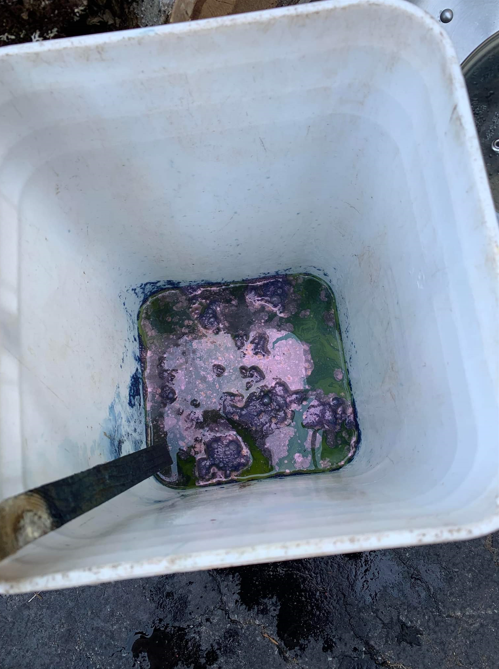
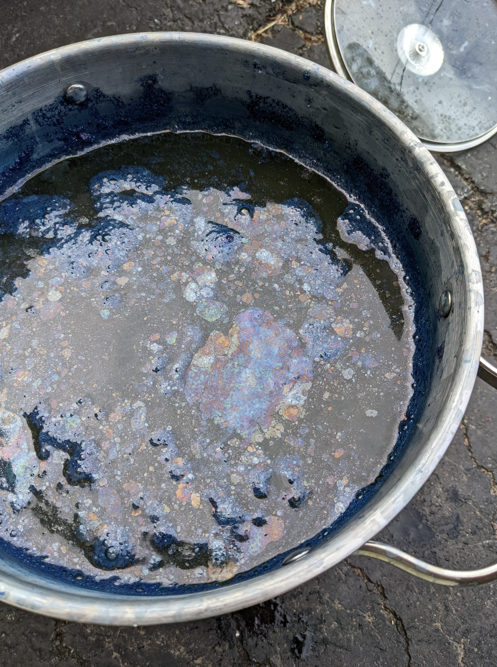
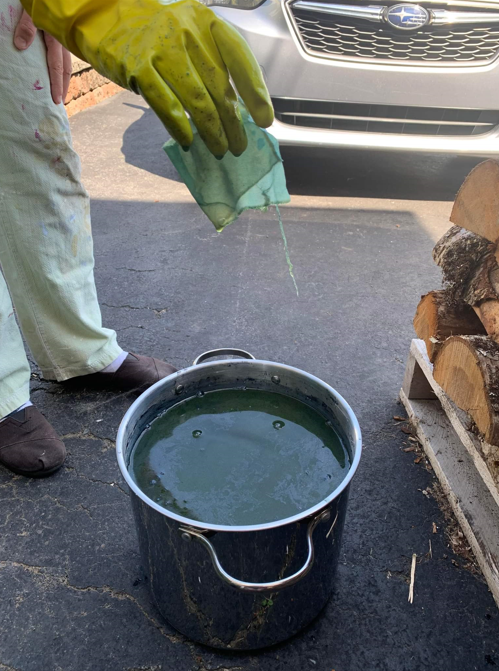
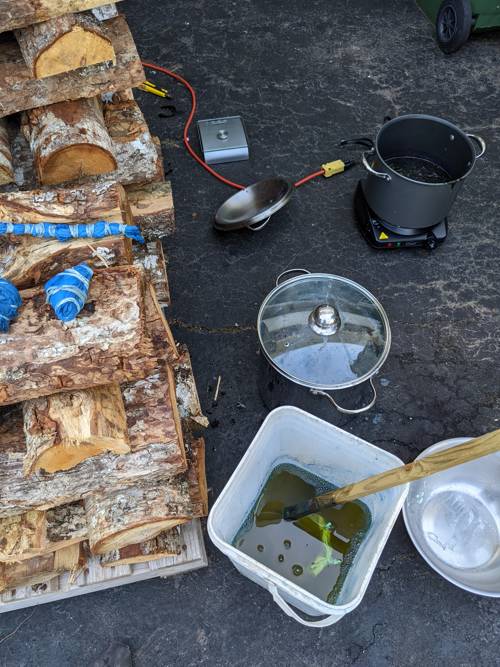
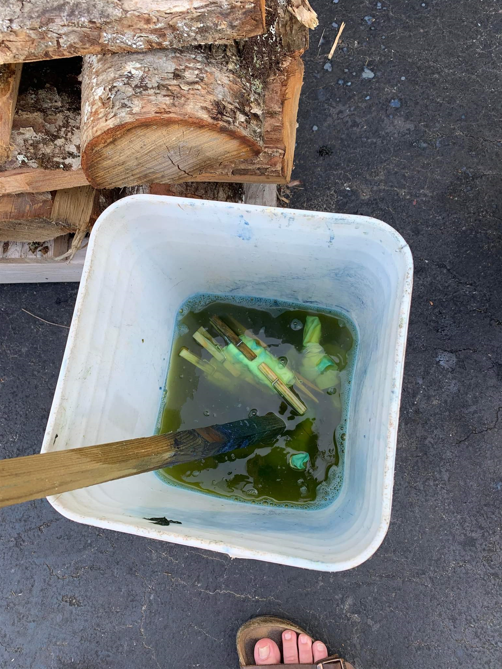
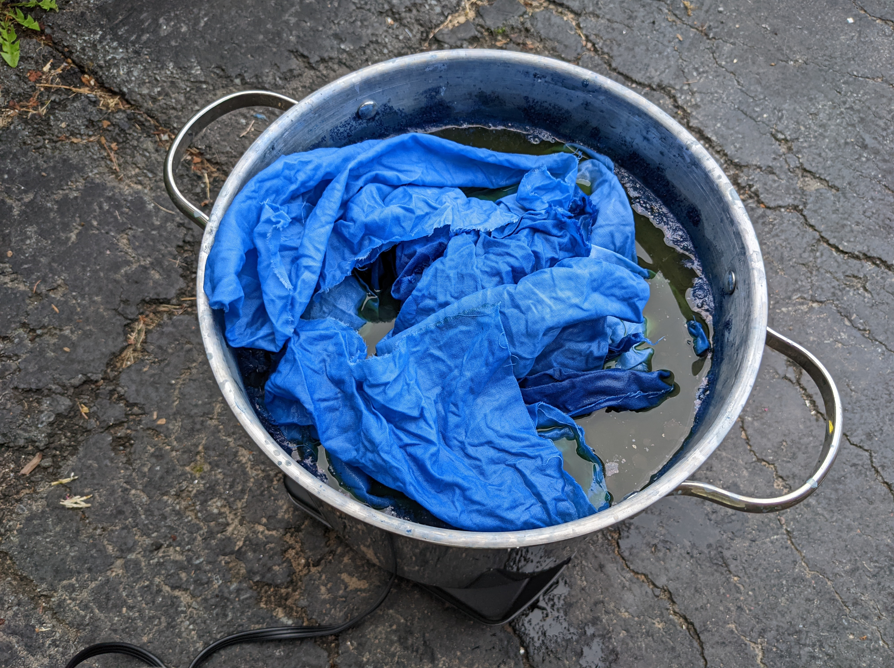
I chose to create the indigo dye vat using thiox and soda ash, even though fermentation vats are the most commonly used kind (to my knowledge!). This is because we wanted to do the dyeing in one full day, and fermentation vats require multiple days of preparation. The method I chose also uses ingredients that were easy to find online – thiox is present in Rit Colour Remover packets, which was very helpful to learn from the book! I’m not going to tell you the exact recipe because it’s not my recipe to offer, plus I think you should buy John’s book – you won’t regret it! (Not sponsored, I just think this book is magical!) You start by letting the leaves simmer to extract impurities, then discarding that water. To extract the dye from the leaves, you put them in water, heat it, add the chemicals, and let it simmer for a bit before straining the liquid into another vessel which will be your actual dye vat. You may notice that the water above has a yellow-y tinge! That’s how you know it’s extracting the dye from the plants! As you see below, the pot has a blue hue. This is a good sign that your leaves still have more dye to extract – the blue will appear after you strain the liquid out, as the dye compounds left in the small amount of liquid get exposed to oxygen and oxidize.
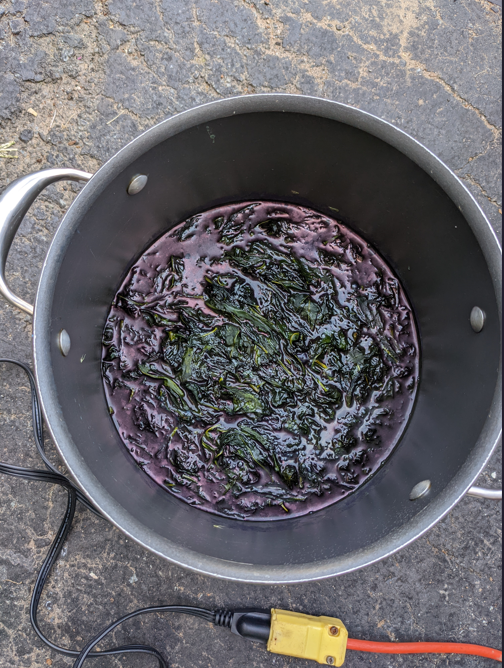
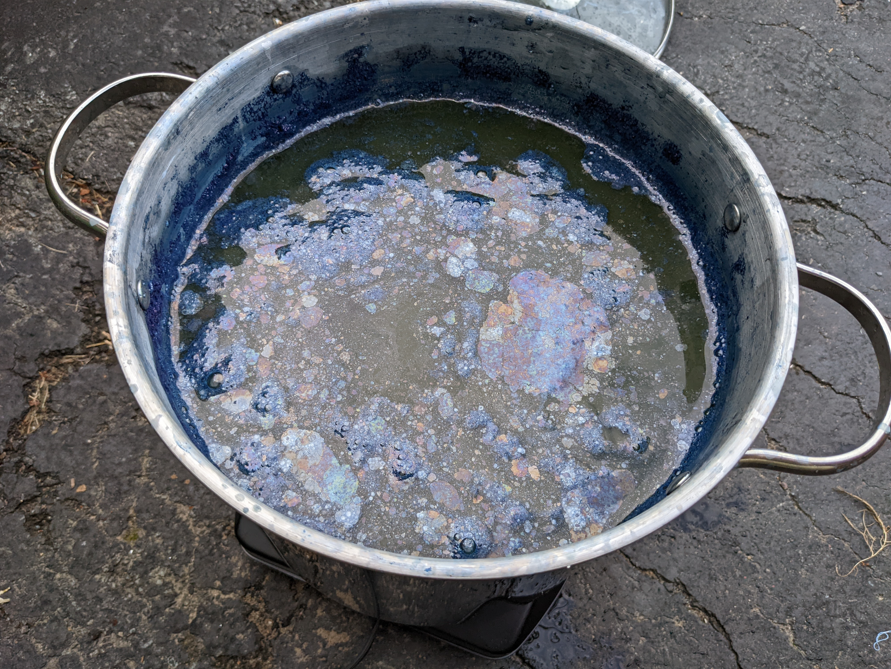
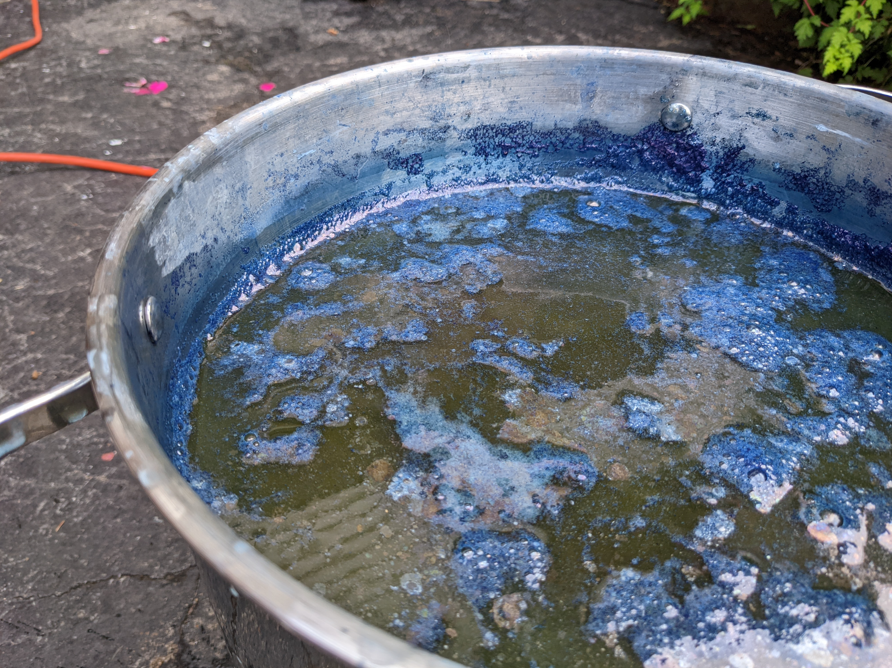
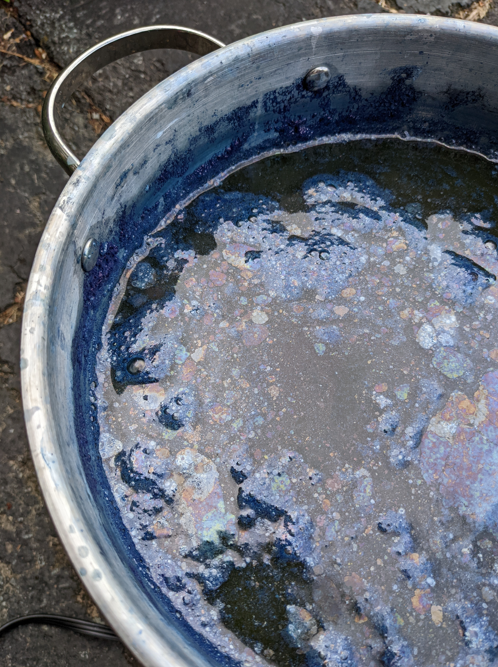
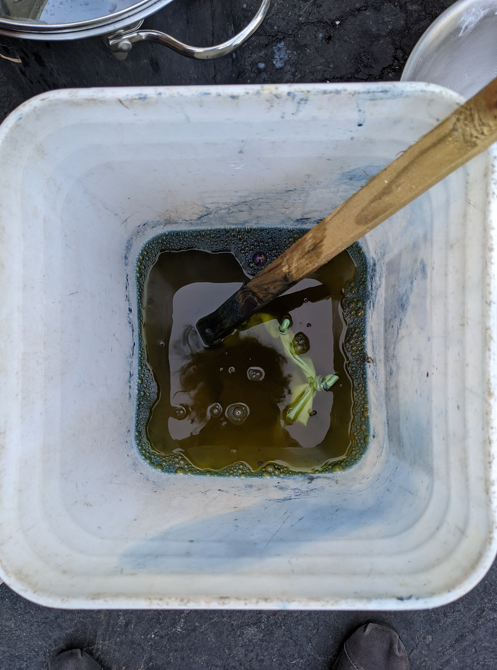
You’ll see another big pot in the photo above, as well as in the photos below. This is a vat we made using a pre-made indigo dye kit, sold by The Love of Colour. I had had this kit for a while and decided to use it so we’d have more dye to play with, but also because I still wasn’t convinced that my plants would do anything. I mixed that kit up the day before so that it would have time to develop. That kit creates a fructose vat. Both vats are visible below, showing what’s known as the “indigo flower” on the surface of the liquid. It’s sooo beautiful and metallic-looking! I don’t know the details of why/how it forms, but you can just push it to the side when you’re going to dye. Before I did that, I just took a bunch of pictures because I couldn’t stop looking at how pretty it was!
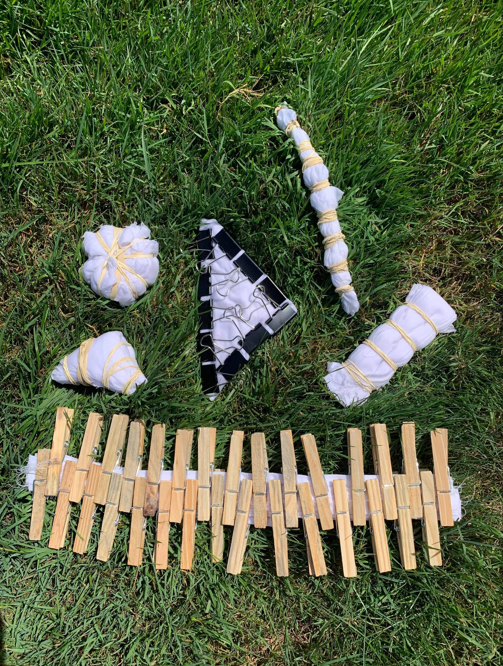
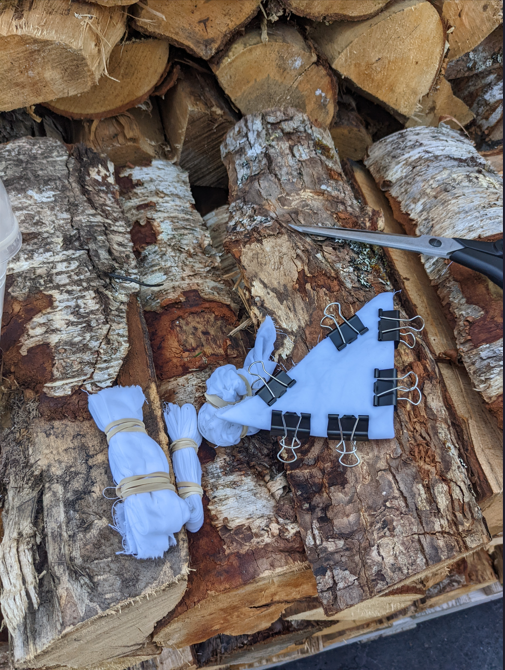
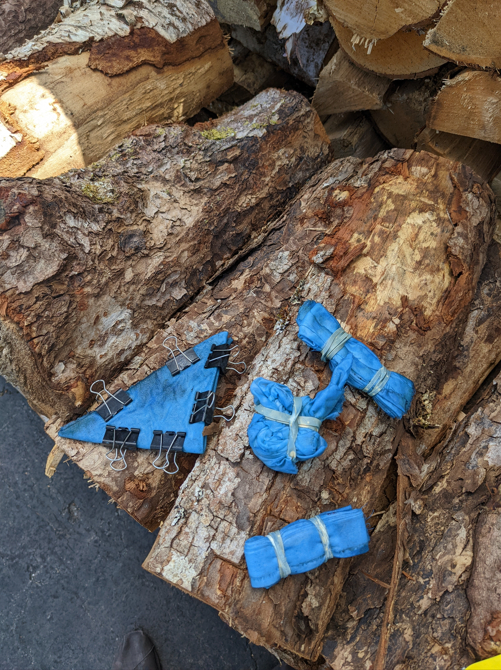
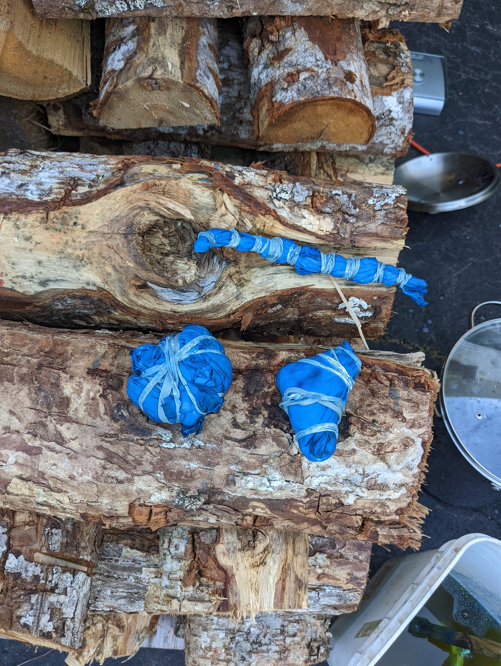
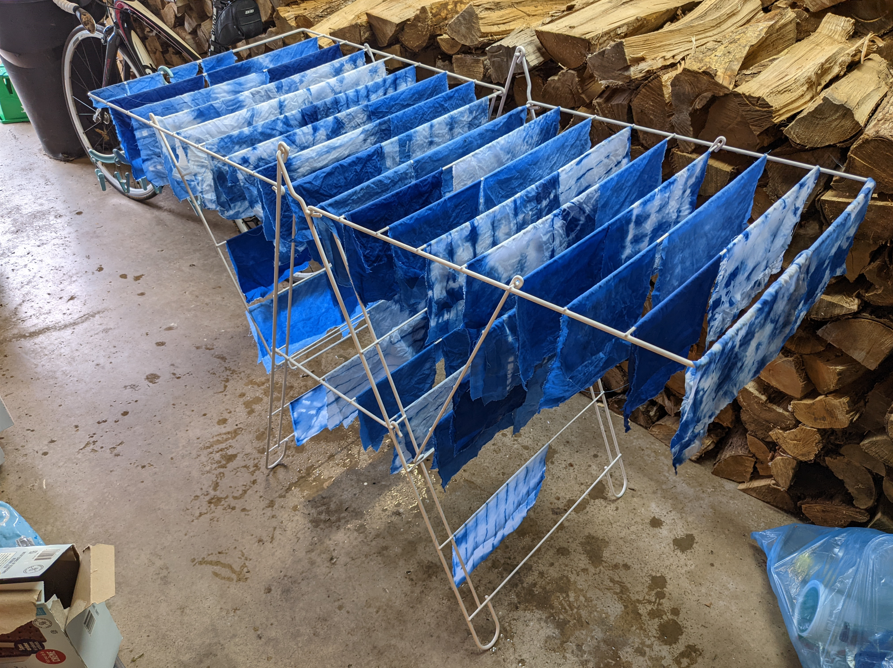
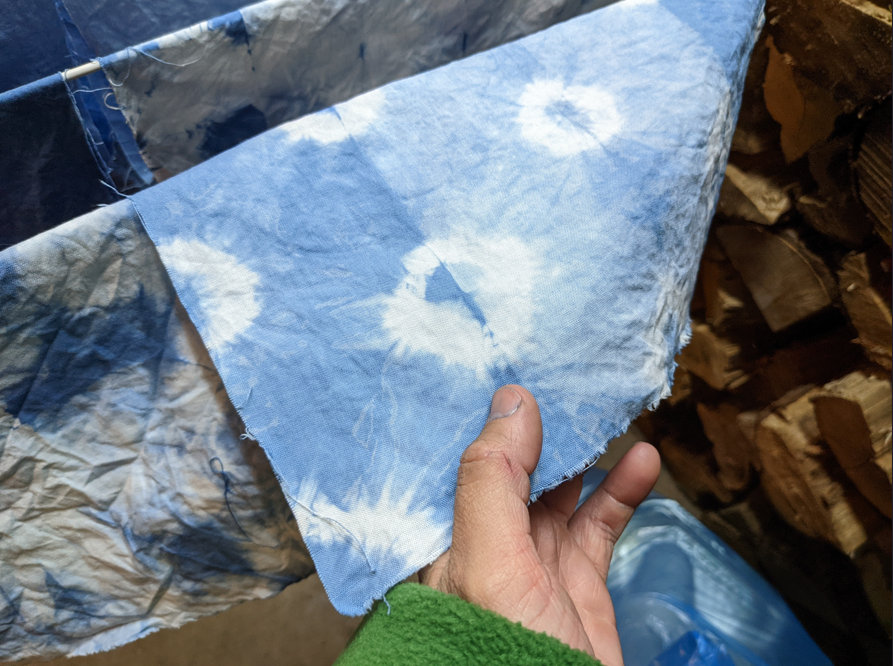
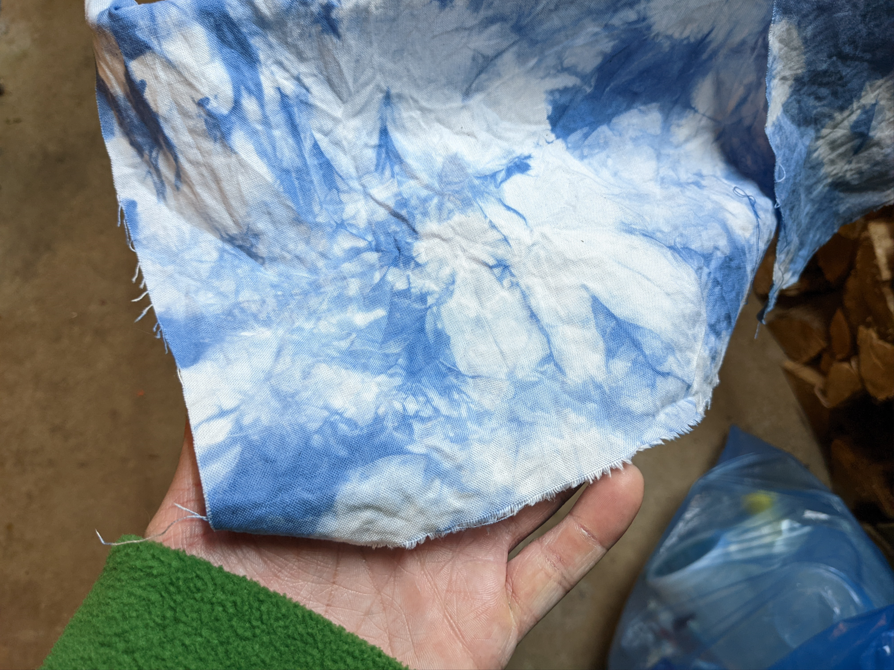
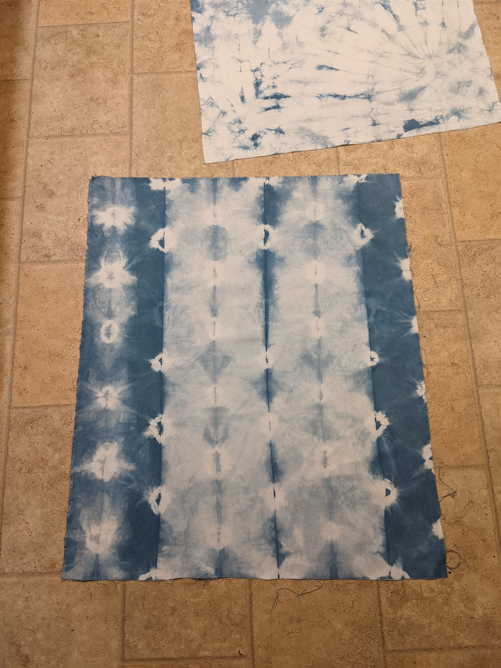
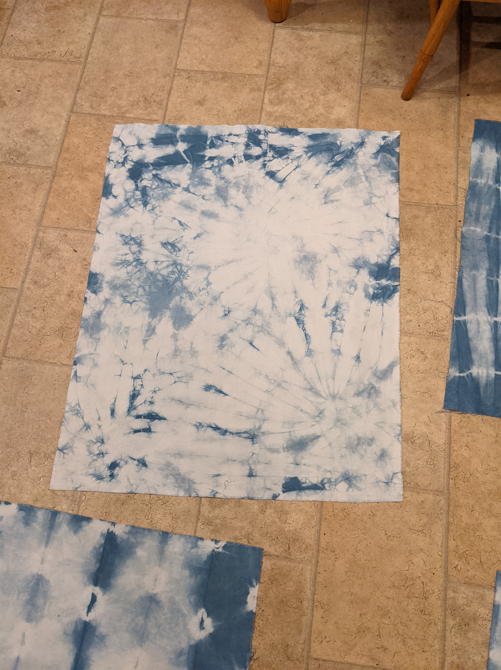
My friend who did the dyeing with me is an art teacher, and she had done dip-dyeing in her classroom with students previously. In that setting, she used synthetic dye, so this was her first time trying indigo as well. Luckily, she knew lots of cool folding and clipping and tying methods from doing this with kids. Traditional Japanese folding methods for this purpose are known as Shibori. We are not Japanese, and we are not well-versed in traditional folding methods. Some of these shown below might overlap with those methods, but by no means should what we’ve done be taken as instructive if you are interested in trying out shibori! We found some of these shapes/methods on the internet through random searches of dye pages, and some of them we just came up with through experimentation. Folding/tying is done after the fabric has been thoroughly soaked in water. This helps prevent streaking as you dye.
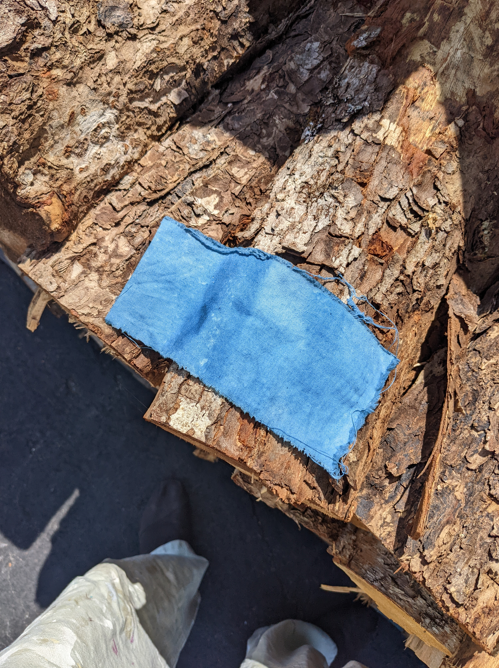
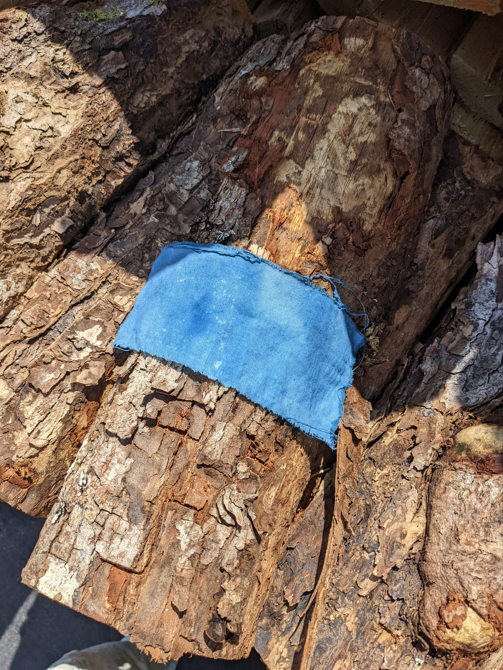
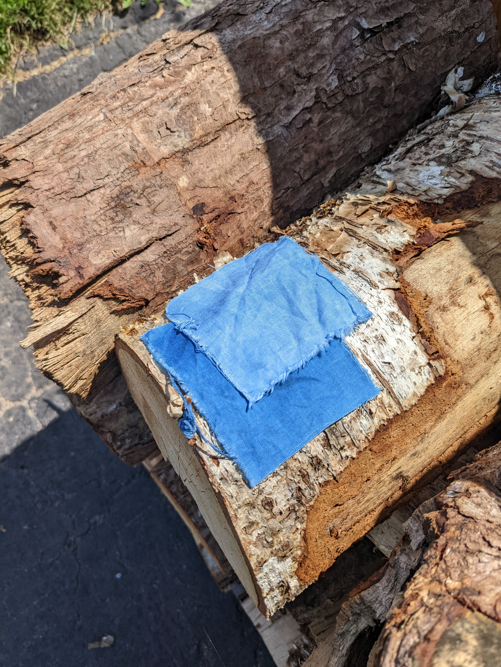
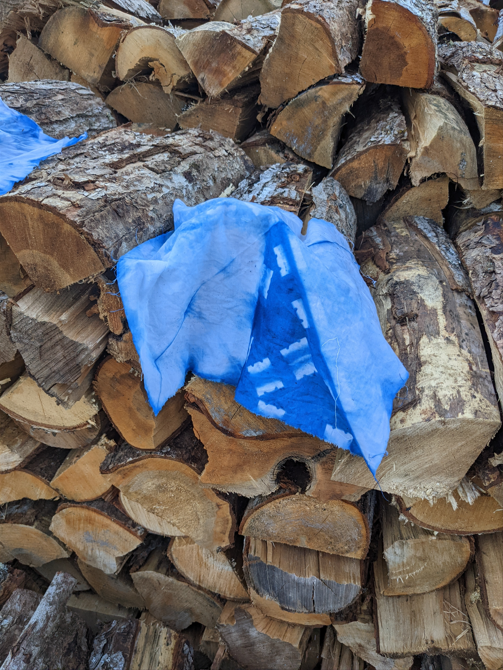
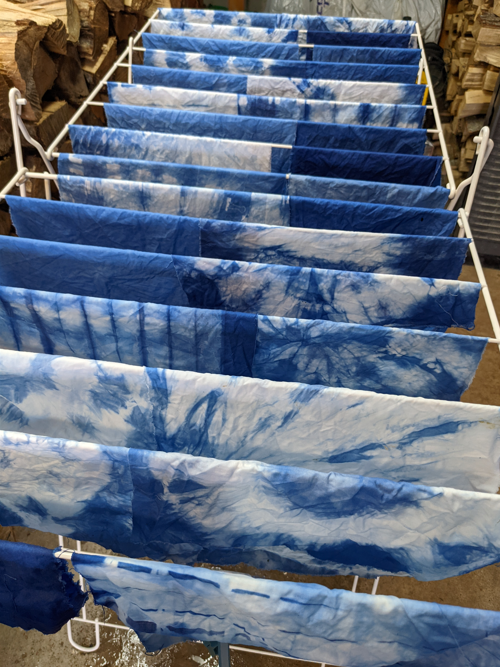
As you’ll see below, we did a couple test swatches to see how the colour would turn out. When you first remove it from the vat, it is yellow! It turns blue as it oxidizes. After it comes out of the vat, you need to neutralize the pH of the fabric in order to prevent it from degrading. We used what was recommended in the book, which was a normal household thing that we already had on hand! (Again, not going to spill all the deets because you can probably find them online, and it’s in John Marshall’s book). Something that we learned only after the fact is that we should’ve let the swatches COMPLETELY dry before we decided how much time we wanted to leave the fabric to soak, and how many dips we wanted to do. It fades a LOT as it dries. As noted in the book and many other places online, you cannot achieve very dark blue in one day. With all of the dipping time (20 minutes, I think is what we did), plus oxidizing time, plus neutralizing, it takes too much time to do the required number of dips that you’d need to do to get really dark blue in one day. I ended up saving the vats and reheating them the next day on my own to put some of my fabric back in for more dips so that I could have a greater range of colour depth in my finished fabric. I only decided to do this after the fabric from the first day had had a chance to completely dry using the dehumidifier in the garage and seeing how close in hue everything was. I am very glad I did the second day of dips! Plan ahead if you want medium to dark colours so that you can spread your dye over multiple days.
After the swatches came out, we got to dyeing! We used the method I mentioned above, and just had things going in batches. It was helpful to tie a lot of things ahead of time so that we could split things into three batches, that way you always had one group of fabric pieces in the vat, one oxidizing, and one neutralizing (for all equal amounts of time). Then you could just have one timer going and cycle things around once the timer went off. We only stumbled onto that after a few rounds of dipping, mainly because we were experiencing chaos in the form of multiple timers beeping at us from all directions and we couldn’t remember which one meant which thing!
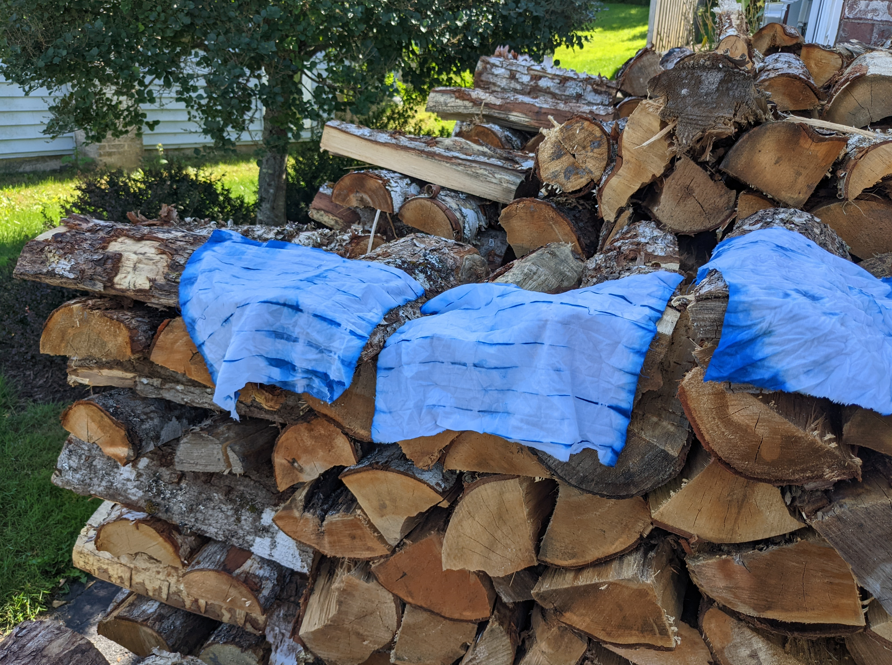
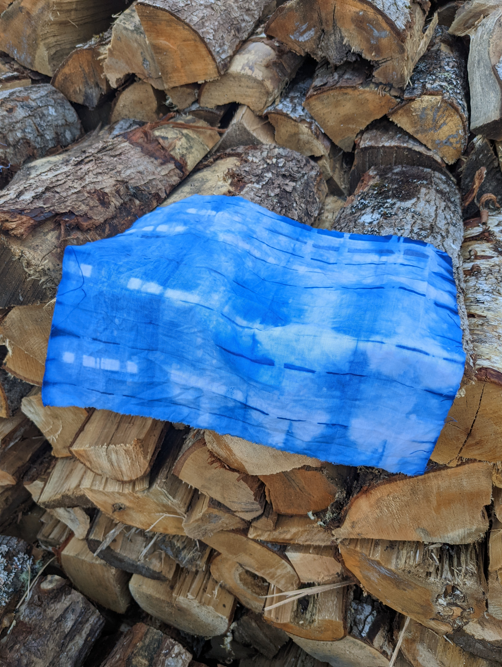
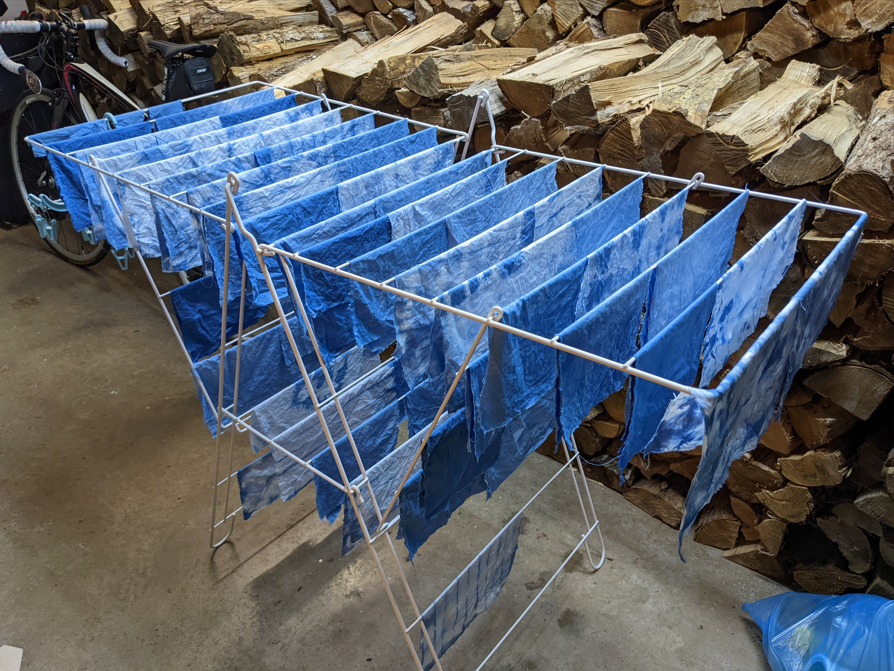
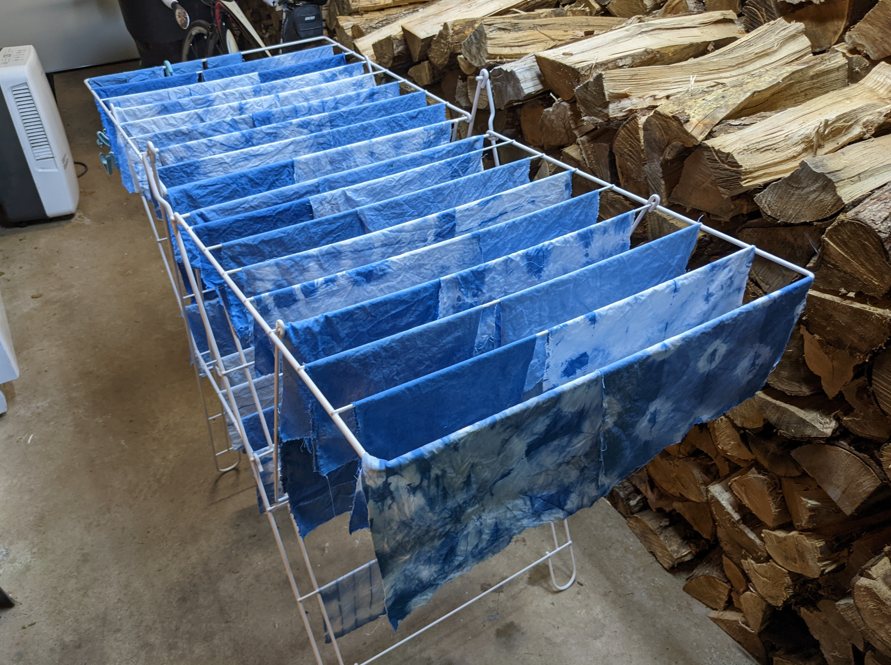
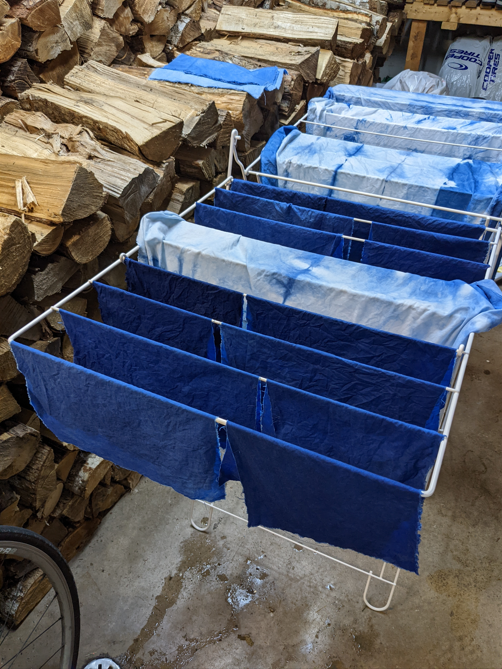
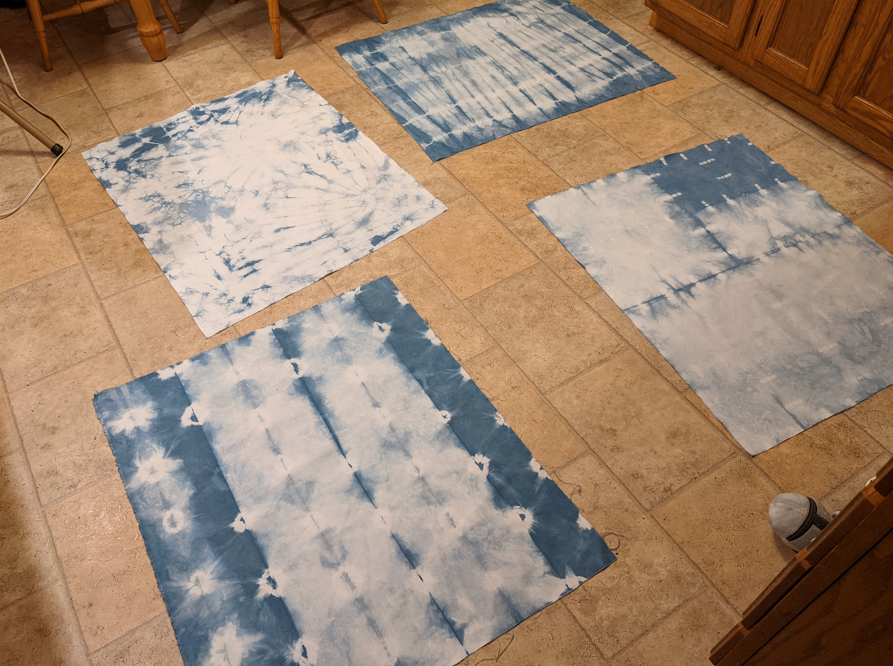
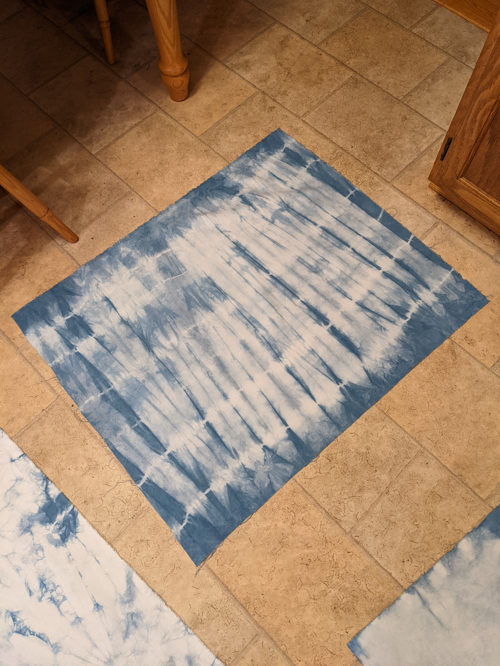
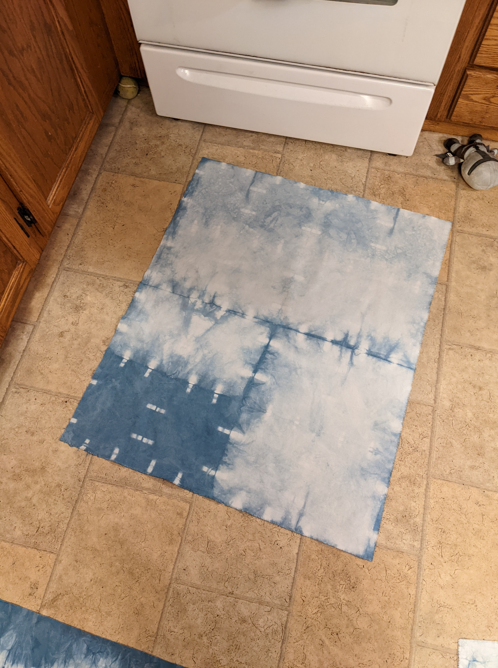
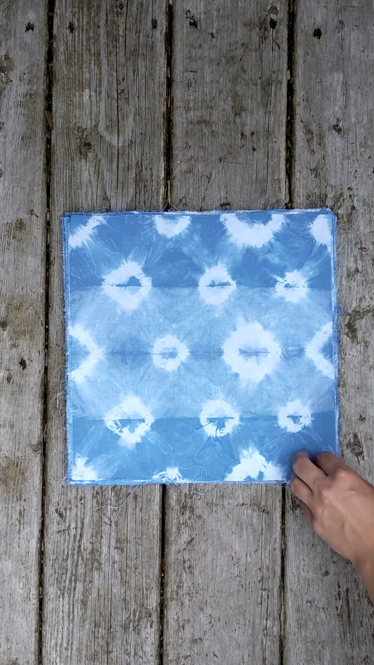
And that’s about it! It was a super fun day, and I got lots of fabric dyed. I had a huge length of completely white quilting cotton that I cut up into 12″ squares, plus the rectangles from each 12″ strip that remained after cutting the squares. I dyed all of those rectangles without tying them so that they’d stay solid, and then dyed most of the squares using different tying techniques so I could treat them like an indigo sampler. I intend to make a quilt (or multiple quilts!) out of these squares, and use the rectangles as a border. I also dyed some of the squares a variety of solid blues, partly because I wanted there to be places in the quilt to rest your eyes, but mainly because we were getting low on time and I couldn’t think of any more ways to tie the fabric at that point! The big pieces you’ll see in the photos below laid out on a tiled floor are canvas. I had a 2m piece of white canvas laying around, and I cut it into “fat quarters” kind of – just cut the whole piece in half in each direction so each piece is really a “fat half”. I dyed those to use in bag-making in future!

I had such an awesome time using indigo for the first time, and I highly recommend it! Have you tried it? Tell me about your experiences!