
As I write this post, it’s 5:46am and I’m sitting in an airport lounge! I’m heading out very shortly to the west coast of Canada to work for a few days and then I’m heading down the coast to Seattle and Portland for a vacation. I’m super excited, and have my knitting with me (a project I started last year during my trip to Finland and Iceland and put down for most of the year in between). Before I left, I really wanted to get a big textile project out of the way so that when I get back in early August I’ll be able to get sewing right away. This is that project – cyanotype printing all the fabric for a Closet Case Kelly Anorak!
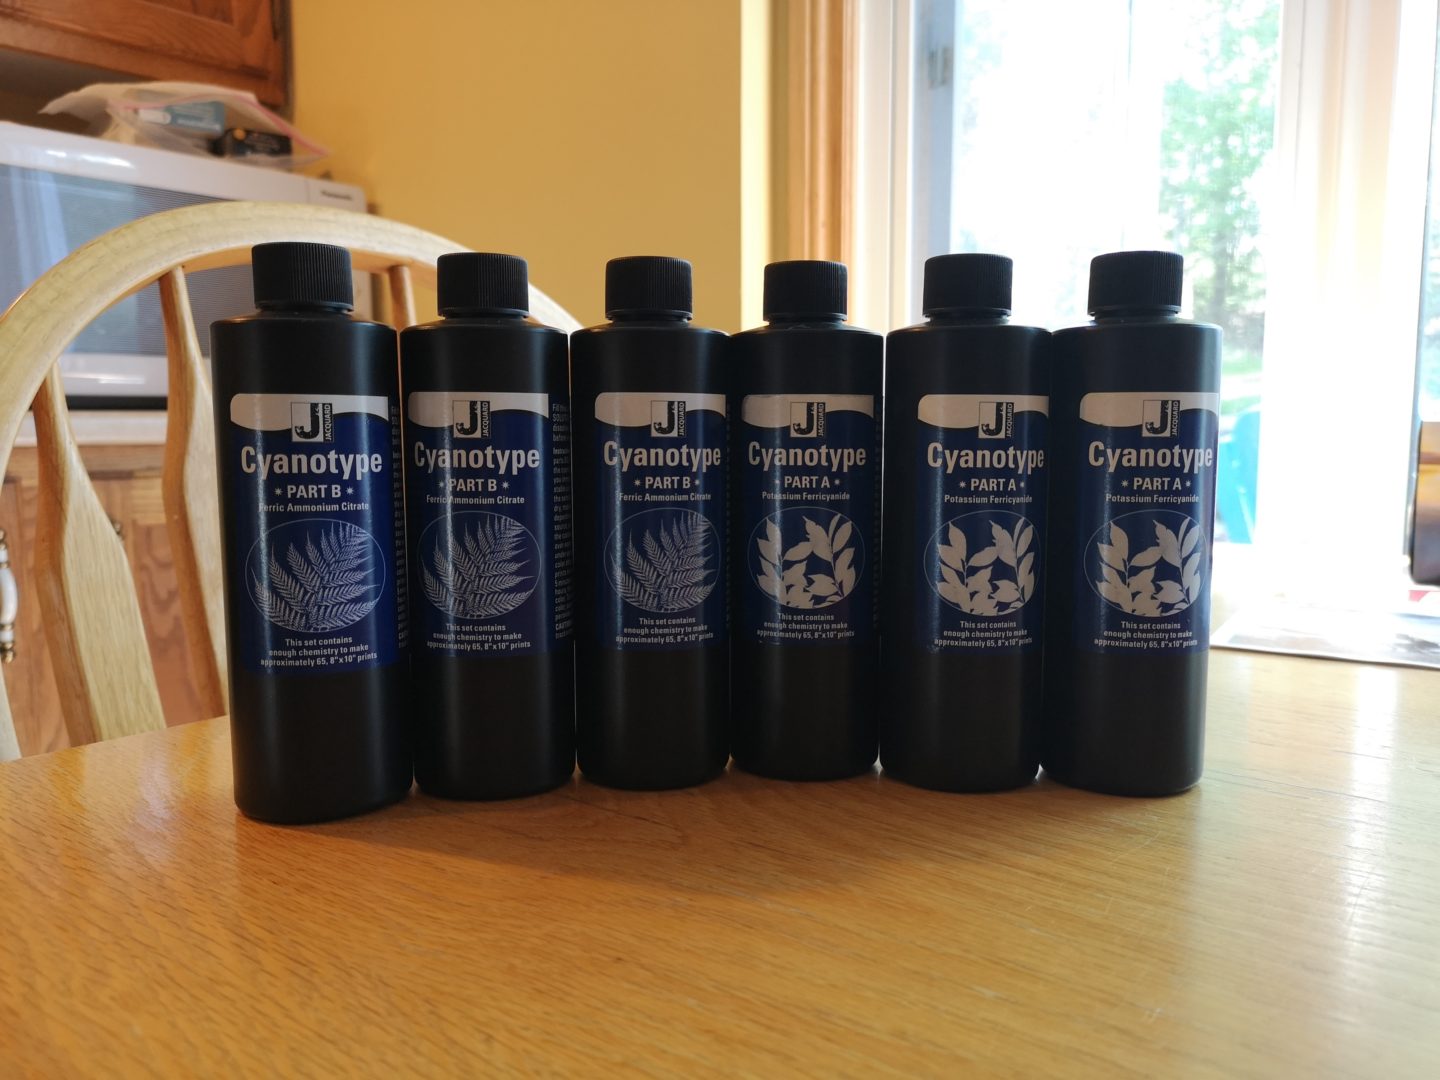
If you’re a regular reader of this blog, you may remember the Kelly I made for my sister back in September. It was made out of fabric that she hand-dyed during her time at art/textile school, and I was super inspired while making it. This collided with the cyanotype projects I saw in the book Handmade Getaway (co-authored by the owner of my local fabric store when I lived in Toronto, the workroom). Cyanotype is a process that was discovered in 1842, and you can read more about the chemical underpinnings in the Wikipedia article about it, but basically it means you can sun-print on things like textiles or paper! If you order a cyanotype kit like the one made by Jacquard that I used, it comes with two bottles that have a powder inside. You fill the bottles with water, shake it up, and let it sit for 24+ hours. I didn’t realize it would have to sit for so long and was up against a deadline since I was leaving, so I only let mine sit for 12ish hours. After that, you mix the two solutions together in equal parts and treat your fabric (or paper) with it, and then let it dry. I used three full kits for my yardage and it almost wasn’t enough. I had to wring out the mixture from my fabric in order to cover the whole thing.
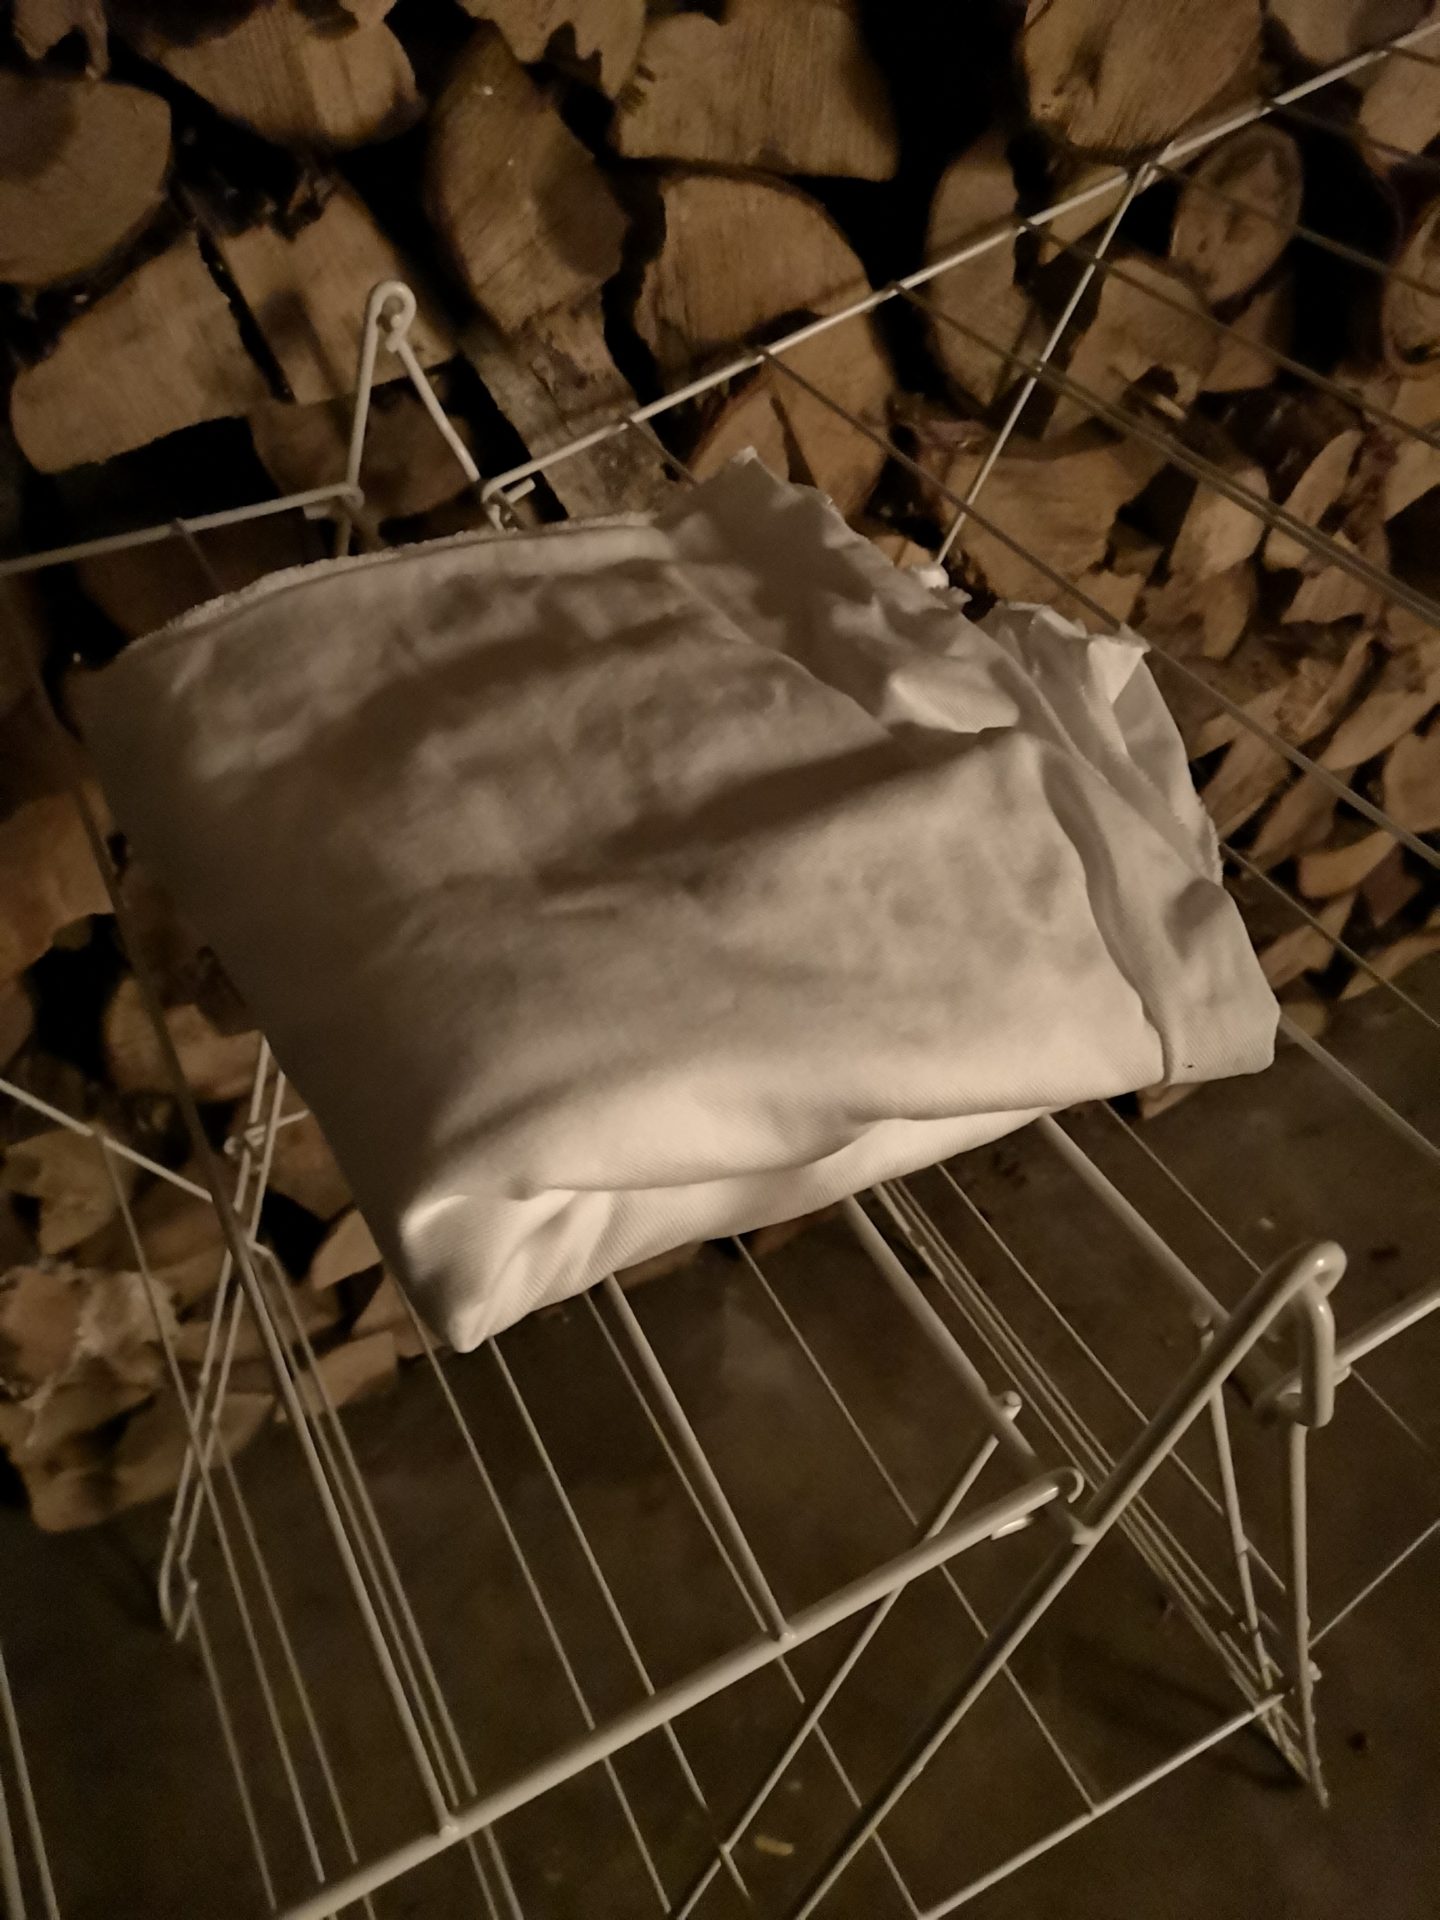
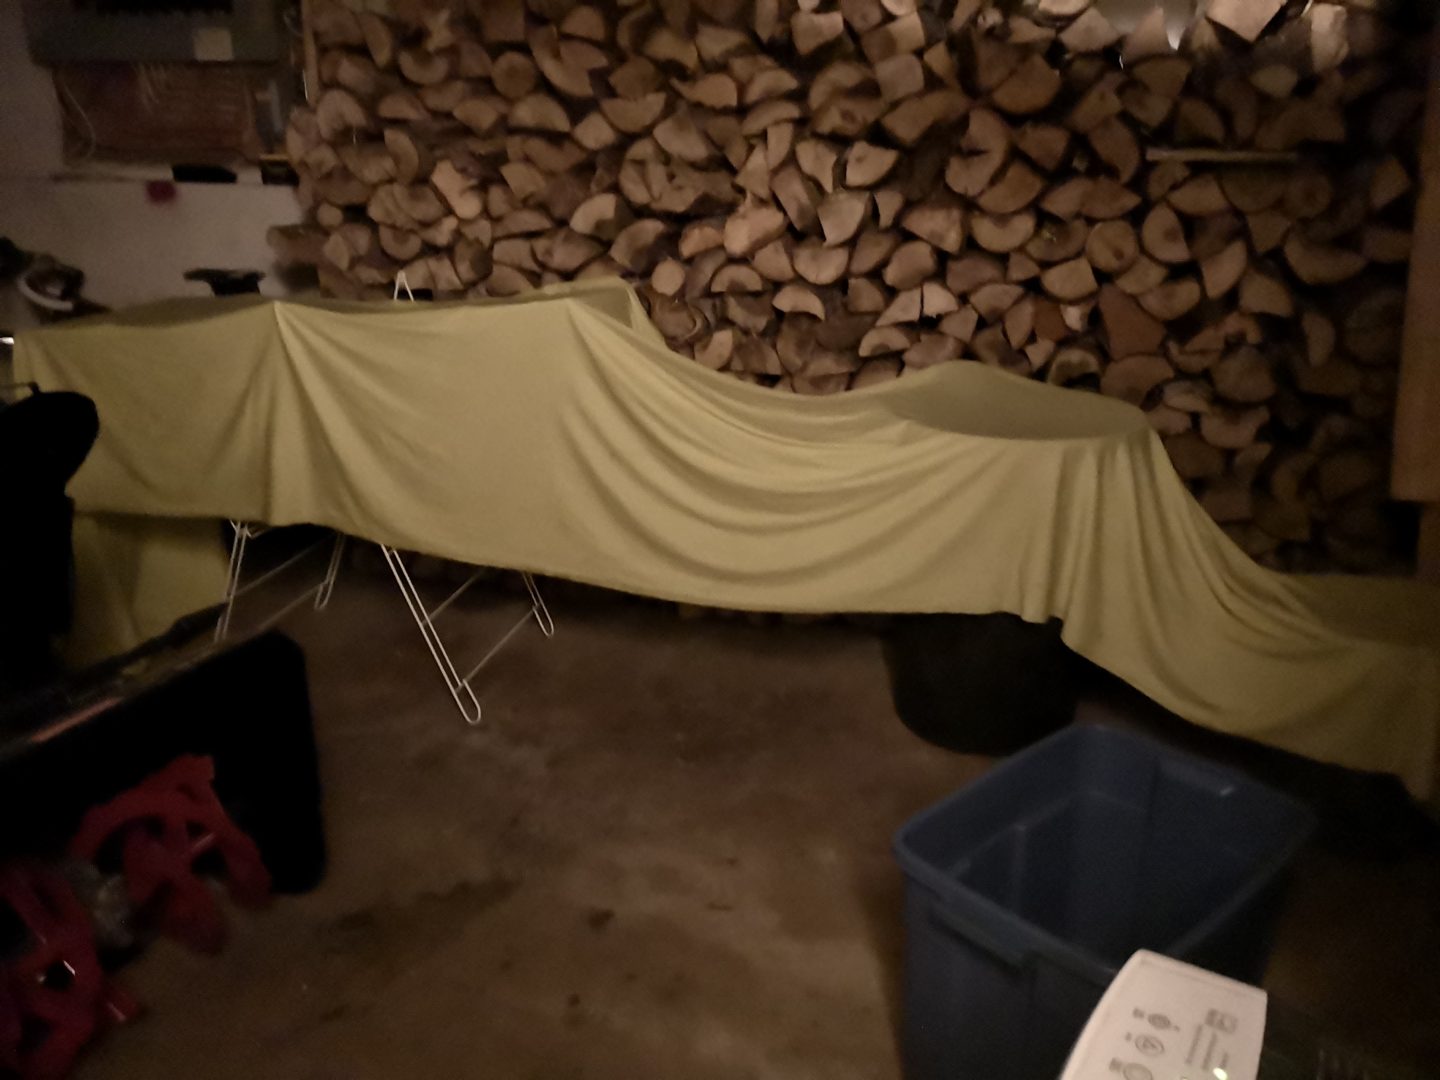
The thing about the pre-treating is that all of this sounds quite straightforward, except for the fact that you have to do it in the dark. Since the mixture makes the fabric UV reactive, you can’t expose it to light at any point until you’re ready to actually do the printing! I covered the side window in my garage with a garbage bag to prevent light coming in, and then used a flashlight covered in pink tissue paper to see what was going on as I worked. Luckily I have a dehumidifer in my garage for our firewood which decreased the drying time significantly, but I still had to make sure the fabric was covered with taped together garbage bags if anyone had to come in and out of the main door in order to protect it from the light. The pre-treating took around 20 minutes and then I left it to dry all day and overnight.

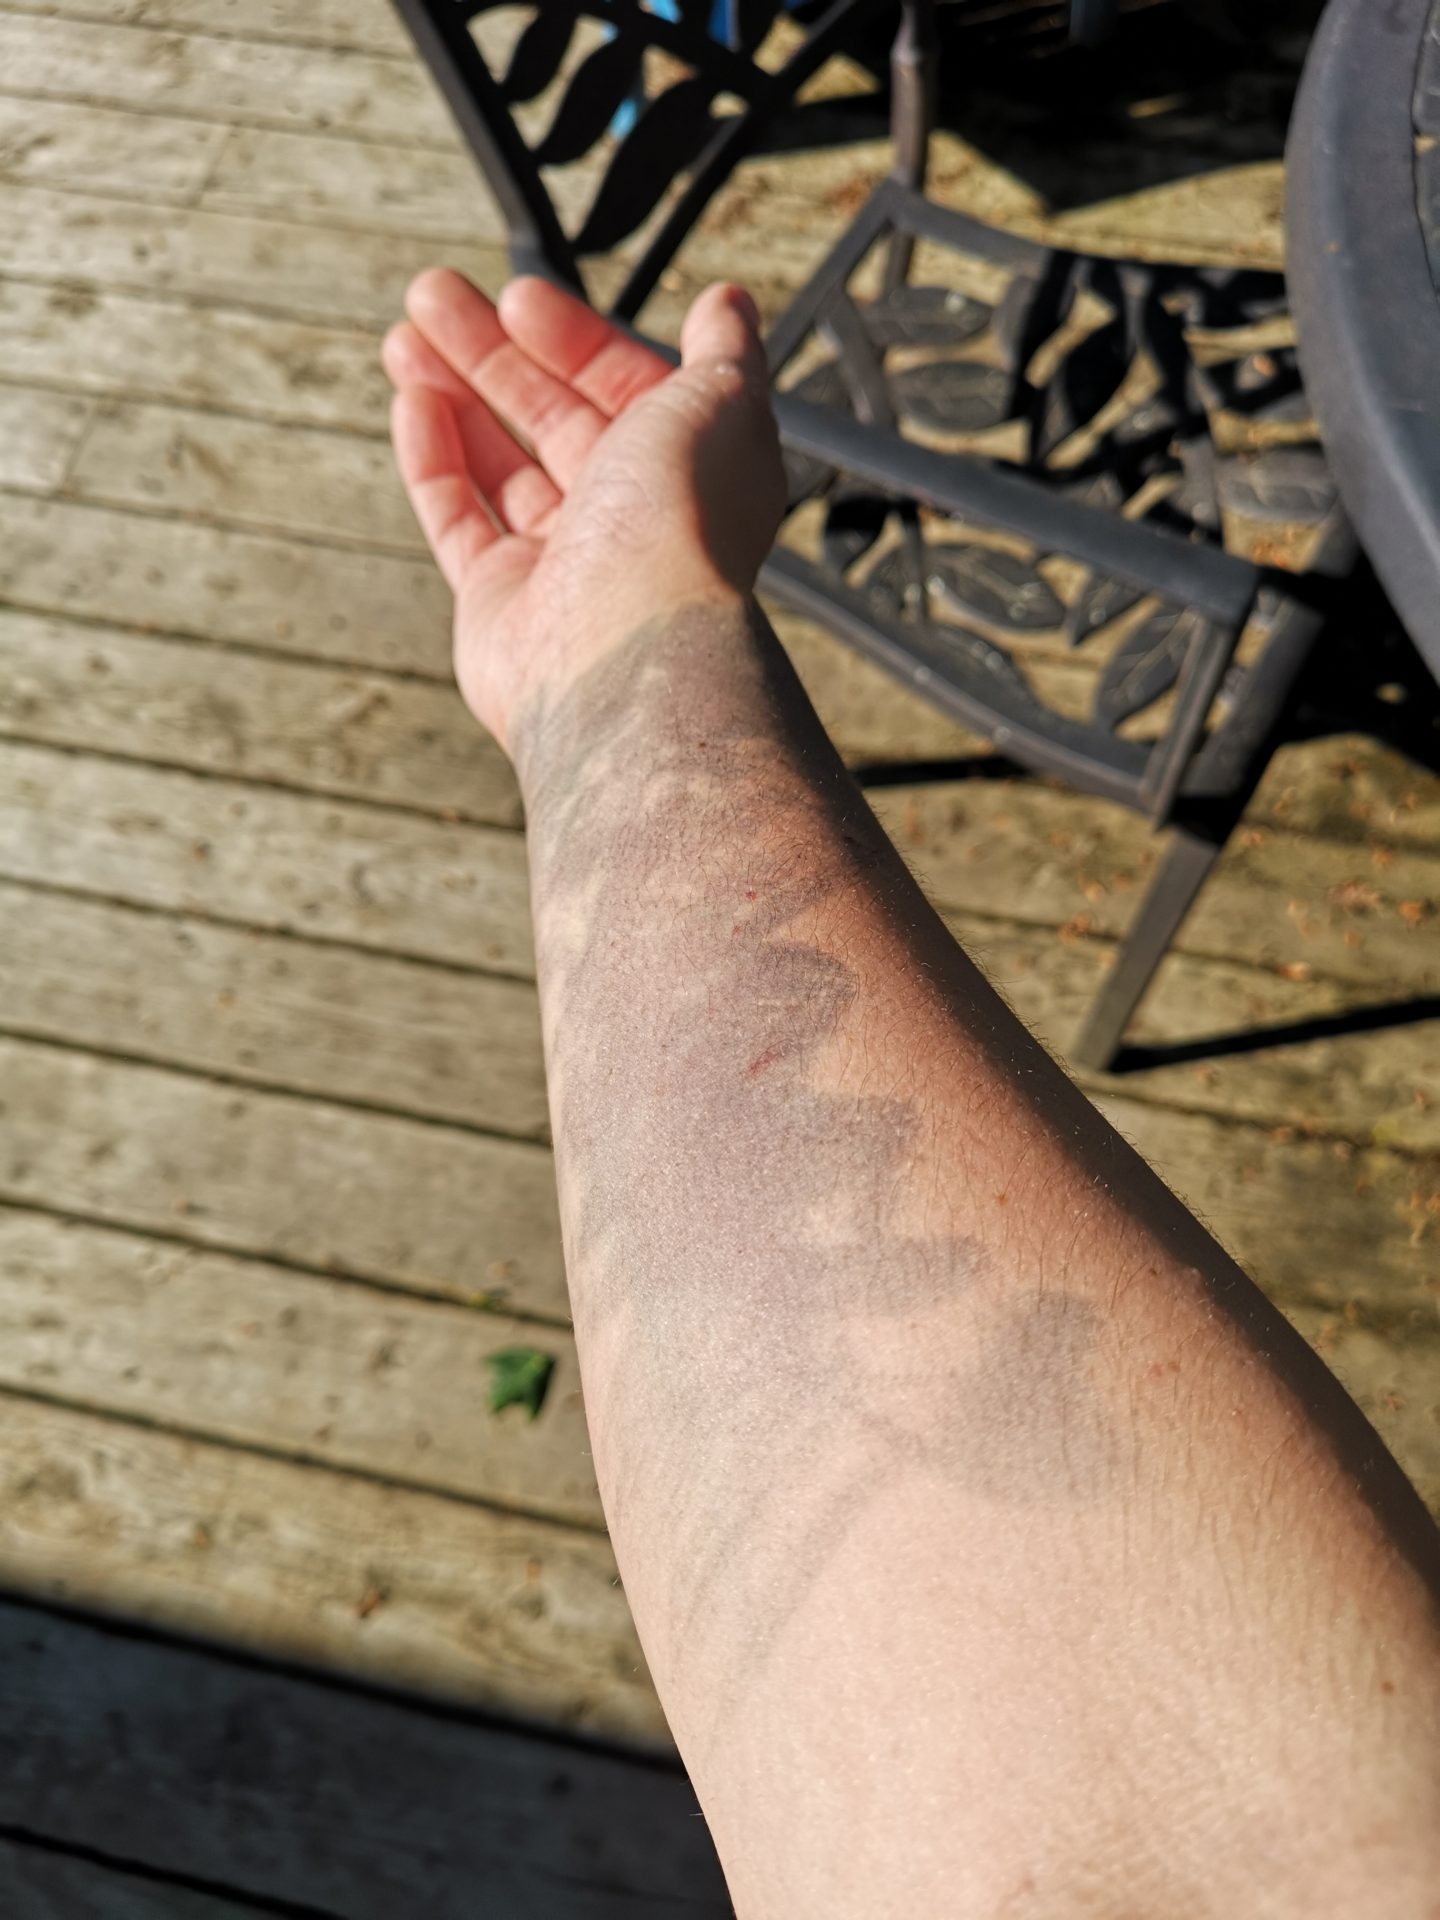
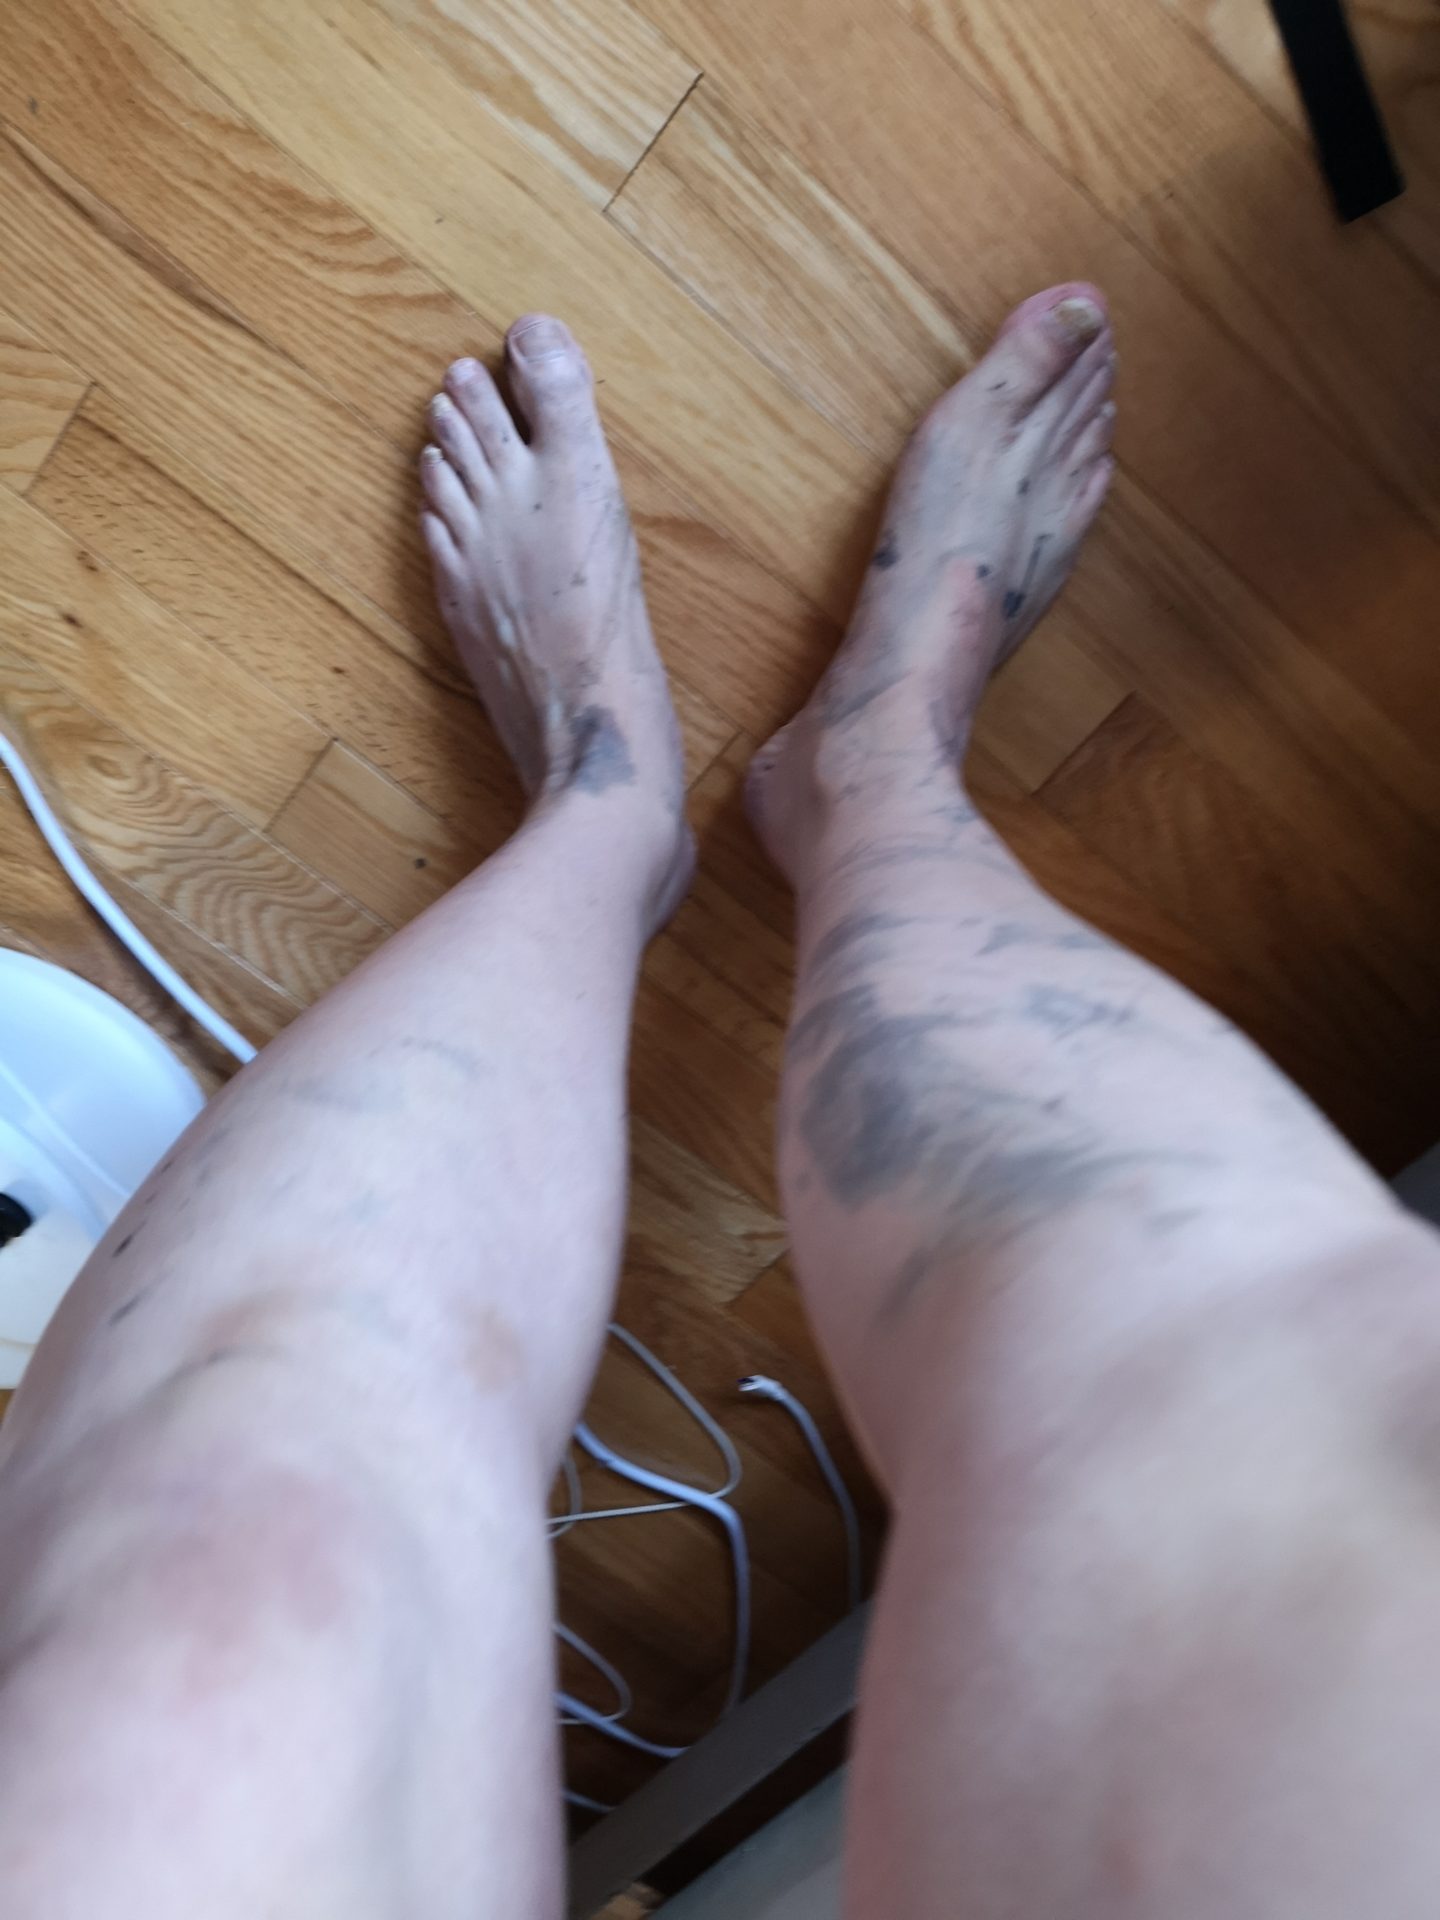
The funny thing is that I didn’t think about the fact that the cyanotype mixture would turn blue regardless of whether it was on the fabric or not. When I went outside, I found out very quickly where I’d gotten it on myself! It washed off very easily with dish detergent. For the record, I did wear rubber gloves while doing this, but I’m a very splashy individual. Which is even more evident if you look at the photo below – I thought I’d gotten it all and got dressed to leave the house, happened to look down, and got this view! Ooooops.
The next morning I cut out all of the pieces for my Kelly anorak in the dark. My roommate was out biking and came back during this process, opened the door to put her bike away, and was greeted by a loud screech from me: “CLOSE THE DOOR CLOSE THE DOOR CLOSE THE DOOR!!!!!” She slammed the door shut, and was so flustered that later I found her heart rate monitor on top of our compost bin and her cycling glove in the driveway! I covered the whole thing with my garbage bags from before so that she could reopen the door and put all her stuff away. I tried to find anything online about whether the cyanotype process makes the fabric shrink at all, and couldn’t find anything, so I cut out my pieces prior to printing them. I did this partly because it would have been a nightmare to try to sun-print so much fabric simultaneously, and partly because I wanted to be able to plan the print placement on the finished garment.
The fabric I’m using is this white Robert Kaufman Ventana twill, which I bought at the same time as the fabric for the trench coat I recently made. It’s marked “PFD”, which shockingly does not stand for “personal flotation device” and instead indicates that it’s Prepared For Dyeing. I pre-washed and dried the fabric in the dryer before pre-treating it so I could avoid shrinkage as much as possible.
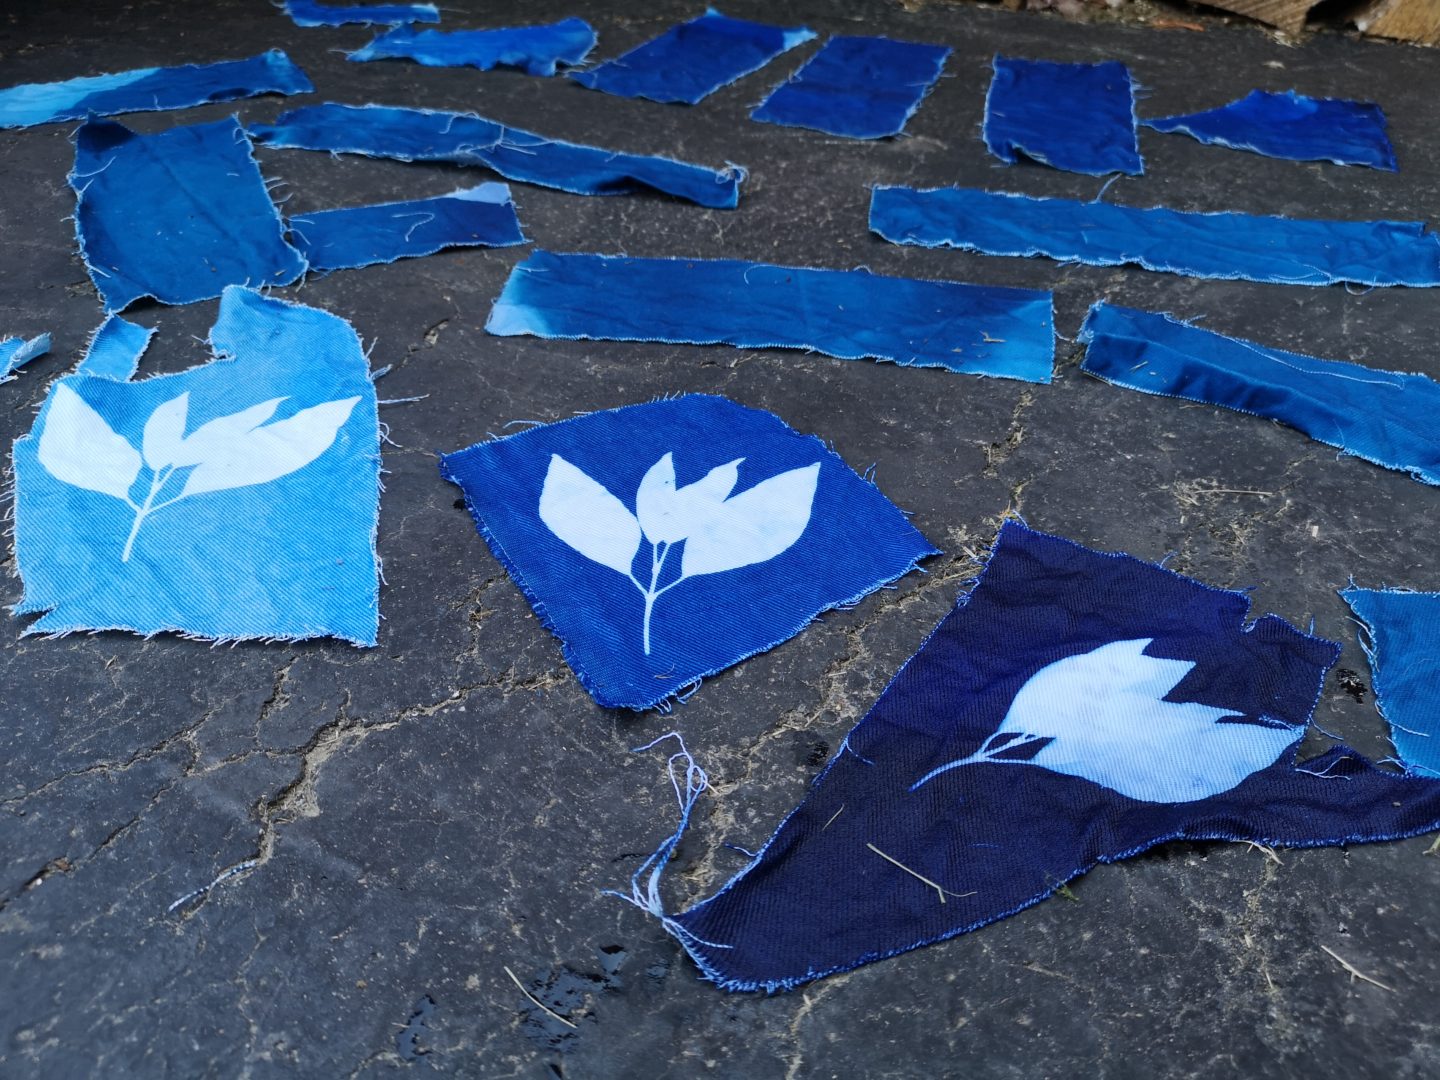
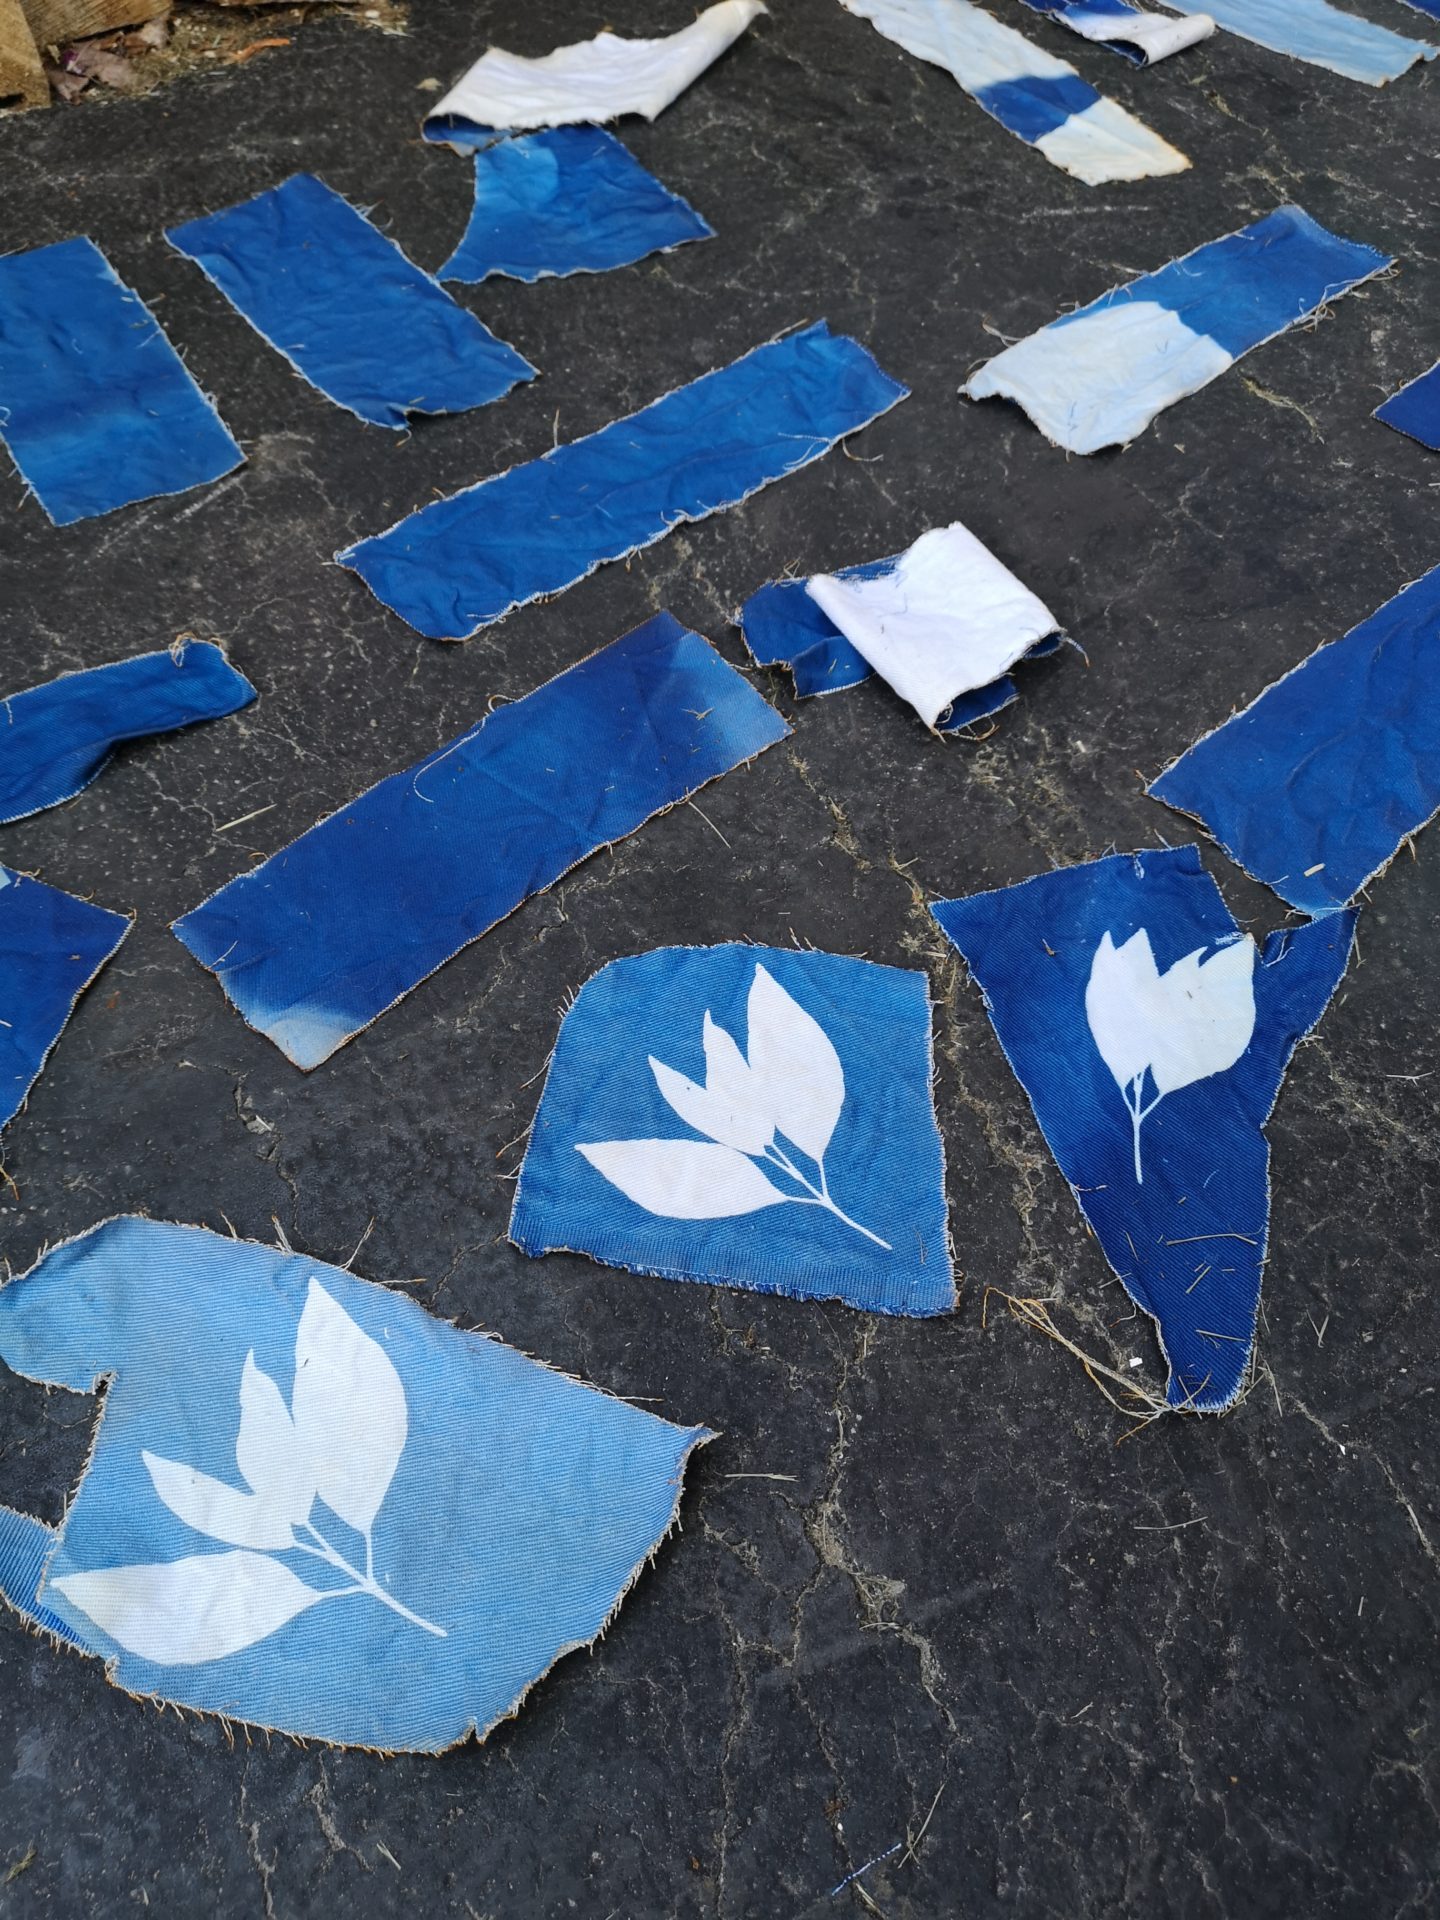
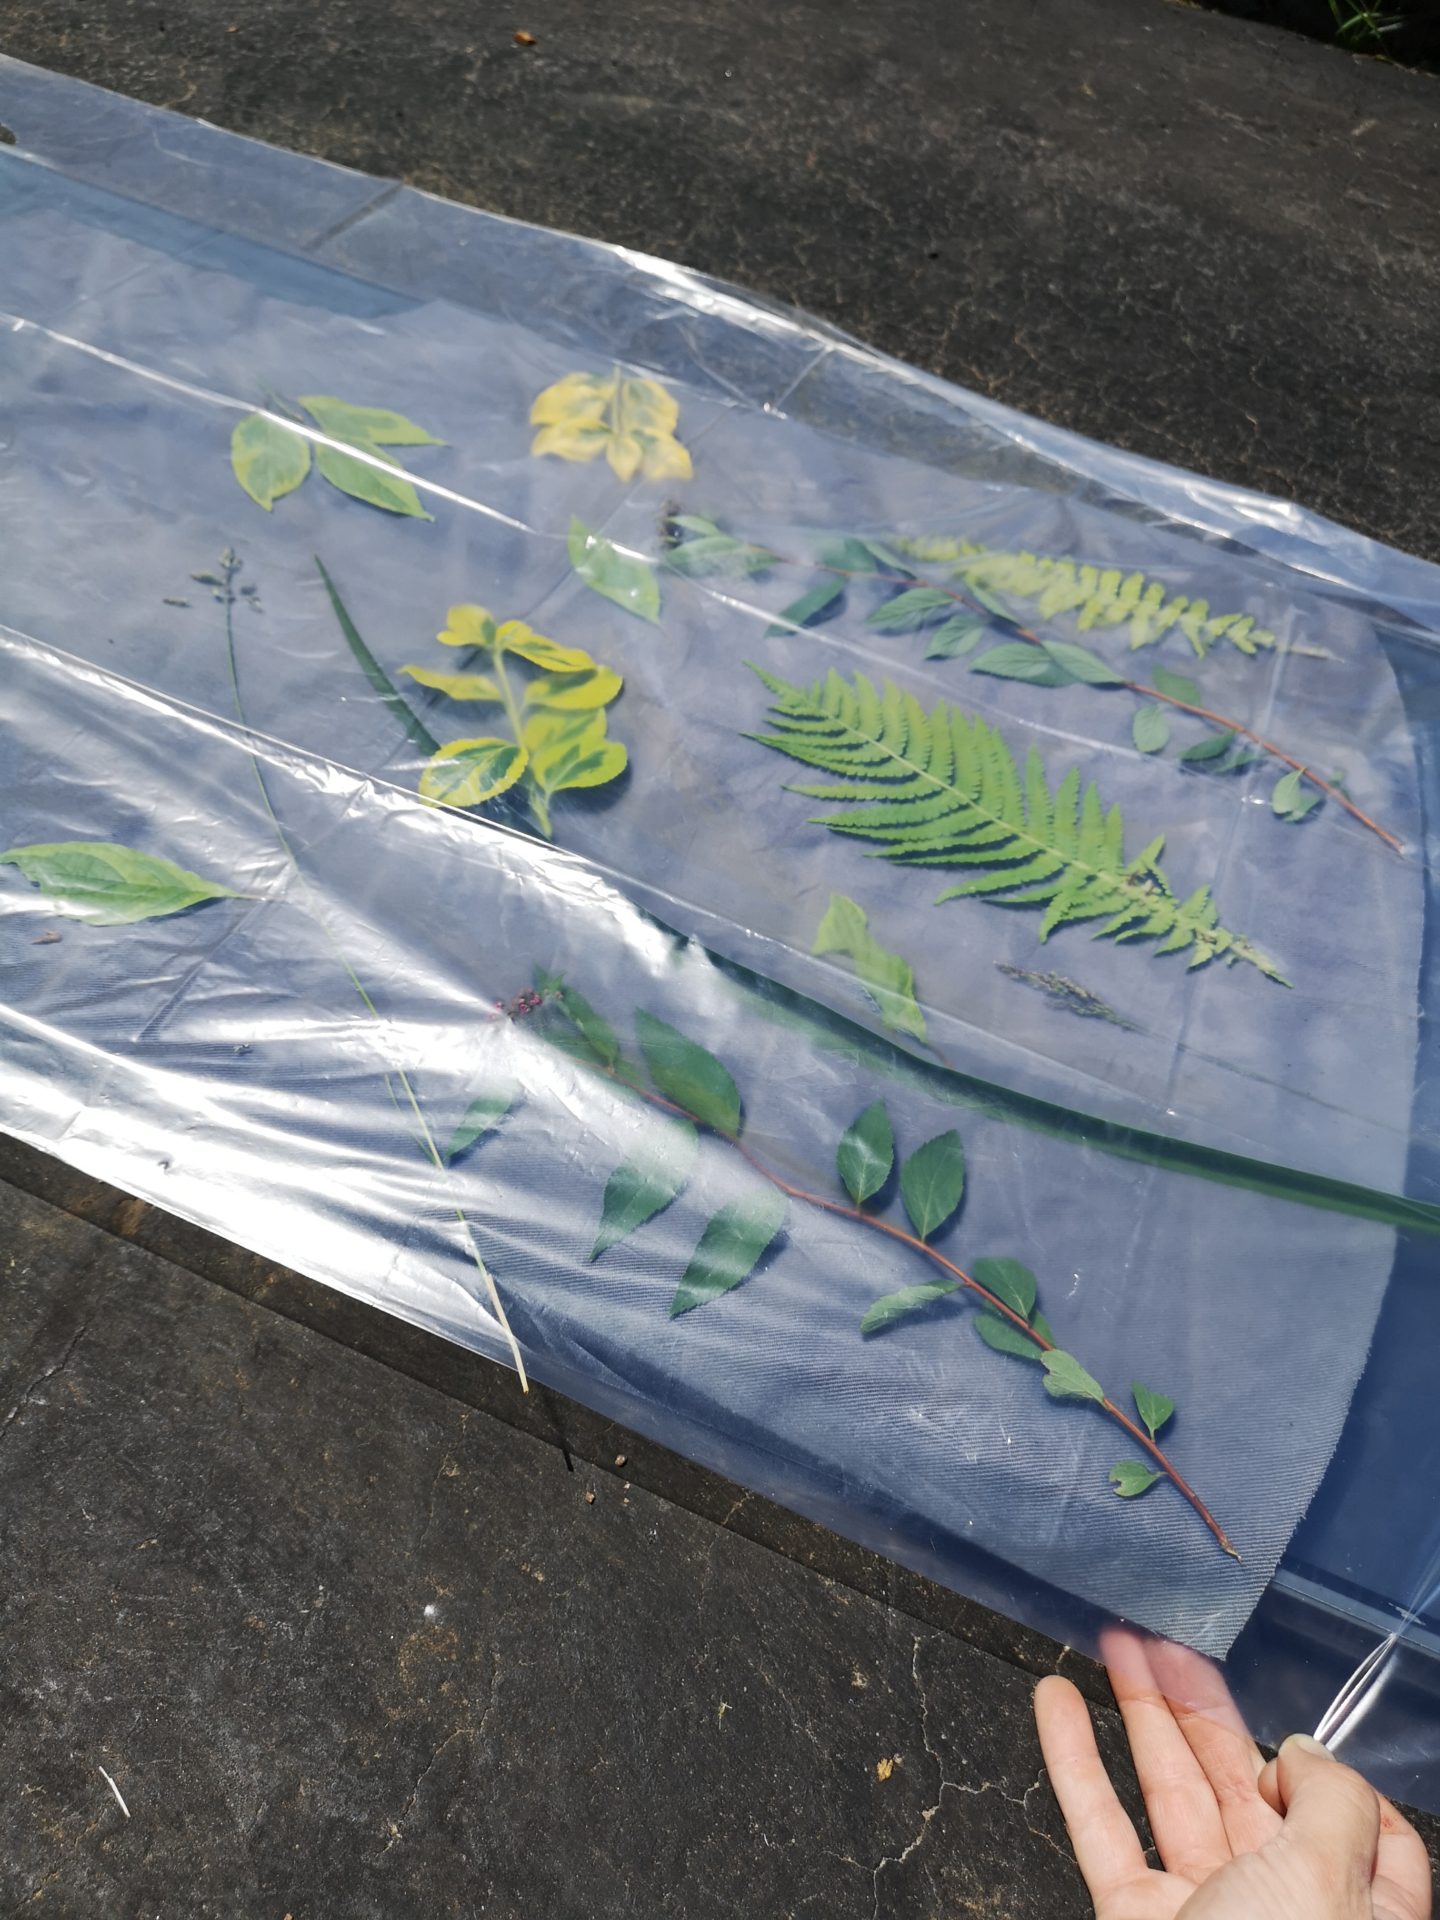
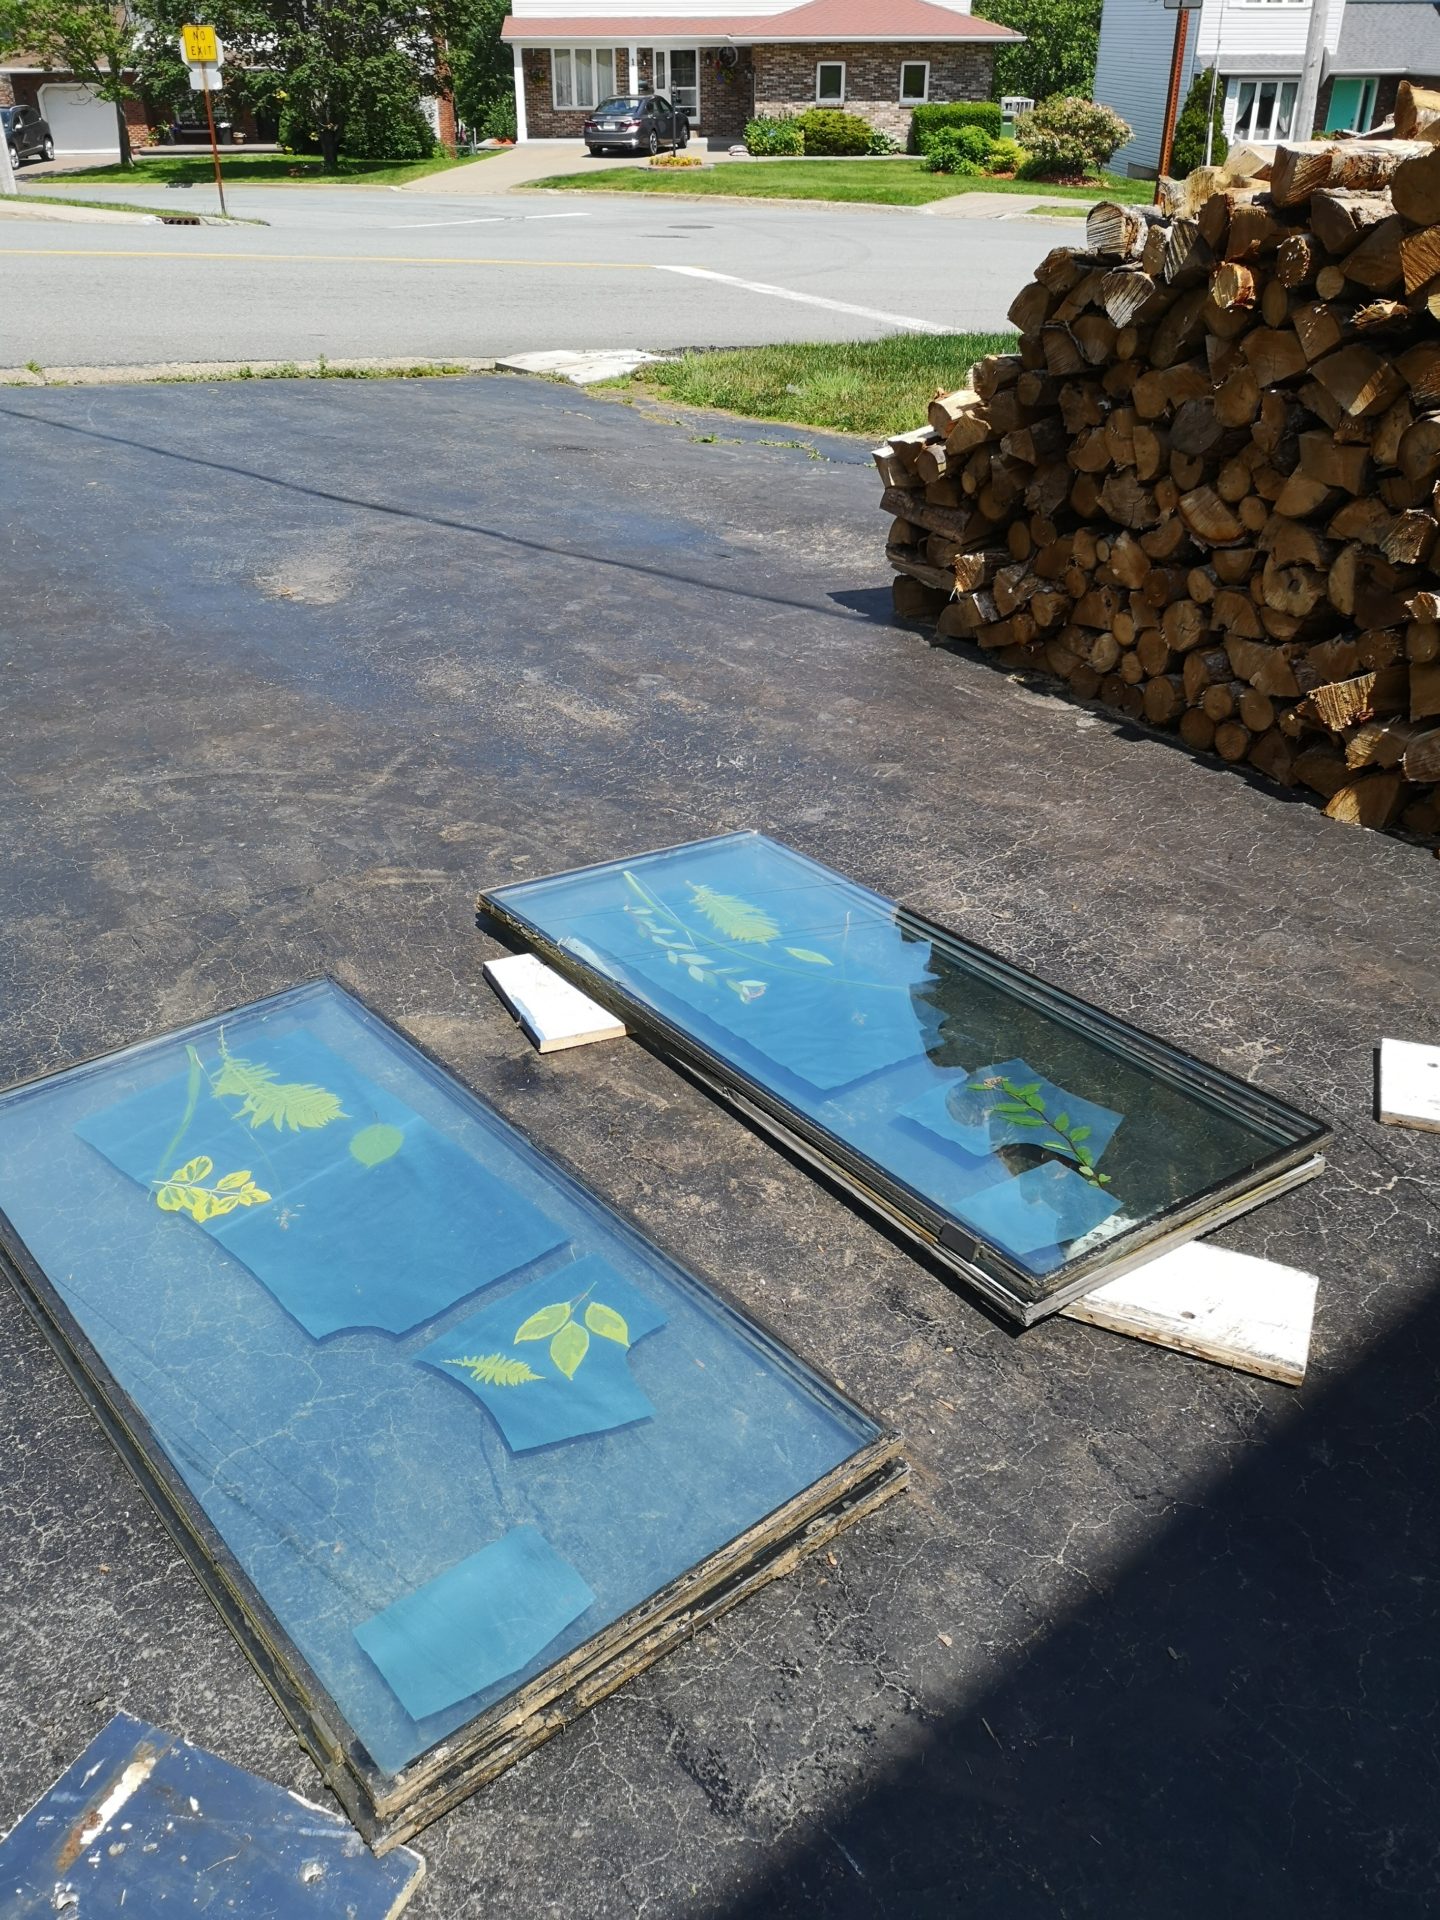
To make sure the things I was printing with (in this case, plants I collected from my yard) lay flat and stayed in place, I had to figure out a way to have them pressed down during the process. I didn’t want to buy something that I would only use for this one project, so I put out a call on Facebook. My friend Karen came through with some old double-paned window panes she had laying around in her backyard, so I went over and borrowed four of them. They were very dirty and very heavy, but they were good enough for what I wanted to do! I initially was going to try to have another lighter material as the bottom surface for the fabric, but the weight of the windows meant that anything else on the bottom would have to be cut to size or not be able to support the weight. So I just used window sandwiches. Which was veeerrryy heavy. And you have to place the items on the fabric while it’s still in the dark so that the printing doesn’t start before you want it to. So I did some testers first to see how it was all going to work and how long I wanted to leave the fabric in the sun, since it gets darker the longer you leave it out. I tested 2 minutes, 5 minutes, and 10 minutes, and I liked the 5 minute range the best so that’s what I went with for my garment. The first photo of the samples below is while the fabric was wet, and the second one is after it was more dry (but not completely).

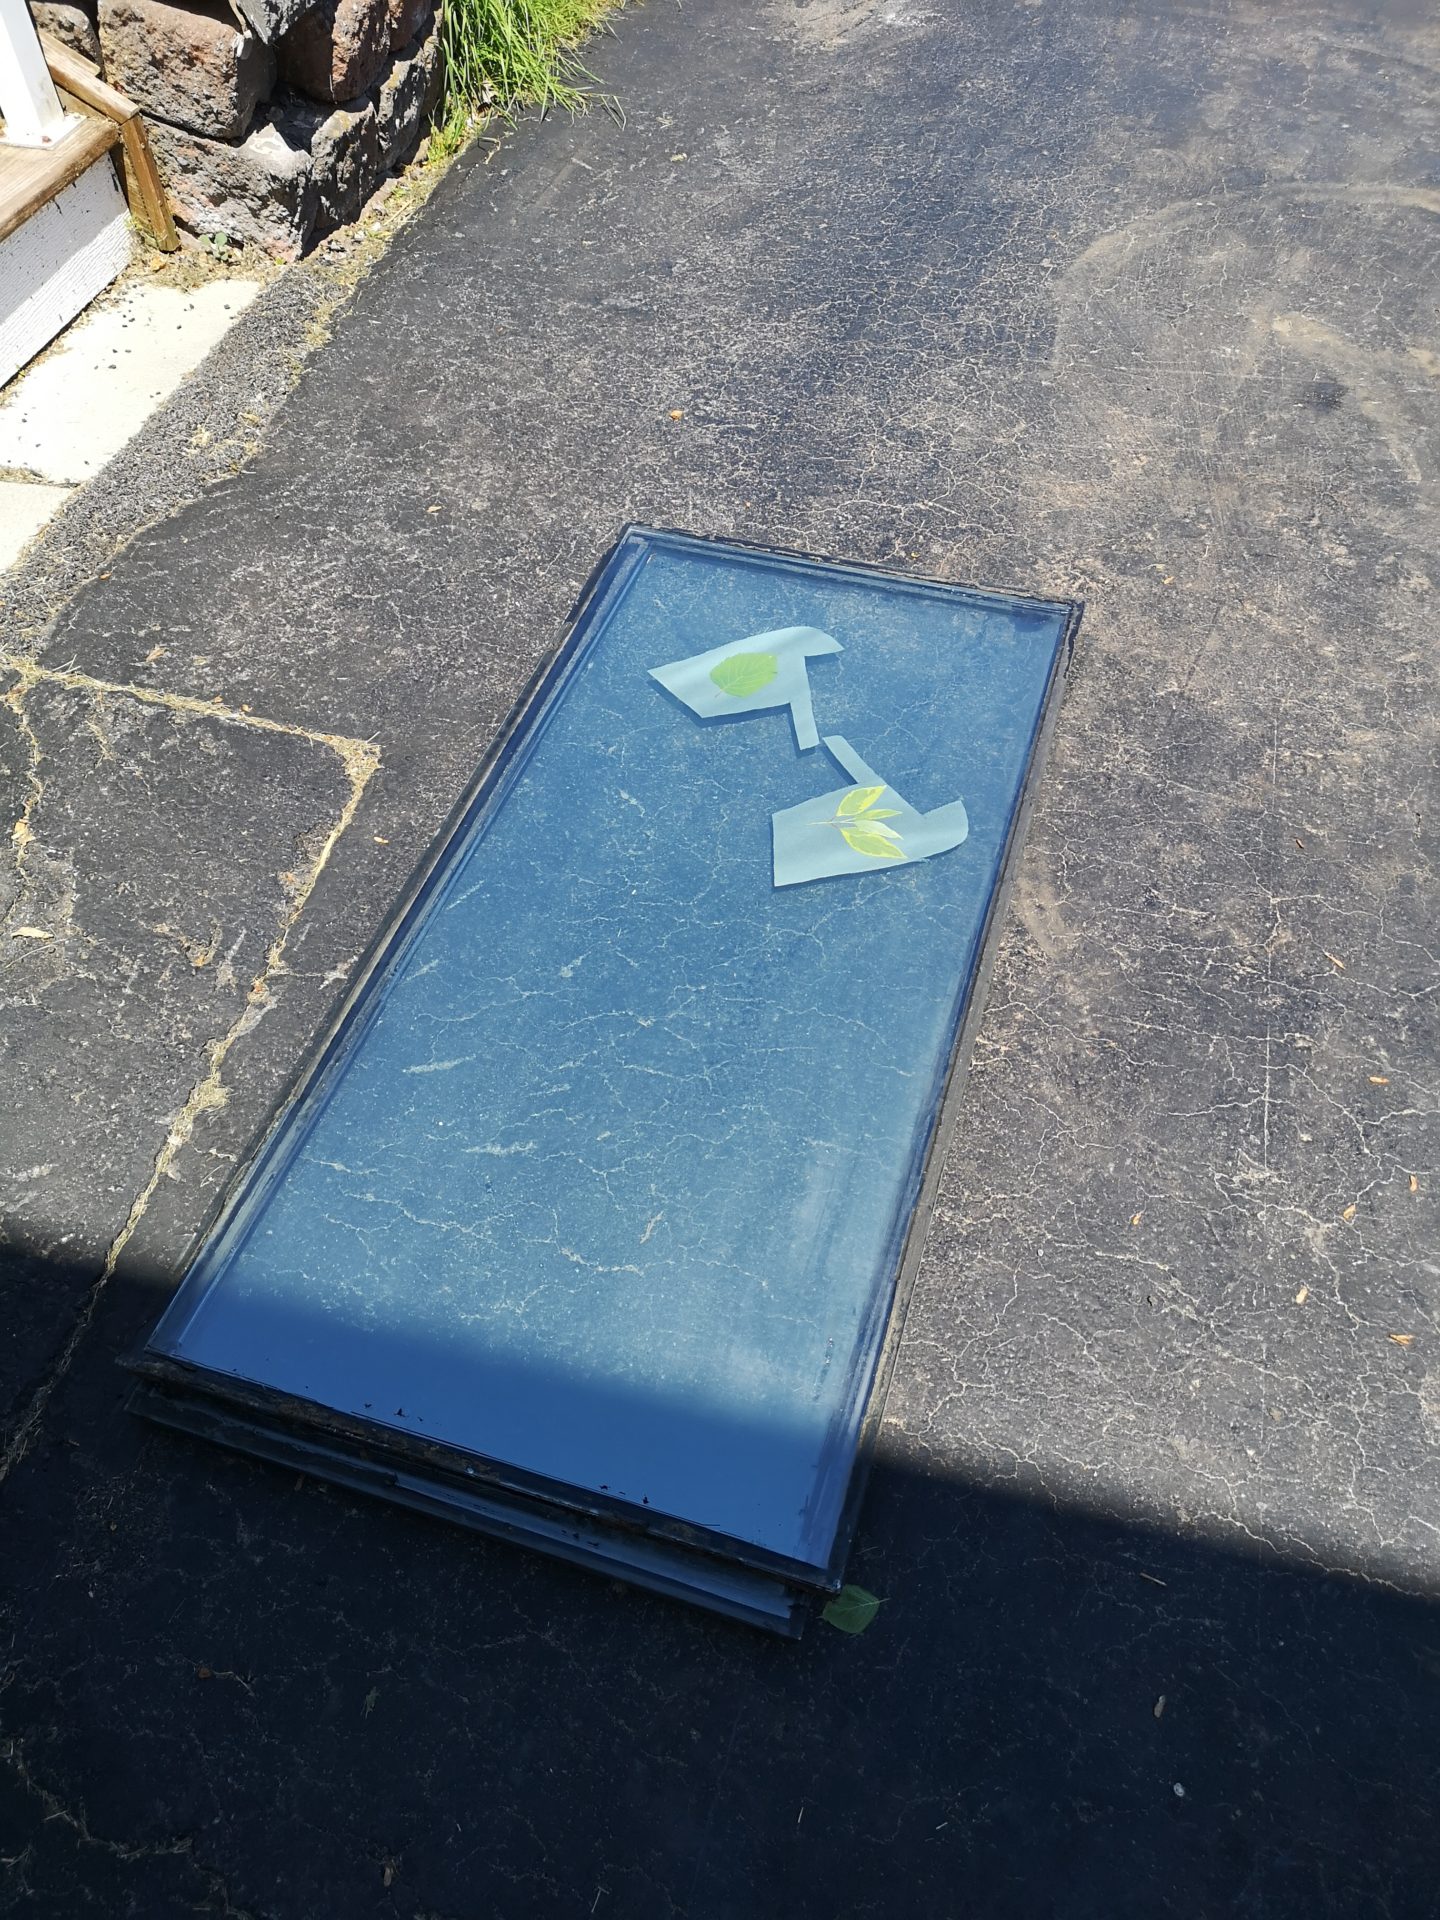
The only wrench in this plan was the piece for the back of the anorak. It’s pretty much the only big one that’s also cut on the fold, and it didn’t fit on the width of windows that I had. And the windows have a black rubber edge on them, so if I layed another one on top it would make a big square imprint on the edges of the piece. So I used a clear garbage bag, lay it over top, taped it as tight as possible, and then sat out in the blazing hot sun with it for the full five minutes to make sure the plants didn’t move and the plastic didn’t blow up. I was SWEATY.
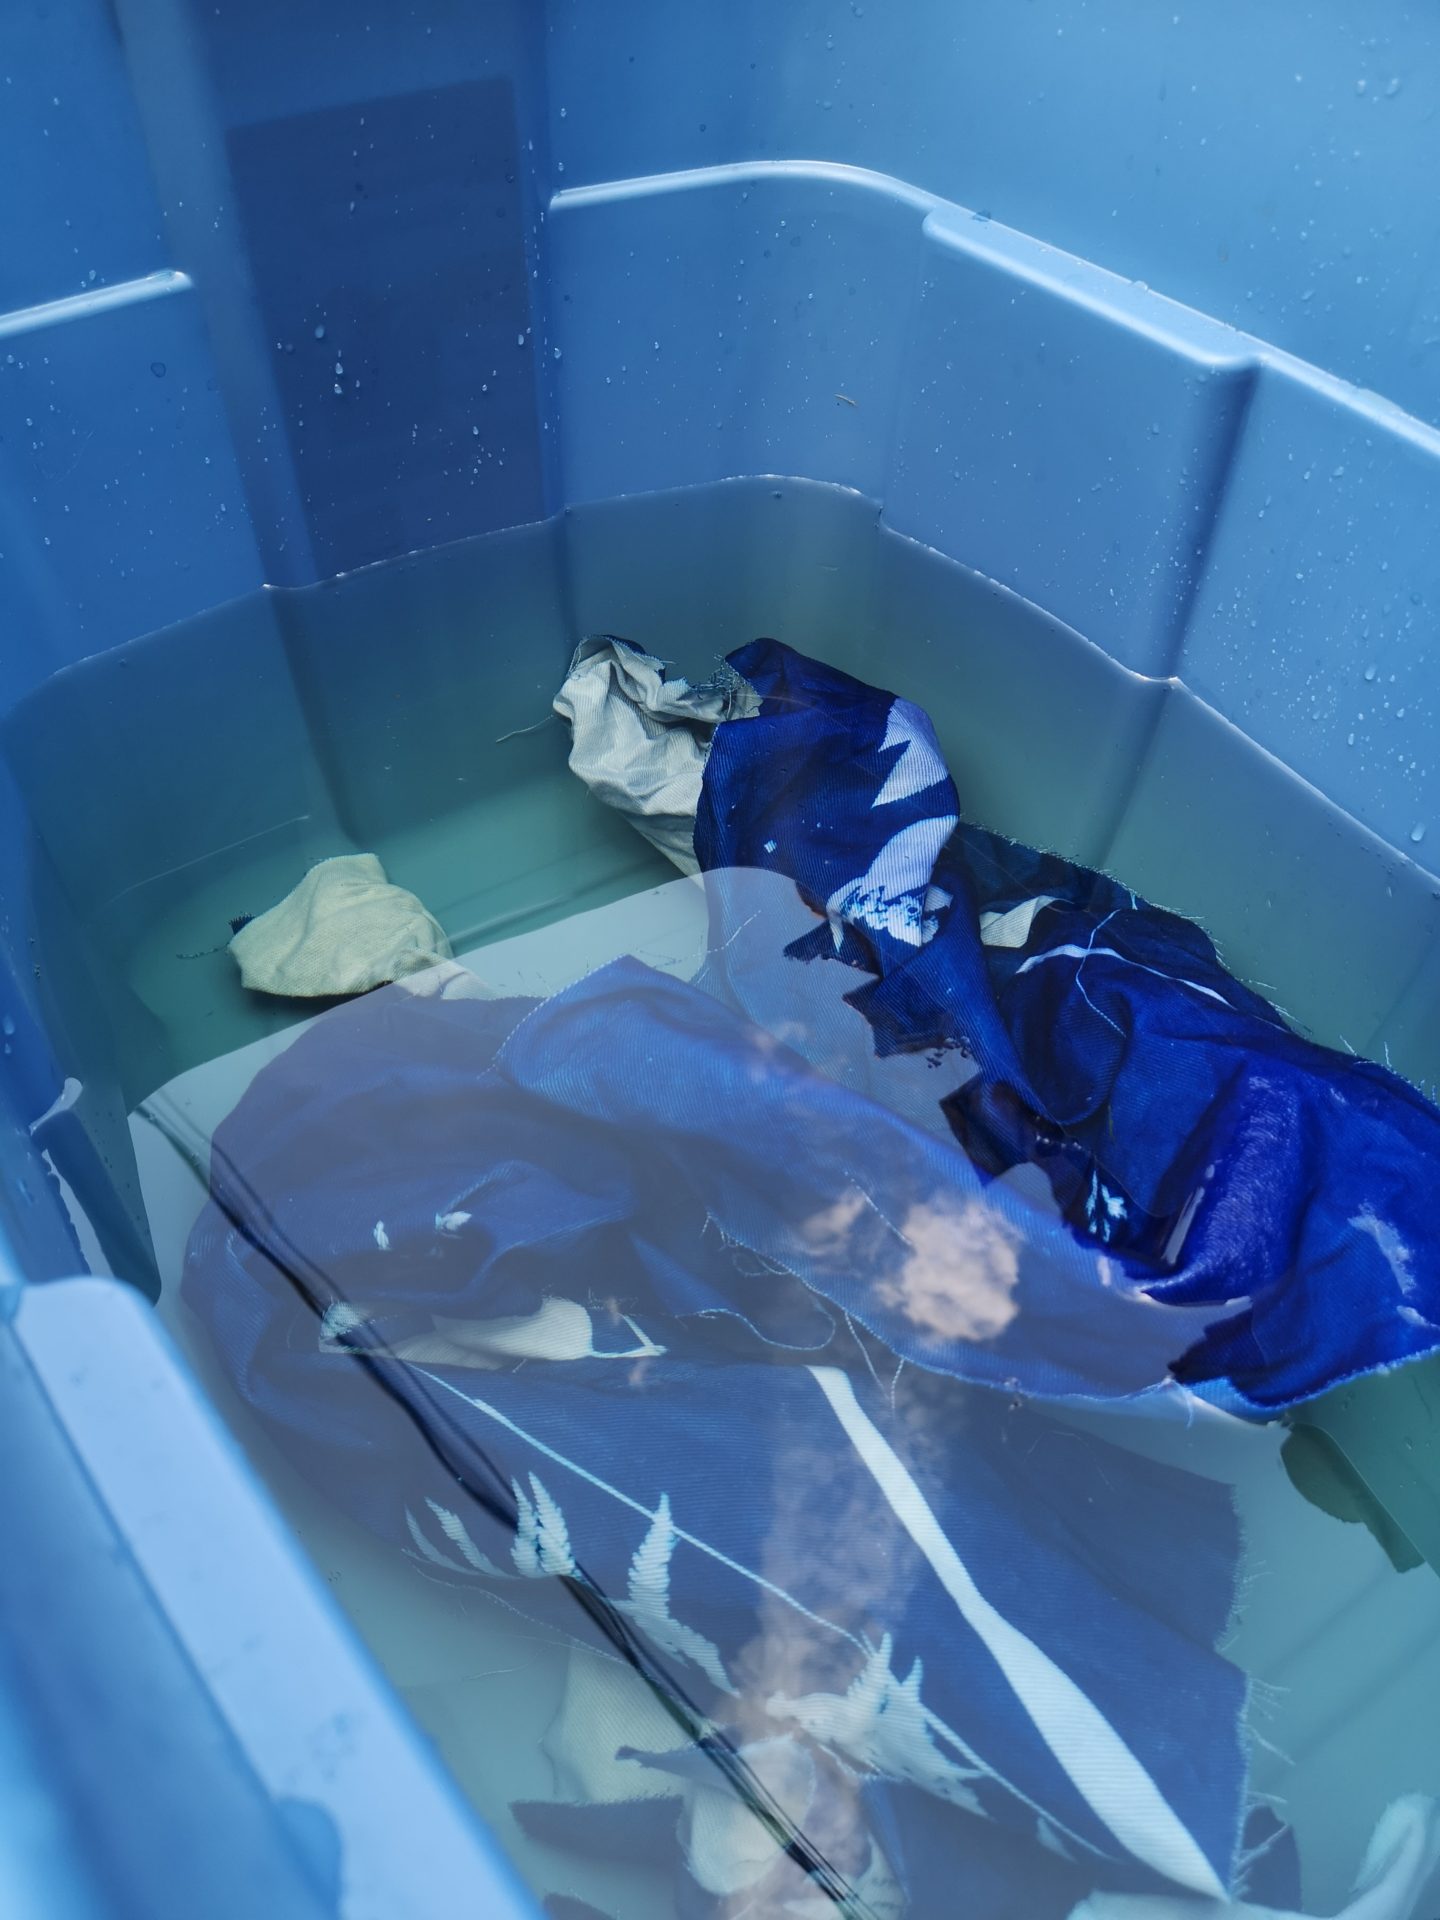
You may notice in the photos of the sample process above that the colour changed from the initial print to where they were laying on the driveway. You may also be wondering why they were wet. That’s because you need to rinse out the undeveloped yellow cyanotype solution from the fabric after you print it. I had big buckets of water for this and I changed the water after each window-full of prints, since I found it got yellow really quickly and didn’t rinse properly after that. I let the pieces bathe in that water for 5 minutes before switching them to the next one, which had water mixed with hydrogen peroxide to expedite the process and enhance the colour. I noticed during the sample process that as they dried, some of them got a bit brown on the edges, so I popped them back in the rinse and let them soak for longer, and when they dried the second time they stayed white. I’m not sure why that happened, but I made sure to leave my garment pieces in for a good long time because of it.

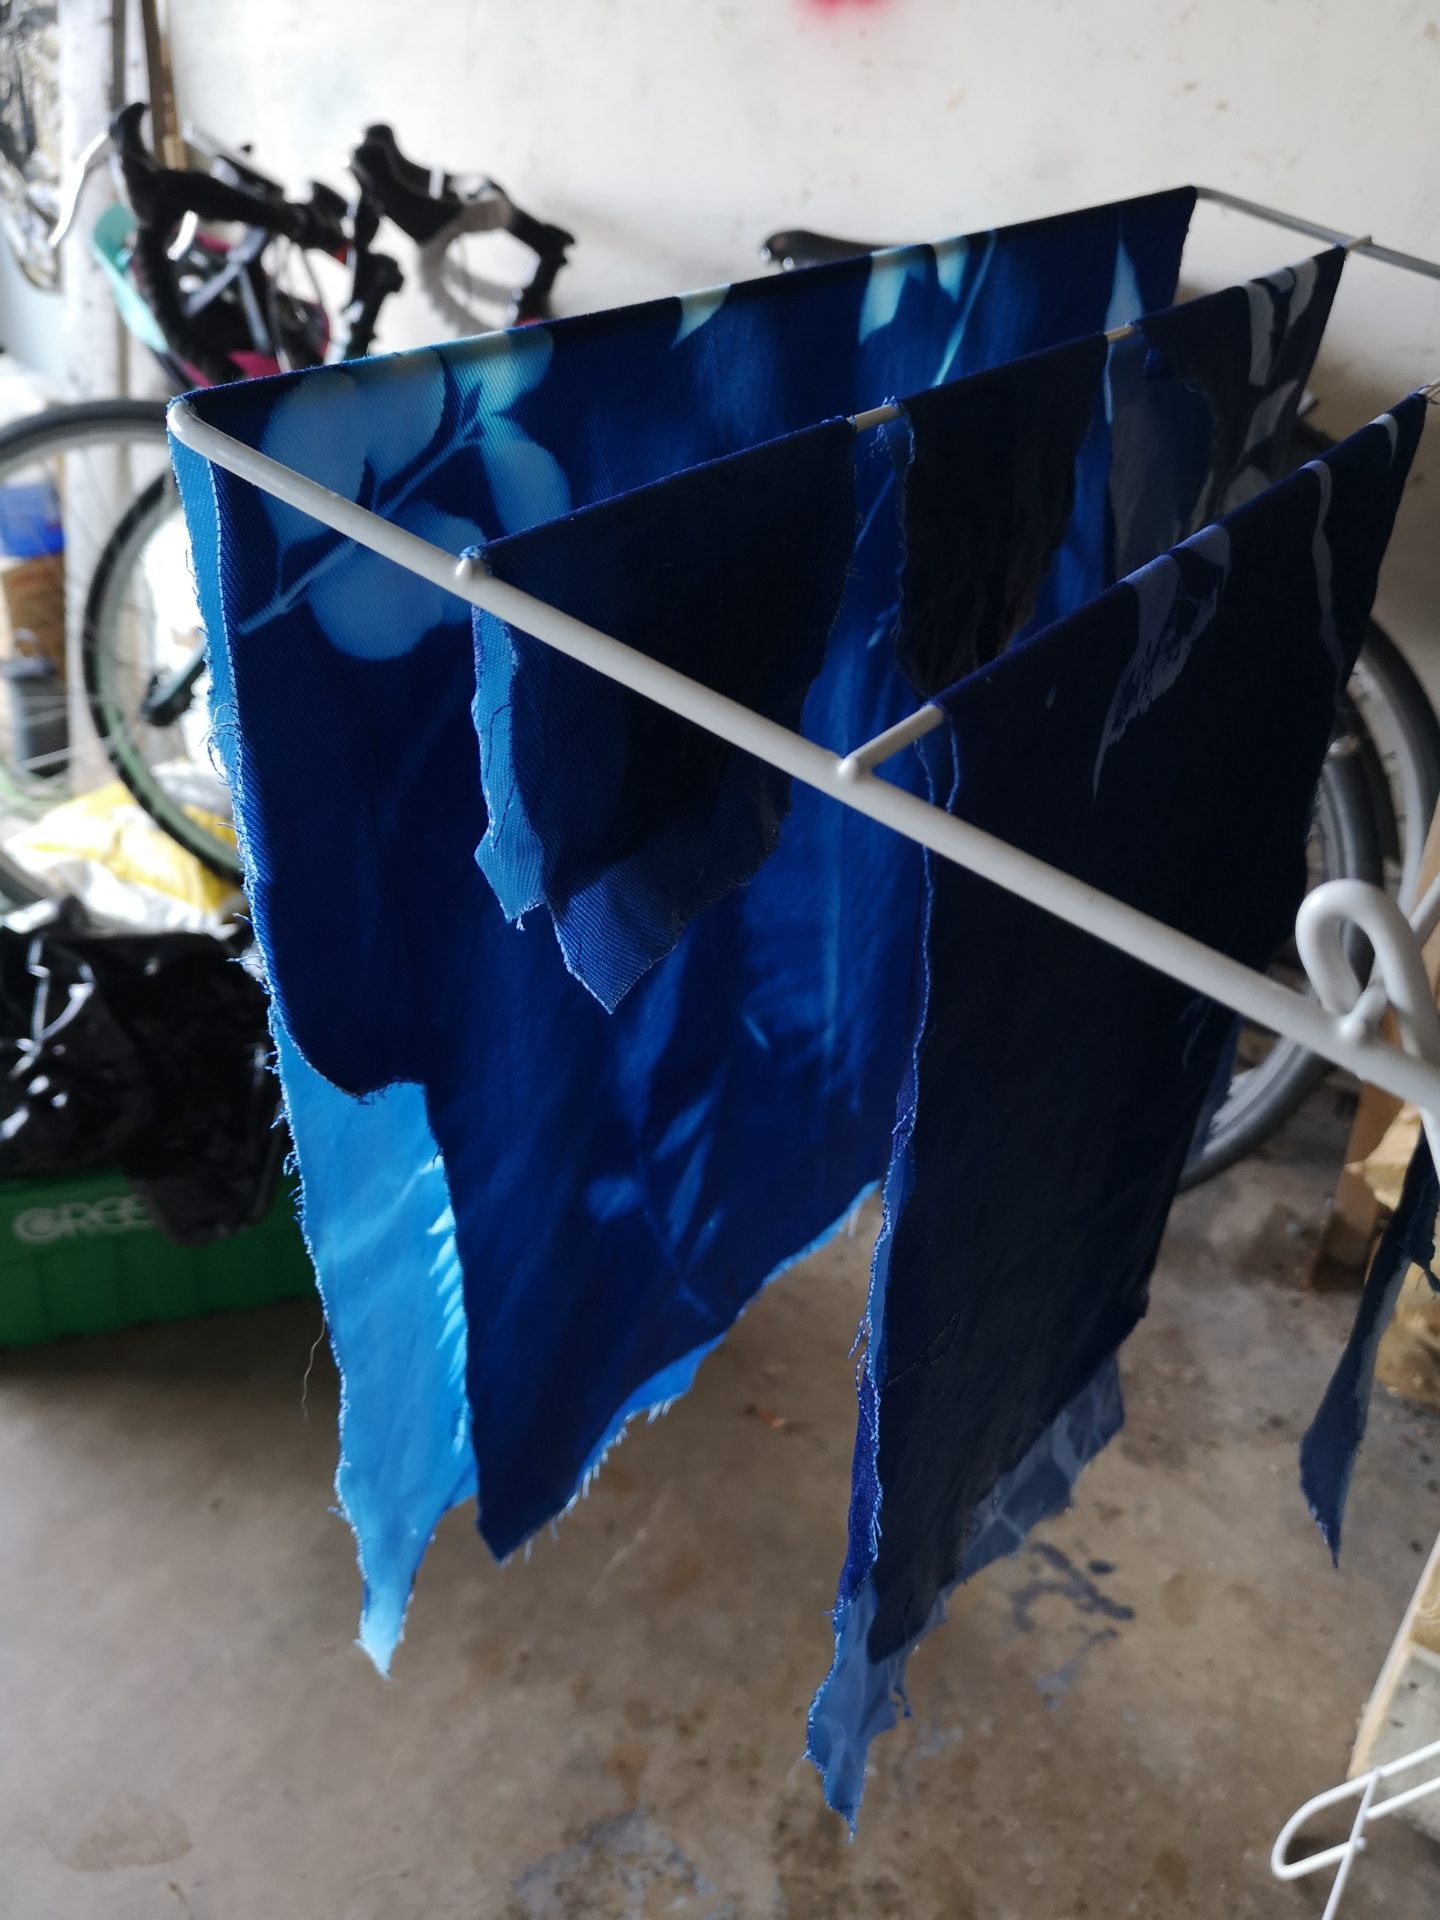
Because I’d cut the pieces out ahead of time, I could really plan where I wanted things to go. I made sure to do all the symmetrical pieces at the same time, since there can be variation in how the colour develops based on whether a cloud goes overhead, or if you don’t pull them out of the sun at exactly the same time. While I’m happy to have individual variation in the garment overall, I wanted to try to match things like the sides of the front and the two sleeves, etc. as much as possible. After rinsing, I hung all of the pieces on a drying rack in my garage with the dehumidifer to dry for the rest of the day. The whole process of cyanotype printing all the pieces once I’d started probably took 4-5 hours – I was very sweaty and tired by the end because the pairs of windows were REALLY heavy, even when dragged on the ground, and it required a lot of bending and lifting. My thighs are reaallyyy sore this morning, and I’m weirdly pleased about that because it means I was lifting properly and my back isn’t sore at all. I think if you can swing it, it would be much much easier if you could get two big pieces of plexiglass or lucite to use for this whole sandwiching process, because it would be much much lighter and you could do more pieces at once. I didn’t do that because the ones I saw on home improvement websites were quite pricey and I couldn’t justify it for a one-time project like this.

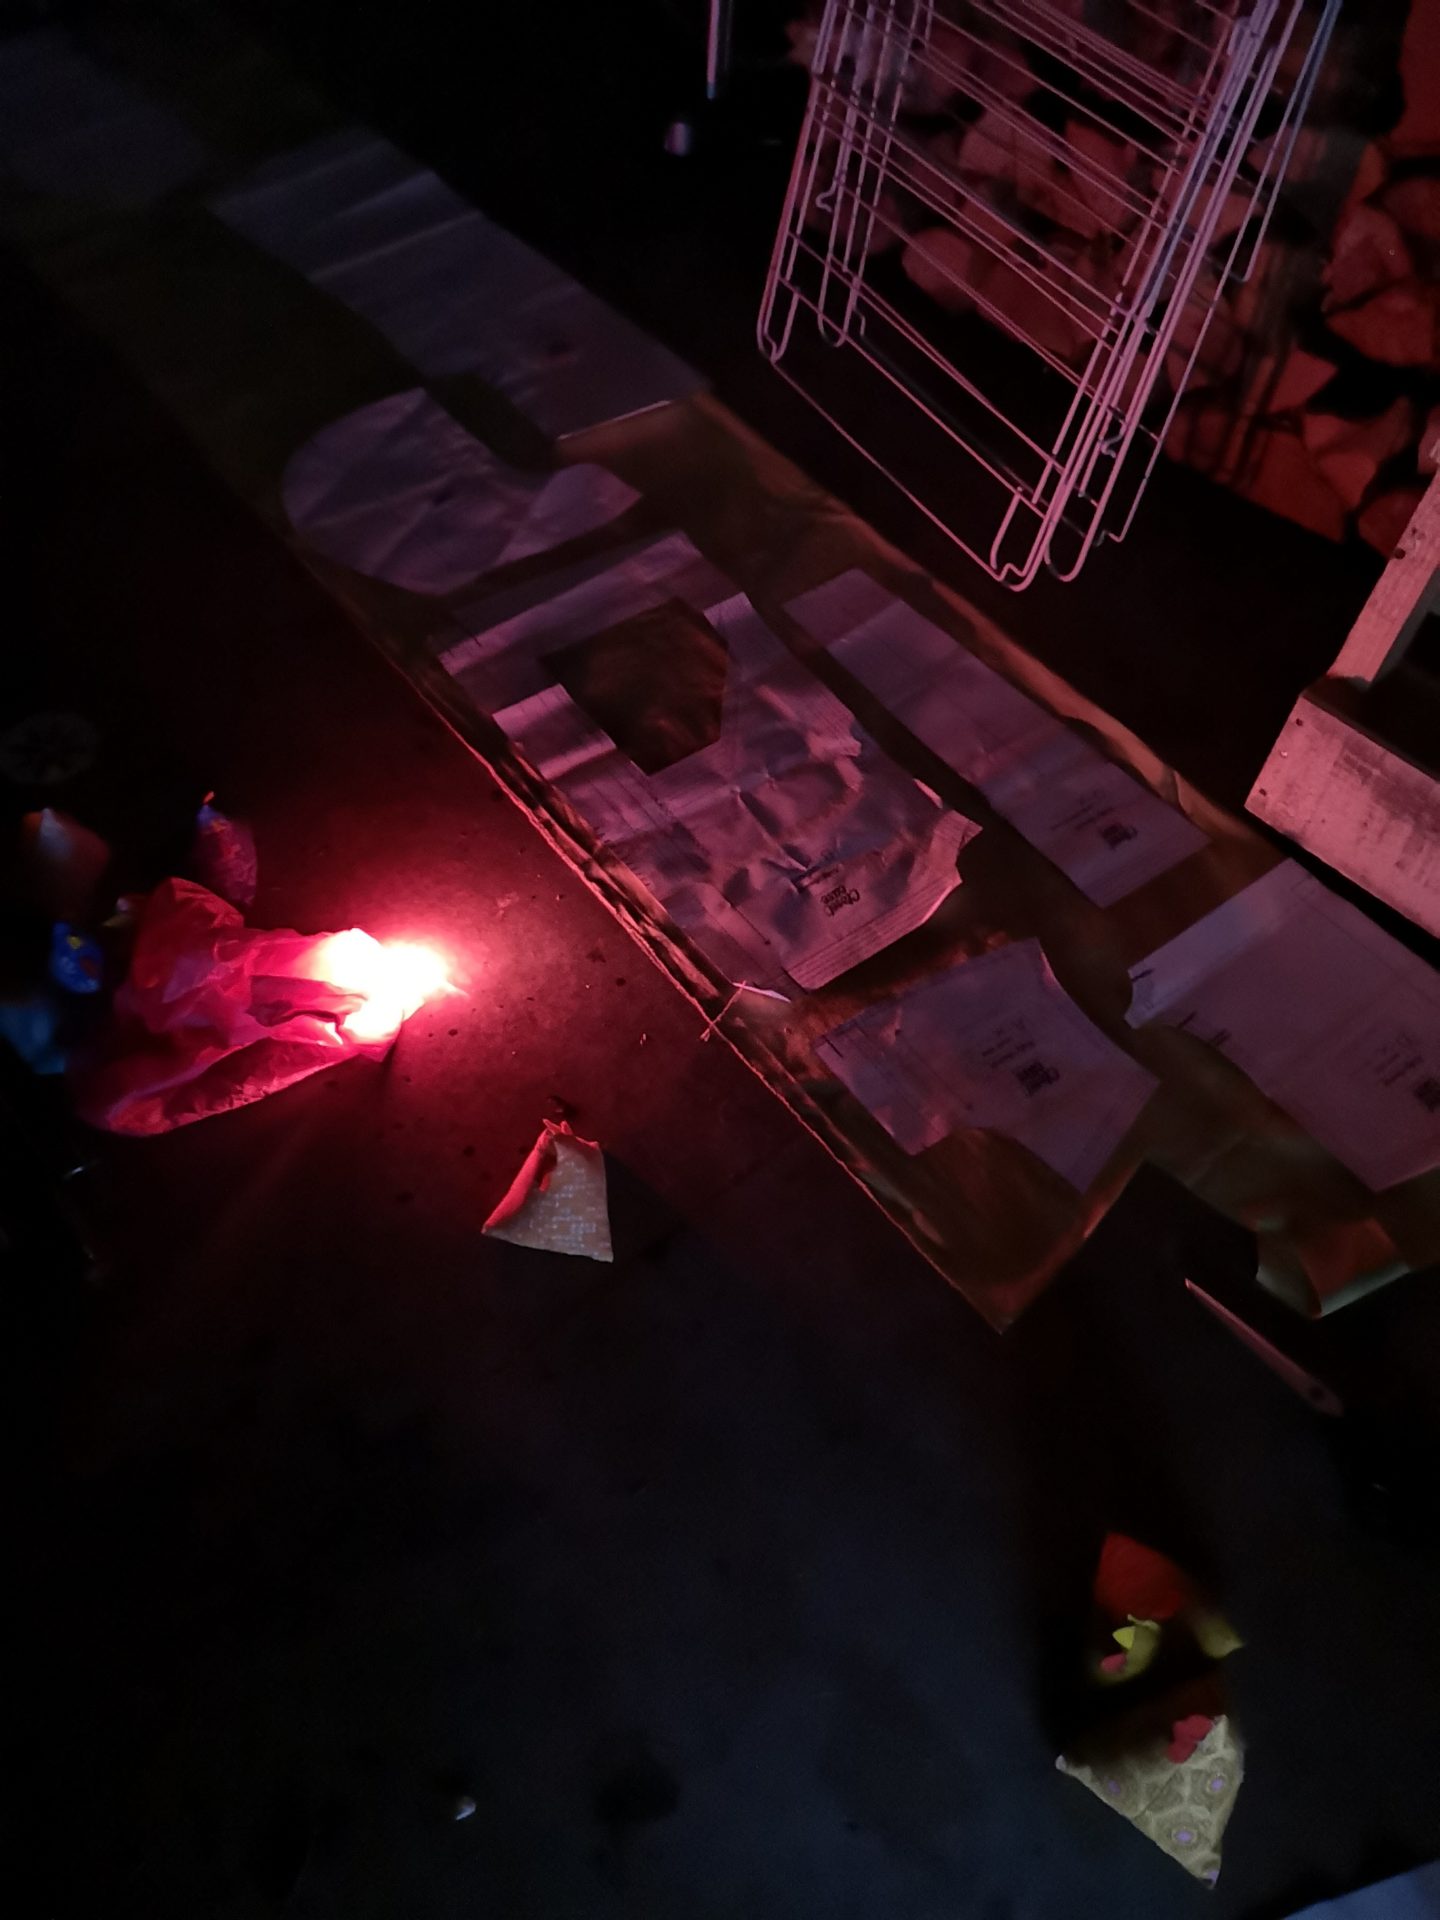
I forgot to mention! Every time I wanted to lay out a new set of pieces, I had to close the garage door to keep the light out. This is an example of me setting out plants in the dark – my phone is pretty good at picking up low light situations, so it’s much darker than it looks in this photo. I was forced to use the pink tissue flashlight again.

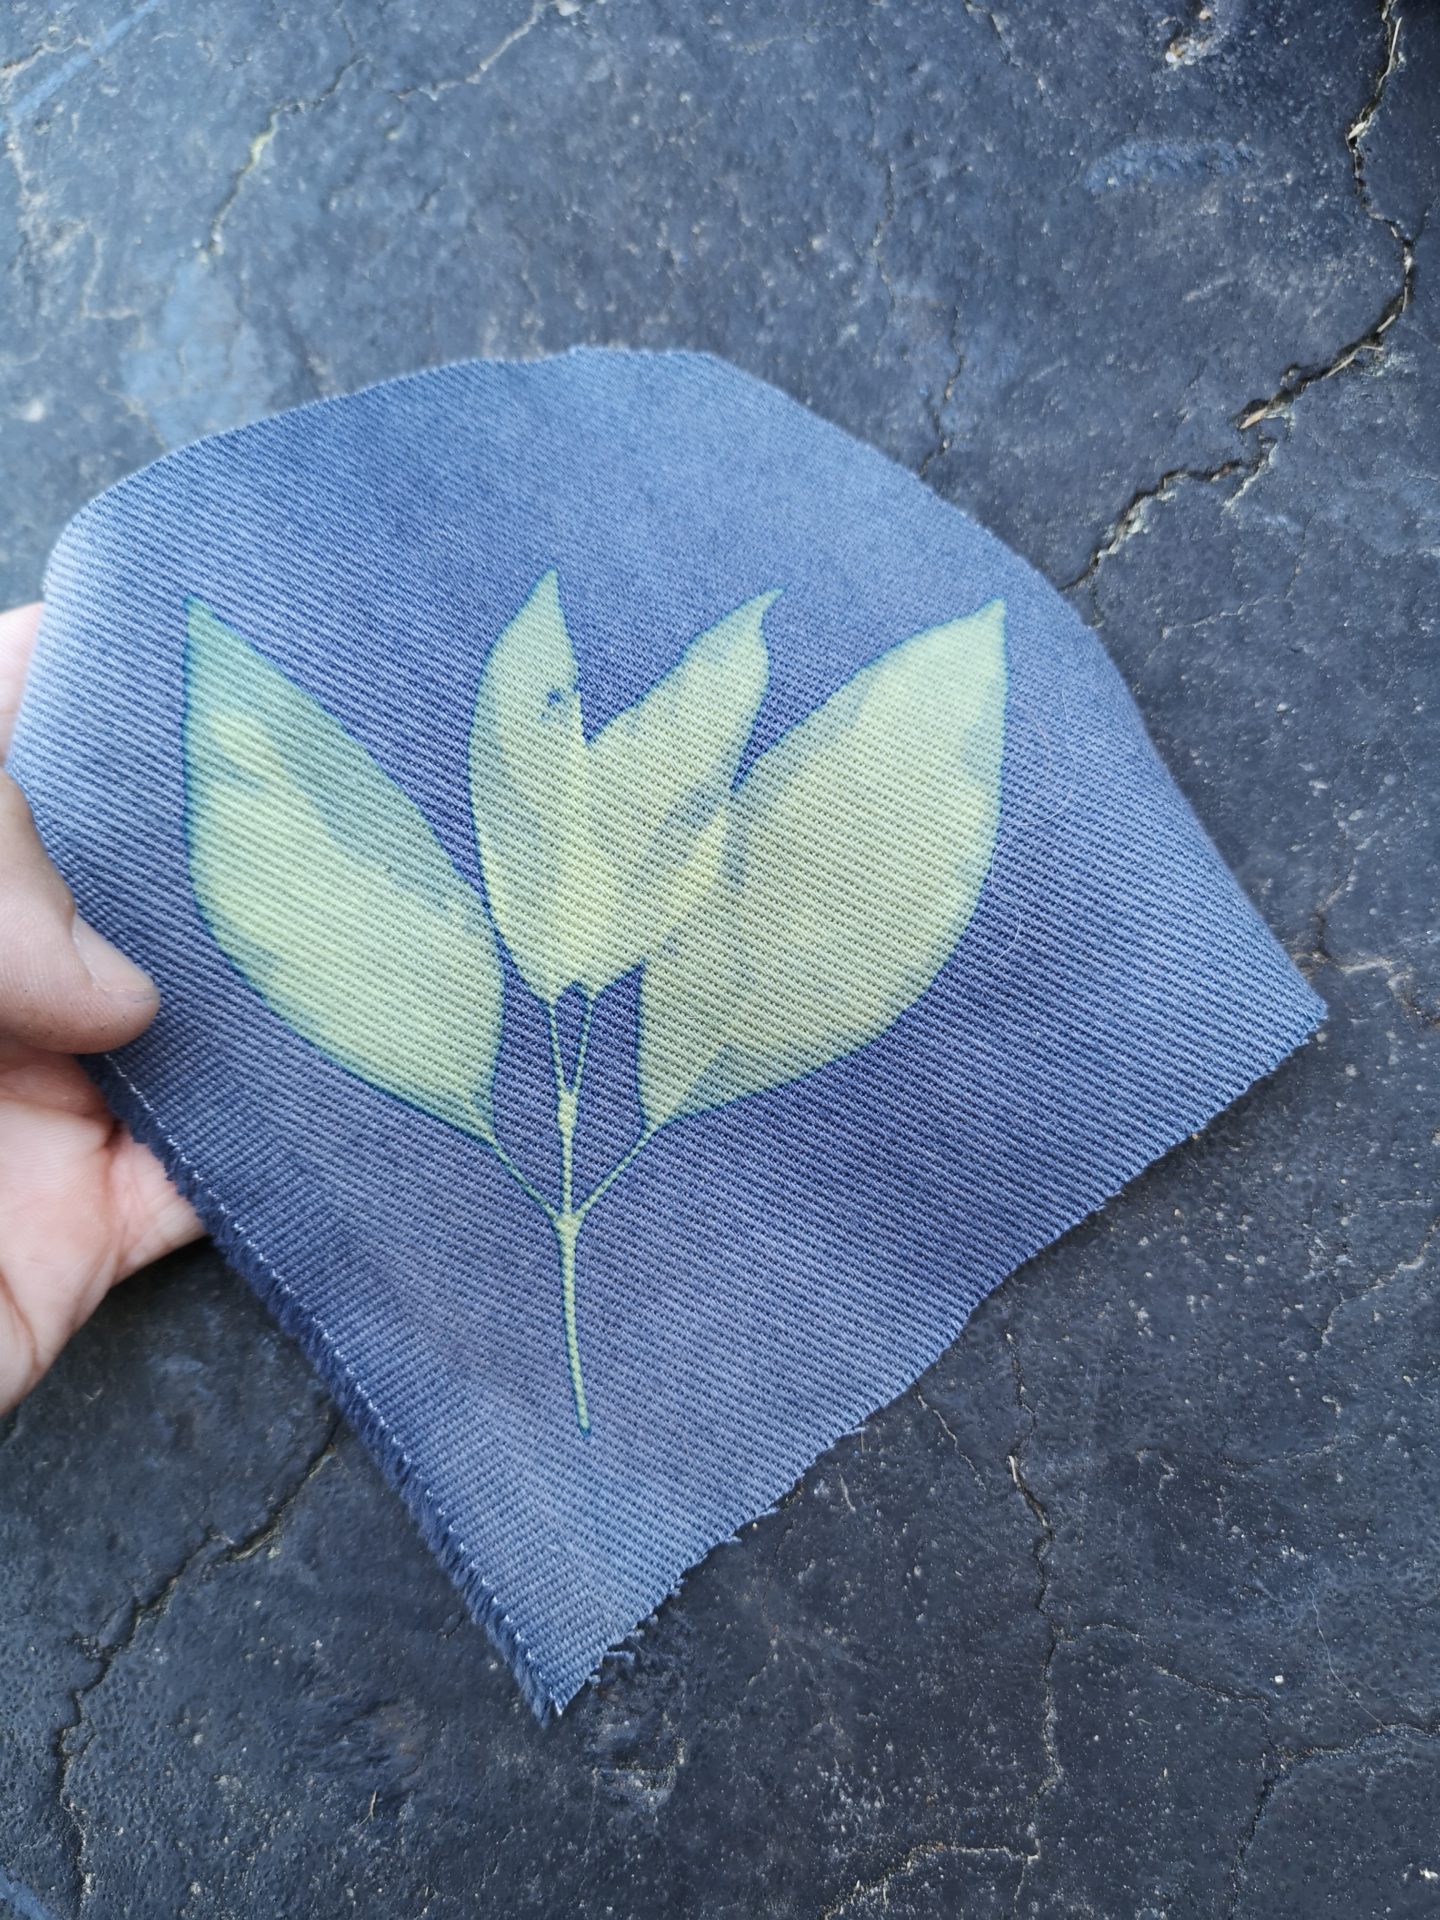
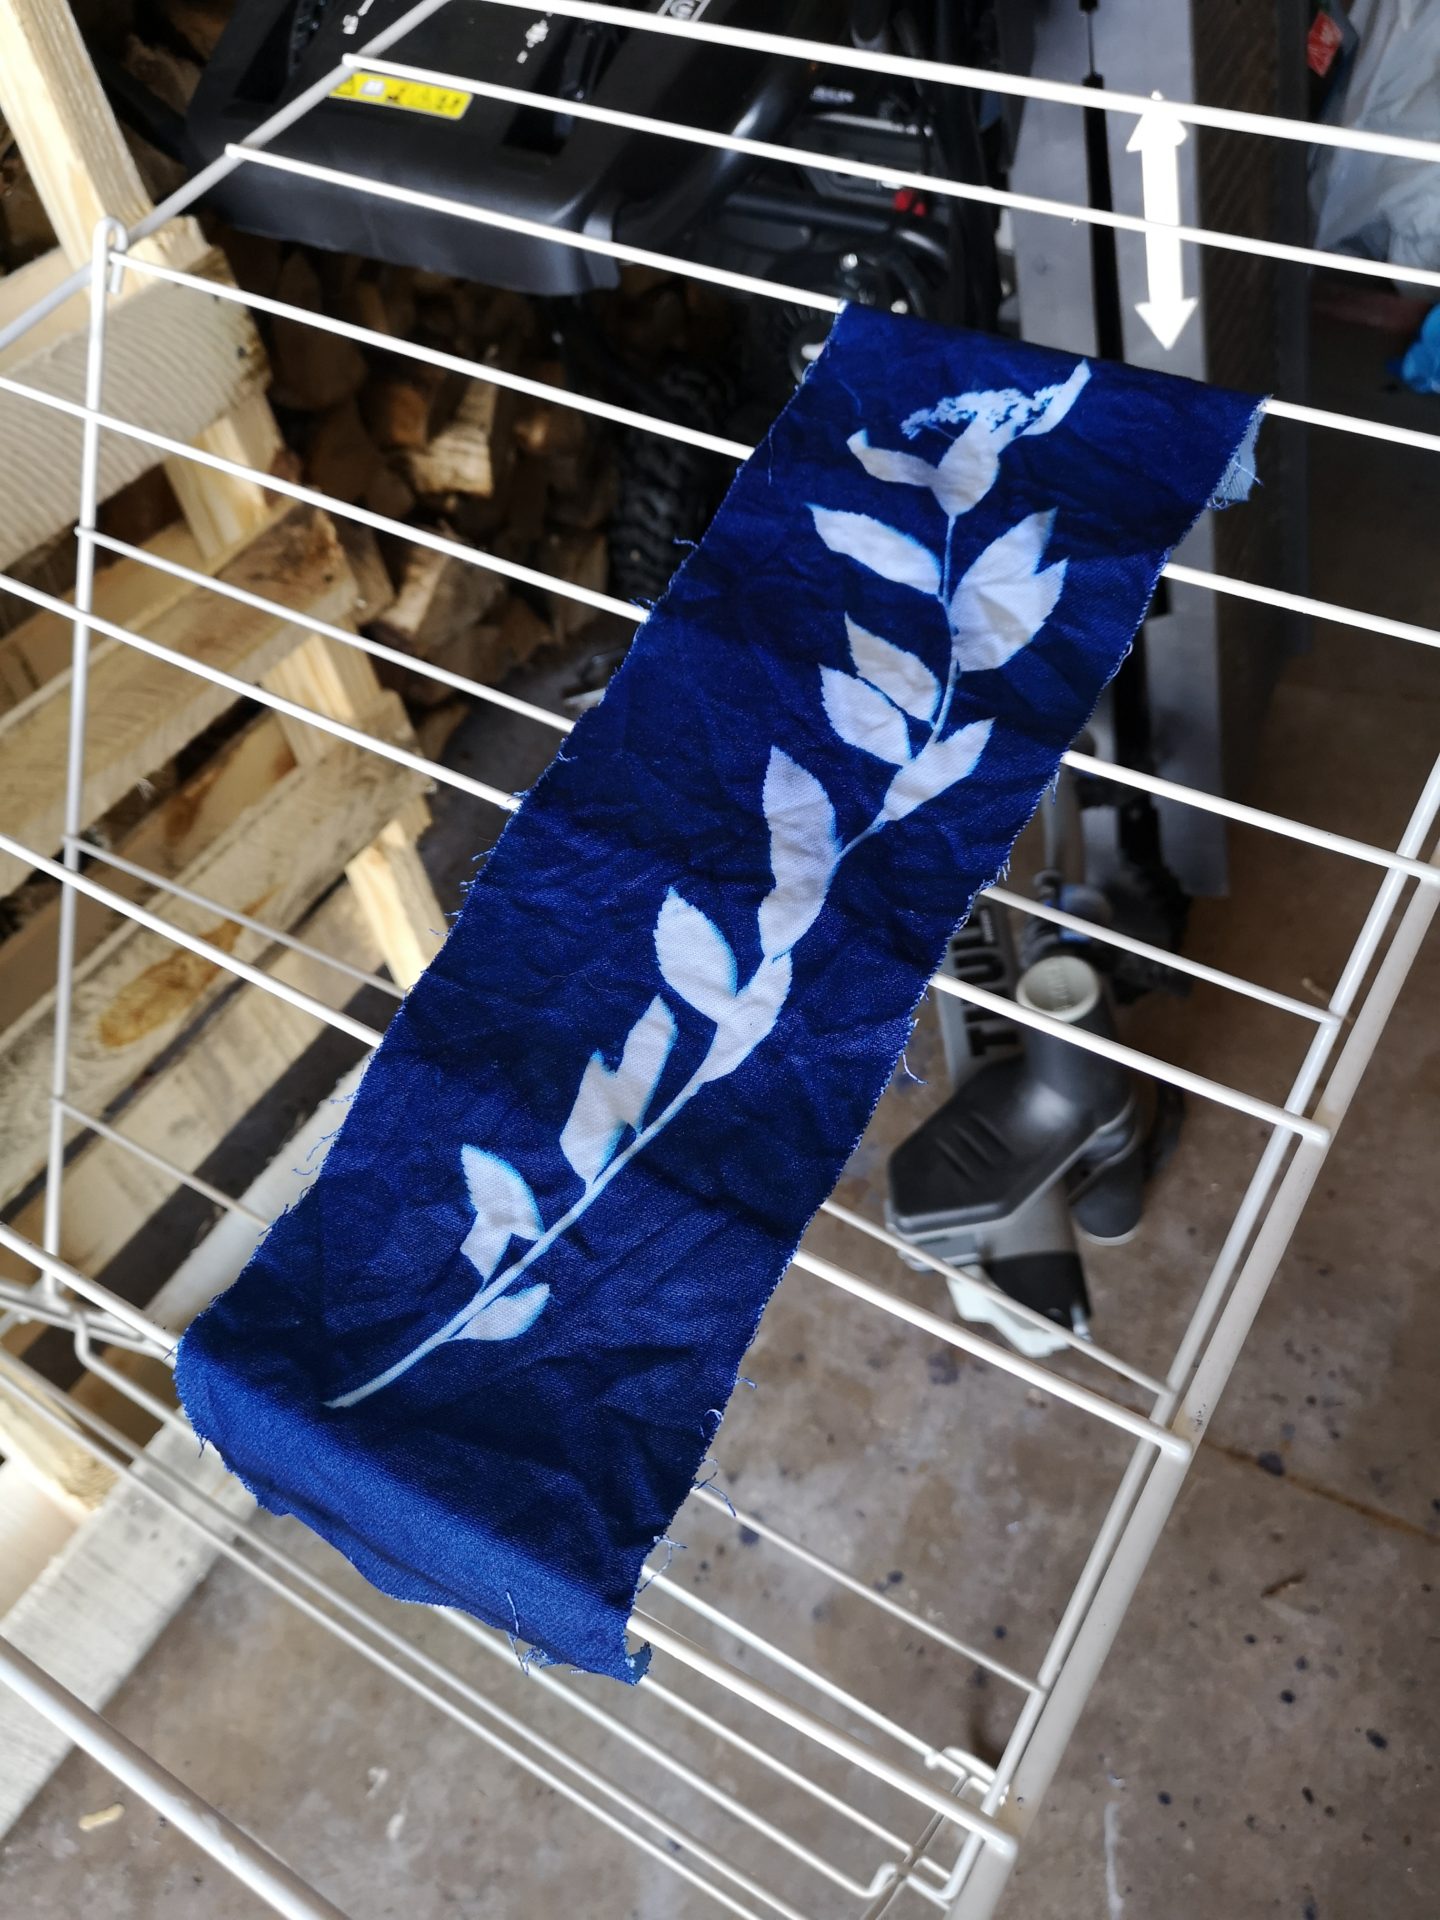
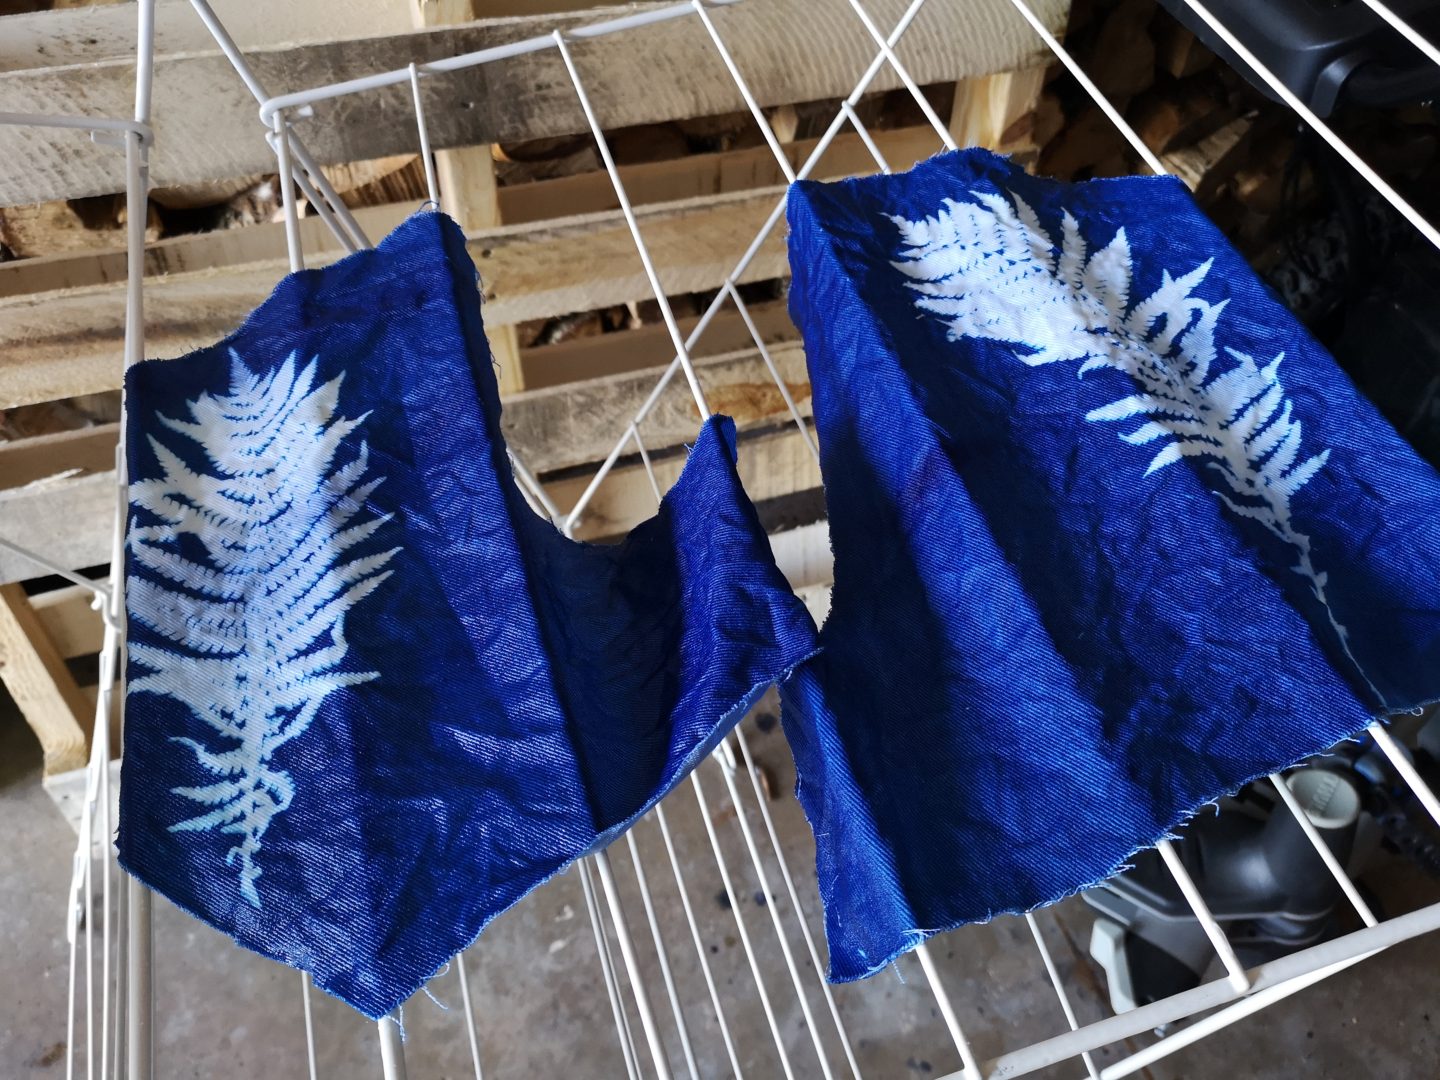
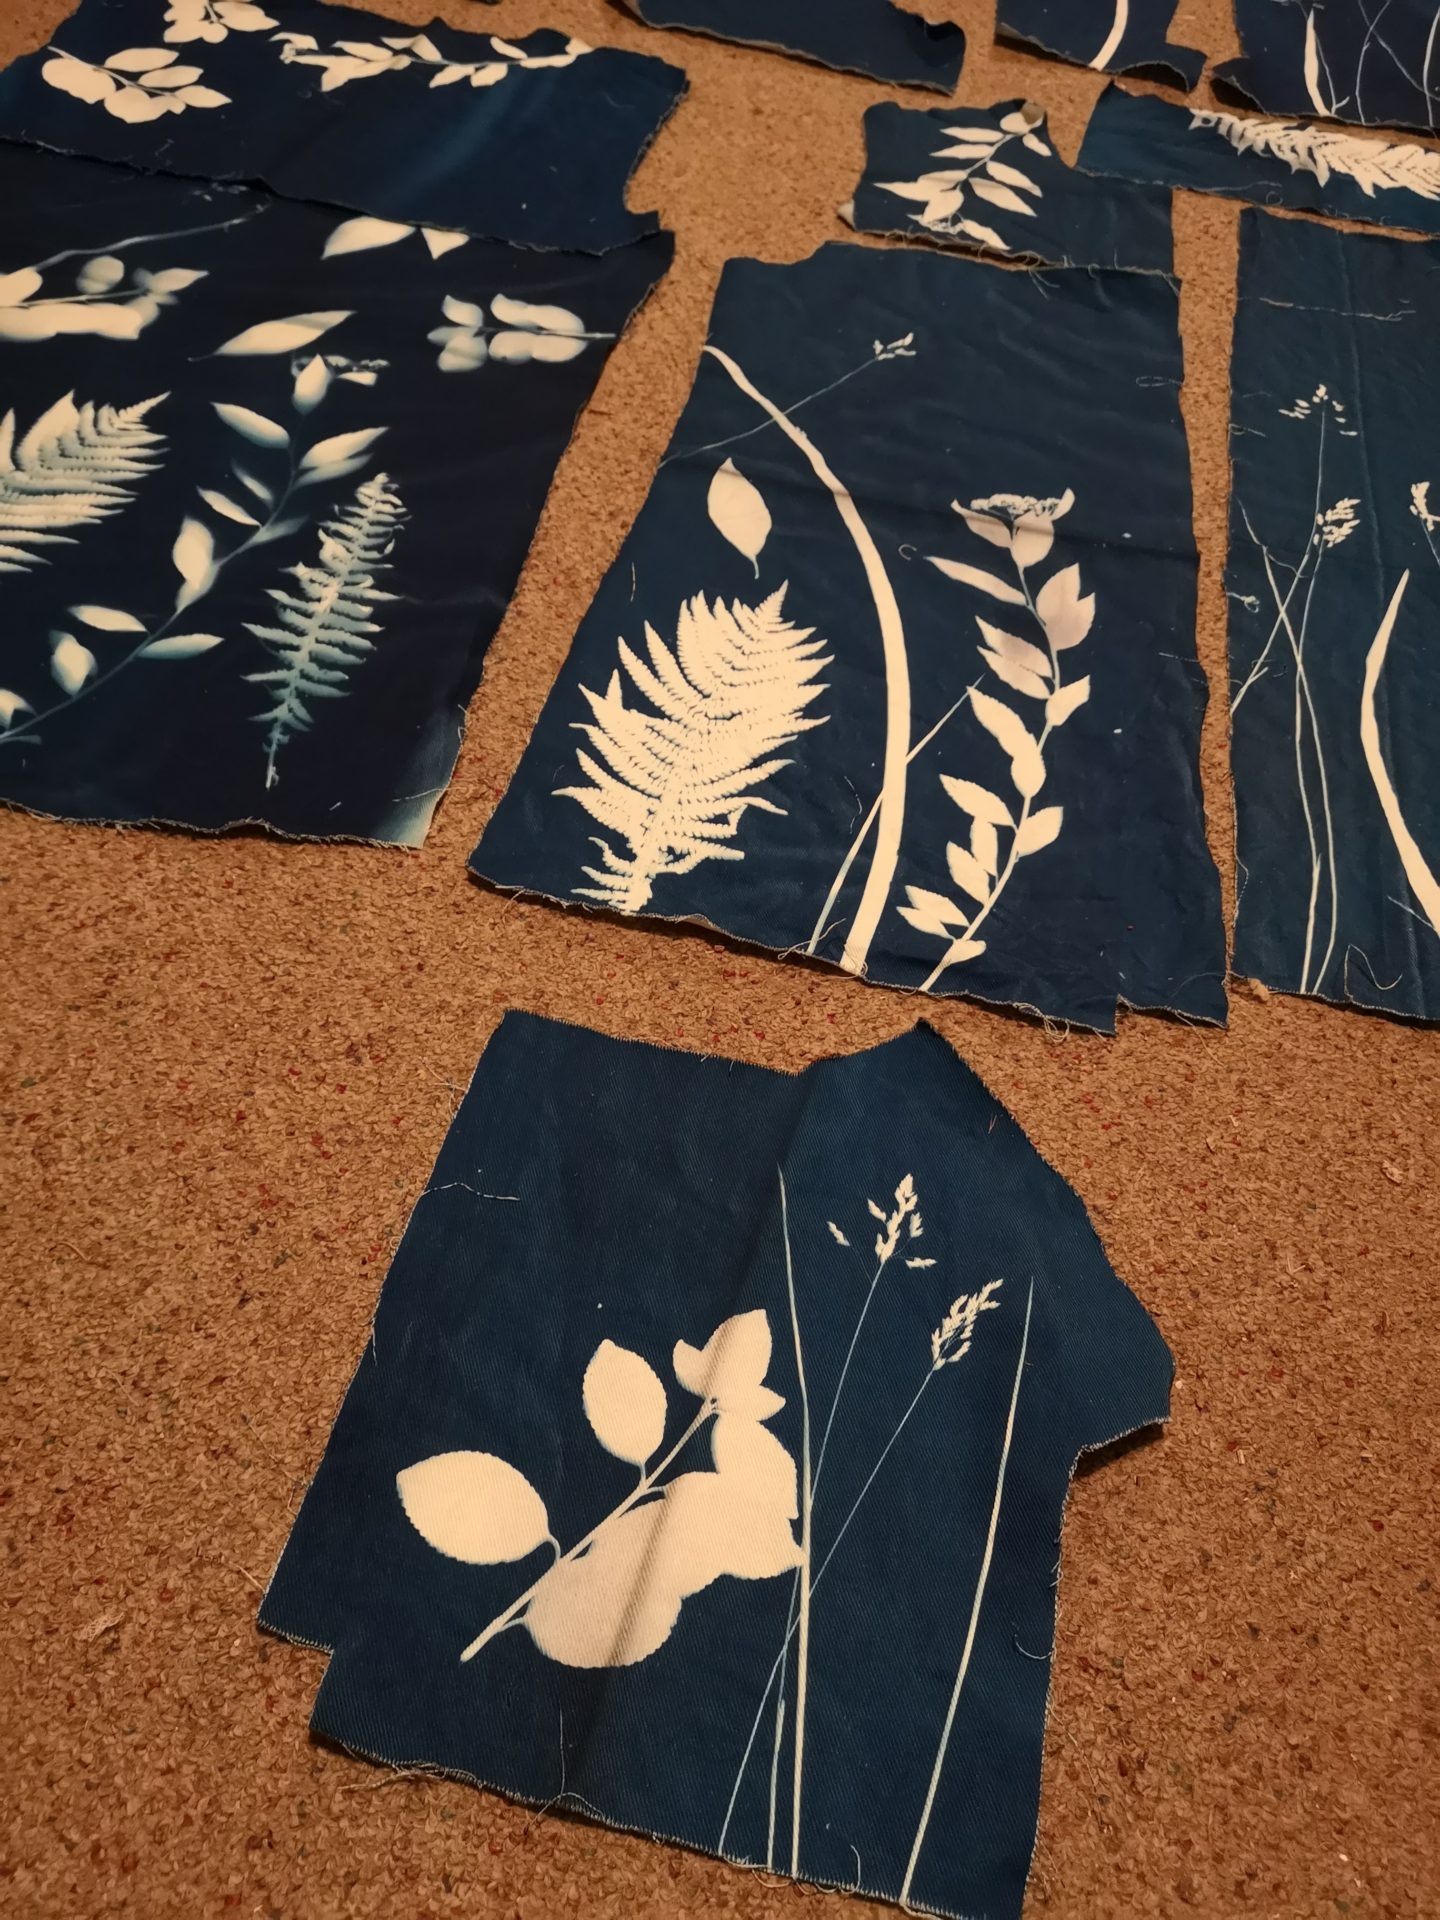
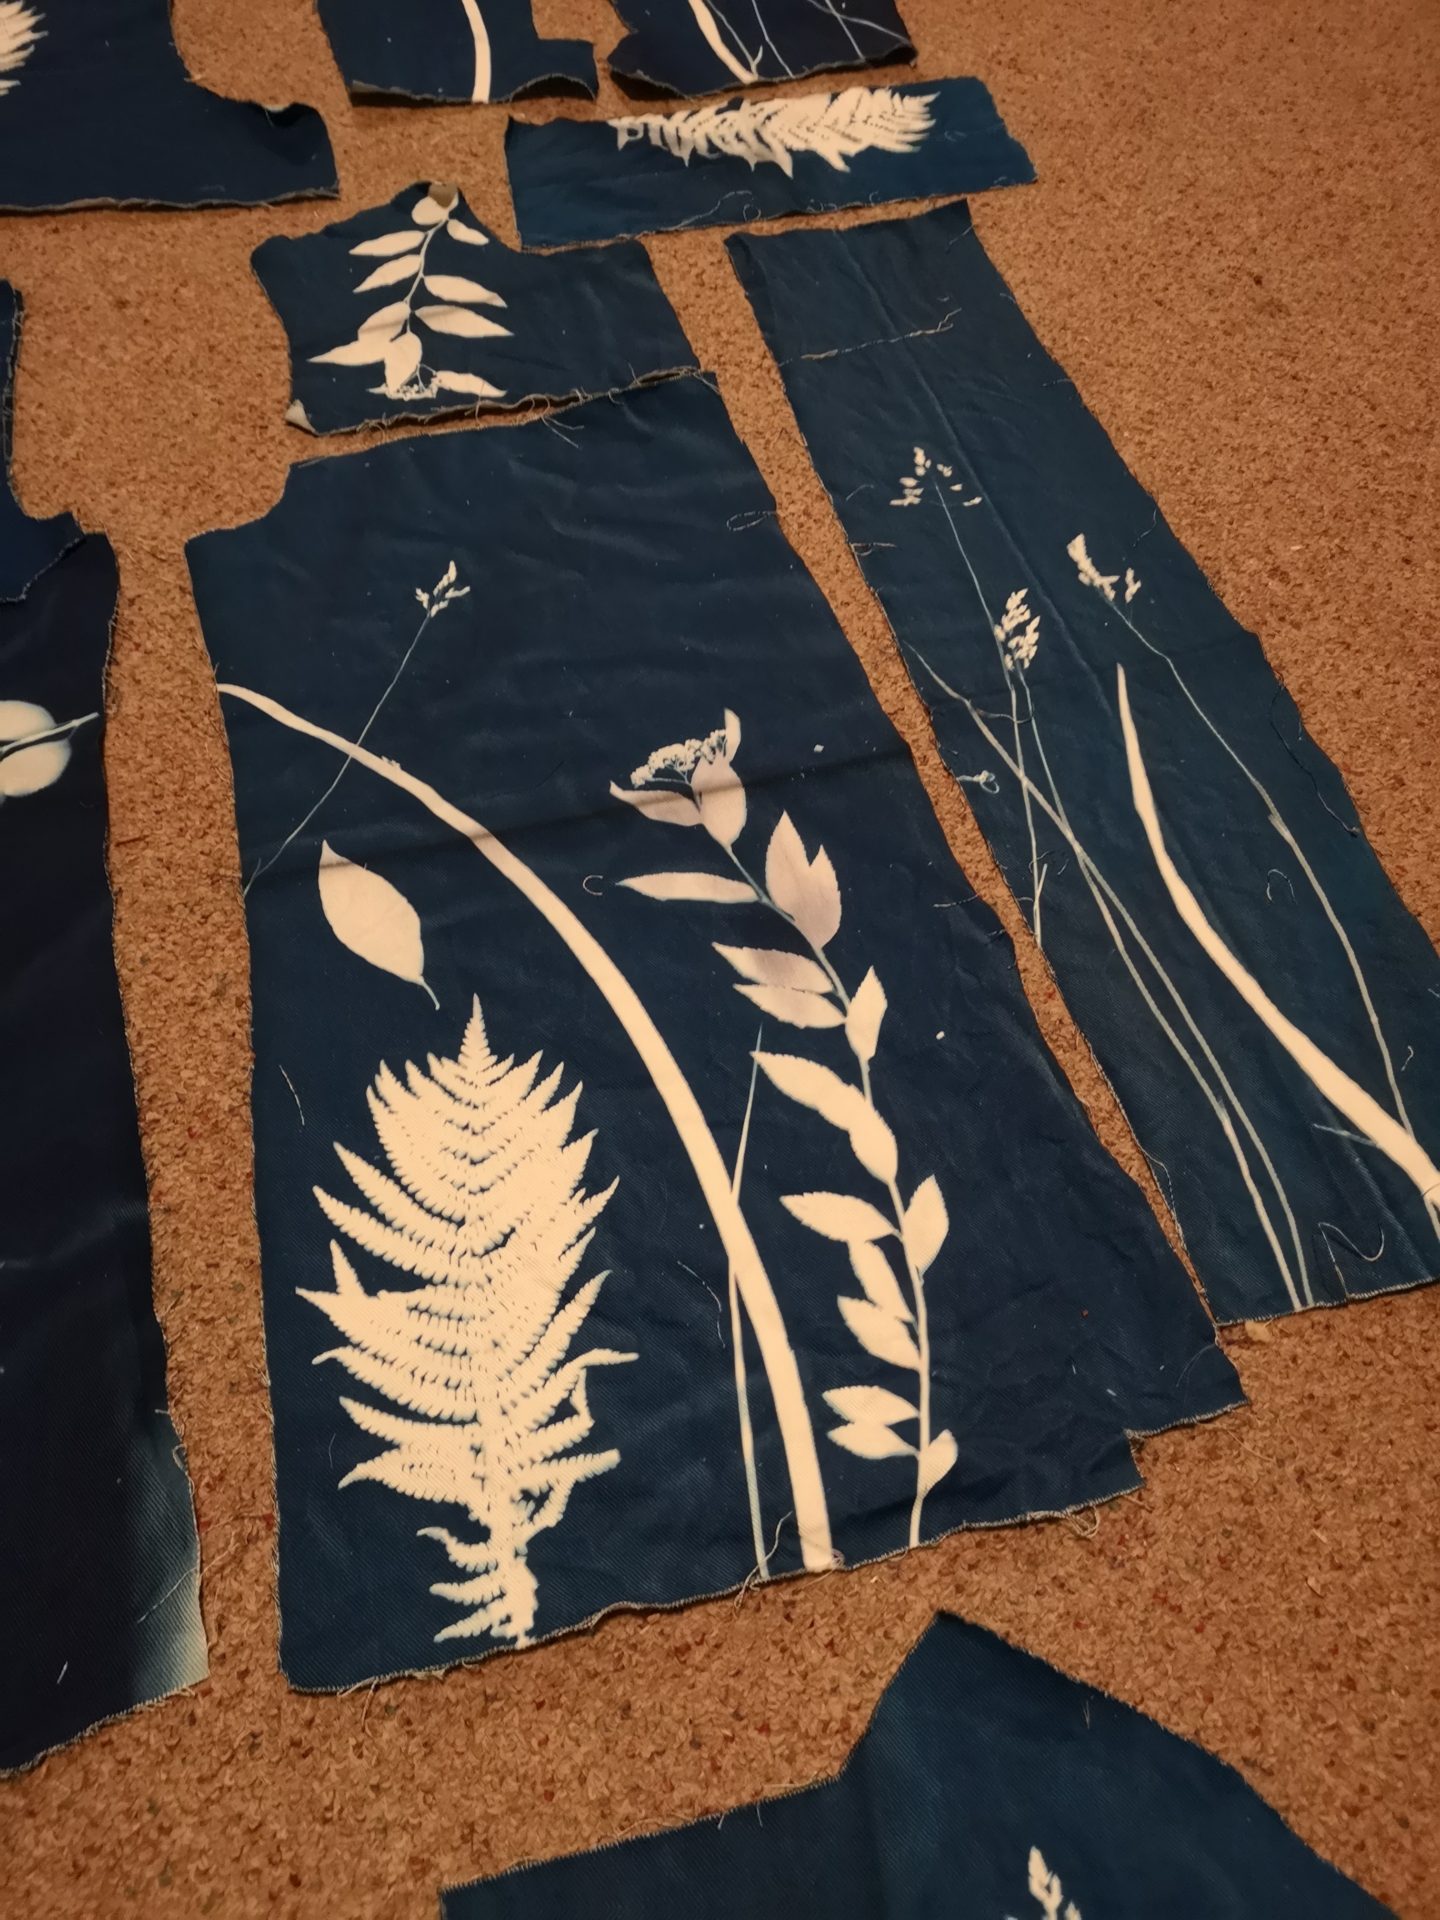
And here are some of the individual pieces before they dried! This first one is a pocket. The next photo is the center panel of the hood. And below that is the two sides of the hood – I put a fern on each one!

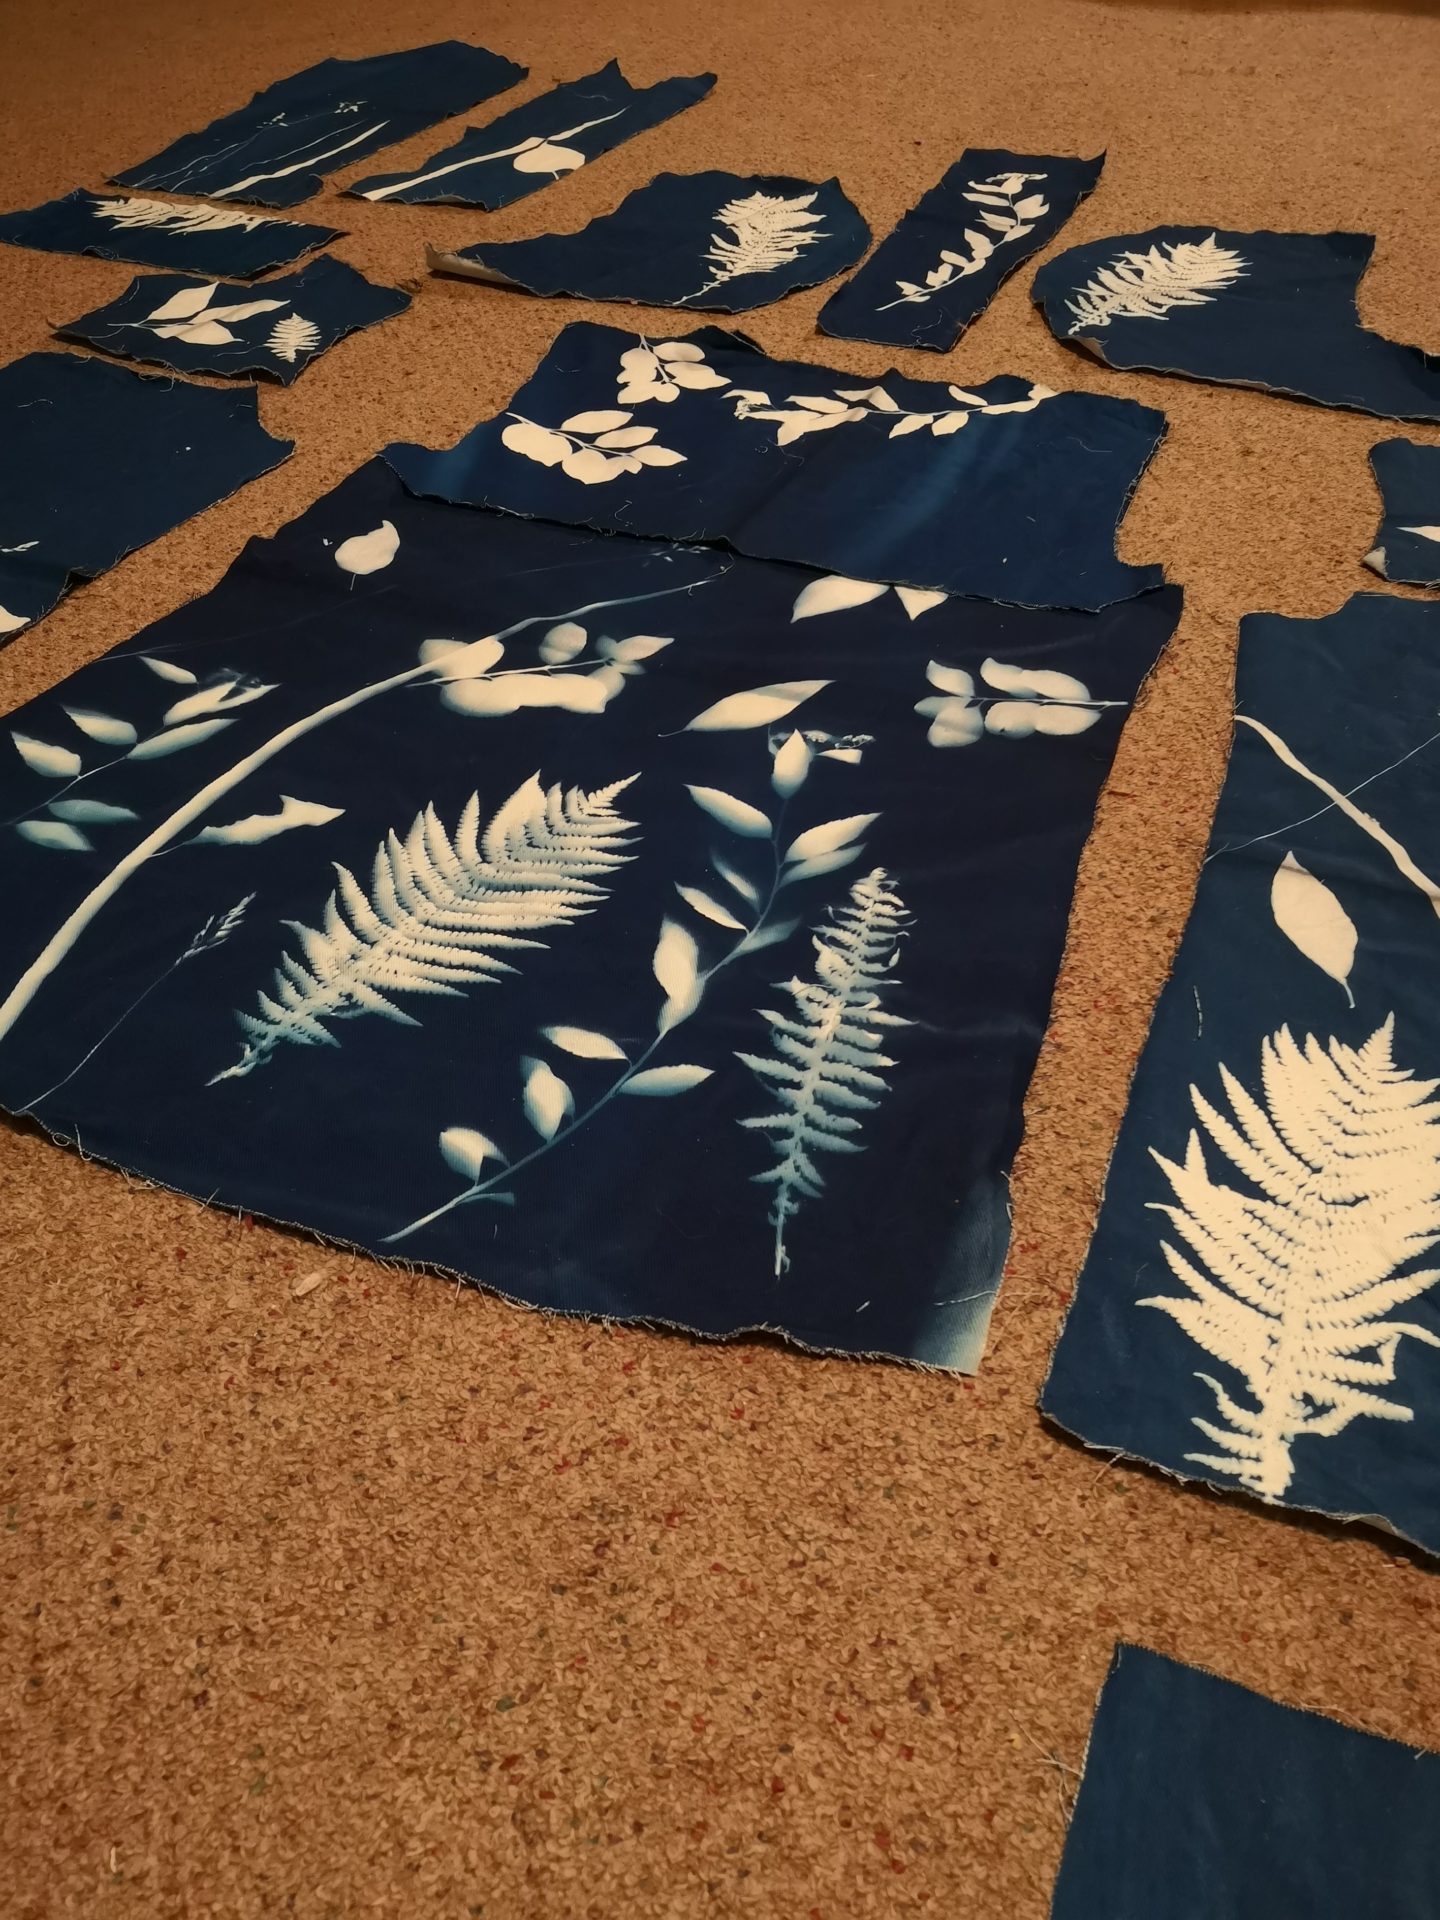
And here’s the whole anorak laid out! At the top corners you can see the sleeves and the cuffs, the hood is in the middle, and then the body is below. The two pieces below everything are the pockets – I didn’t put any markings on my pattern pieces prior to printing because they’d just wash off, so I didn’t have a sense of where to lay the pockets to show you.

I’m really really happy with this whole thing! I would love to try cyanotype again. I’m going to use my little tester swatches to make patchwork pouches or pencil cases or something, but I’m going to be away until August so that will have to wait! I’m itching to sew up the anorak now that I have all the pieces in front of me like that! I hadn’t dug into a big longterm project like this in a while, and I’m really enjoying the whole process. Does anyone else have any experience with dyeing or cyanotype? I’ve kind of caught the bug and would love to create more of my own textiles.
