
Note: This blog post is the third in a series of four. Starting with the first post is recommended. You can find the links to the other posts here:
Part 1 (My Mother’s Quilt) / Part 2 (The Quilting Process) / Part 4 (The Finished Quilt)
A lot of sewists are scared of buttonholes. I get it! Your trusty sewing machine makes 20 perfect test buttonholes in a row and then the second you put your garment under the foot to sew it, it gets possessed by a demon and makes a horrible mess that is hard to completely get rid of. And it comes at the very end of your sewing project, after you’ve paid attention to all the details of the garment and sewn it beautifully. That’s the exact feeling I had for at least half of the many hours that I spent working on my grandma’s quilt. Not because I was going to put buttonholes on the quilt (that would be a bit strange!). I had that feeling because I had always intended to try to get the dye bleeding out of the quilt, but only after getting into the quilting process had I actually done any sleuthing to get an idea of what might be involved in getting the dye out.
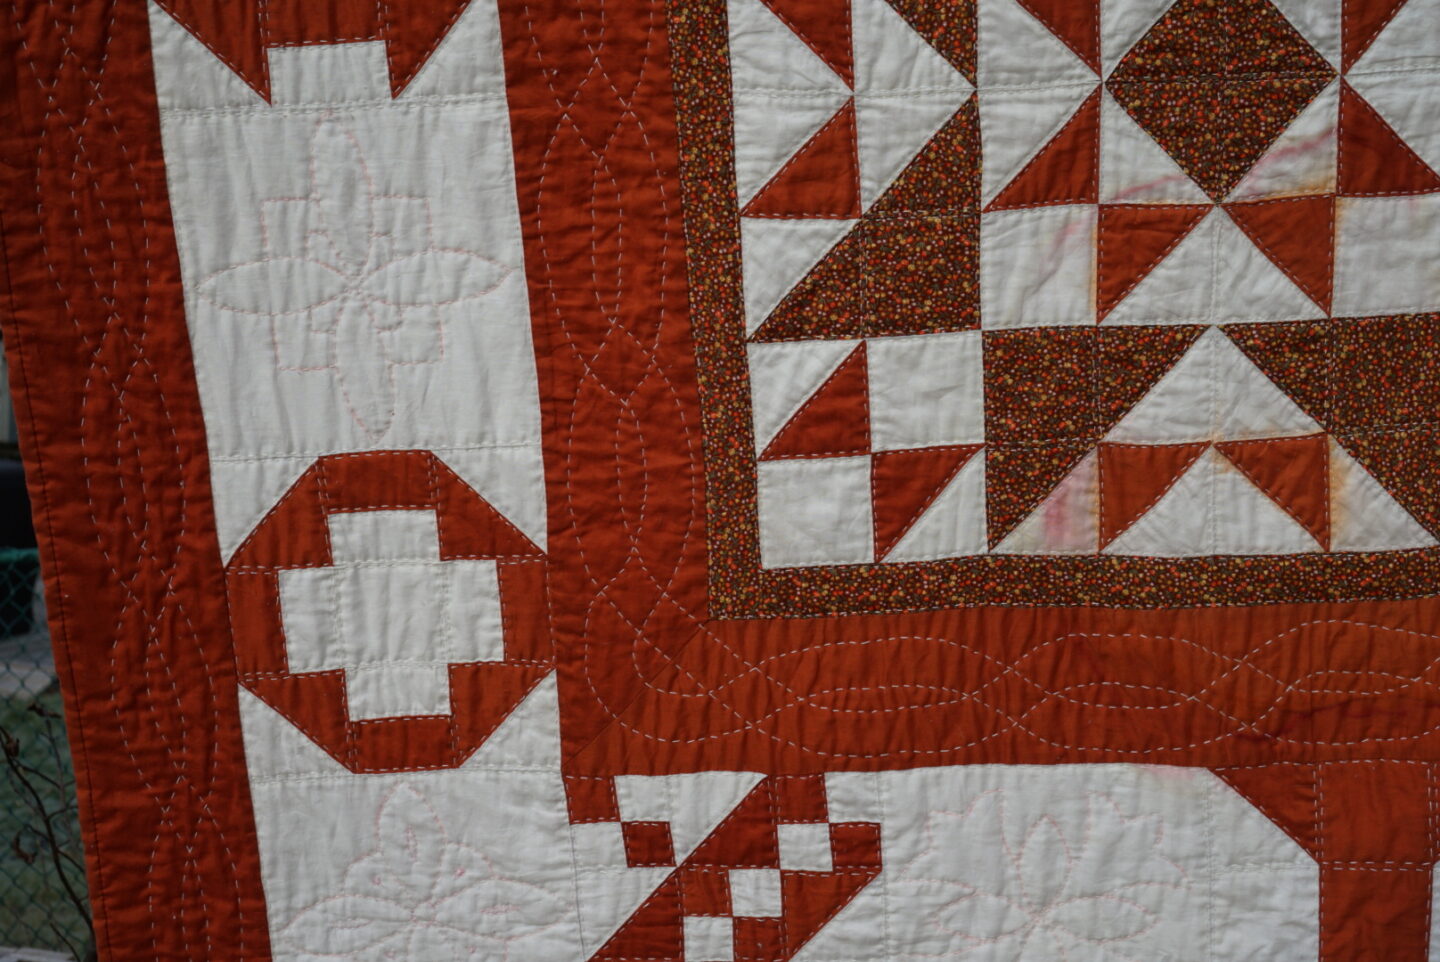
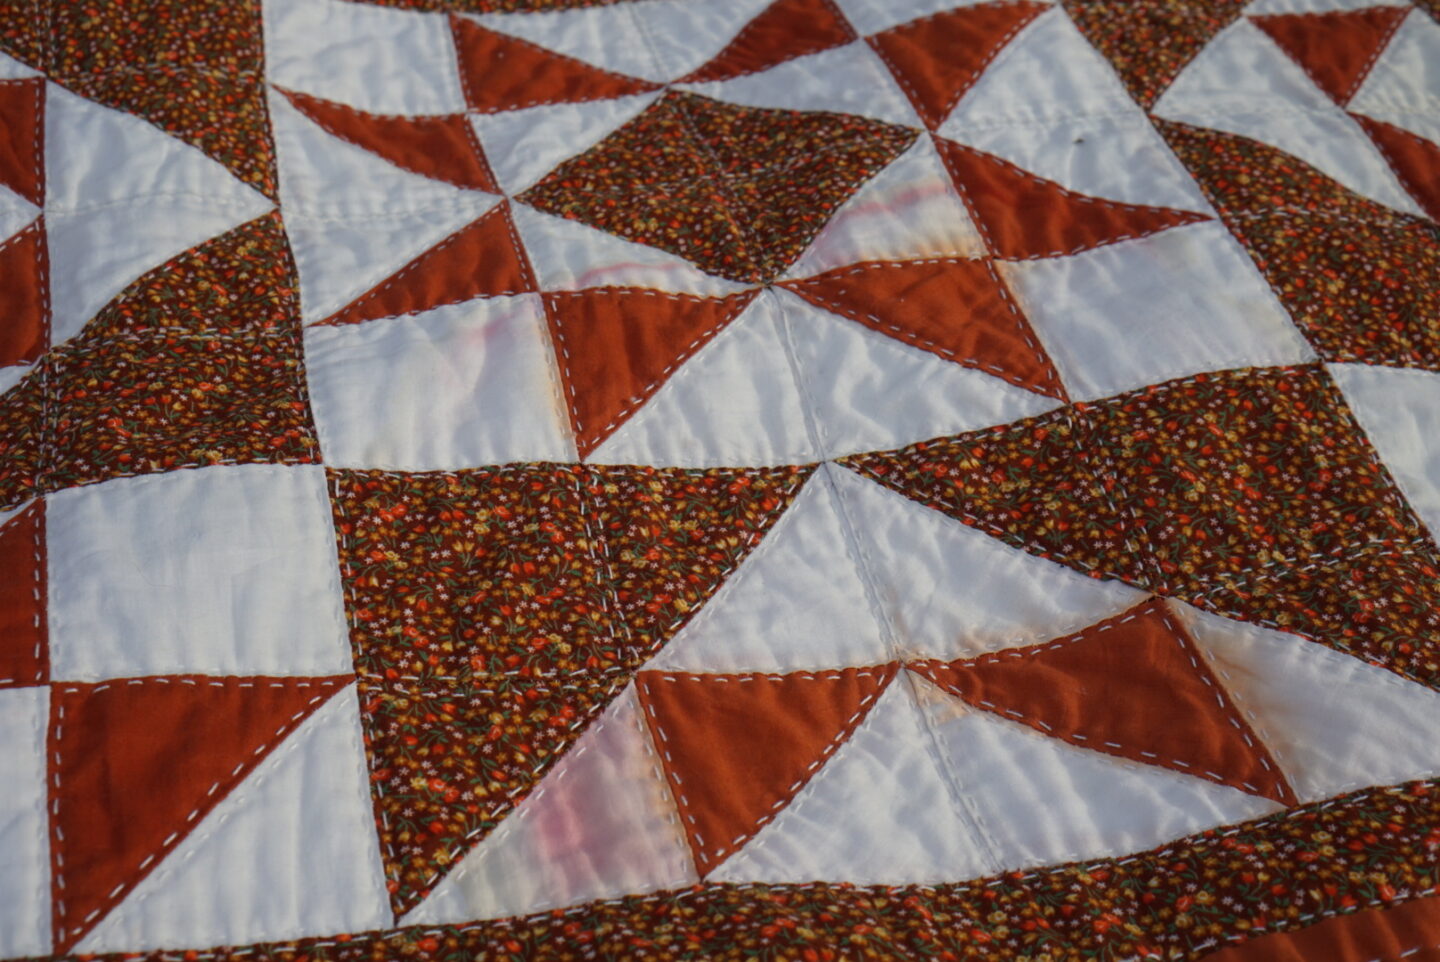
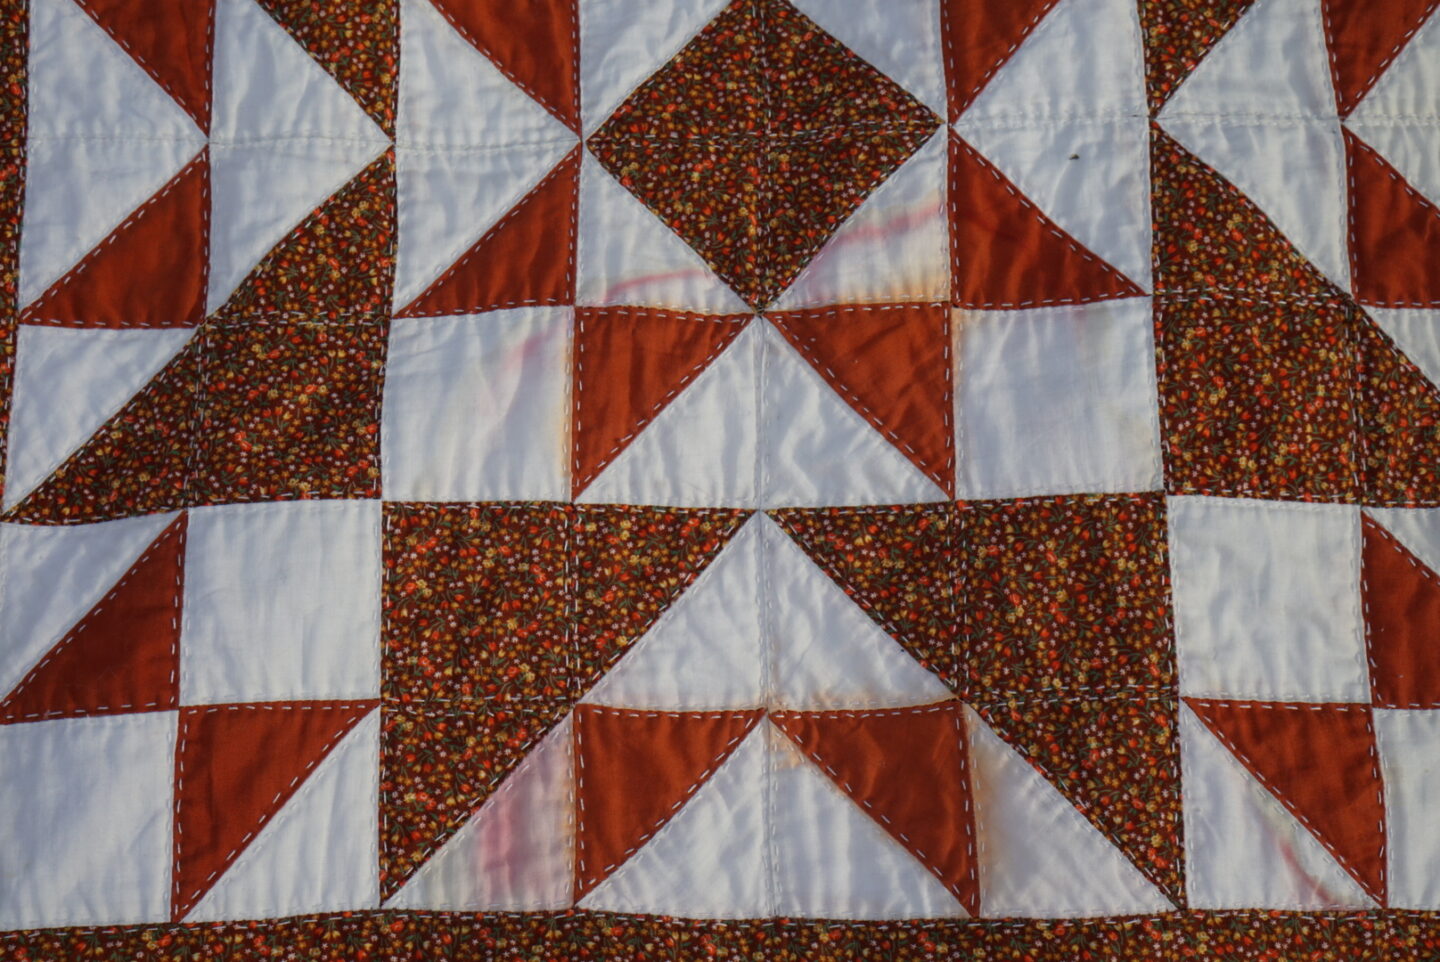
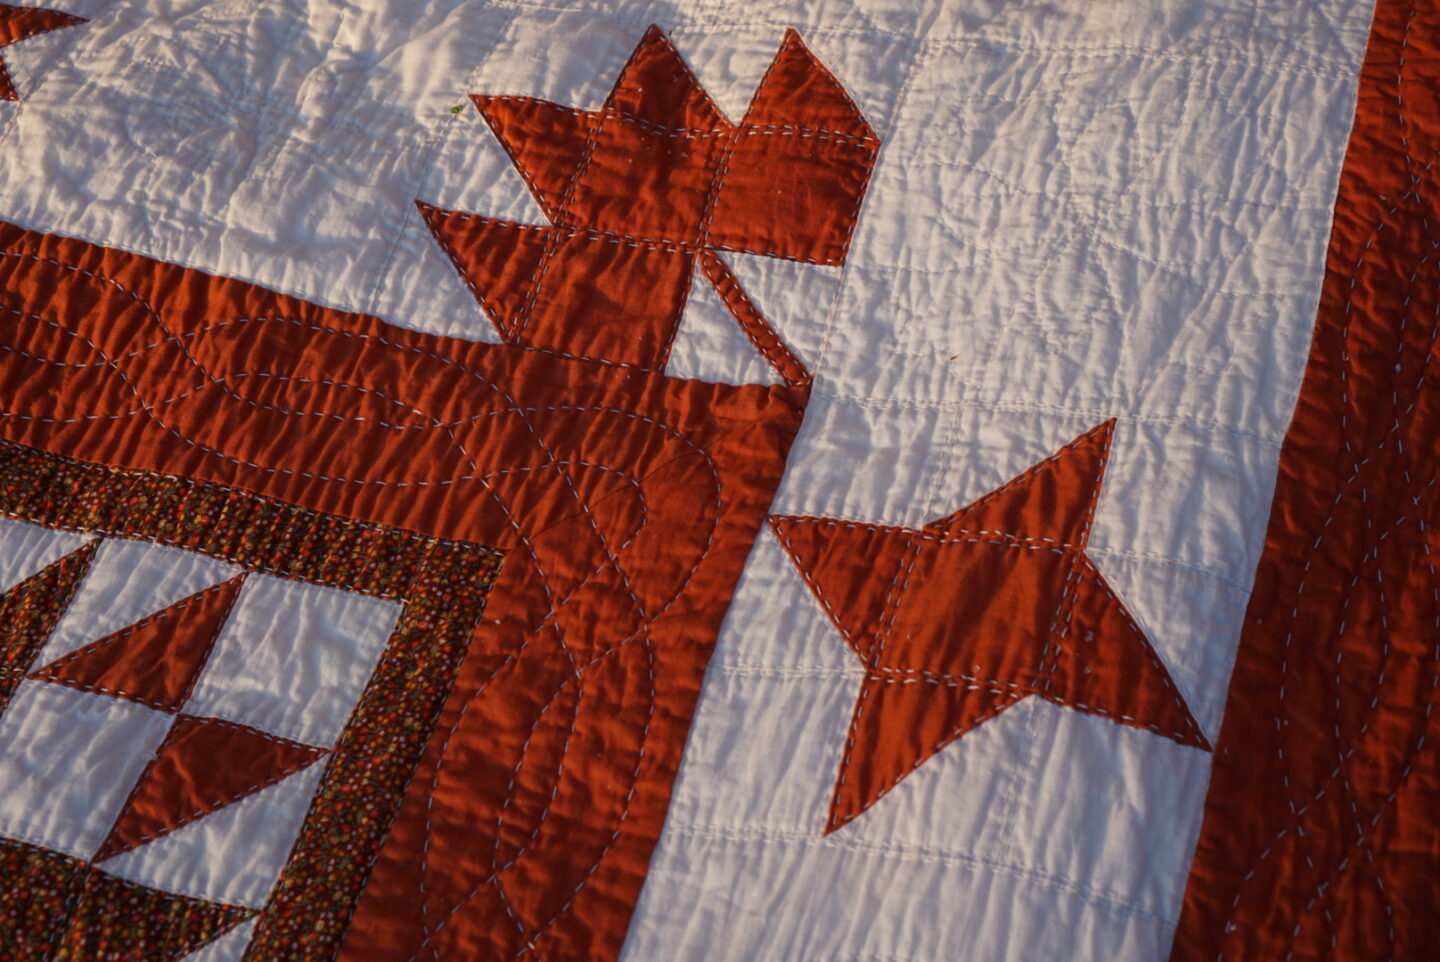
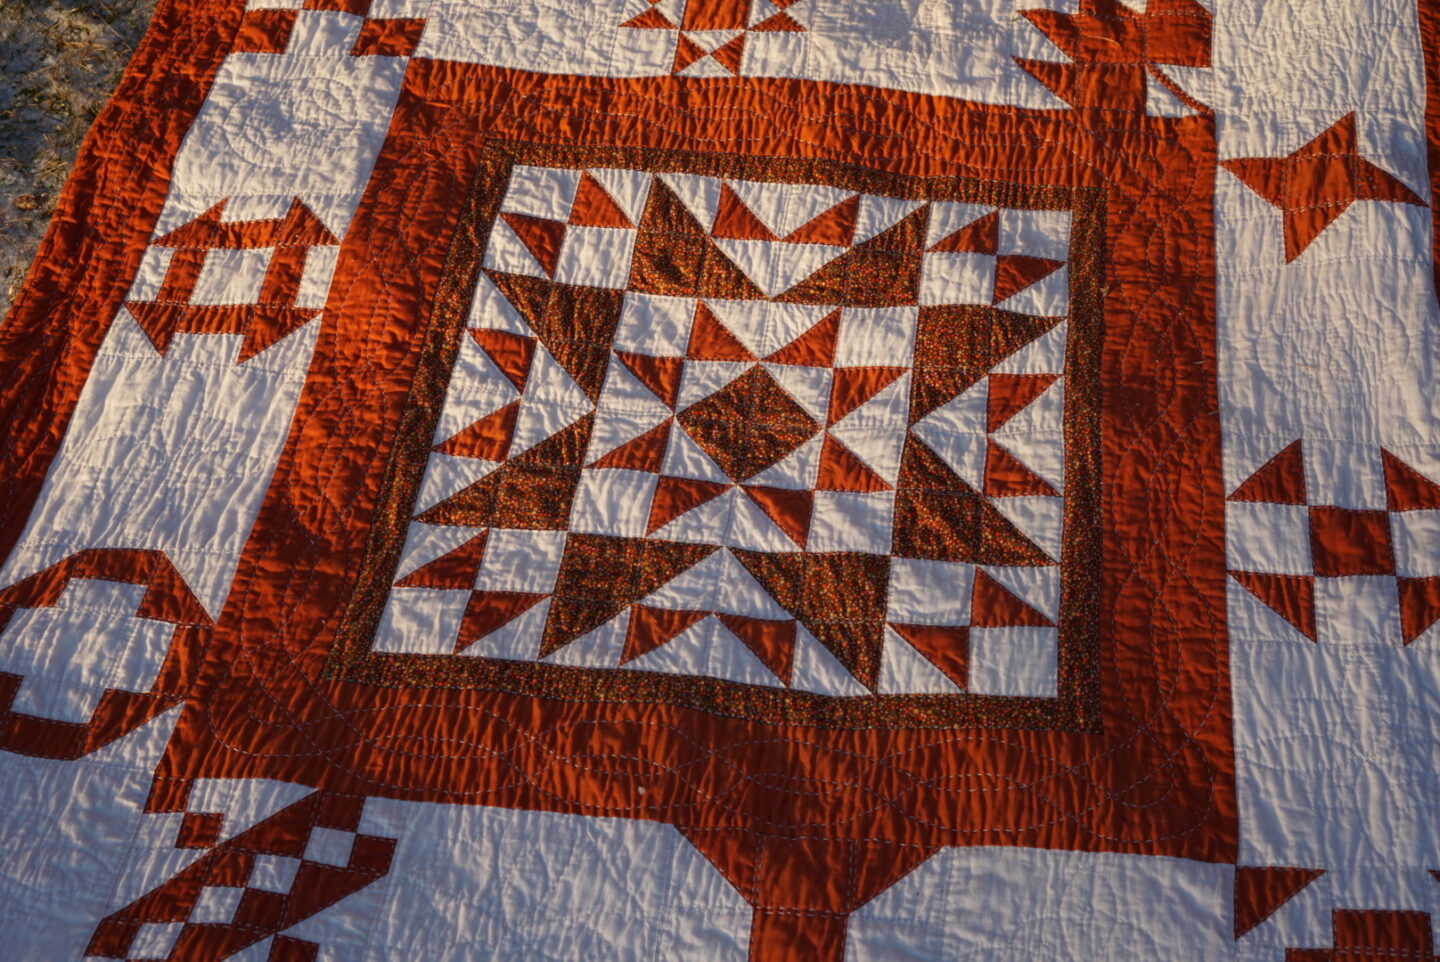
The internet told me, unanimously, and in very explicit terms, that I needed to soak the quilt in hot water. Very very hot water. Like, people-temporarily-turn-up-the-temperature-of-their-home-hot-water-heater hot. The internet told me I would have to soak the quilt in this very very hot water for twelve hours straight. Multiple times. The blog post that seemed to be regarded as the best guide even said things like “red is the most likely to stain the quilt” and “I can’t promise that this will work 100% of the time because different fabrics react differently”. I think most of us have at least one haunting memory of a red garment dyeing a white garment pink, and it seemed so wrong to even contemplate putting this rusty red and white quilt into hot water on PURPOSE. But the dye bleeding was very noticeable and I couldn’t let go of the idea that maybe I could restore the fabric to its original state. Here are the main areas where the dye had bled into the surrounding fabrics. There was also a bit of dark dye pooling in the solid border around the center motif, but I don’t think it’s as visible in photos as it is to the naked eye.
While I had gotten into a groove and was enjoying the quilting process a lot by the time I learned this information, knowing that this was likely ahead of me lurked ominously in the back of my mind the rest of the time. With each area that I quilted, I kept glancing at the areas with the dye issues. “You can do this! Just think of how great it will look after!”. Then, “You’ve put in so much work, do you really want to risk this entire quilt ending up various shades of orange?” Then, “The dye bleeding isn’t THAT bad, is it really worth it?” Then, “Maybe you NEED to leave the dye bleeding alone, it’s a sign of the quilt’s life experiences and a visible effect of the intervening years between piecing and quilting.” Then, “No! You can do this!”
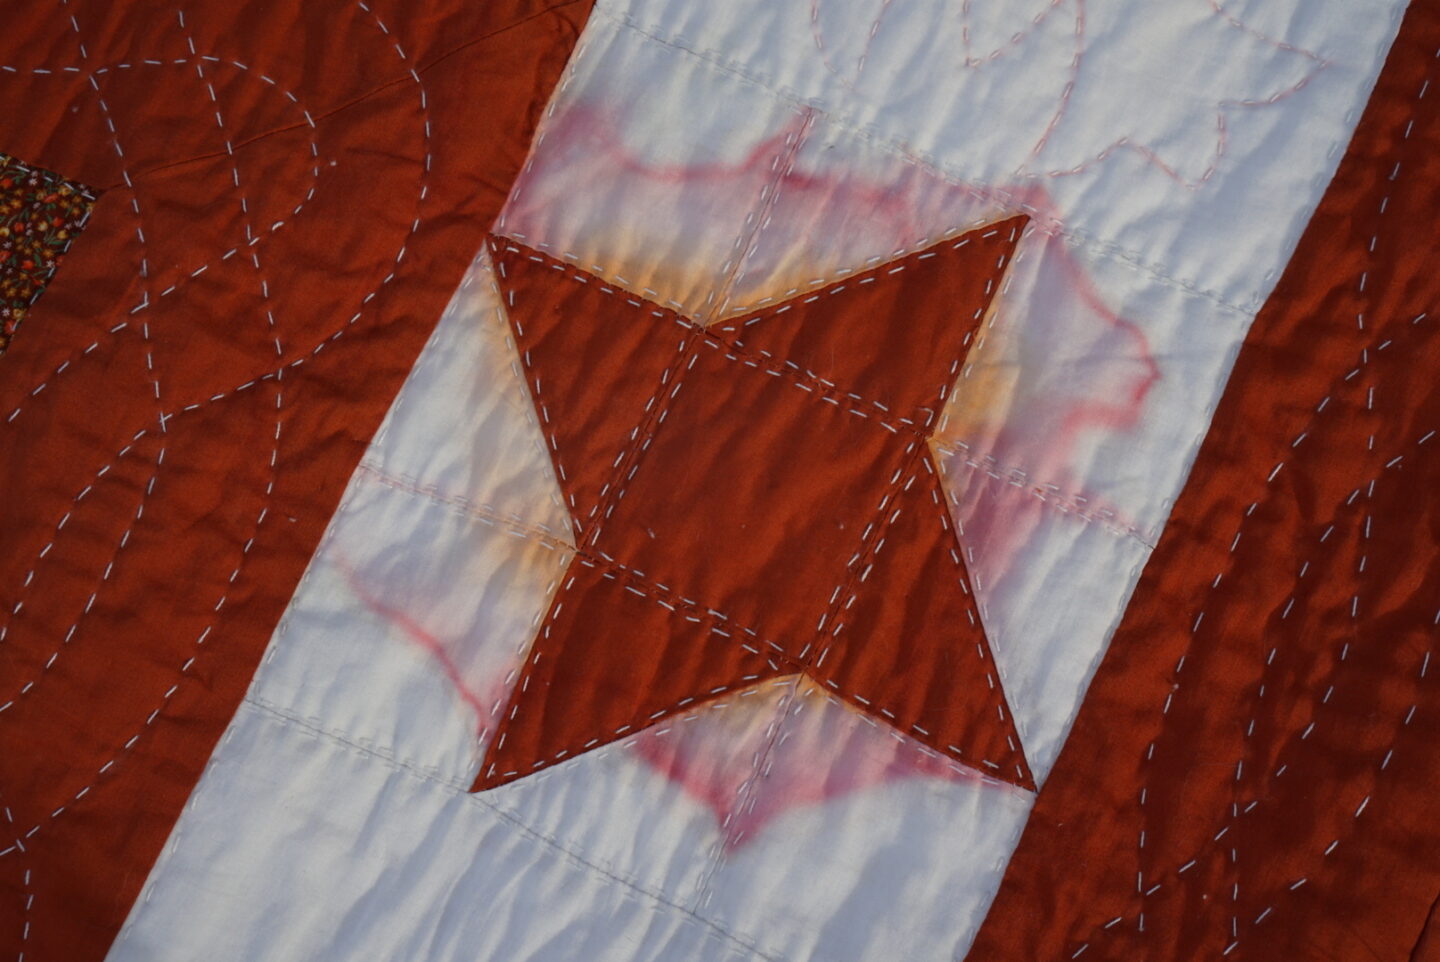
Honestly, if it was only the amount of dye that ran in the center section, I might have decided not to bother. But the Friendship Star had SO much dye bleeding around it. I don’t know why that one block ran so much compared to the others. The quilt never got wet, but it was stored for quite a long time in a plastic bin in my mum’s basement when I lived there, which is a pretty humid place. It didn’t get moved around at all, so my main theory is that perhaps the quilt was folded in a way that had the Friendship Star area closest to the top, exposing it to the most moisture in the air. In any case, that particular block had such a visible issue that you could see it even from 30+ feet away and my eye kept being drawn to it, and I wanted to see if I could fix it. I decided to trust the Quilt People of the Internet, because the hot water advice was so uniform across many many blog posts. But that didn’t mean I didn’t have SO MUCH FEAR. I took a huge amount of quilt photos prior to attempting to get the dye out because I was so worried that it would backfire and then I’d have no photos of the quilt to prove it had ever had white fabric at all. I debated it with my partner over and over in the weeks leading up to the quilt being finished. I ended up doing a test with a scrap of the solid rust fabric and some white cotton in my kitchen sink, and that was ultimately what convinced me because the white fabric got back to being white by the end of the process. So I decided to put the quilt in the hot water.
The main resource I used was a blog post called Save My Bleeding Quilt, as it was referenced by a lot of other bloggers as their go-to. Vicki has an amazing Google Doc you can access through the post, and that’s what I followed. She did a bunch of tests involving different soaps, and with and without dye catchers. The best results were with Dawn Ultra Pure dish soap, and she found that dye catchers didn’t make a difference either way. The process involves soaking the quilt in a bathtub with very hot water and lots of soap for many hours, multiple times. The first issue was that I didn’t have a bathtub, only a shower. Luckily, I had plans to have a full day of baking and cooking at a good friend’s house on December 17th, and she also happens to be a sewing/quilting person. I asked her if I could use her bathtub for the entire day while we were there. While the instructions recommend 12 hours of soaking each time, I was hoping that I could do 3-4 soaks of 3 hours each because asking a friend if you can monopolize their bathtub and lurk around their house for 36-48 hours straight seemed like a recipe for not being friends with that person anymore. If it was your own bathtub, it would be way easier to manage 12 hour soaks because you could just leave it while you went about your life. She was happy for me to use her bathtub while I was there cooking. Having the date with her bathtub locked in also gave me a concrete deadline for finishing all of the sewing on the quilt. This was helpful, but also lead to a few nights in a row where I was up until 3am sewing the binding on/down. So, tradeoffs? I got it finished just in time! So I brought my quilt and the other stuff I needed for the process along to my friend’s house, and got started.


The colour of the water on the first soak was not reassuring at all. It reinforced the idea that this might all have been a terrible idea. But I tried to calm myself by remembering what all the blog posts had said. The point of the Dawn Ultra Pure dish soap is that it prevents the dye from reattaching to the fabric. You WANT the water to be dark, because that is the extra dye releasing from the fabric. I used 1/2 cup of the dish soap in the first soak as instructed. The other stuff that is preventing you from actually seeing the quilt is to keep the quilt under the surface of the water. I used lids from my fabric containers with kitchen containers on top filled with water to weight it down. The reason you don’t want it to come above the surface is because you can get water lines of dye on the quilt across the waterline where the quilt gets dry and dye settles. My container lids worked well, and I didn’t have any issues with this. It was a bit tricky at first to keep the lids flat and not tipping up, but I got the hang of it. After 3 hours, I let the water out of the tub and squeezed as much out of the quilt as possible. The white areas were quite orange-tinged at this point, but I was trying to have faith because the same thing had happened with my kitchen sink test at home. I filled the tub up for a second time with more hot water (the hottest possible setting) and added another 1/2 cup of dish soap for the second soak.


The water was much less orange the second time, which calmed my nerves a bit. I left this soak for 2-3 hours before replacing the water for a third soak. When pouring the water for the third time, I actually remembered to take some photos of the quilt before it got covered by the container lids, and you can see the colour of the water much more clearly. I added another 1/2 cup of the Dawn soap for this soak as well but based on the amount of dye releasing into the water, I only left it for 2 hours before draining the water out of the tub and squeezing out the quilt.


After the third soak had drained, I felt like I might be safe to focus on getting the soap out of the quilt. For the fourth soak, I didn’t add any soap but still used very hot water. I let that soak for 30-60 minutes, periodically agitating the quilt gently to make sure the water was getting into all of the areas. After draining the fourth soak, I added water and squeezed it out repeatedly until the water coming out and the quilt itself were no longer showing soap bubbles. You can see how even between the third soak and the fourth that the water is noticeably more clear and the white areas of the quilt look brighter.


All that was left after that was to put it out on my friend’s back deck to let the water drip out. (I laid out a clear plastic garbage bag along the railing so that it wouldn’t get any dirt on it from the deck). I checked out the areas where the dye had been before, and it was all gone! My risk had paid off! You can see the “after” photos below. And the white areas had stayed white, which was a huge relief. When I brought it home that evening, it was still very wet and still a bit drippy. I hung it over my drying rack in our stall shower and ran the dehumidifier with the door closed for the few hours before we went to bed. I then moved it and the drying rack to a room with more air circulation for the night because I didn’t want to have the dehumidifier running all night while we were asleep. By the morning, it was mostly dry and by the end of that day, it was completely dry! I spent the remaining week before Christmas redoing the quilting on a couple tiny squares that had had the stitching distorted by the washing process, and invisibly reinforcing the weaker seams. I waited until after the washing was done to even bother with those seams, because I wanted to catch all of it in one go in case more popped up during the bathtub experience. The photos below progress from “wettest state” to “dry” in case you notice any colour change.


After all of that sewing, and soaking, and stressing about soaking, the last stitch was sewn and the quilt was ready to be photographed. Because I had spent so much time on it, I wanted the photos to be just as special. The final post in this series will feature lots of finished quilt photos, and I’m so excited for you to see them.
Well your gamble definitely paid off! The finished quilt is stunning and those dye stains are all gone. What a story! Amazing!
Author
Thank you! I’m very glad I did it!