
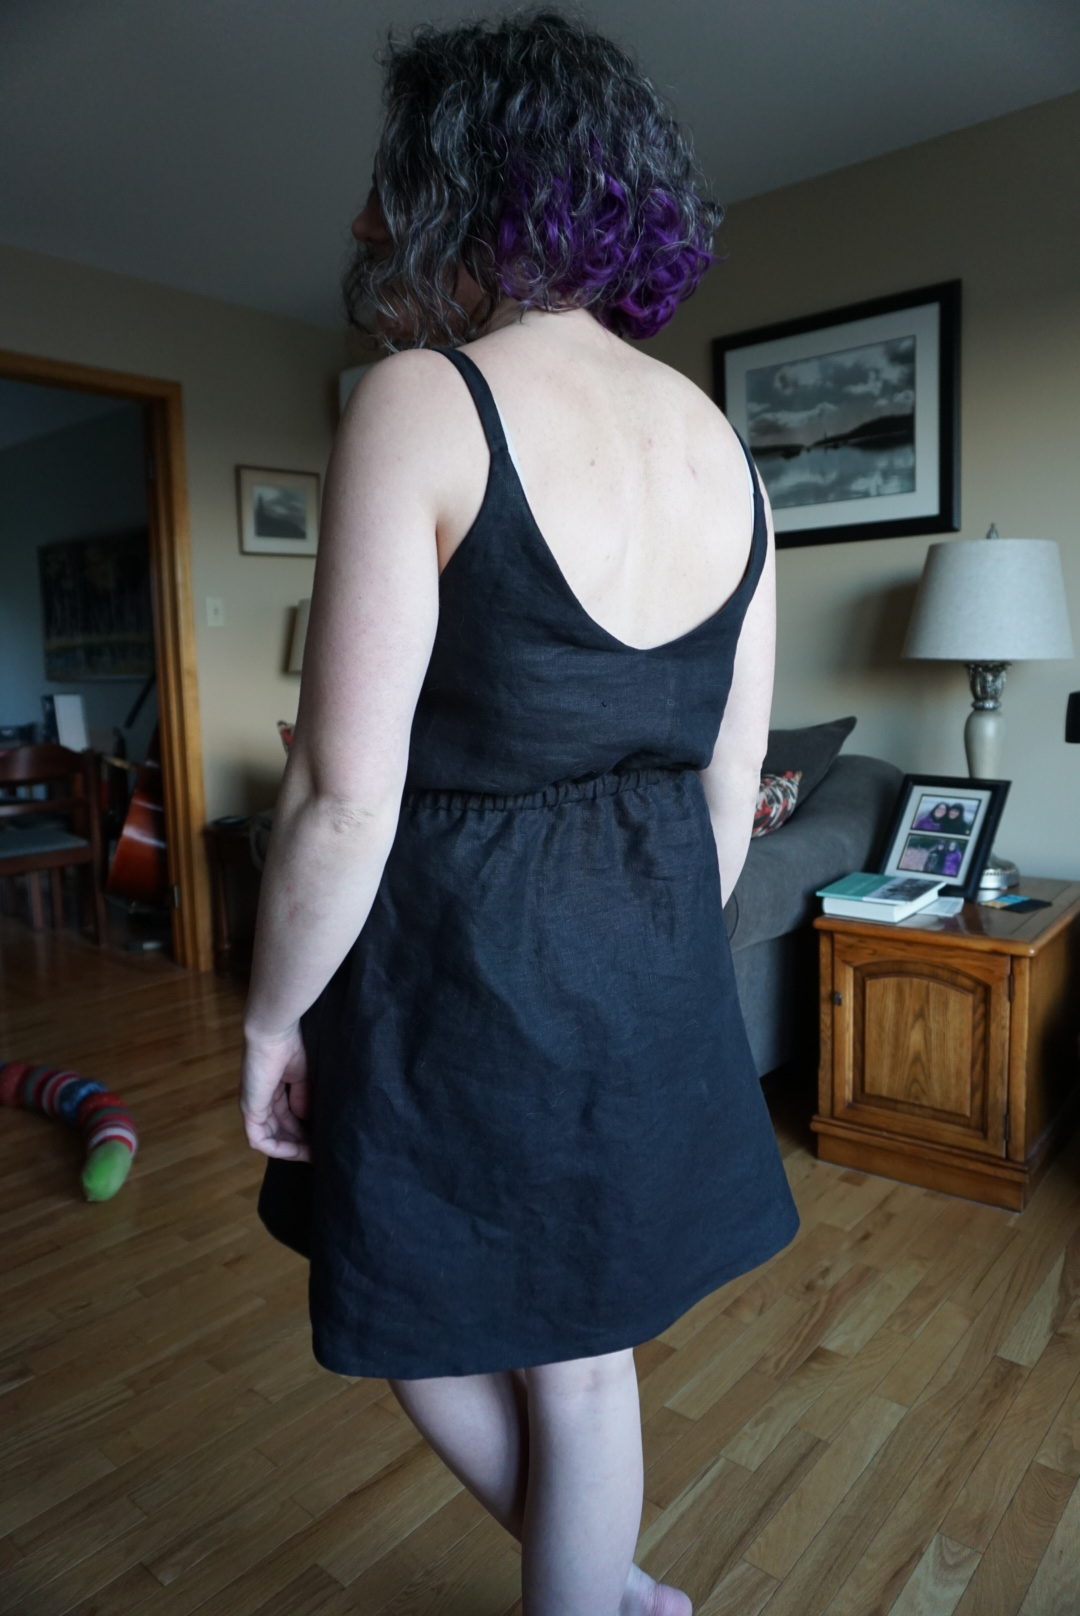
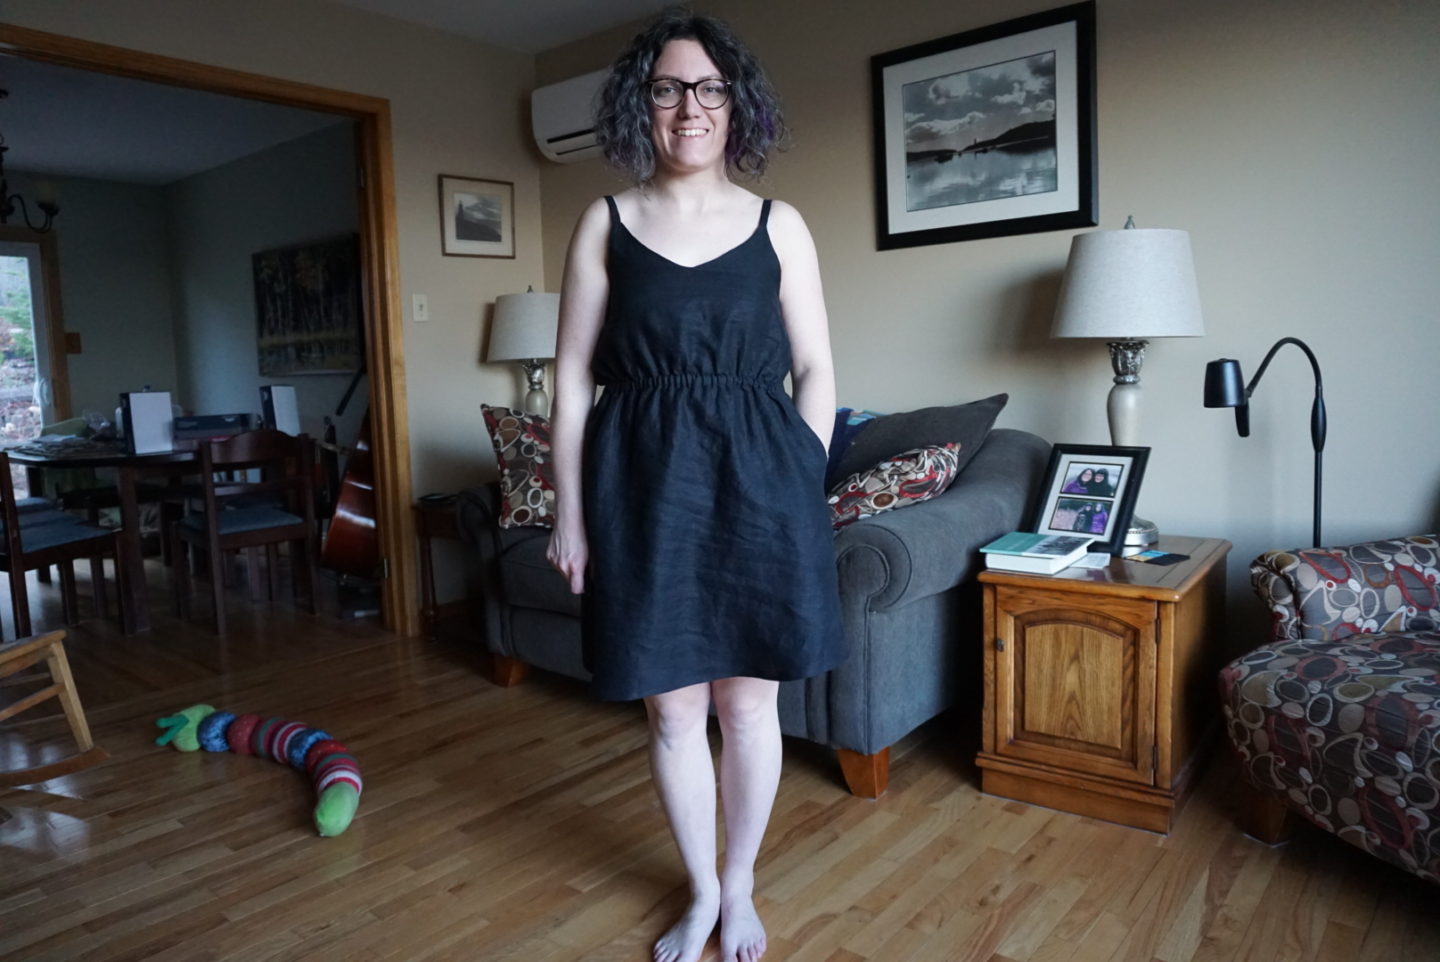
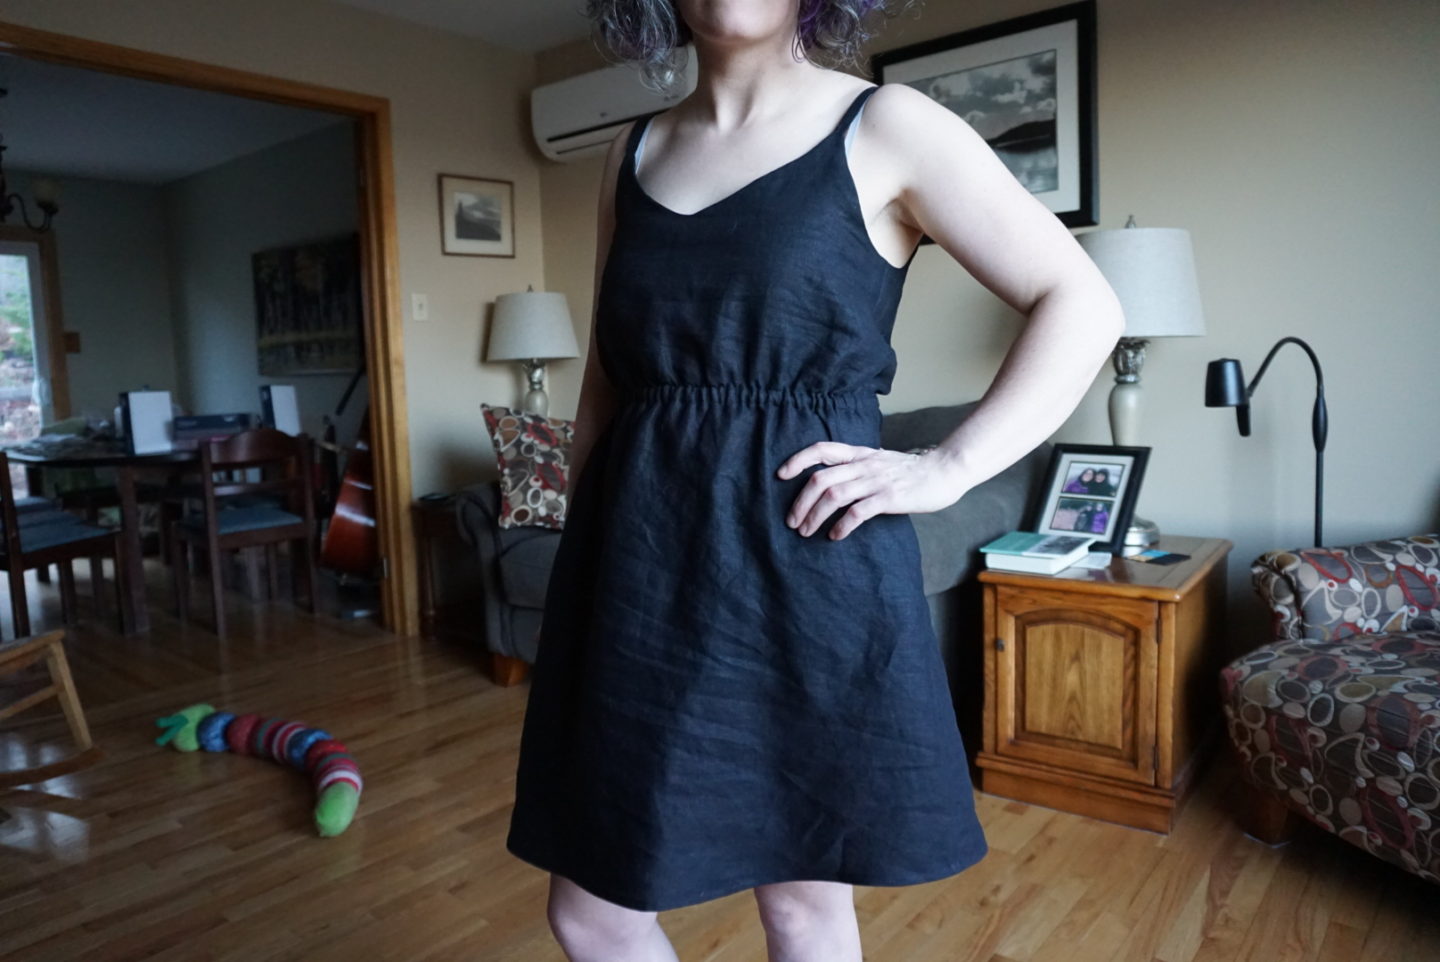
This dress is a prime example of why I don’t have a sewing queue like so many people do. I definitely keep a good number of sewing plans swirling around in my brain (and in the form of fabric piles on my sewing table with patterns on top), but I don’t have a list because I want to be able to just sew whatever I feel like in the moment. And what I felt like sewing was my own version of this amazing Ogden dress hack by Madeline over at Me Made By Madeline on Instagram (I don’t think she has a blog). I got a gift certificate for Patch for Christmas, so I picked up some black linen and started figuring things out. (Also, prepared to be completely blinded by my pale pale self. It wasn’t even sunny outside and this is the amount of ghostly-ness you get. Enjoy.)
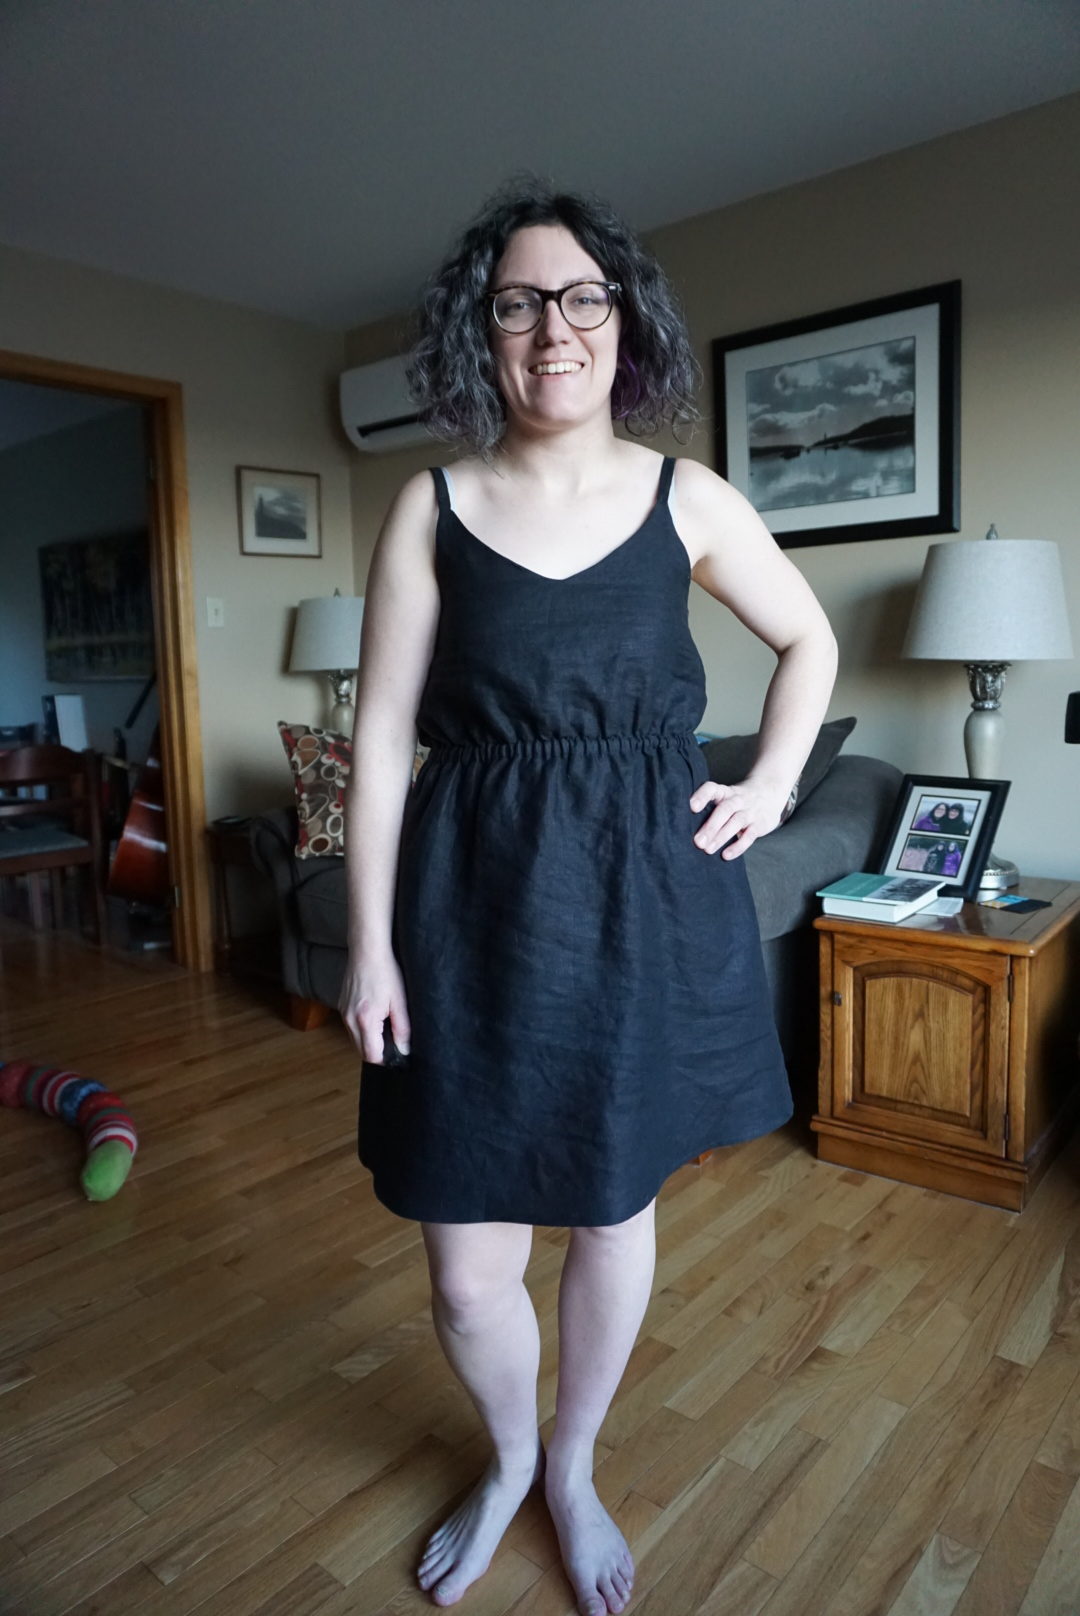
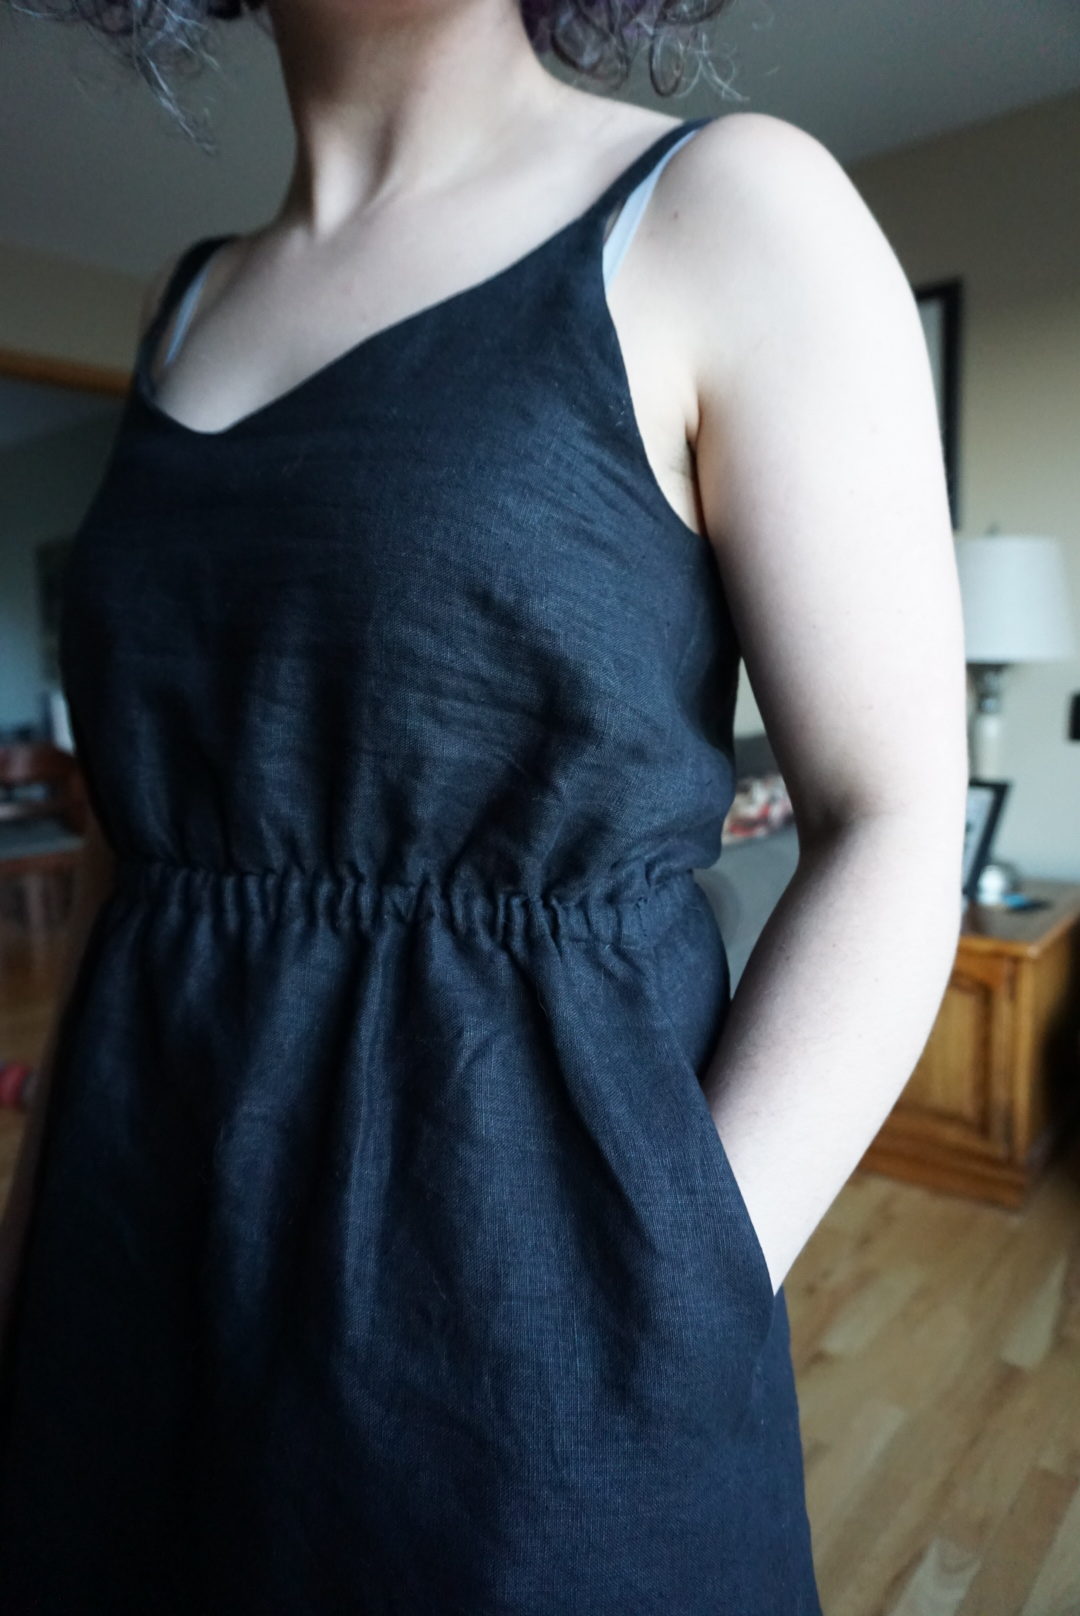
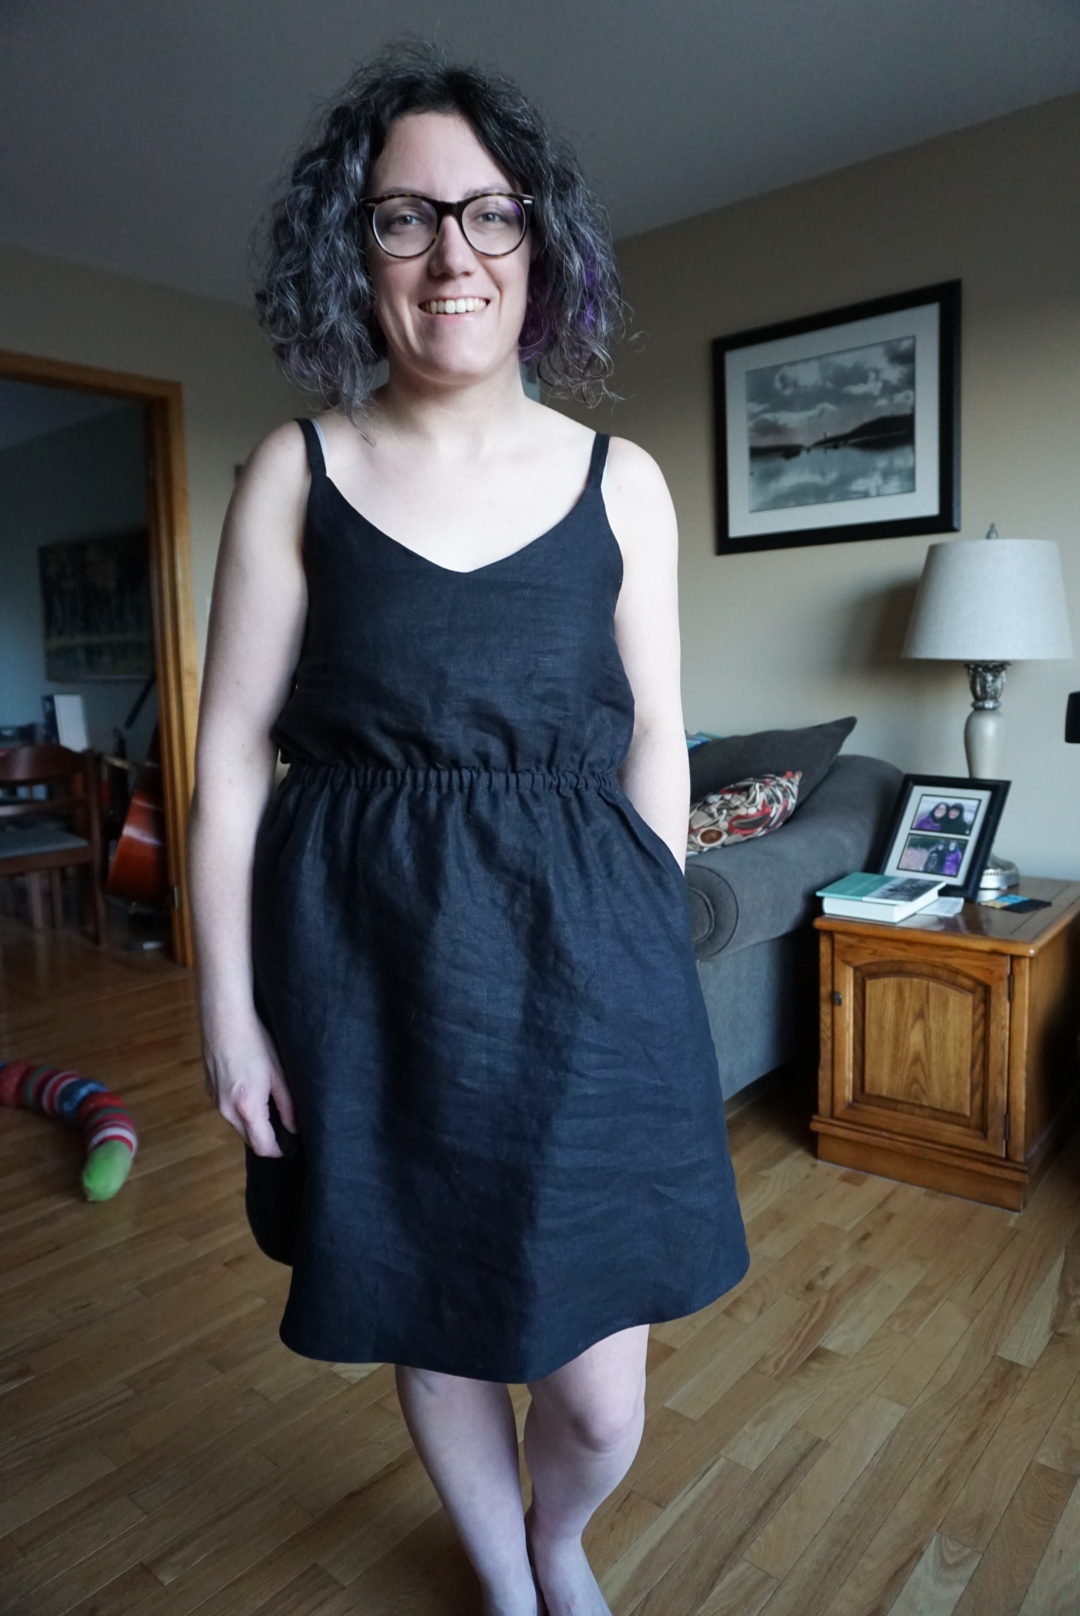
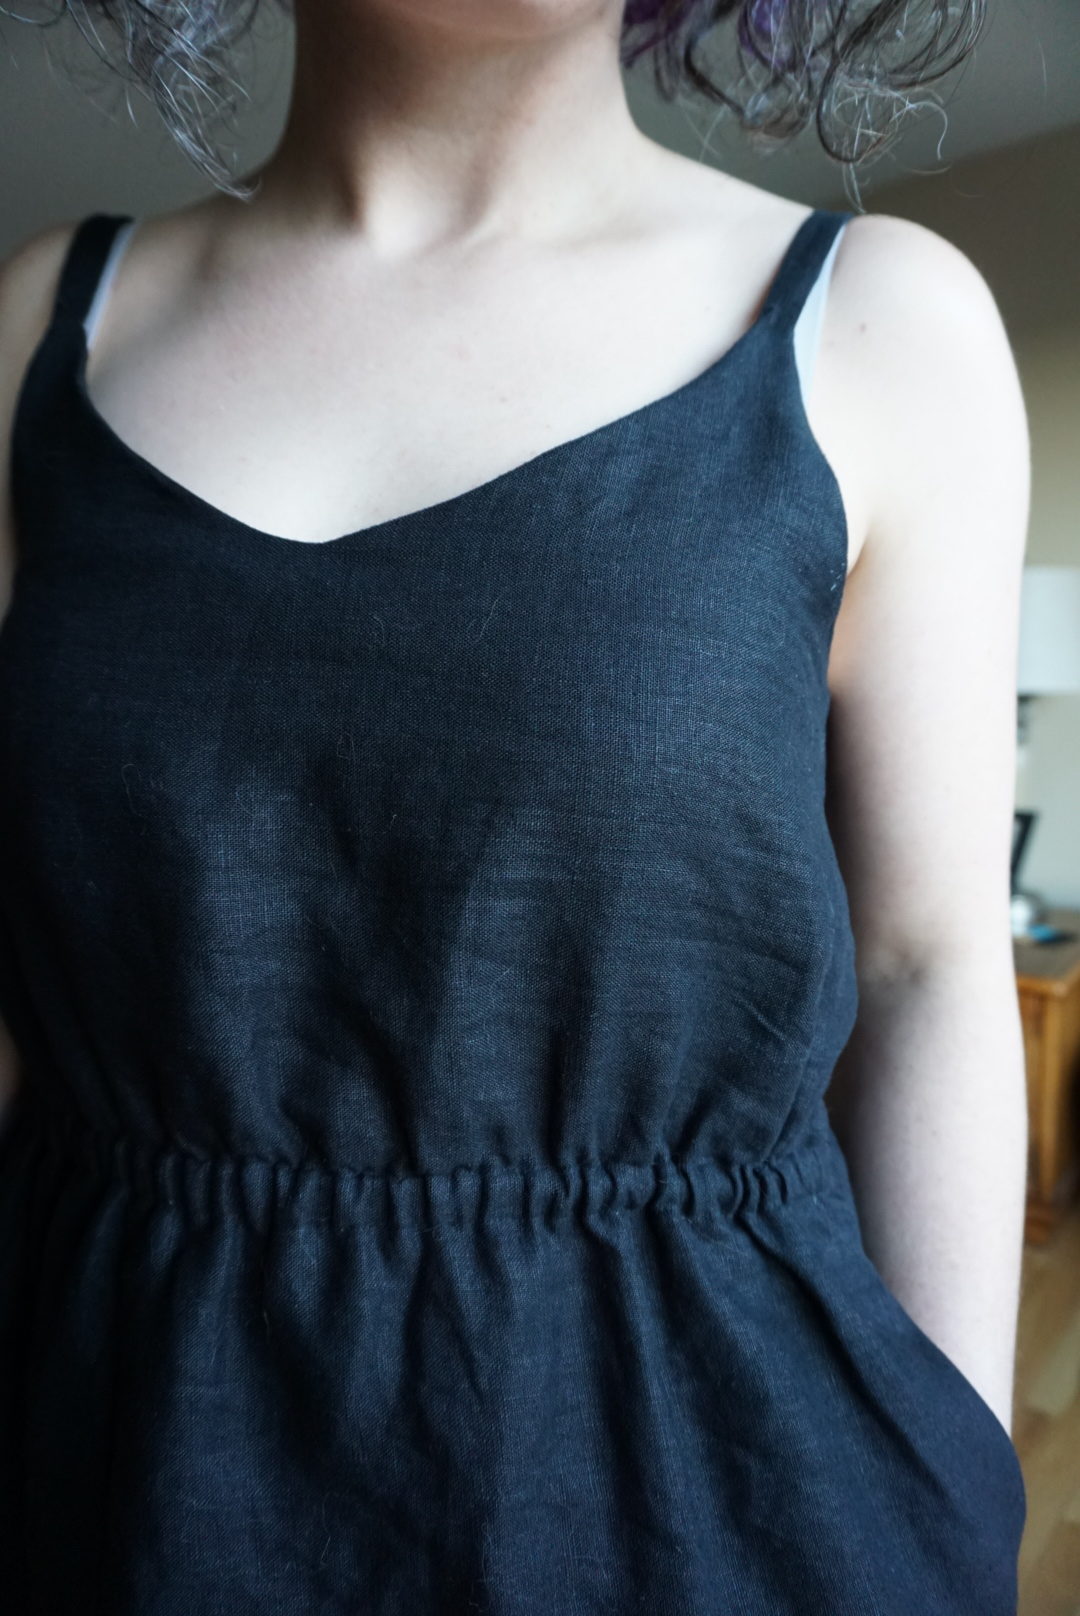
The last time I used the Ogden cami for something, it was to rescue the Wilder gown I tried to make, which ended up turning out great. For that dress, I used a size 10 in the Ogden based on the fact that the last time I made the Ogden cami, pre-climbing shoulders/back, I had made a size 6 and it didn’t remotely fit anymore. This time I used a base size 8, after comparing my old size 6s and the white Wilder/Ogden mash-up. My measurements are currently 37.5″/30.5″/39.5″, for reference. Initially, I extended it by 22″ from the hem, following the lines of the top portion to guide my new lines. I ended up reducing the amount I extended it to 10 3/8″, because the 22″ was waaayyy overkill. I decided on the final length after the whole thing was assembled, right before I did the final hem. I eyeballed it, made a chalk mark just above my knee, and then cut off that much all the way around. I didn’t shorten the straps at all, which I think I did on the Wilder mash-up, and I like the length of them on this dress. For the hem, I just turned up 1/4″ twice and stitched it down with my machine.
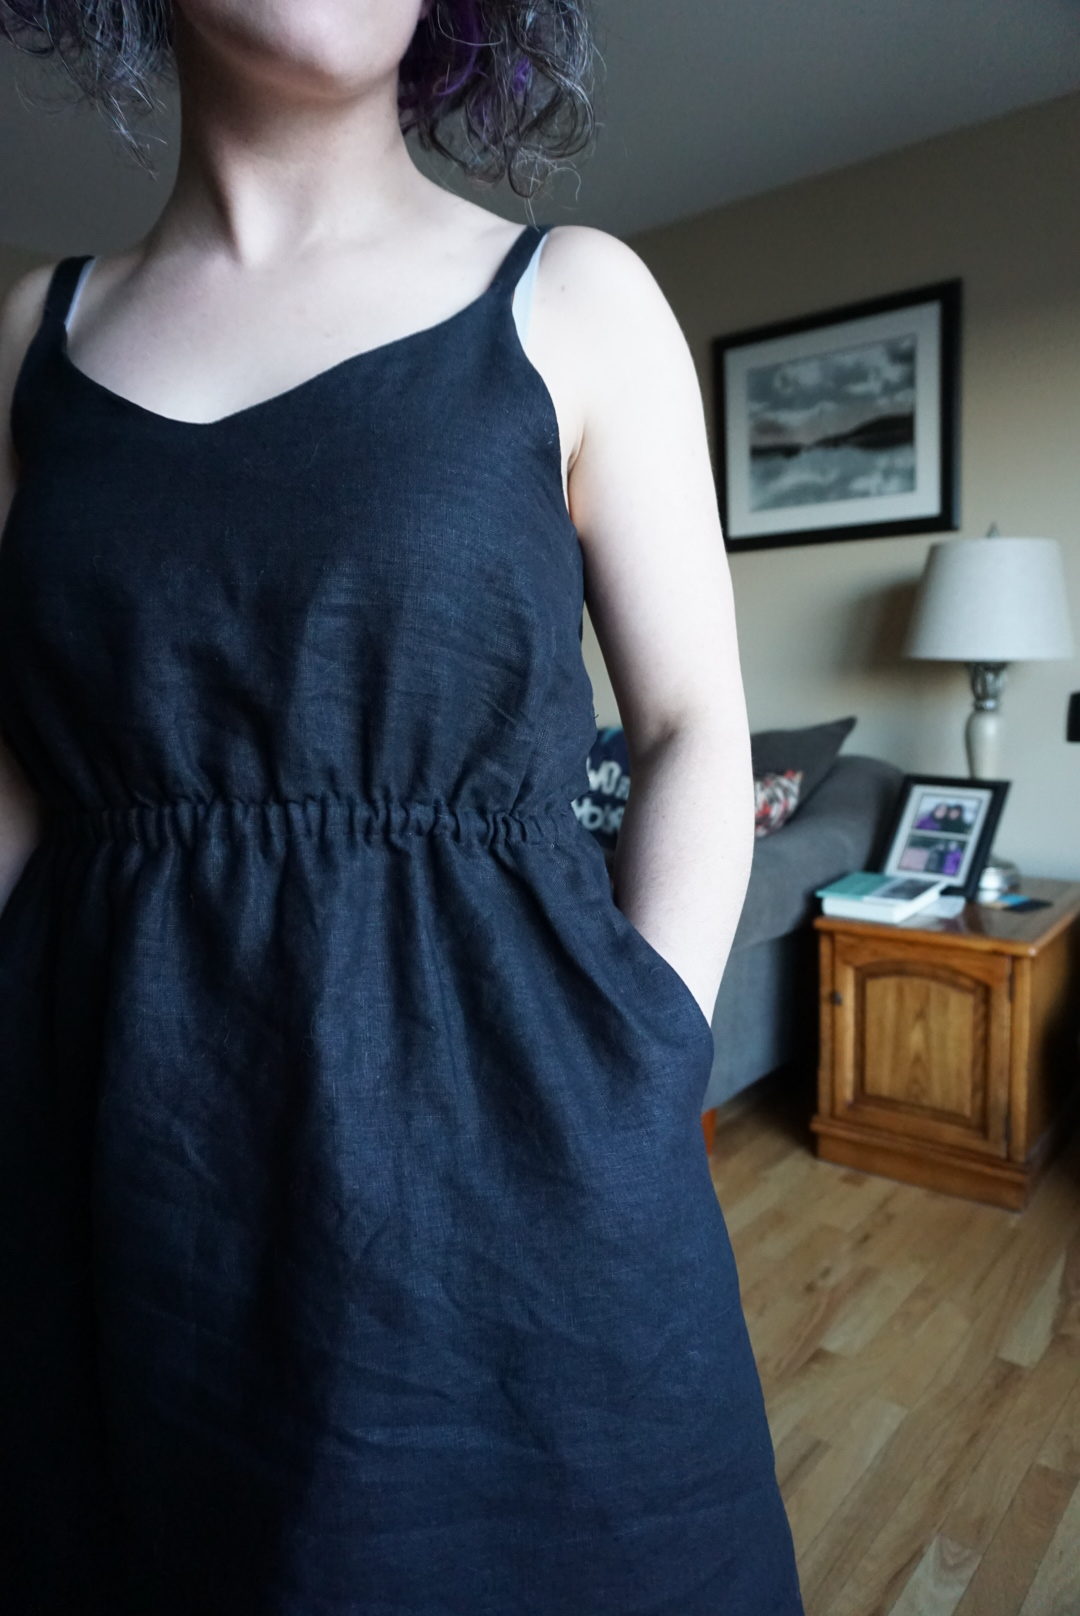

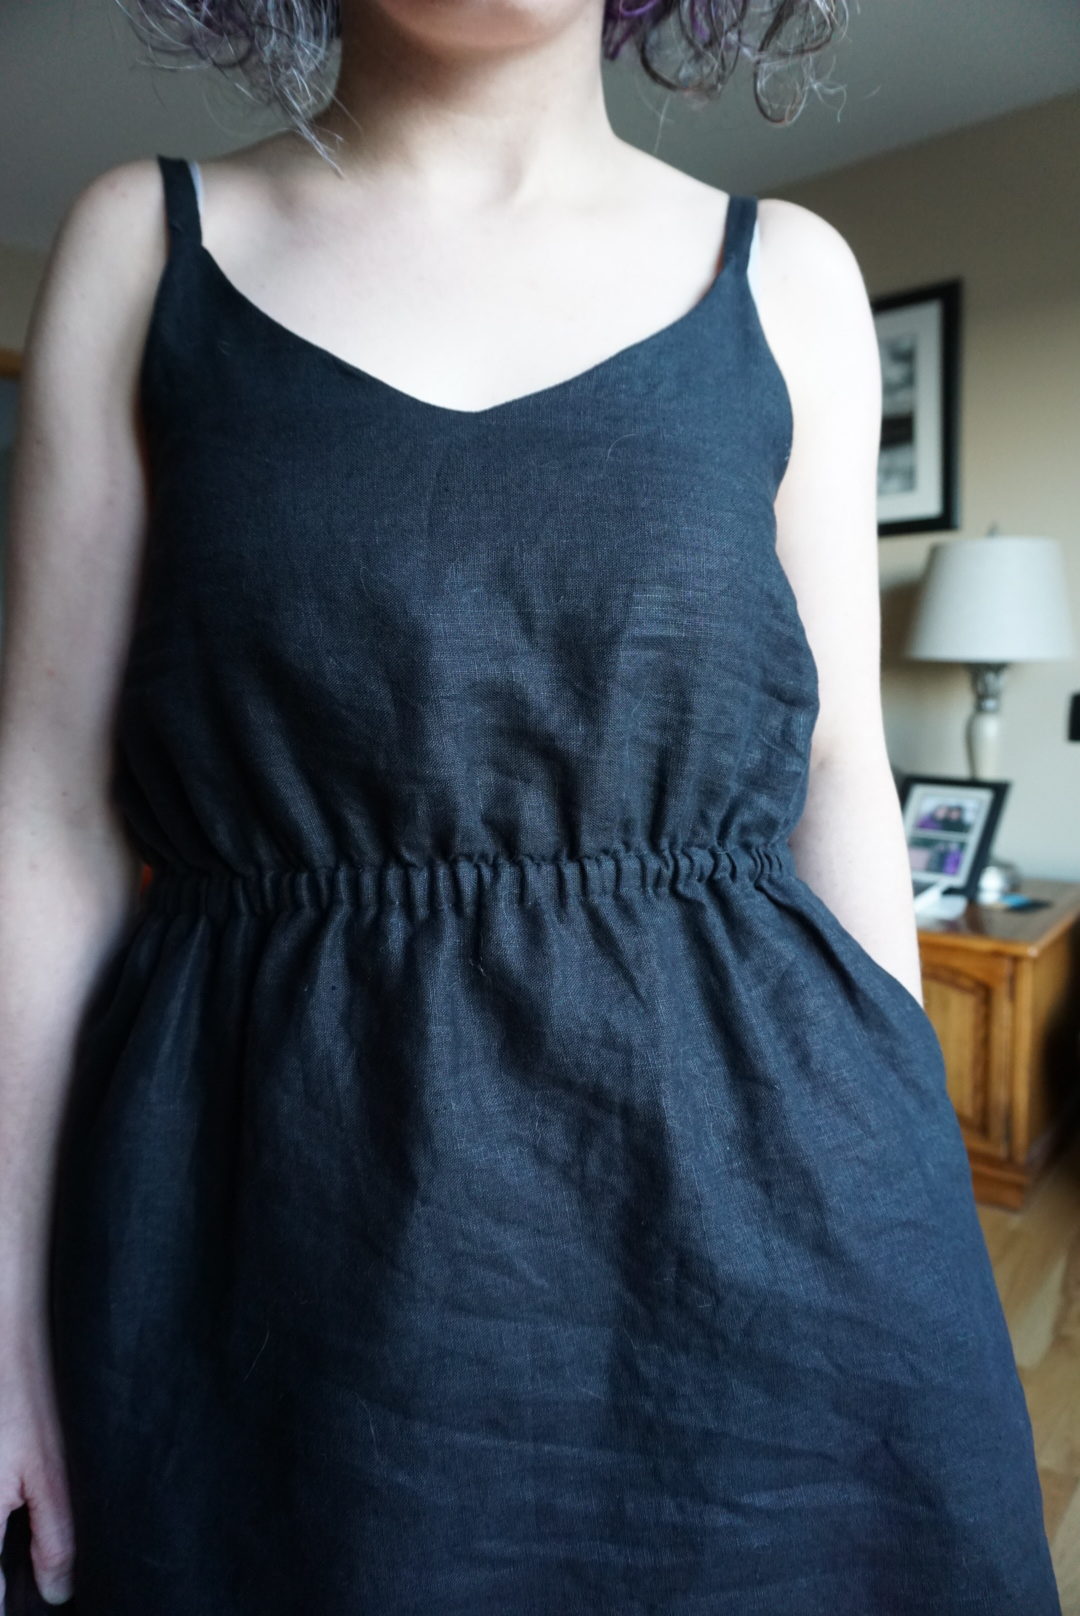
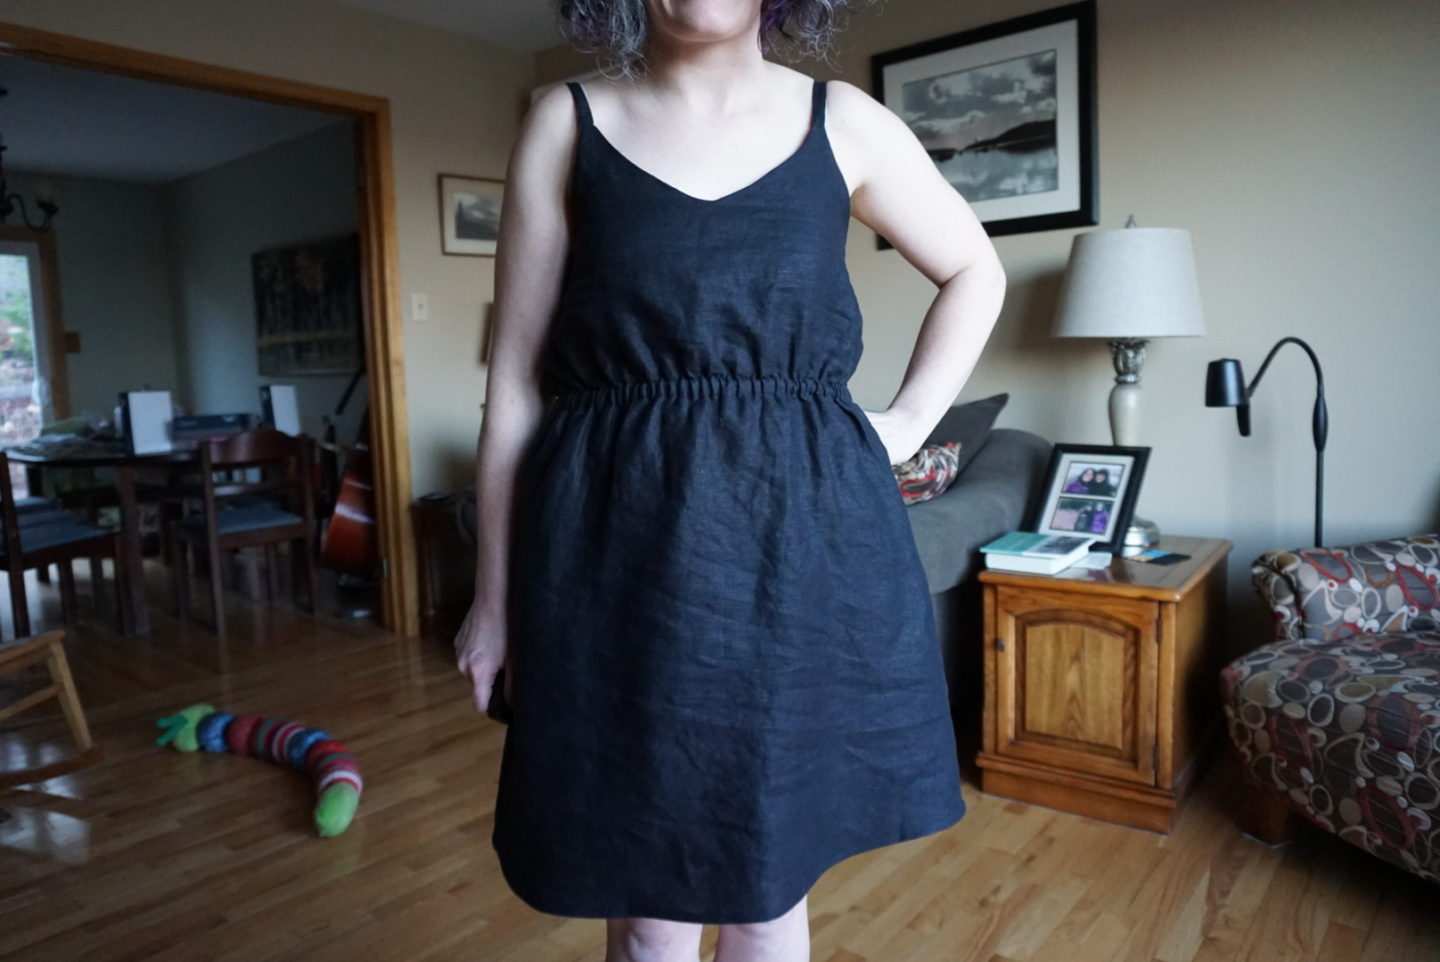
The pockets were a saga. I was so careful with pocket placement because I knew I wanted them to be at the perfect height. Because of this, I sewed a little bit down on the side seams at the top in order to be able to assembled the top with the facing and straps. Then I could put it on and test with my hands exactly where I wanted the pockets to sit. I did this, sewed the pockets on, sewed up the side seams, tried on the dress and realized the pockets were a whopping SIX INCHES too low. I think what happened was that I was thinking of the top of the pocket opening as my gauge instead of taking into account where the bottom of the pocket bag would end up for my hands to sit in. I used the pocket piece from the Closet Core Charlie caftan, but after unpicking the pockets and resewing them and the side seam, I ended up changing the shape of them on the fly. I found the opening for the pocket was ending up too high on the dress even though I liked where the pocket bag lay. I shaved it down on the top by about 3″ and redrew the curve, stitched just inside the line I drew with chalk and then refinished the edges along where I cut it off. The top of the pockets in their final placement ended up ~2″ down from the lengthen/shorten line.
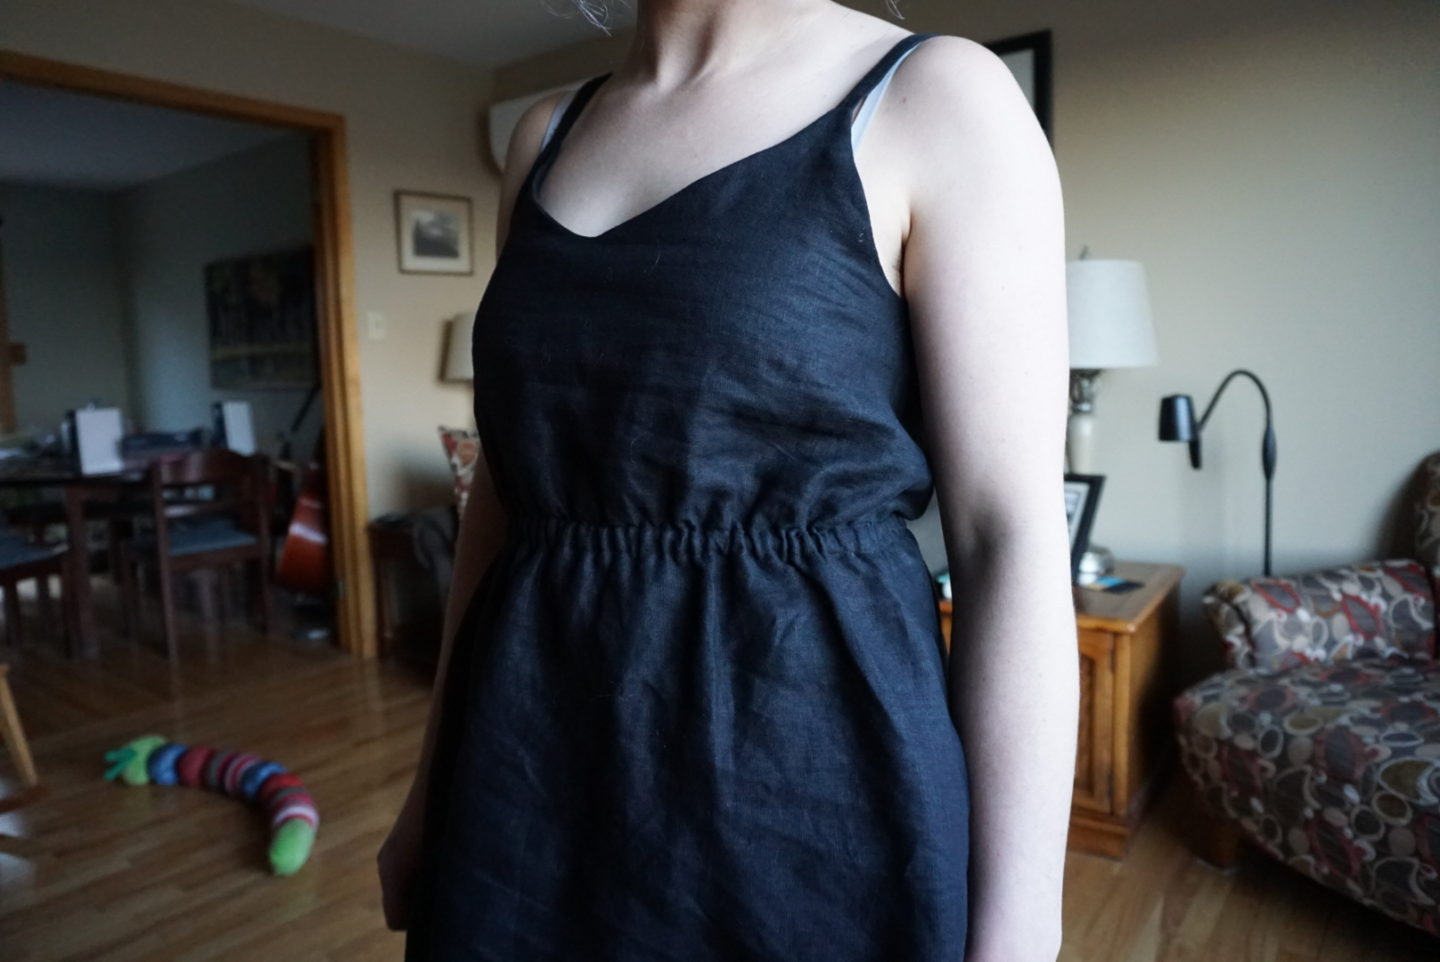
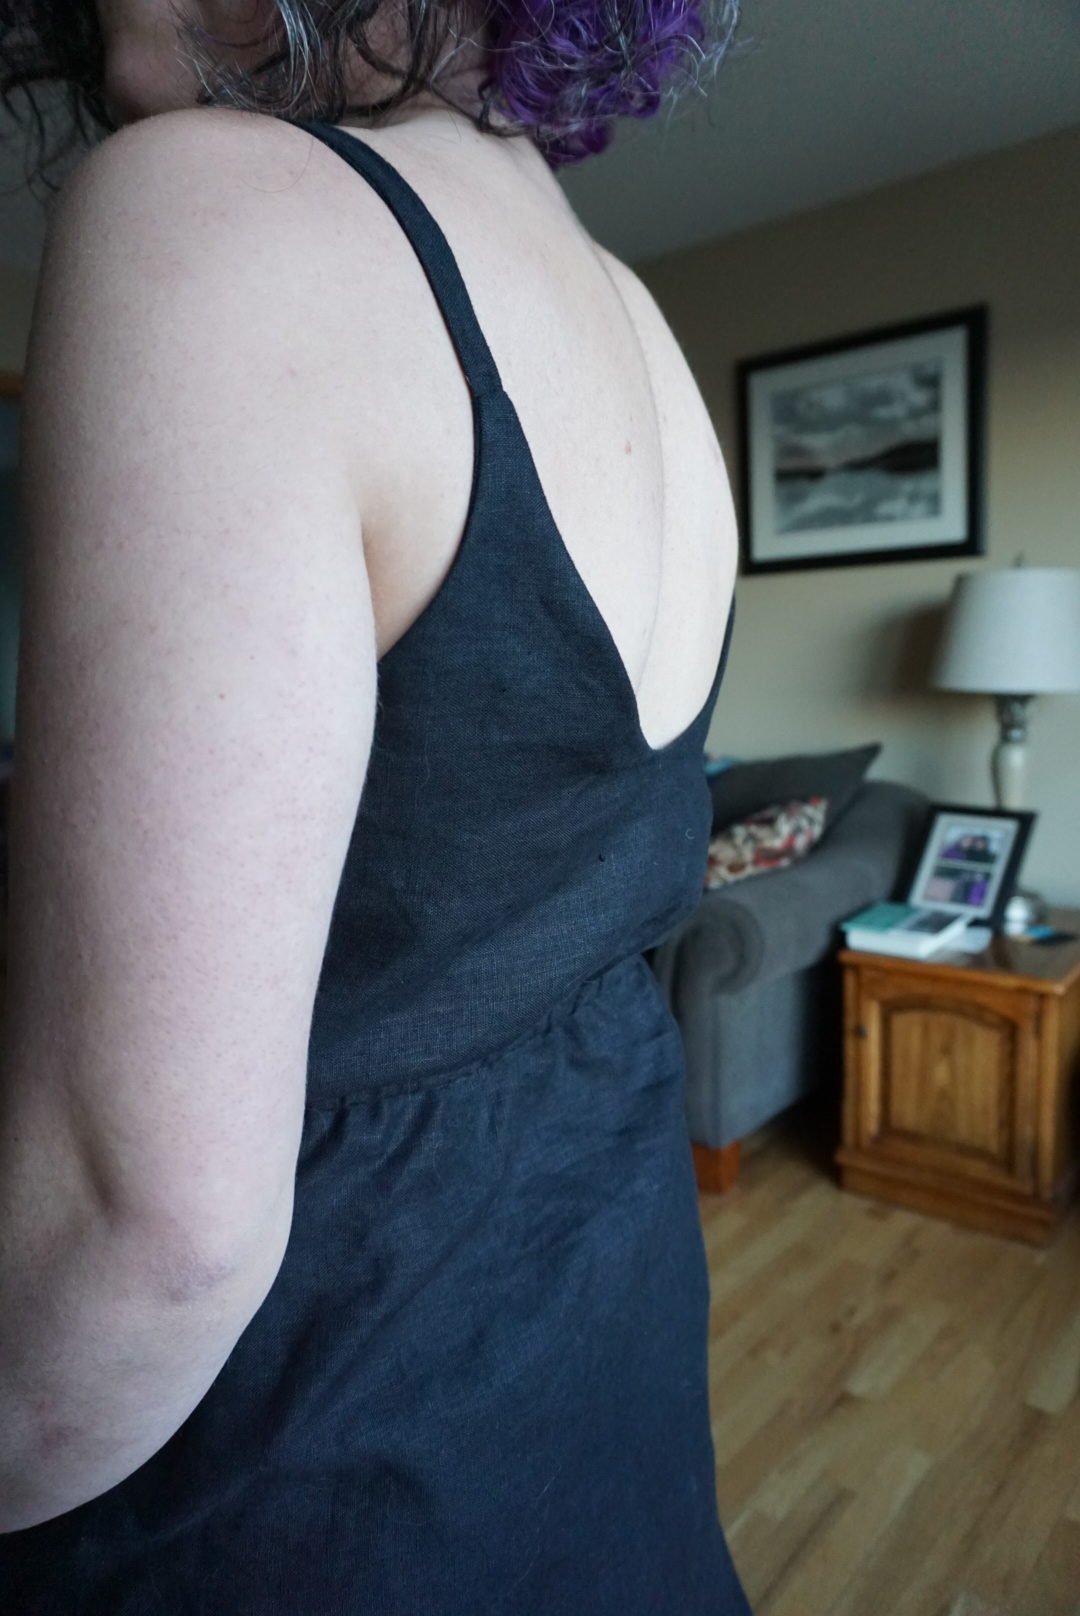
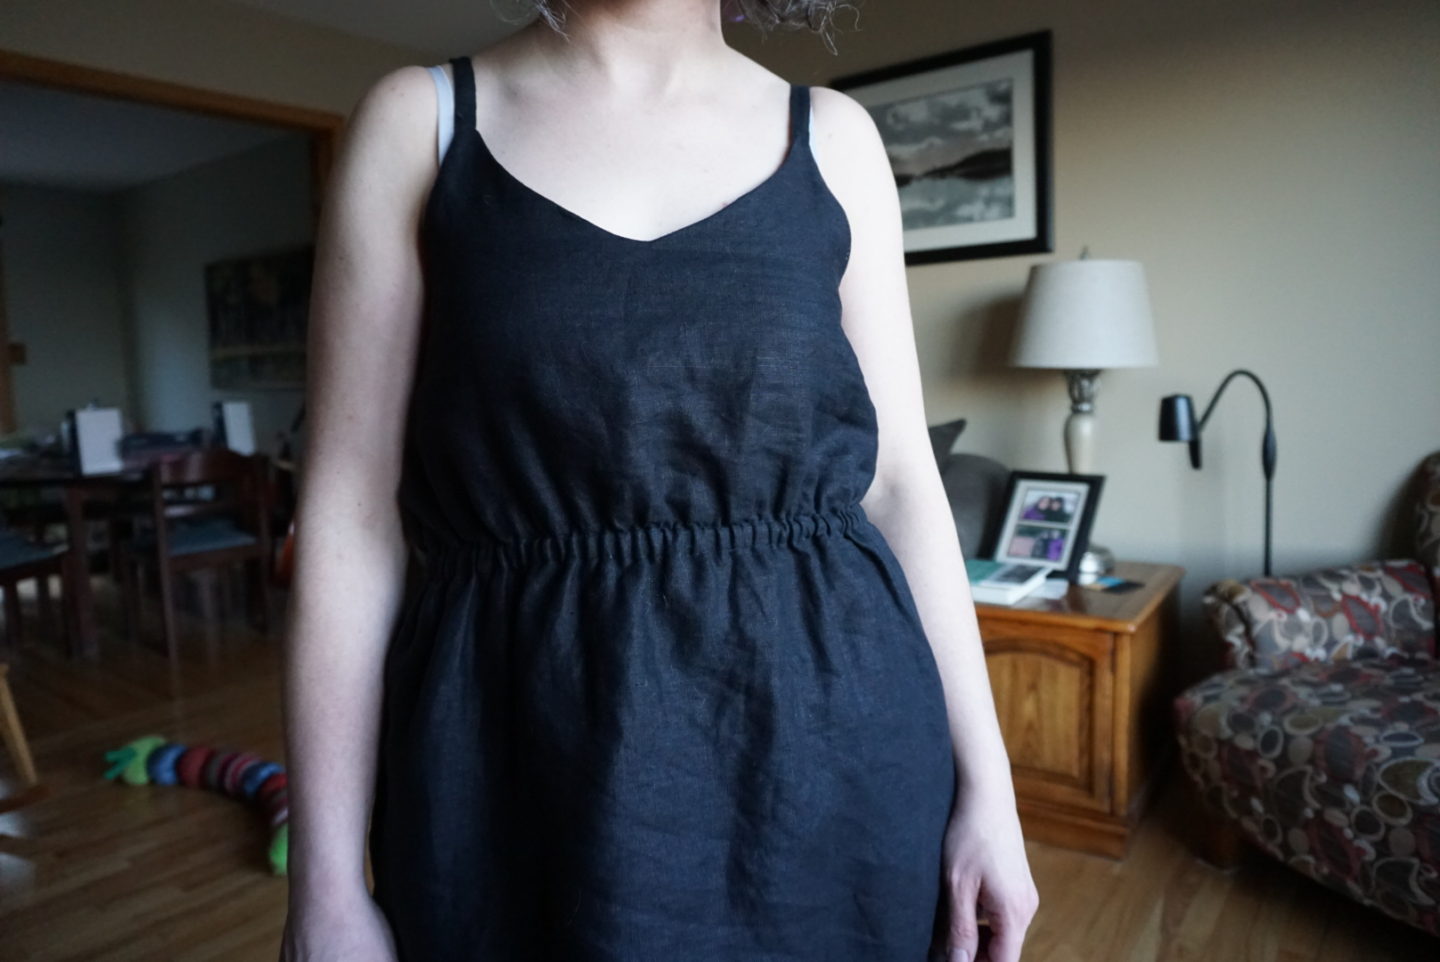

For my elastic, I used a 1/2″ wide elastic. For the channel, I cut a 1.5″ wide strip that ran the width of the fabric, and pressed in each long edge by 1/4″. I started and ended at the side seam and finished it after elastic insertion by folding in the end and stitching it down to cover the raw end of the strip. In terms of placement, the top folded edge of the elastic channel is 5/8″ above the lengthen/shorten line. I picked that measurement by standing in front of a mirror with the dress on and holding the fabric in at various heights (very precise) and then marking with chalk at center front where I liked it. I ran the elastic channel straight around at that level, parallel to the ground. Based on the volume of fabric at the sides (as you can see below) I’m wondering if I could make it go higher just at the sides in order to pull some of that fabric down and reduce the blousing effect in that location. I used a 29″ length of elastic (fed the entire package length through and then pinned it to test how tight I wanted it), which includes a 1″ overlap where I zigzagged the ends together to close the elastic circle. One other thing I might change re: the elastic is to use a narrower one in future, but I don’t mind this one. Also, confession: I cut the dress on the crossgrain to save fabric. And I can’t remember how much fabric I bought but it used most of it. I’d make your pattern pieces and lay them out to see how much you’ll need if you plan to replicate this hack.
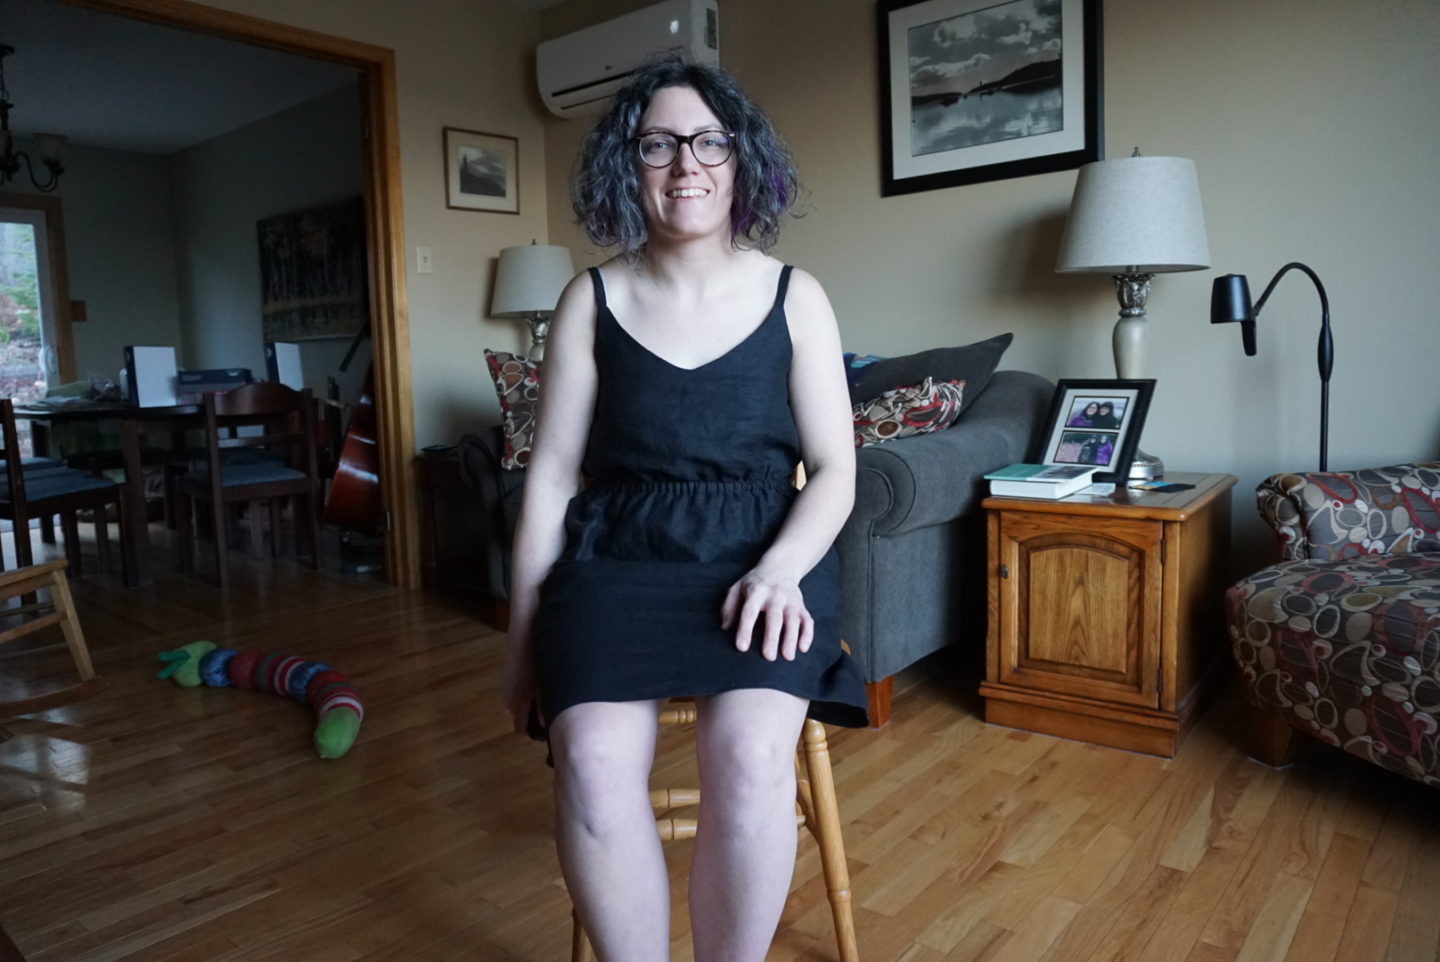

Finally, I wanted to finish the blog post with some seated photos of the dress. I’ve been guilty of not taking seated photos of my makes and I have no good reason for not doing it, especially considering the Very Good Reasons FOR doing it (#sewnshownseated). For those who don’t know, it’s valuable for people who use a wheelchair to see how a garment looks seated, since clothing (including tops) looks much different when your legs are at a 90 degree angle. This hashtag and movement was started by Gina @sewdisabled on Instagram, who you should all be following! In future, I’m going to make sure that all of my makes (where it’s relevant – sometimes I make bags and pottery and quilts!) have seated photos as well, because it’s important!
