
I’m here today to bring you something a little different. Instead of sewing, I wanted to show you my first batch of finished pottery! I had been wanting to try a pottery course for SO long. The local art university offers extended education courses in pottery but they never worked with my schedule because pre-pandemic, I always taught evenings. FINALLY this past spring, I was able to snag a spot in an intro course that ran for two months and fell on a night I didn’t teach. And then, pandemic. All classes were cancelled. I was really disappointed. NSCAD is not running their extended education courses in person for the foreseeable future, but luckily this fall I was able to get a spot in two three week intro modules that ran on Friday nights at the Nova Scotia Centre for Craft. These short courses unfortunately didn’t include throwing, which I had been looking forward to most, but at this point I’ll take what I can get! The first section was on bowl-making, and the second was supposed to be on vases and planters, but it got cancelled due to a rise in cases here in Nova Scotia. So I’m here with a bunch of bowls to show you!
The first week we did pinch pots. To make these, you shape your clay into a ball and then stick your thumb into it. Then, you gradually pinch around the circumference of the thumb hole to shape the clay into a bowl and make it thinner. I found this process so satisfying and meditative! It’s kind of freeing coming from a predominantly sewing background to have something like pottery where you can make ANY shape, like completely freeform. And you can decide whatever purpose you want it to be for as you go along. The first thing I made was the little bowl you see below (as we go through this, you’ll see I apparently have an obsession with little bowls). I liked how sweet and cute it was, so I used letter stamps to add a little phrase to the top edge, “just a tad”. I glazed it by submerging the whole thing in blue glaze during our third week where we got to turn our pots from plain bisque-fired pieces into ones that could be fired a second time in the kiln to become food-safe and colourful.
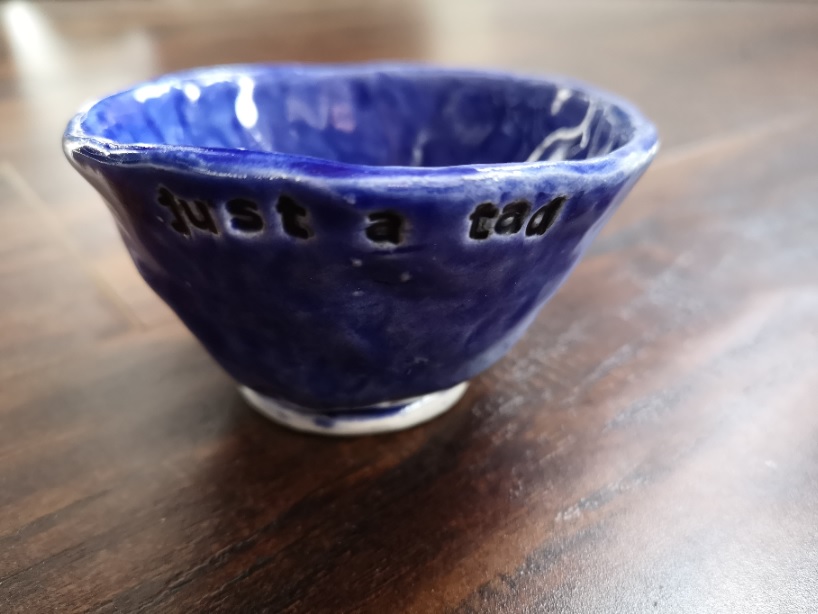
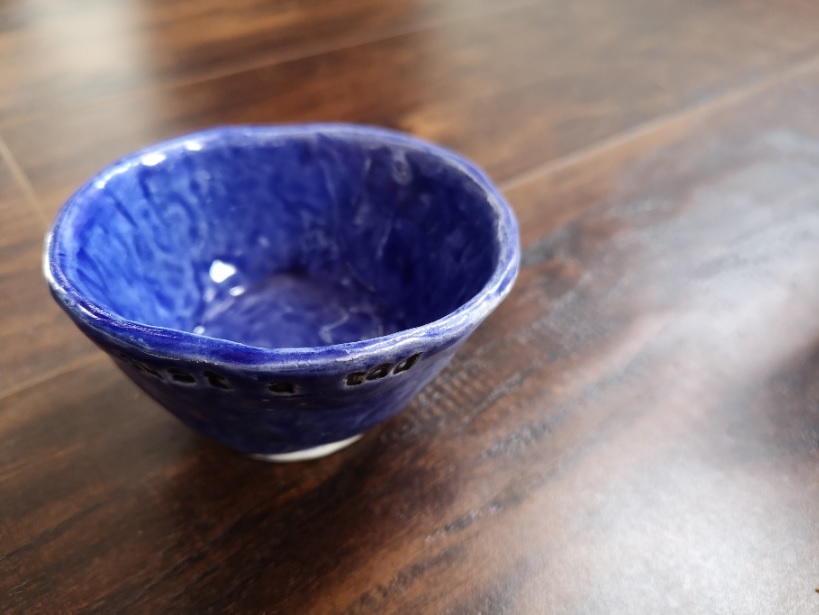
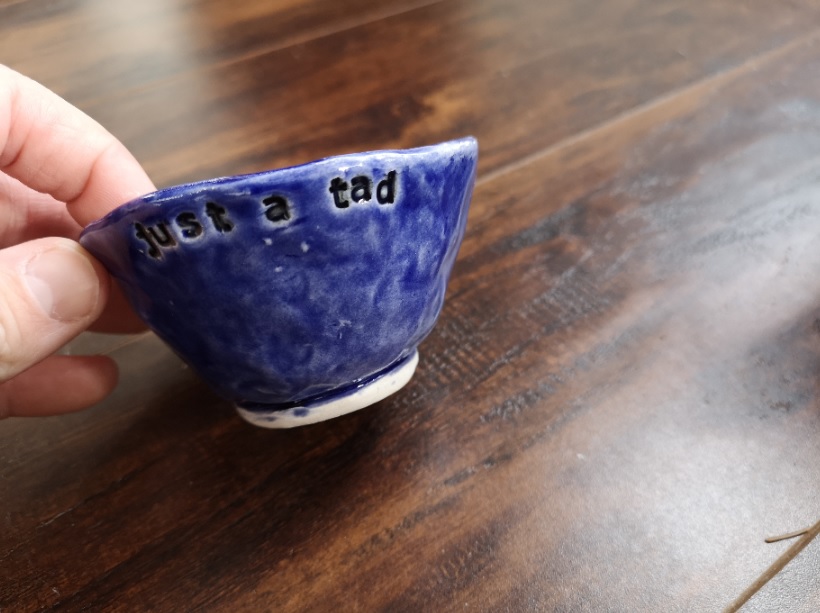
What you see above on the bottom of the blue bowl is something called a “foot”. It’s a base created by rolling a long worm of clay, called a “coil”, and then attaching it in a circle on the bottom. The reason it’s unglazed is because you have to clean the glaze off the bottom of your pots so they don’t get stuck in the kiln and get broken/cracked when you try to take them out. That can happen because the glazes are essentially bits of glass that get melted to create a protective coating in the kiln, so if it was on the bottom it would melt and attach to the surface it was on top of.
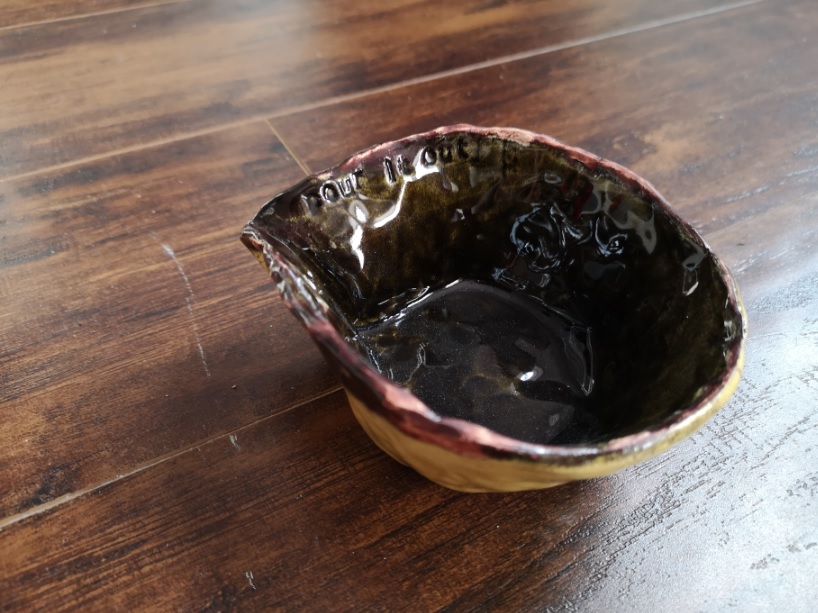
The second thing I made during the first week of pottery was this bowl with a spout. I’m not sure what I’ll use it for, but I wanted to experiment with a different more asymmetrical shape. I was also still into letters as decorations, so I stamped “pour it out” on the inside of the rim on this one. It pours quite well! I tried it with some water today after I picked it up and was pleased with how it functioned. This one doesn’t have a foot, but I did two different colours of glaze. I dipped the outside in the lighter colour first using tongs, and then after it dried a bit, poured the darker glaze inside and swirled it around to cover the whole surface. I purposefully put a little drop coming out of the spout. The glazes are so strange to work with because they’re undergoing oxidation in the kiln. Prior to being fired, they look completely different. This dark green was actually a dark coppery red prior to firing, and a lot of the others are very similar looking and very pastel.

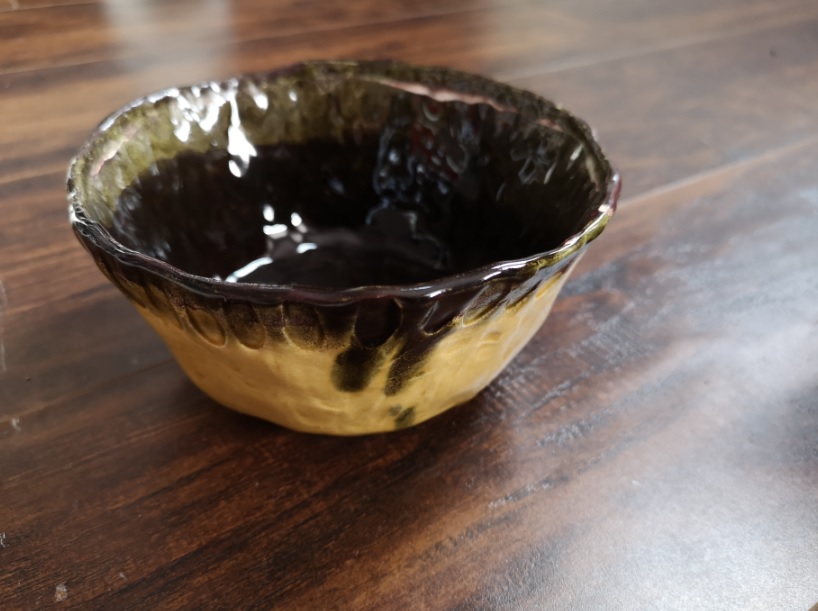
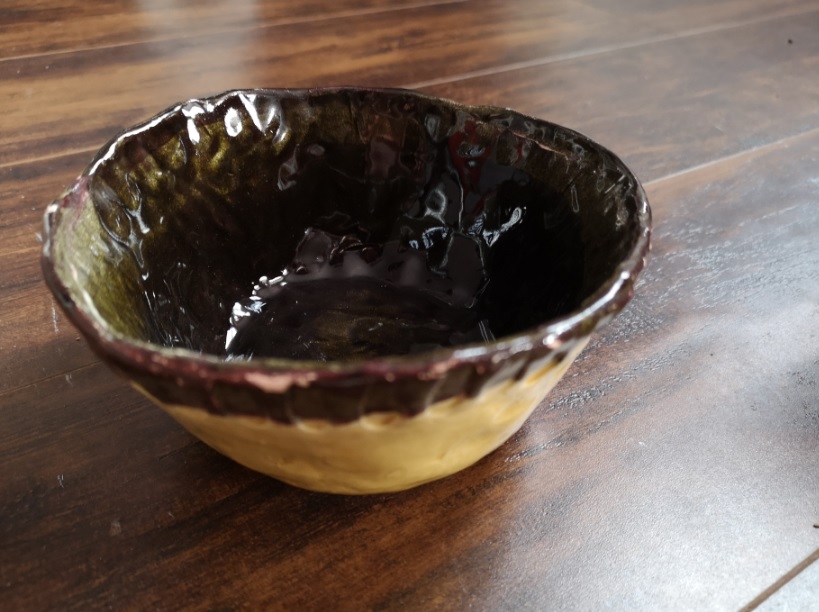
This is another pinch pot, and this time I used a tool to press a design around the outside rim. For glazing, I dipped the outside, then swirled the inside, and then dipped the top rim to get the dark green over the top edge on the outside. This technique was a bit trickier and I think I ended up applying a bit too much glaze on the top edge, which also happened a bit with the pour pot. If there is too much glaze on it, it actually ends up coming off and leaving the surface a bit raw. I knew this, and thought I had kept it to only two layers in any location, but obviously not! Definitely something to learn from and pay more attention to for the next time I’m using glazes.


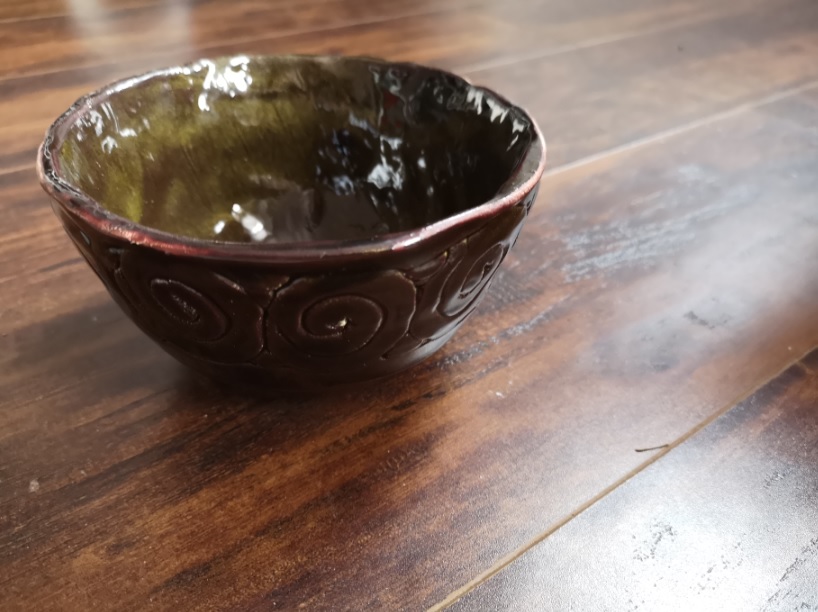
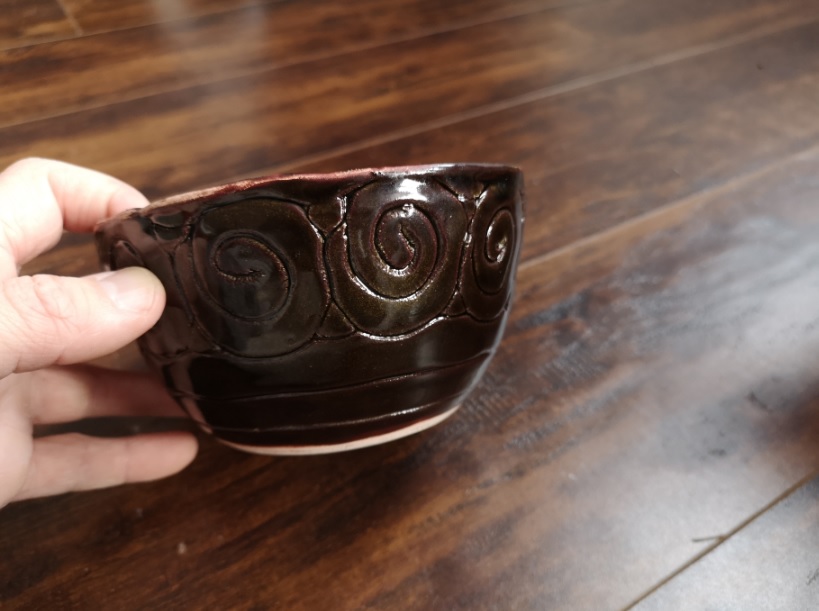
The bowl below is the last one I made during the first week. It’s made using a technique called coiling. You make a bunch of long clay worms and then use them to create a bowl inside a template bowl that’s already been bisque-fired. After you insert the coils in a design of your choosing, you smooth the inside of the bowl to make it stay together as one piece. I kind of missed the freedom of getting to make any shape the way you do with the pinch pots, but I wanted to try the coiling technique at least once during the course. I’m really happy with this bowl, especially how smooth and consistent the inside is. You can apply a lot more pressure to smooth it out when the clay is already inside a solid object, vs putting pressure on a pinch pot since it usually creates finger marks since you’re having to apply counter pressure from the outside. This one I glazed with a dark brown on the outside and the dark green on the inside. I really love the dark green – I’m glad I used it as much as I did!

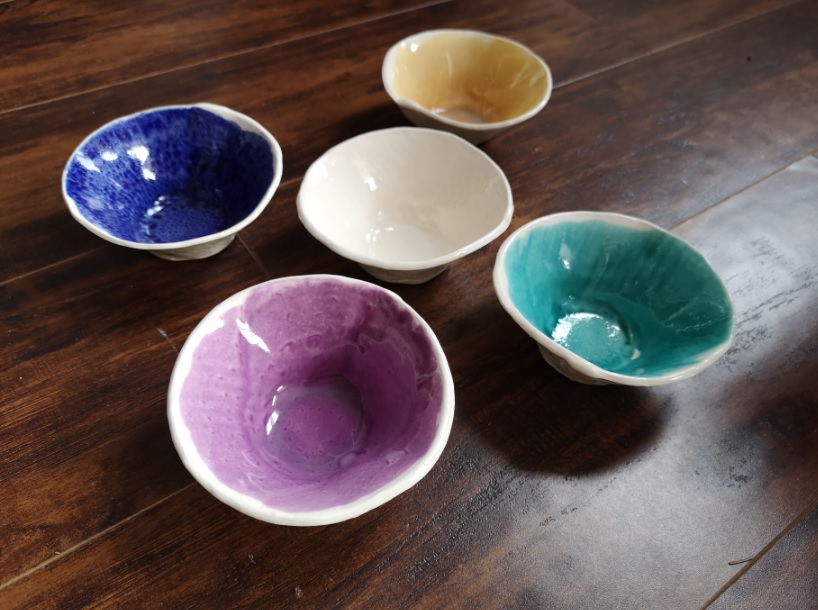
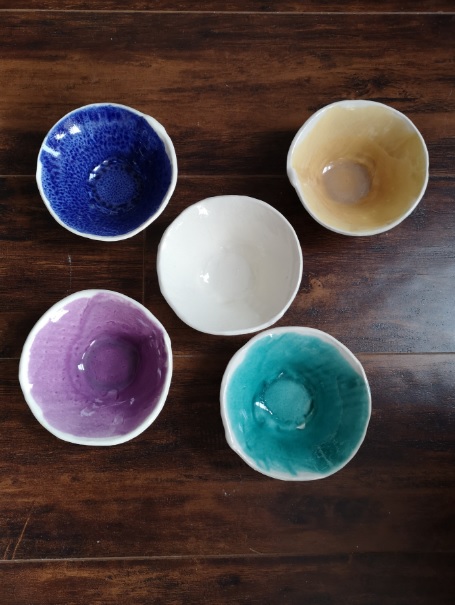
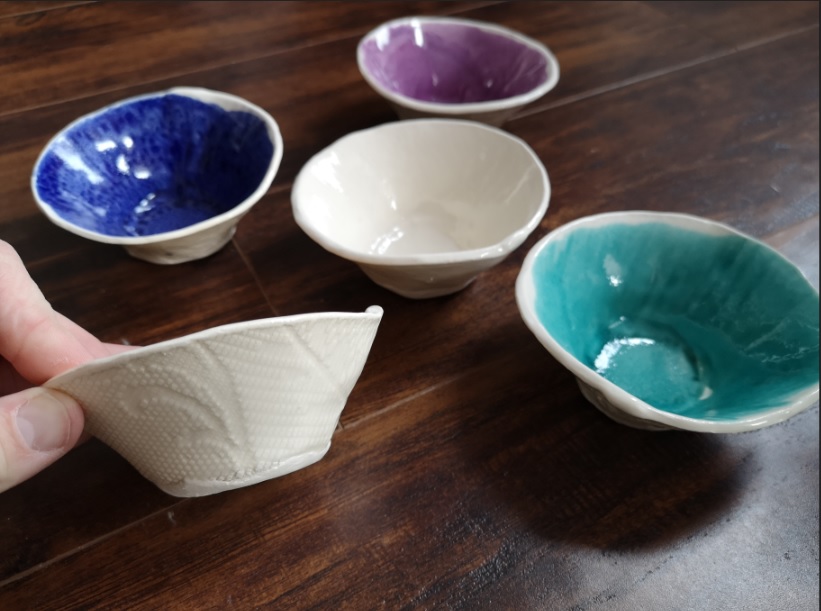
The second week of the course, we did slab building. When you use this technique, you roll the clay out into big slabs and then apply texture to the surface before cutting out shapes in 2D to build 3D objects. This reminded me more of sewing, and I wish I had thought to bring some fabric like linen from home to press into the clay for texture! There were lots of options for texture creation, and for this first set of five small bowls, I used some lace. You lay it over top of the clay and then use a rolling pin to press it into the surface. There were provided templates for us to make various sizes bowls, so that’s why these are all so consistent in size. The piece you cut is kind of fan-shaped, and then you also cut a circle for the bottom. These are then attached and the edges overlapped to create a finished bowl. I found the slab building so much faster than pinch pots, since the shape was already created for you. I made way more bowls during the second week than the first! To make them more interesting during glazing, I used a different coloured glaze inside each of them, leaving the outside blank and leaving one entire bowl to stay plain. All five bowls were dipped in a clear glaze after the colours dried a bit so that the entire surface would be finished and food-safe. There was one coloured glaze available to use to use that was not food-safe, but I stayed away from it because I wanted mine to be functional for eating, as well as not being that drawn to the colour in question anyway.

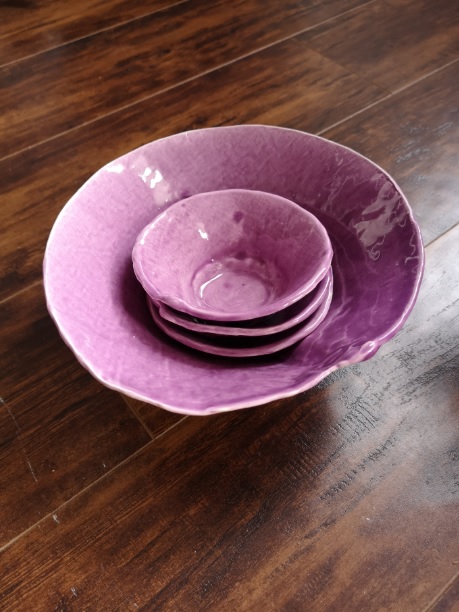
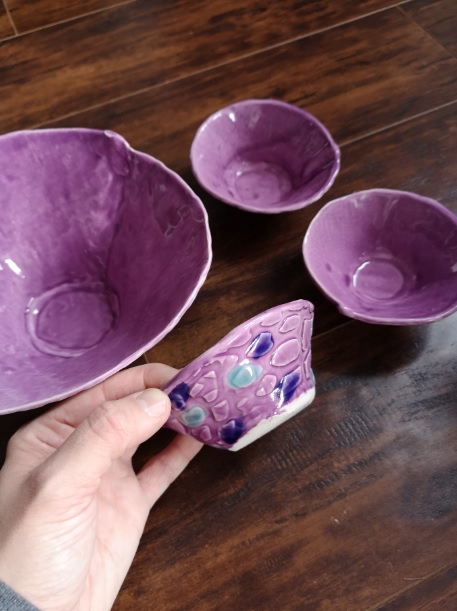
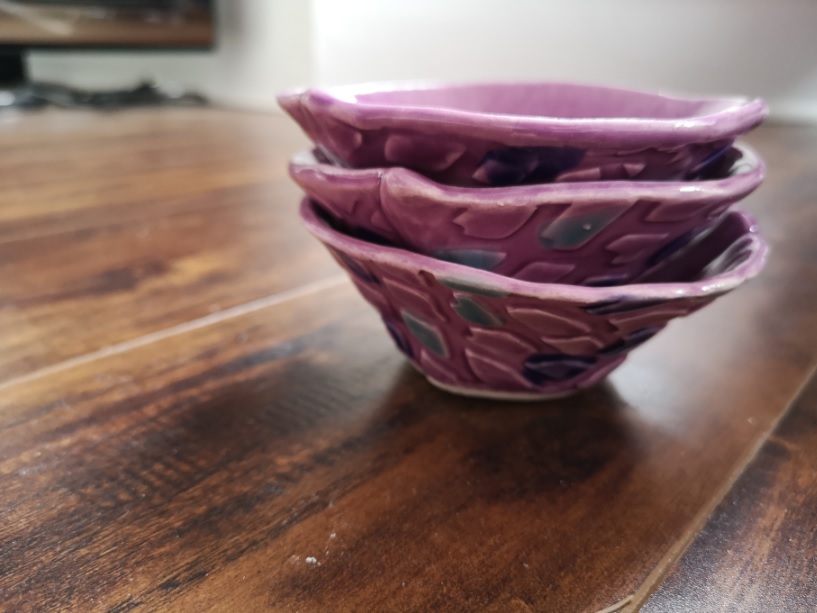
For this last set of bowls, I forced myself out of the comfort zone of Small Bowl Land. I made one giant bowl just to see how it went and because I thought I should actually try all the things since it was my first time doing pottery. It was definitely harder to put together than the small ones because I couldn’t hold the inside of the bottom as easily without knocking my hands against the high sides. I used a plastic netting to make this dragon-like texture on the clay. It kind of reminded me of scales, so I glazed it purple all over and then went back to paint on top with other colours randomly to emphasize the scale texture. I wasn’t attempting to be really precise with how the colour matched up with the actual shapes of the scales, and I like the blob effect that happened. It kind of reminds me of water colours! I had enough clay left in the rolled out sheet to make three small bowls after the big one was cut out. I’m not sure if I’ll keep these ones as a set or not, since they’re all quite similar. I think the ones above kind of belong together to be more interesting. What do you think of these – should they stay together or can they fly solo?


The last things I made during this little pottery course were these three ornaments! I had some spare clay left from the lace imprinted roll-out, so I used cookie cutters and a straw to make these three ornaments. I think I’ll end up giving them as add-ons to gifts this year.

Overall, I really loved getting to try pottery! I definitely want to do it some more, and hopefully learn how to use the wheel eventually. I’m sad the second part of my course got cancelled because I was looking forward to applying what I’d learned in this segment and improving on it for next time. Plus, I wanted to make planters! Not that I couldn’t put plants in some of these bowls, but I had plans and dreams for the planters I was going to make. Have any of you tried pottery before? What did you make? How did you find it compared to sewing?