
I’m back! I didn’t intentionally not post anything for two weeks, but at the same time, with everything that’s going on, it does feel a bit weird to post my face and my sewing even now. I wrote some stuff on Instagram if you want to read it, and here today I’m just going to write about this thing I have sewn. The main reason I wasn’t posting was because my sewing machine was in getting tuned up for the past couple weeks, so I wasn’t sewing much. Today I’m bringing you a pattern hack of the Helen’s Closet Ashton Top, which I made into a dress that is kind of a riff on the True Bias Southport Dress. Hence why I am cheesily calling it the Ashport!
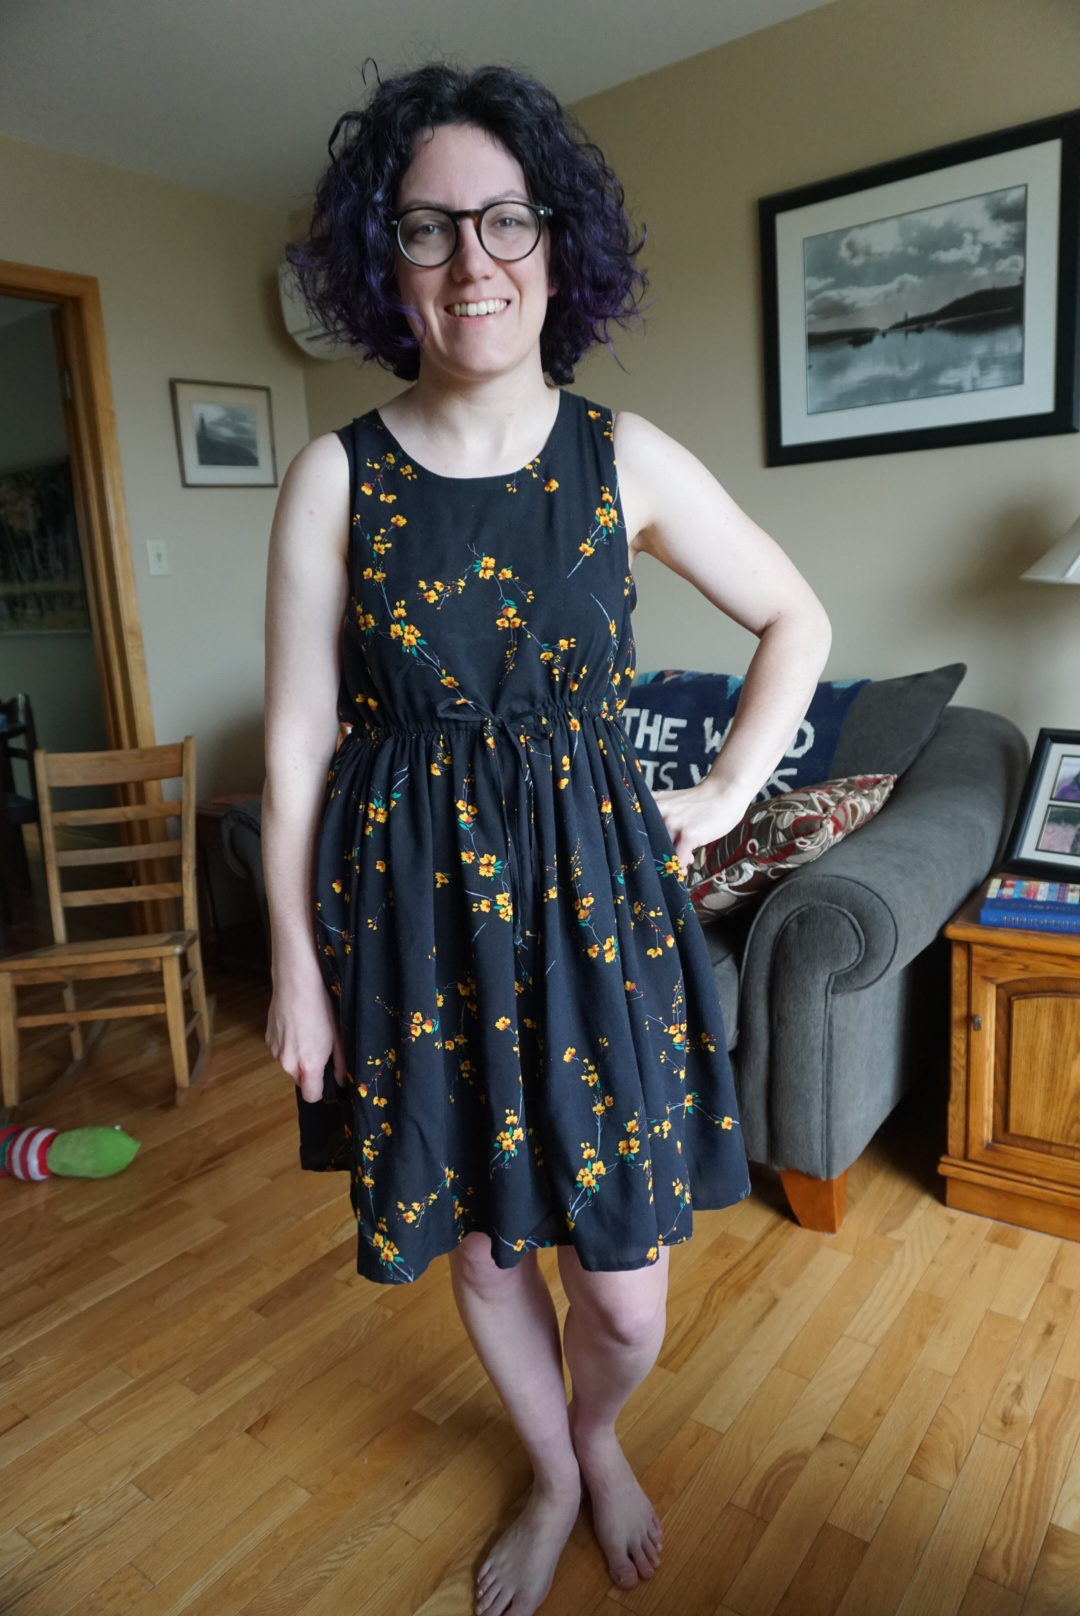
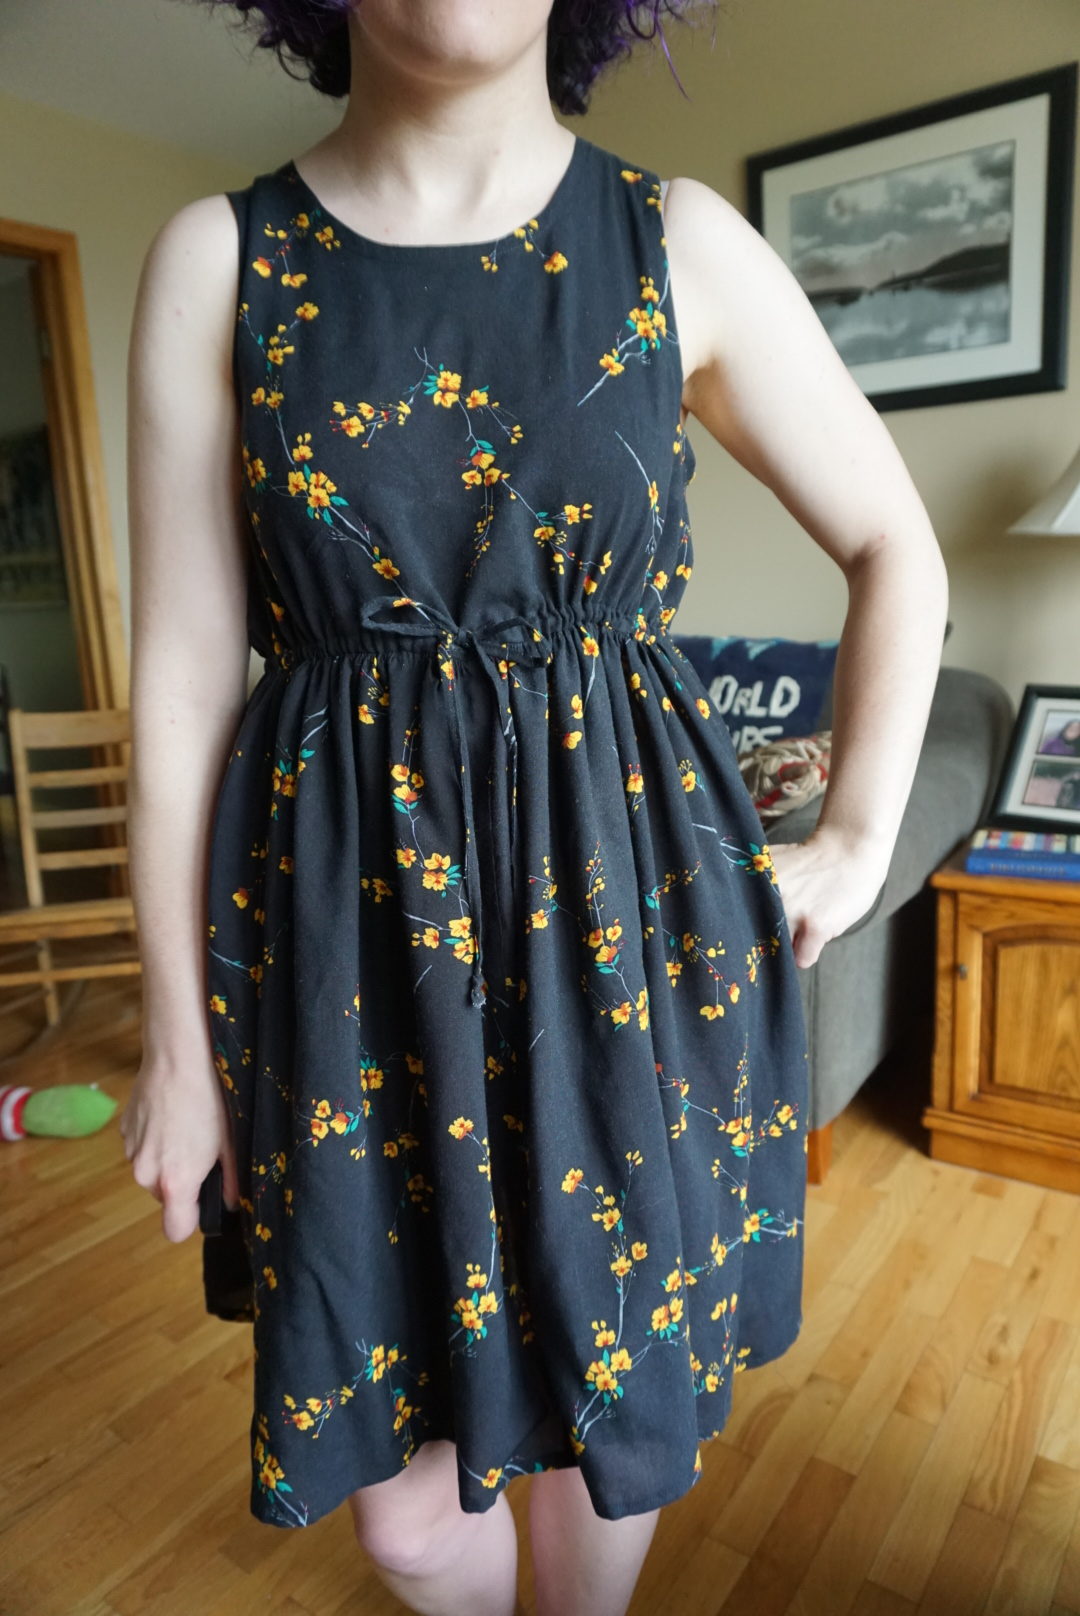
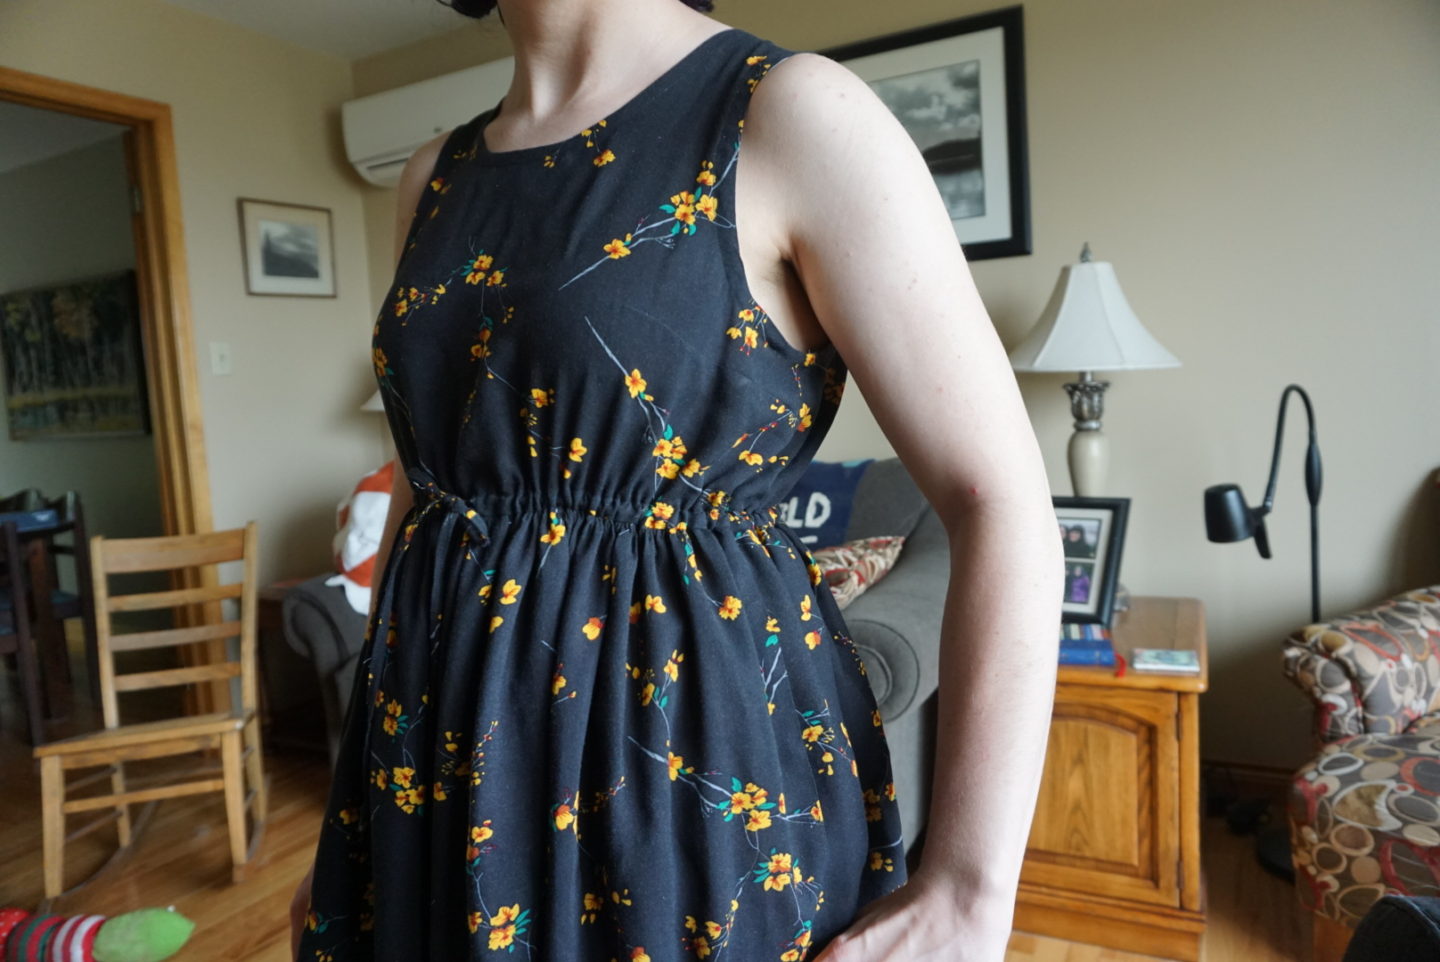
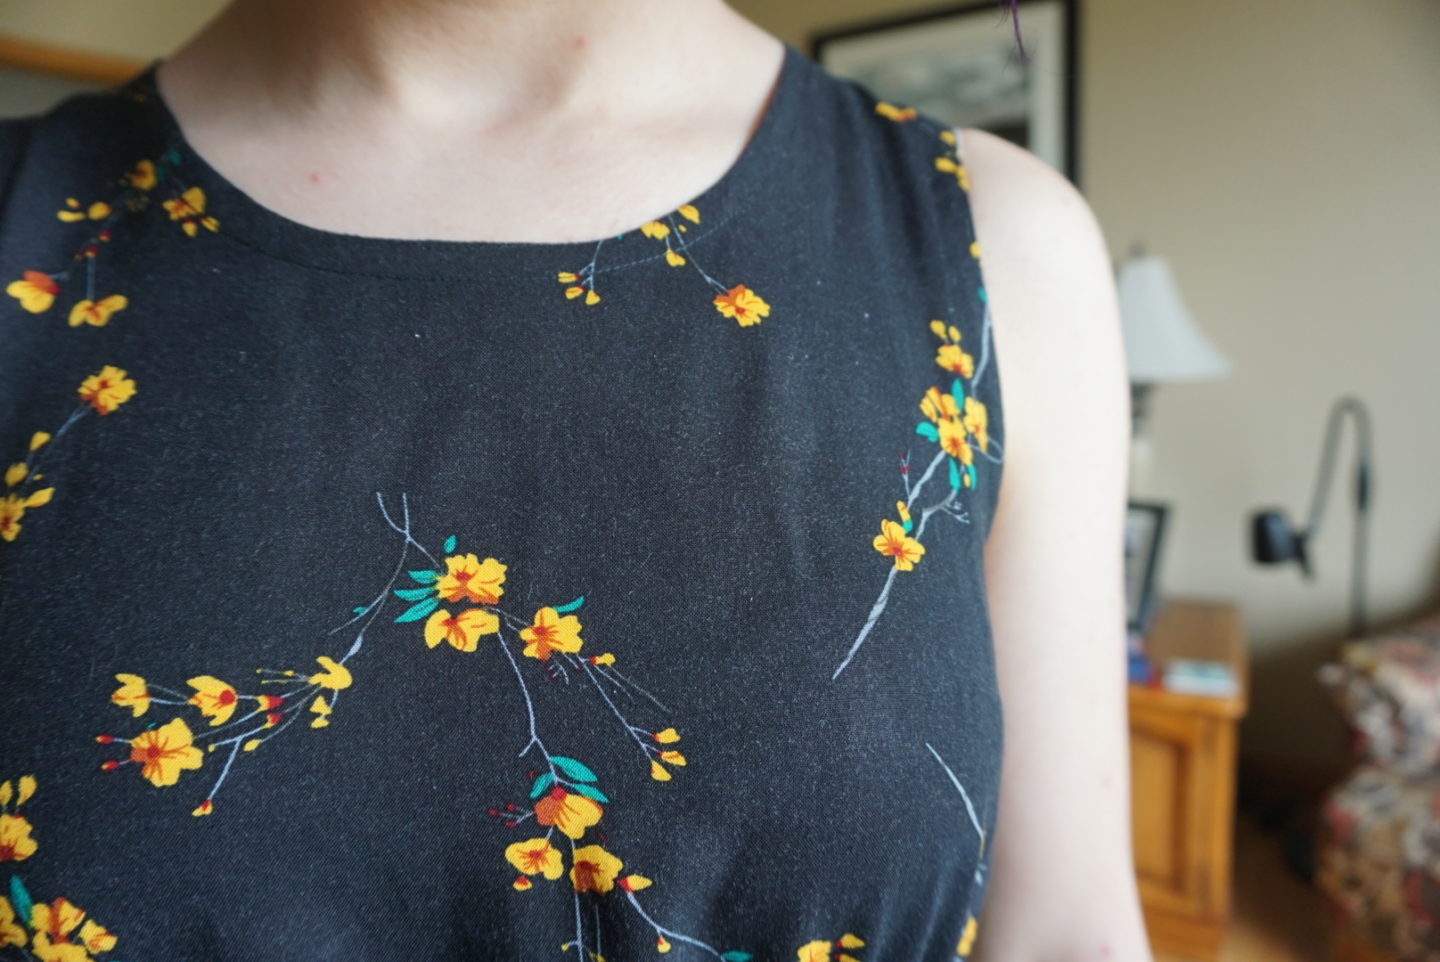
As you can see, this is a sleeveless drawstring waist dress. I’d been searching for something in this kind of style for a long time because I have a few rayons that I’ve been holding onto in search of something I’d wear ALL the time and hadn’t found it yet. I used the Ashton top as a starting point, which is in keeping with my intent to try to buy patterns I think I’ll use a lot. I made the cropped tank a couple weeks ago so I’d already had a crack at the pattern. I made a straight size 10 before and my only issue had been the dart placement. For this version, I raised the dart by 1″ and I think that part’s basically perfect now.
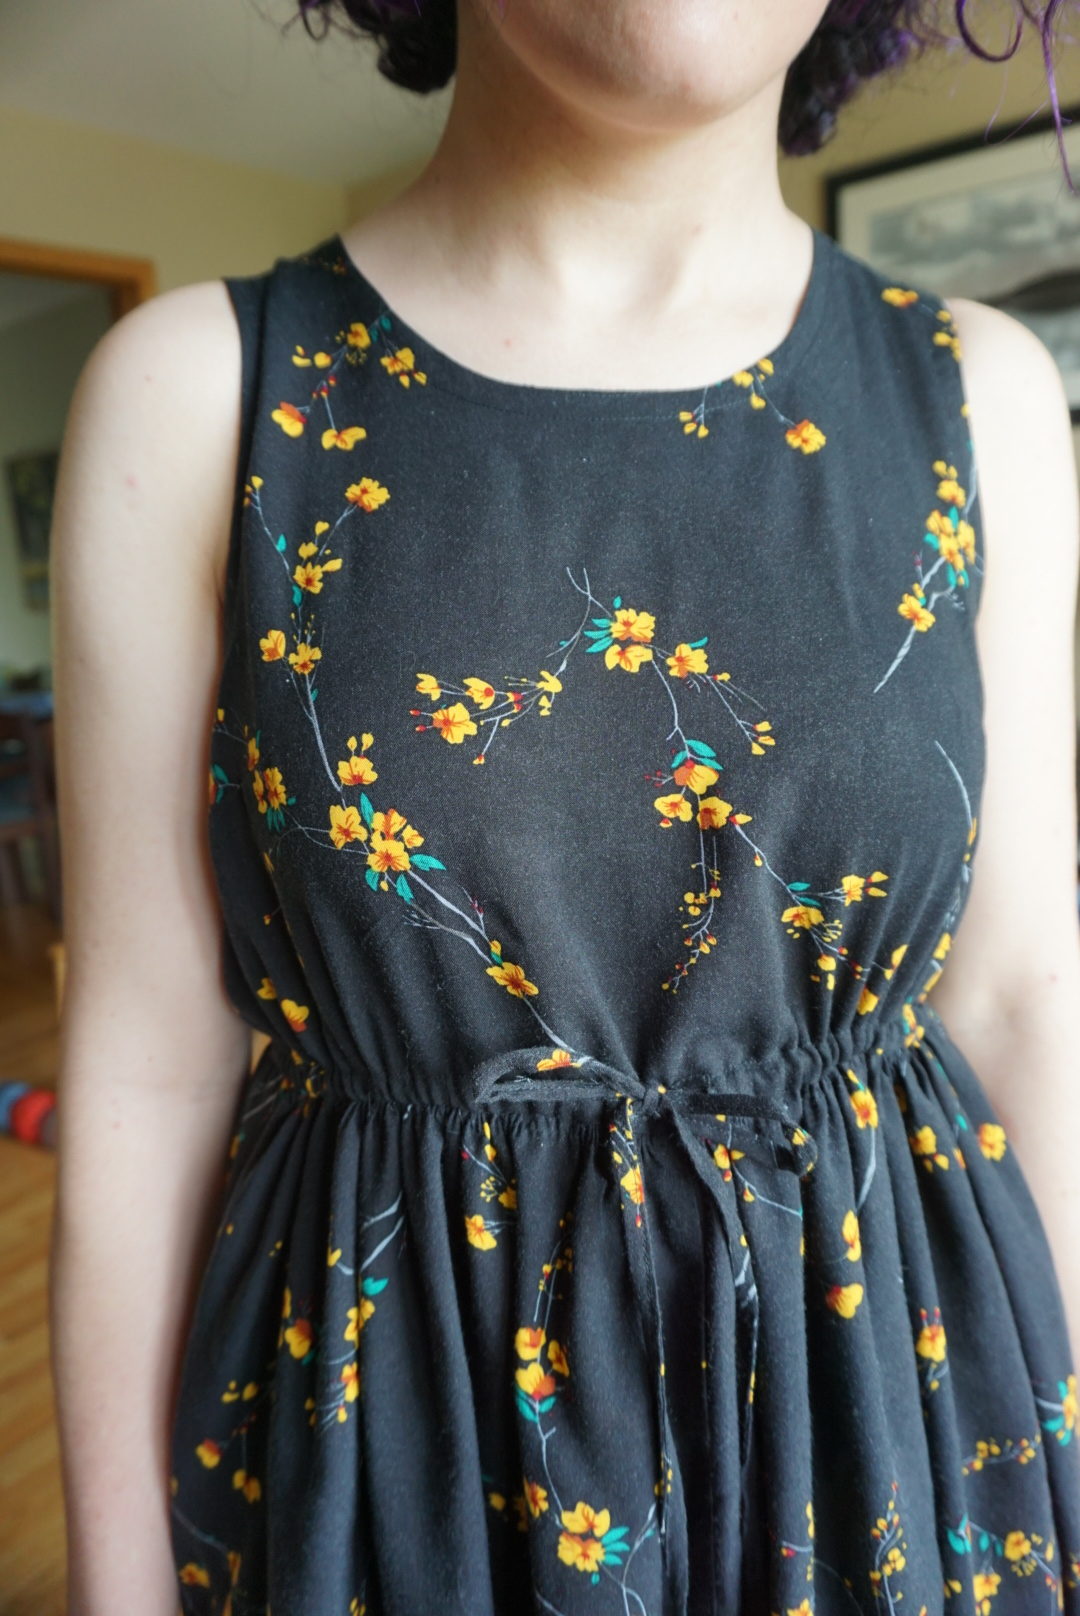
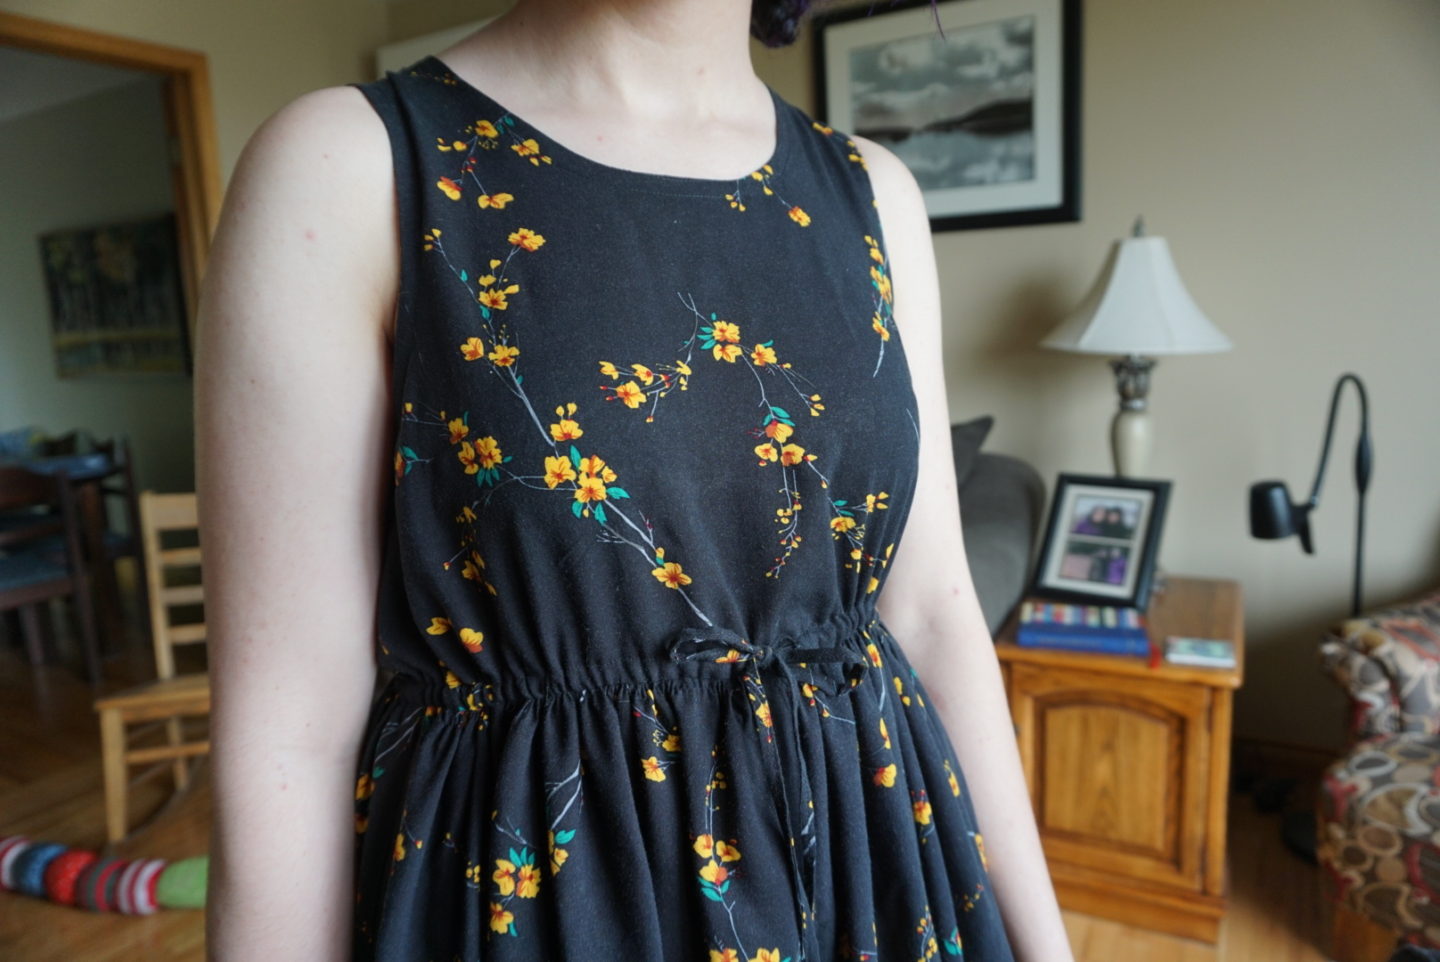
When I first tried at converting the Ashton into the “Ashport”, I added two rectangular panels that were the exact same dimensions as the width of the hemline on the cropped tank, which was around 23″ on this size. The panels were 27″ long. I attached the bodice to the skirt at 5/8″ seam allowance and then after serging the edge, added buttonholes at the center front for the drawstring to come through and then top-stitched the seam allowance down to make a channel for the drawstring. The drawstring was made from a straight grain strip of fabric that I folded inward on itself like double fold bias tape and then top-stitched it down. It came out to a width of about 3/16″, and I ended up needing ~5 feet of it, but that will vary depending on your measurements so I’d recommend just making a bunch like I did and then cutting after. I didn’t have one continuous strip either, I just sewed a bunch together end to end based on the amount of width I had in my fabric scraps and it turned out fine.
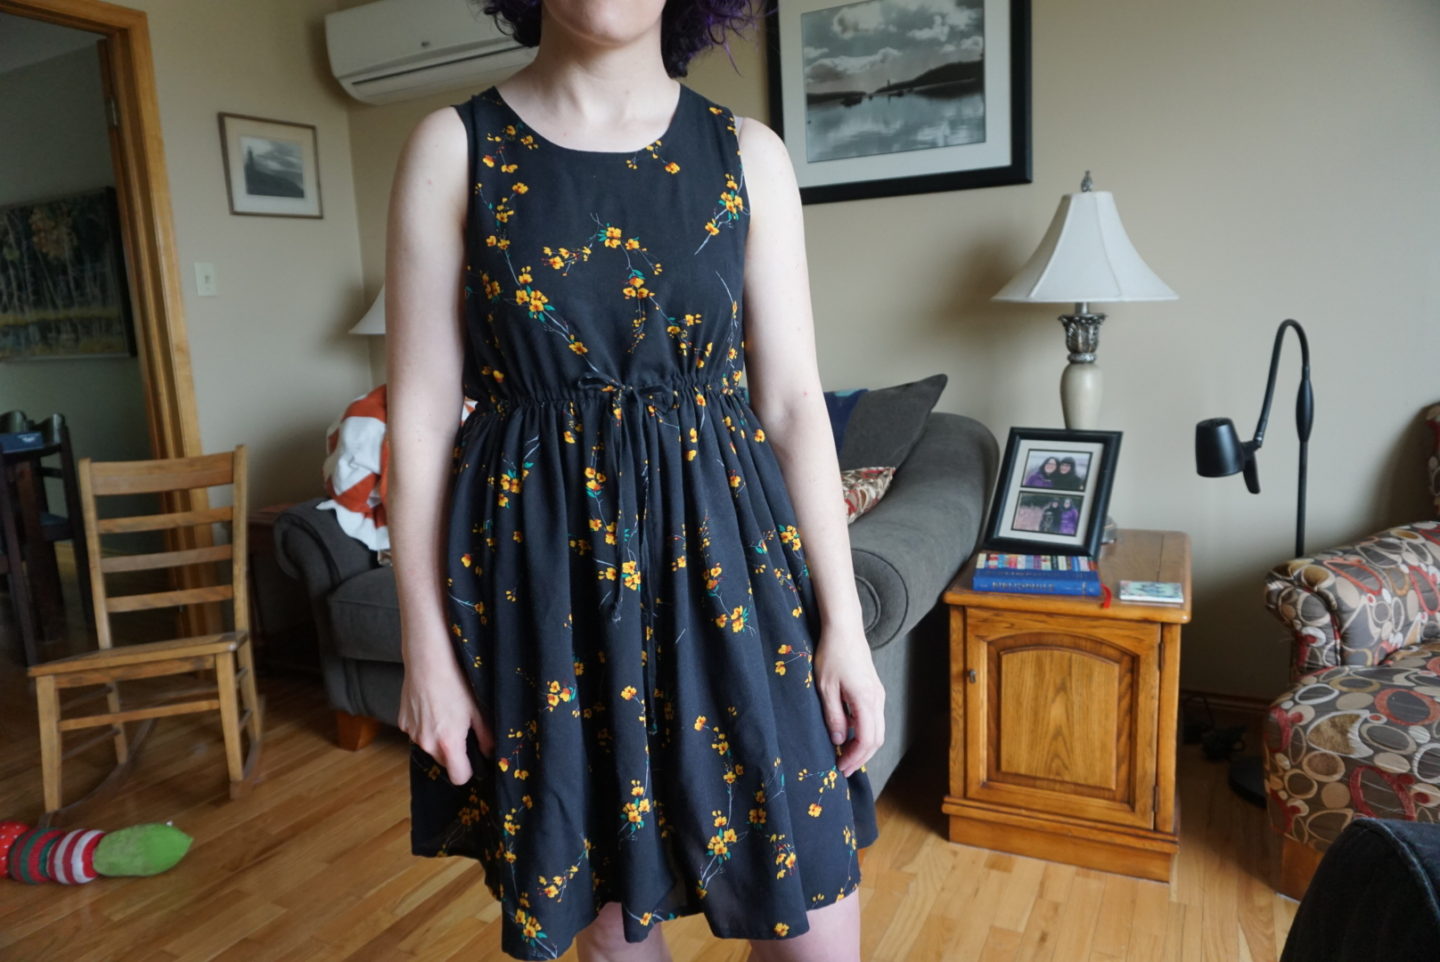
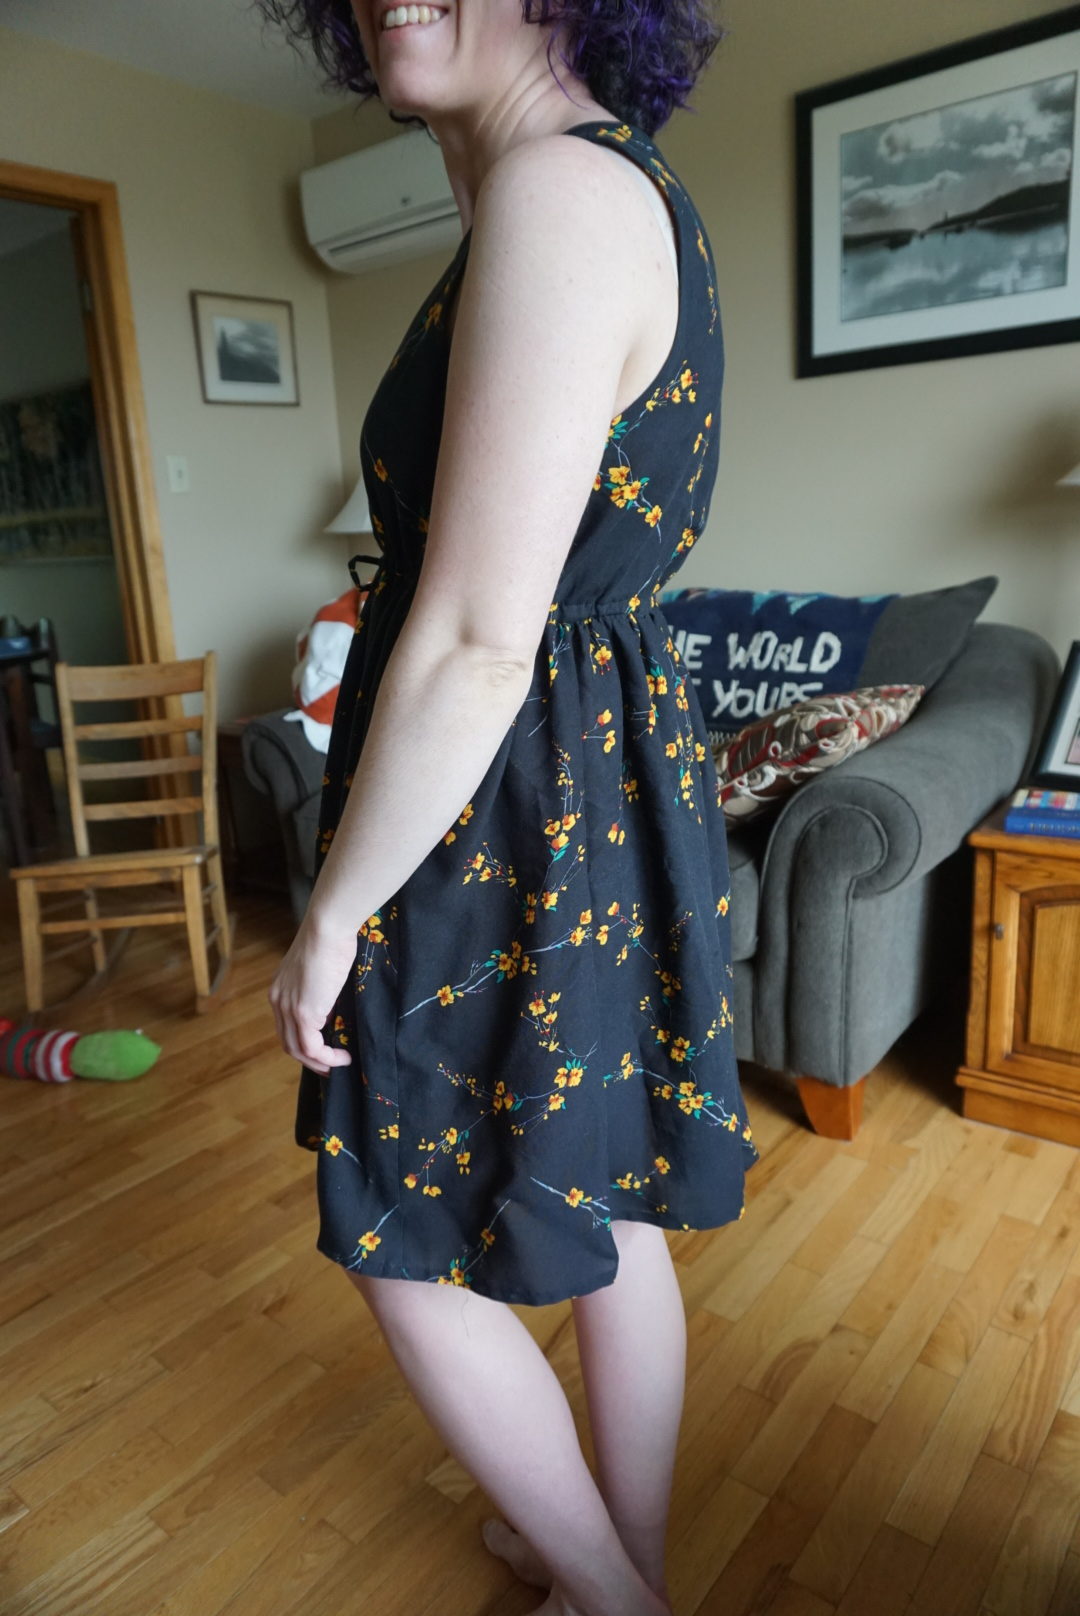
That first Ashport, when finished, was not really what I was looking for. I wish I took pictures! There wasn’t as much volume in the skirt as I wanted, which made me feel constrained, and the waistline was way too low on me. So I cut the garment apart to make my modifications and saved it instead of starting from scratch again. (You might recognize this fabric because I also used it to test the bridesmaid dress I made in the fall!) I removed 3 1/2″ from the bottom of the bodice, and doubled the amount of fabric in the skirt by adding another panel equal to the two I’d already sewn, which means my panels were double the width of the bottom of the hem of the top (approx. 44″/115cm, which is a common fabric width). I then gathered them and sewed them to the bodice. I didn’t use pockets on this, but I think I’m going to add them to my next version and have already figured out a pattern piece that I’ll be able to tack into the waist seam to prevent sagging. The other thing I changed was the length of the skirt, which ended up at 23 1/2″ instead of 27″, and I did a narrow hem of 1/4″ folded up twice. Everything else I did the same as the first time, and the outcome was the Ashport dress you see in this post!

I reaalllyyy love this hack! I think I’ll wear this test version a lot, and the only thing I think I’d change for the next one is to remove 1″ each from the side of the front and back pattern pieces (4″ total circumference removed) at the waist, grading to nothing at the armhole, because I found there was a LITTLE too much volume of the bodice at the sides for my taste. I pinched it to see how much I could remove and 2″ per side seemed about right. The other thing I think I could fool with is the neckline, which I miiiight want a bit lower, but I’m not mad about the shape it is right now. Hopefully this post gives you all the info you need to make your own if you want to! I like a drawstring waist on a dress because it looks cute but is very forgiving for fit! Also, this time I did bias tape finishing using Helen’s “thirds” method which turned out surprisingly flat for me, and I think I might be more willing to try bias binding finishes again in the future using that method!
I’m feeling more excited to sew again after two weeks of not really feeling it even if I’d HAD my sewing machine at home to use. I think there might be another Zadie in my future (I know, I know, it’s a problem, I’m obsessed, gonna do it anyway), and hopefully the “real” version of this dress with a stash fabric I’ve been precious about.

Hi Megan – love this hack. I also love the simple, well drafted and extremely wearable Helen’s Closet patterns. I’m very new to sewing – started a few years ago when I retired. I live in Cairns (far north Queensland, Australia) and simple designs in natural fabric work really well. When you graded from waist to armhole at the front, did it change the dart/bust area/measurements? Regards, Sandra
This is just lovely! I think I may try and replicate with some handkerchief-weight linen, which I plan to shibori indigo dye…I’ve made 2 Ashtons with the sleeves expansion, so I think if I start with with cropped tank, that might get me close…
Author
Iris! That sounds beautiful! I kind of want to drop everything and make my own linen version right away! Thanks for giving me that vision. 🙂