
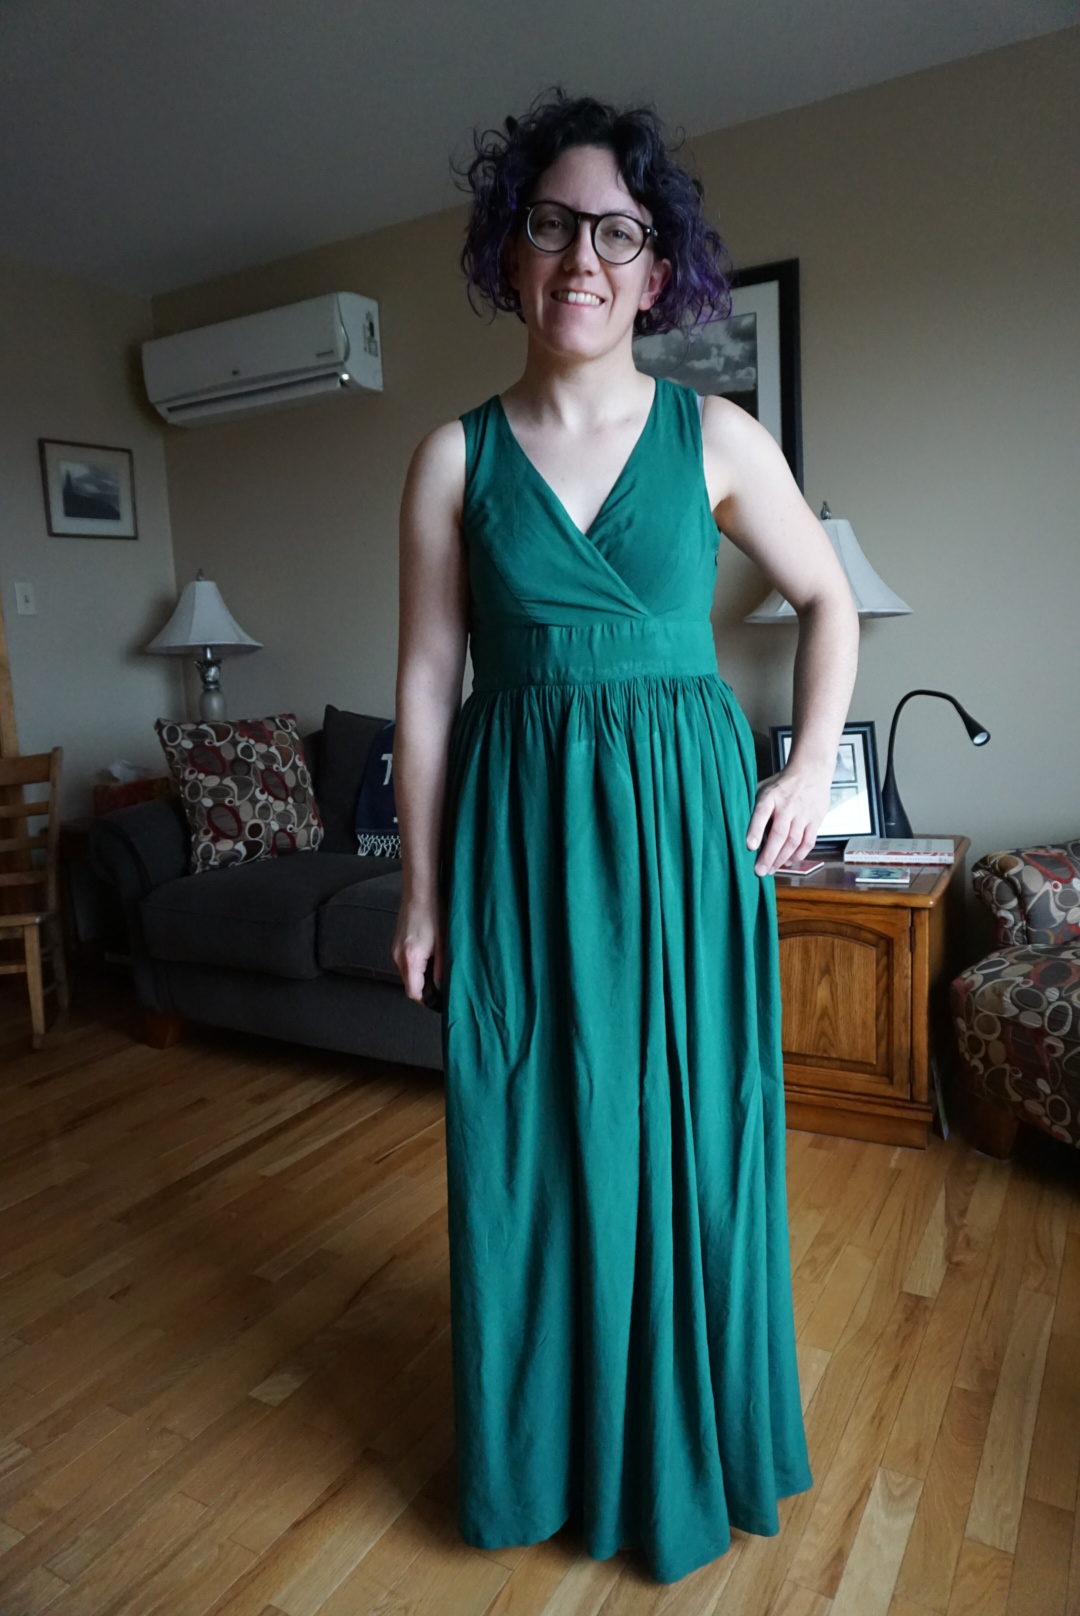
I finished my bridesmaid dress for my friend’s wedding last night! The wedding is a week from today so I’m simultaneously feeling like it got done a little down to the wire, but also smug that I have a week to spare. I’d already tested the fit on this pattern – the Deer & Doe Magnolia dress – previously and made a ton of alterations, so I felt pretty confident going into the real deal. That confidence was VERY MISPLACED. What you see below is the second go at the bodice after sewing a complete version, plus I swapped in a gathered skirt.
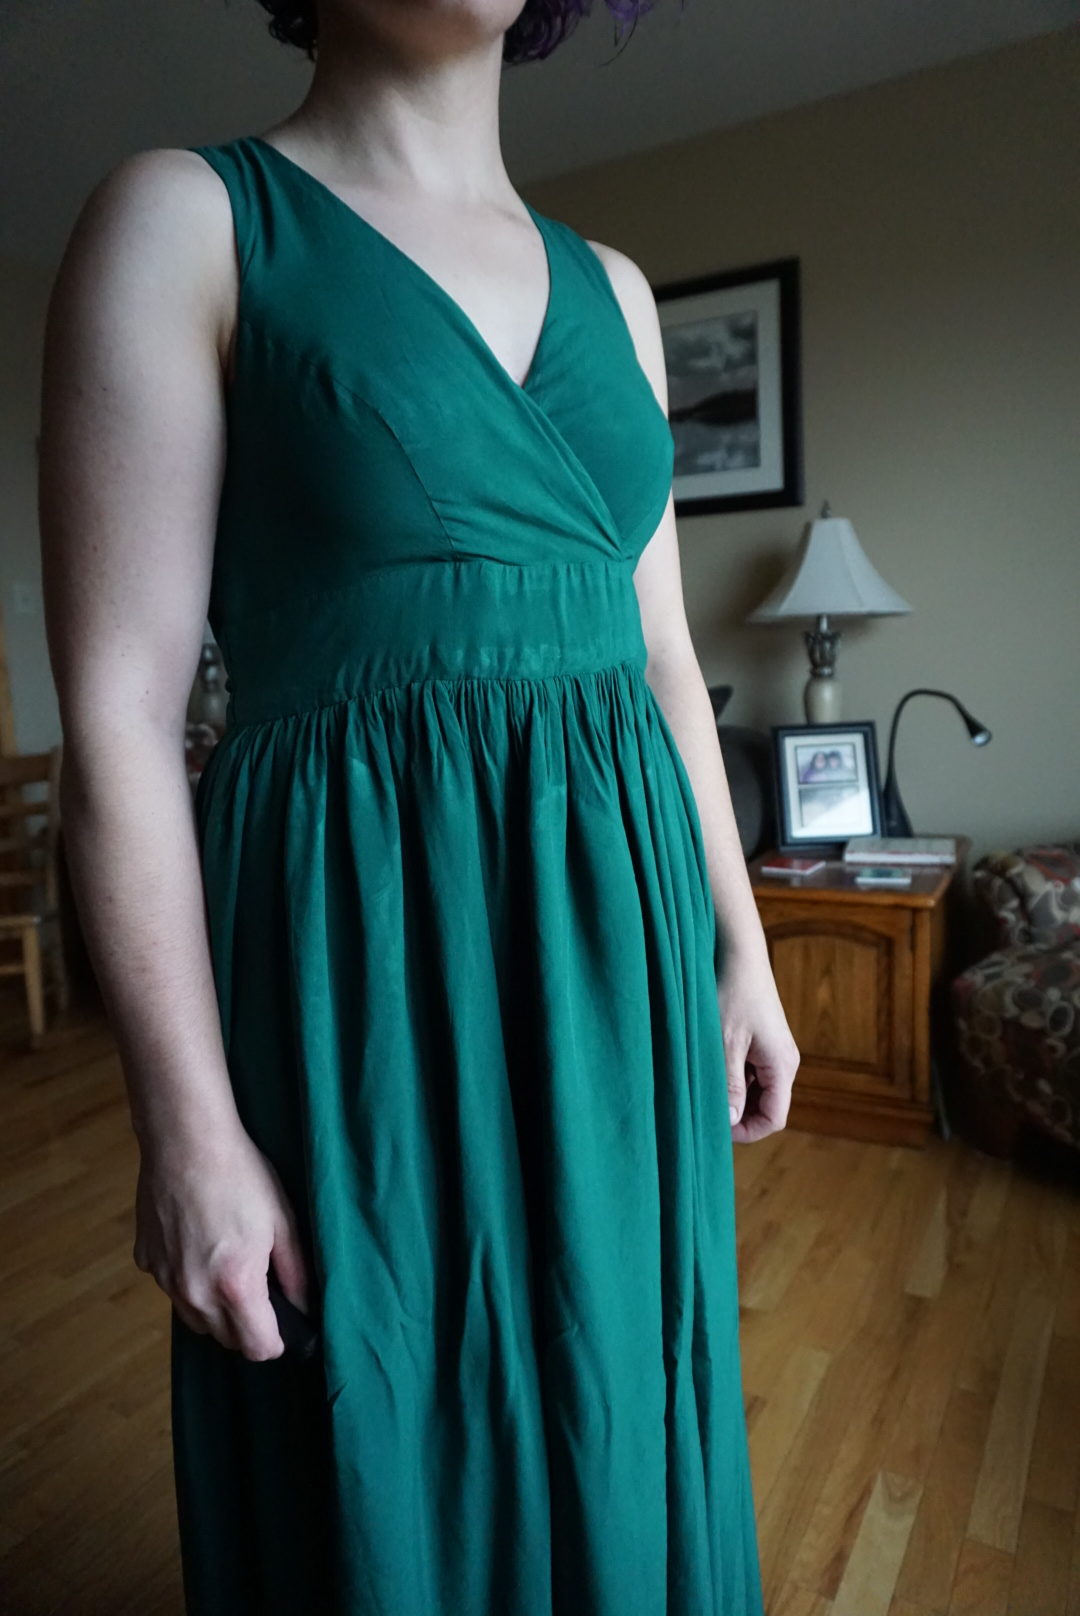
So, the thing about this fabric vs. the stuff I used for my test versions is that it’s lighter weight and therefore more slippery and also more see-through. I spray-starched the fabric for the bodice before I cut out my pieces using the altered pattern pieces, and then confidently sewed the full bodice, complete with understitching and all. And then I tried it on. It didn’t fit AT ALL. The lining had somehow become a different shape than the exterior even though they were literally cut using the same pieces. The edges of the V neck were rolling outward because the exterior was somehow slightly smaller than the lining, and it wouldn’t lay flat at all. Inexplicably, the bodice was also too big on the side seams and also baggy in the boobs. So I did what intrepid sewist would do, and I took the whole thing apart and adjusted it HAHA no who are we kidding, I threw the whole thing in my textile waste bag in a fit of RAGE.
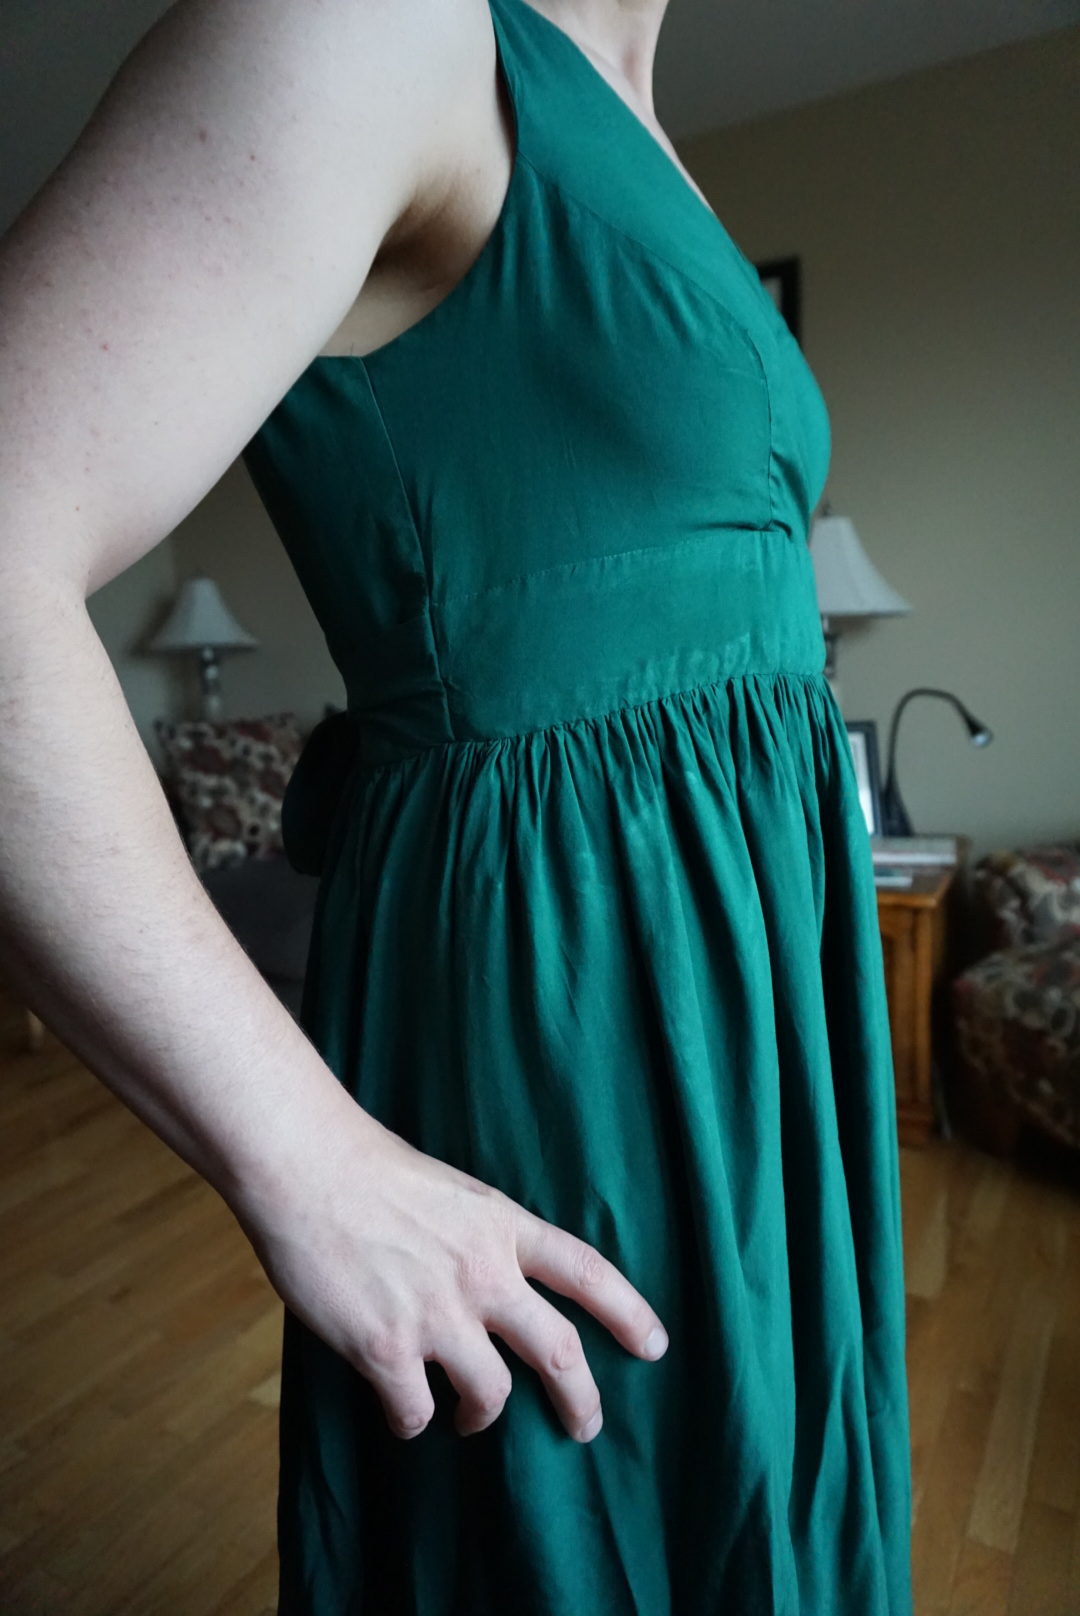
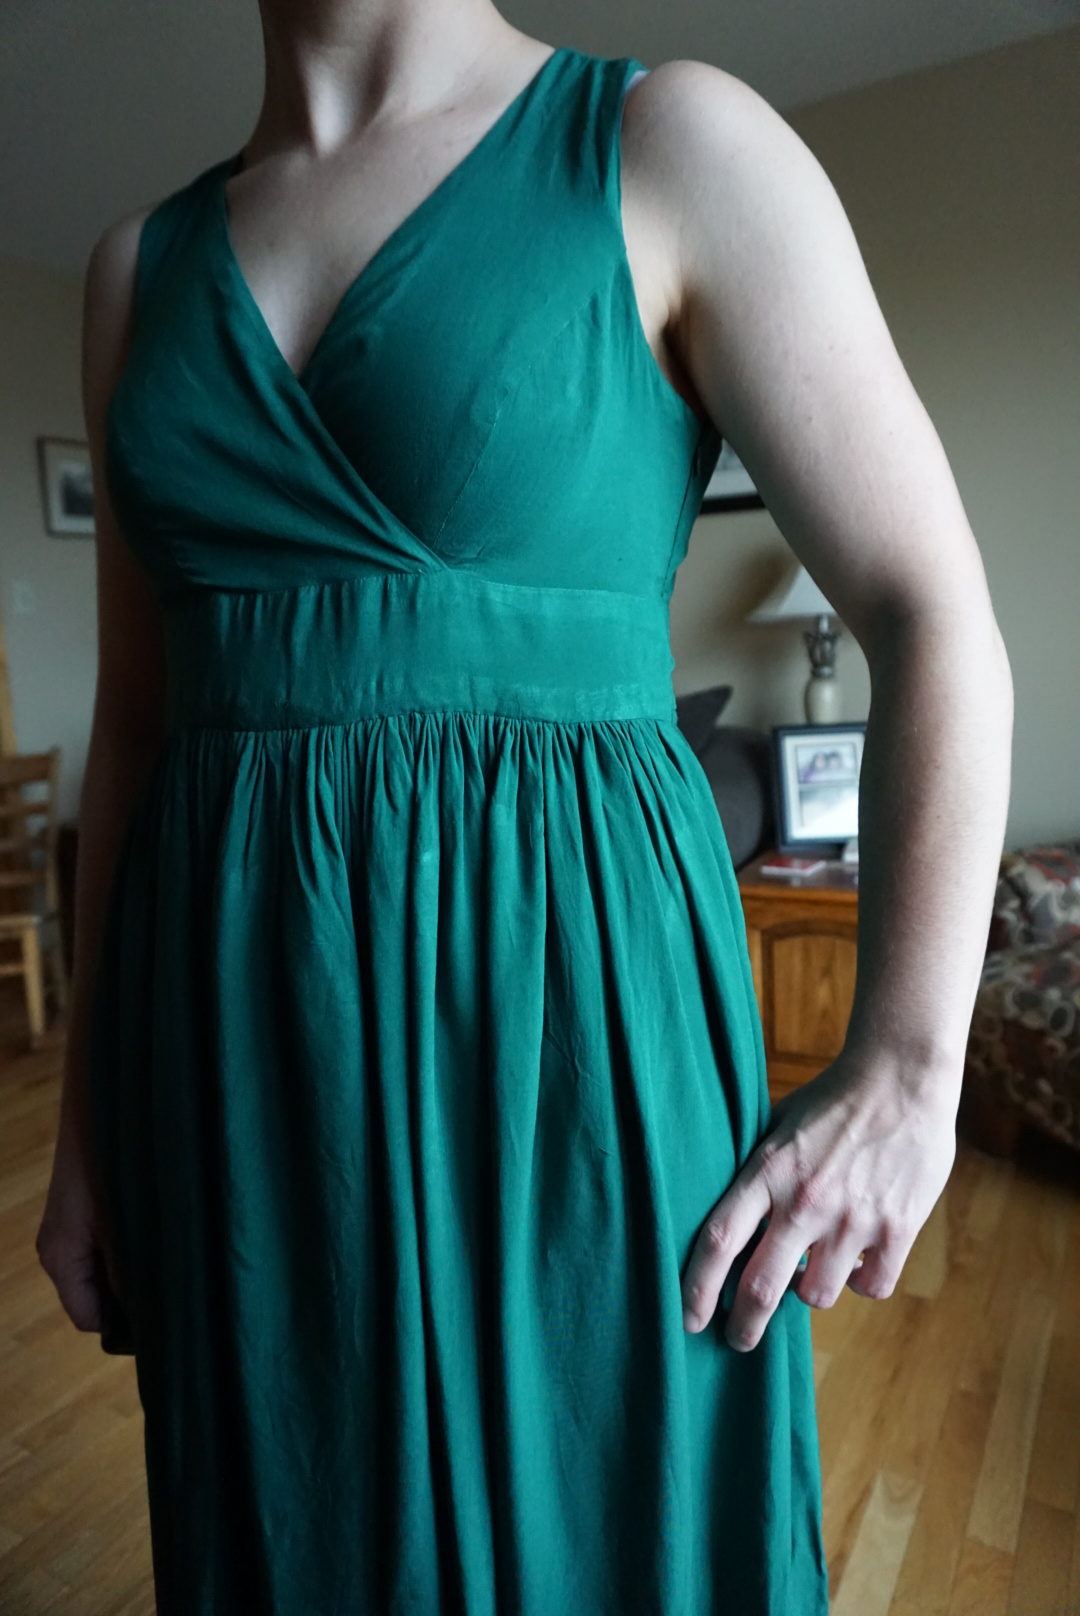
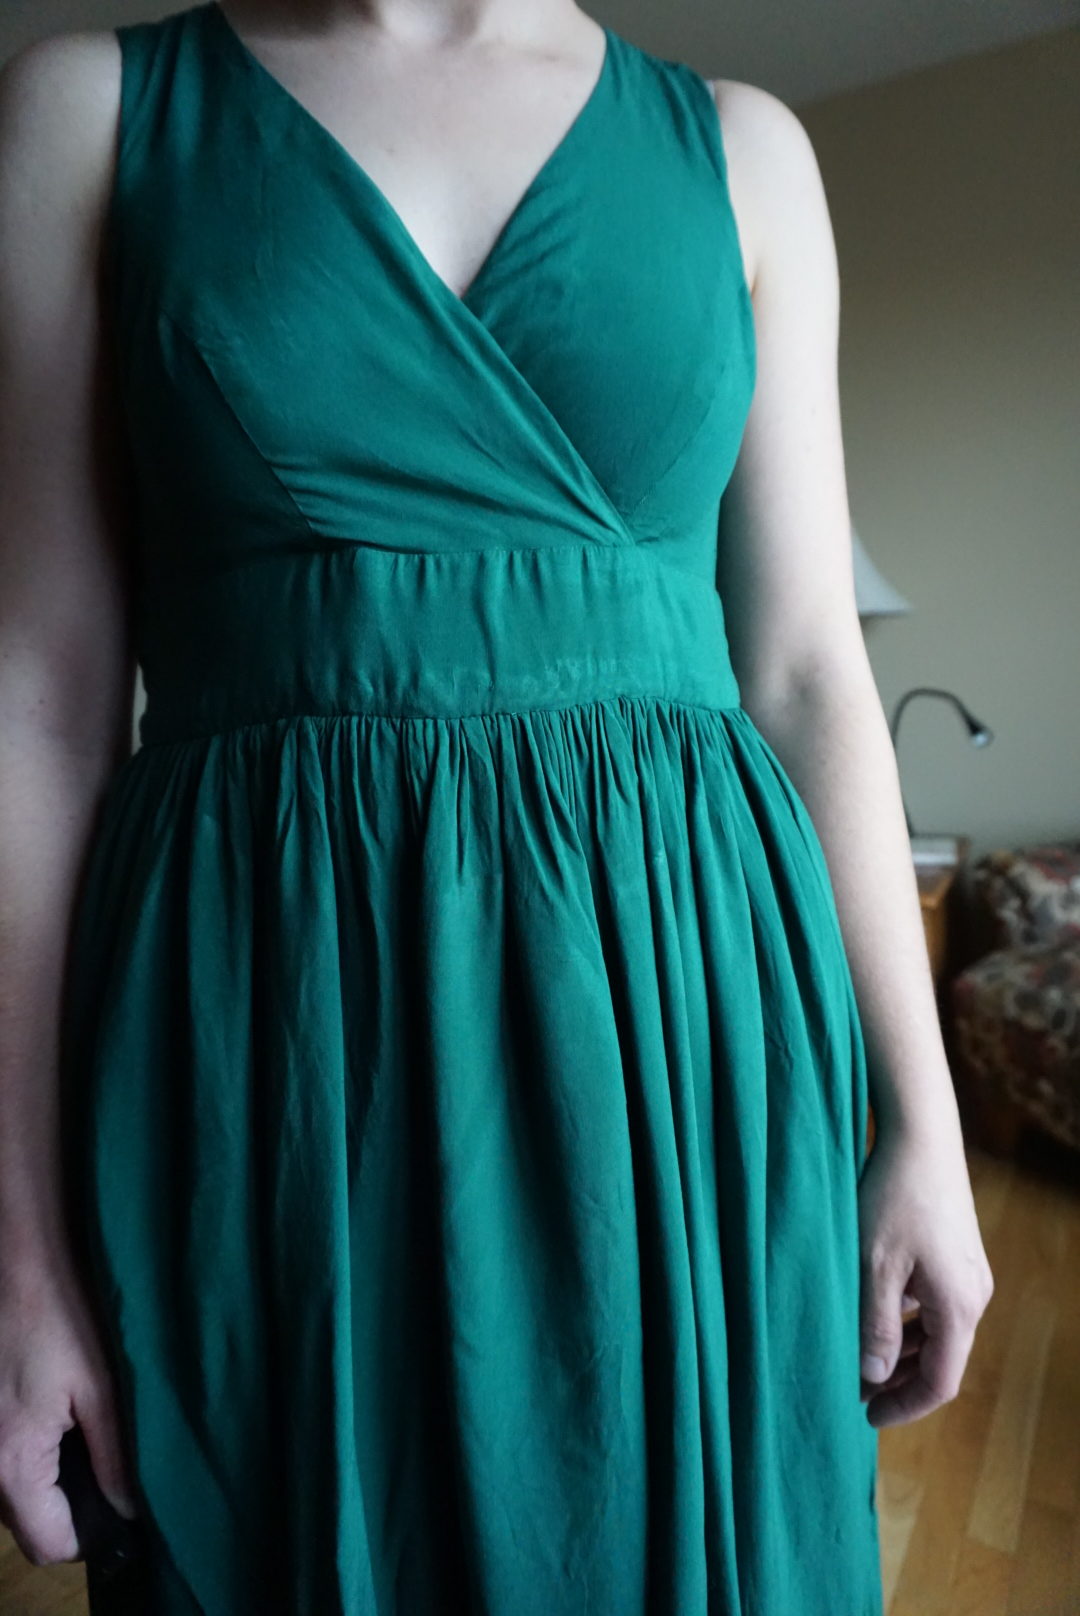
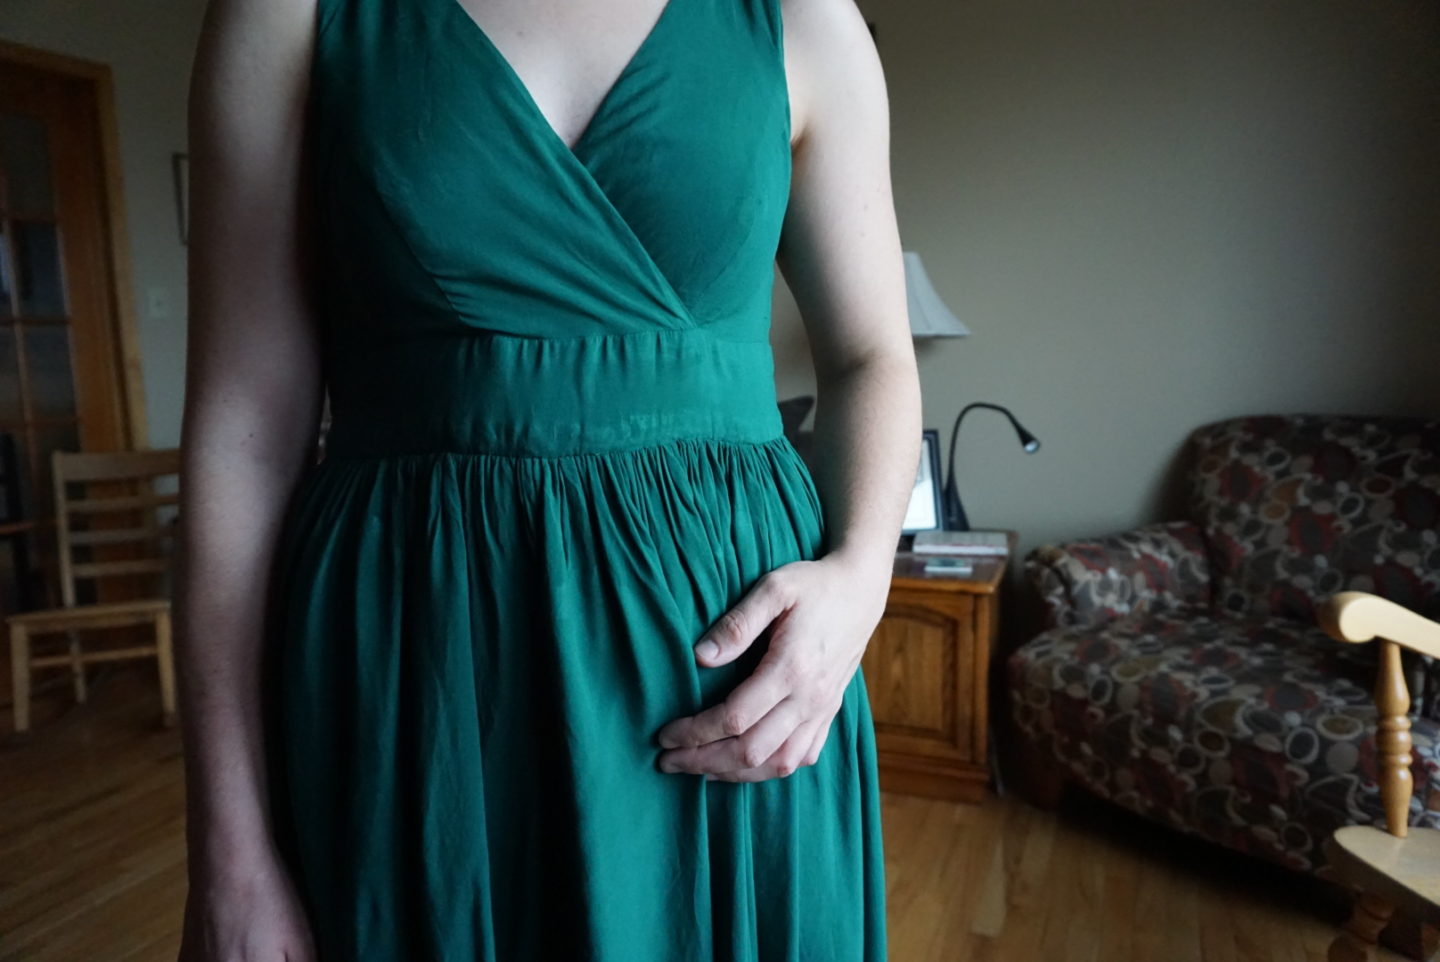
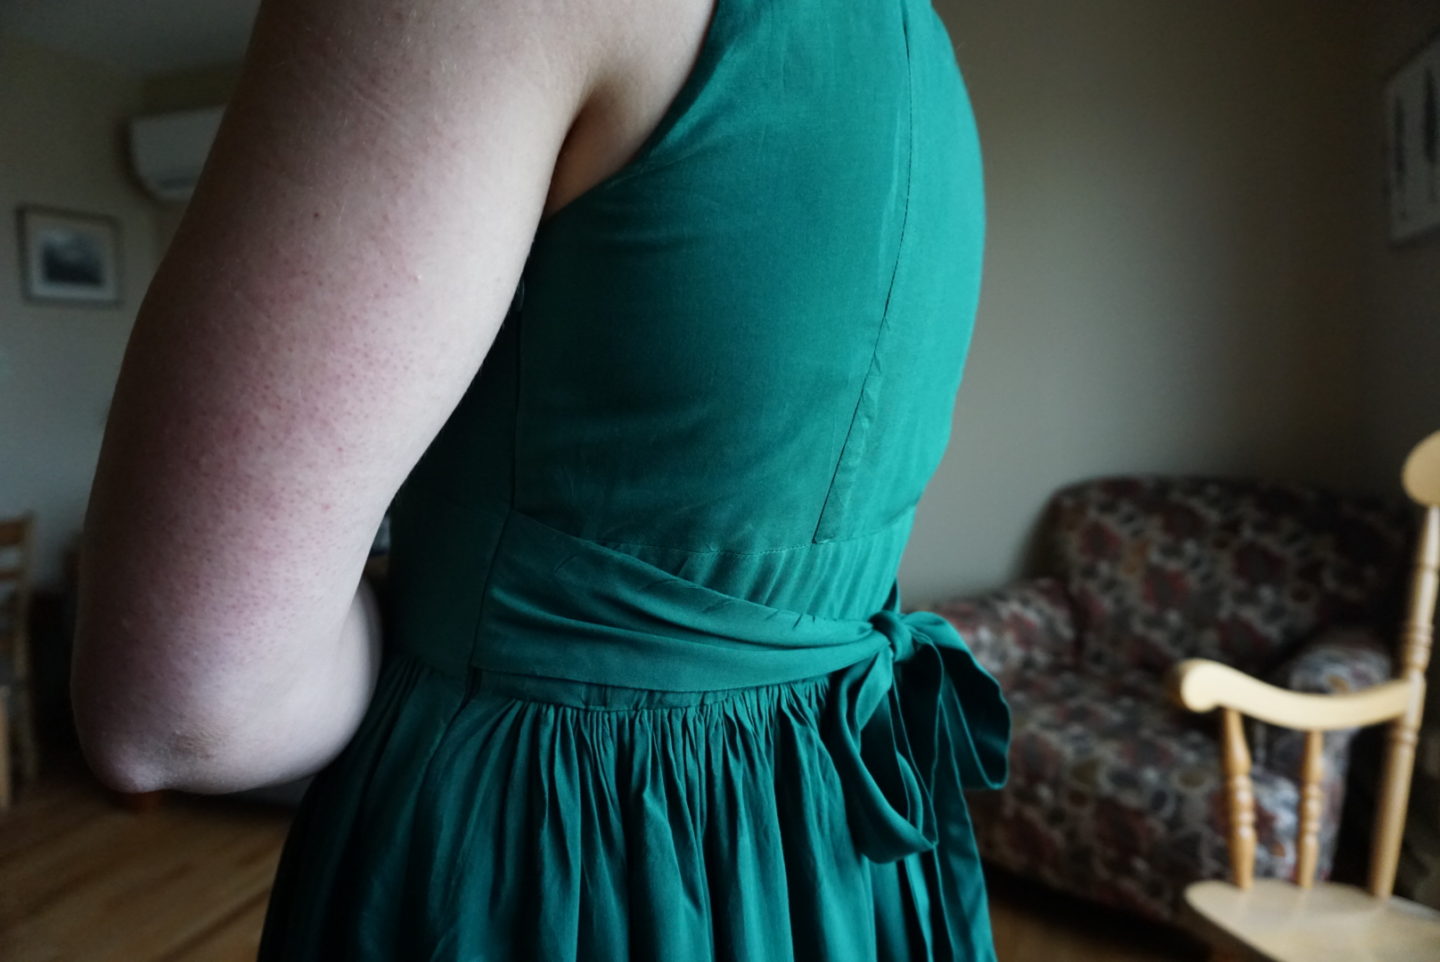
You may have noticed that I am in fact not naked in these photos. I restarted the dress the next day after the rage had dissipated. This time, I went overboard. I cut everything on a single layer of fabric (which meant tracing out the other half of the pieces that are usually cut on the fold), I sandwiched my fabric in between two layers of tissue paper, and I used my giant cutting mat on the floor with a rotary cutter (I’m normally a scissors gal). AND I left the tissue paper attached to all of the pieces on both sides with pins and sewed all of the bodice with the tissue paper as one unit and then pulled it out after the fact. I even stay-stitched the front edges THROUGH the tissue paper and left it all attached. And this time it WORKED. I did not have the time or energy to do it a second time, so I was very relieved. The only additional fitting change I made from when I made the previous versions was that I’ve lost a bit of weight (on purpose) over the past month so I took 3/4″ out of the side seam at the zipper because it was so minimal that I couldn’t be bothered to adjust the other side after I’d already attached the skirt.
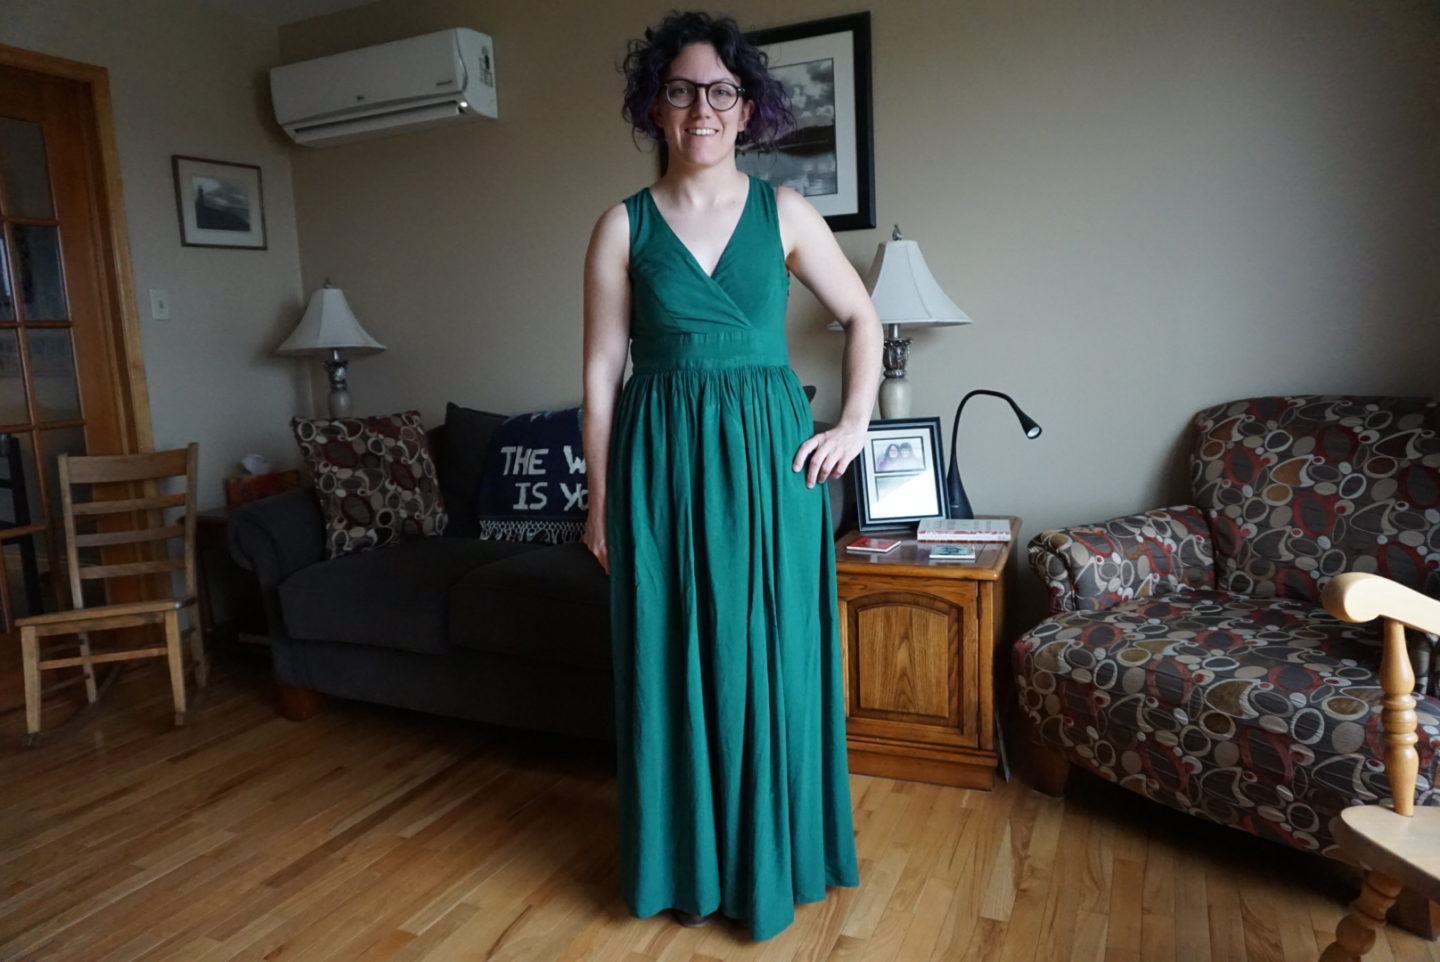
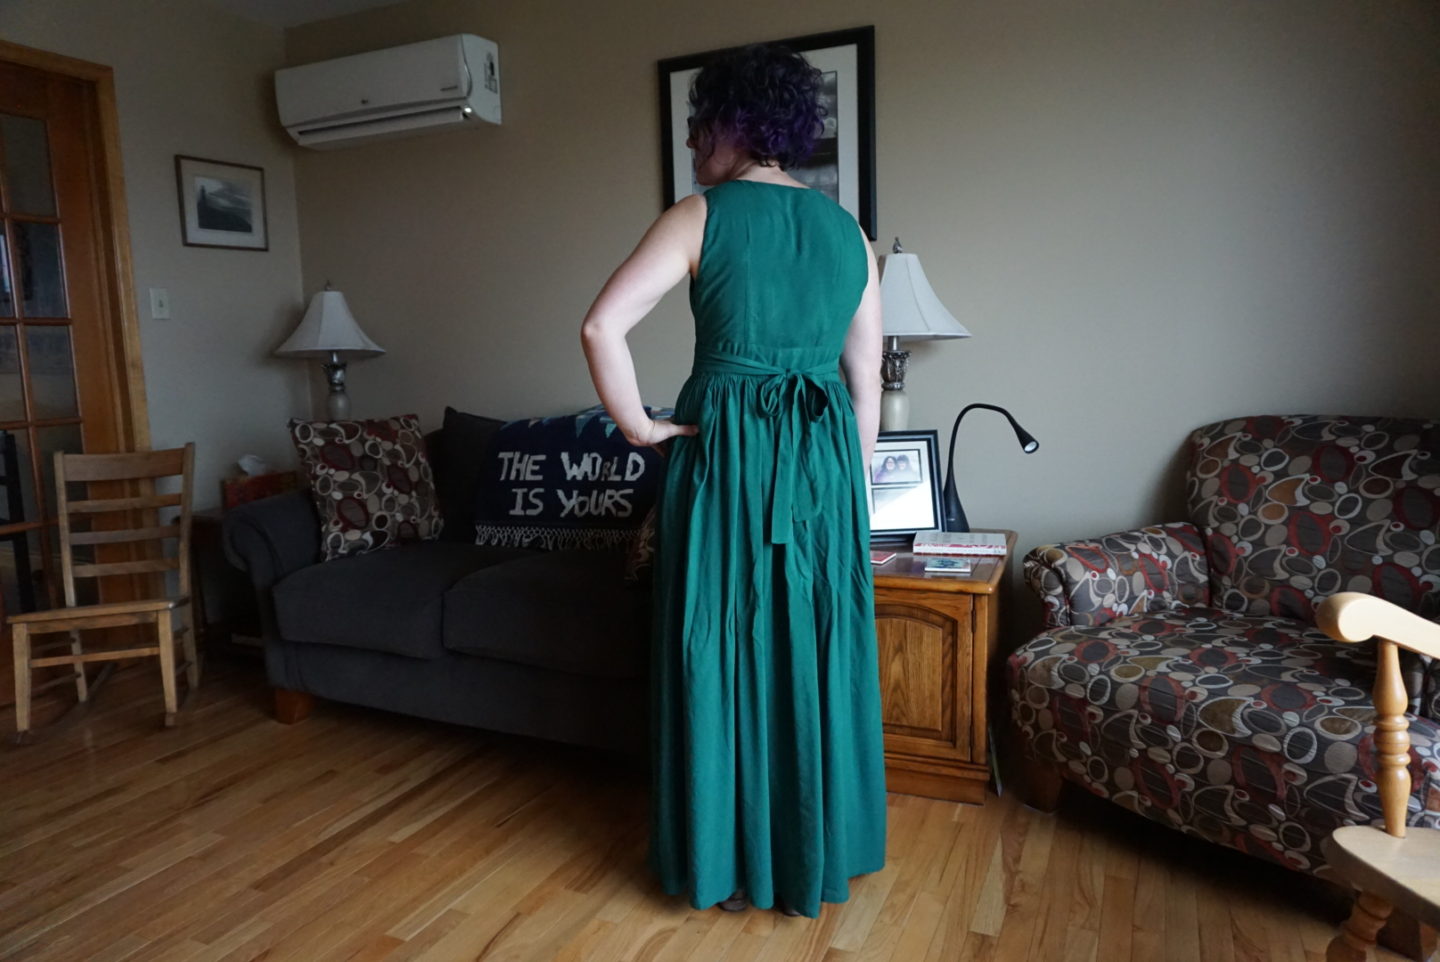
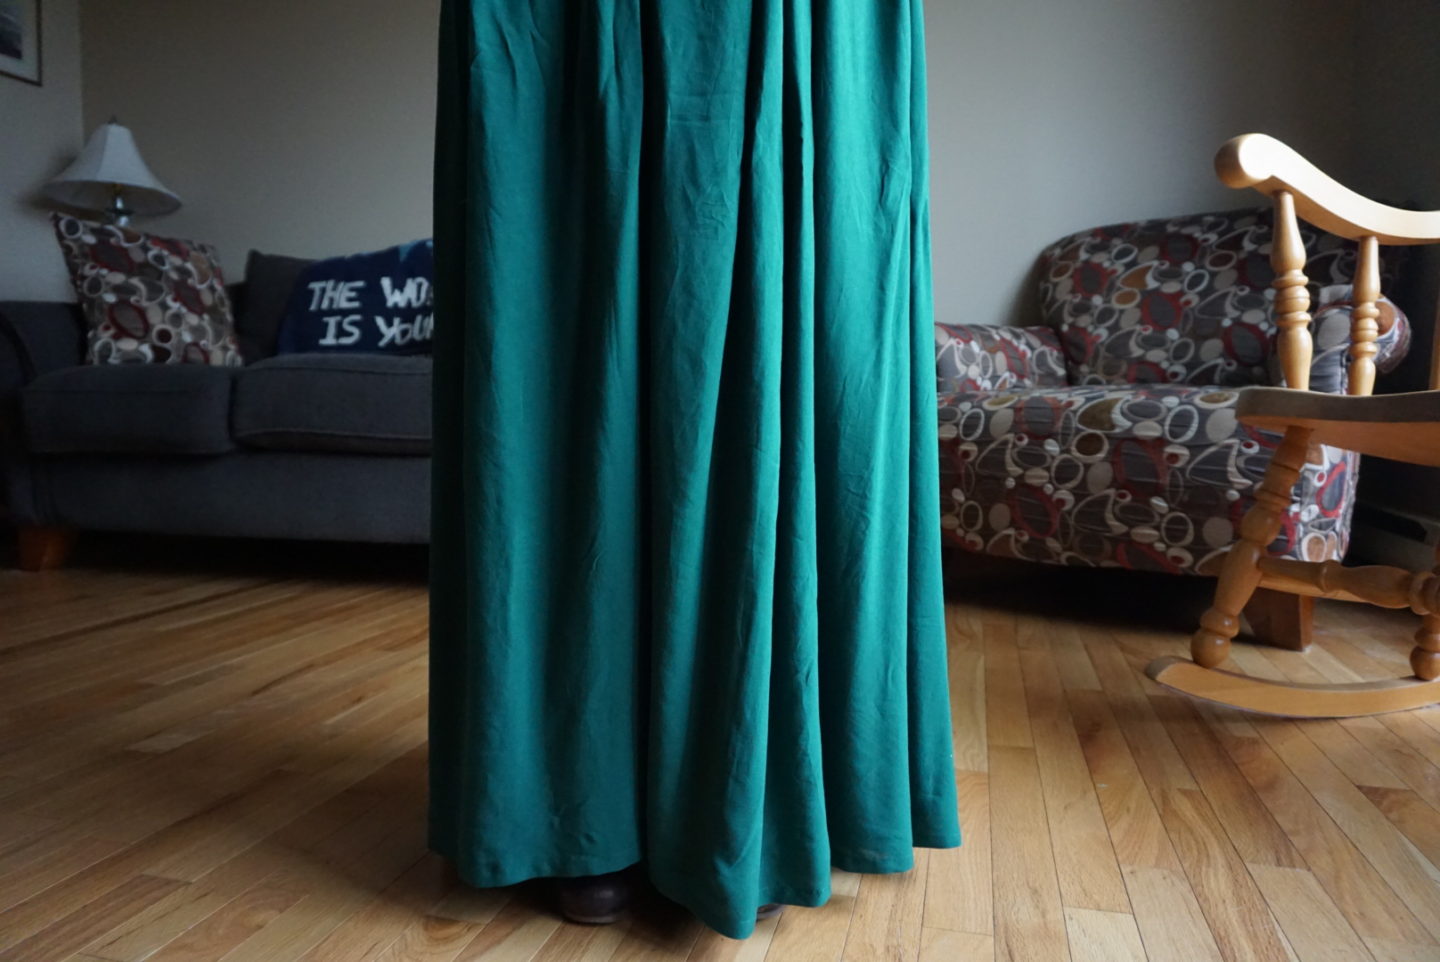
Speaking of the skirt, you might notice that it’s not the panelled skirt that is included in the Magnolia pattern. That’s for a few reasons. Firstly, I had decided not to have a slit in the actual dress because the wedding is outside and it’s October in Canada. So. I need all the warmth I can get. Secondly, this fabric is quite see-through so I didn’t feel comfortable only have one layer on the bottom and knew I’d have to double up my fabric. I didn’t think it would work very well with this slippery fabric to have two layers of each panel trying to act as one, and figured it would make the drape potentially weird and baggy if the pieces weren’t exactly the same. So I went with a gathered skirt. I had to order 3 extra yards of fabric after the initial bodice debacle, so the skirt ended up being between 2.5 and 3 yards wide and I gathered it to fit the waist. Prior to gathering the skirt, I ripped the yardage along the crossgrain to make it straight on both sides, then I sewed it and serged it together along the two short edges and one long edge so it would act as one unit. I didn’t attach the bottom long edge layers together because I wanted to hem them separately so they could fall separately. I also didn’t add a side seam to the skirt on the non-zipper side because I figured it would just create more opportunity for distortion. I left it at the full width of fabric so that I could choose the hem length later with my boots on. And I’m very very very happy with how it turned out! I sewed twill tape into the waist seam when I attached the skirt, and I think it helped prevent sagging (although there’s still a little bit). I also always add a waistband facing piece if there isn’t one in the pattern instructions, so I think that is helping support some of the weight as well.
I’m very very happy with how this turned out, and I’m excited to wear it in the wedding next weekend! It was definitely worth all the time spent doing fittings and testing. It’s also actually Secret Pajamas – definitely the most comfortable formal dress I’ve ever worn. I’ll definitely share wedding photos with you all once it’s all over and settled. 🙂 Next up, my Halloween costume! Who thinks I can muslin and fit the By Hand London Anna dress and then make three major hacks to it in time for October 31st?! Stay tuned! Also: Happy Thanksgiving to all of my fellow Canadians! It’s grey and rainy here in Nova Scotia, but I’m making two pies so it’s cozy inside.
