
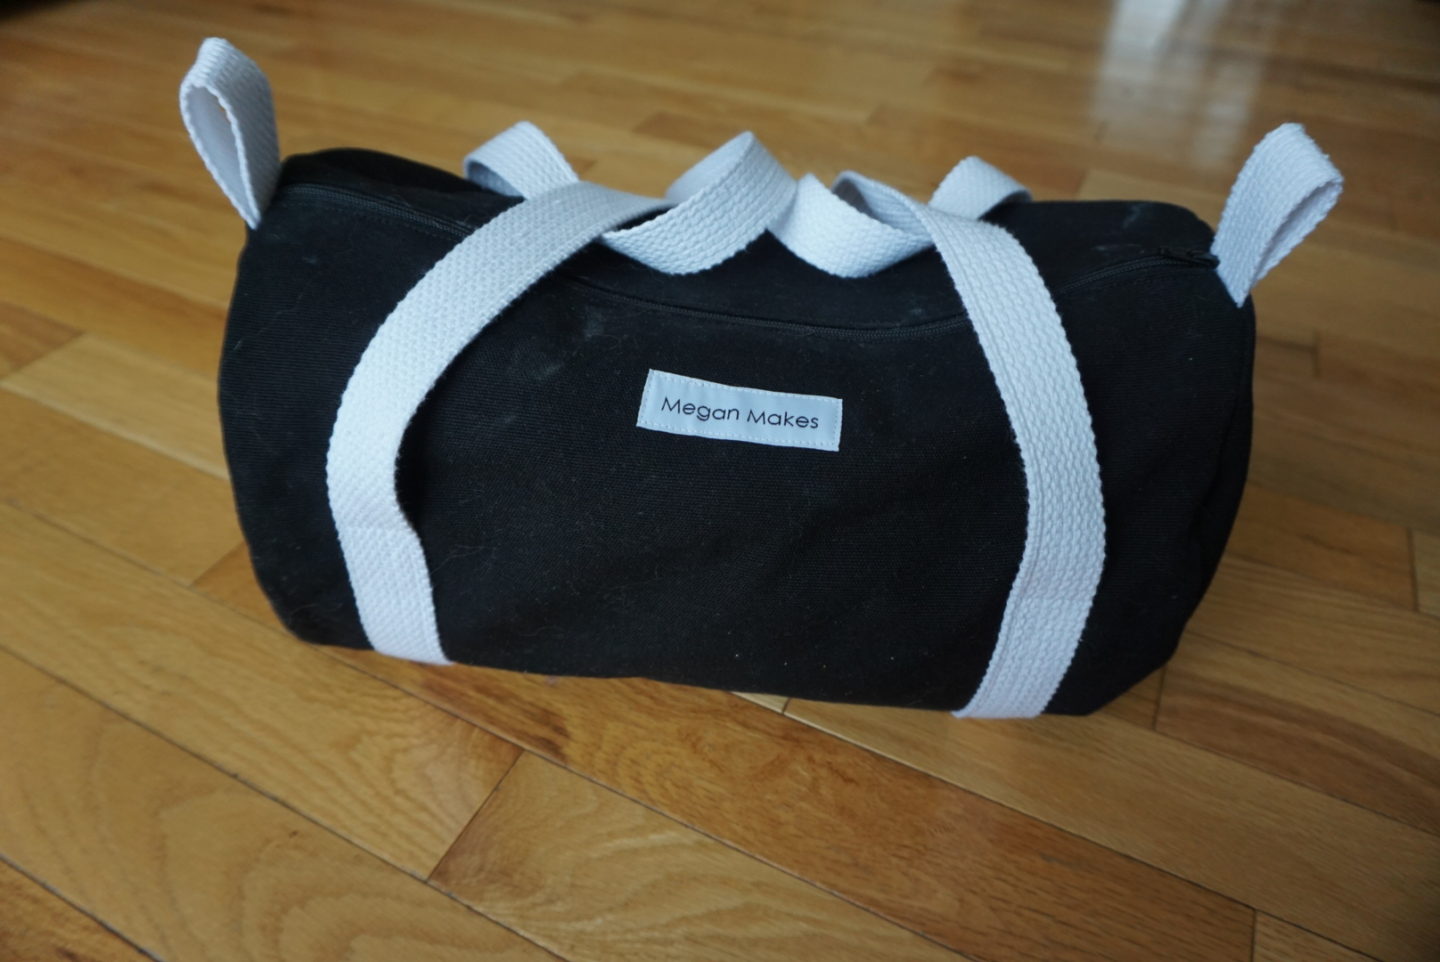
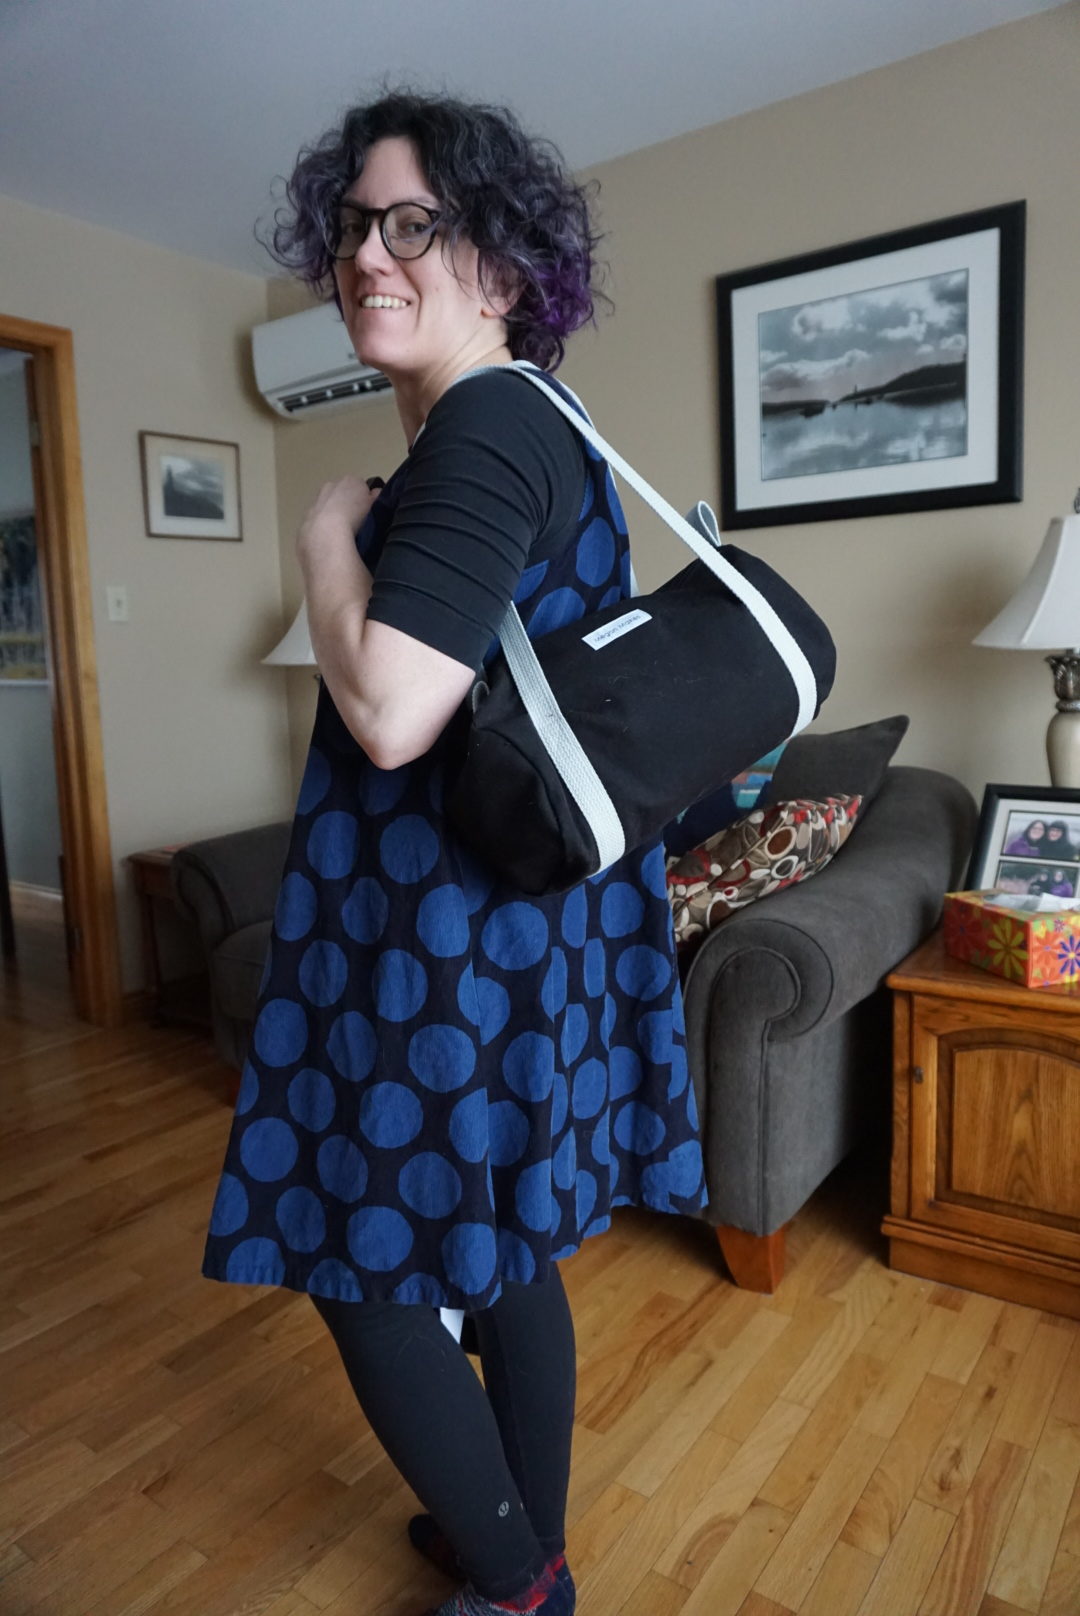
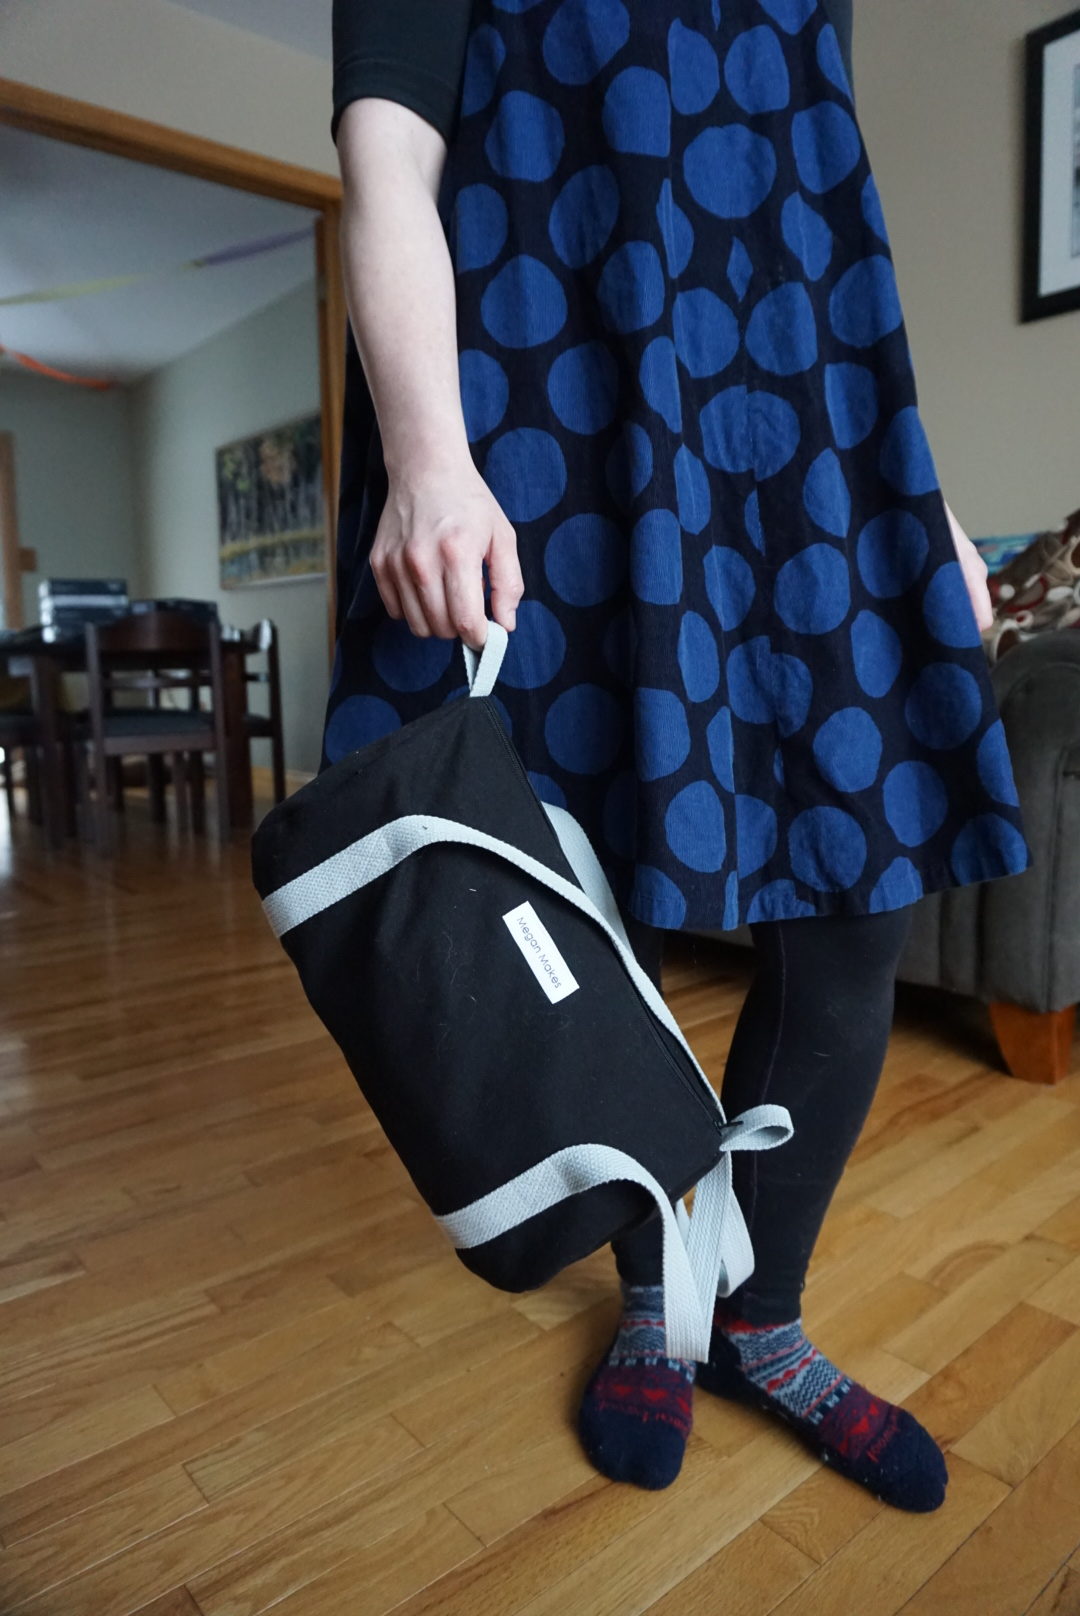
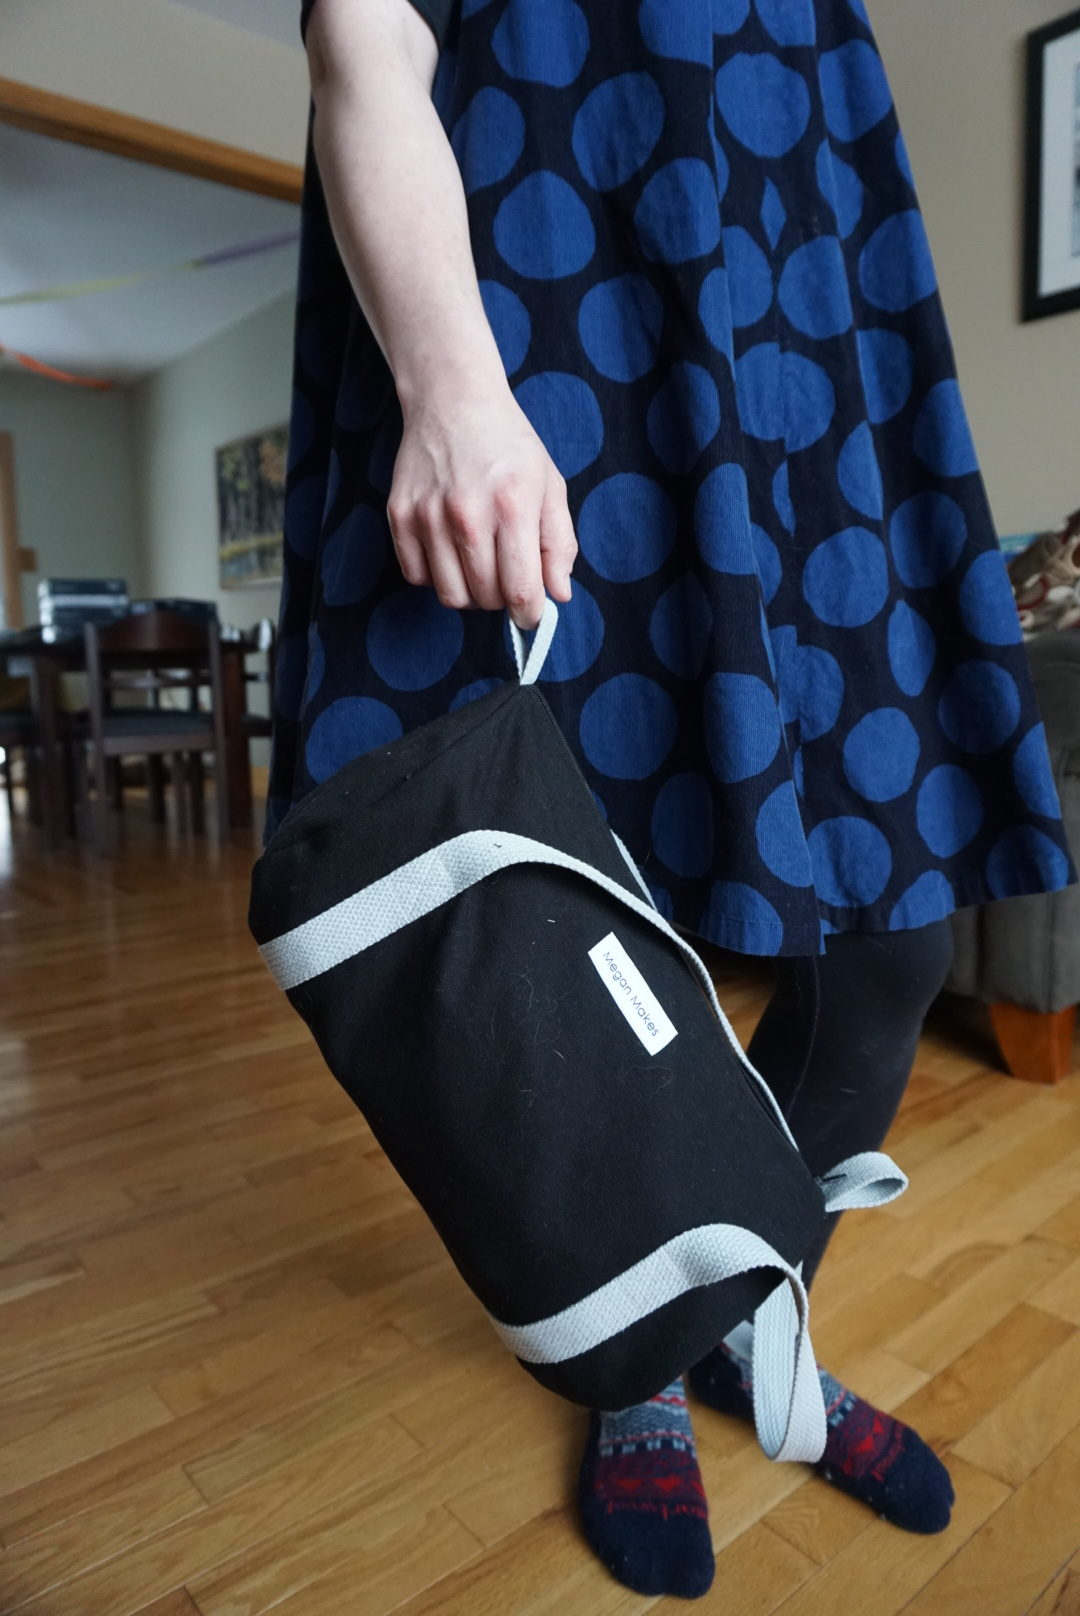
I’m bringing you something a little bit different today! Yes, it’s something I made. But this time, I’m also offering the tutorial for how to make this little bag, because I copied it from a friend’s bag and made my own pattern! The second I saw this cute mini duffle bag at the climbing gym, I knew I wanted to make my own. He got his from his grandmother and found it was perfect to hold his climbing shoes, his chalk bag, and other small climbing bits and bobs. But as you’ll see in this post, it’s super versatile and is also the perfect size for a bathing suit and a towel, and likely many other things you might need to bring on the go.

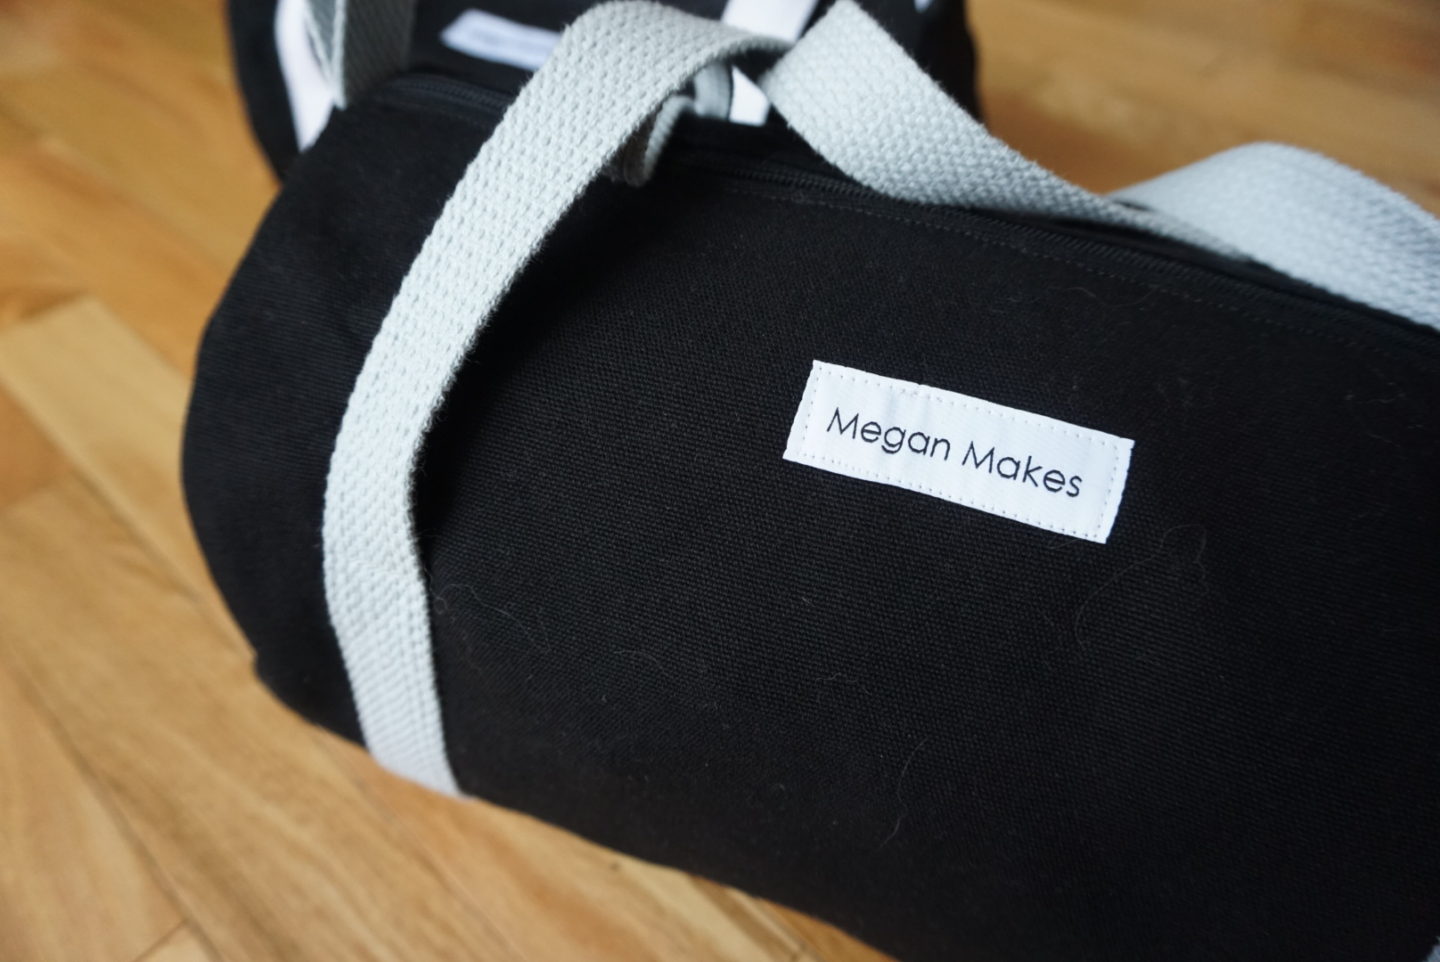
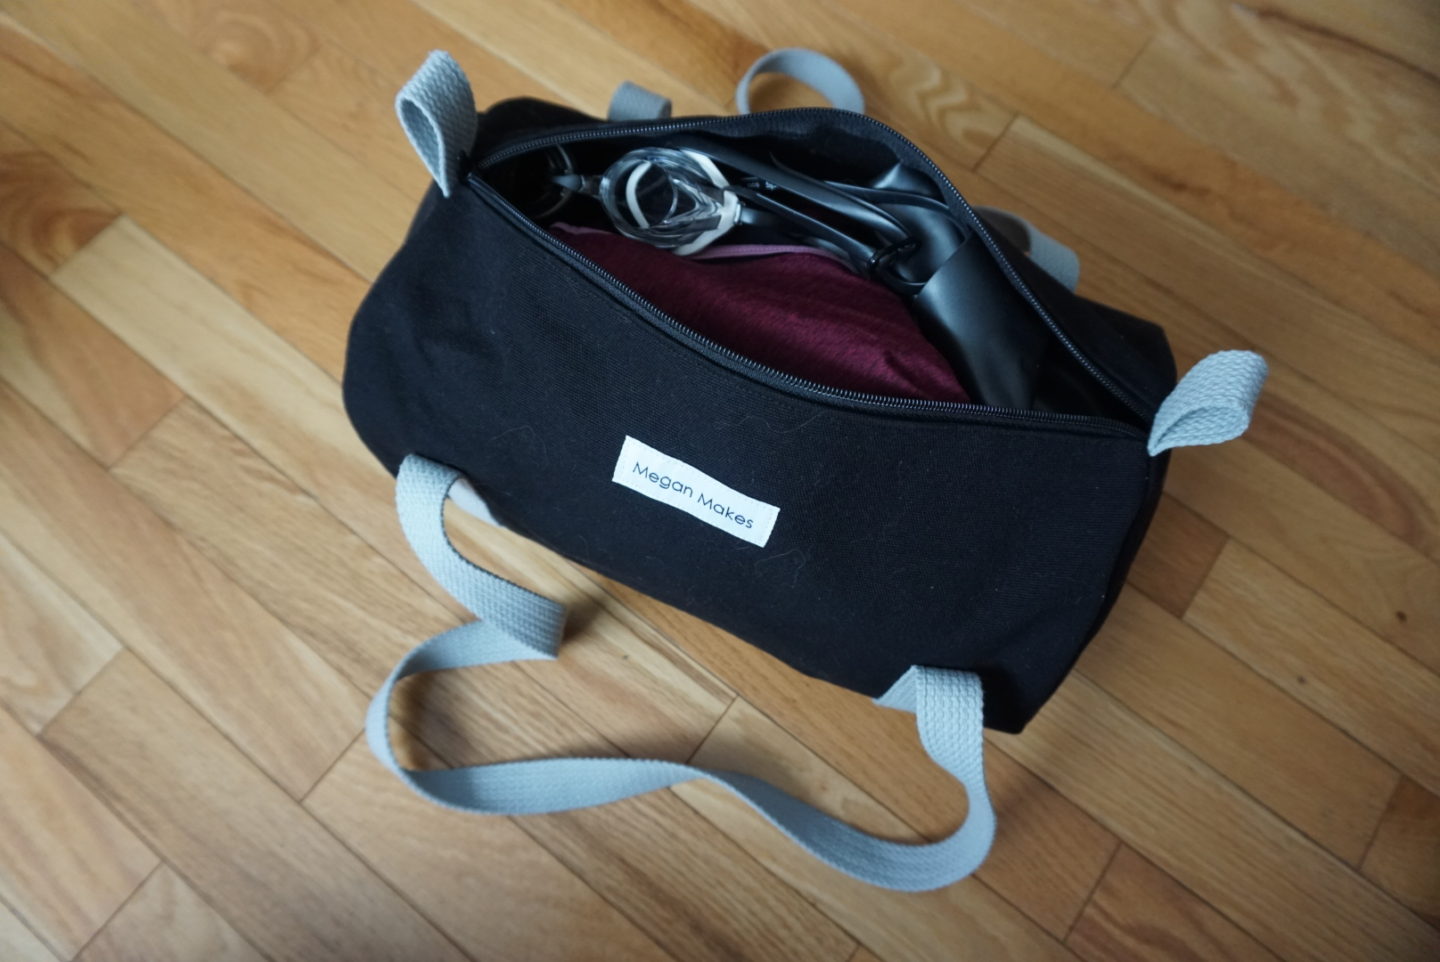
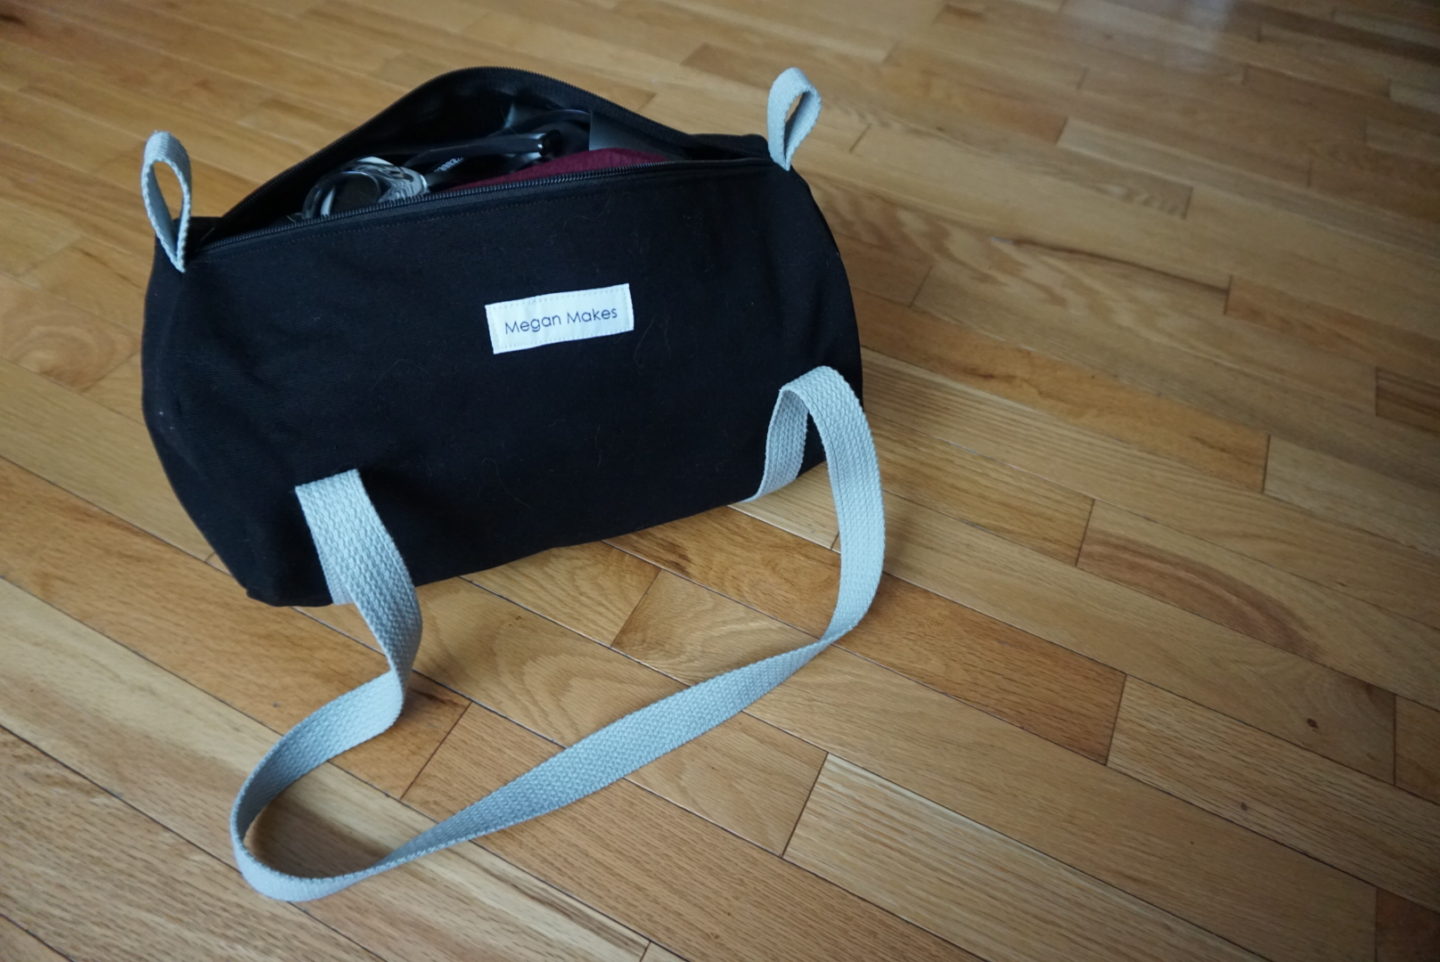
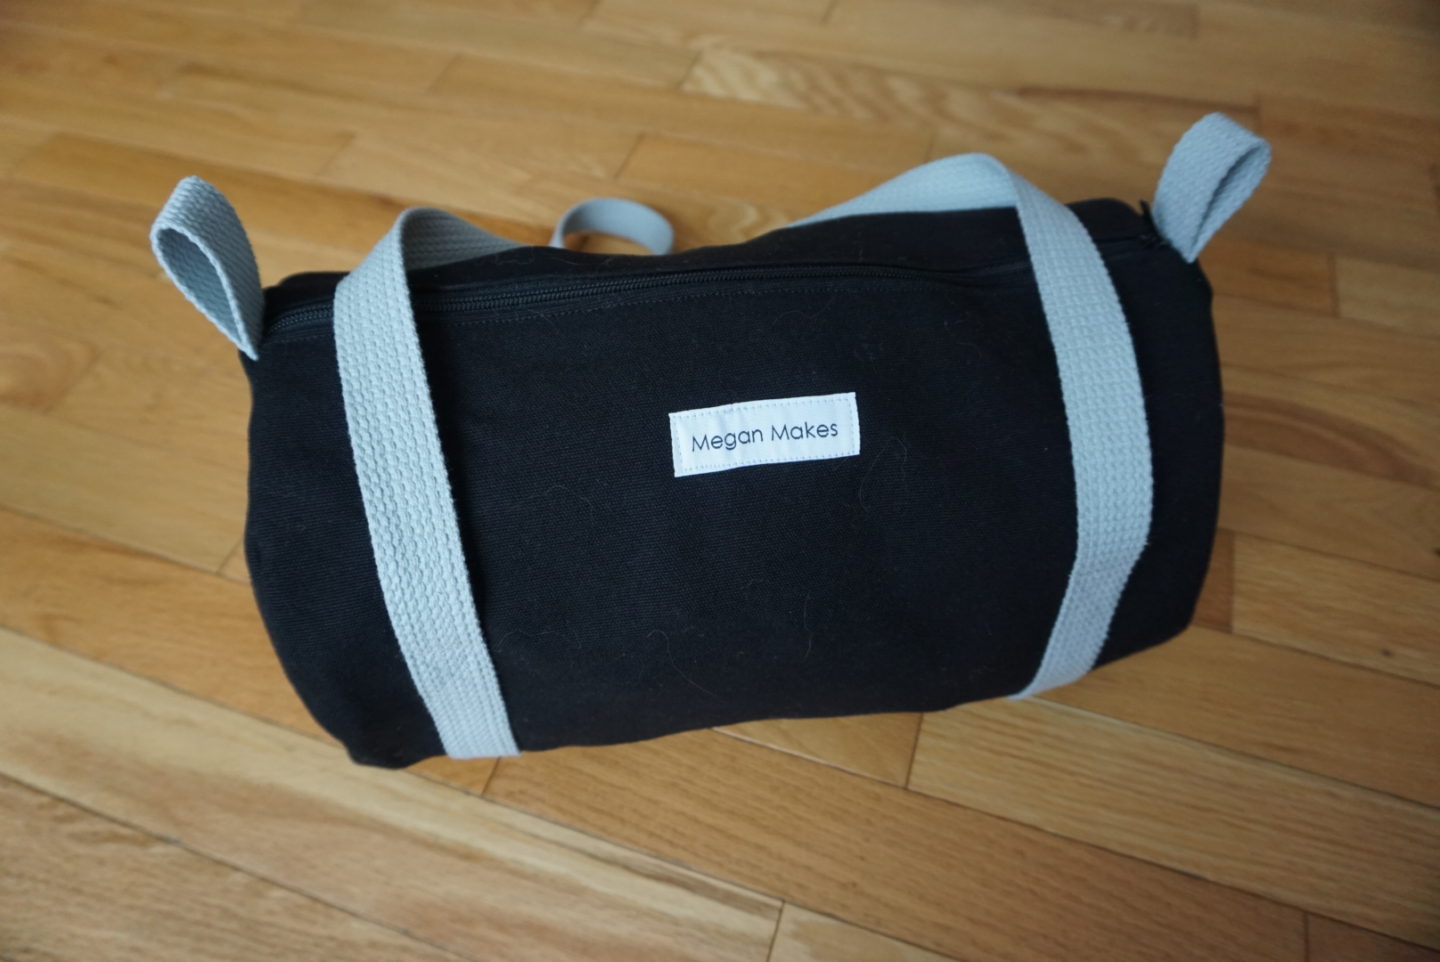
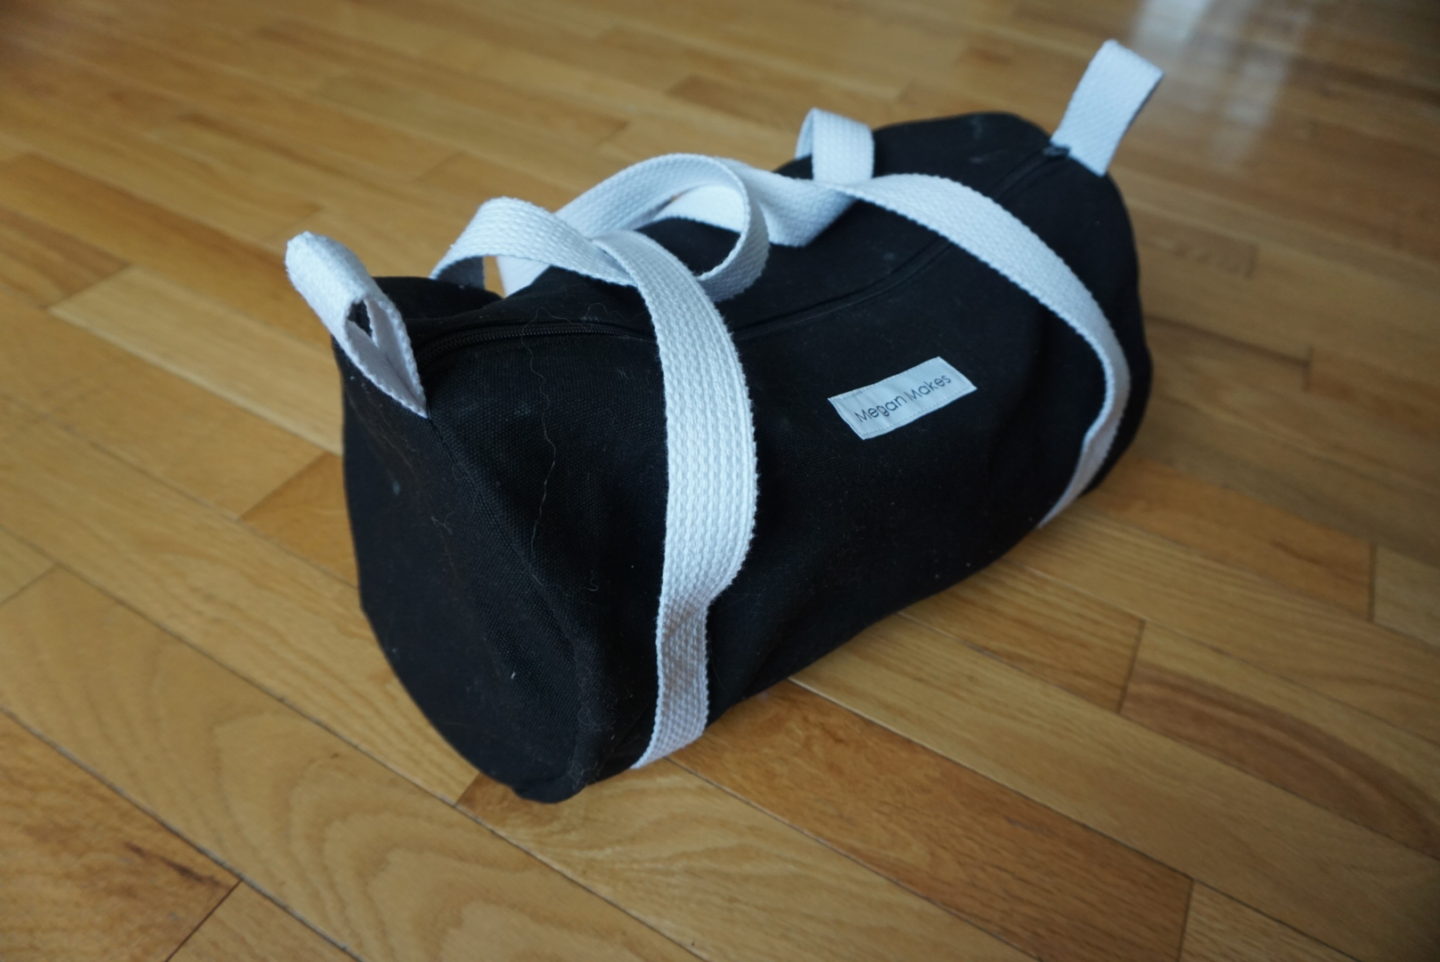
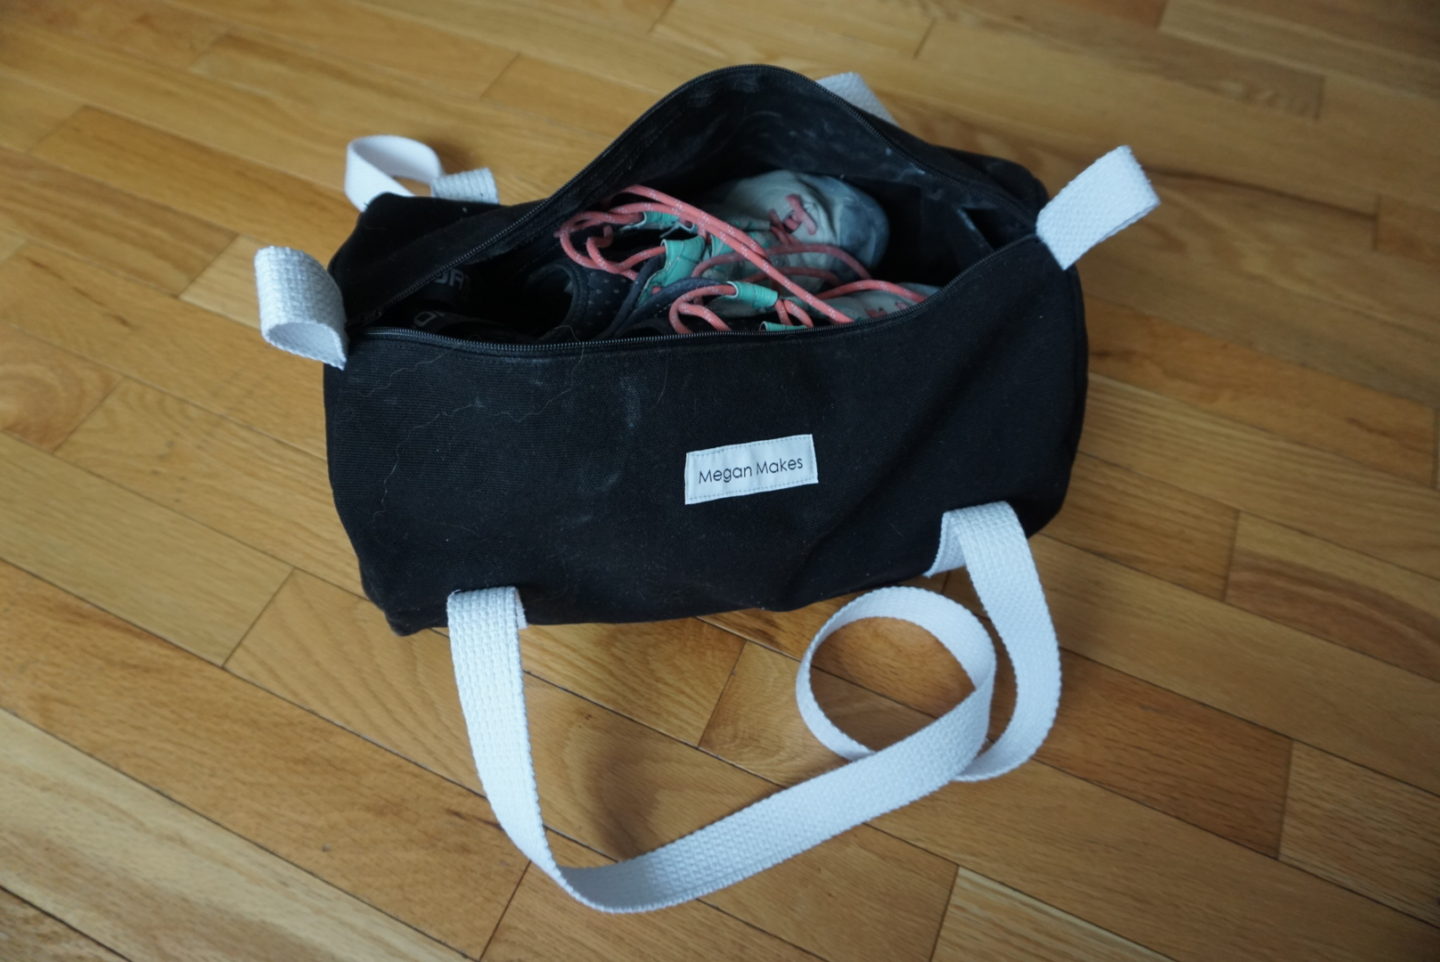
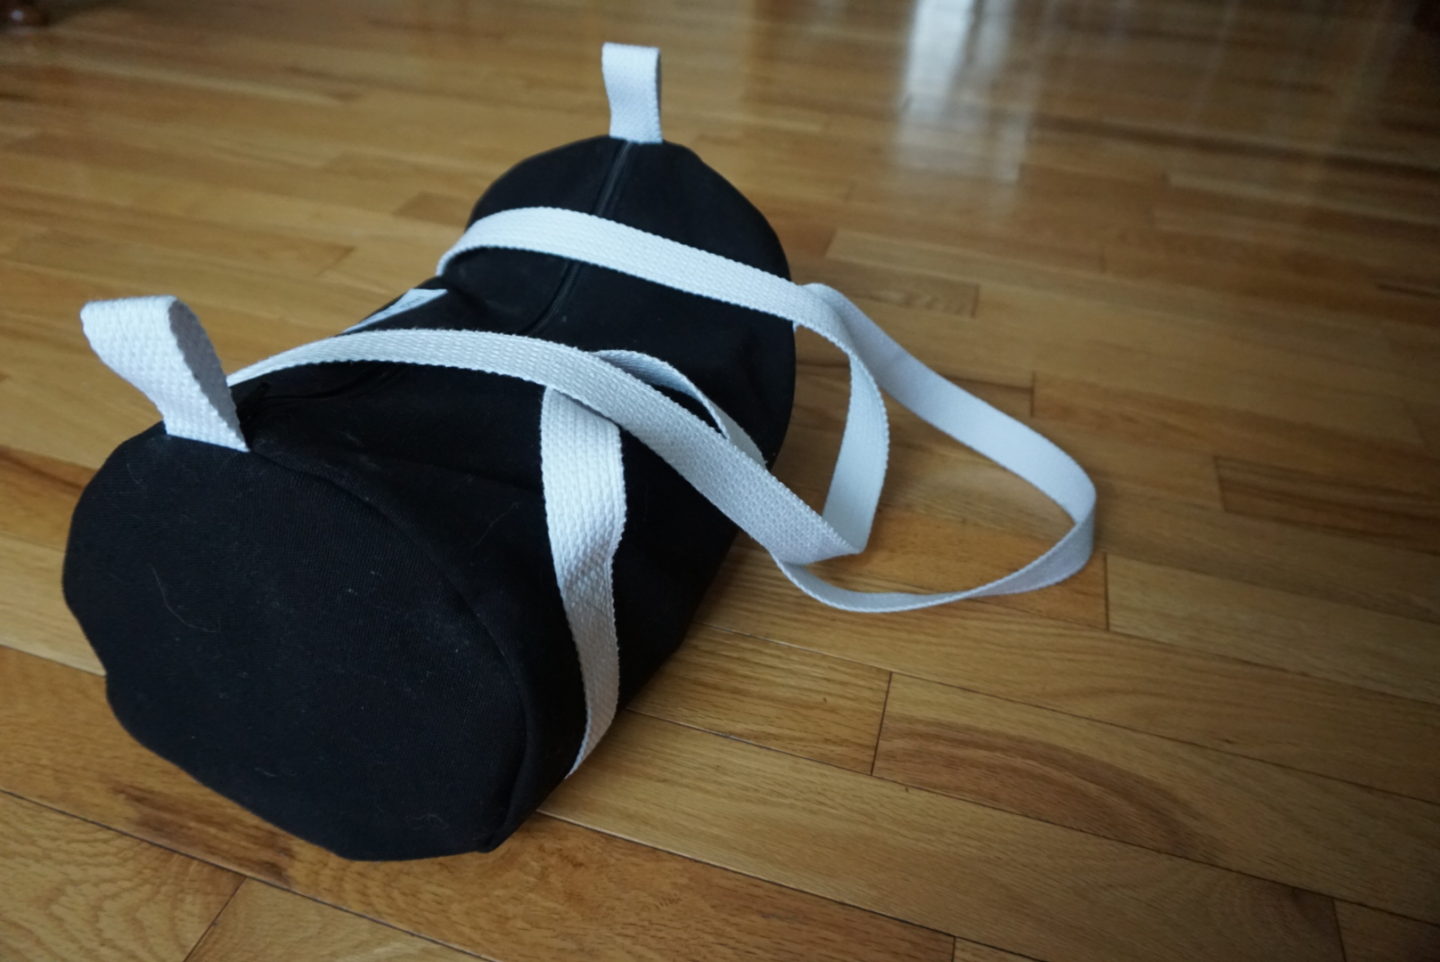
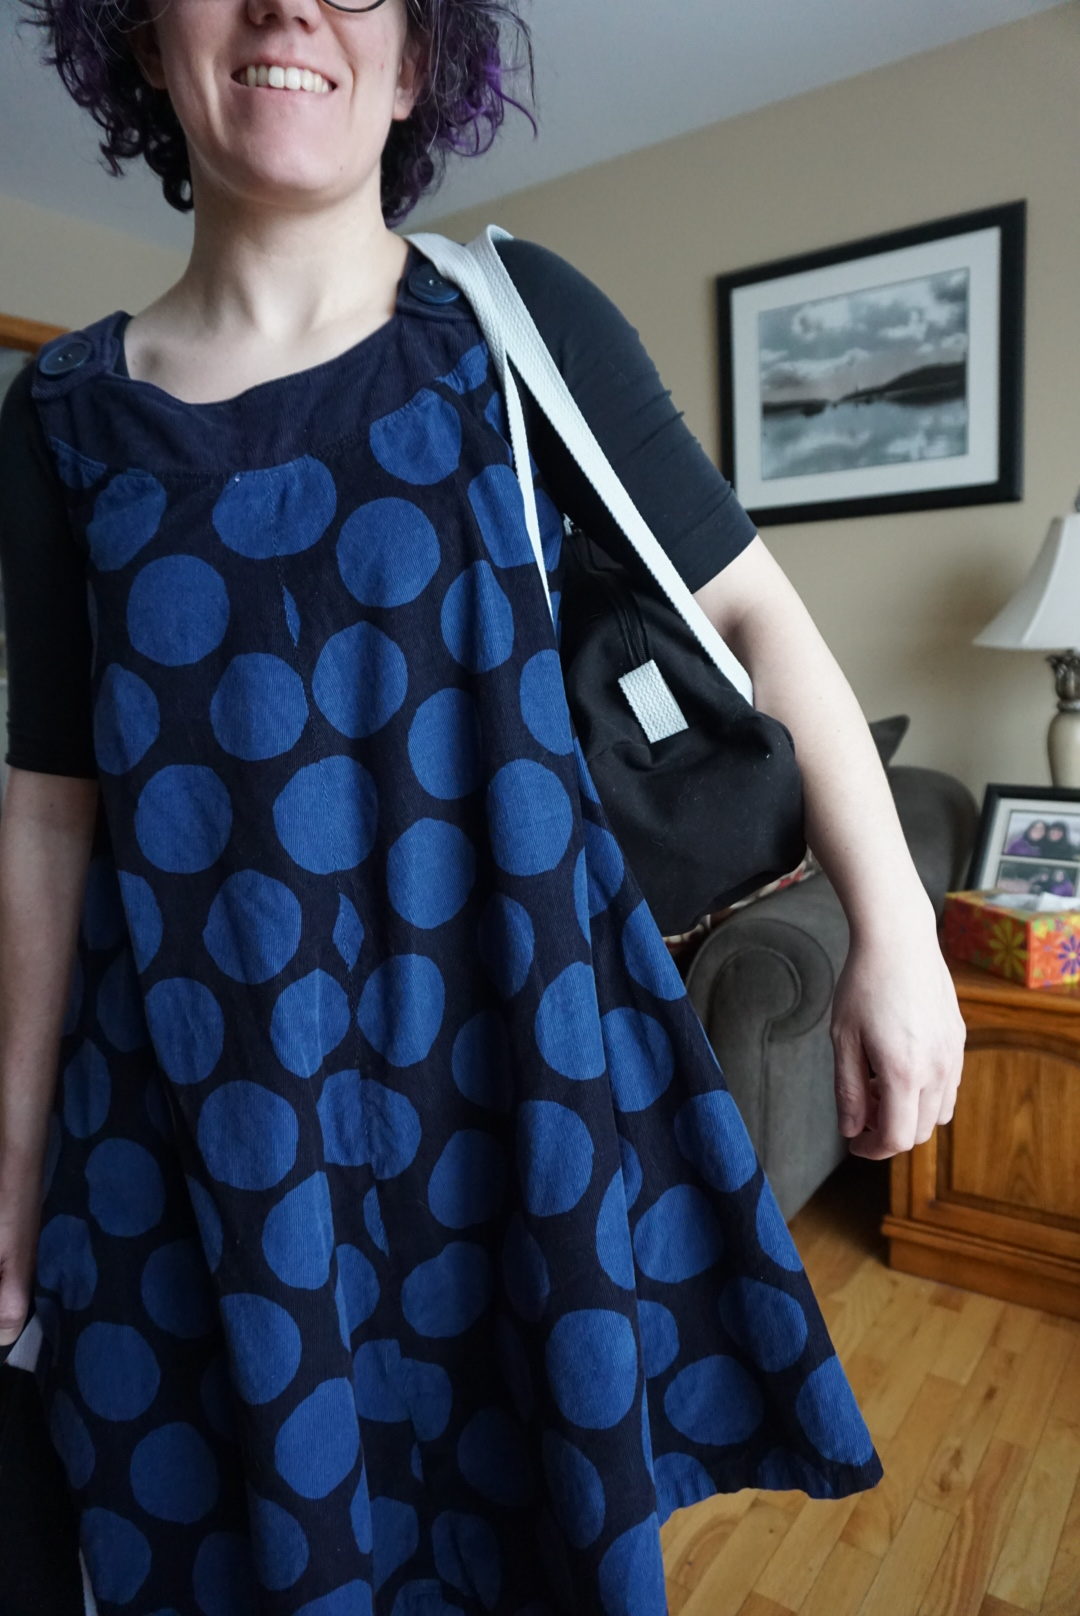
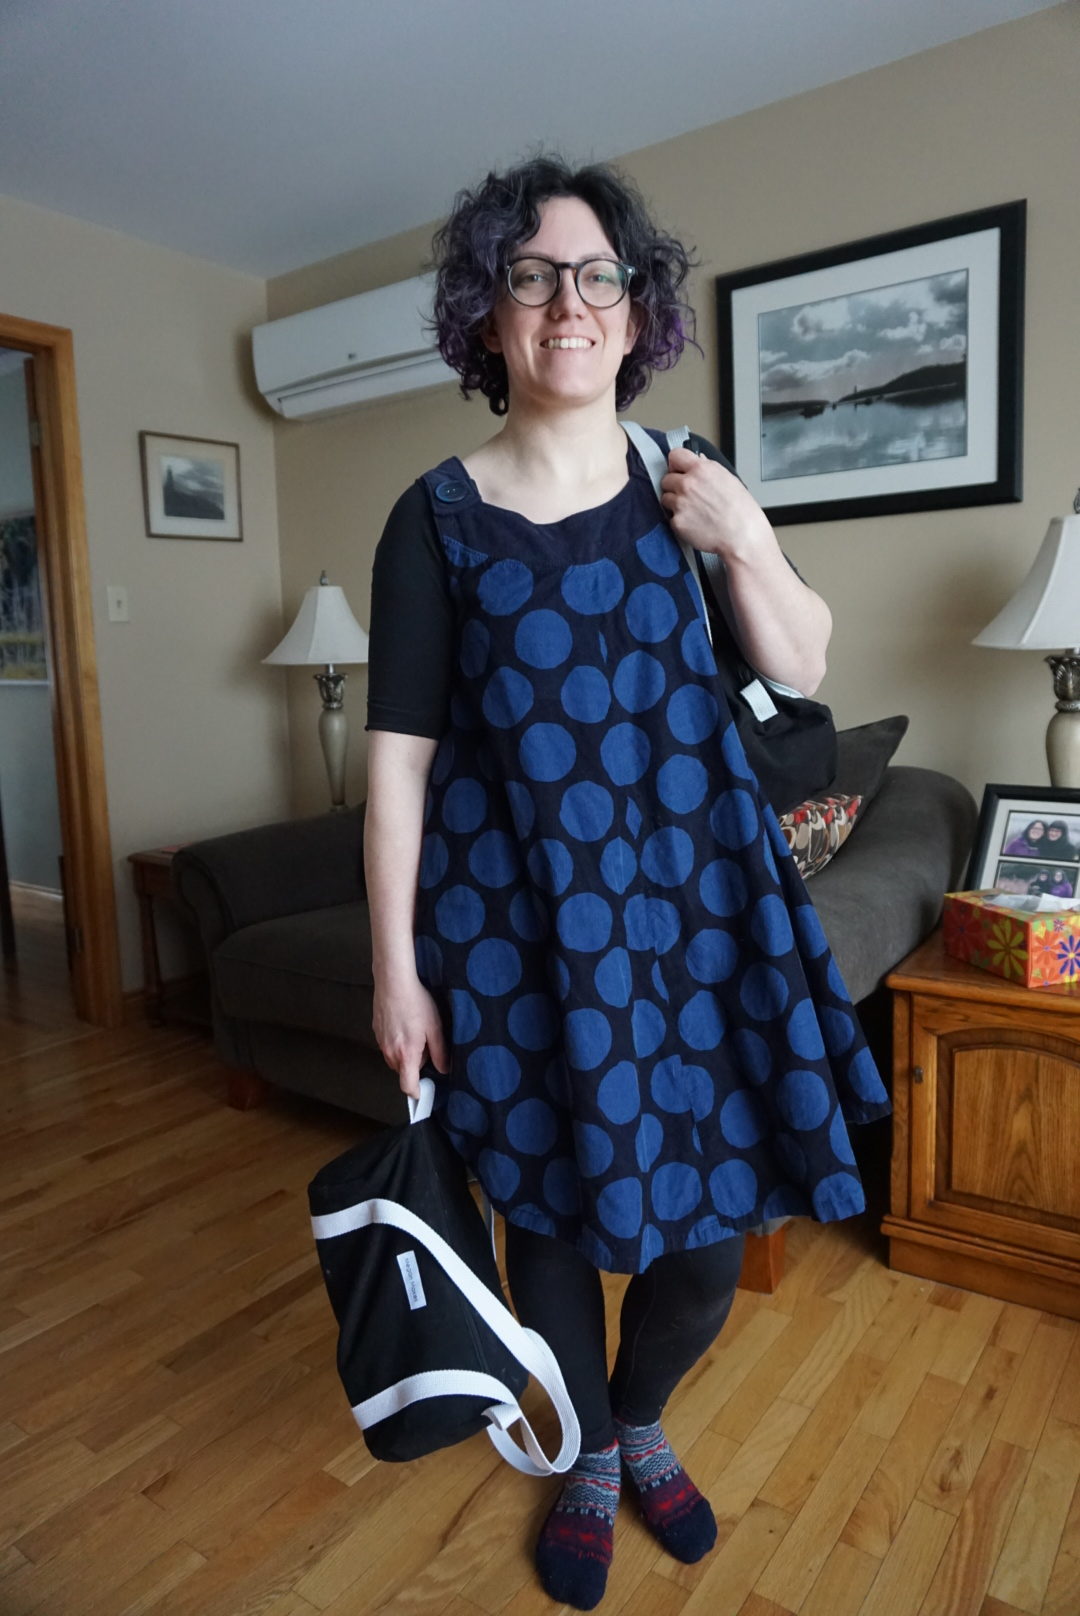
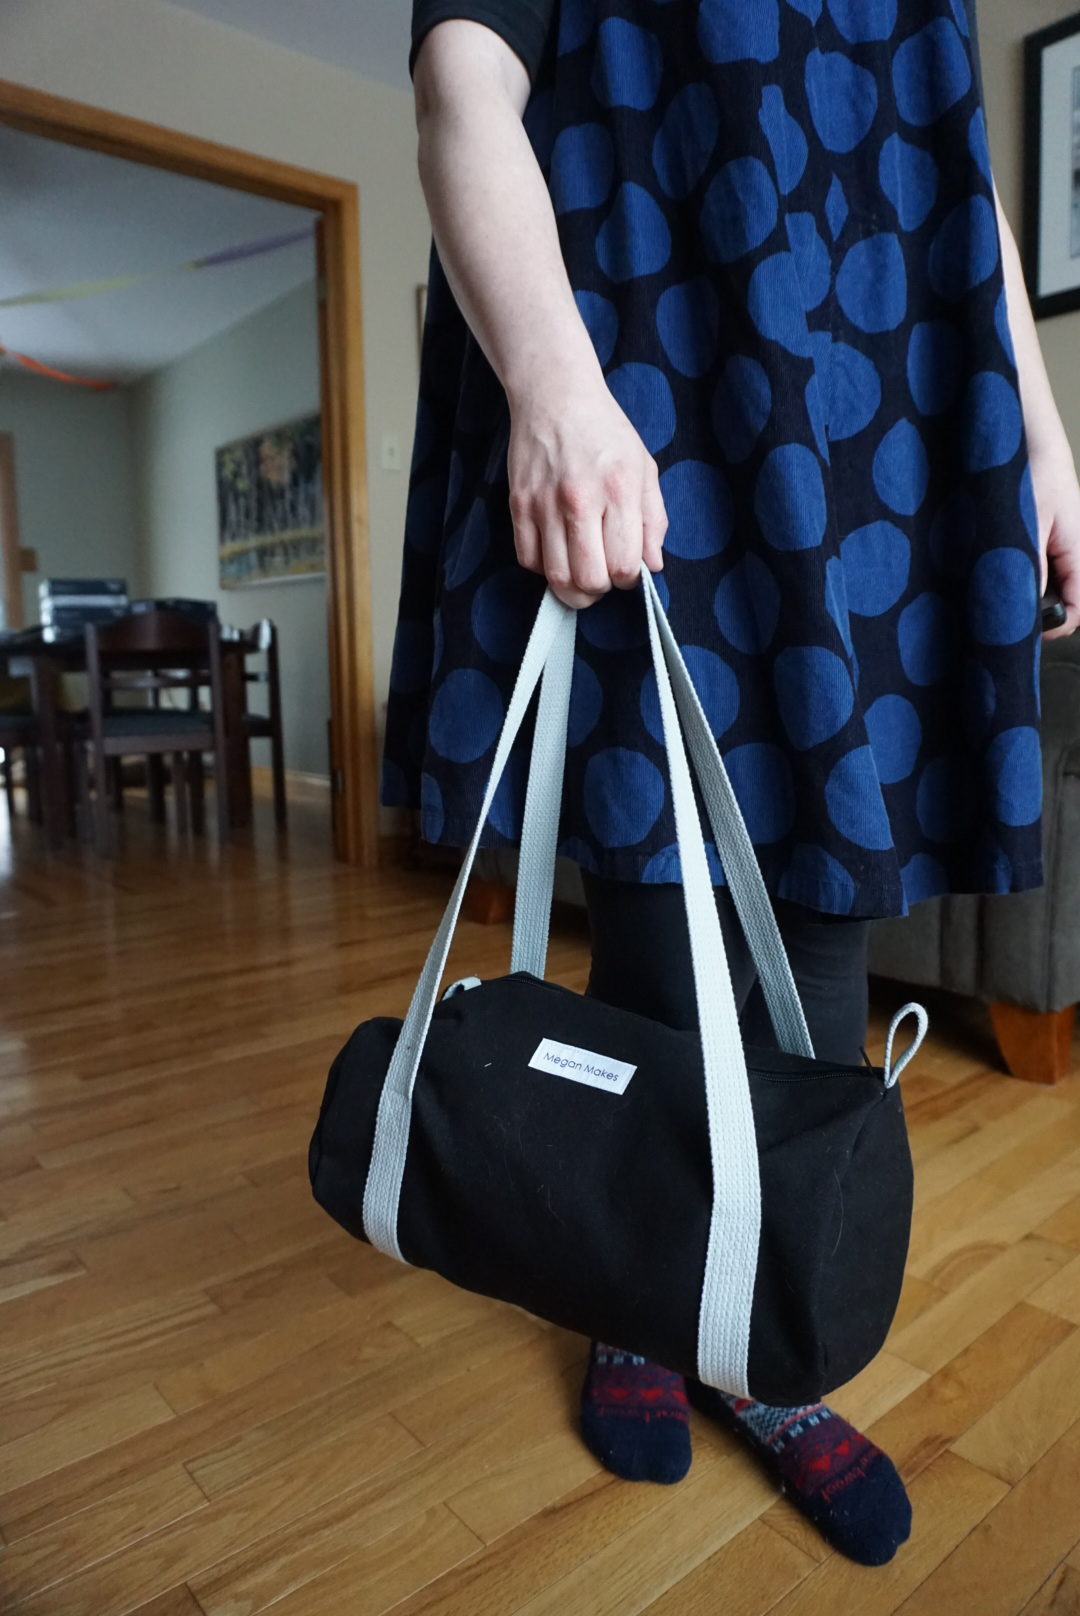
This mini duffle bag has enough room as above for a towel, my bathing suit, goggles, a swim cap, and a combination lock. Below, you can see that I’ve also fit my climbing shoes, chalk bag, mini first aid kit, deodorant, and combination lock in it. The finished dimensions are ~12″ long and ~8″ tall. It’s basically a cylinder with straps and a zipper, which makes it pretty simple to put together. I especially like that it has a tab at each end, which is a detail I preserved from the original. My friend uses one to hook his finger through (which you can further down), and one to clip a carabiner to, to hold his extra pair of climbing shoes if he needs them.
The only thing I changed from the original bag was to add pockets on each end panel. They don’t have a closure or anything (although you could definitely make a zipper pocket pretty easily if you wanted to), but it’s just a good place to be able to tuck small things so you can keep it out of the bustle of the main pocket. In the photos below, I have my deodorant in one end and my lock in the other.

So let’s get into the tutorial! Here’s what you’ll need:
- 3 metres/3 yards of 1″ wide cotton webbing
- 1 metre/1 yard canvas (this is probably generous)
- 1 closed-end zipper, minimum 32cm or 13″ long (I used a longer one and just sewed over the end)
My friend who is a professional drafter kindly made these PDF templates, so if you prefer pattern pieces instead of drawing out your own templates, you can download them directly below! Seam allowances are included in the templates and the dimensions in step one below. Also, disclaimer: I didn’t intend to make this into a tutorial when I started sewing these two bags, so I didn’t take any process photos. Hopefully the instructions below are clear enough!
Instructions!
- Cut out two circles and one rectangle from your canvas. If you’re not using the template pieces, cut out two circles with a diameter of 21cm/8.3″, and one rectangle that is 13 3/8″ by 24″.
- If you wish to add pockets to your bag, cut out an 8″ by 20″ piece of canvas. Fold over 1/4″ twice on one long edge of this piece and stitch it down close to the fold. (If you wish your pockets to be taller or shorter than my 6″ tall ones, add or subtract from the 8″ dimension of this piece).
- For pockets, lay the pocket fabric over one of your circles and align the hemmed edge with where you want the top edge of your pocket to be. Trim around the edge of the circle, and baste the two pieces together. Repeat for the other circle if you want a pocket at each end.
- Cut one 88″ length of your webbing and two 5″ lengths. Set aside the smaller pieces; they will be used later for your tabs.
- Sew the ends of the long piece of twill tape together using a 1/2″ seam allowance, making sure not to twist the twill tape when sewing. Press open. Fold in half using the seam you just sewed as one side and make a mark at the halfway point.
- Finish the short ends of your canvas rectangle using your method of choice (I serged mine). The long ends will be finished later.
- Fold your rectangle of canvas in half, aligning the short edges and creasing with your fingers to leave a mark. Unfold.
- Lay your webbing on your canvas rectangle (on the right side of the fabric) with the outer edge 2″ in from one long end of the rectangle, and align the seam in your webbing right side up with the fold you just made in the canvas. Repeat this on the other end of the rectangle, making sure not to twist the webbing loop in the process. On the other side, you will align the halfway mark you made with the crease in the fabric. Pin the webbing parallel to the long edges of the rectangle, maintaining the 2″ measurement from the edge. After you have completed this, you should have a flat piece of fabric with loops of tape on either side, which will later become your straps.
- Top-stitch the webbing down on both edges, stopping 4″ from the short edges in all four locations. I placed a pin facing in a different direction to make me stop at the right time, but you could also just mark it. At the end of the top-stitching, I also sewed a square with an X in it to provide reinforcing.
- Fold under 1/2″ (wrong sides together) on each short end of the rectangle (this should be where your loops are located, so you should tuck them out of the way) and press using your iron.
- Place one of the folded edges along your zipper tape, zipper facing right way up. You’ll want to have about 1/2″ of the zipper exposed, but it’s not crucial – just don’t leave WAY more exposed than 1/2″. Top-stitch down close to the folded fabric edge using a zipper foot. Repeat for the other side of the zipper. This should create a circular tube of fabric. When you do the second side of the zipper, be careful not to accidentally sew other parts of your project to itself. 🙂
- Take your circular end pieces and mark them equally in four places along the edge. If you added pockets, make sure you fold it with the pocket top edge aligned so your markings end up centering the pocket and not tilting it. Make marks on your cylinder by folding it half using the zipper as one edge, and then by aligning that new mark with the zipper and marking the other two folds.
- Fold your two 5″ webbing pieces in half and baste (at 3/8″ seam allowance) one to each end of the zipper on top, with the zipper facing right side up, centering it on the zipper and aligning the raw edges with the raw edges of the cylinder/zipper (it will point inward toward the center of the bag).
- Turn your cylinder so the straps are on the inside, making sure to keep the zipper partially open! Pin a circle to each end of the cylinder right sides together, making sure if you added pockets to keep them on the OUTSIDE of the cylinder and to keep them the right way up (don’t ask me how I know to mention these two things to you…). Align your four markings and then distribute the rest evenly in between.
- Sew around each circle at 1/2″ seam allowance. Finish the edges at either end using the method of your choice (I serged mine again).
- Turn your bag right way out and press. You’re done! 🙂
I hope you all enjoyed this tutorial! I’ve never made one before, so if you have any recommendations on how to improve it or questions/confusion about the bag-making itself, definitely leave me a comment! I found these mini duffle bags very satisfying to make, and may make more in the future as gifts because I think they could be useful in so many contexts! Especially as you could easily customize them for different purposes. I went pretty subdued for these ones because I already had the black canvas laying around, but I can definitely see myself doing some bright fun coloured ones soon!
