If I have learned nothing else through the making of my first two Deer & Doe Magnolia dresses, it’s that I have apparently abnormal boobs. Good lord. My list of fit adjustments on this pattern is out of control. And I’ll lay it all out for you below, but let’s rewind a bit first.
My friend Jenn asked me to be a bridesmaid in her upcoming wedding about a year ago and she was upfront about the fact that she was very flexible about what we wore. It had to be floor length, and it had to be the shade of green that she had chosen, but otherwise as long as she had veto power, it was up to us. I actually ordered a completely different pattern but in the time since ordering it, I changed my mind about what I wanted to wear. I’ve always been a huge Deer & Doe fan and the Magnolia really grew on me as a potential option for my dress until I decided to just commit. The wedding is the weekend after (Canadian) Thanksgiving, so I have about a month to make my actual dress. This post is about my two wearable muslins!
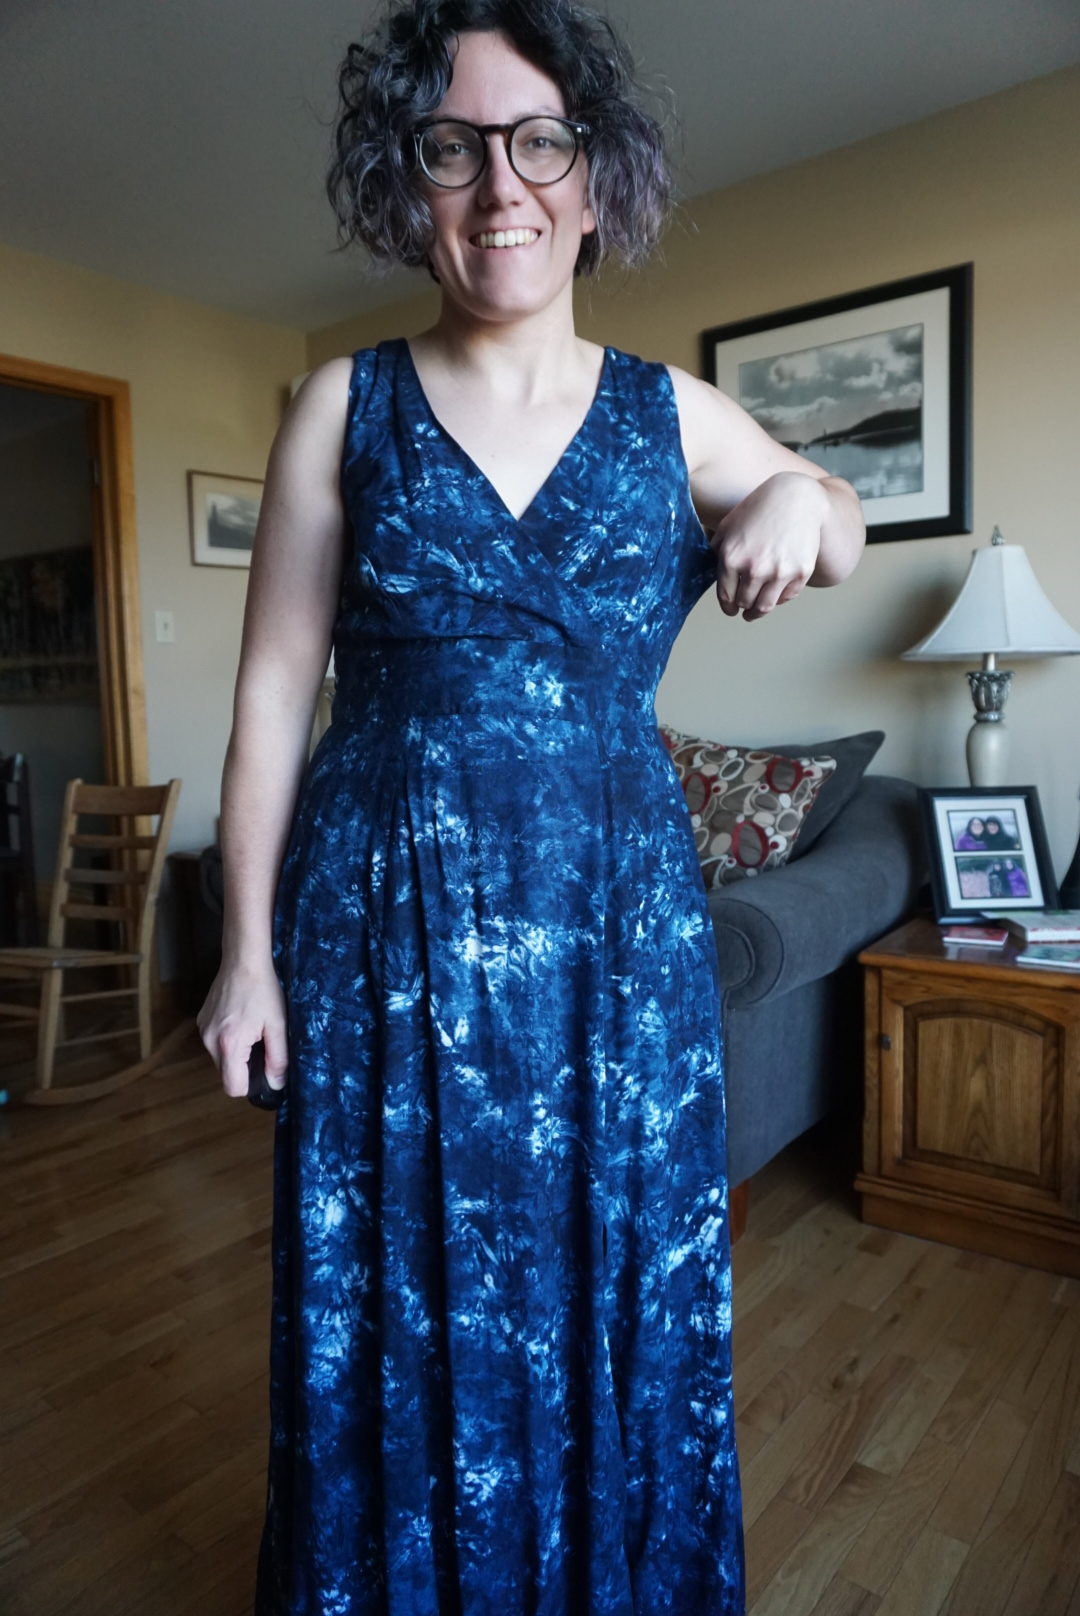
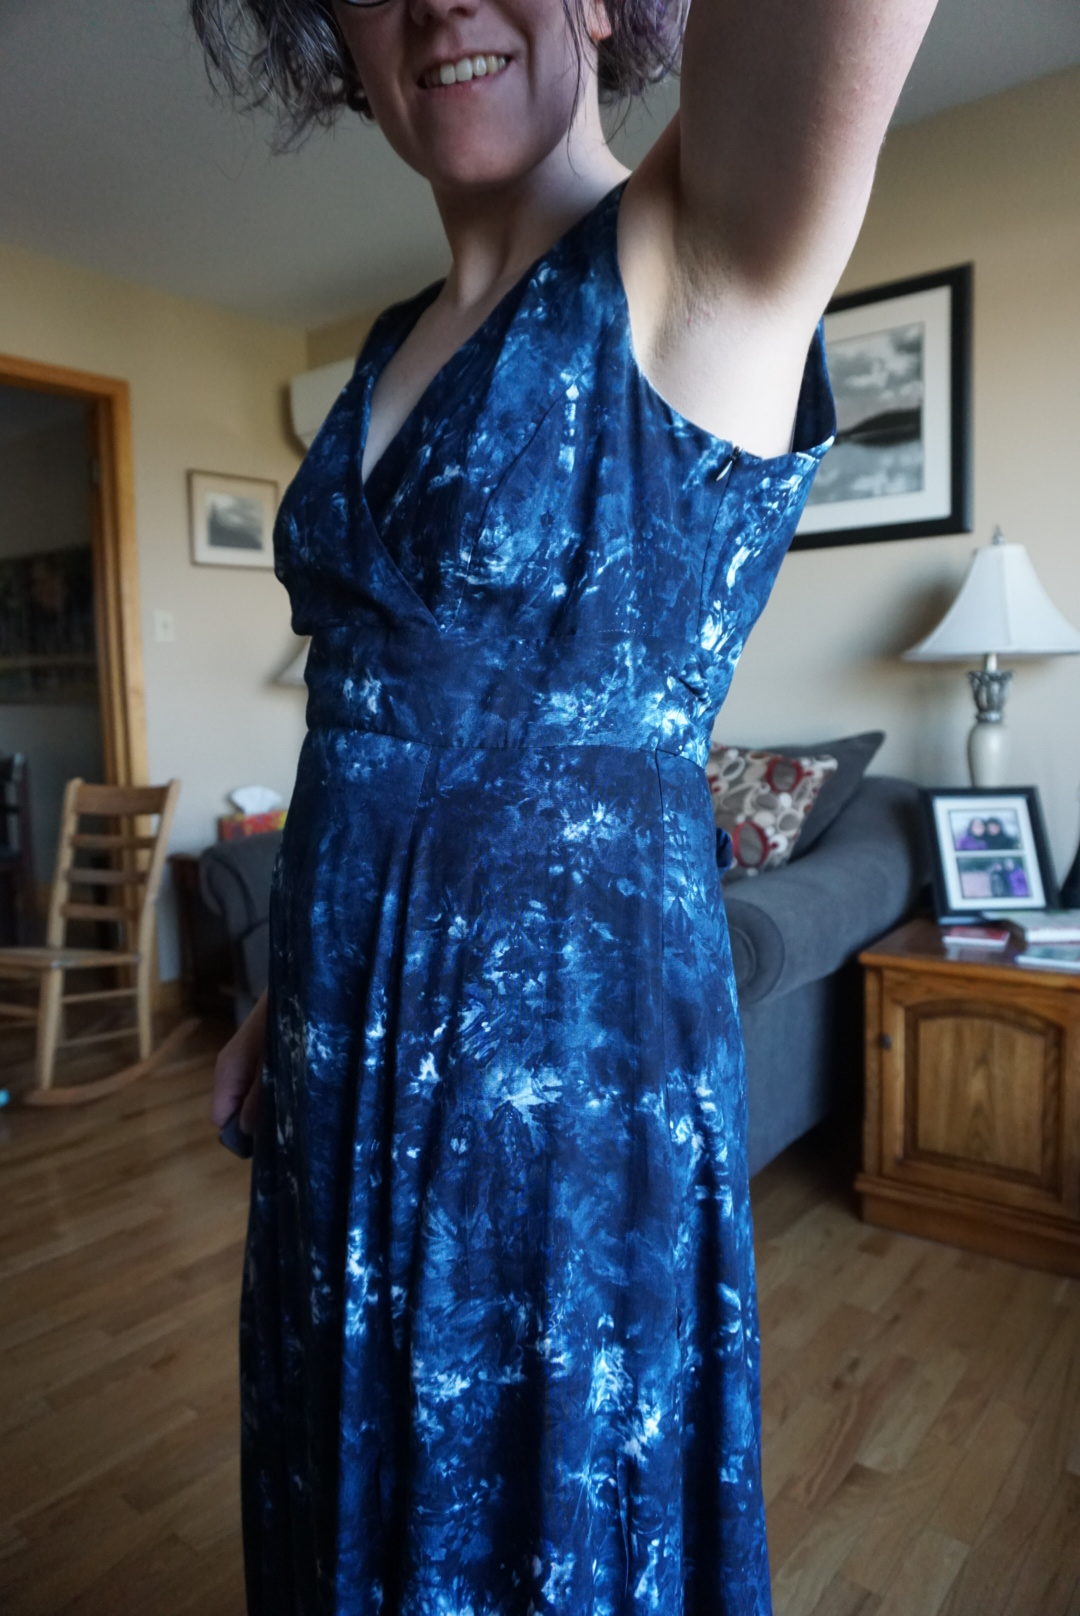
I was moderately happy with the fit of this first version. But my goodness. I don’t think I’ve ever made so many fit modifications to one pattern. I started out by making a muslin of just the bodice out of a bedsheet from Value Village. My staring point was a size 40 – I’m 37.5″/29.5″/39″ and I’m a B cup. I used to be 38 in Deer & Doe but since starting bouldering, I’ve changed sizes in a lot of the pattern companies I frequently use. So I figured 40 was a better starting point. After the initial bodice muslin, I made the following modifications: 3/4″ small bust adjustment (SBA); graded 3/4″ off the top bust to the apex; 1″ added to each side seam; 3/4″ taken from each shoulder at the shoulder seam (because I made it sleeveless); 1/2″ taken from each side seam at armpit graded to 0″ at waist. All those modifications took me through three bedsheet bodices until I was happy enough with it to try it out with real fabric.
I got the two 100% rayons seen in this post from Fabricville during one of their “buy 1m get 2m free” sales, so I only paid $15 for each dress. It was good because it made me care less about this first one not fitting perfectly (although still a bit disappointed because I think the fabric is pretty cool). But as you can see, it does have some issues. The main problem is under the arm. It was SO BAGGY! I’m not sure what happened between the bodice muslins and this; I think maybe the difference in fabric and the addition of the zipper in the full dress might be it. In the bodice muslins, I’d been sewing lines at the seam allowance on the front and back pieces and then getting my fit-assistant to pin along the line once I had it on.
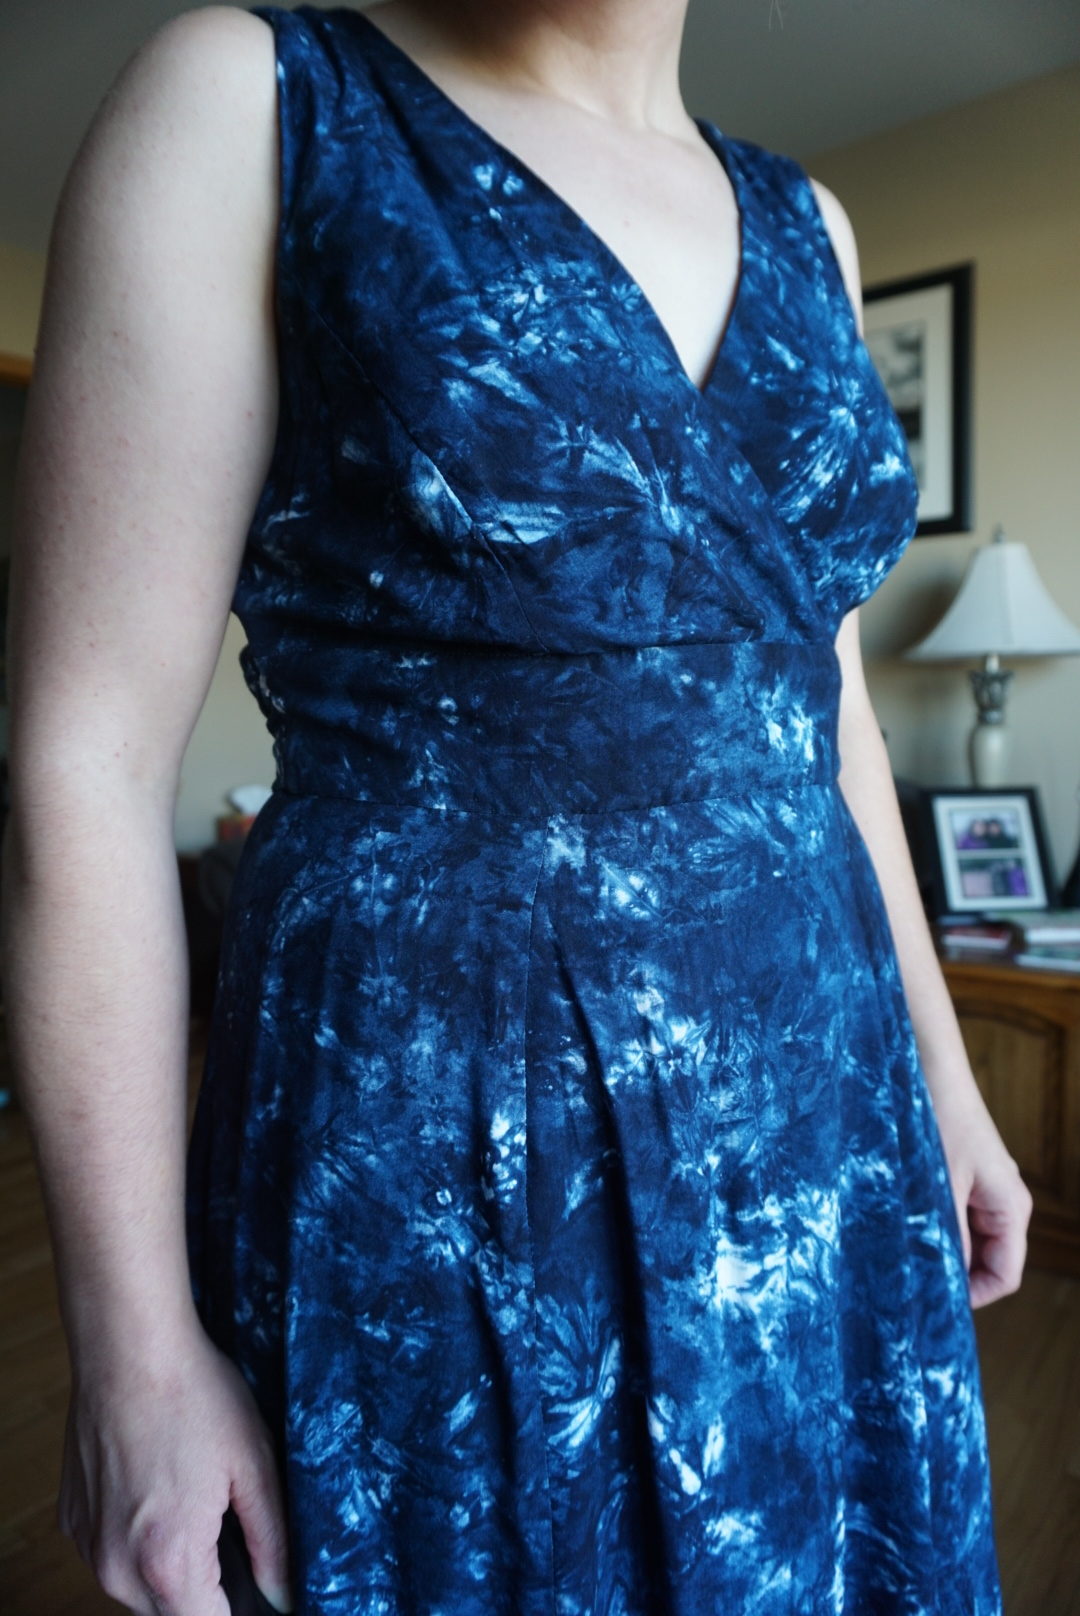
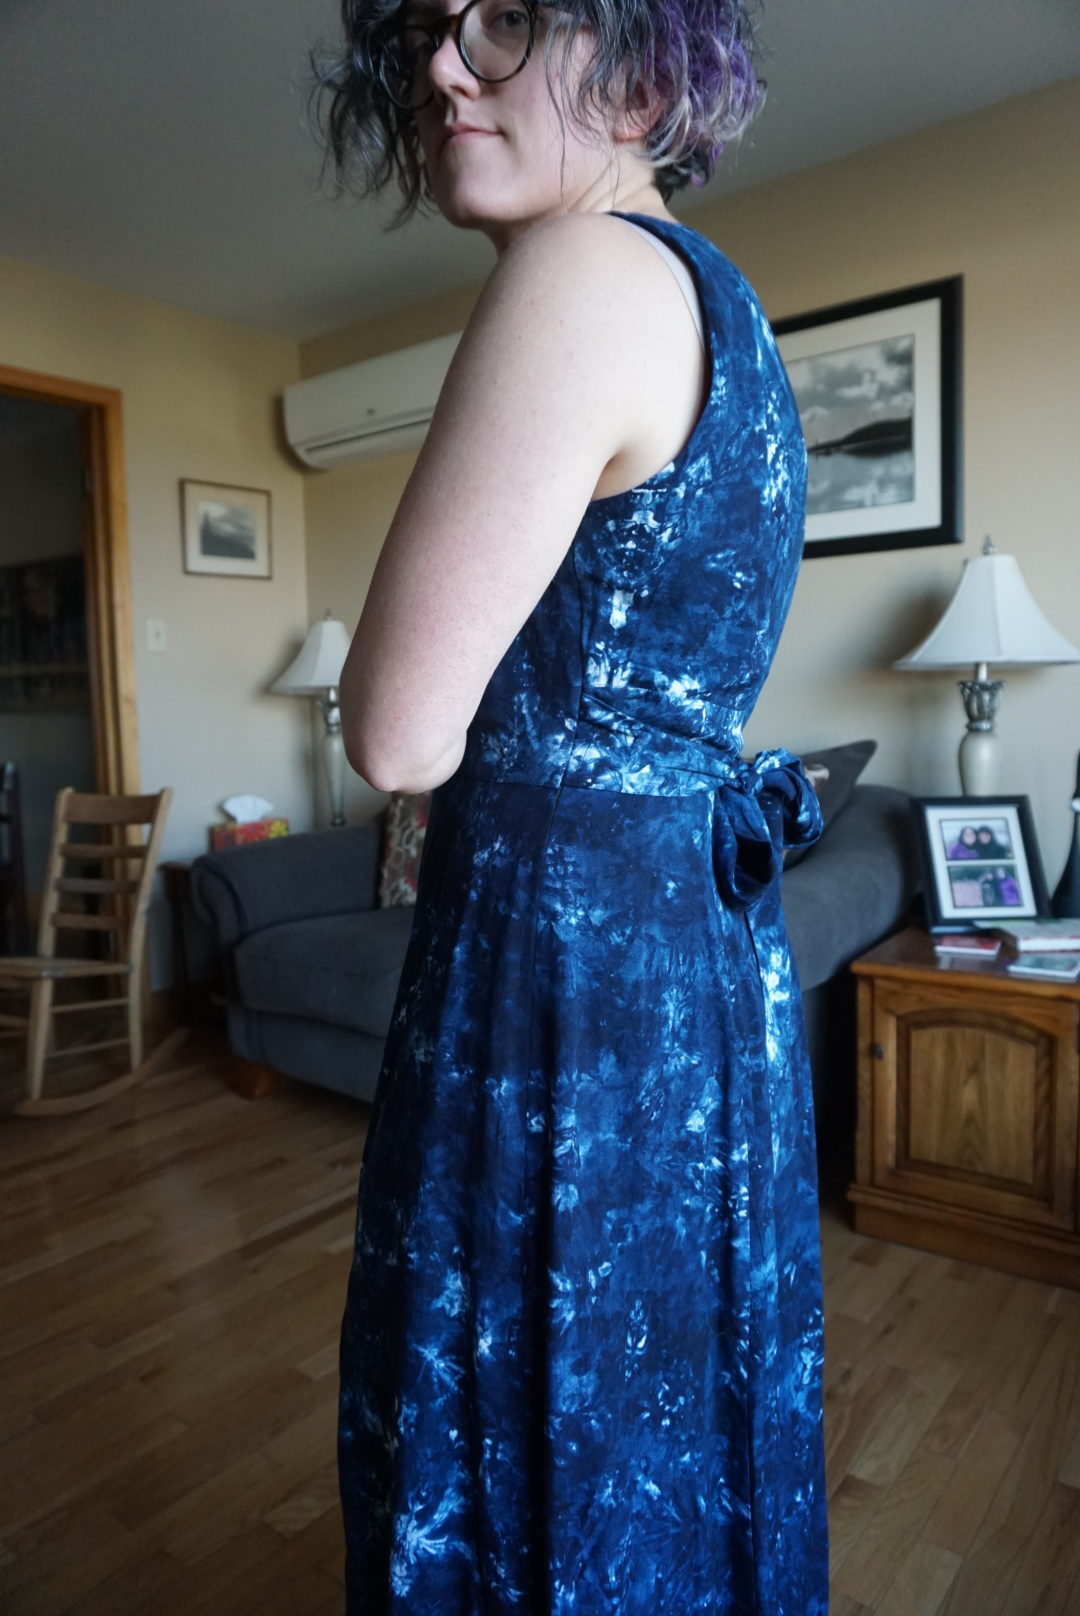
The back fits very nicely, but as you might be able to see below, the boobs were quite baggy as well. The princess seams were the correct shape/size/whatever (they BETTER have been after all those muslins), but the issue was that they were too far to the sides. You can see below the difference it makes when I pull the front together. This meant that I needed to increase the overlap, but I didn’t want to move the shoulders in as well, and also didn’t want to restrict myself at the side seams because the waist was fine, it was just the armpits. So I cut off the shoulders of the center bodice pieces, moved the bottom part “inward” by 1/2″, reattached the shoulders, and then reshaped the armhole and front wrap edges. This meant that I also moved the notch for matching the overlap over by 1/2″. (Confused yet?) THEN I took 1″ out at the side seam to correct the underarm bagging. This was less than I would’ve had to take had I not increased the overlap (effectively reducing the width of the bodice by 1″). This translated to removing 1/2″ at the top of the side seam on each of the front and back bodice pieces. Then I had to add back 1″ at the bottom of the bodice (1/2″ on the side seam edge of the side front piece) to make sure the bodice matched the waistband, since that had fit correctly all along.
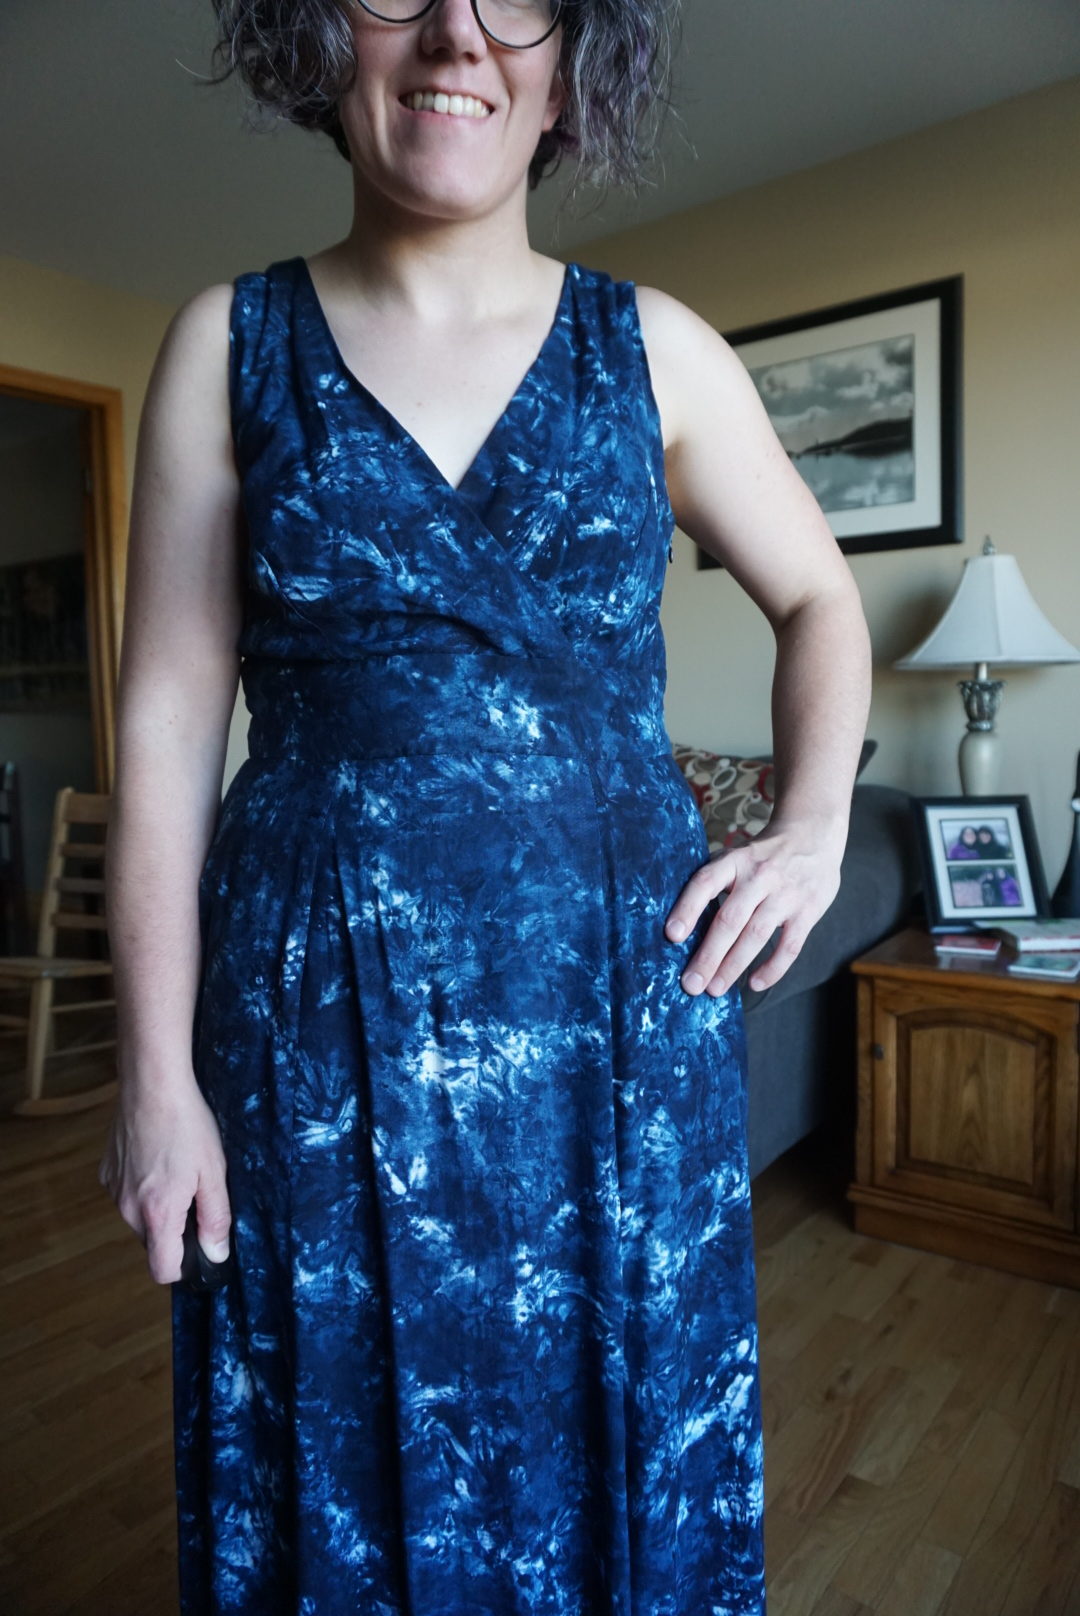
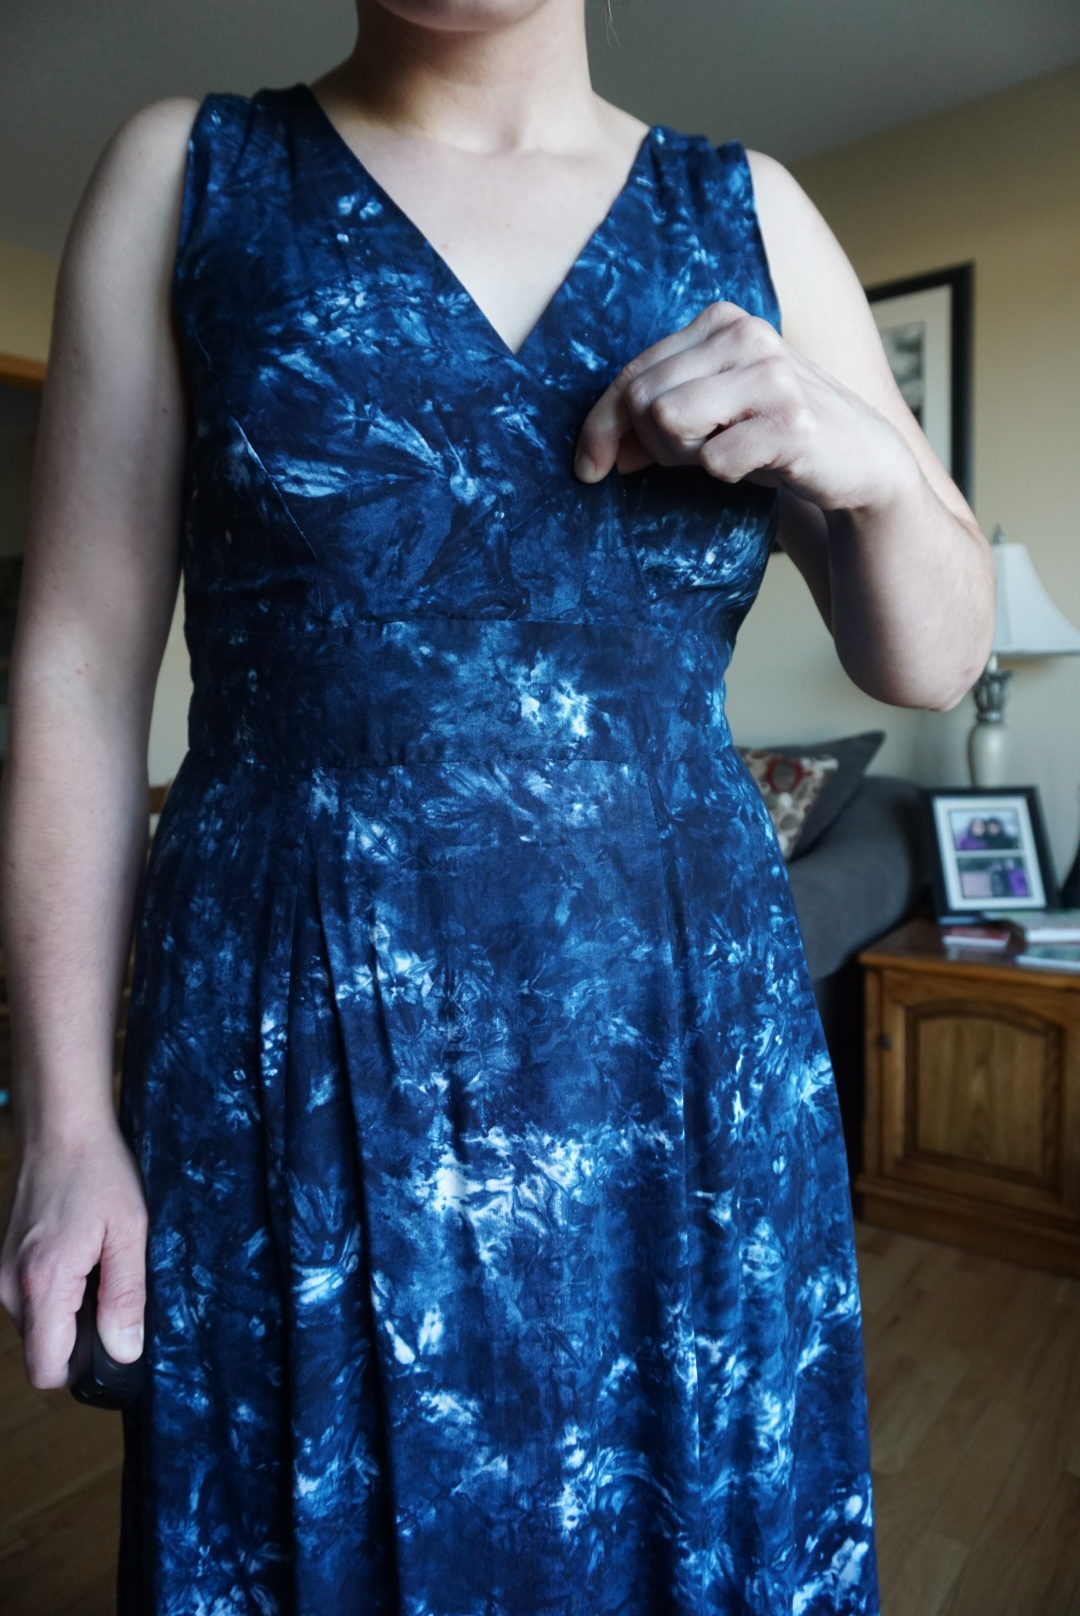
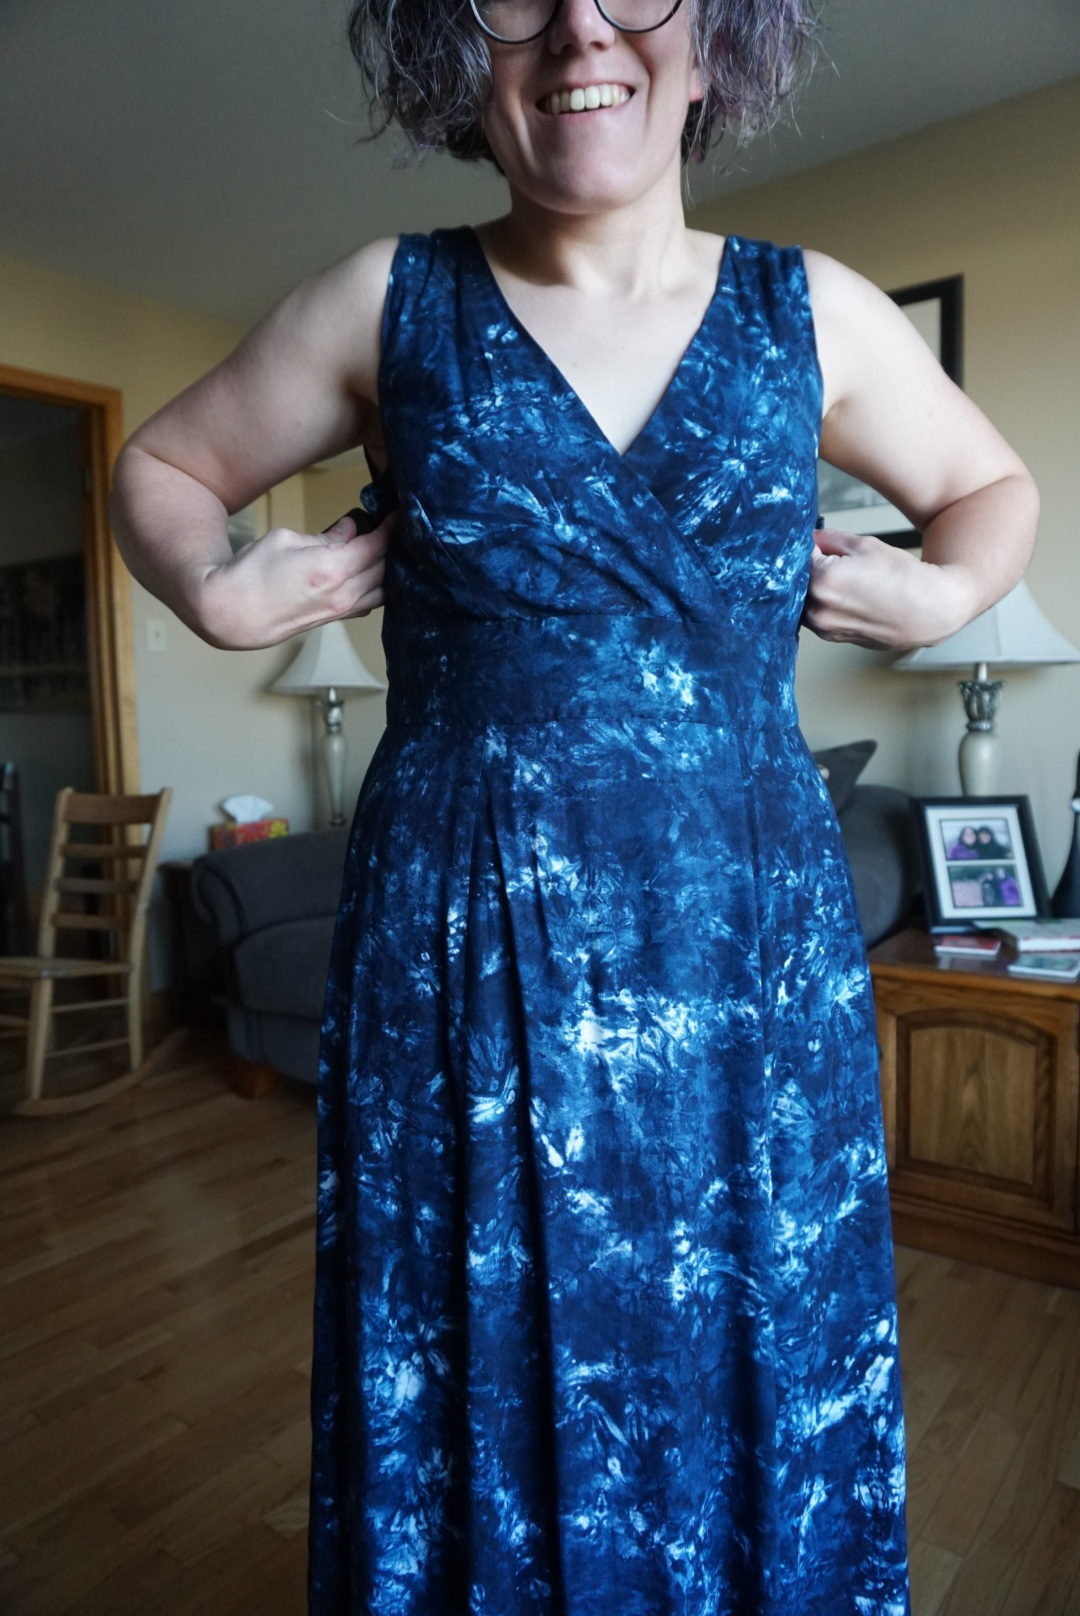
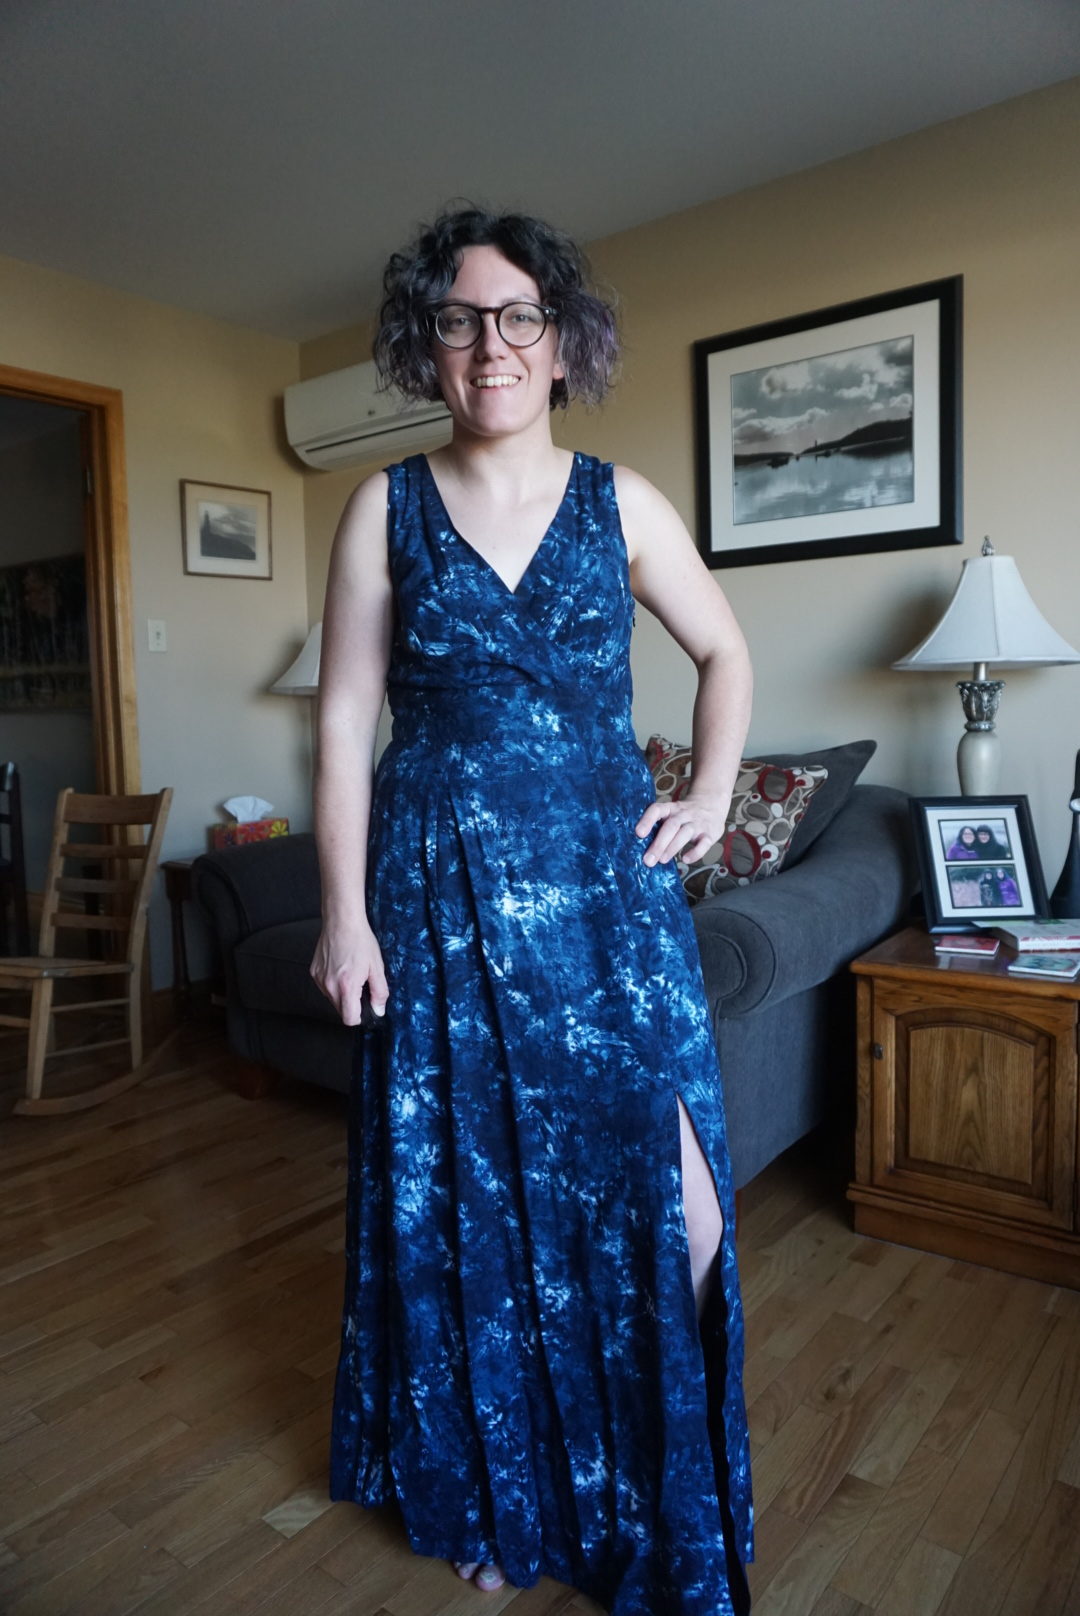
The other thing I did with this version was that I shortened it at the hem by 3 1/4″ because I’m only 5’4″. This meant that the slit ended up going only to just above my knee (not very sexy), so I raised the slit opening by 3 1/4″ on my second version to solve that problem. Which brings us to the second wearable muslin!
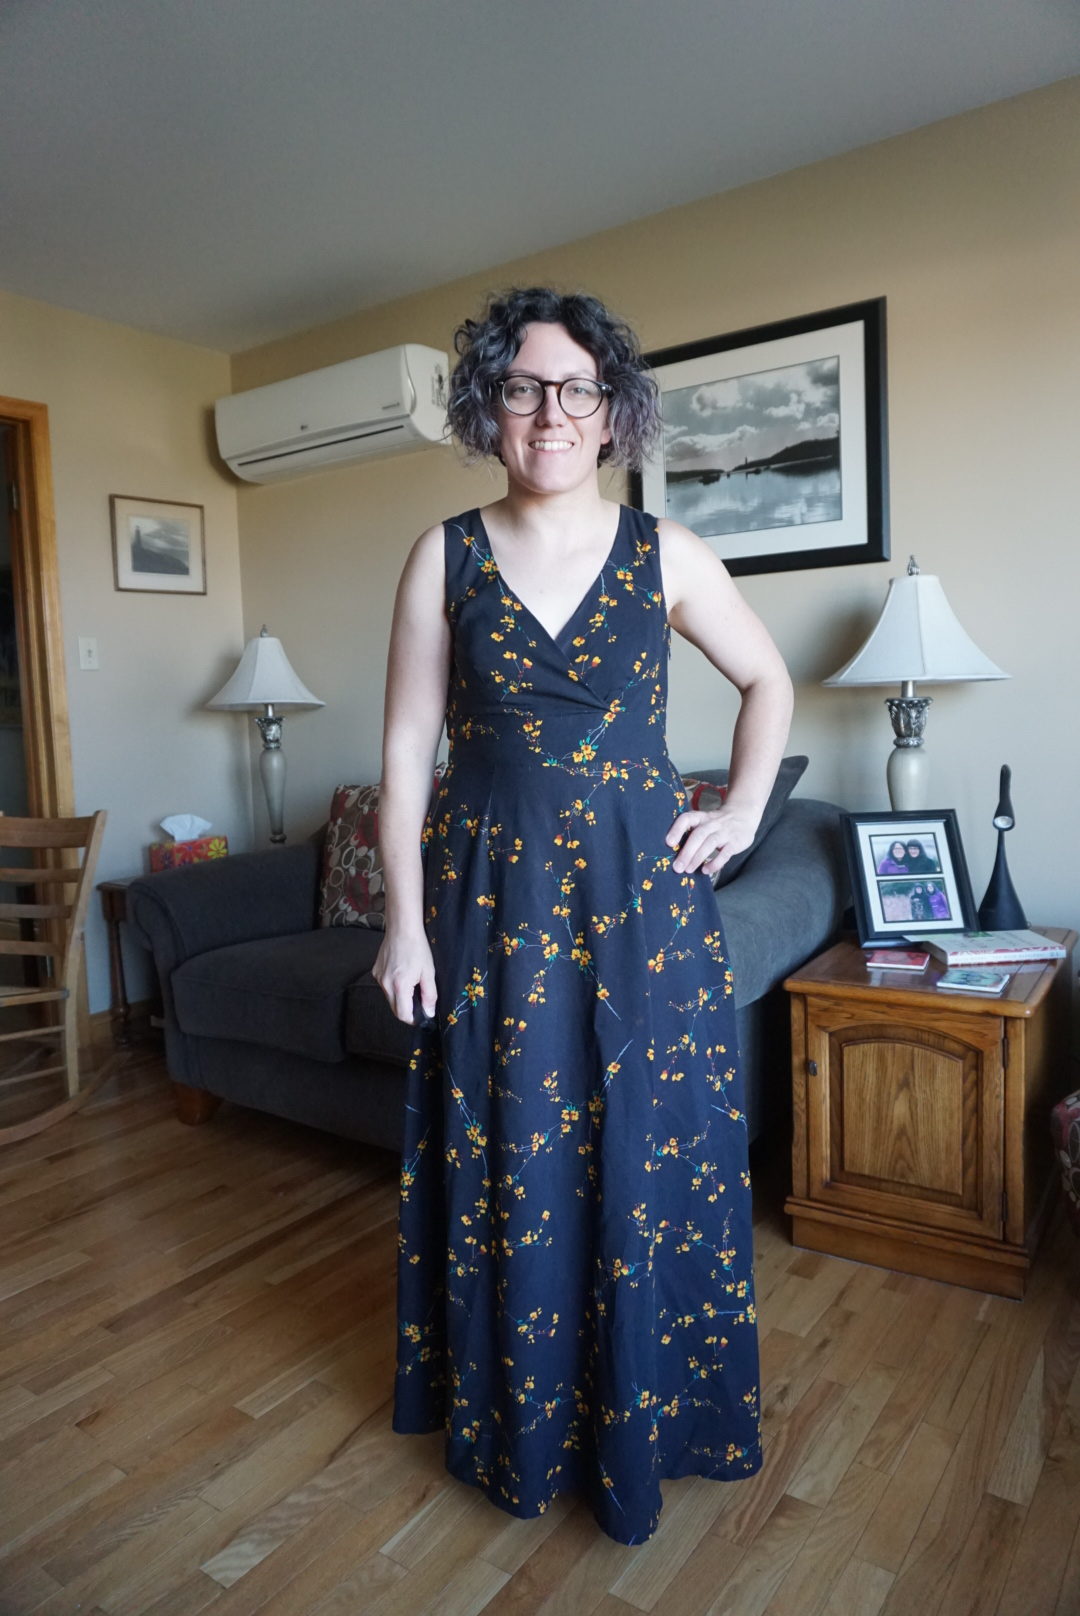
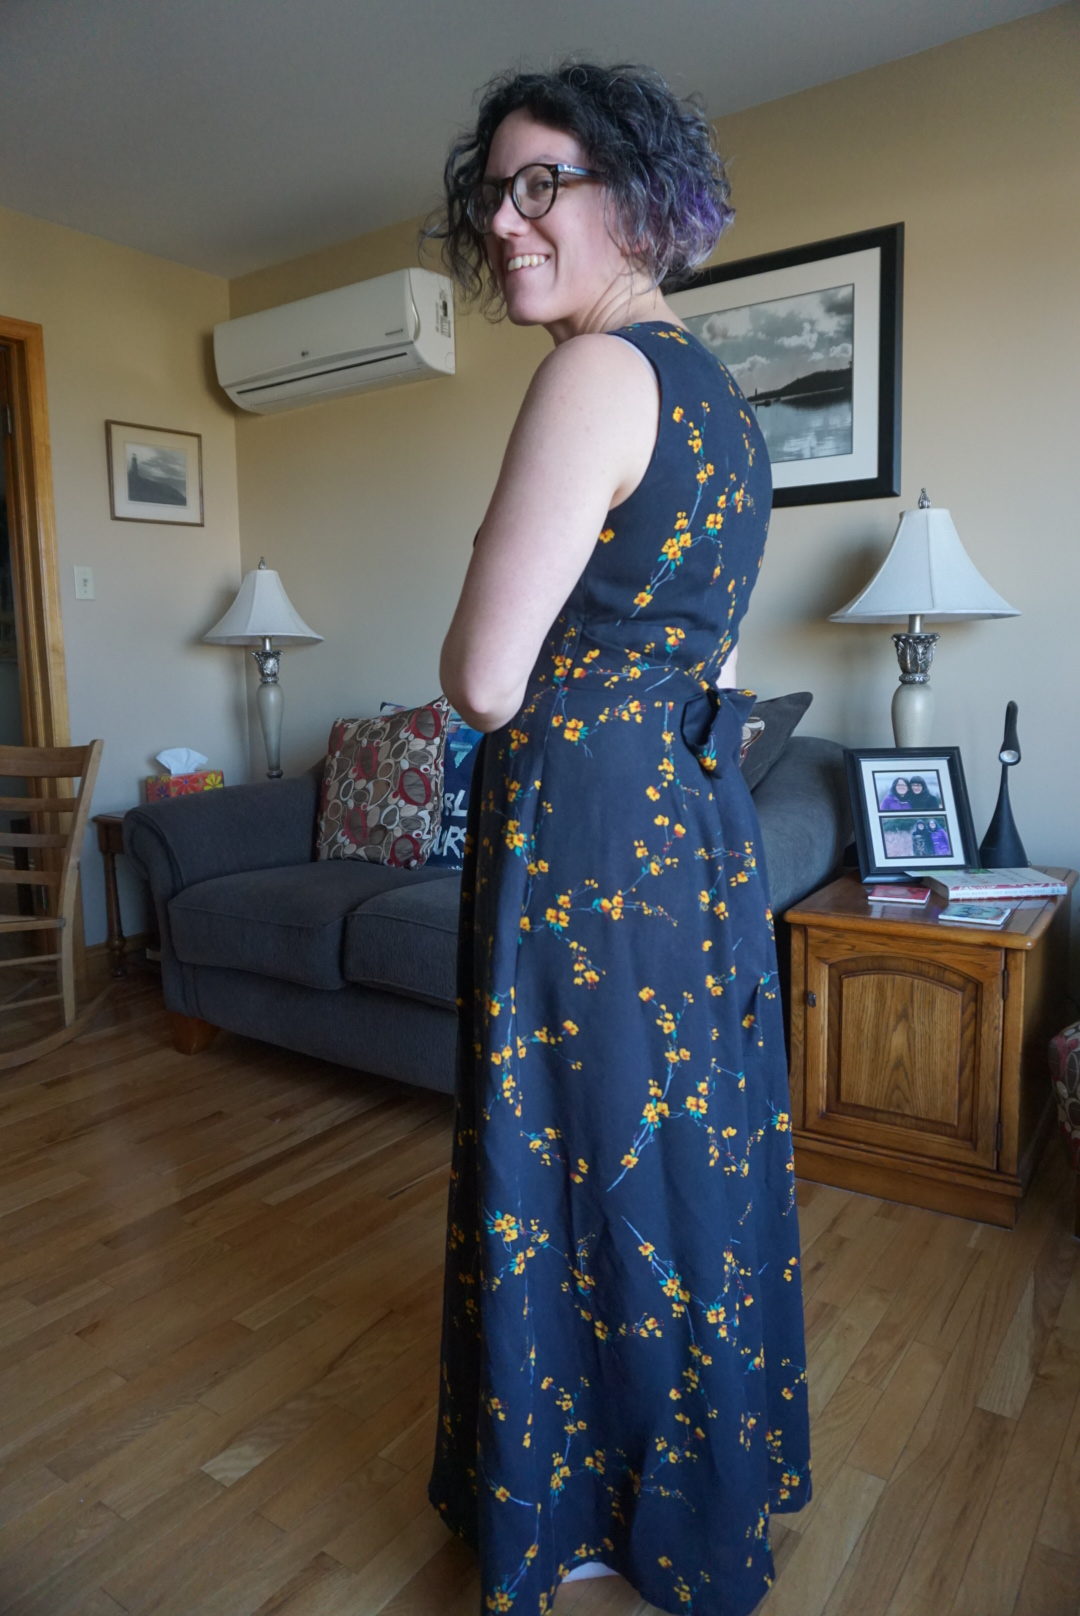
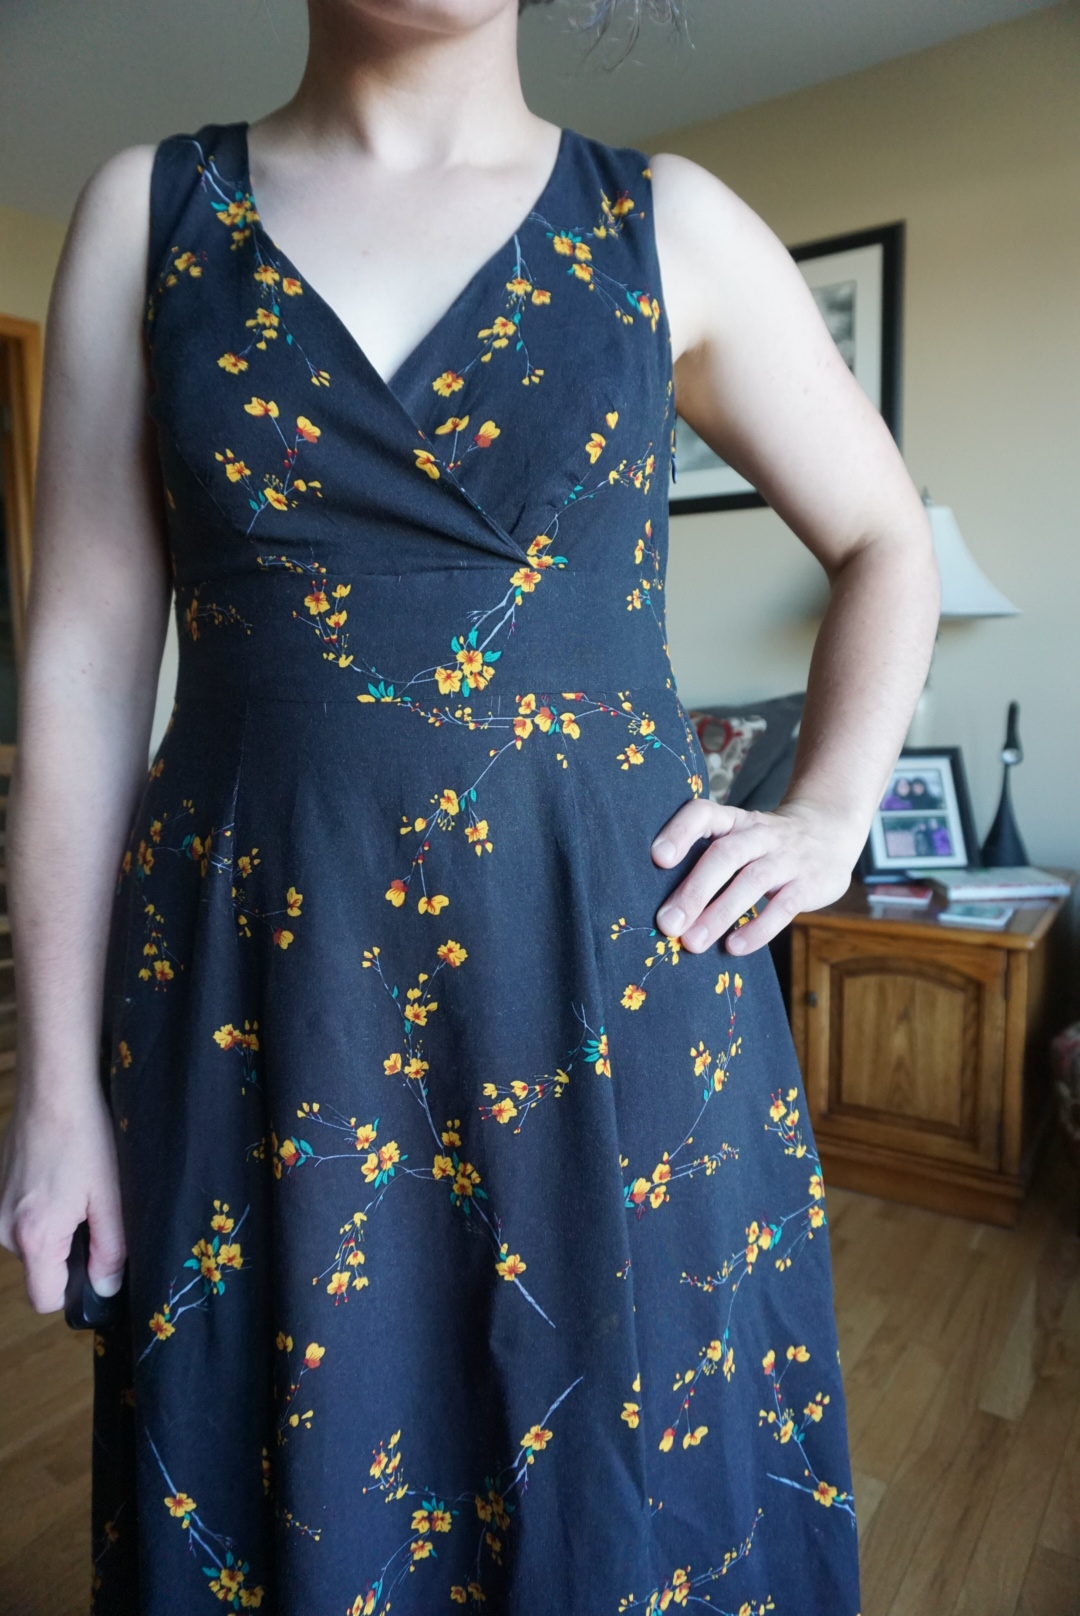
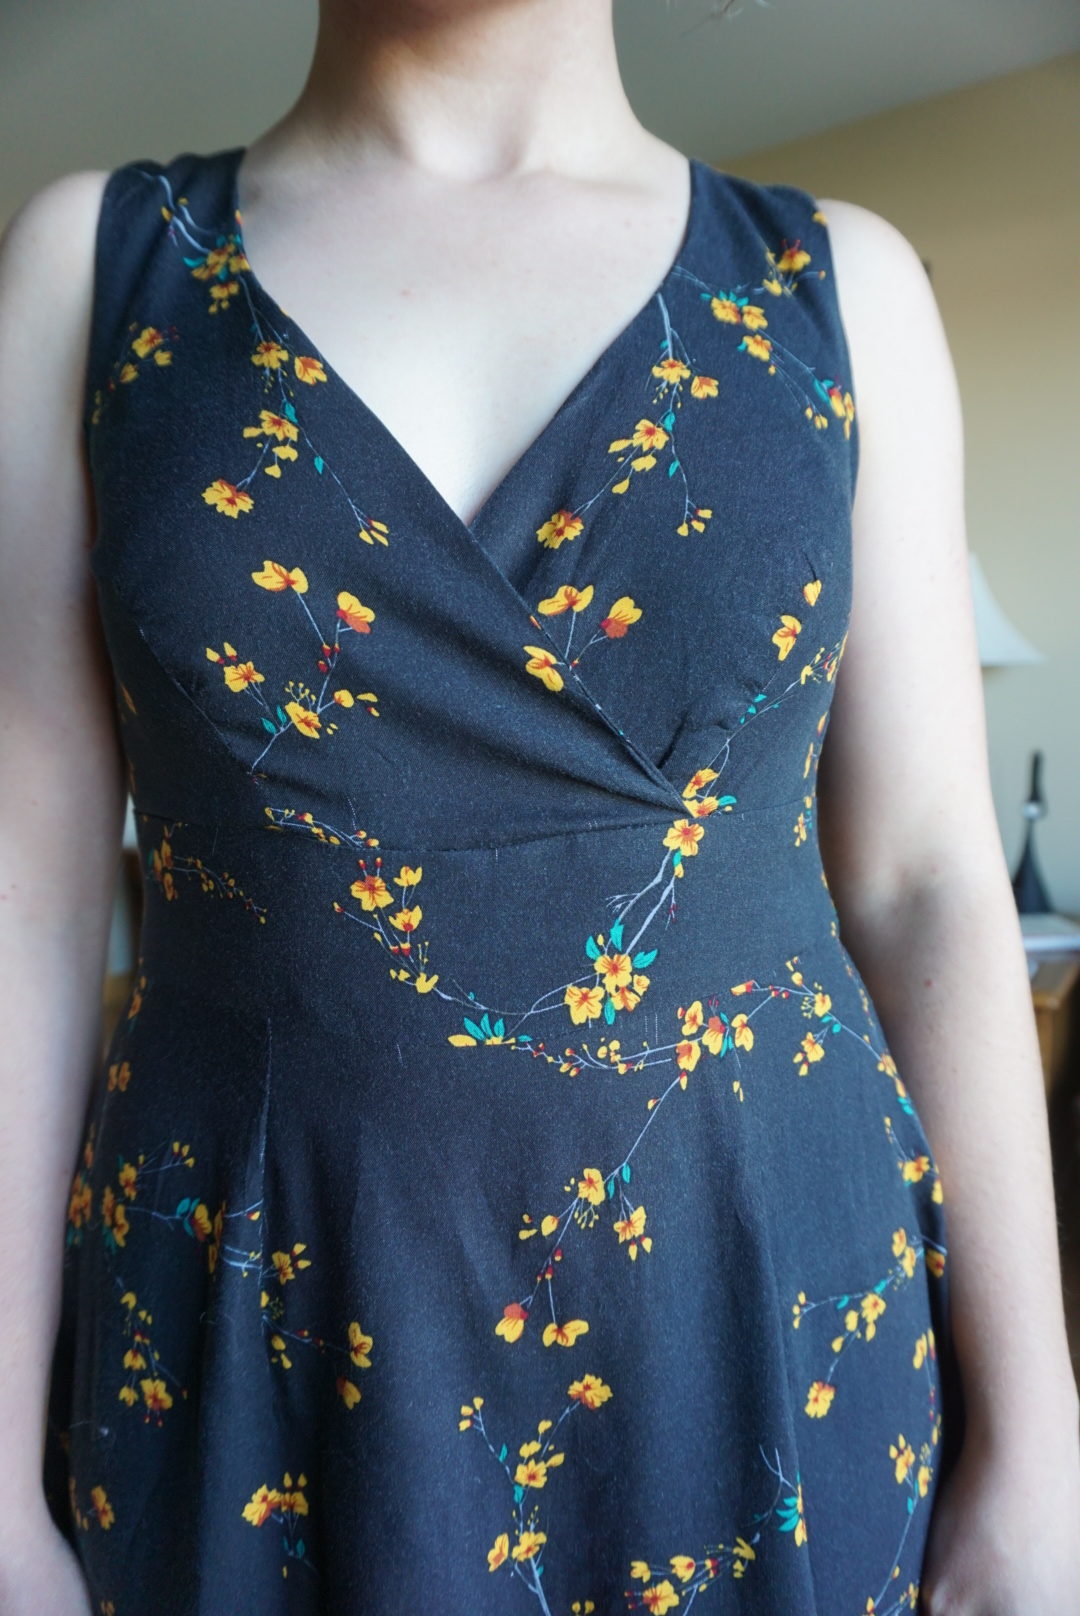
I’m so happy with the fit of this! I actually spray starched the entire yardage of this fabric before I cut out the pieces because I had some discrepancy between the two sides of the bodice on my first version and I wanted to know which one was the way the pattern pieces were and which one was sloppy cutting in case I needed to make additional adjustments. It made it a lot easier to cut out and sew with! I’d never used spray starch before, but I definitely will again now that I know how helpful it is. I made one change to this dress after it had been sewn up, and that was to solve gaping at the bottom of the wrap portion. I took that bit apart and then brought the pointy sides of each of the front pieces down by 1 1/4″, keeping the center overlap the way it was. This pretty much solved the problem! But take a look at the two photos below:
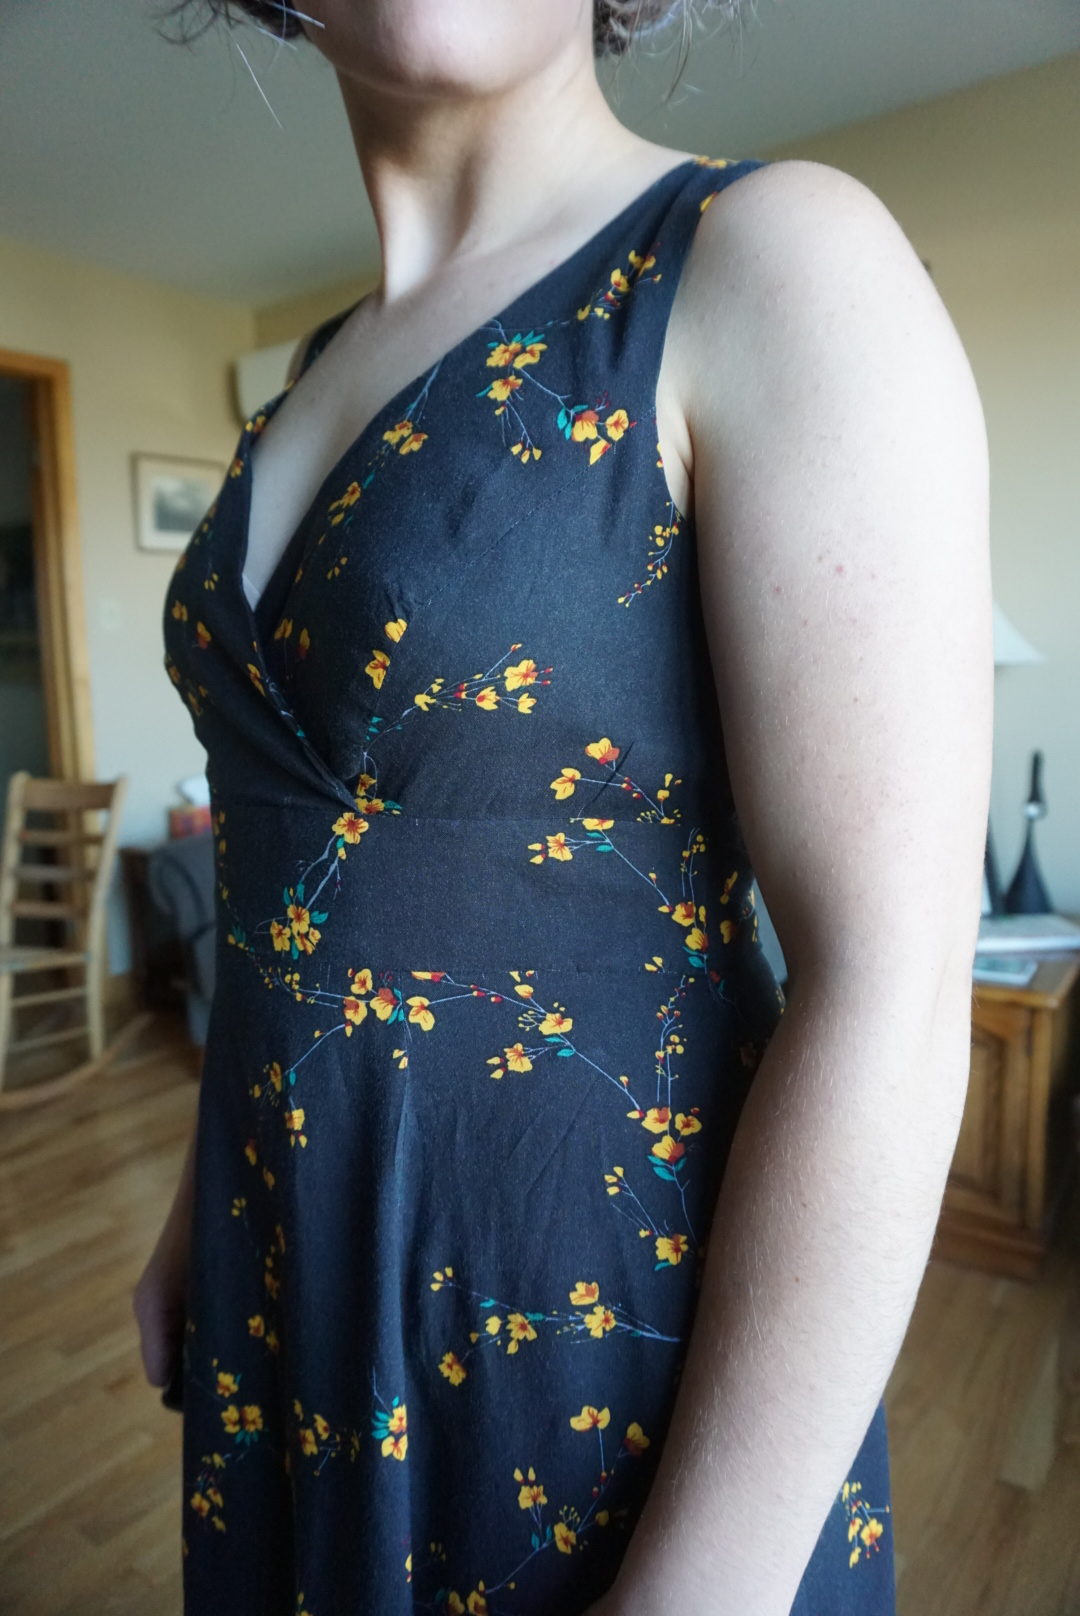
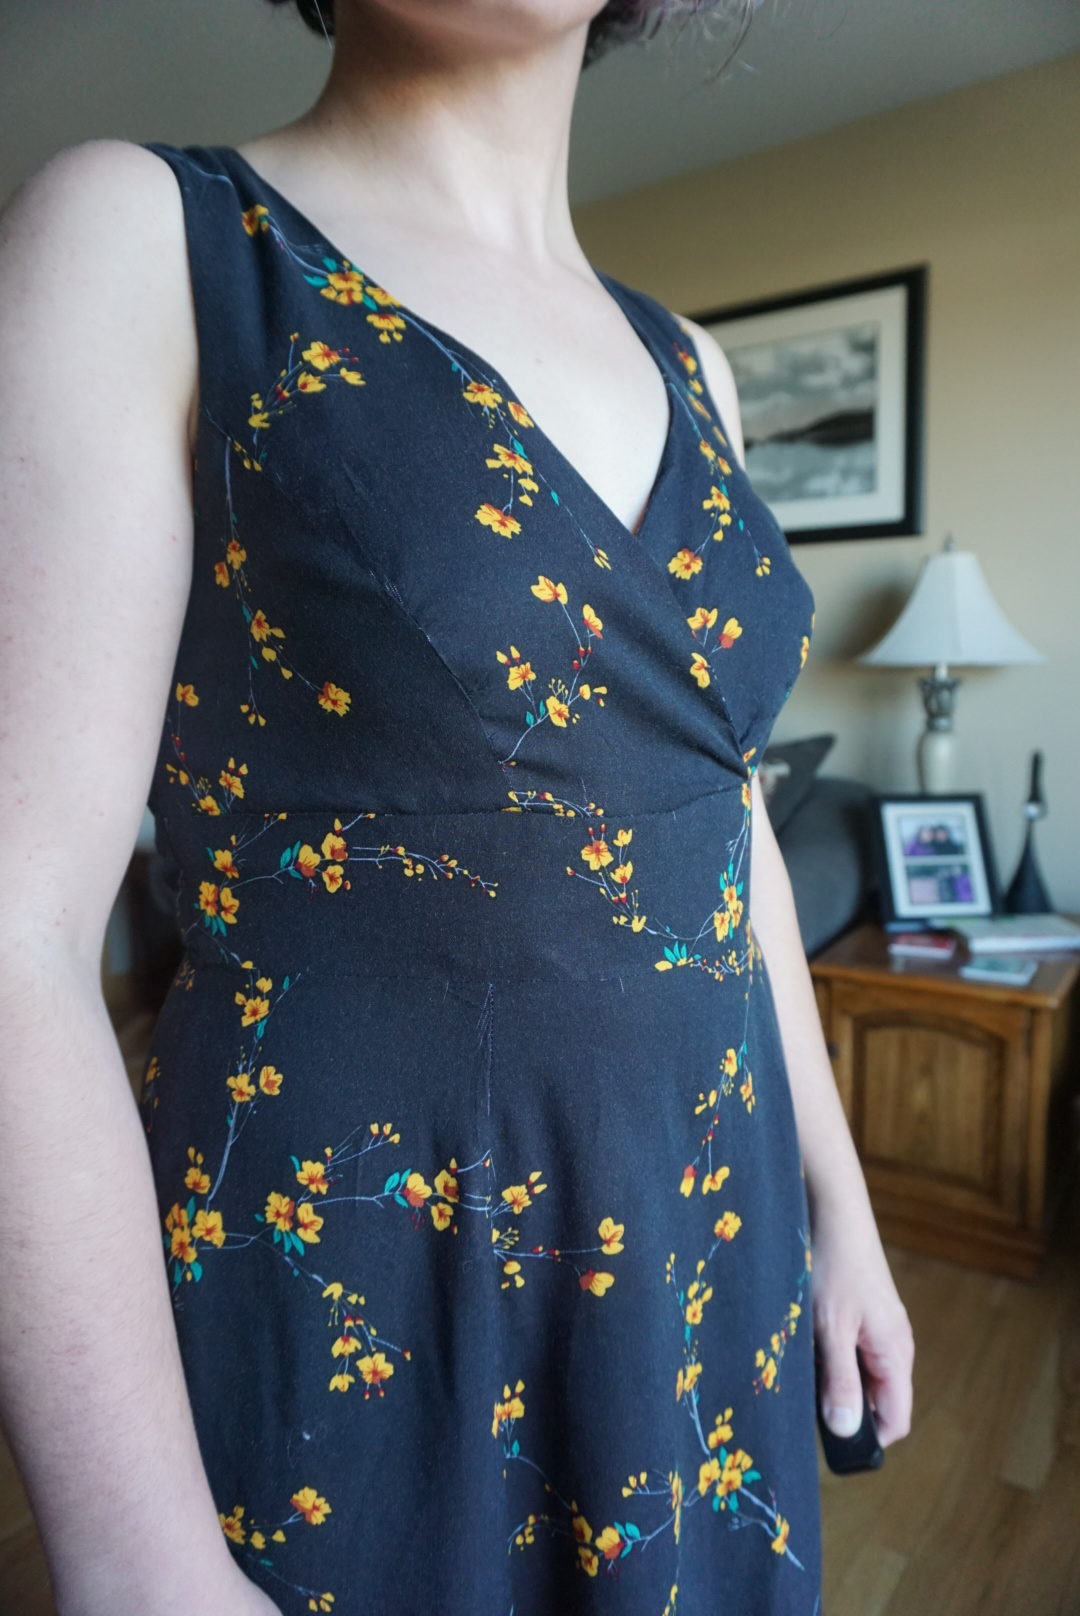
As you can see, one side of the wrap lays flat and the other doesn’t. I’m ashamed to admit that I forgot to staystitch those edges (as the instructions tell me to) before sewing the dress together, so I think the distortion on one of the edges is because of me handling that side potentially a bit more roughly. I’ll definitely staystitch the edges when I’m making the actual bridesmaid dress. Which I do feel like I’m ready to get going on! As you can see below, the gaping under both arms is gone, even on the side with the zipper (first photo). The fit of the back is good, and the length is great. And now the slit is at an appropriately alluring height.
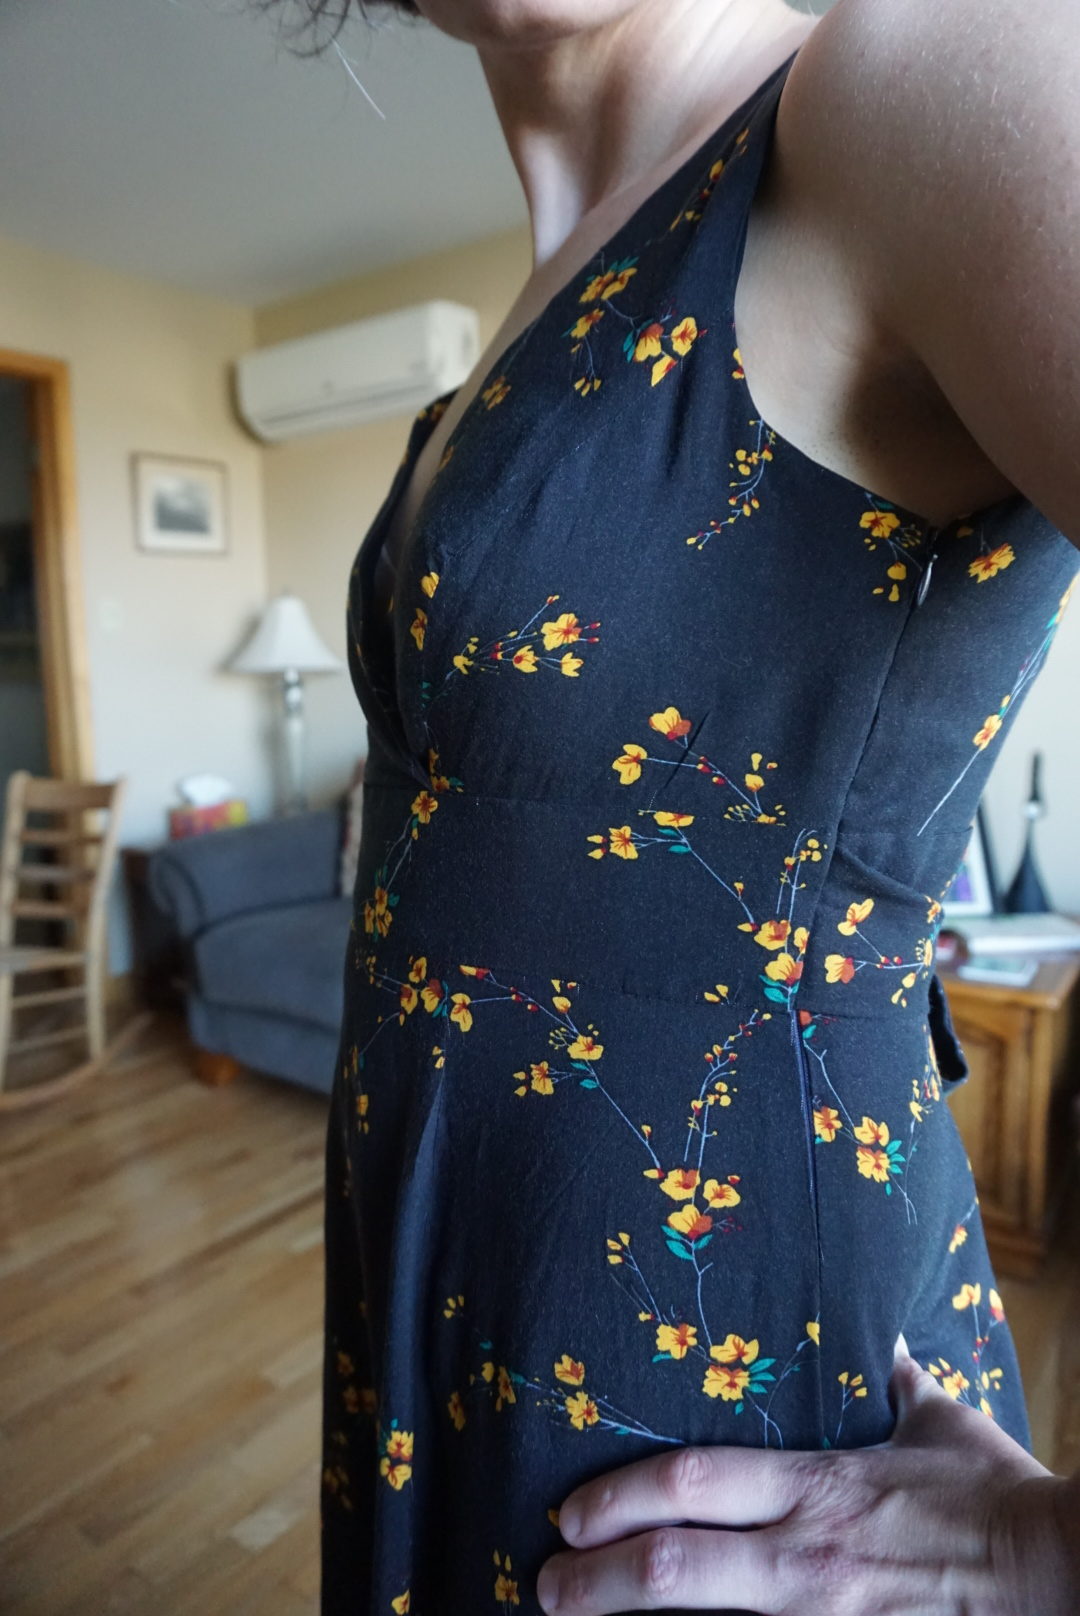
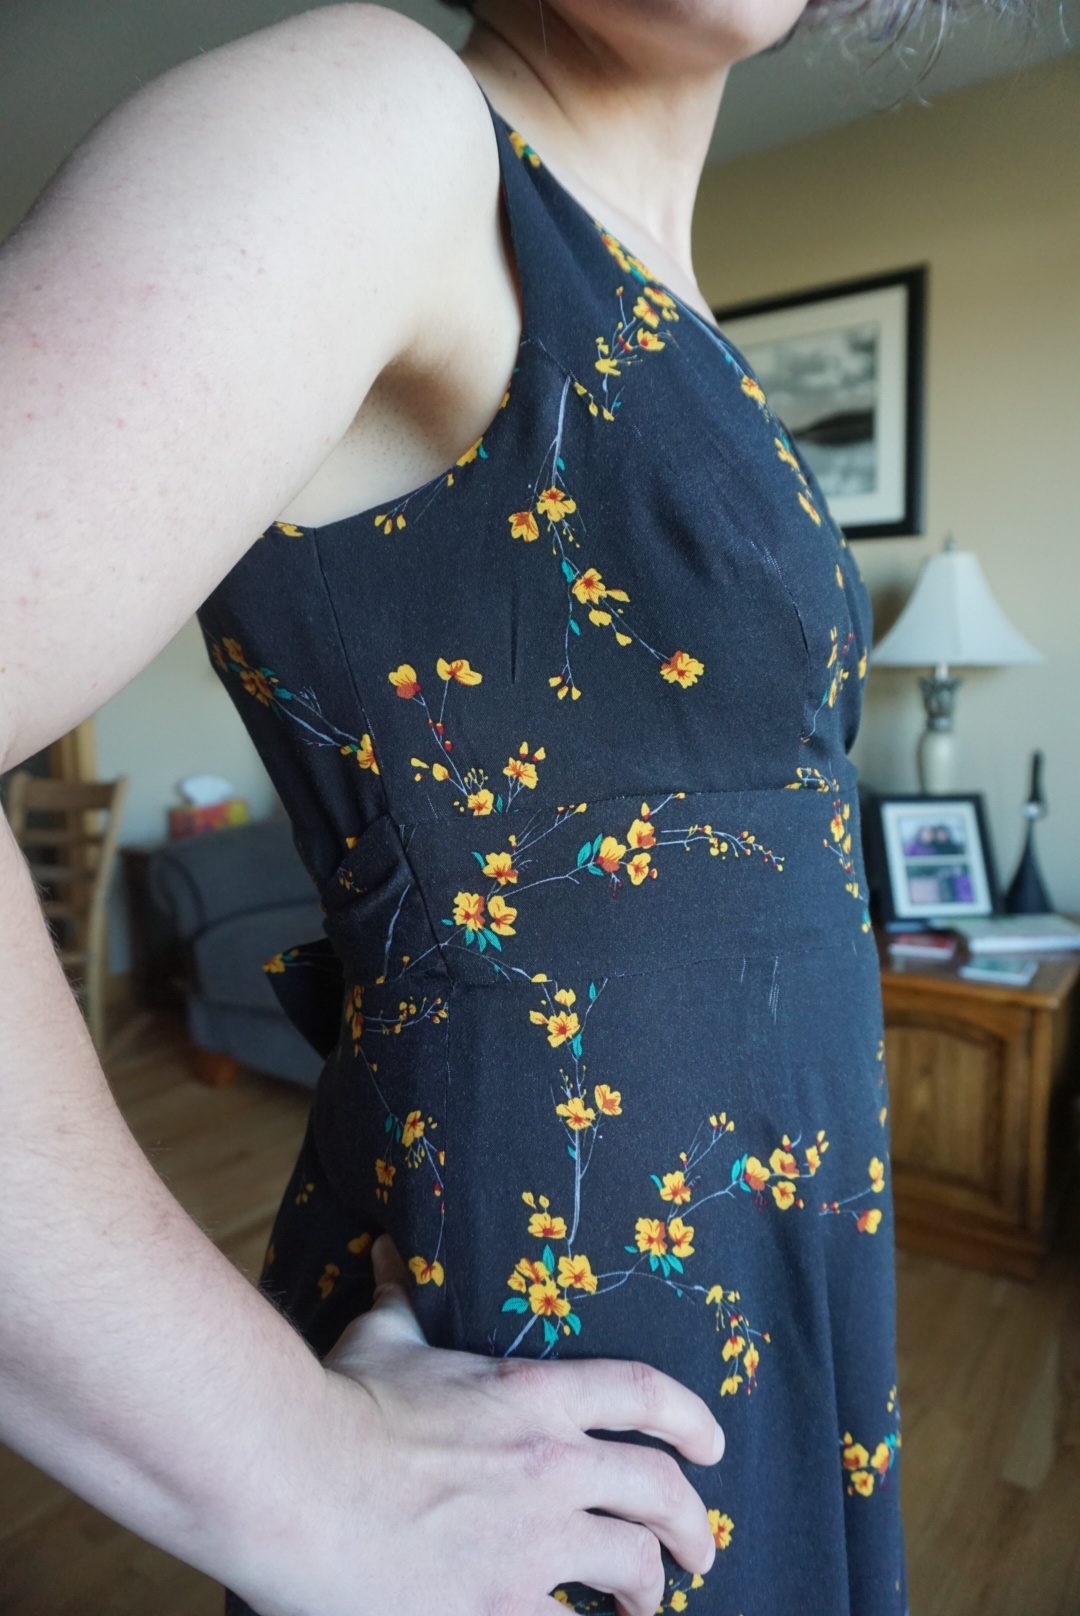
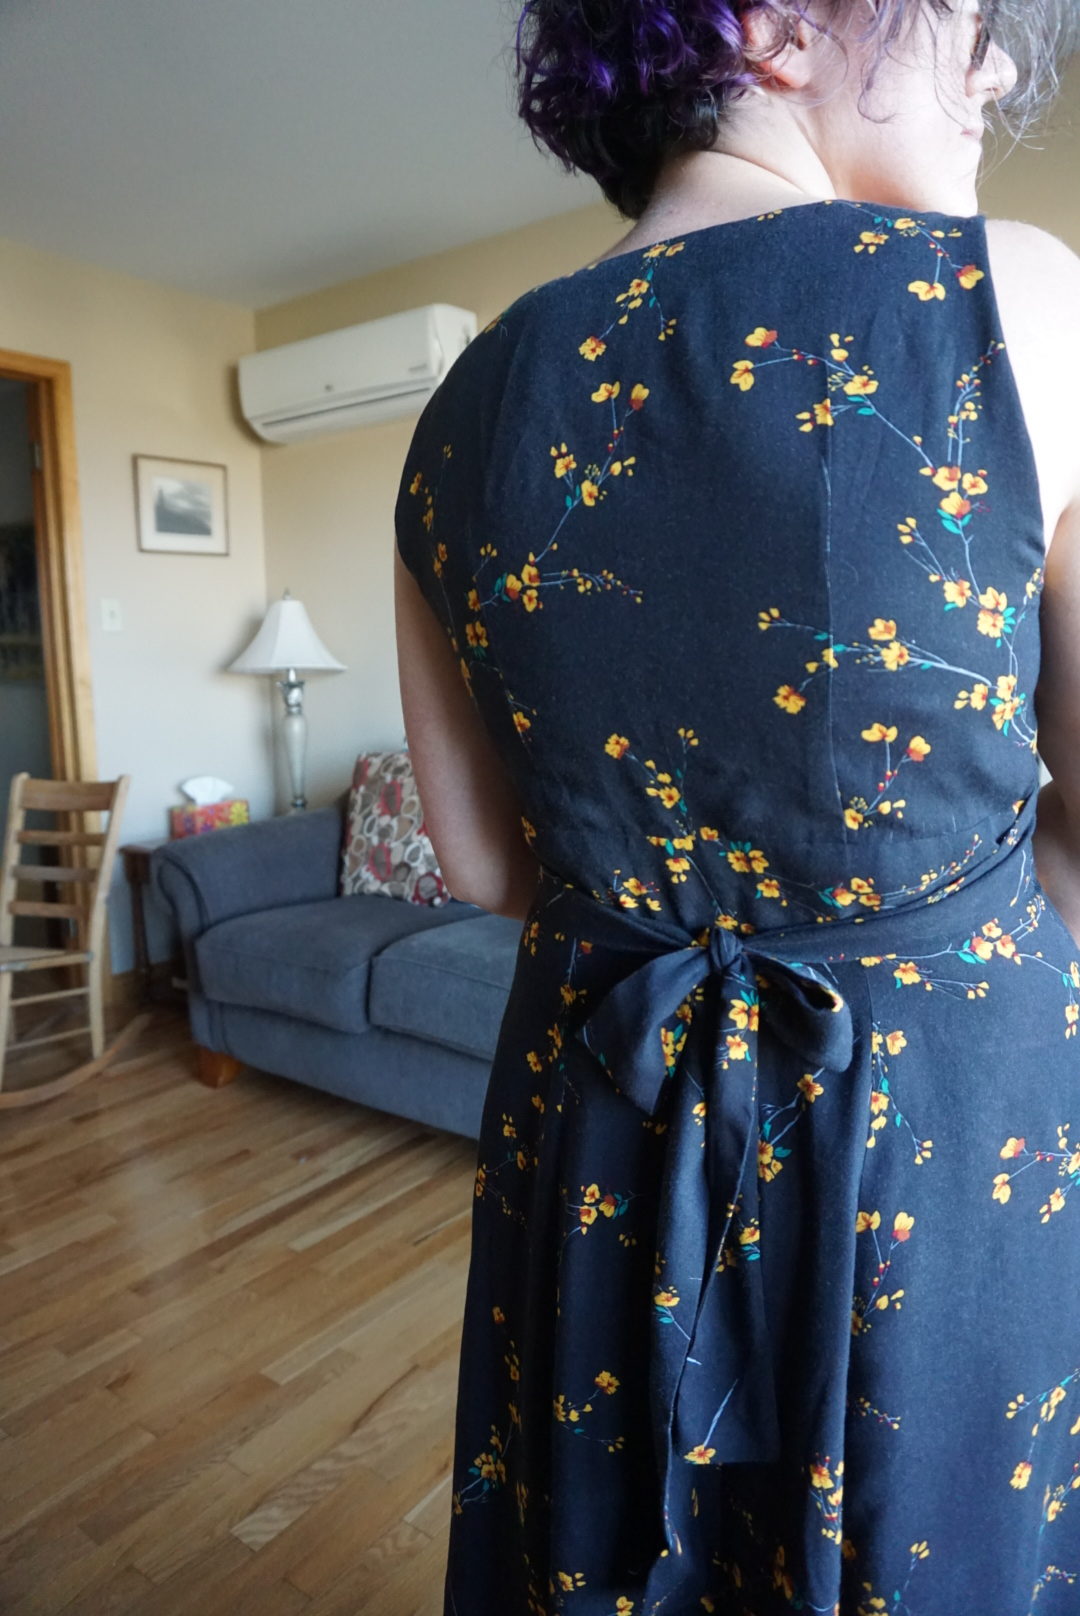
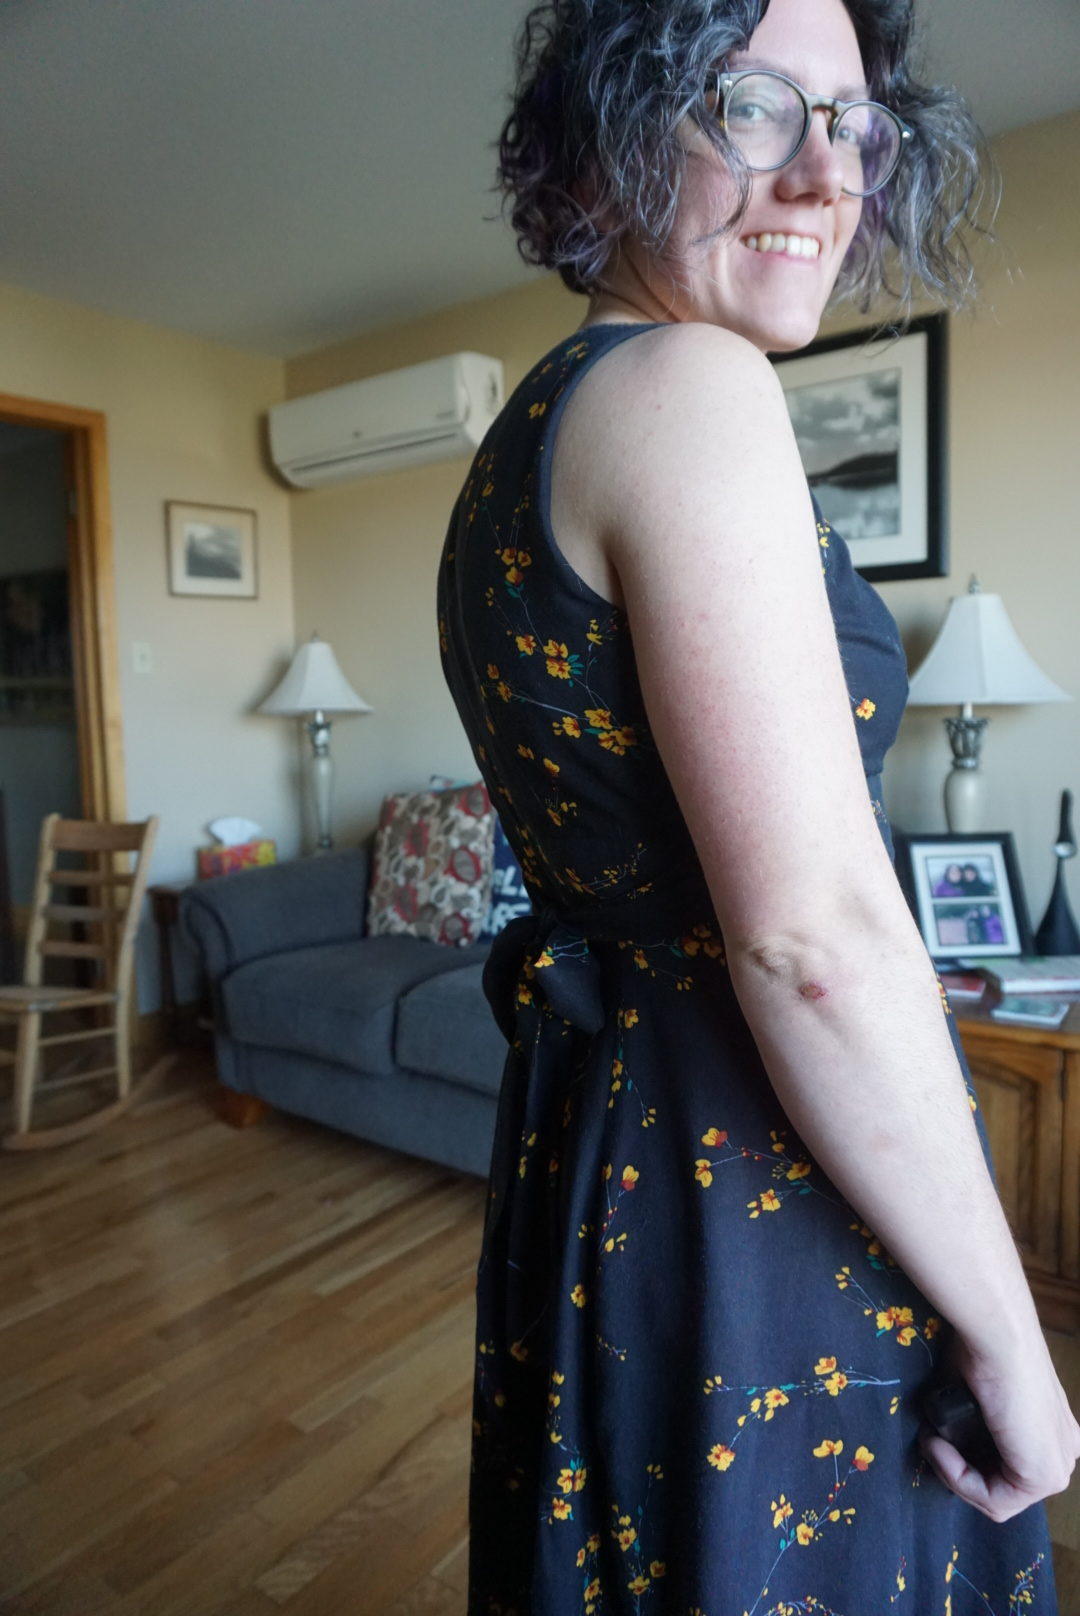
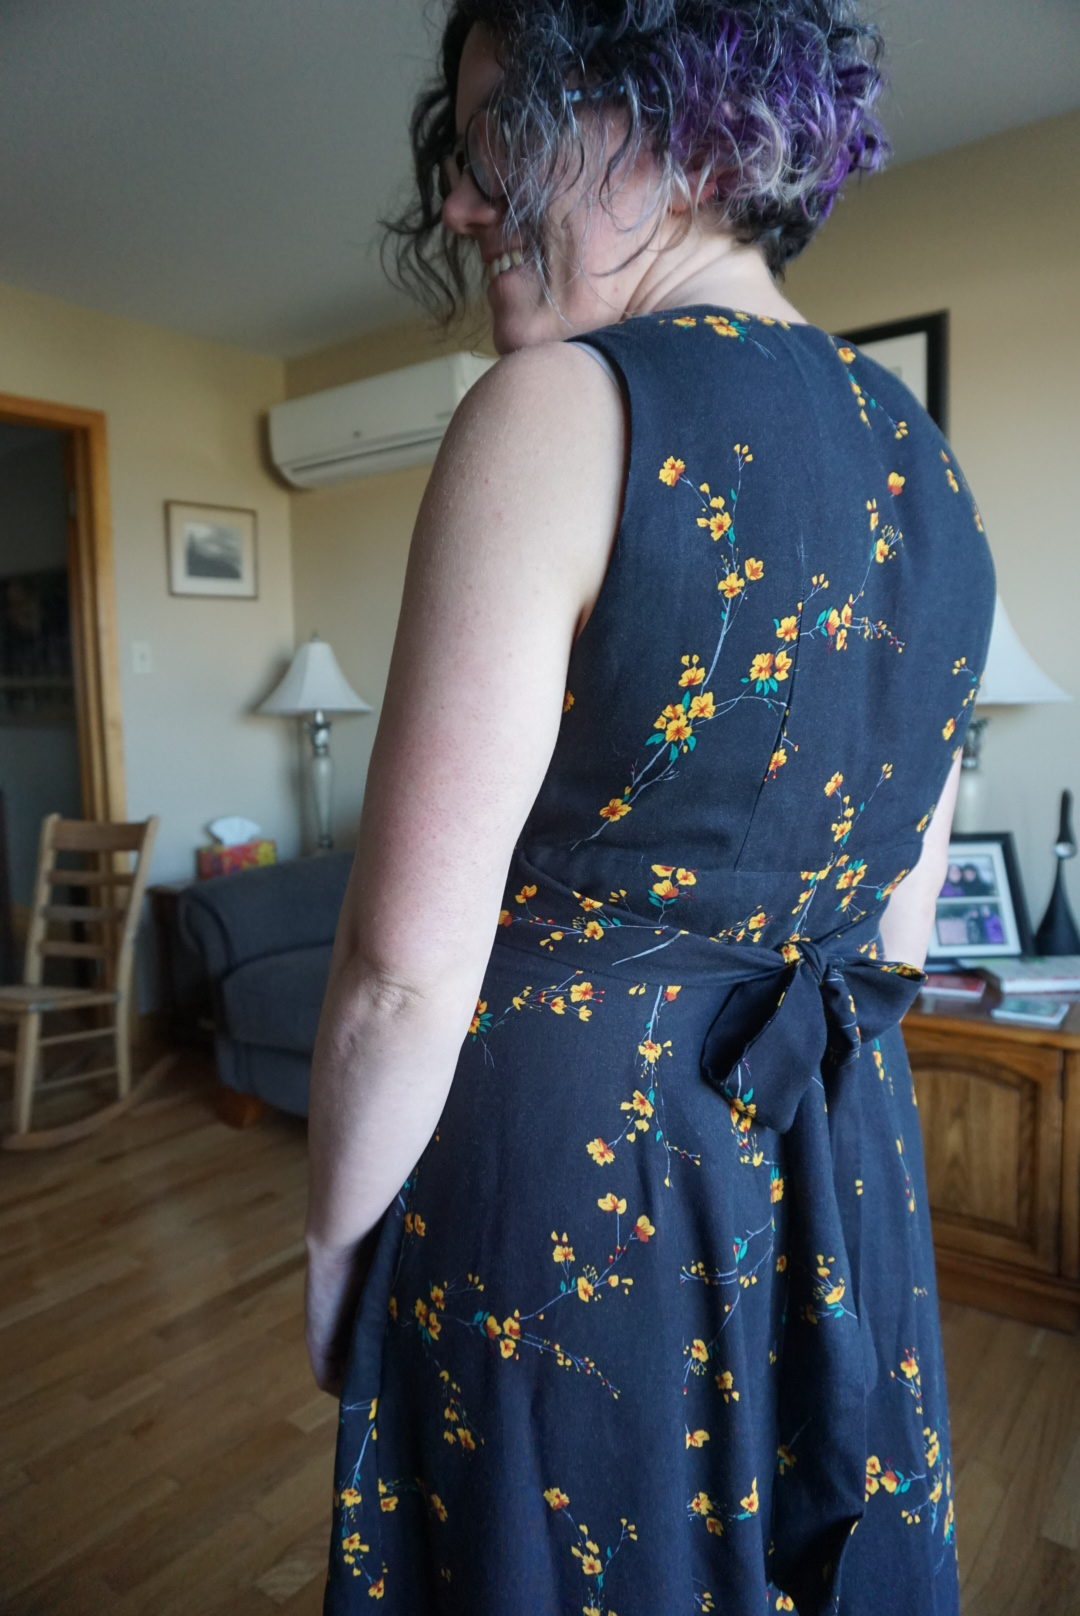
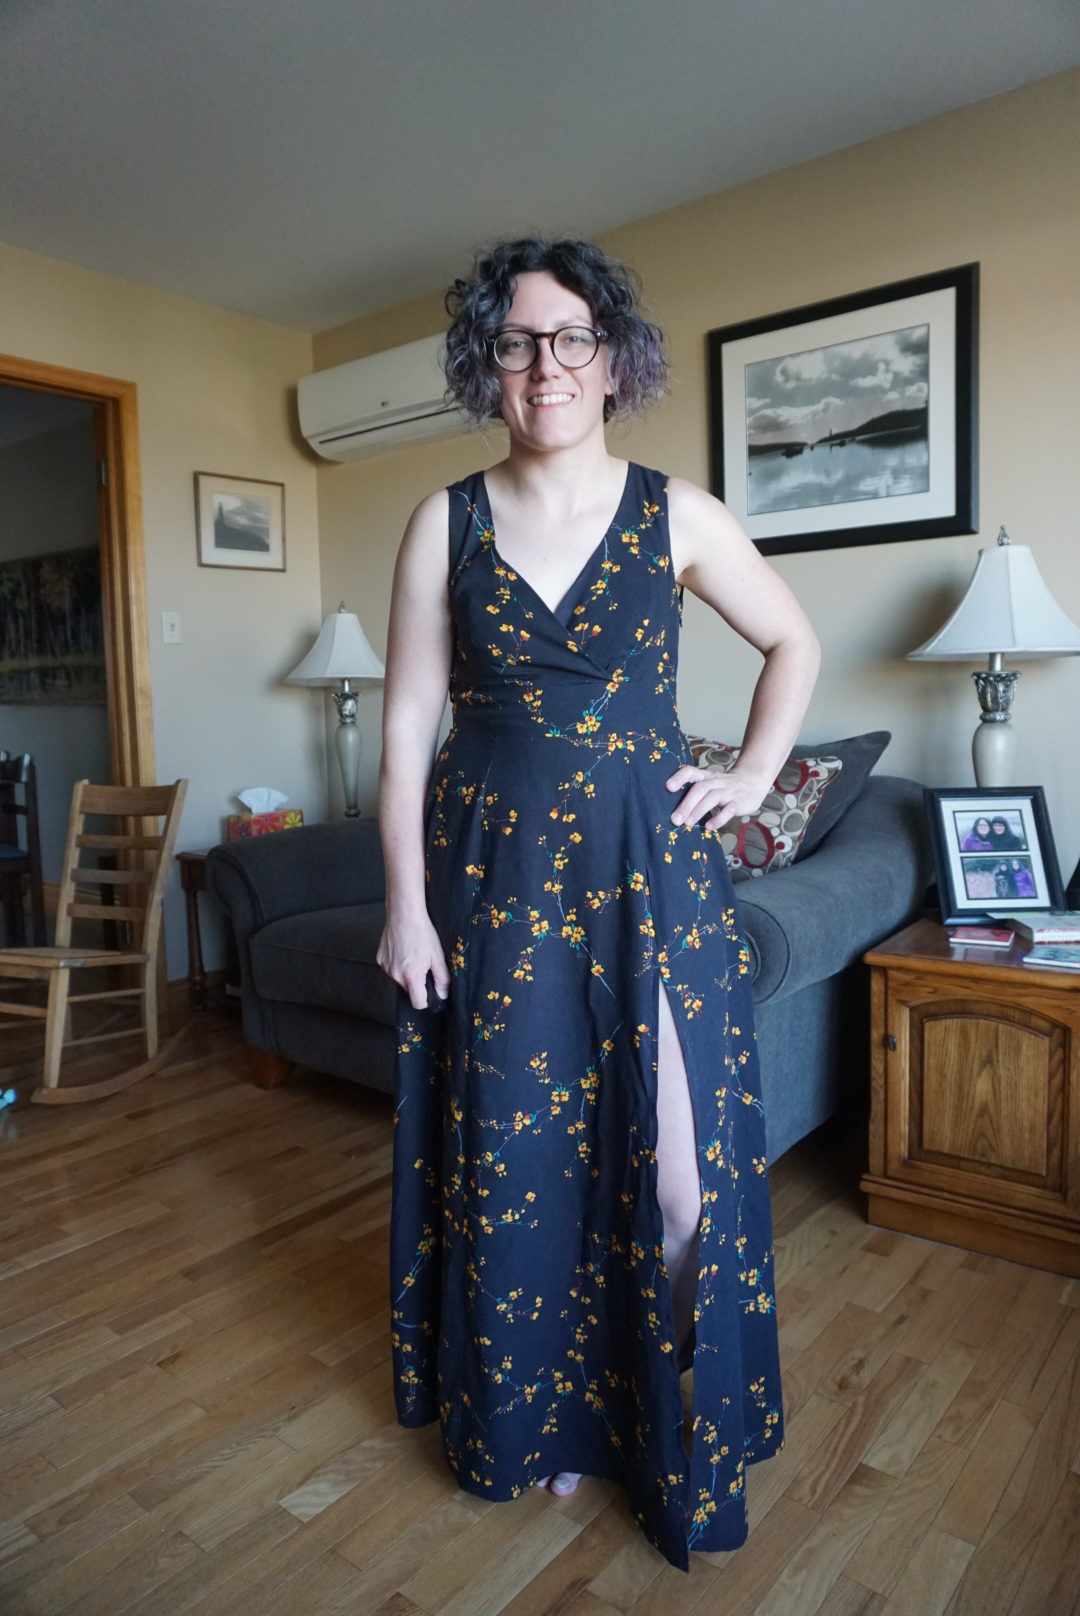
I just realized that after all that talk about fit, I completely forgot to say which view of the pattern this is. It’s sort of a Frankenstein. Look closely at the pattern drawings if you’re making this, I ALMOST didn’t notice that one of them is so low it can’t be worn with a bra – this one is fine with a bra. I took the higher version of the bodice with the maxi skirt with the slit, and did a full lining of the bodice (so I just cut duplicates of all the bodice pieces), plus I added duplicate pieces of the waistband as well so I could have a facing on front and back. I hand-stitched the facing down on the inside. I’m thinking for the real version I might have to do a gathered skirt instead of this one though, because my fabric is a bit sheer and I don’t want to look naked in all the wedding photos. So the facing will help support the weight of potentially more fabric in the skirt. But I want to keep the slit! So I’m thinking double layered gathered skirt with a seam along the left side for the zipper to go in, no seam on the right-hand side, and then a seam at the front side to allow for the slit. Does anyone have any better ideas for how to manage the sheer-ness without affecting the drape of the fabric? My “real” fabric is another 100% rayon, it’s just a bit lighter weight.
Have any of you ever spent this much time on the fit of a garment? I honestly usually would’ve given up long before this, but because it’s for a specific occasion I had the determination in me to keep going and persevere, and I’m really glad I did! But I’m a little exhausted now. I think I’m going to sew a quick thing for my everyday wardrobe before I get into making the real bridesmaid dress. This dress only takes a couple days to sew once you’re actually sewing and not fitting all the pattern pieces endlessly, so I think I’ve got time. (Famous last words!)
I’m impressed by the amount of muslining you put into this! The finished dress is sure to be beautiful. I really like the dark floral one – not least because I can see the style lines very clearly. :}
Author
It was EXHAUSTING but at least the finished result was super worth it! And now I have a good wrap-ish bodice to use in future!