
Full disclosure: I cut this dress out at LEAST six months ago, but probably longer if I’m being honest. The pattern is V1585, designed by Rachel Comey and sewn by many people on the internet already. I was intrigued by the interesting shape of it, which is something I often notice with Rachel Comey’s designs. I got some crinkle linen from Patch and cut out what I THINK is a size 12 (that’s normally what I cut) and then let the pieces sit in a pile for a long time. I think I was irritated by the crinkly-ness of the fabric after cutting it out, and I just wasn’t in the mood to sew this dress at the time. I’ve never been someone who keeps a sewing queue, but in the past I did usually keep a floating list in my head of the projects I was interested in making in the near future. I’m trying to let go of that even more this year, and not let myself sew something just because I think I need to “get it done”. So I’m not keeping any list in my head at all, although my sewing table is full of projects in various stages of completion (some of them are just a mini-pile of uncut fabric + pattern + zipper). And when I finish something, whatever I feel like doing next, I do it. I’m currently taking a small break from the final alterations on the RTW dress I knocked off because I felt like doing something else instead. So I decided to sew this dress!
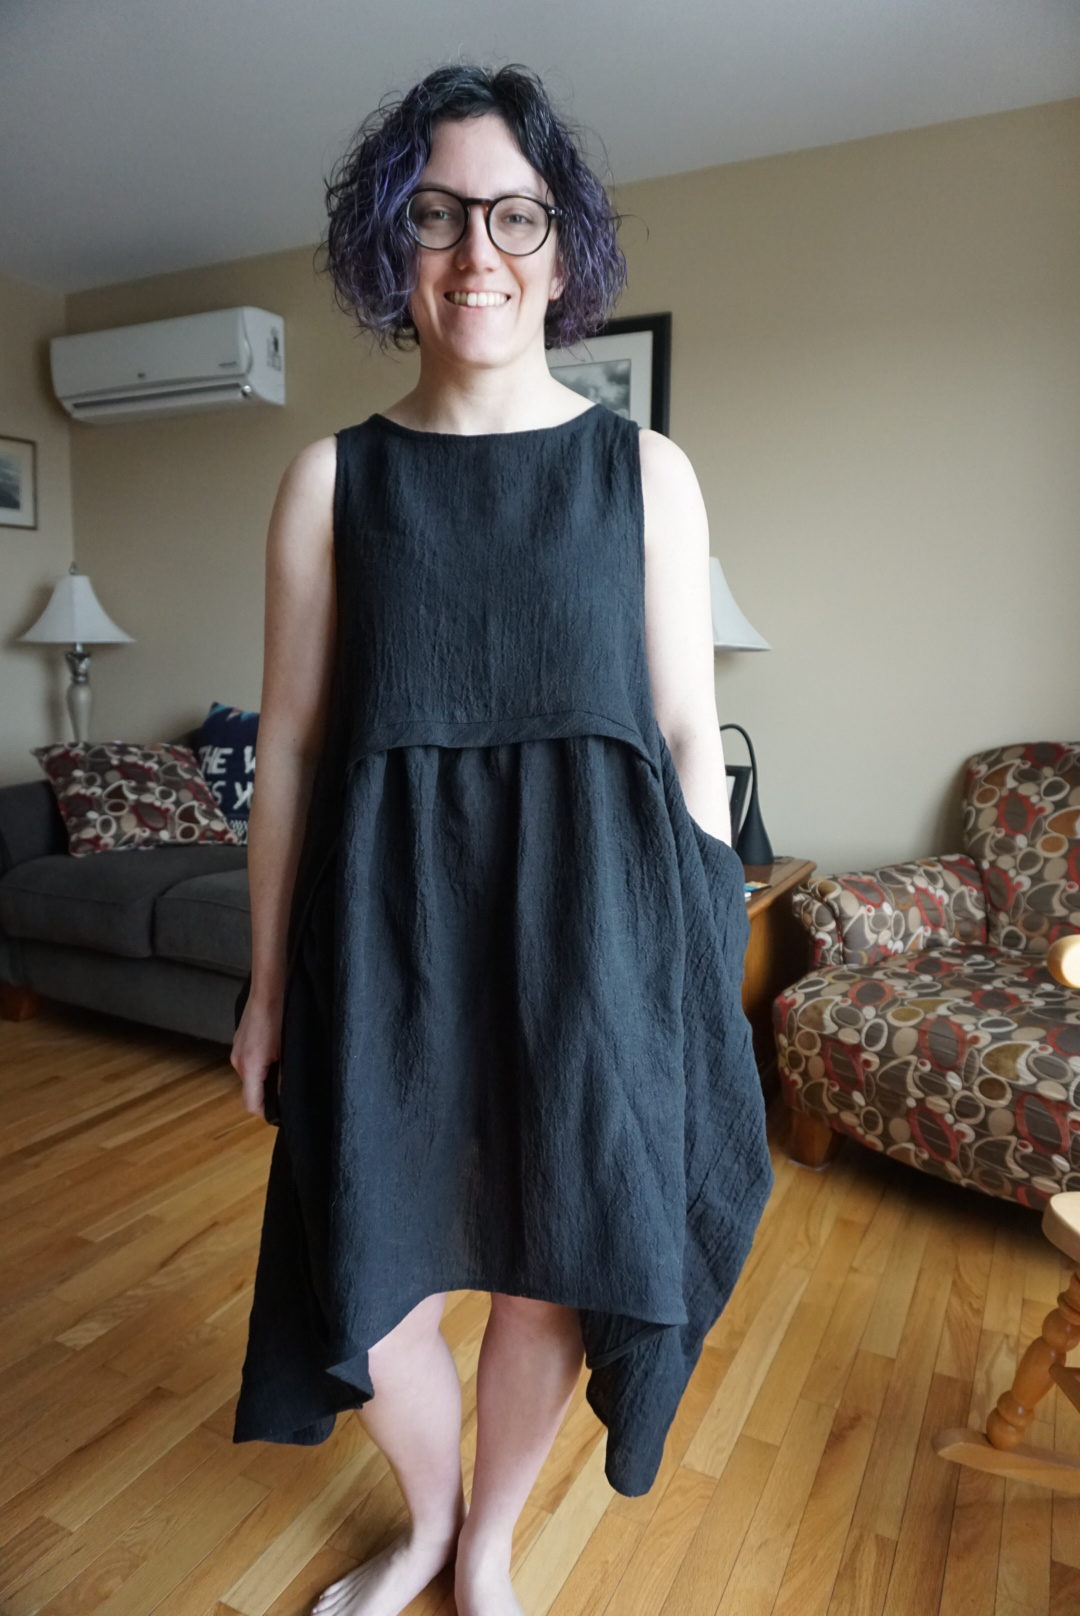
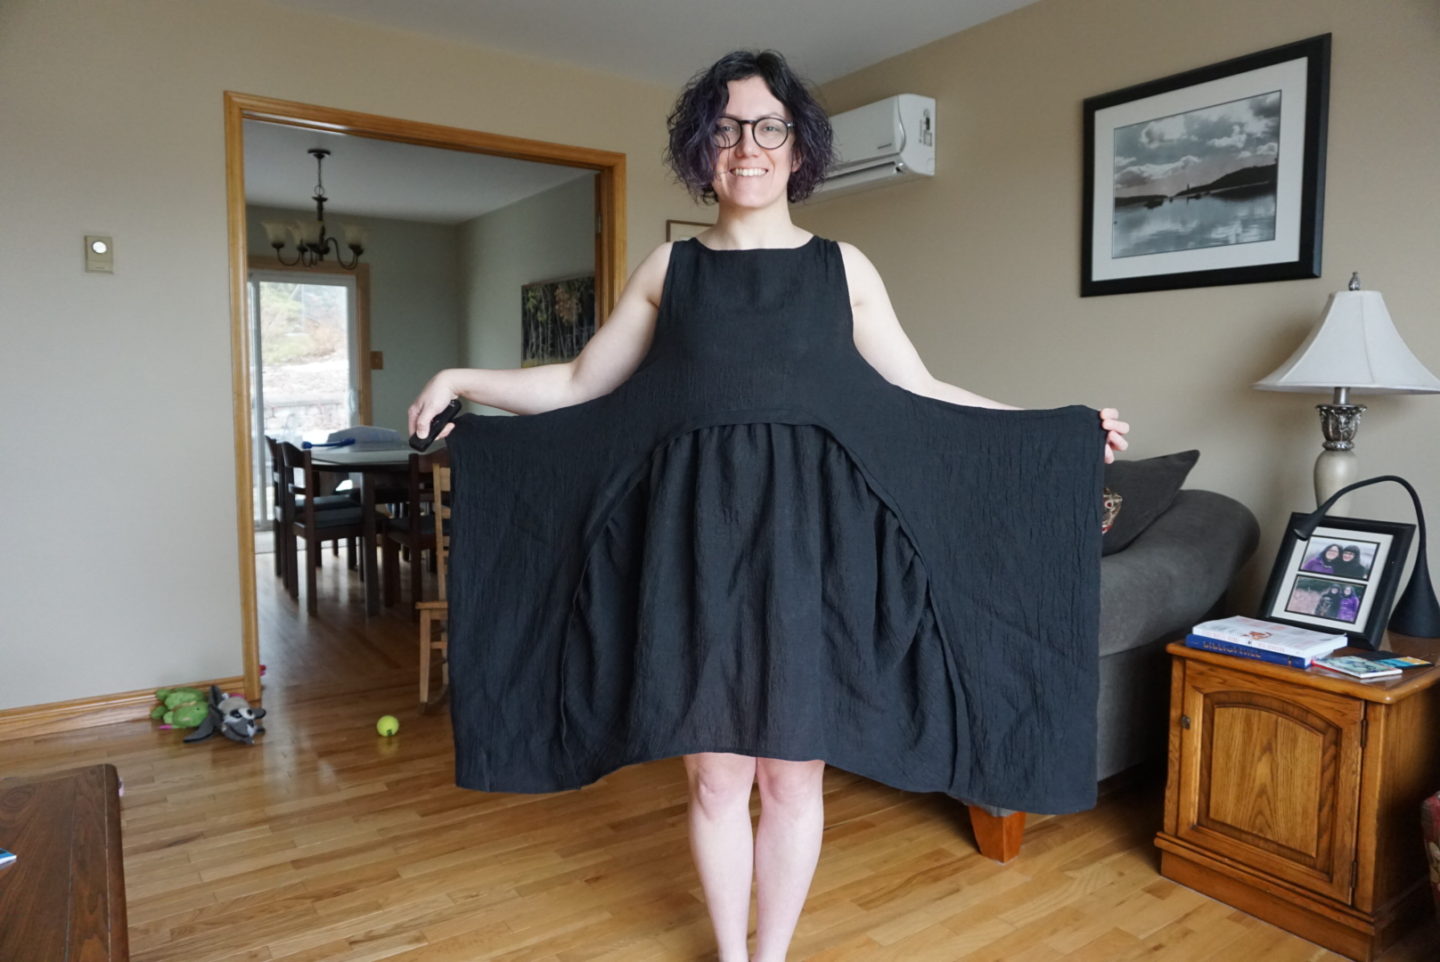
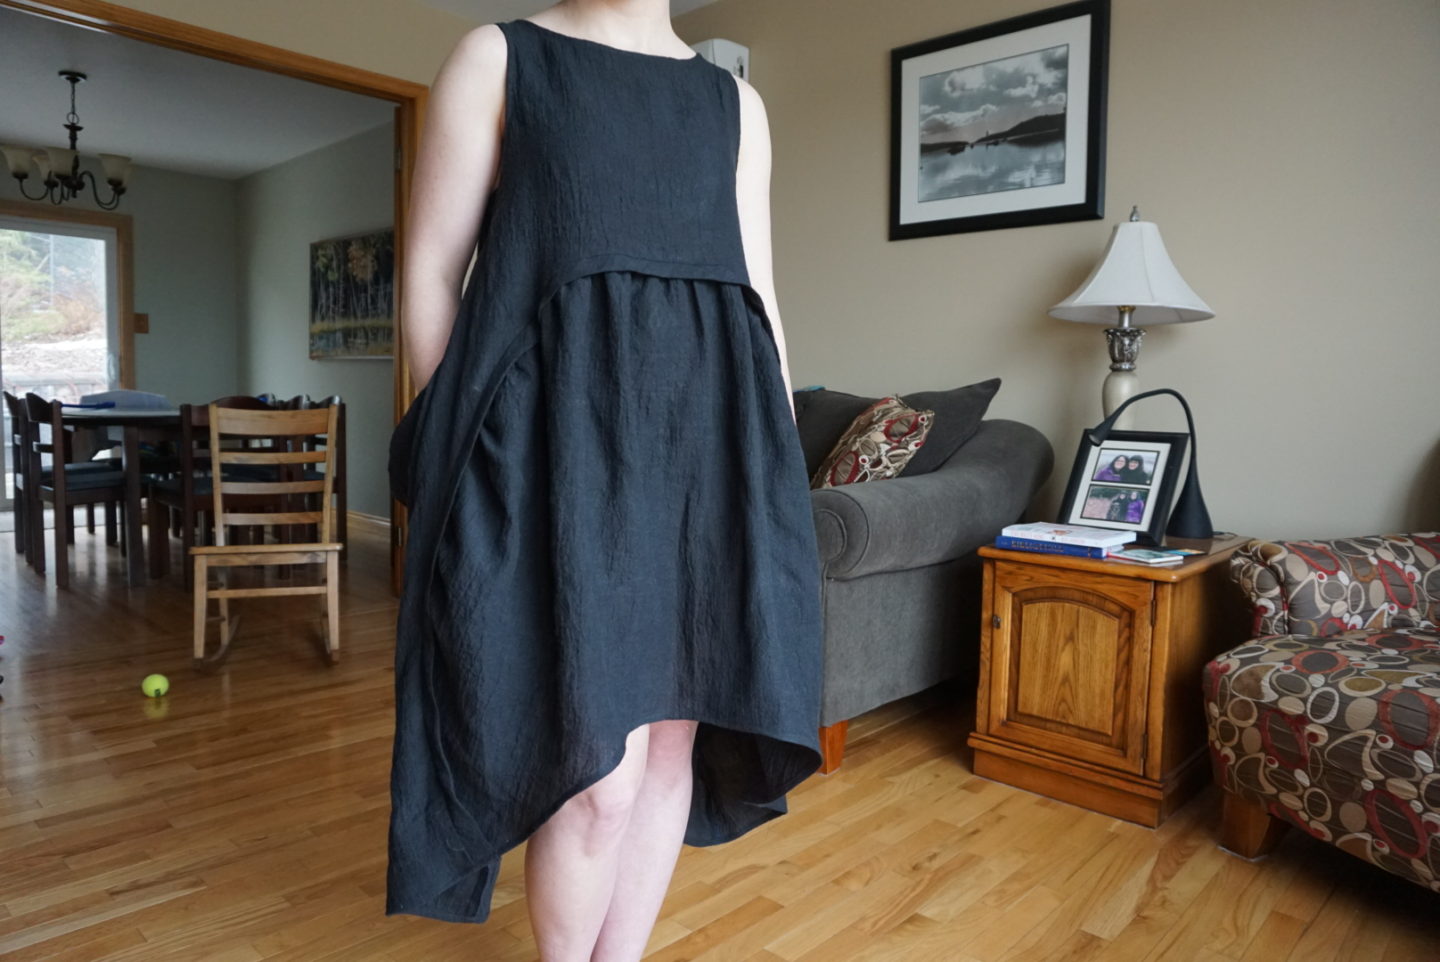
I really love this dress! It was a pretty quick make (especially since I had it already cut out and it has no closures), and the front and back are completely identical. I sewed in one of my tags to the back neckline bias facing so that I could have one side that was the “back”, but it really doesn’t matter. The pattern instructions includes a lot of good details like French seams, buuuutt I didn’t do any of it. I usually love a French seam, but I just wanted a quick and satisfying sew and instead I serged all my raw edges. I think I was motivated by wanting to have something off my work-in-progress list and wanting to take back some space on the sewing table, because this had been sitting there with the pattern envelope on top for more than half a year staring me down.

I really had a lot of school work and work-work to do on Sunday, but instead I just spent seven hours straight sewing this dress. All I had left after that was the hem and sewing small weights into the corners (it’s not often that I use the word “corner” when referring to a dress!), which I did on Tuesday evening. In order to keep the dress hanging well, the instructions have you sew coins into the inside corners. I was going to use quarters for this, but then when I went to do it I only had one quarter, so I ended up using nickels instead. (I’m a lavish lady.)
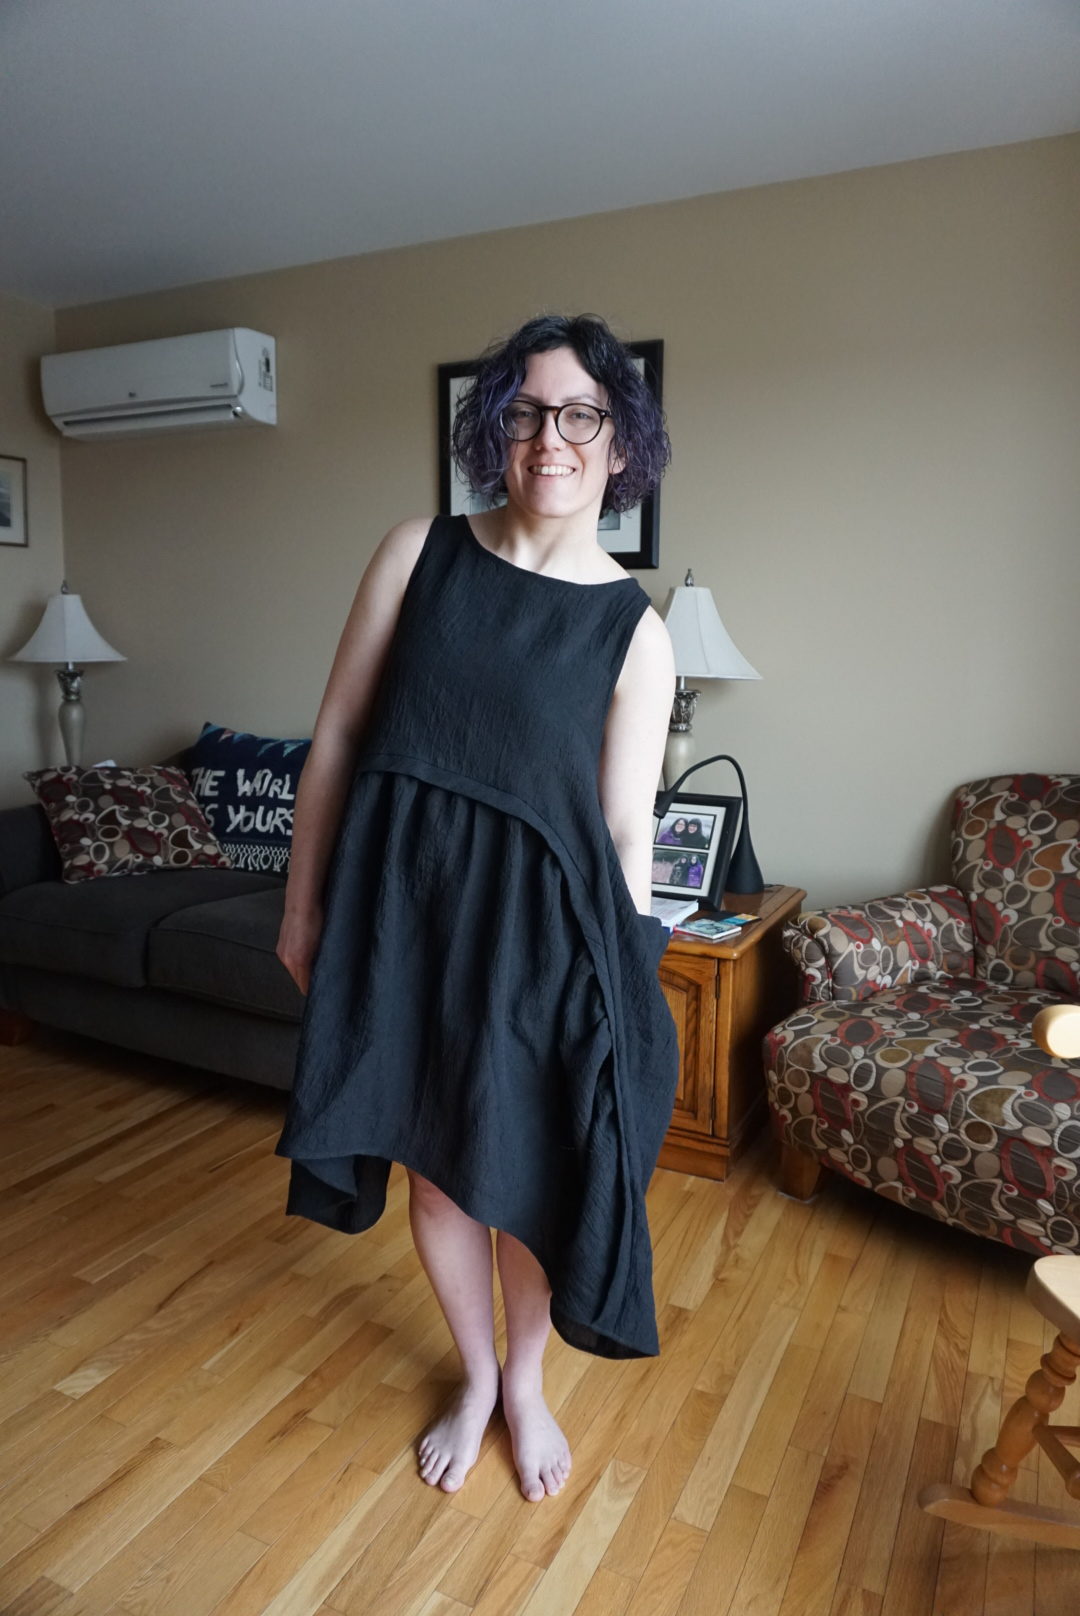
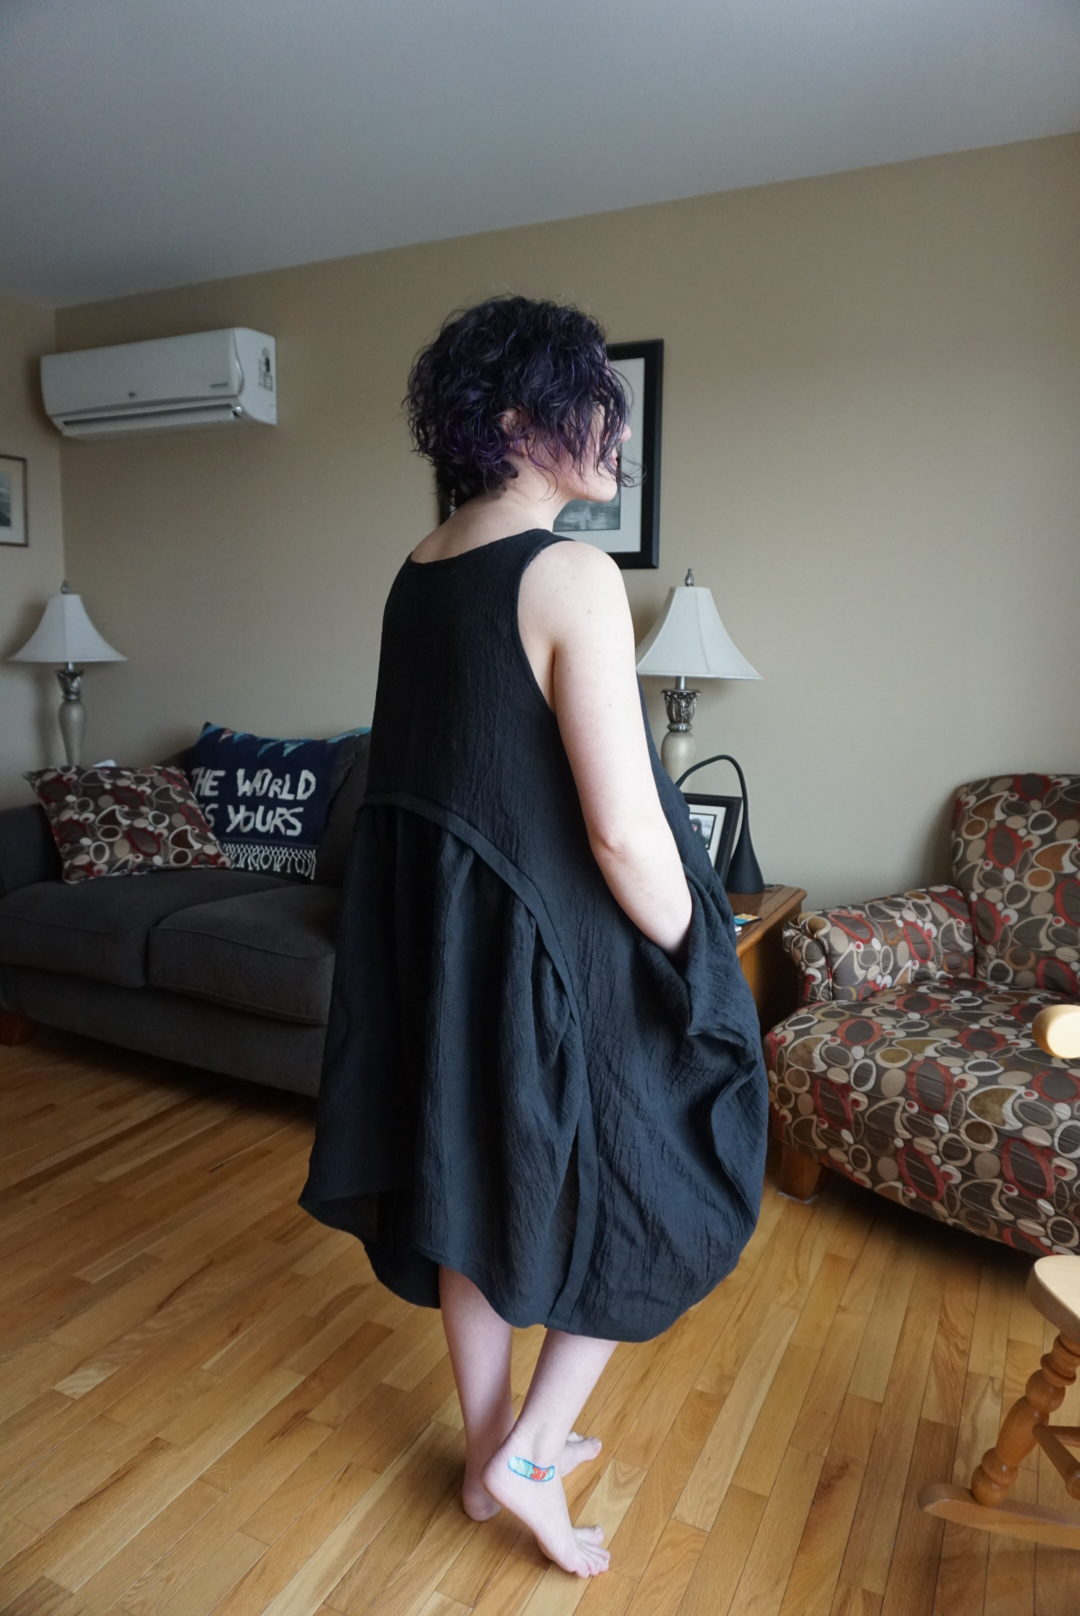
One detail in particular I want to point out is that the pockets are SO DEEP. My lean above is necessary in order to get my fingers to touch the bottom of the pockets, which is a definite win! I don’t know why, but deep loose pockets like this make me feel like I’m six years old again stomping around in mud and wanting a place to put frogs that I catch. In retrospect, I should have left those poor frogs alone and definitely not tried to bring them home with me… but deep pockets still make me want to put exciting things inside. I might fill these ones with chocolate bars or gummies or coloured pencils, orrr Silly Putty (does that still exist?).
The construction of this dress is mostly straight forward, although I found the pocket a bit unusual (although realized I’d the method before once I got into it). The pocket is one piece that you end up folding in half at the bottom. You sew one top edge to the “front” bodice piece at the markings, then flip it over and press it, fold it in half and pin the other short edge to the back bodice and sew the whole front and back bodice seam together in one swoop. This felt strange to do, but it ends up working perfectly. You just have to careful to keep the other pocket seam you’ve already sewn out of the way so you don’t sew the pocket closed. For the neckline, you sew the front and back together at the shoulders, then use a bias strip folded in half length-wise to finish the edge. I often have bad luck with bias tape finishings on necklines or armholes. They never lie flat. I do EVERYTHING under the sun that has been recommended online in many tutorials and it only helps 50% of the time. So I was kind of worried with this method that it would be the same thing and I wouldn’t be able to trim it more narrow (my usual solution) after the fact because of the way it uses the folded edge. But it WORKED. I’m very impressed with this. I’m not sure whether it was the technique or the fact that neither the armhole or neckline is very curvy, but I’m pleased.
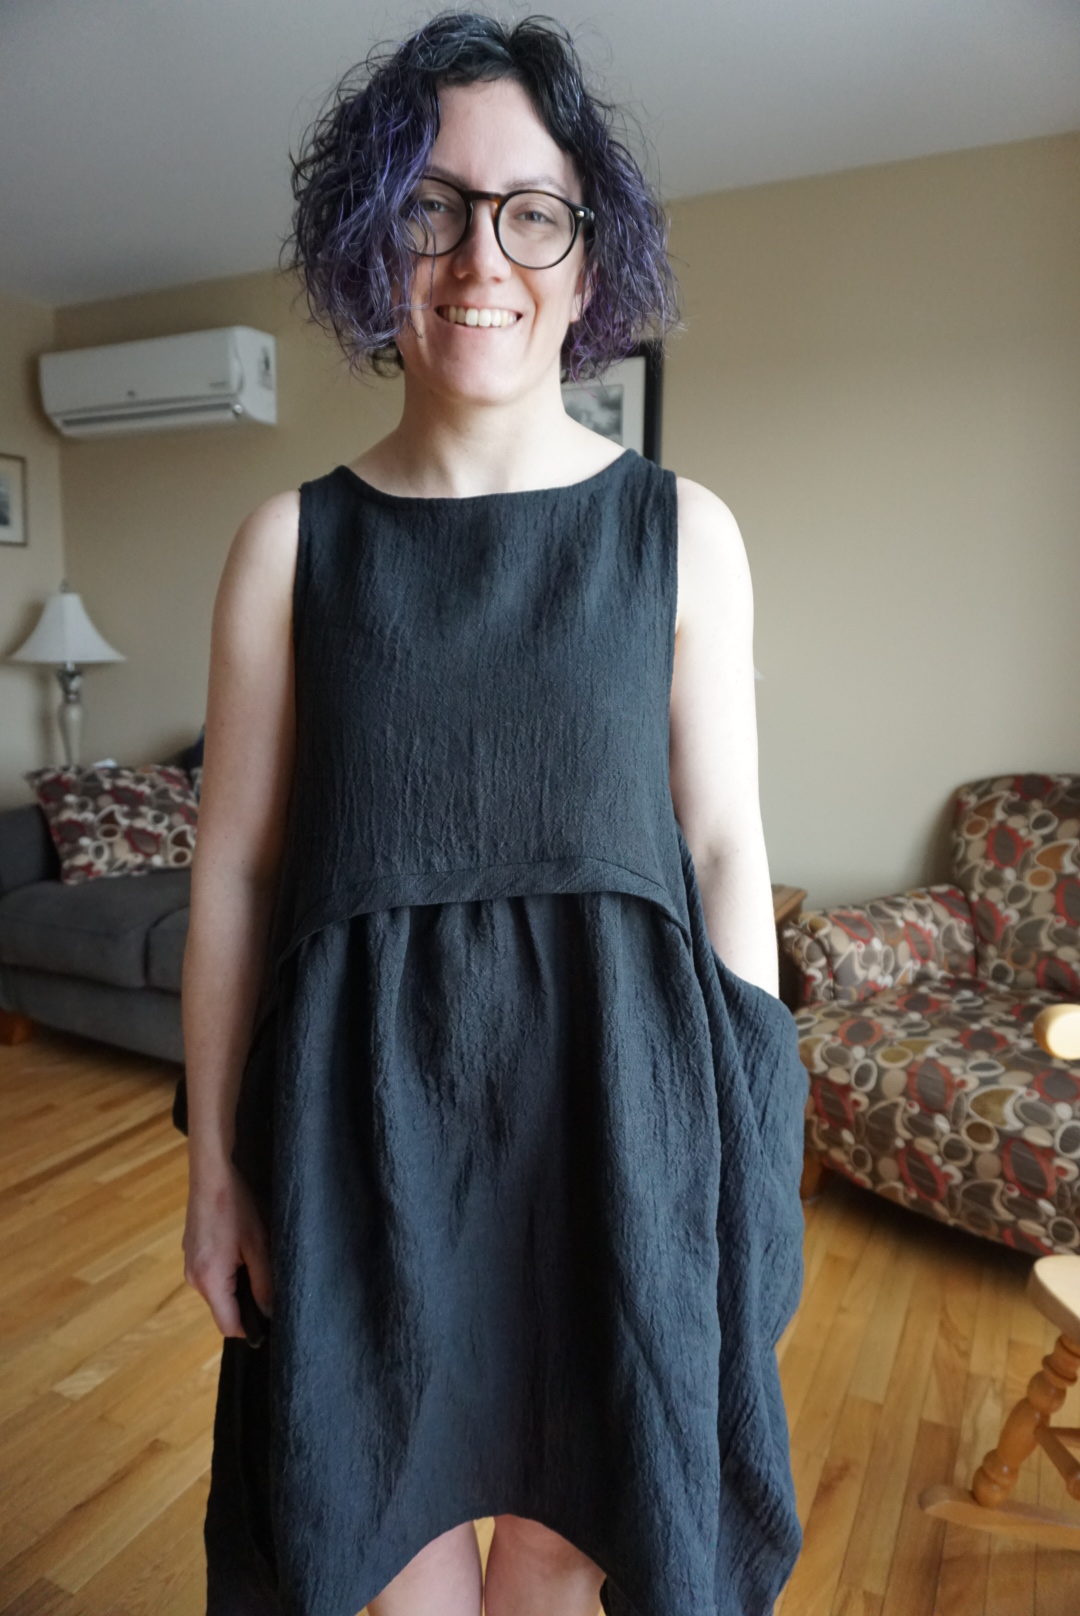
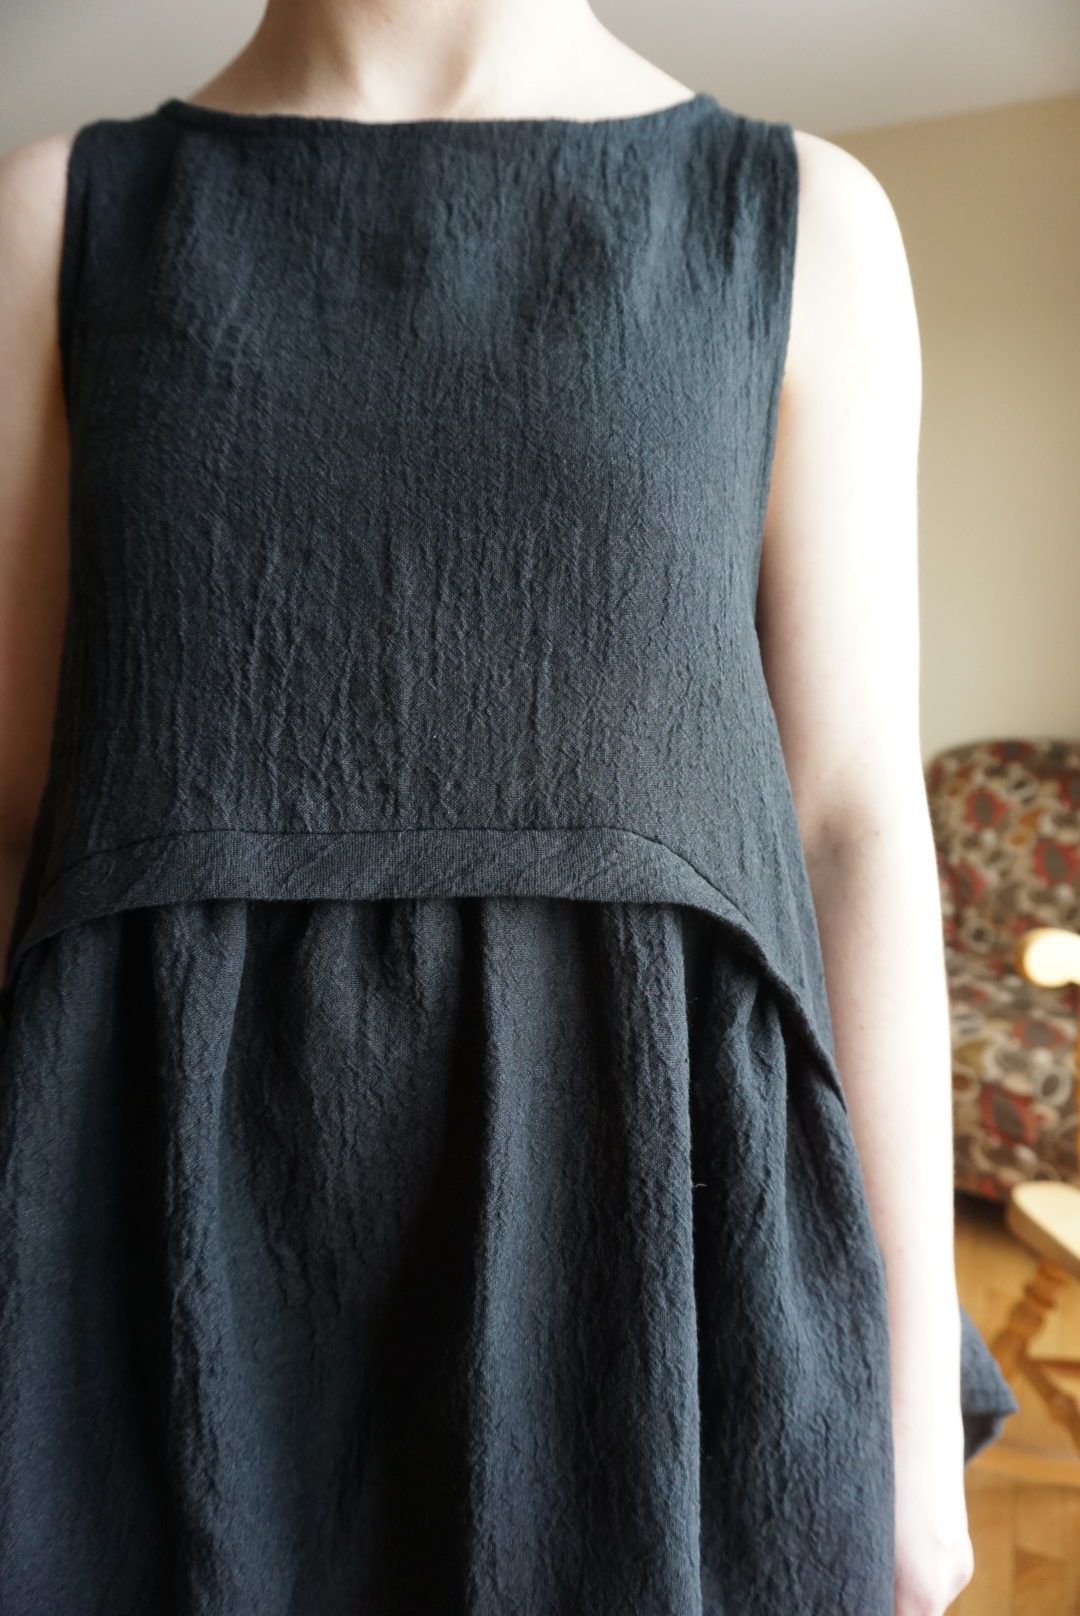
The band between the skirt and the top pieces is another bias cut strip that a pattern piece is included for, and I really like the visual interest it adds. It also covers up any uneven gathering you may have going on, so that’s a definite plus!
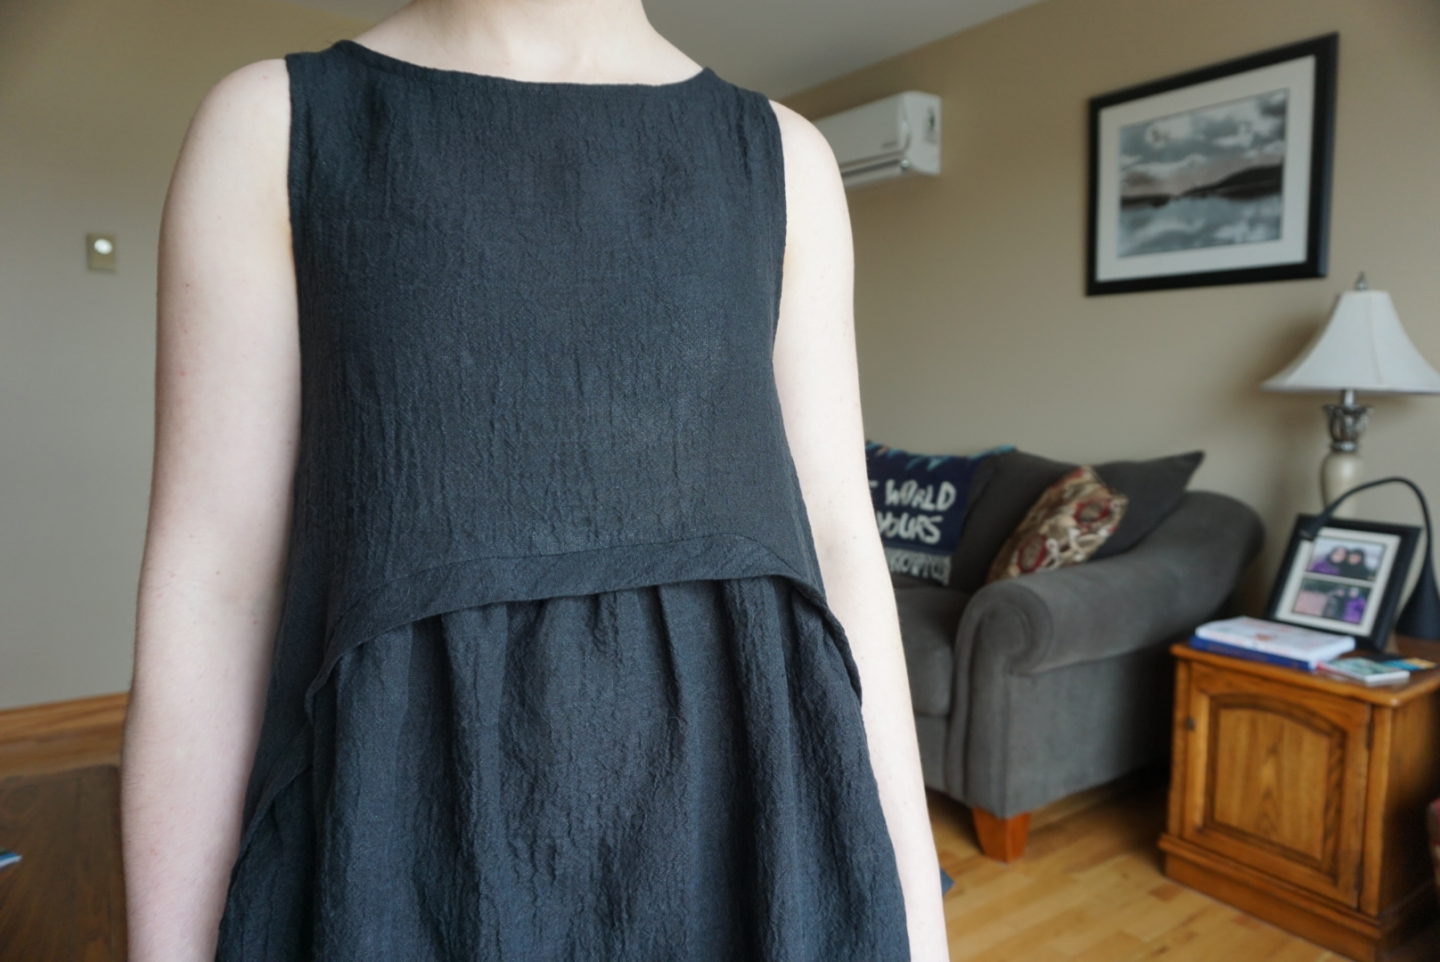

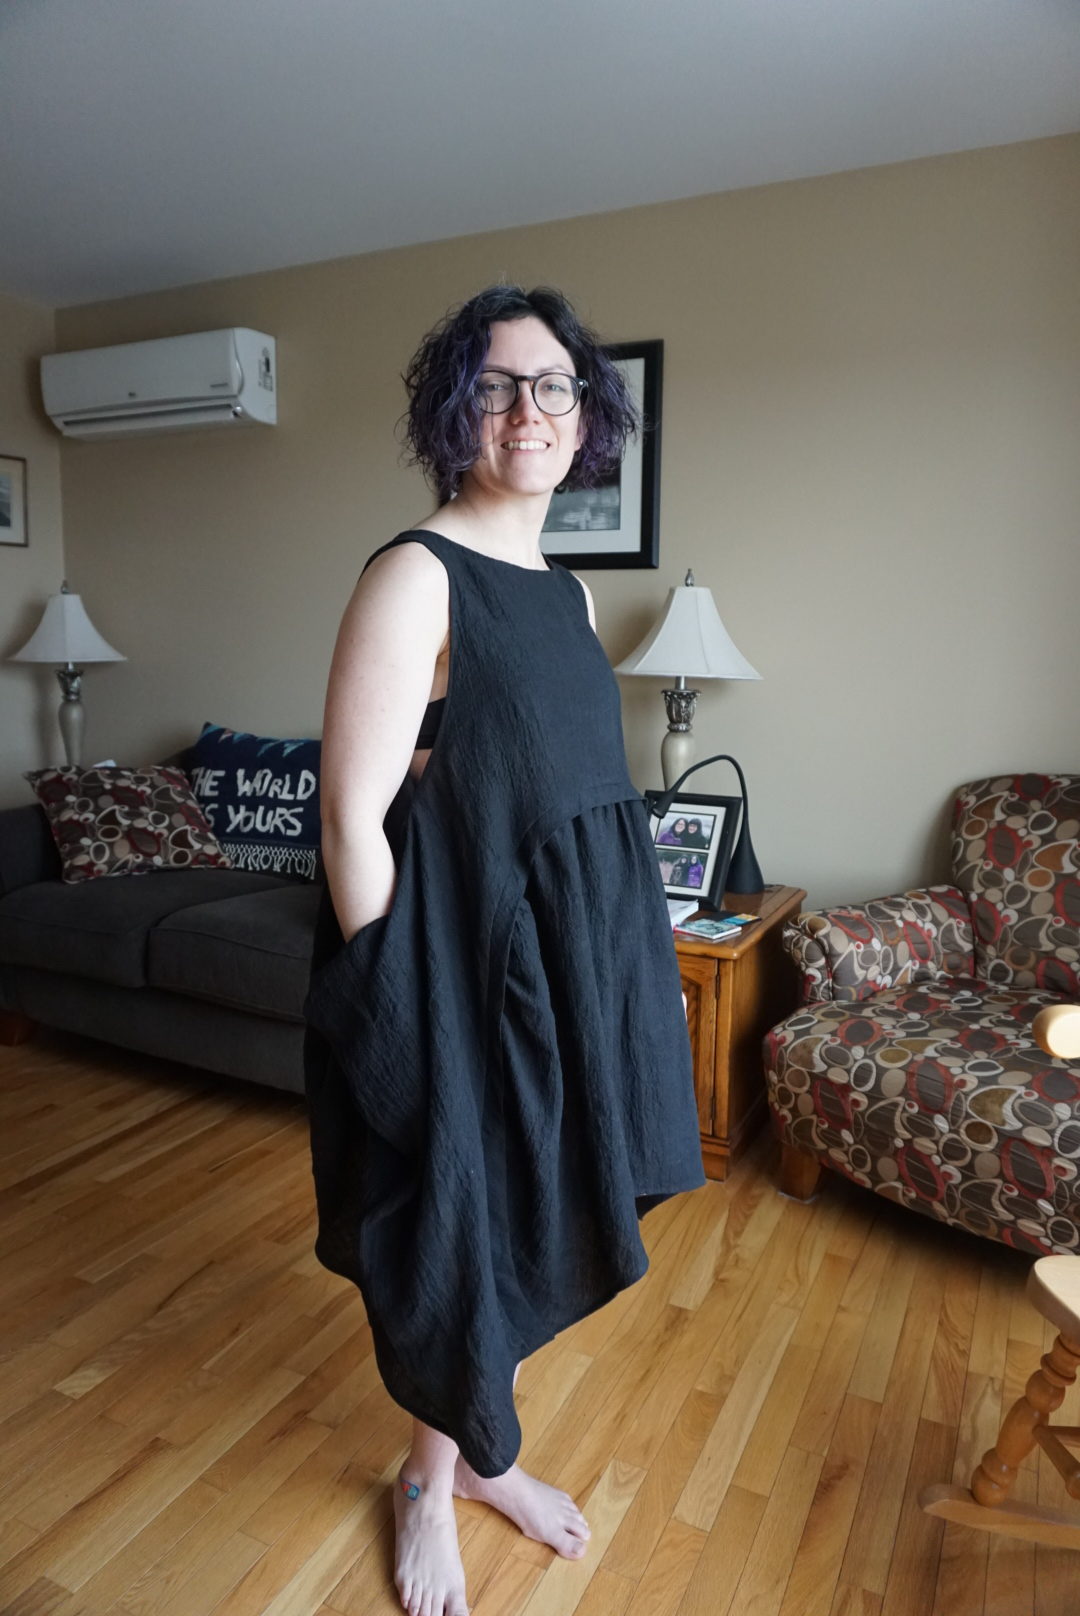
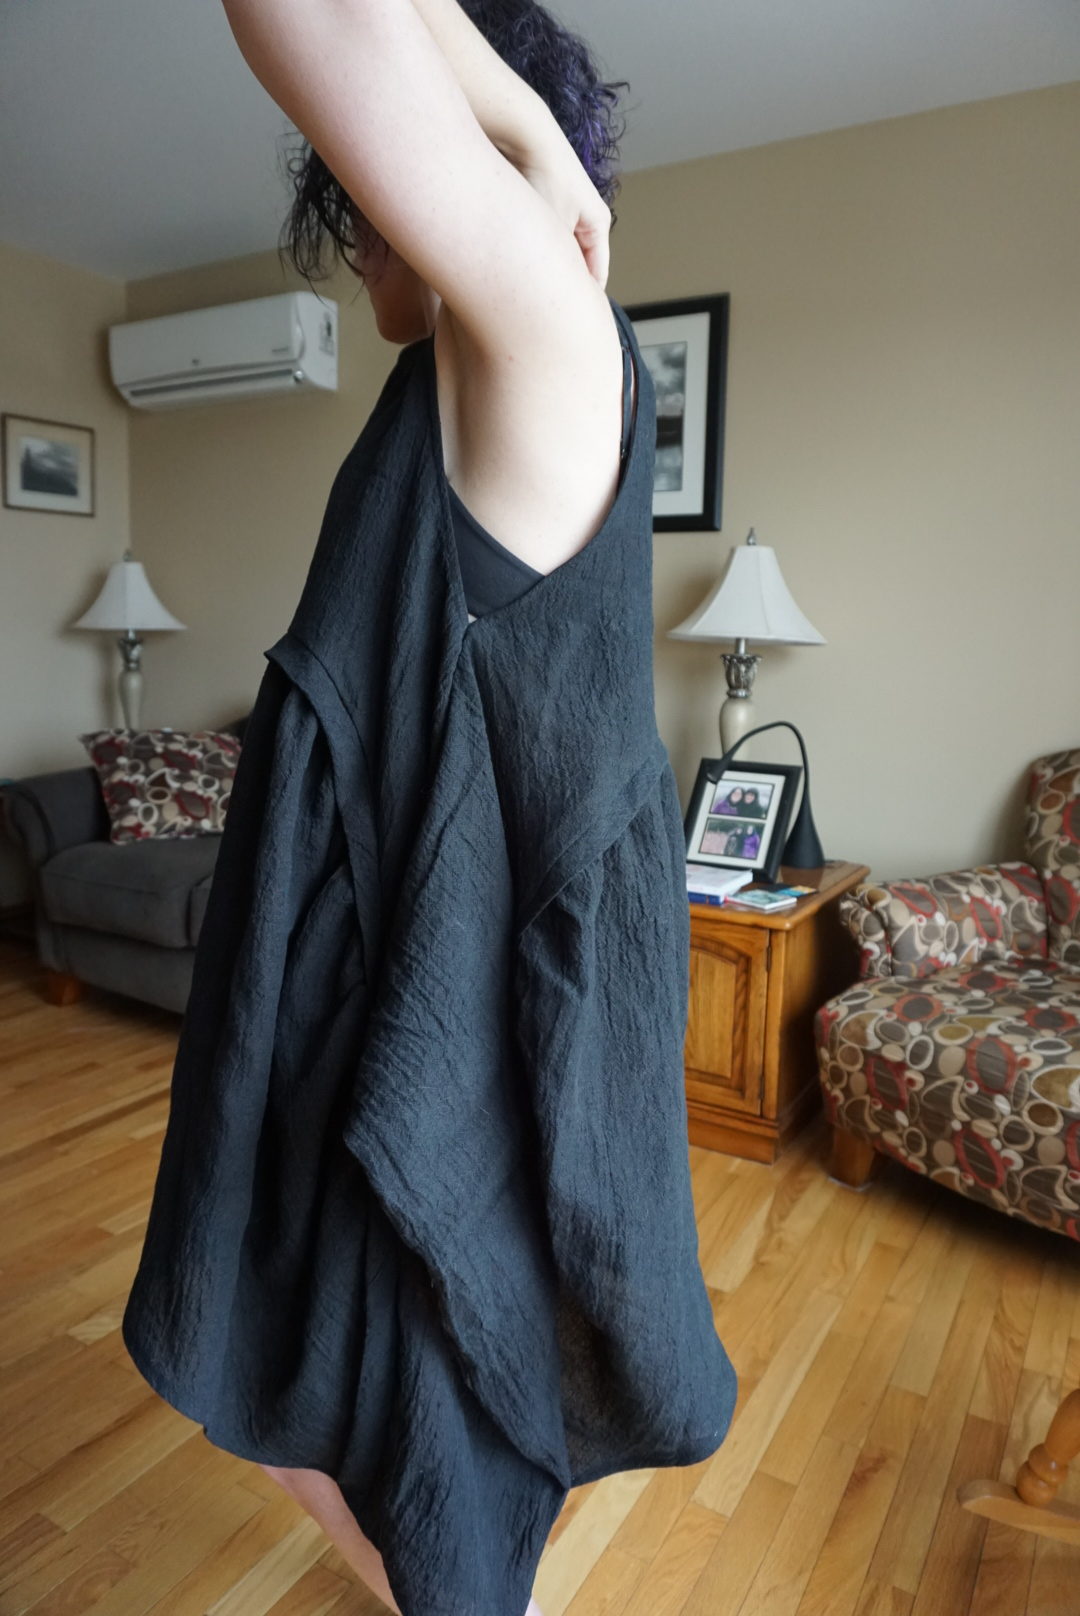
One thing you may have noticed in the photos above that I’ve highlighted in the photo below is that the armhole is very low. I was reading a few blog posts about this pattern late last week before I started sewing, and read about this in multiple descriptions, but at that point I had already cut out the pieces so I just went ahead with it. You can see below that my bra is definitely visible. I’m not sure how I would solve this in future versions. Should I shorten the bodice through the middle of the armhole to raise the bottom? Or should I just sew the side seam up farther and change the curve a bit there? I honestly don’t mind it like this, but it does mean that I need to find a solution (maybe a tank top underneath?) in order to be able to wear it to work since I’m a public school teacher. Does anyone have any styling suggestions to make it more work-appropriate?
Overall I’m really satisfied with this make and am happy to finally get it sewn up. I’d definitely recommend the pattern, and I’d be interested to make another in a more drapey fabric although probably not in the next little while. Right now I’m THINKING I might make one more wearable muslin of the Jenny shorts to test out shortening the rise and then maybe cut into some of my Marimekko fabric I got in Finland in July!
