
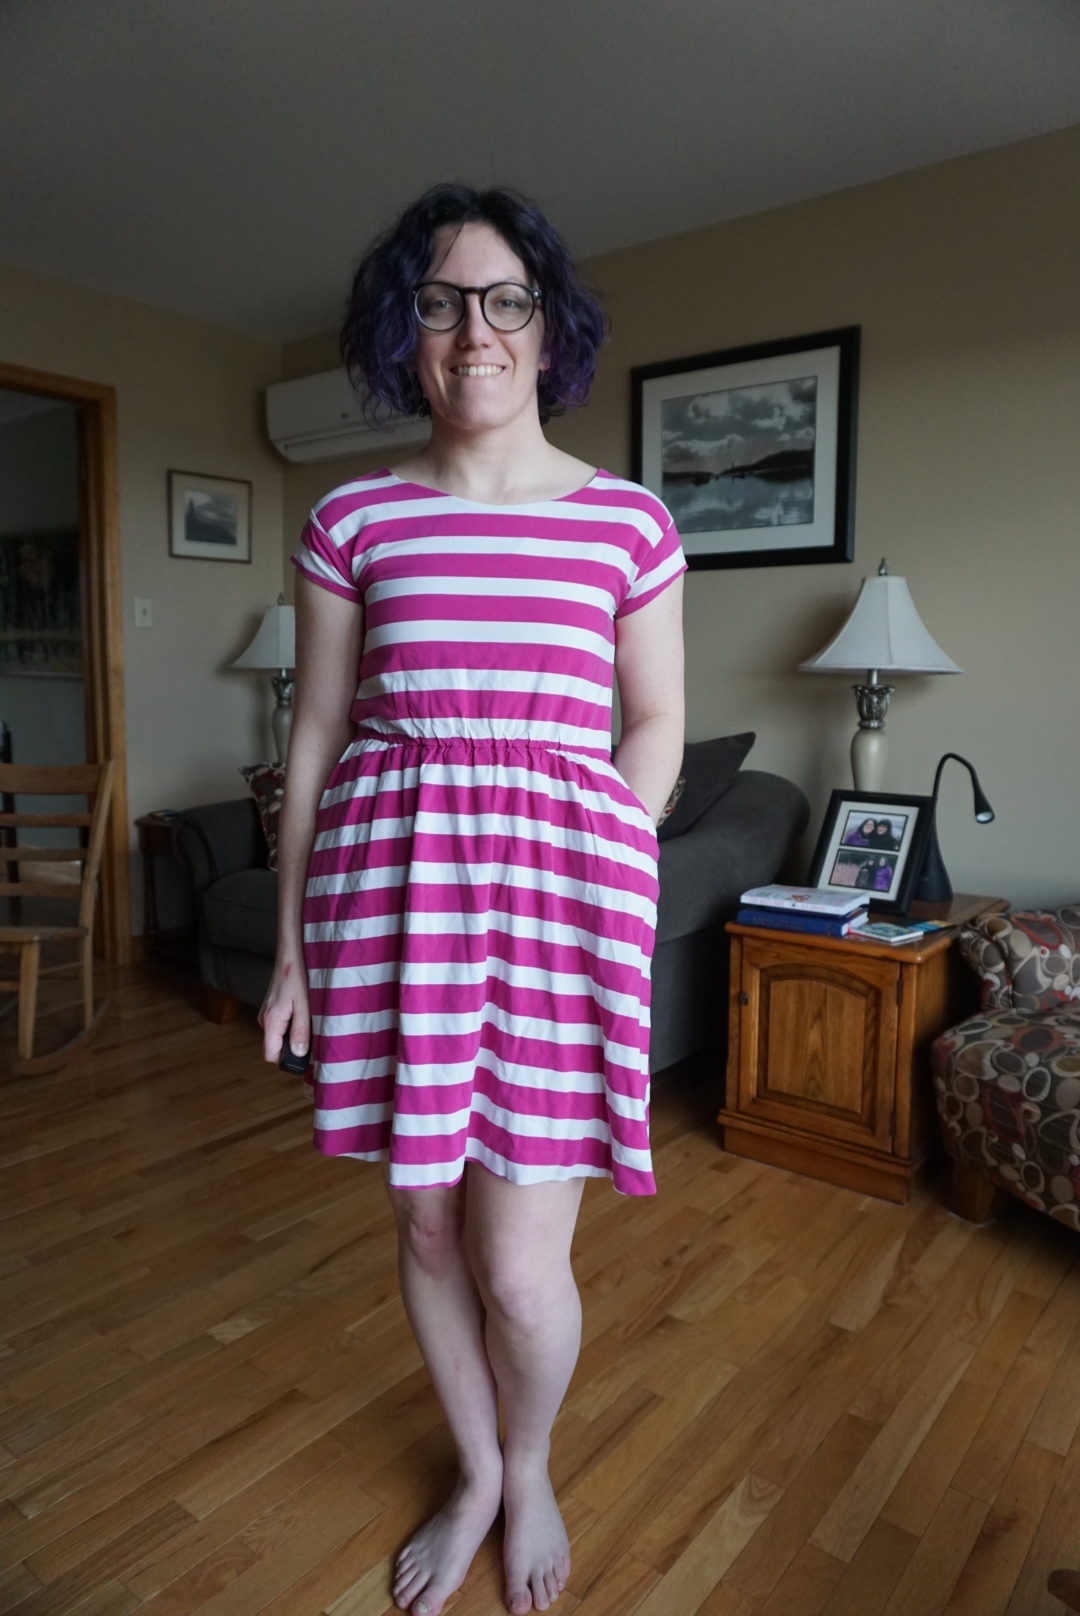
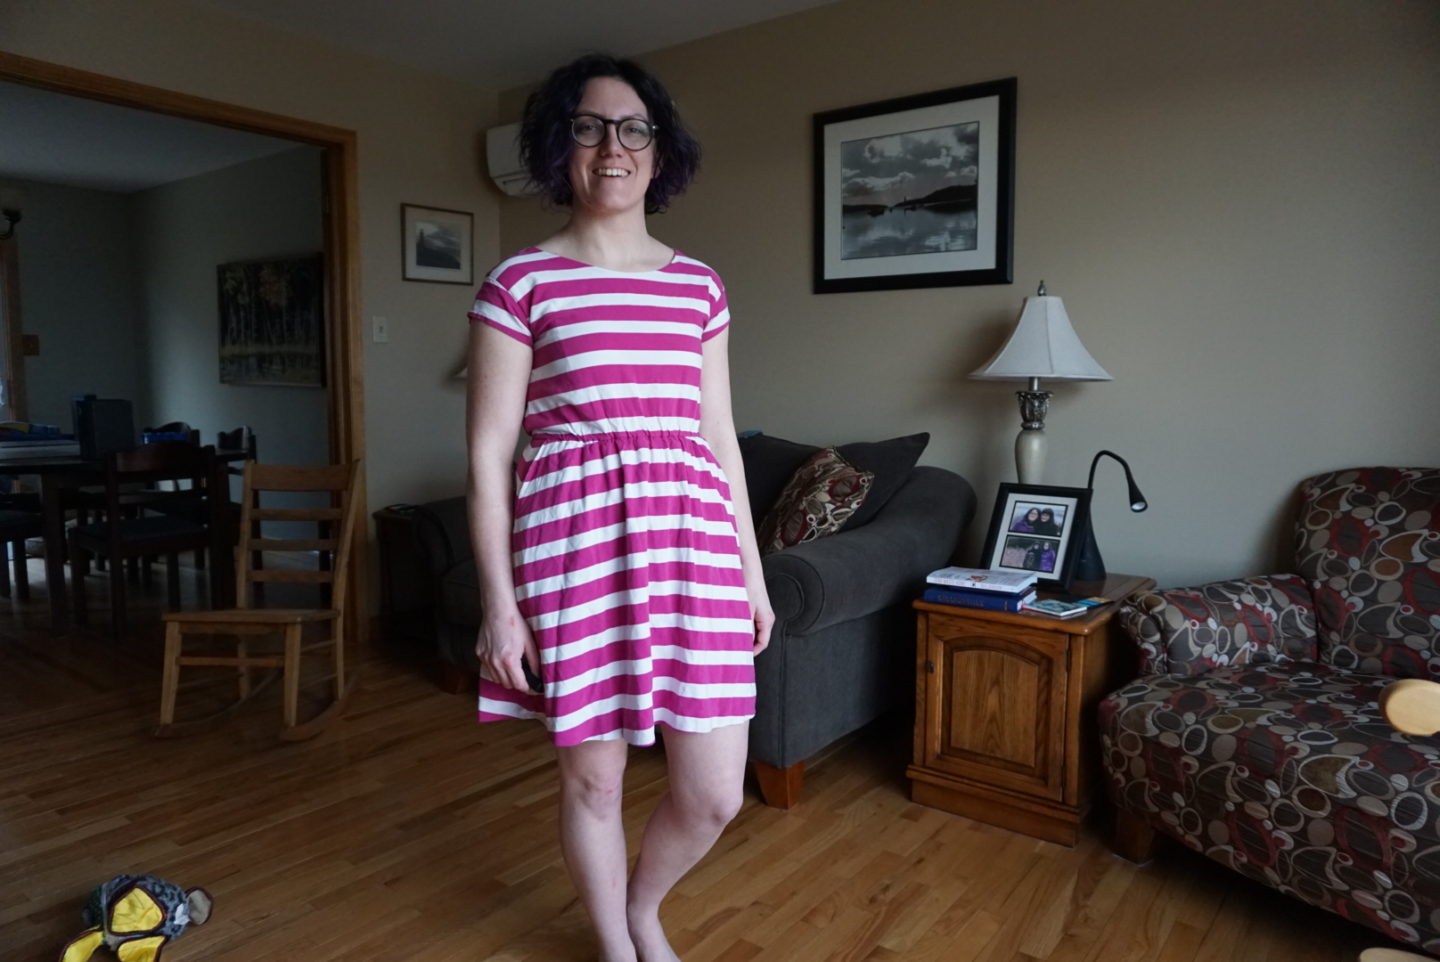
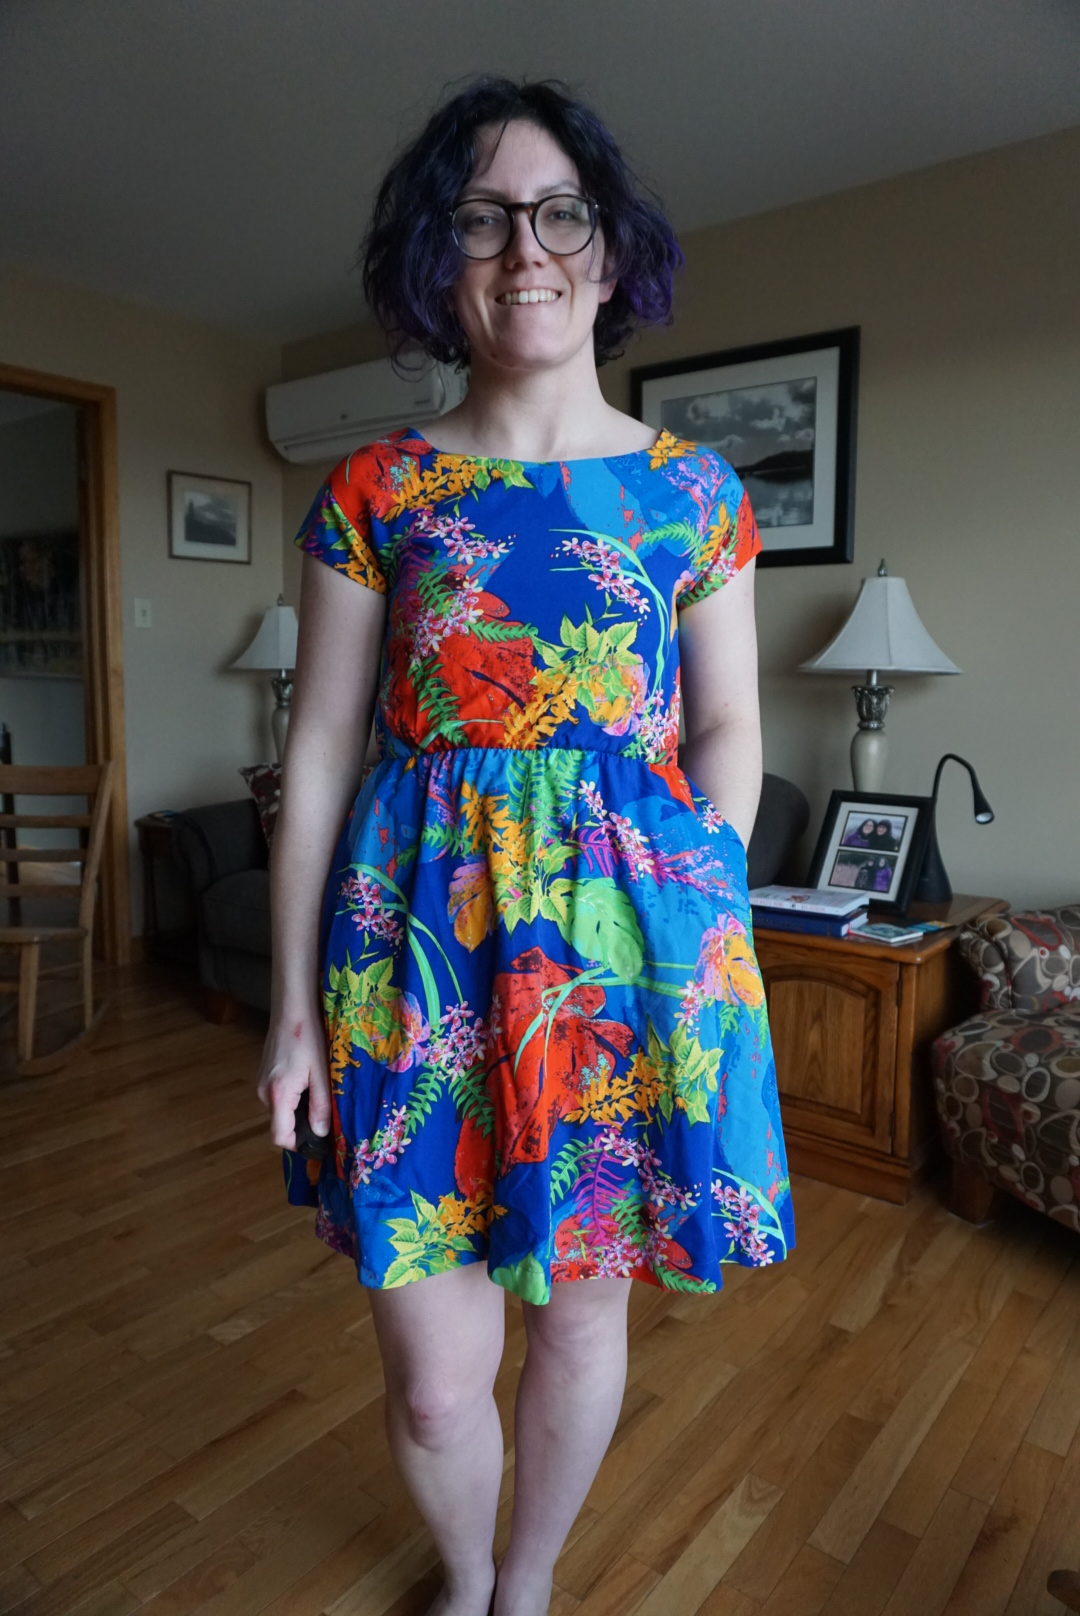
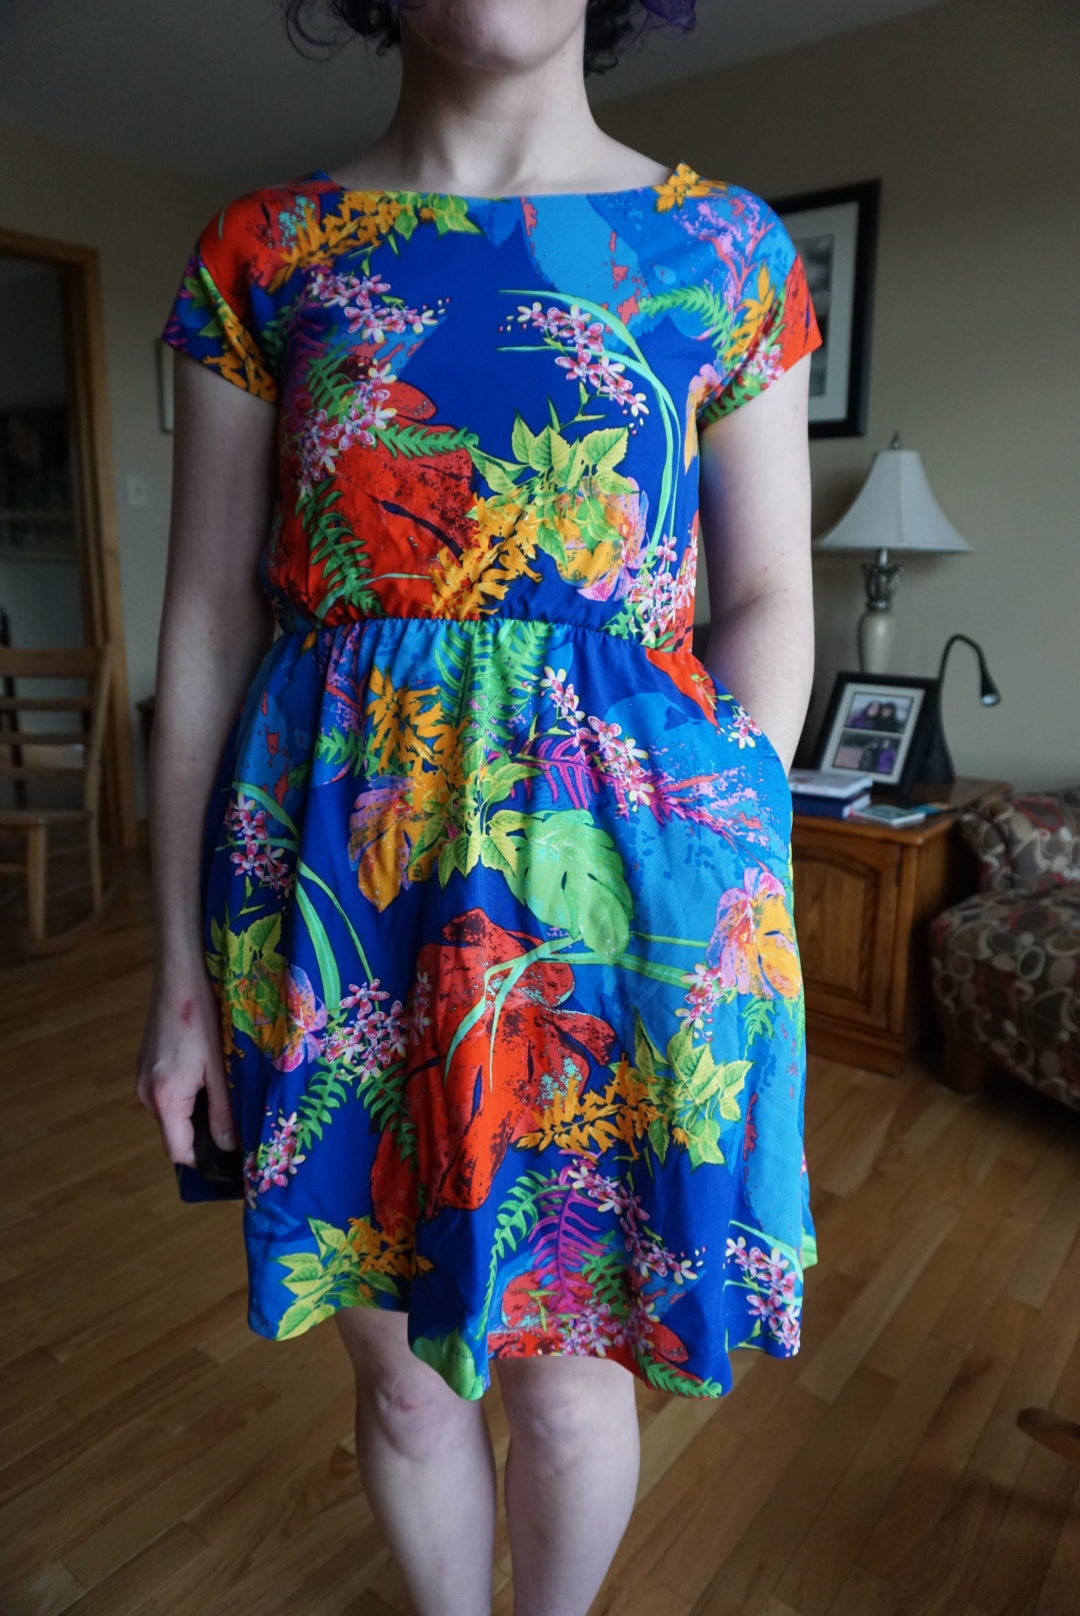
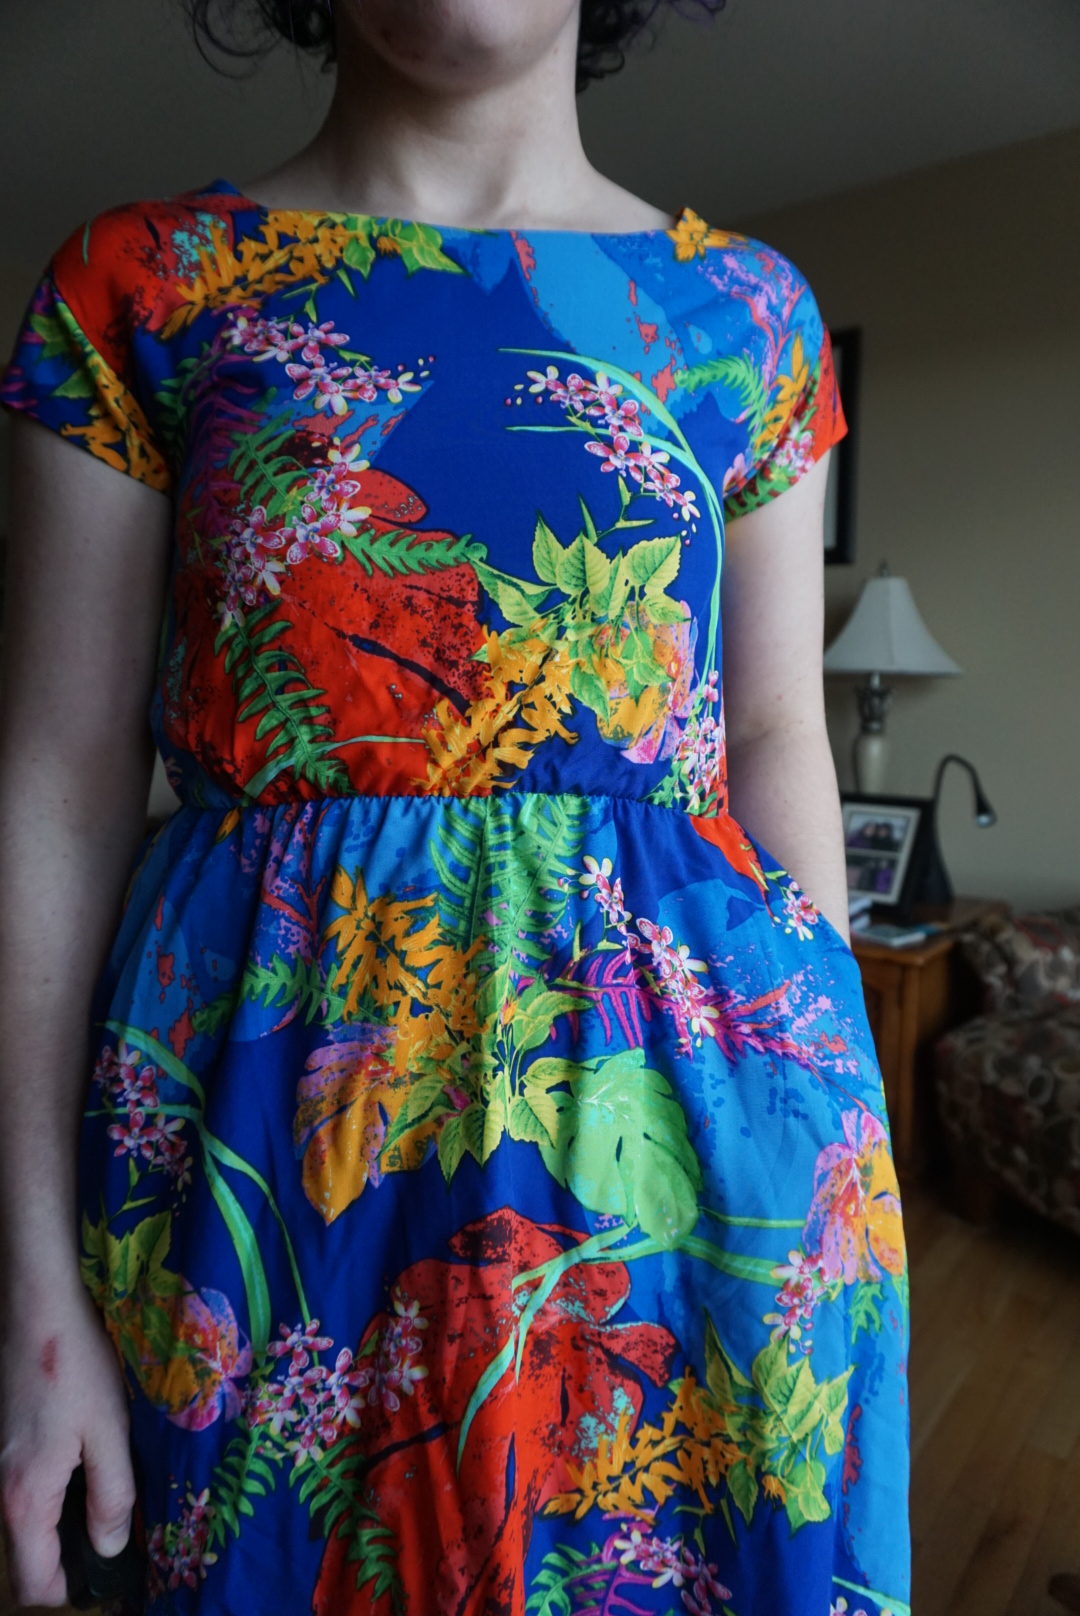
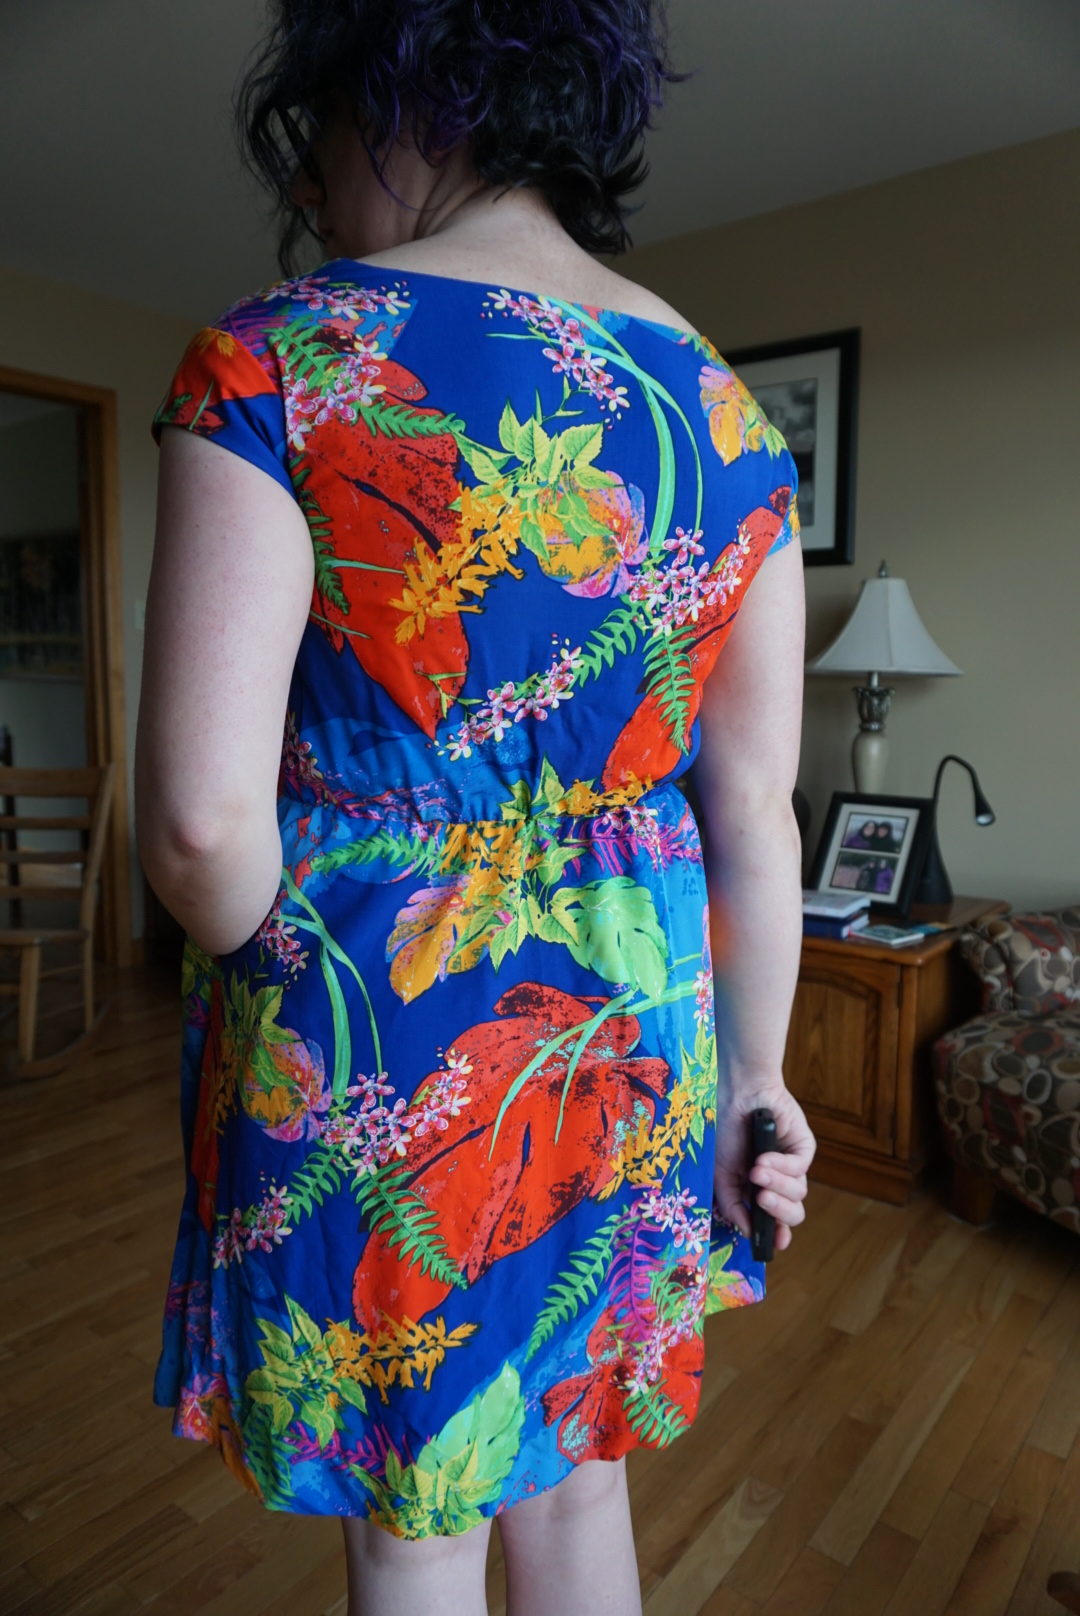
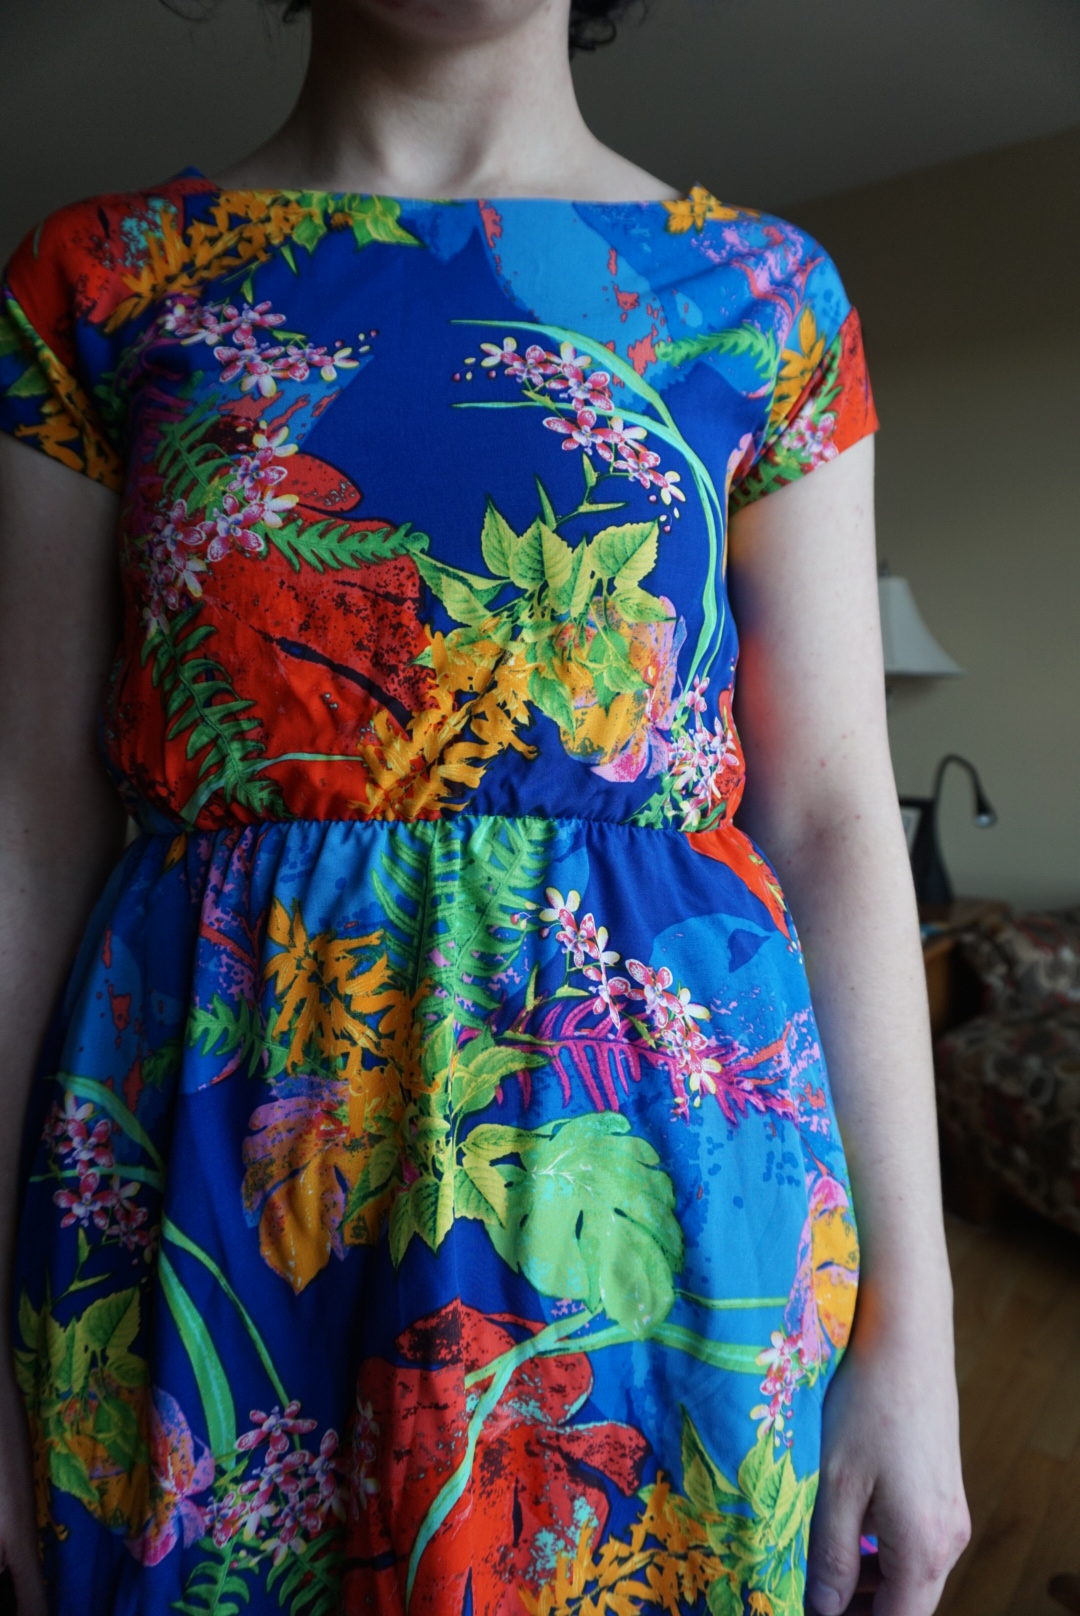
I have to say, I’m really not an online class person. I got a Craftsy class a number of years ago after being gifted a 1-class credit, and I only ever watched the first part of the first video. The class was about how to make a copy of a garment you already owned without taking it apart, which was something I was (and continue to be) curious about. But somehow getting that online class never really did the trick, and I didn’t feel urgent enough about it to either watch the class or scout out other online tutorials. When Patch posted enrolment for a class on how to do exactly that, and it was on a night when I miraculously don’t teach, I knew it was the time to force my hand and sign up for the class. I’m really happy I did! There’s this ready-to-wear (RTW) dress that I have owned for ages that is so comfortable, and can be dressed up or down, and I knew that’s what I wanted to copy first. It is fully lined, has an elastic waist, cap sleeves, and slash pockets, and I think is great for showcasing a fun print.
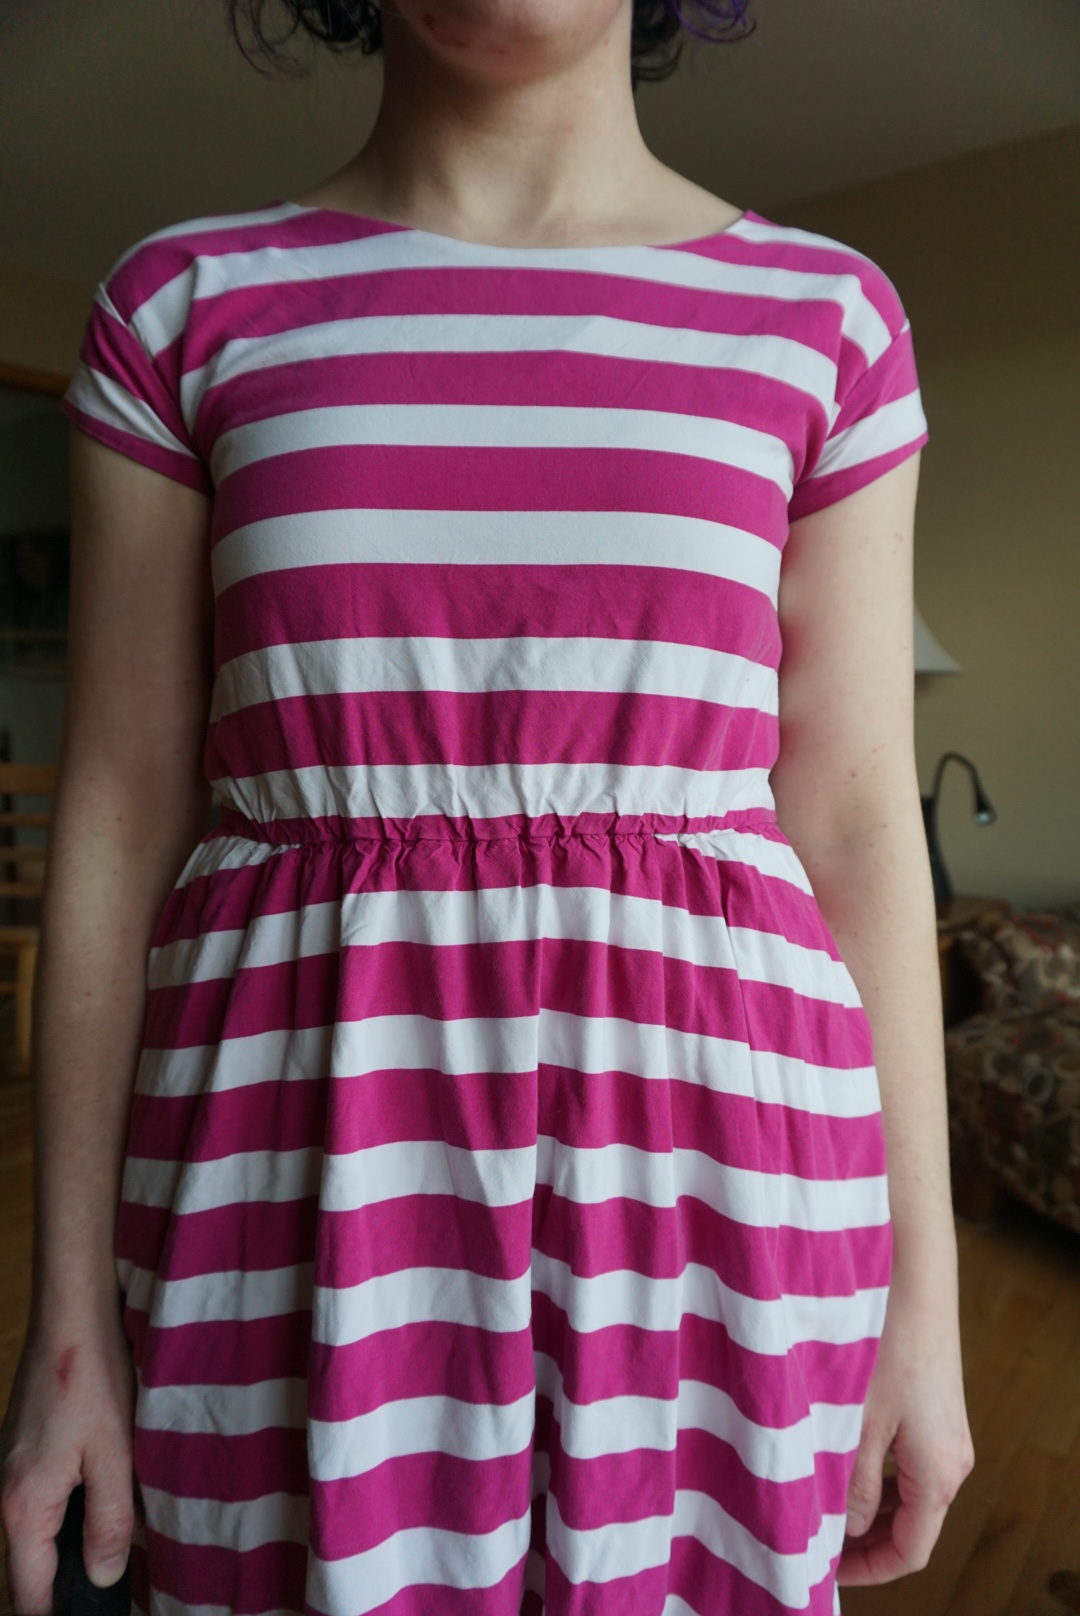
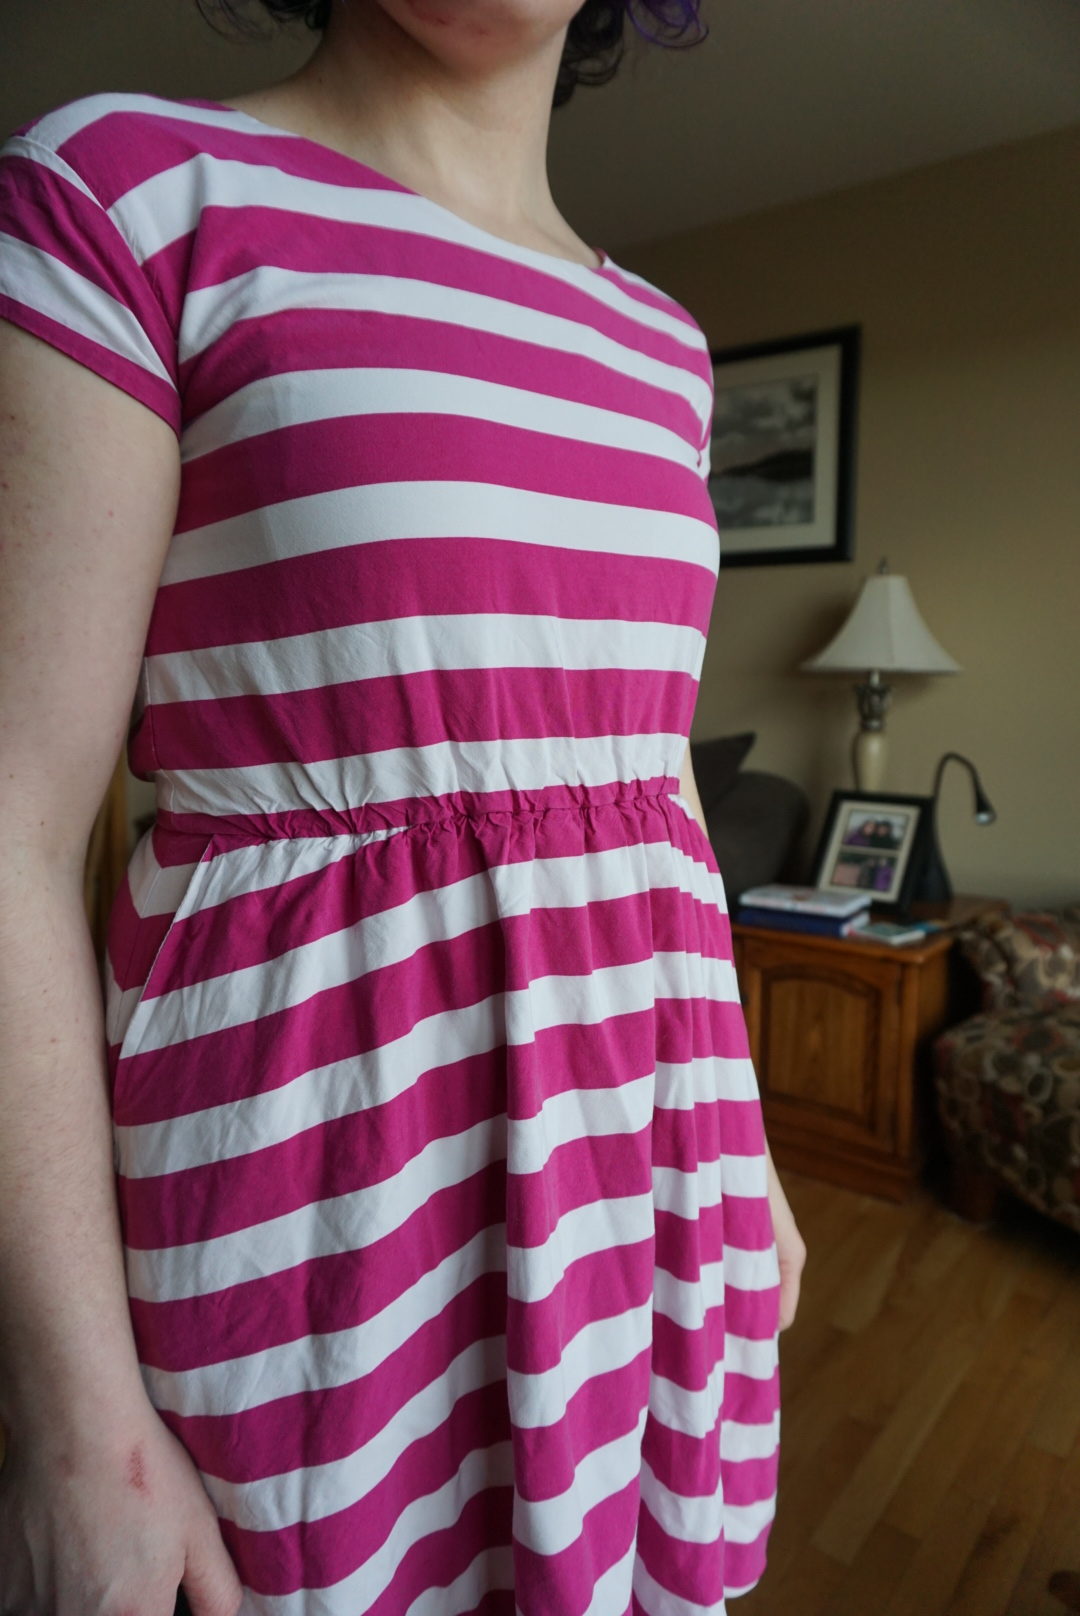
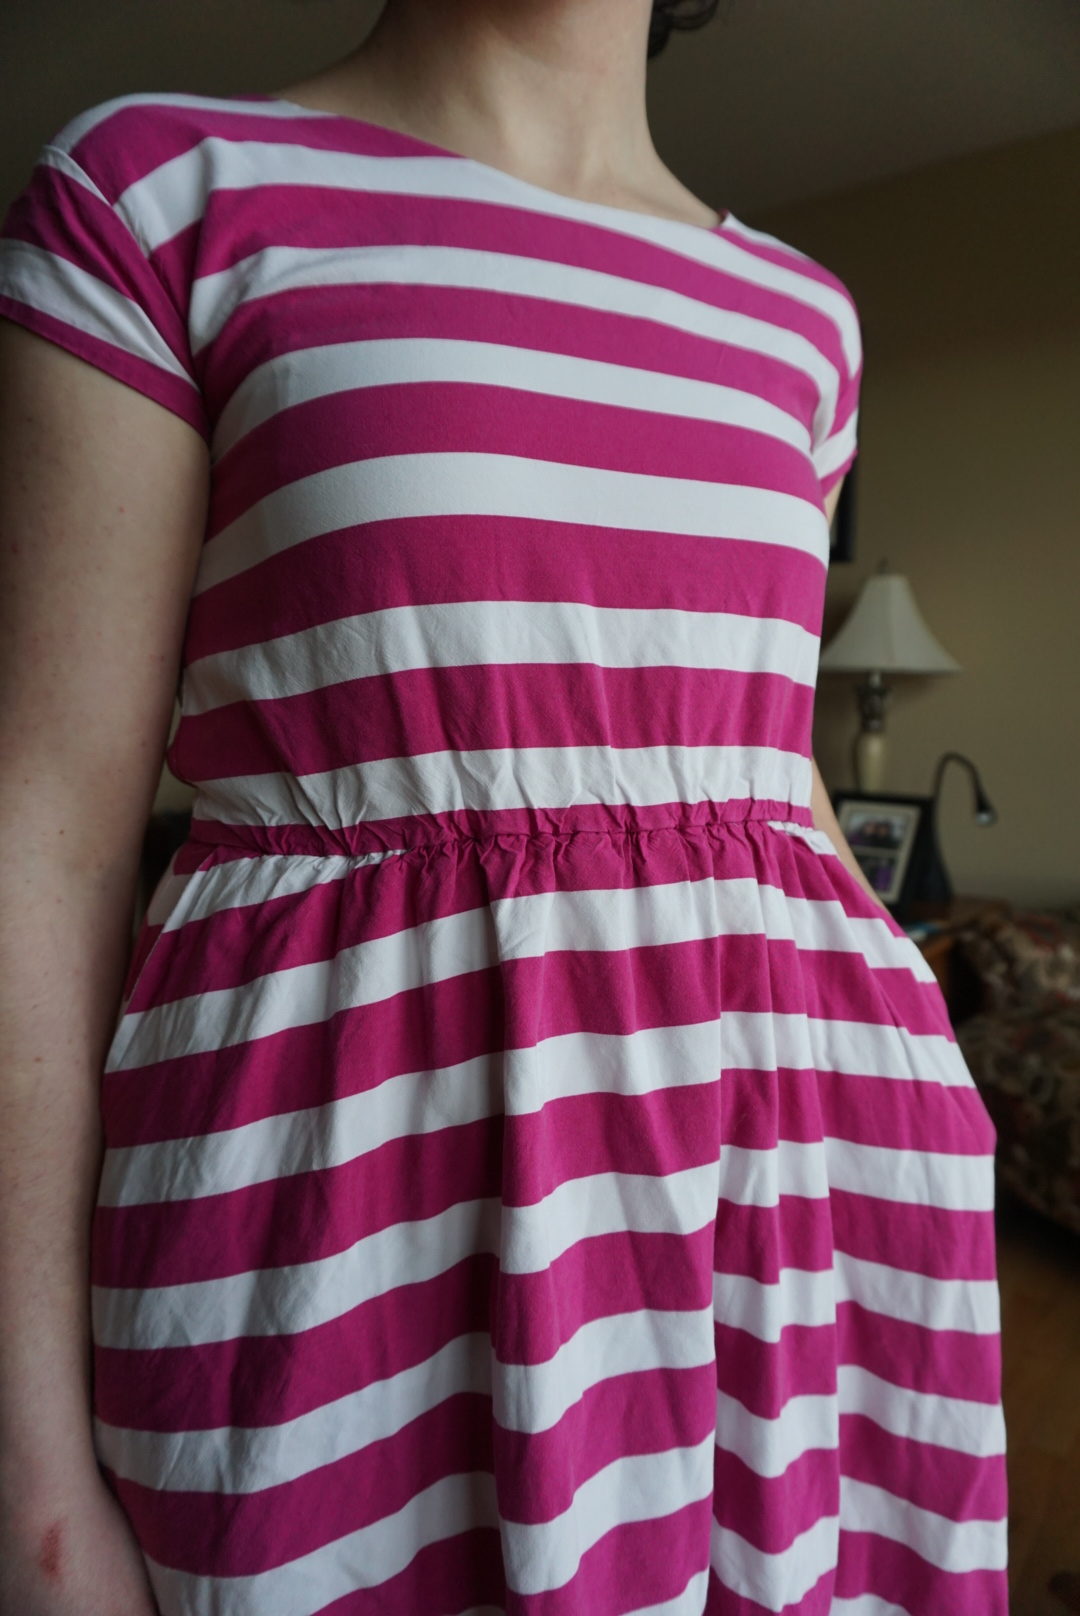
Here are some photos of that dress for reference, in particular with regards to the fit, because I’m going to ask you lovely people for advice on fitting adjustments by the end of this blog post (so you better be paying attention)!

The process for making a pattern from an existing garment is actually not that complicated. You go piece by piece, pinning it down to tracing paper underneath (or use pattern weights, which is what I did). You have to make it as flat as possible, and trace any outside edges and for inside edges you stab through the seam line with a pin into the paper below and then trace a line along the dots you’ve poked. For darts and other such things, it’s a bit more complicated and I’m not going to go into tremendous detail (both because there are many tutorials on this online, and because the garment in this post doesn’t have darts), but regardless I think it’s a simple enough concept to understand even if you need practice at putting it into action.
So I traced off all the pattern pieces of the dress in the first class (and finished the last couple for homework), and then added seam allowances all around. I used the front skirt piece to draw on a pocket and the slash as measured and then traced them off separately to make three distinct pieces (skirt front, pocket bag, pocket facing). Since it has an elastic waist that’s directly sewn in and not in a casing, I had someone else stretch the waistband while I traced it and it worked pretty well. The sleeve/cuff-thingies are not very sleeve-like and are symmetrical front and back, so that made it very easy to copy. I used the same pieces for the bodice front and back self and lining, and for the skirt lining I traced the back bodice piece but shortened by (I think) 4 inches at the bottom, and cut the same piece for front and back skirt lining since the pockets are attached to the exterior shell of the dress.
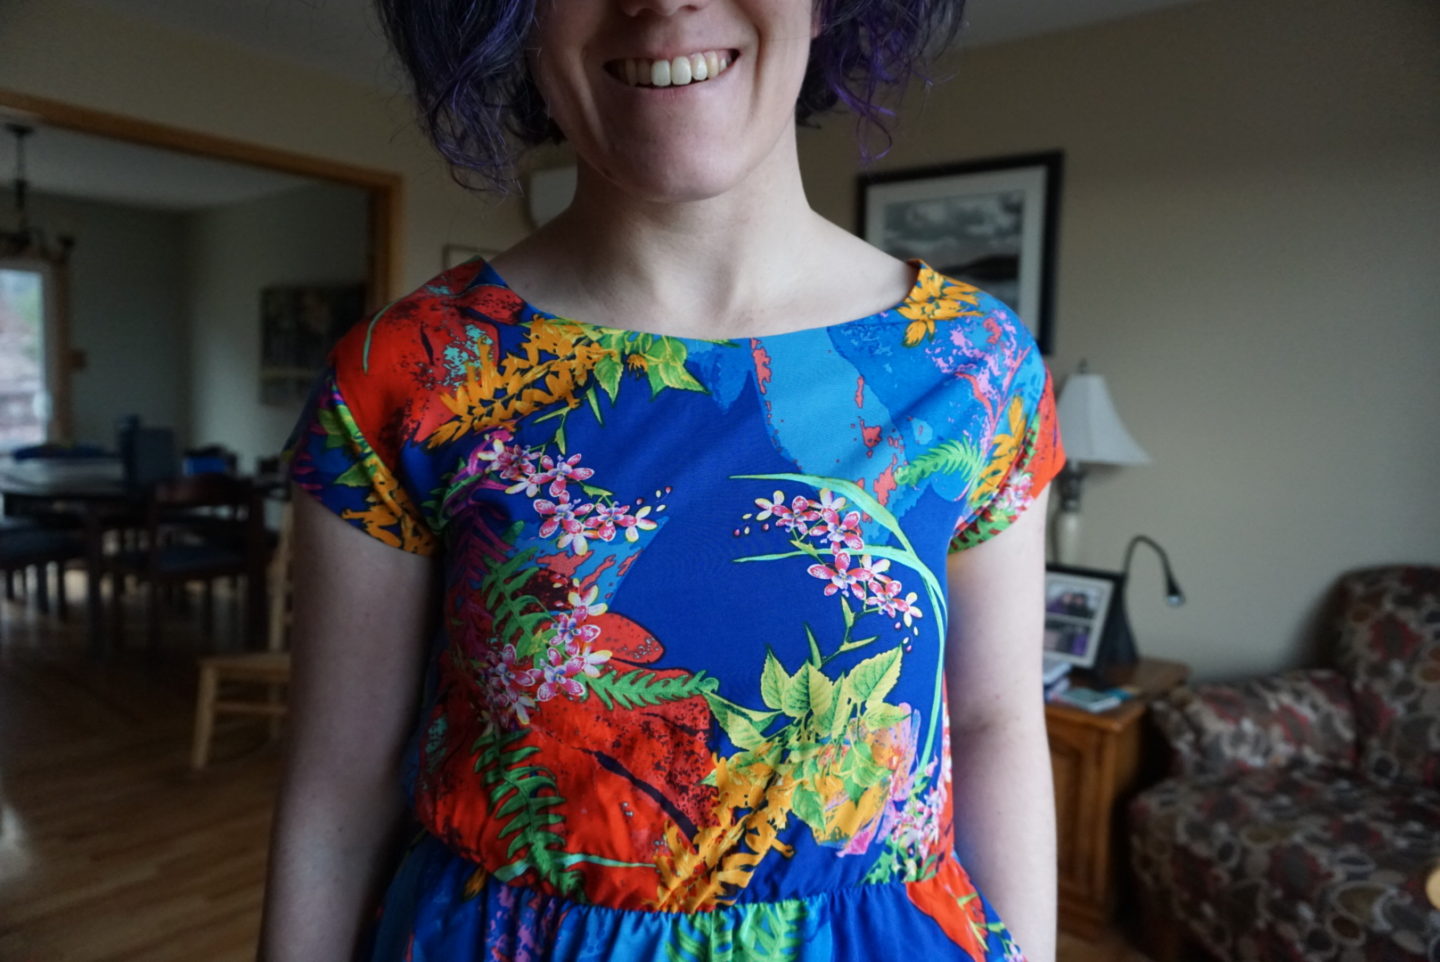
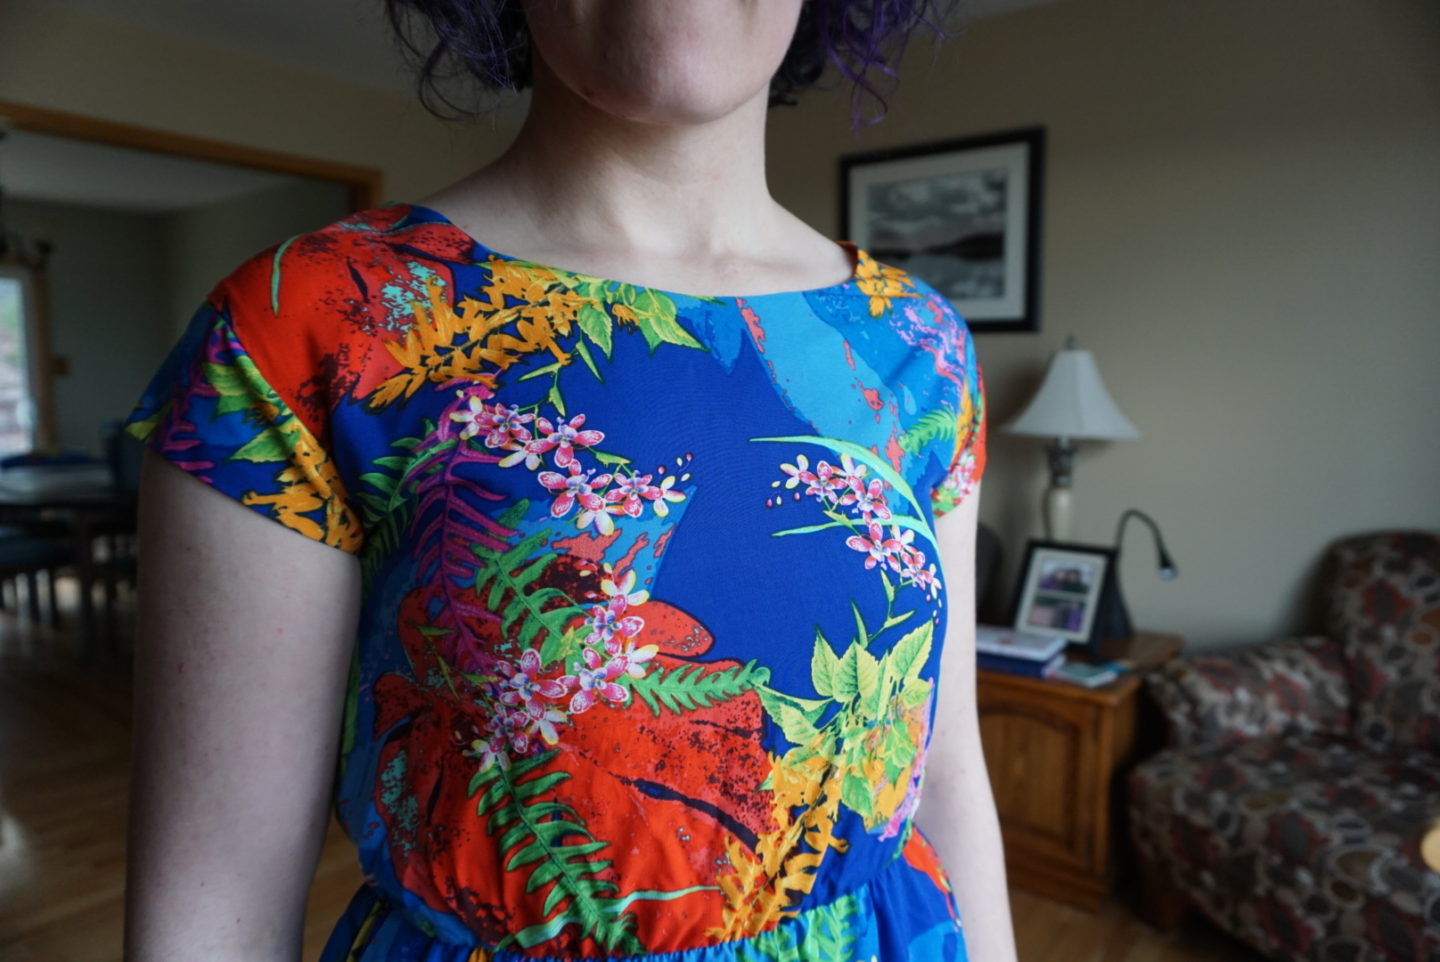
This rainbow floral dress is my first muslin, completely wearable. When sewing it, the front and back bodice were about 3/4″ smaller each than the front and back skirt at the waistband. The front bodice was 3/8″ longer than the back bodice (so I ended up shortening the back bodice to match in this first sample). The sleeve fit really well into the armhole as drafted. The whole thing is quite tight across the bust though. To the point that I probably won’t wear this (I’ll likely find it a new home once I’m done with the fitting problems), which is too bad because the fabric is so fun. It’s a rayon I got on sale at Atlantic Fabrics, mostly chosen because it was the cheapest 100% rayon they had.
The thing about drafting a pattern from an existing garment is that you have to figure out construction order. Most of this dress was very straightforward to figure out since I’ve sewn so many articles of clothing, but one part stumped me – the elastic waist. The thing that’s perplexing is that the neck is enclosed by the lining and so is the waist, and then the armholes are basted wrong sides together once everything’s together. Then, the cap sleeves are inserted and the edges of that seam are finished with a serger. The elastic at the waist is quite evidently stretched and sewn in order to create the gathering effect seen, but I couldn’t see from the original dress how this was done. There was no stitching visible from either the outside or the lining side of the dress, and the elastic was firmly inside the bodice and not visible at all from the skirt.
I did a lot of brainstorming, and I’m very curious to know if any of you have any better/alternate suggestions. What I did was as follows. I sewed the assembled bodice and skirt of the exterior together at the waist. and the same for the lining bodice and skirt. Then I sewed my waist elastic into a loop of the size I measured from the original RTW dress and divided that loop into quarters. I pinned each quarter to either a side seam or center front/back from the wrong side of the lining “dress”, centering the elastic directly over the waist seam line. I then stretched and sewed from the right side of the lining directly in the ditch of the seam. Then, I attached both “dresses” together at the neck hole right sides together, sewed the seam, clipped, under-stitched, and then flipped the whole thing so the wrong sides were touching and the lining was inside the self exterior as it would be in the finished garment. Finally, I lined up the side seams and center front/backs and stretched and stitched the elastic AGAIN in the ditch from the outside of the dress. This was a bit fiddly in terms of getting the elastic to lay directly under the waist seam while it was enclosed inside the whole dress and also while you were trying to stretch the thing with both hands (one in front and behind the foot of the machine). I’m happy with how it turned out visually as well! Mostly just curious if anyone else has another idea, because it seems unlikely that this is how it was done in the original garment.

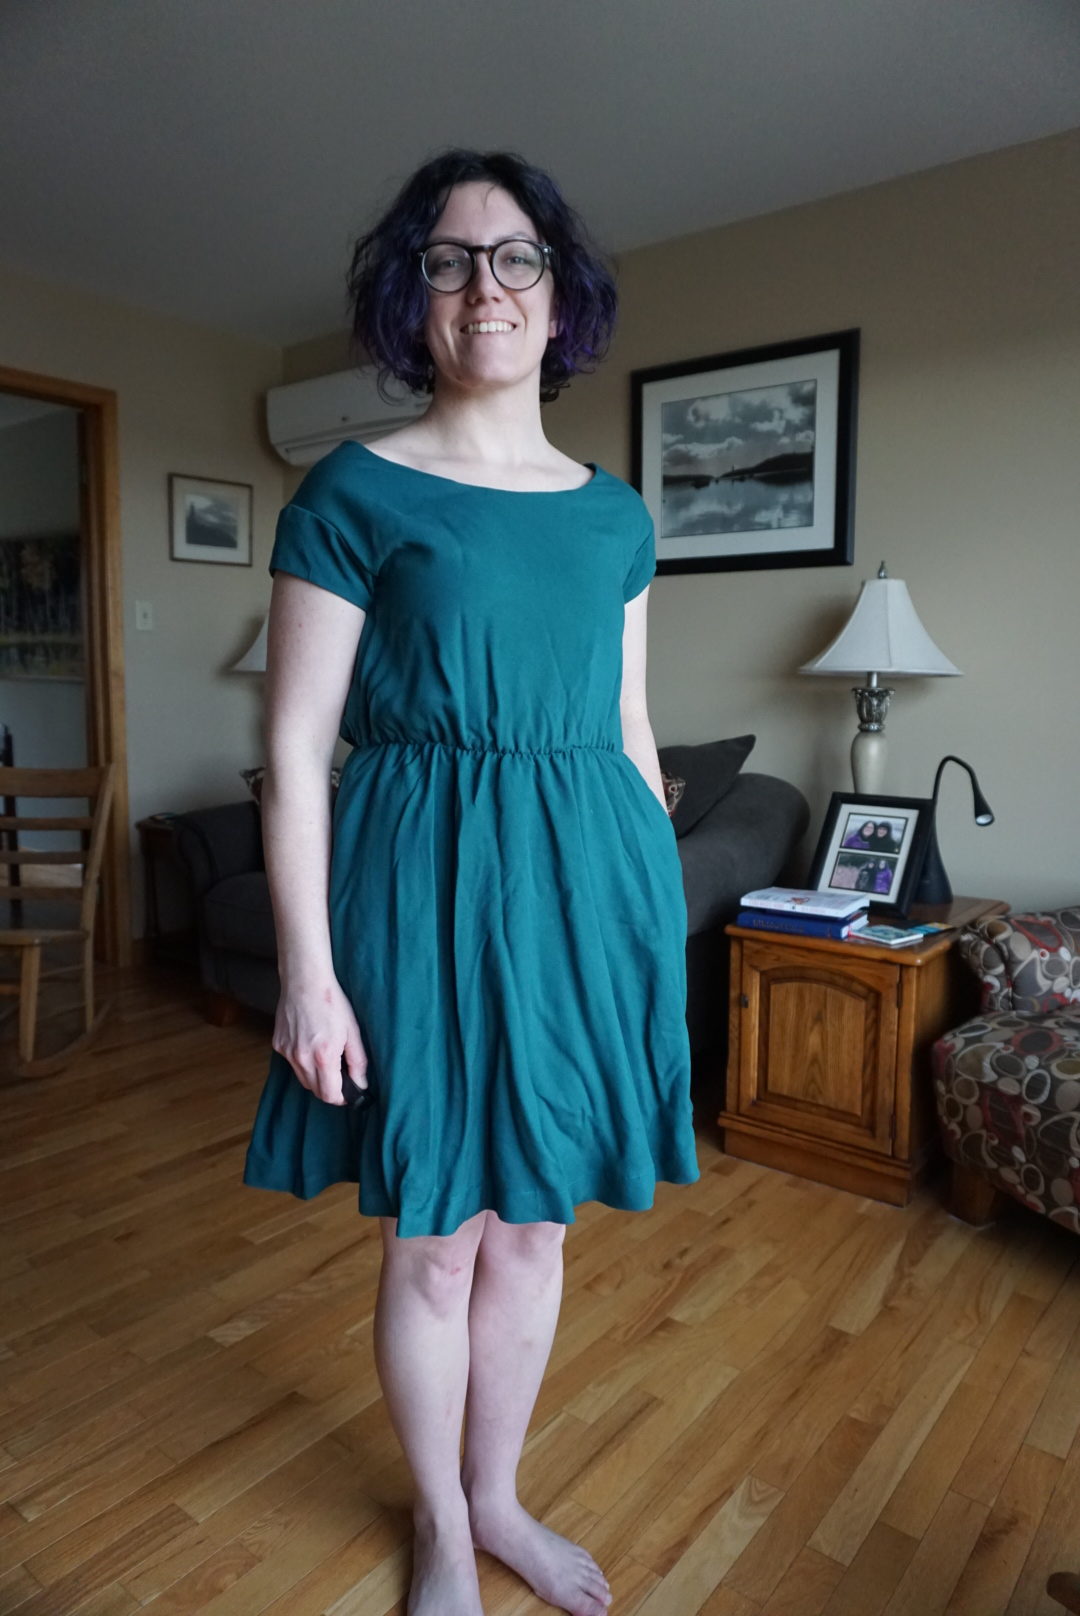
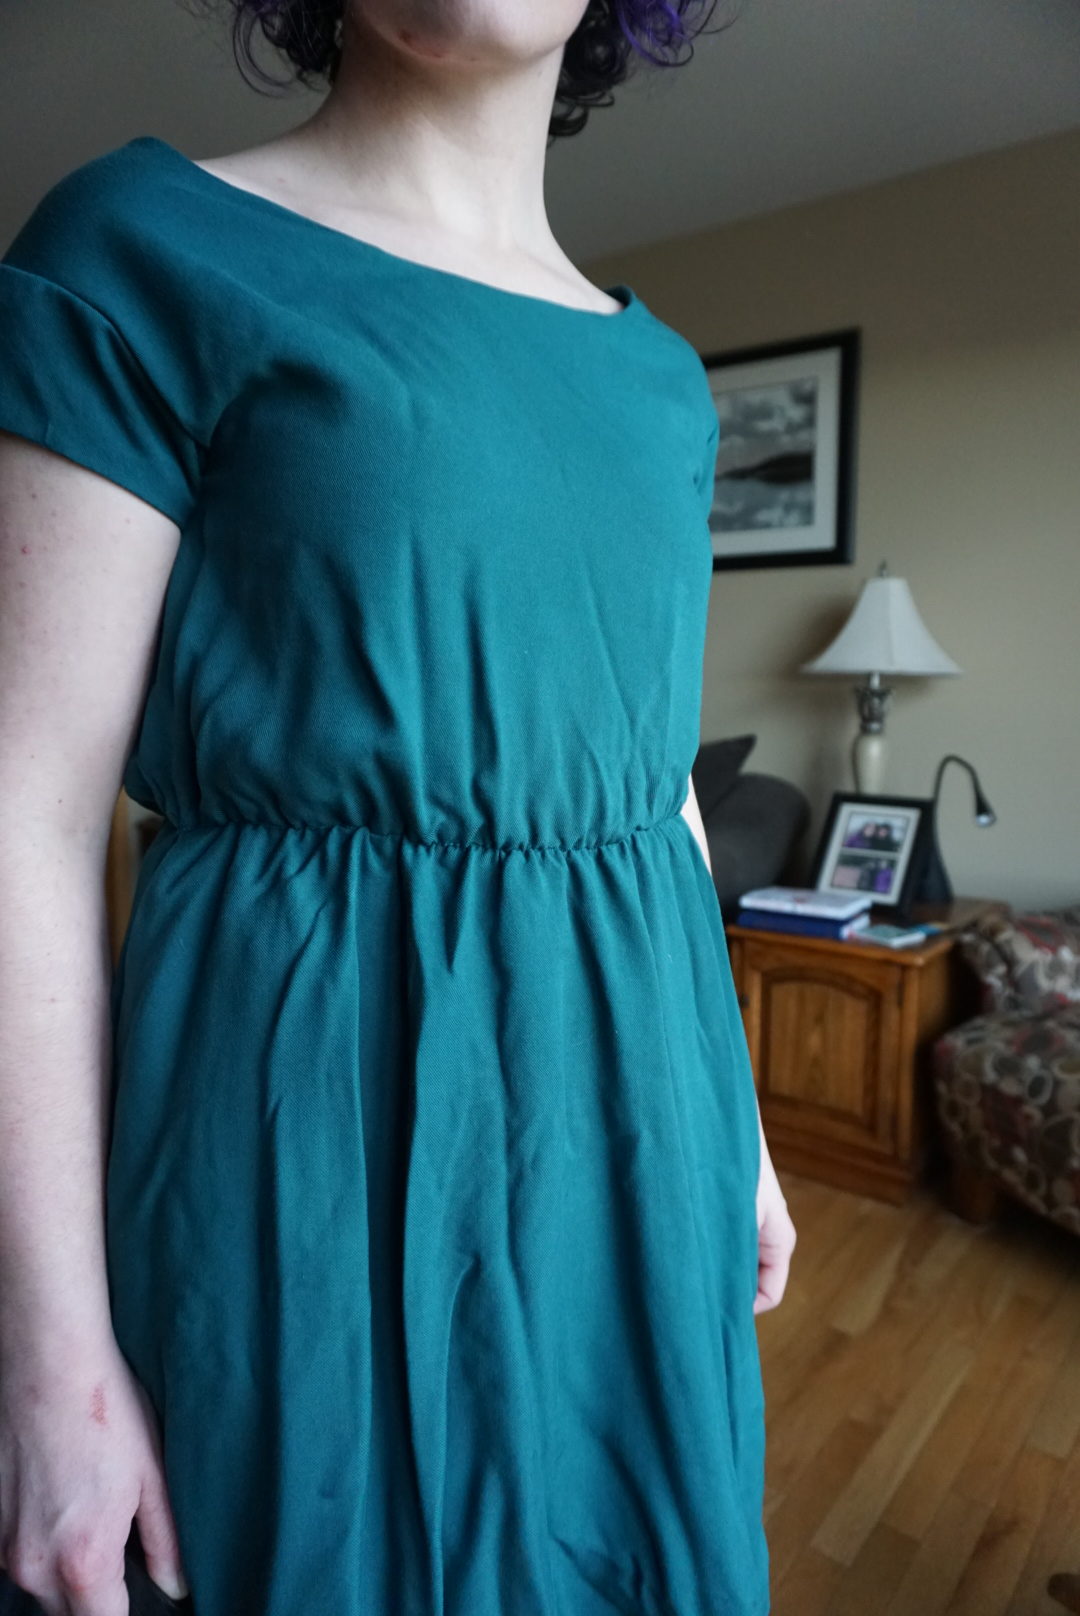
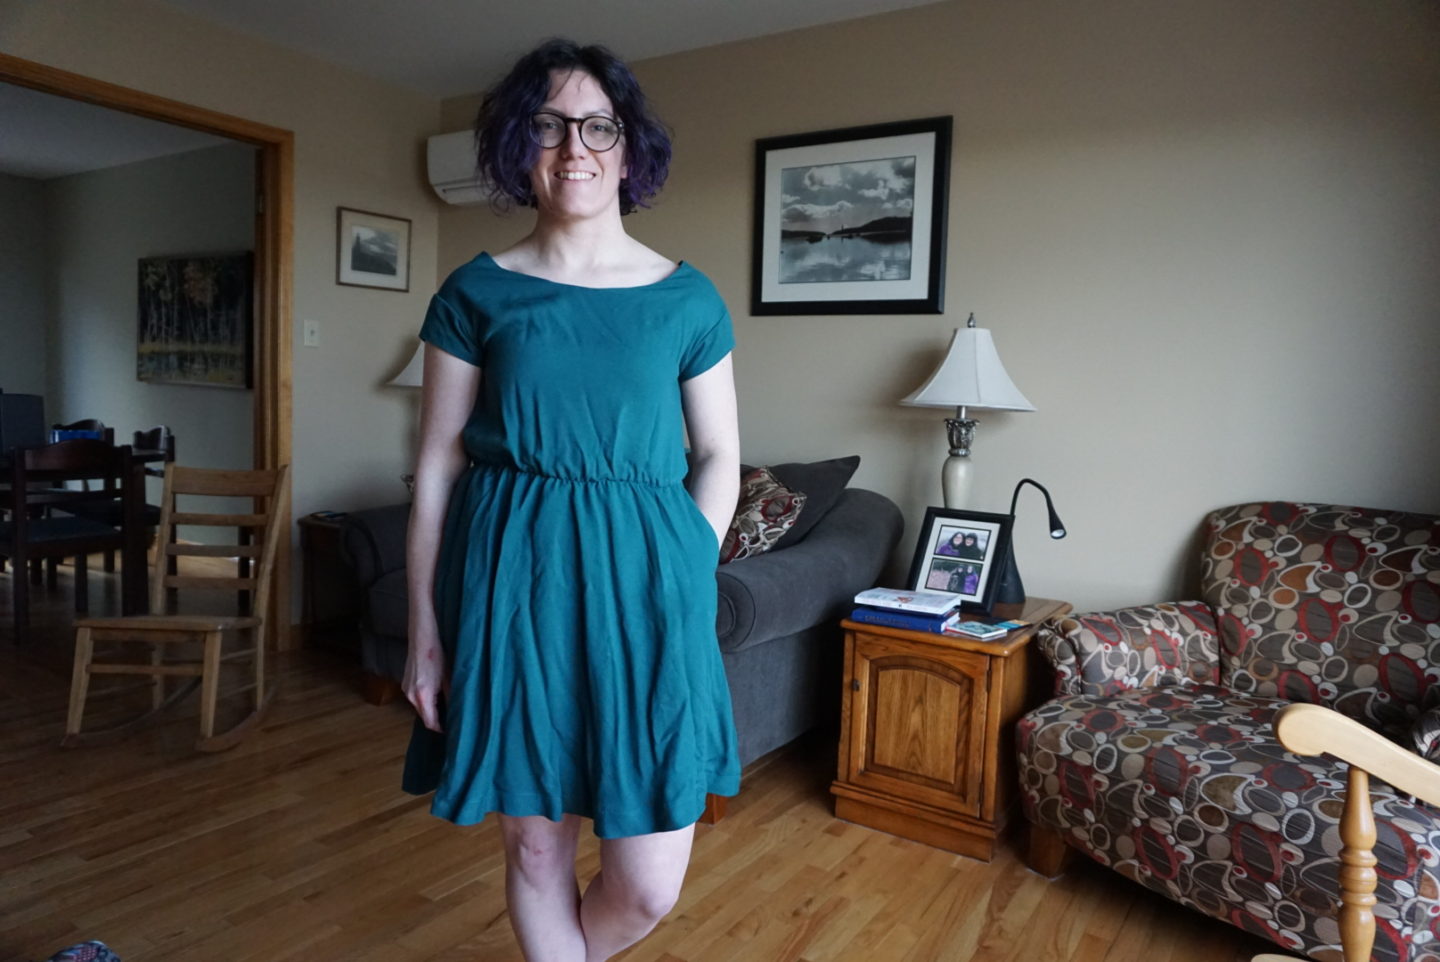
To solve the fit issues seen above, I had a pretty good idea of what I was going to do, but verified it with the class instructor before proceeding. I slashed and spread the front bodice at the center right up to the stitching line of the neckline and added 1″ to the piece at the waist seam line. For the back bodice piece, I simply added 1″ along the entire center line of the piece (no slashing/spreading). Then, I sewed my second muslin. This one’s also completely finished and wearable. I got this rayon twill for $4/m in a clearance aisle, and it’s really soft.

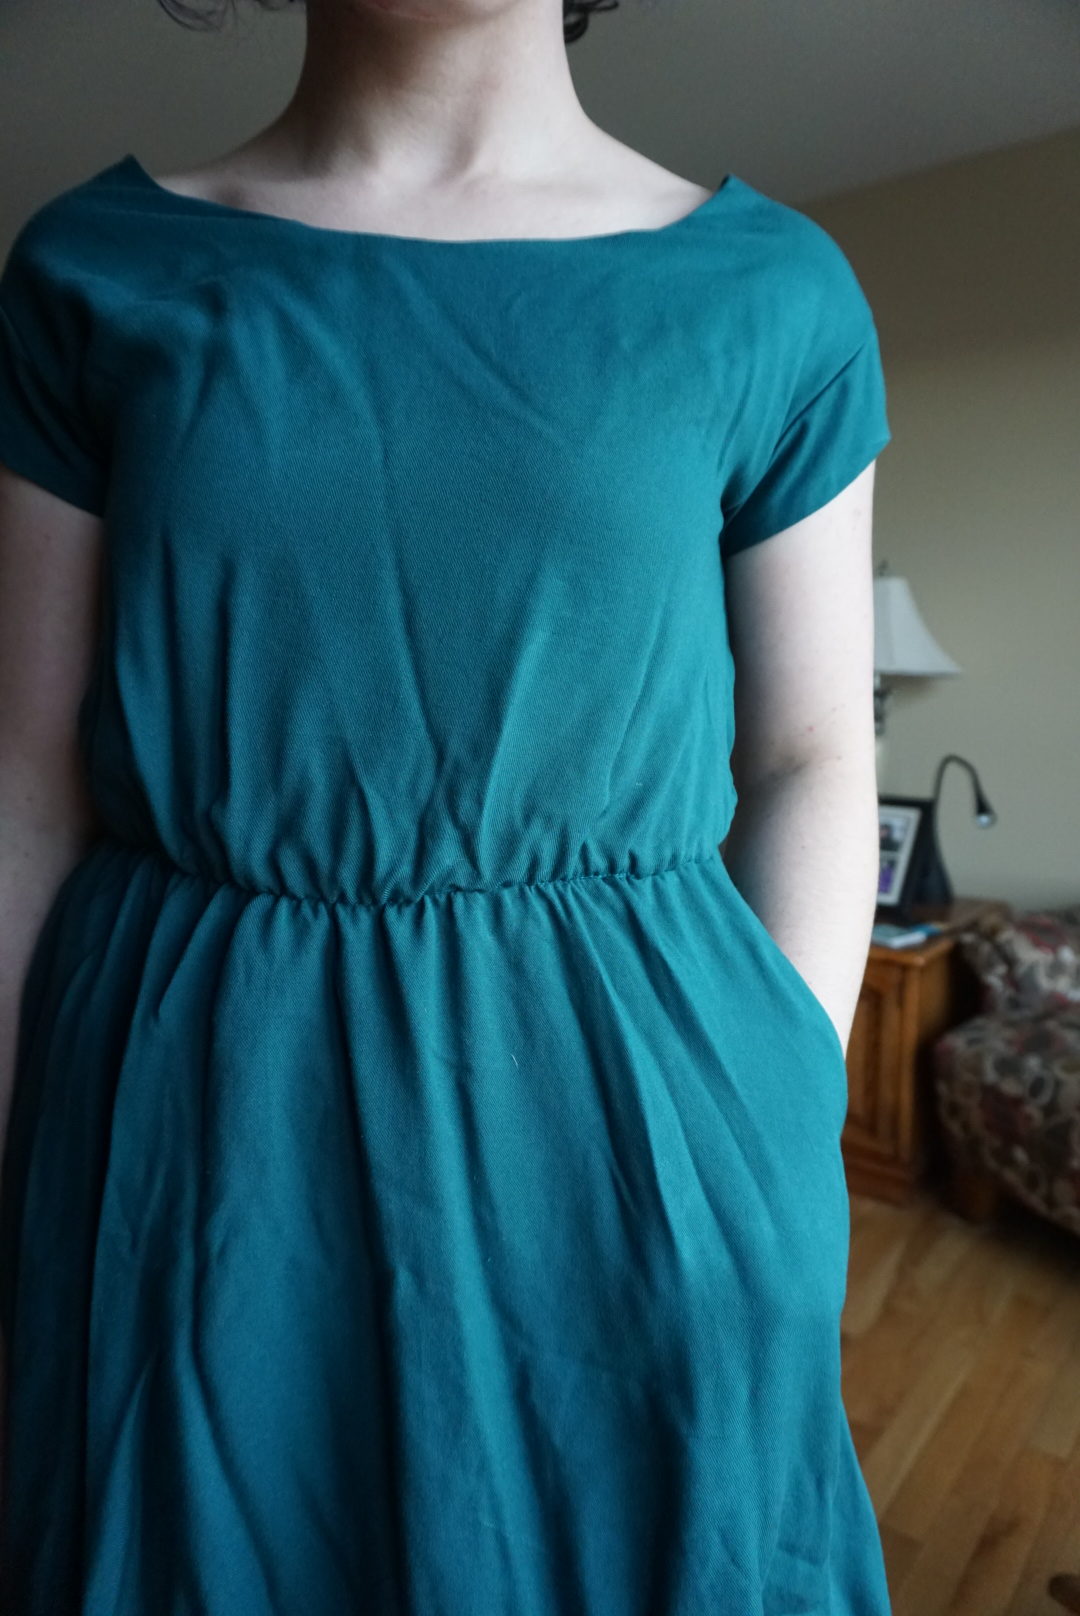
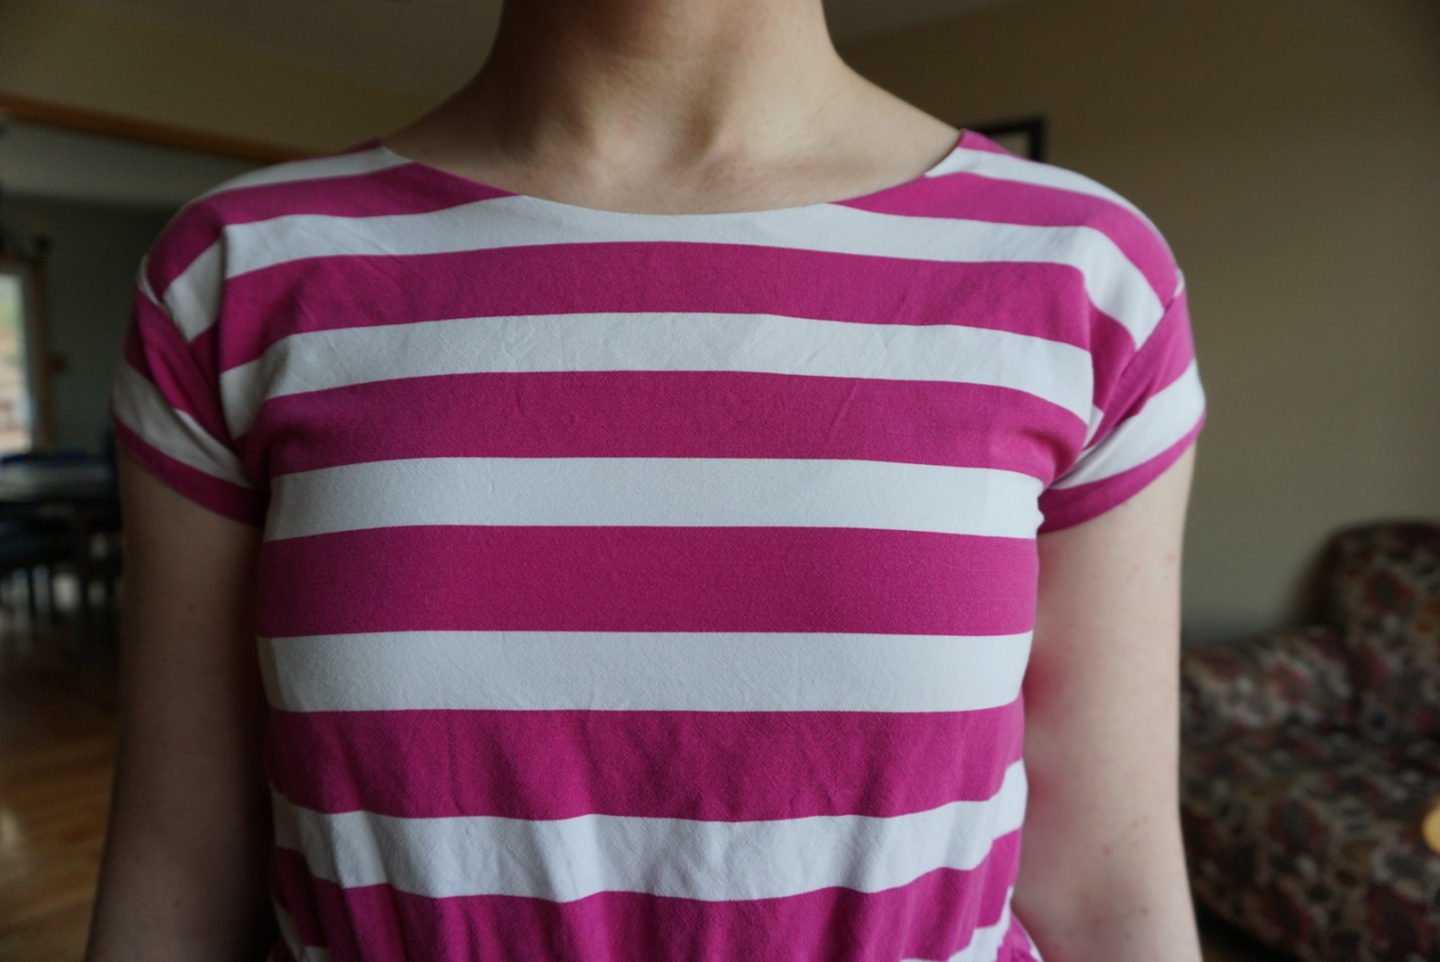
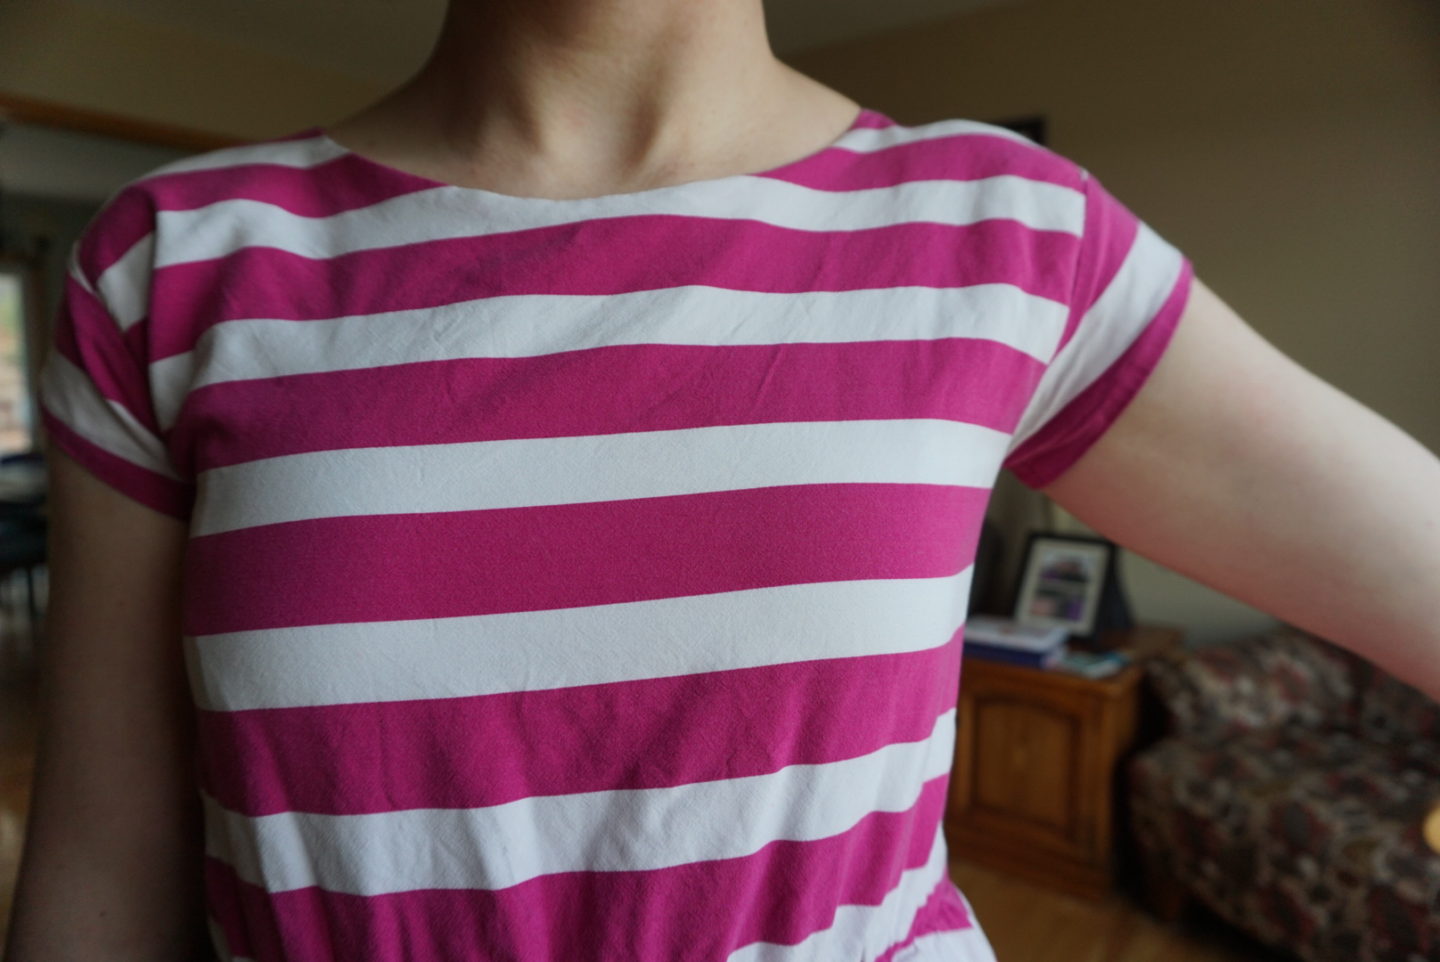
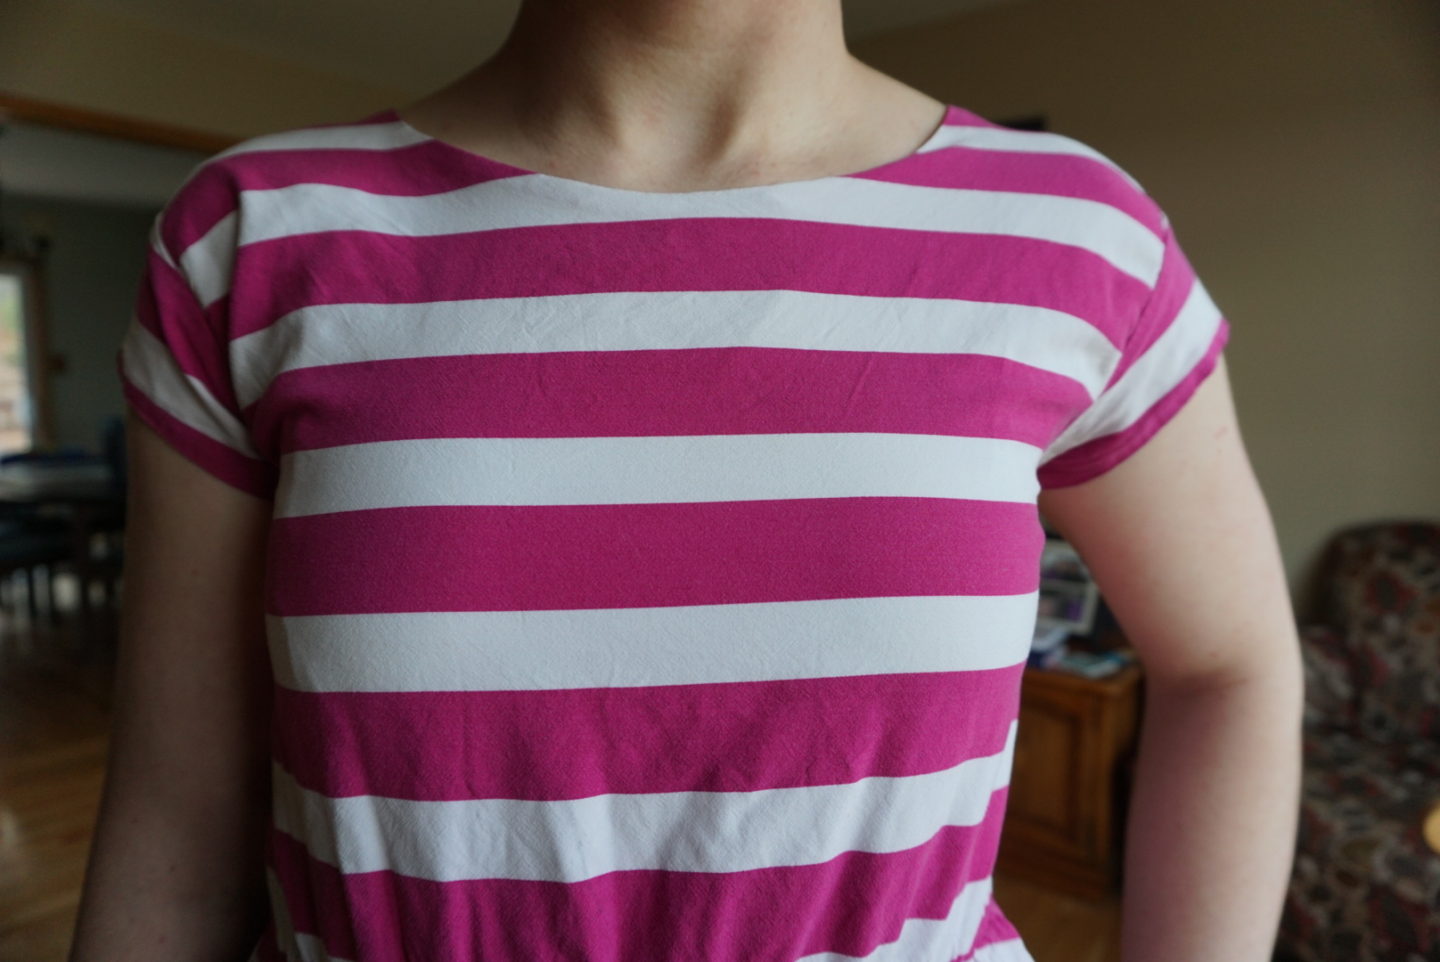
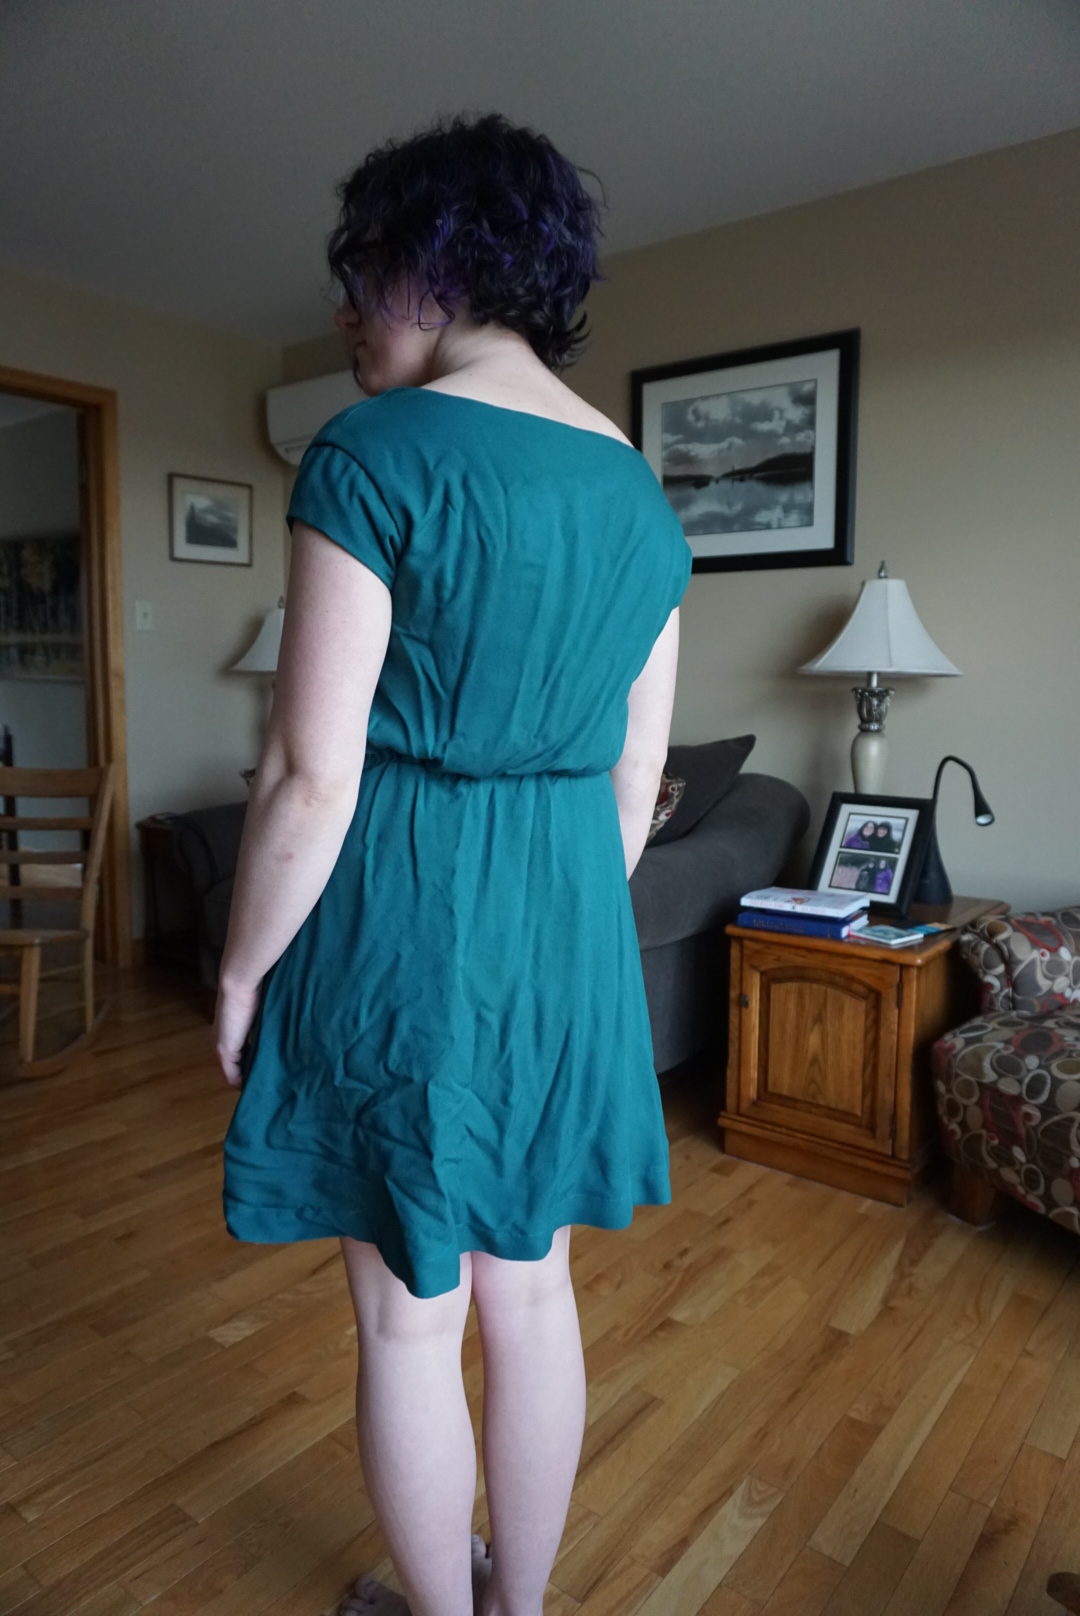
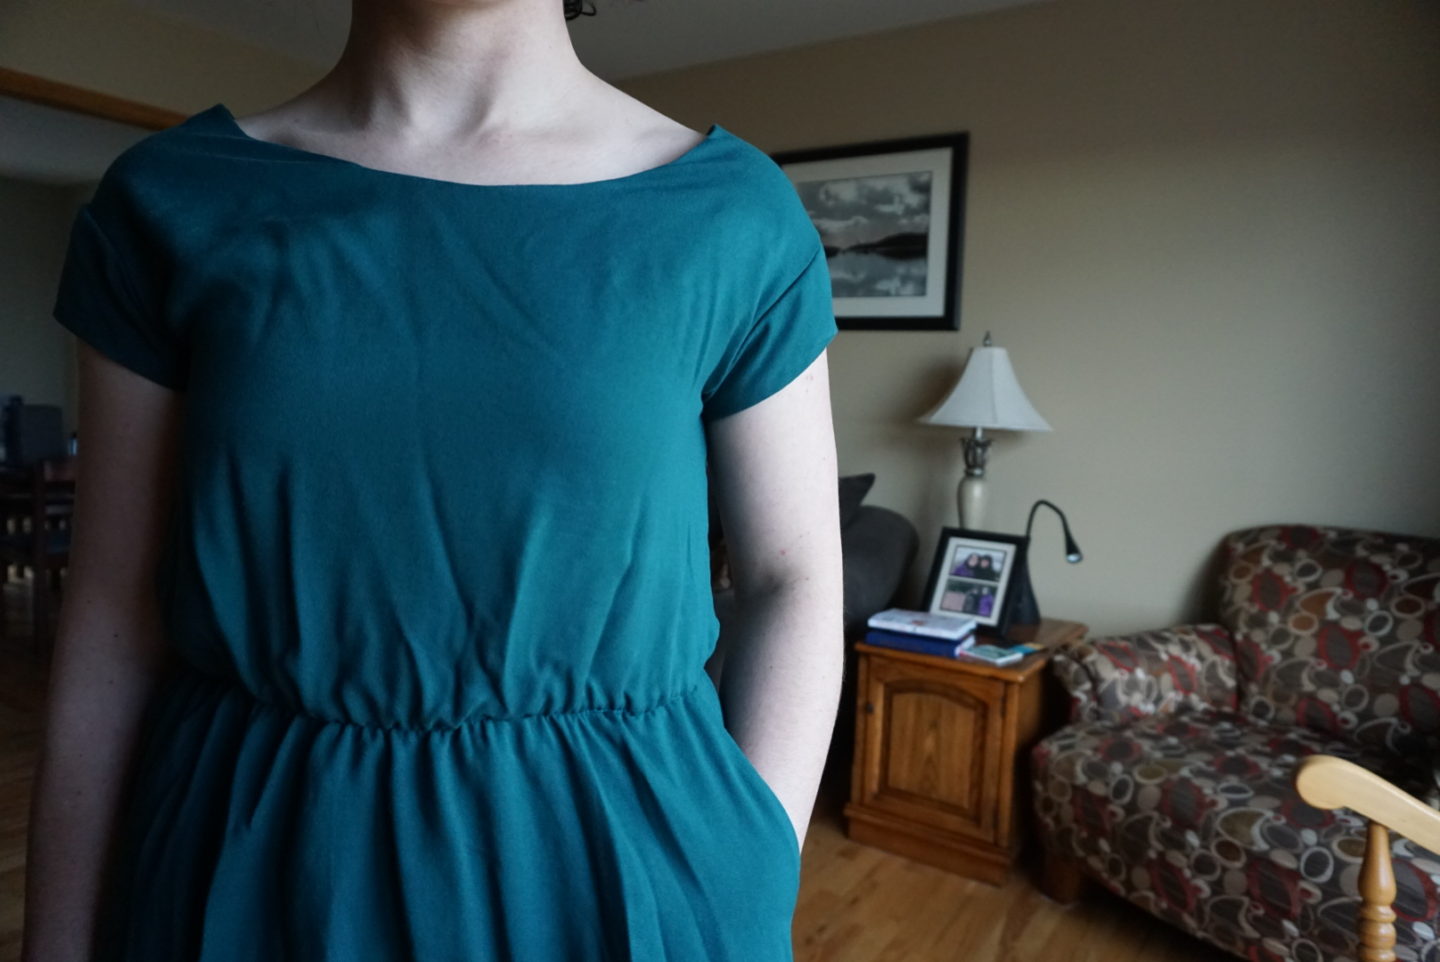
As you can see above, a new fit issue has emerged. The waist and bust are now fine. I think I’ll remove 3/8″ from the bottom of the bodice length since when I fixed the discrepancy between front and back I ended up going with the longer length and I think it should’ve been the shorter. But overall, that problem is solved. What is now happening is (I THINK) because of the armholes/sleeves being too tight. Do you see the way the neckline is being pulled pretty wide and I’m getting the strangely protruding edges at the inside of the shoulder seams? My theory is that the tightness of the sleeves is not letting the sleeves move close enough to my torso and is distorting the bodice. I stretched my arm out in one of the photos below to see how it looked, and I think the photo supports my theory.
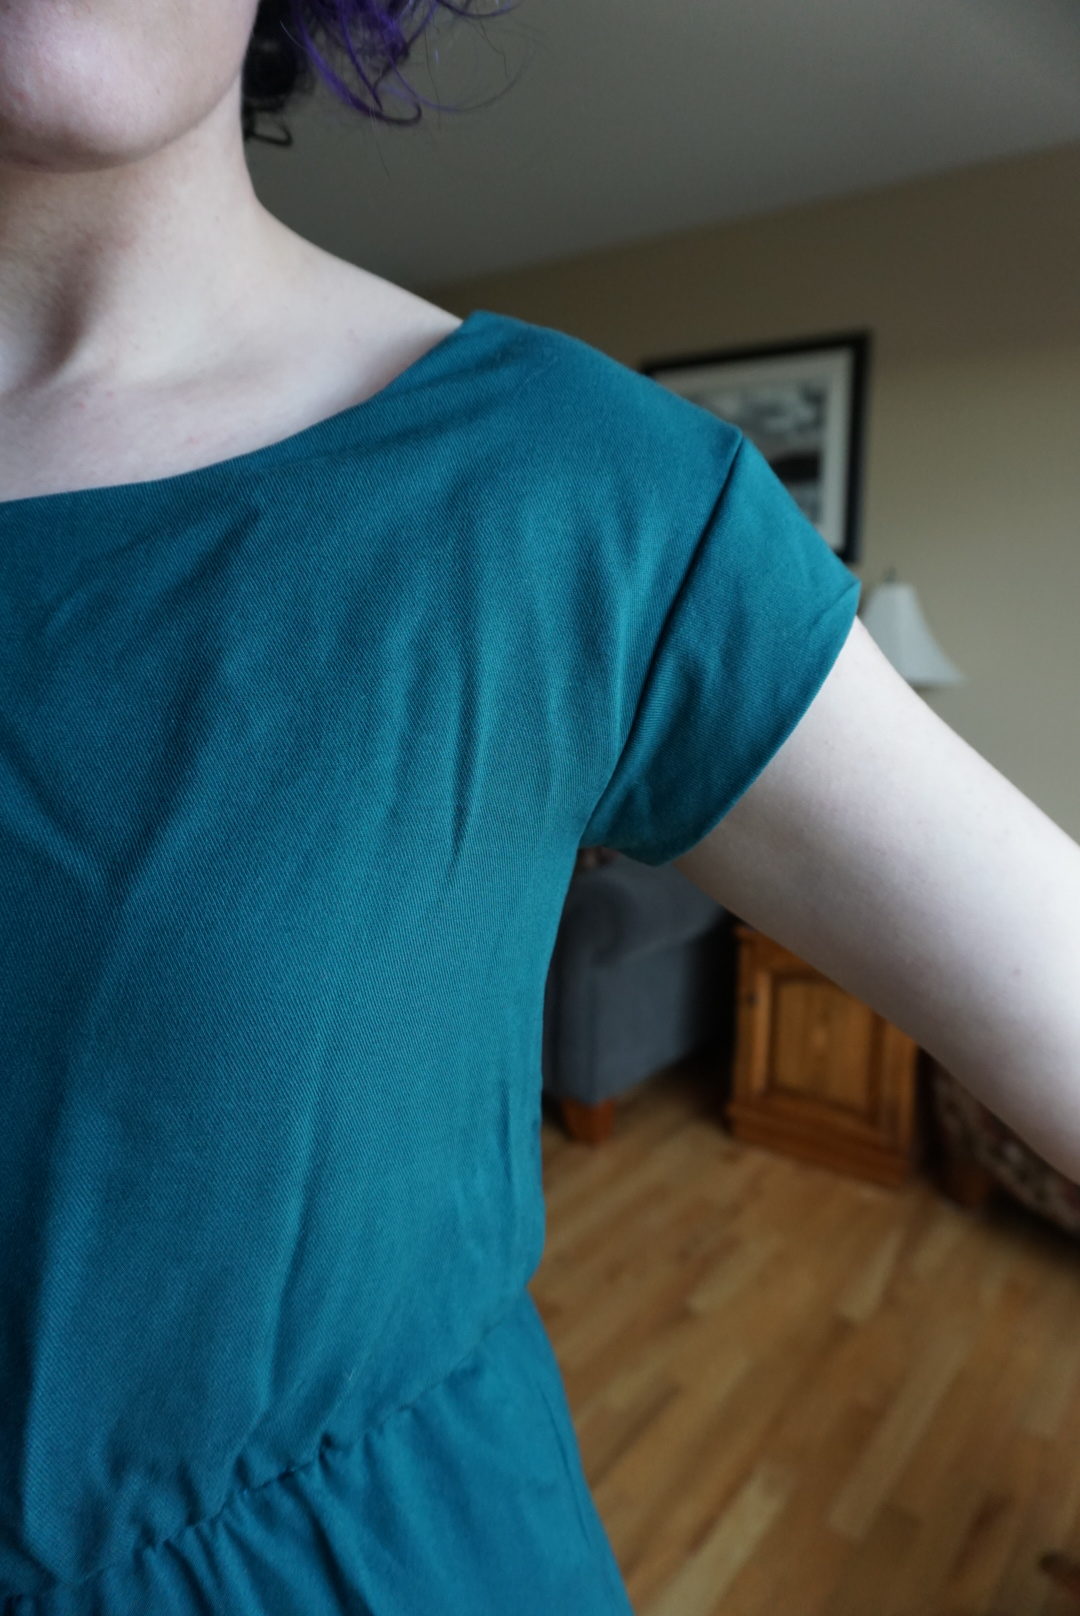
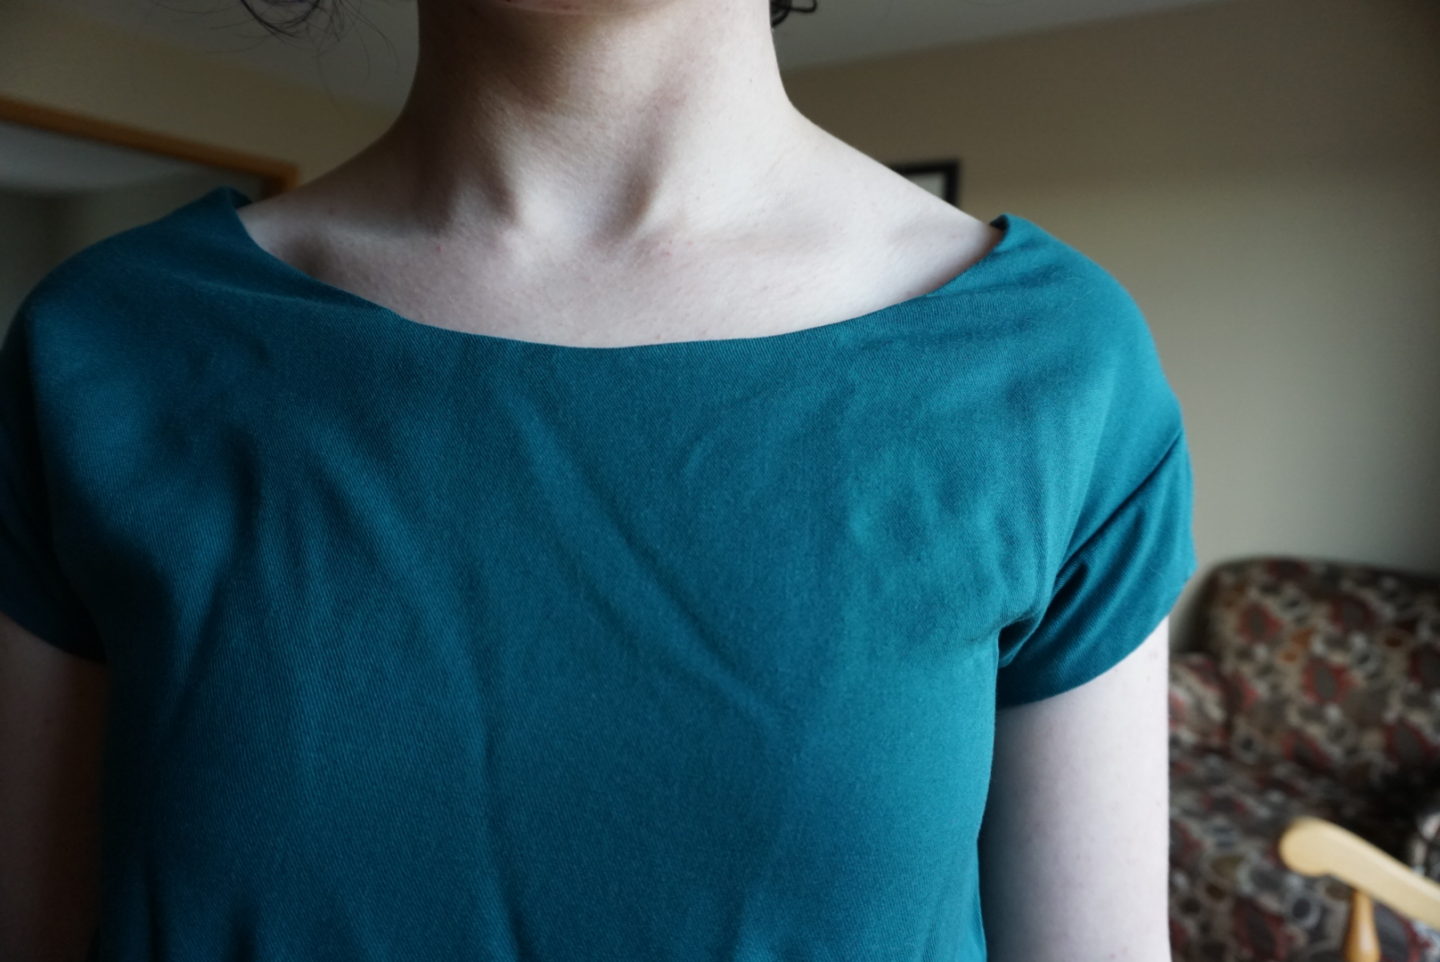
Does anyone have any theories as to what might be causing this fit issue? Or do you agree with my assessment? I think my next step is going to be to take the sleeves off of this dress, which won’t be too painful since it’s the last element of the dress that gets sewn anyway. I really should’ve tried the dress on before I attached the sleeves, but I had too much finishing momentum for my own good. Once I have the sleeves off, I’ll hopefully be able to see if the neckline then can lay flat, and if it DOES, then I’ll trim the armholes a bit wider, cut new (longer) cap sleeve pieces, and finish it up. I’m hopeful that I’ll be able to salvage this muslin, because otherwise I think the fit is good. Once I’m confident in the fit, I’ve got this black cupro/linen/tencel blend that I’m excited to make a “real” version from!
Have you ever directly copied a piece of clothing you own? And tell me in the comments if you have any advice on the fitting problem from my last muslin, or ideas for construction related to the elastic waist! Help a girl out! 🙂
