
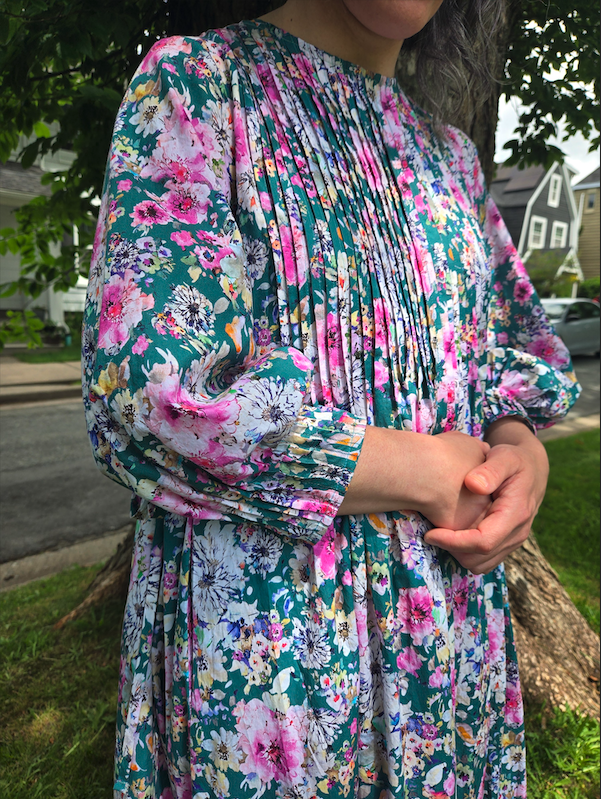
I made this dress a few months ago, and then didn’t take photos until one month ago, and am only just posting about it now. But I’m here! I’m doing it! I have a pretty big backlog of stuff that I’ve made but haven’t gotten my act together to actually share, so I’m hoping to remedy that before September. Starting with this dress! I did most of the sewing on this dress while I was away in May with crafty friends in Cape Breton on a sewing getaway, and then finished the last little bits after I got home. It’s the Garden Dress by Frux Studio, a floaty beauty with loads of pintucks, and it’s a pretty labour-intensive sew. I definitely questioned whether I had bitten off more than was reasonable for a long weekend of sewing – I usually try to choose something that I can finish within the timeframe so I can feel that sense of accomplishment. But I mostly did it! Here it is!
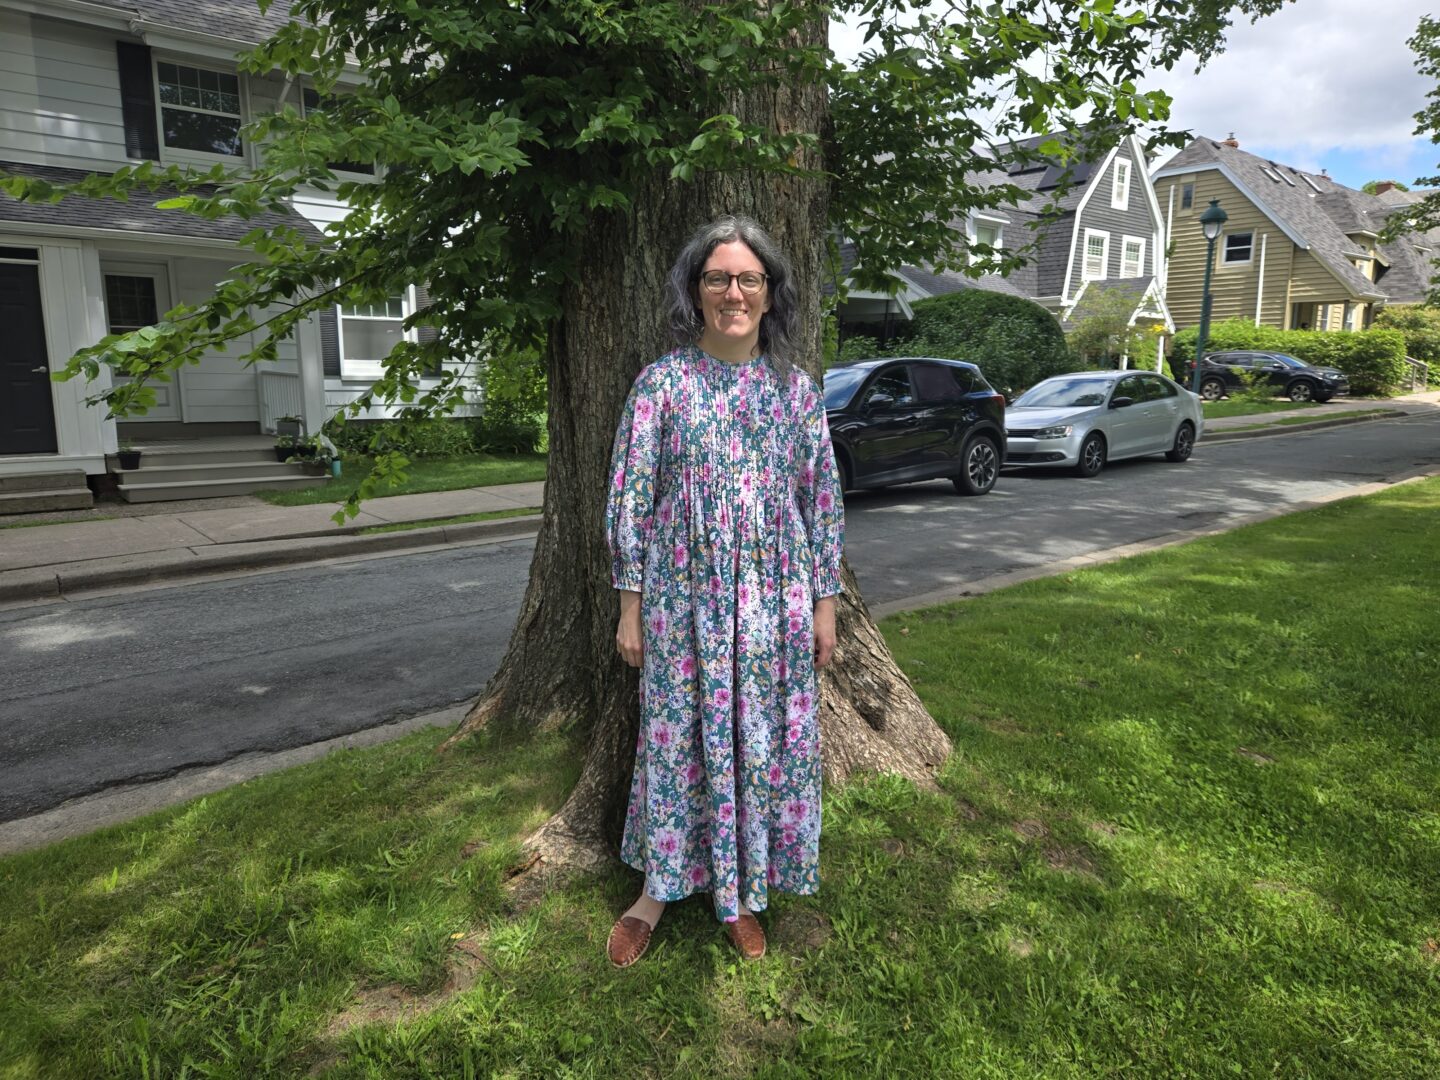
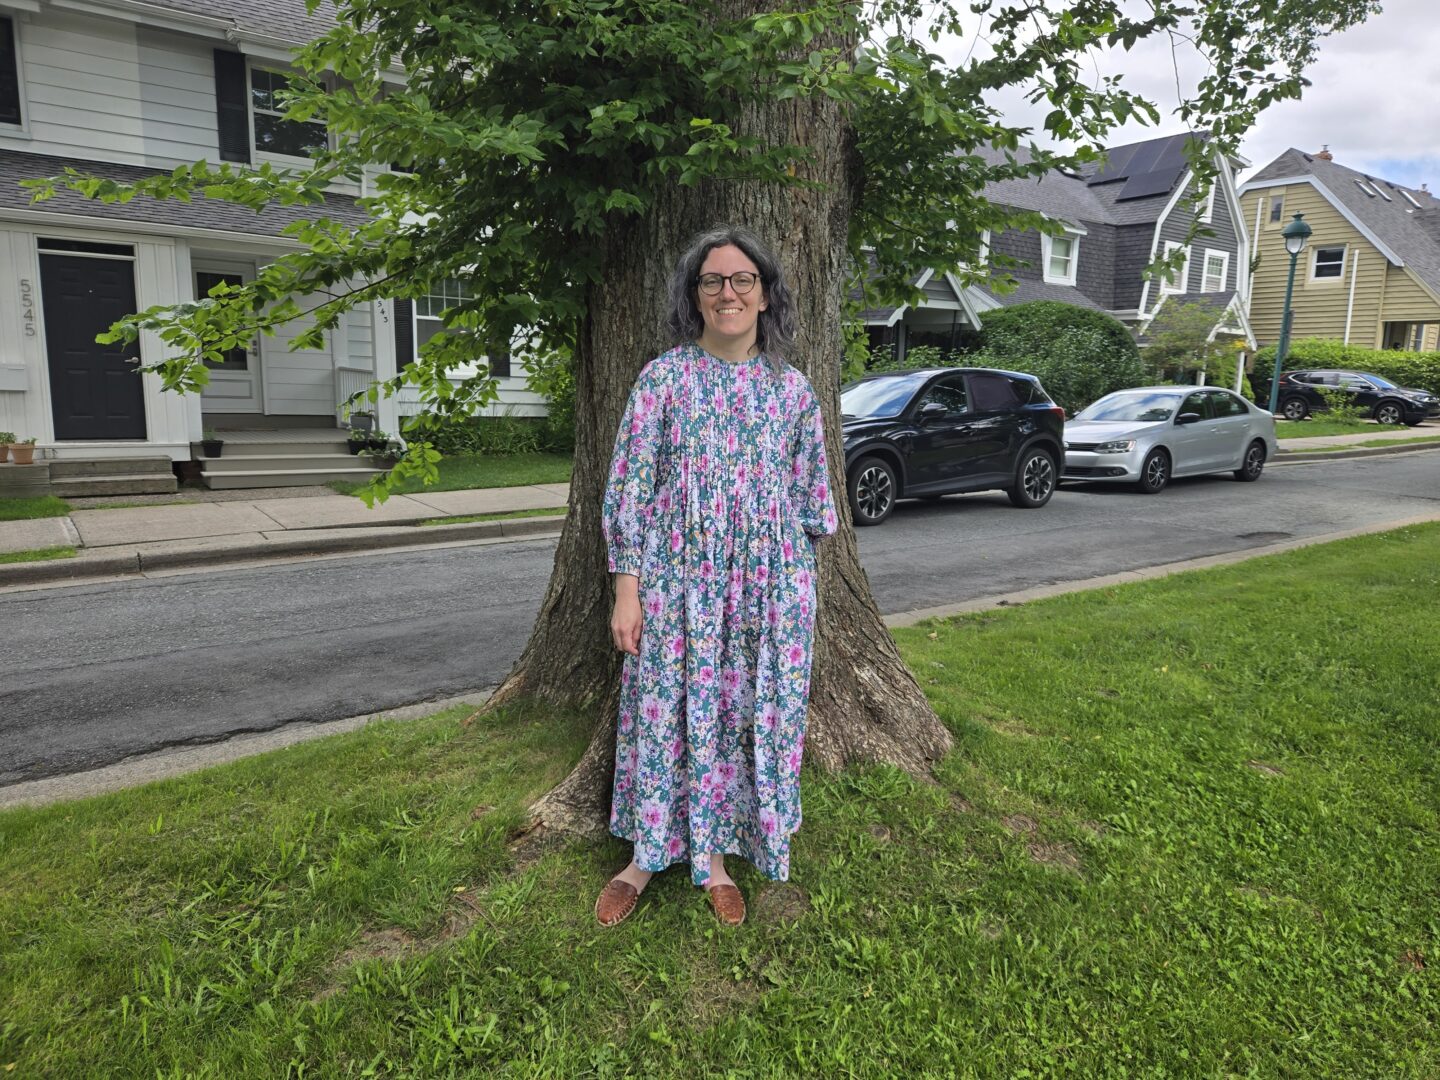

This is my second time sewing this pattern, so I mostly knew what I was getting into. The previous time I sewed it, I didn’t do sleeves, so this was a bit more work in that regard. However, the first time I sewed the Garden Dress, I did it in a linen. Choosing that fabric was not very kind to myself, especially since it was my first ever time sewing pintucks. It was such a pain because of how much linen shifts and distorts, and the linen I was using also had a bit of a looser weave. I love how the dress turned out, but knew I wanted something crisp and easy to sew for my next version. For that reason, I went for a cotton lawn. I got this from Fabricville, and also got another floral print at the same time that I’m planning to use for this pattern as well. The other print is less busy and I like it slightly more than this one (although I really like both!) so I used this one first in case there were any issues with fit when I did a version with sleeves. What a difference the fabric makes to the whole process!
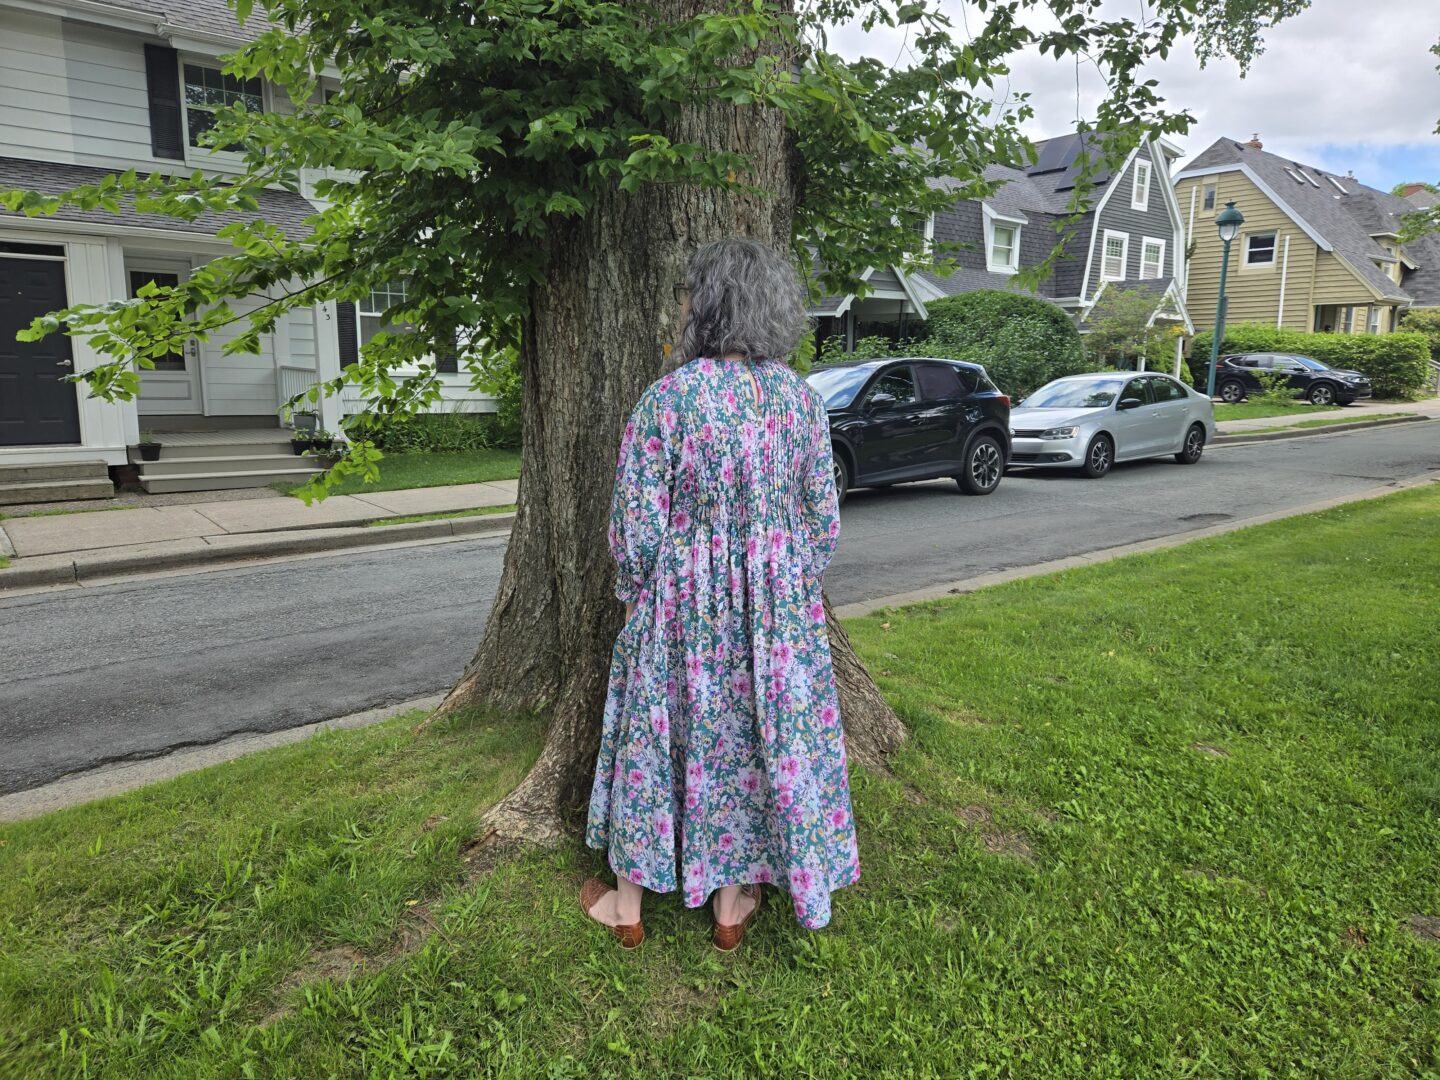
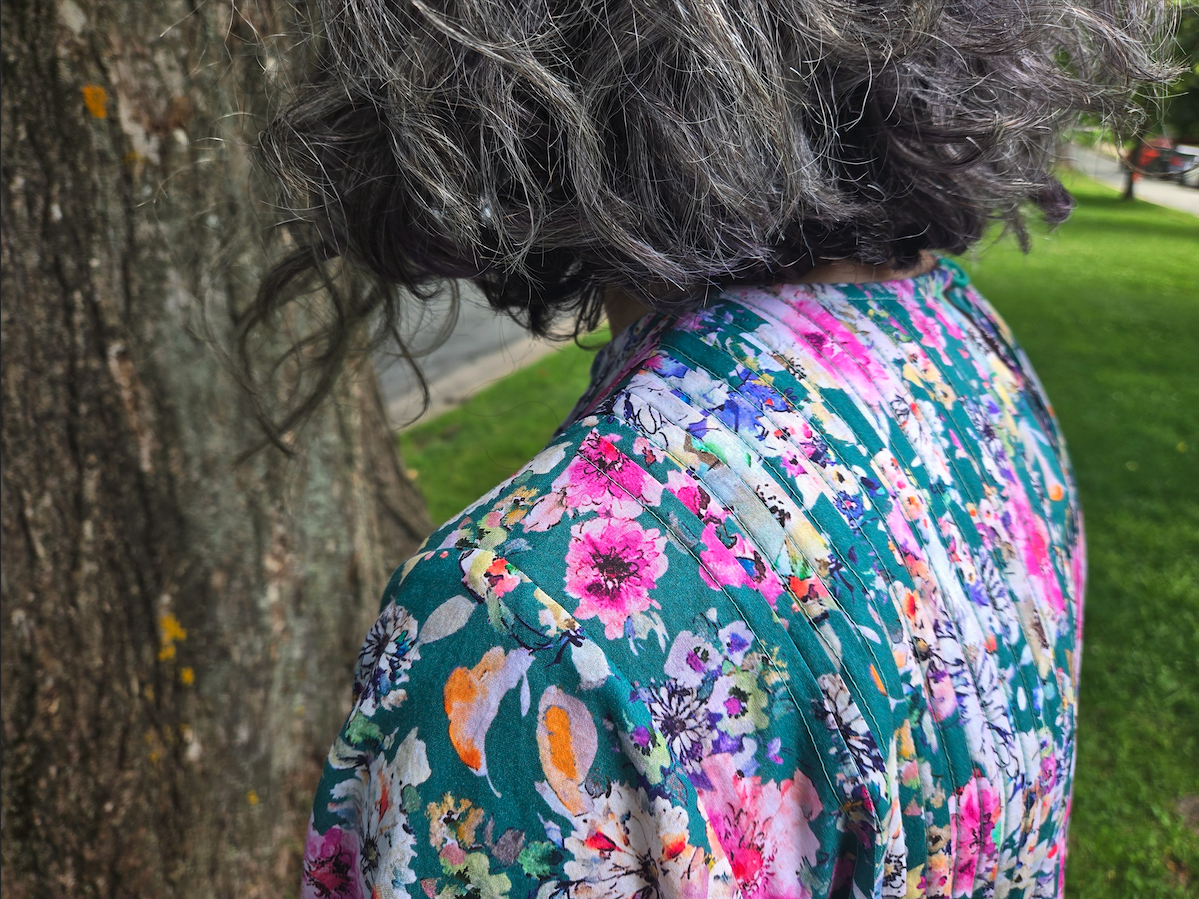
Honestly, the most time-consuming part of the process is marking the fabric. There are so many lines and drill marks to transfer due to how many pintucks there are. I don’t have a cutting table at home, and there also wasn’t one at the house where we were staying, so it was a crawling on the floor situation. I’m used to that, but cutting out patterns usually does not take nearly this long. I find it very mentally tiring to have to maintain such a high level of precision and attention to detail for the amount of time it took to transfer all of the markings and cut out the pieces. And the pieces are BIG, running the full length of the body since the pintucks create the shaping at the waist. The fact that this part of the process took me basically a full day is what made me start to question whether this project was too big to be contained to a long weekend. But I forgot how quick and satisfying the pintucks are to sew!
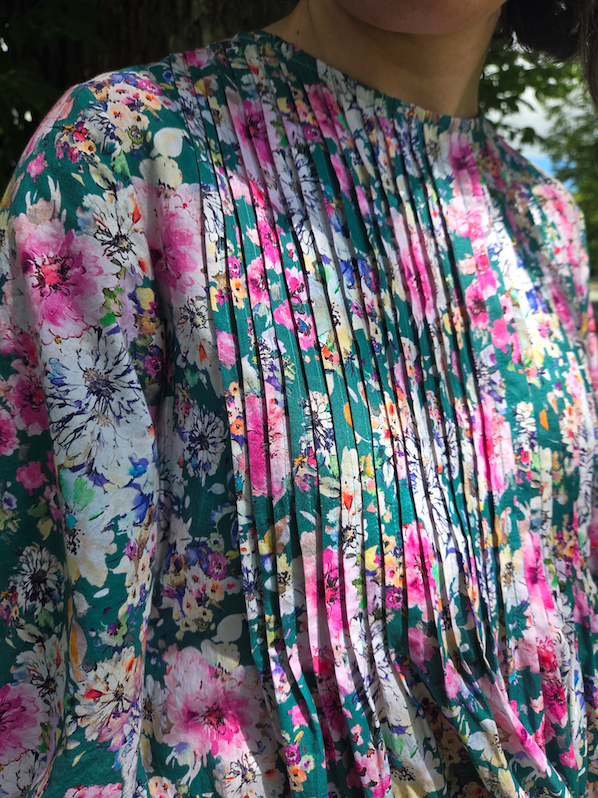

If you are like I was, and have never sewn pintucks before, this pattern is a good intro! The pattern instructions are so detailed and helpful, and I learned a lot from following them and sewing the pattern. The reason I was able to mostly finish the dress over the long weekend away is because you don’t have to press your garment every time you sew something. When sewing the pintucks, you finger-press all of them and then sew them, and then you do all of the pressing with the iron at the end. This saves so much time because you aren’t moving back and forth between the sewing machine and the ironing board. I find it very meditative and satisfying, similar to how foundation paper piecing feels to me.
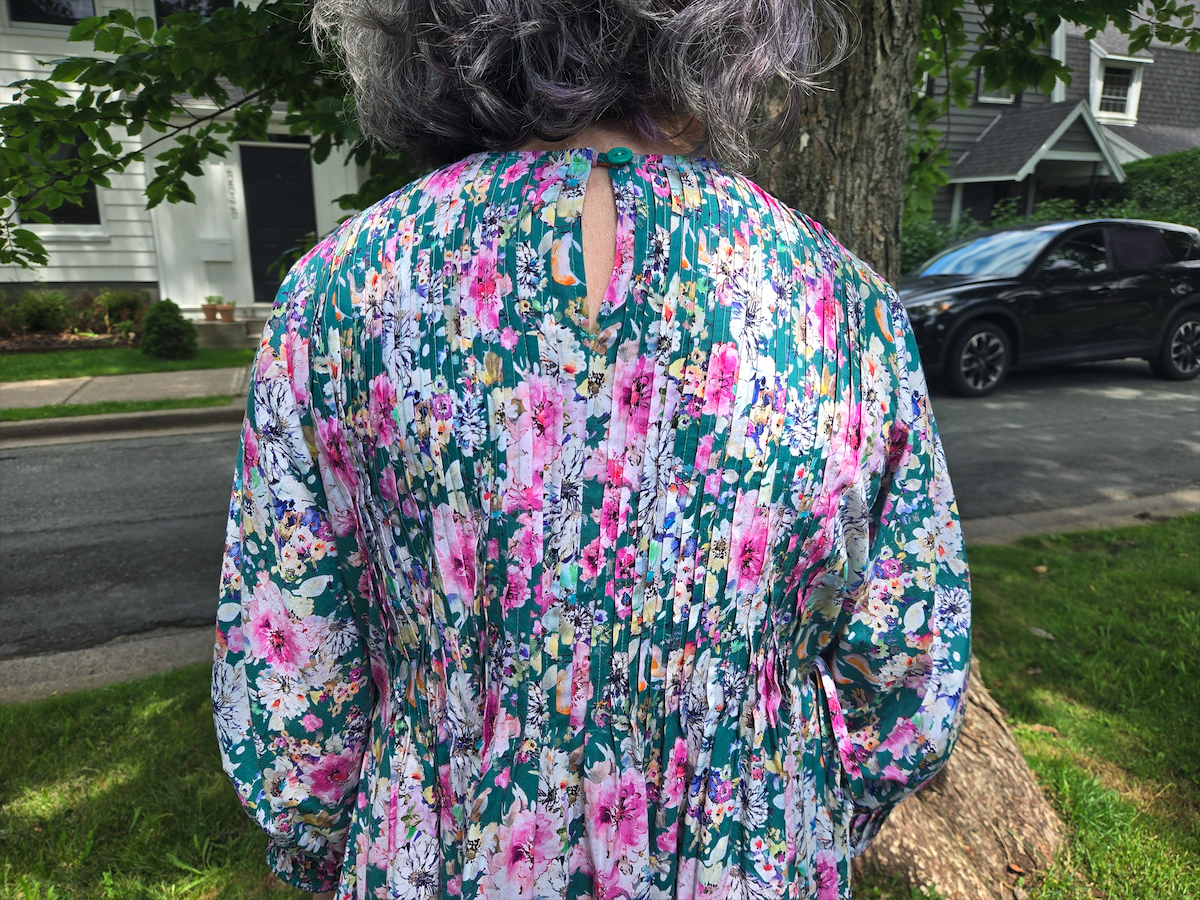
Something I learned from this pattern is that when you are sewing something with pintucks, it’s normal for the pattern pieces to be cut out with a buffer all around them. This is because it’s very easy and I think very normal for pintucks to introduce inaccuracy in the sewing. The fabric might shift a bit, you might not always be sewing exactly at the narrow seam allowance, and if you are off by 1mm on every pintuck, that gets amplified very quickly! But when you cut the fabric out with a buffer (which the instructions explain nicely), you can sew the pintucks and then use the templates to cut it to the correct finished size and shape afterward. This was such a weight lifted from my mind, because I thought that I would have to be so focussed on that for the whole process in order to avoid weird fit issues. And it’s not that I was sewing sloppily, but having that room for error is necessary and helpful! The biggest thing I learned from sewing the previous version and from sewing this one is that it might seem like you’ve sewn a few pintucks in a bit of a wonky line, but when you step back, it’s not noticeable at all and everything looks satisfying and neat. Especially once you’ve pressed it all flat! This pattern also includes a blouse version (and a V-neck option) so if you want to try out pintucks without using so much fabric, that’s a good option and even more so if you went with the sleeveless version.
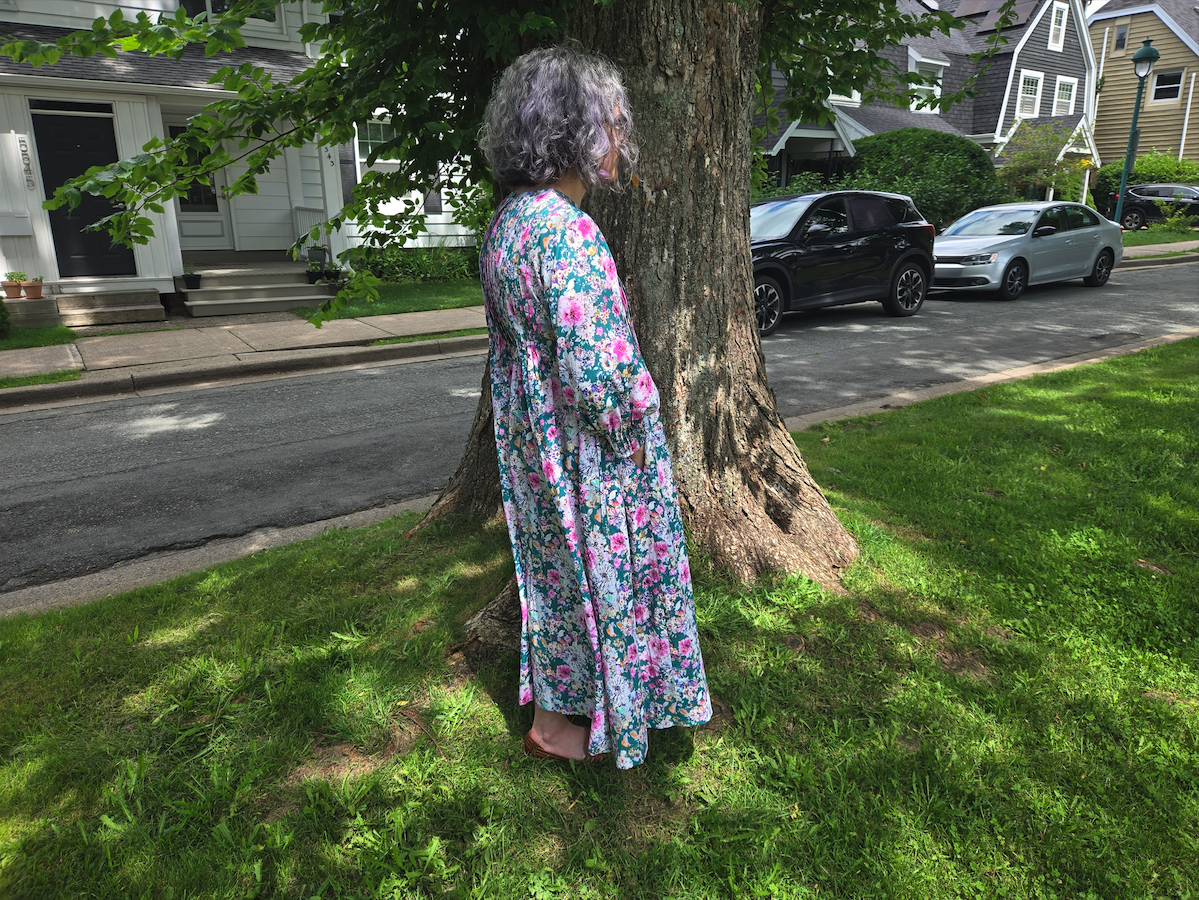
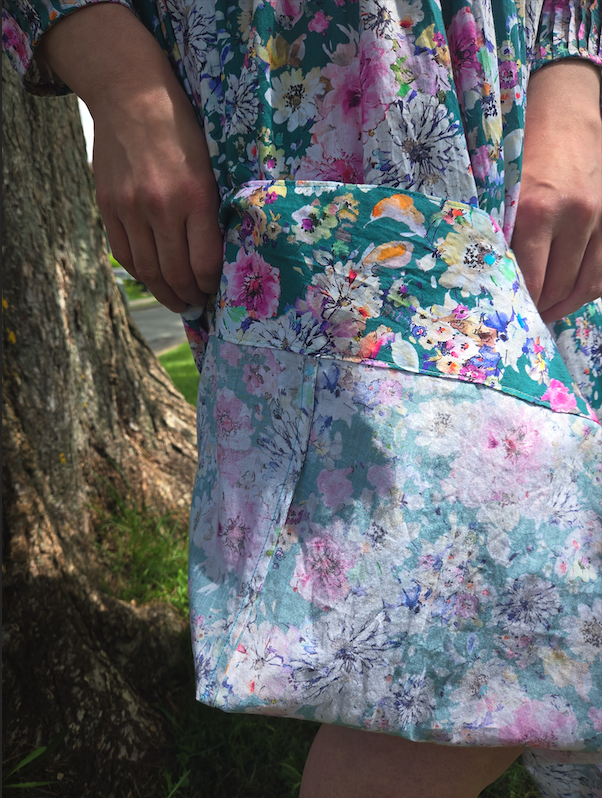
You’ll see below that the pattern includes a hem facing, which I LOVE. I think they’re so elegant and neat and tidy. Perfection. I also did French seams, as instructed by the pattern. You could definitely use a serger instead, but I figured that if I was going to all of the trouble to sew all the pintucks, I shouldn’t bother being stingy when it came to seam finishes.

I’m very happy with how this dress turned out, and think it’s such a beautiful pattern. If you are looking to try a more elaborate sewing pattern, I recommend this! Frux Studio doesn’t have many garment patterns out so far (just this one and a child’s version of it), but I think there’s a pintuck skirt coming relatively soon. The instruction quality and pattern drafting on this are very good, so I hope to see more from them eventually!
