
I’ve never made a quilted jacket or any other kind of quilted garment, but sewing this dress feels like the closest I’ve ever gotten to a quilt/garment crossover. This is the Elysia bow dress from Roberts Wood, which first popped up on my Instagram feed courtesy of Katie. After I saw it on her stories, and then her finished versions (1, 2, and 3), I couldn’t stop thinking about it! I had March break off from school/work a couple weeks ago, and I finally had the brain space to tackle this beast of a project.
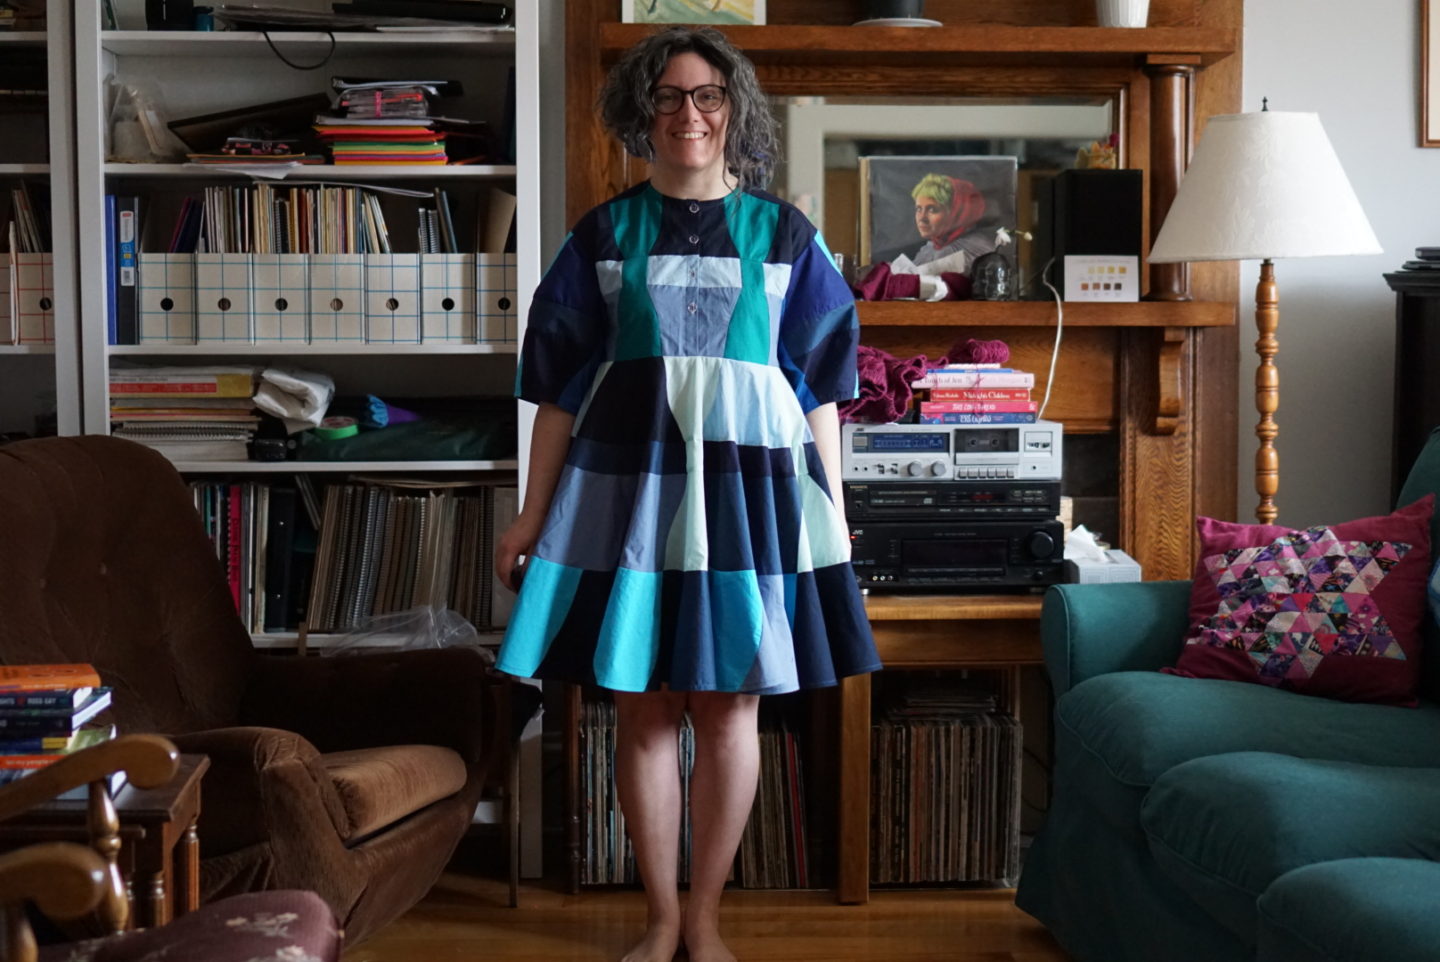
I have so many things to say about the Elysia bow dress pattern, but let’s start with the basics. I bought this in a size 10-12 (my measurements last time I checked were 40″/34″/42″) and I’m very happy with how it fits. I hemmed and hawed about which size to purchase, because they are sold in single sizes, but this was the correct size for me so that’s a relief! Once I had the pattern files, it immediately became apparent why the pattern is sold in separate sizes and not in one big nested file. It would be basically impossible to nest this pattern. It has 39 unique pieces, 108 pieces total to cut out (!), and pretty much all of them are sewn together along curved seams. The idea of grading between sizes (the main reason pattern pieces are frequently nested in multi-size patterns) is so overwhelming and I feel like would be a monstrously time-consuming task even for someone who’s taken a pattern drafting course and knew what to do. The Elysia is not designed to be super close fitting in the first place, so I think that helps. The pattern goes up to size 28. As you probably guessed from my comments above, I didn’t make any modifications to the fit of the dress. There are no side seams because it’s sewn together in tiers from top to bottom, so trying to take it in would require altering the design created by the patchwork.
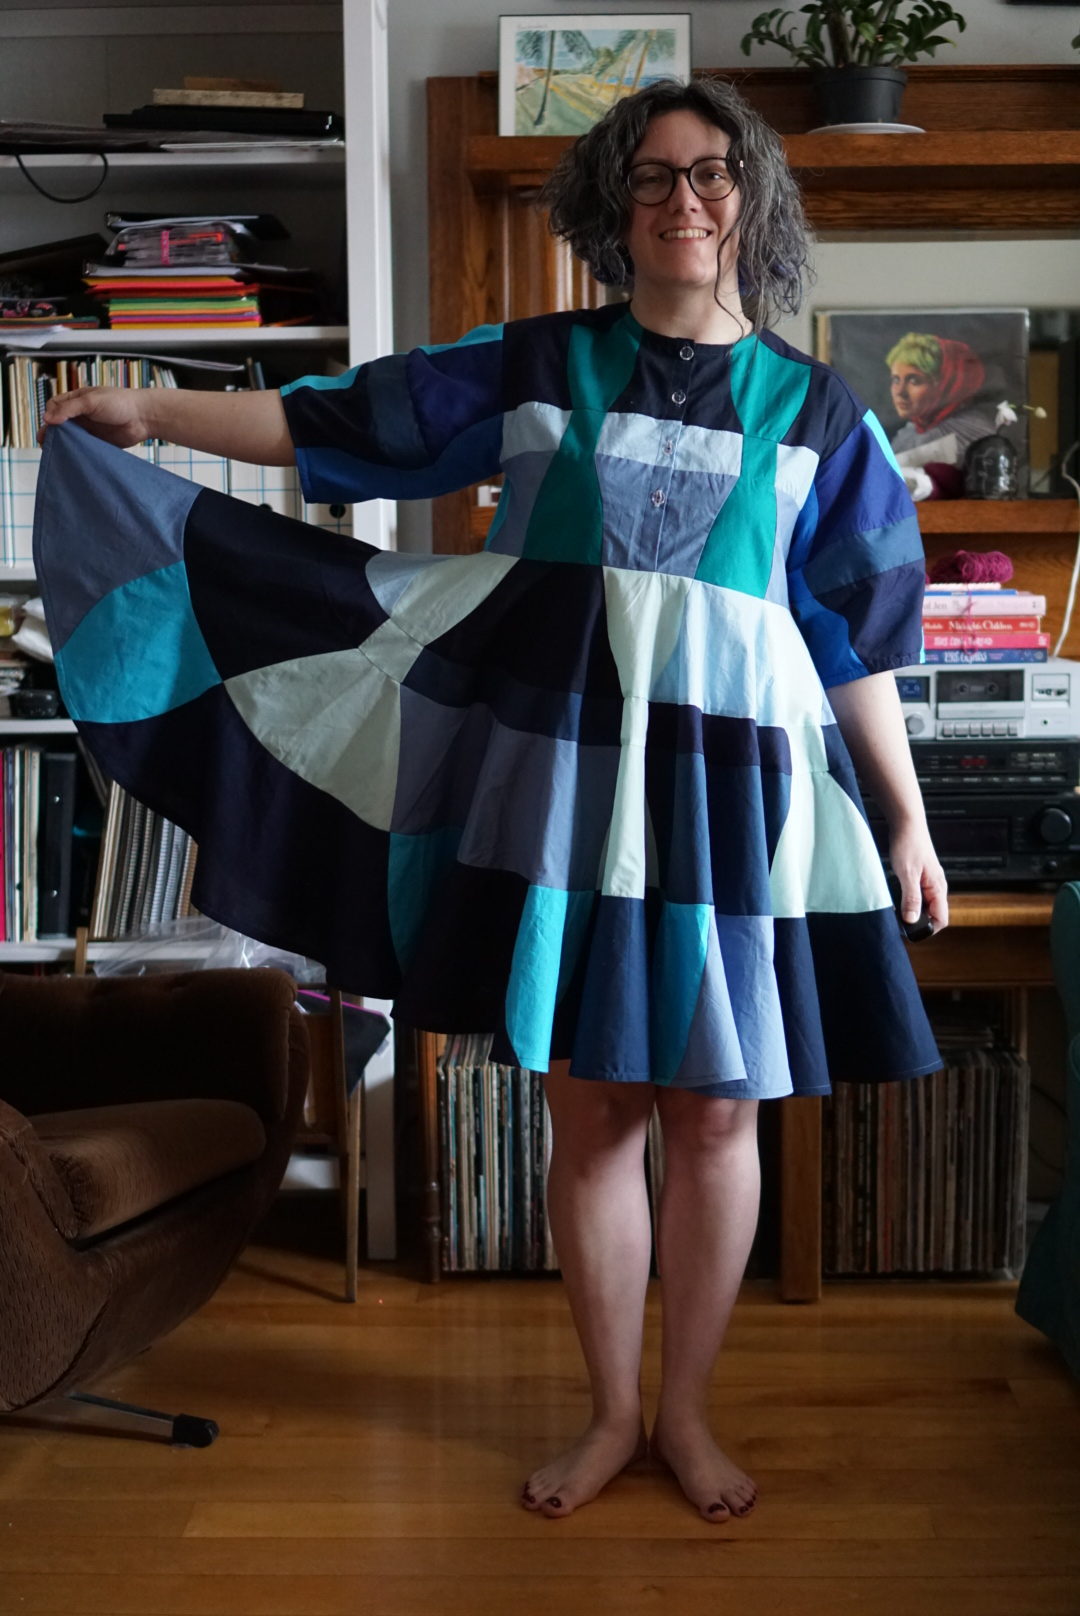
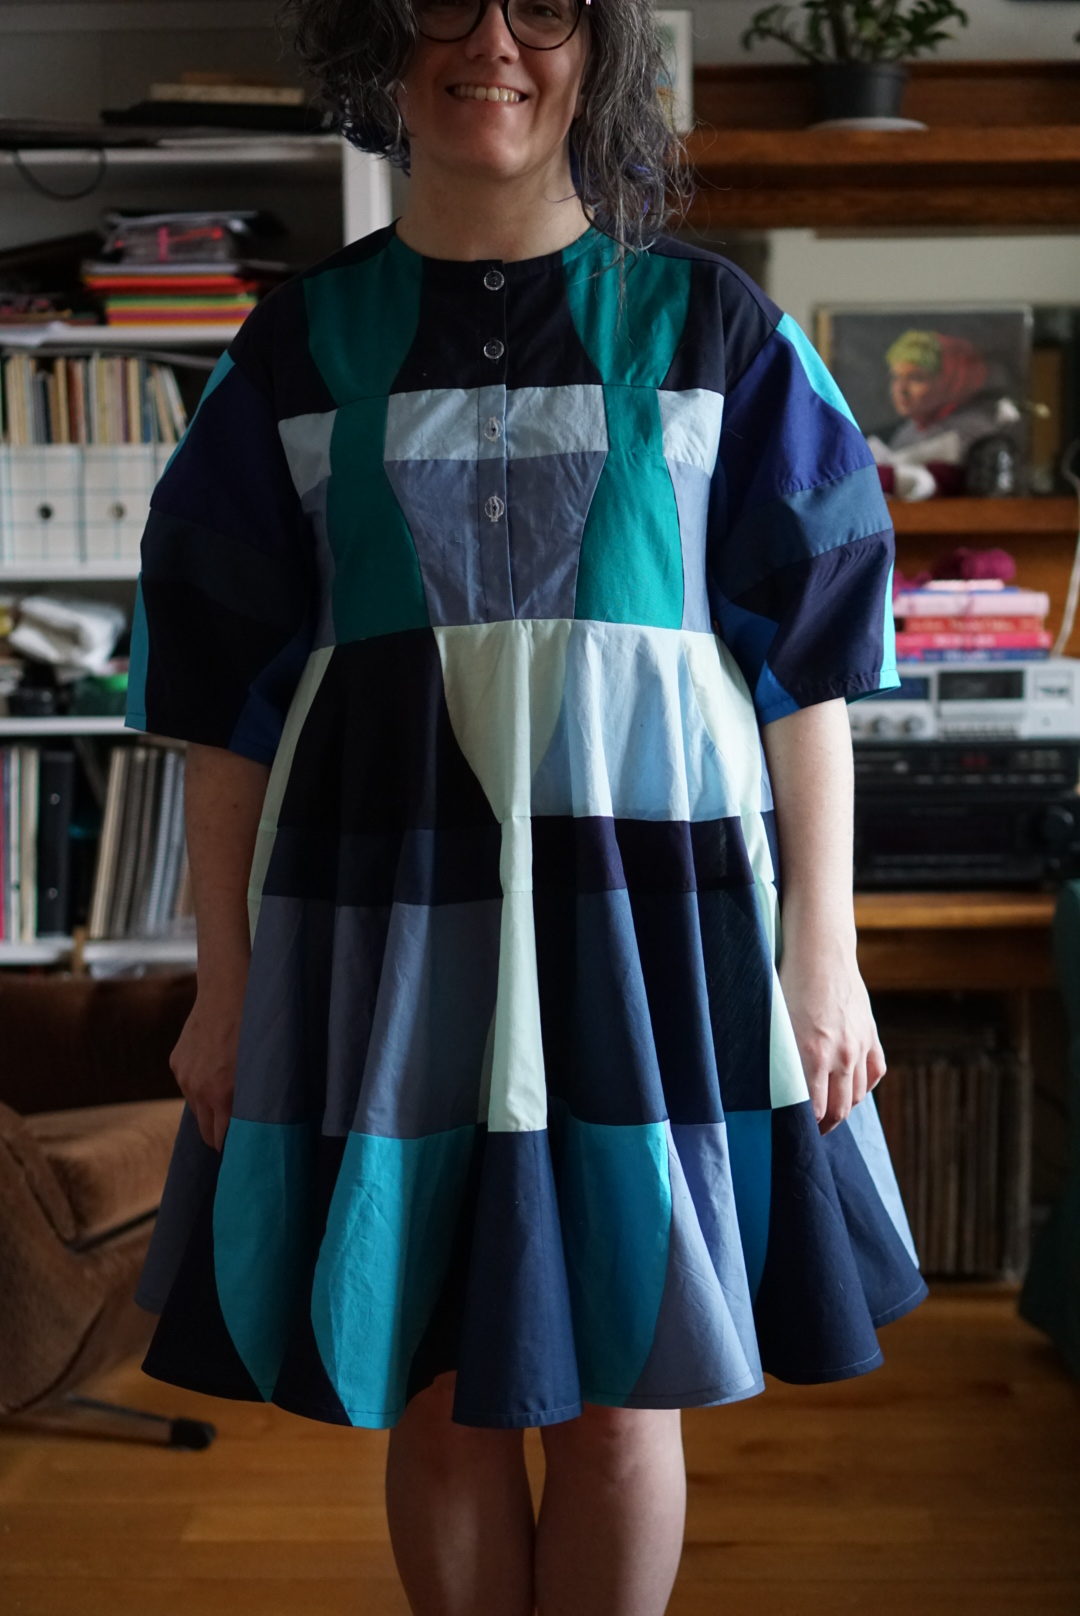
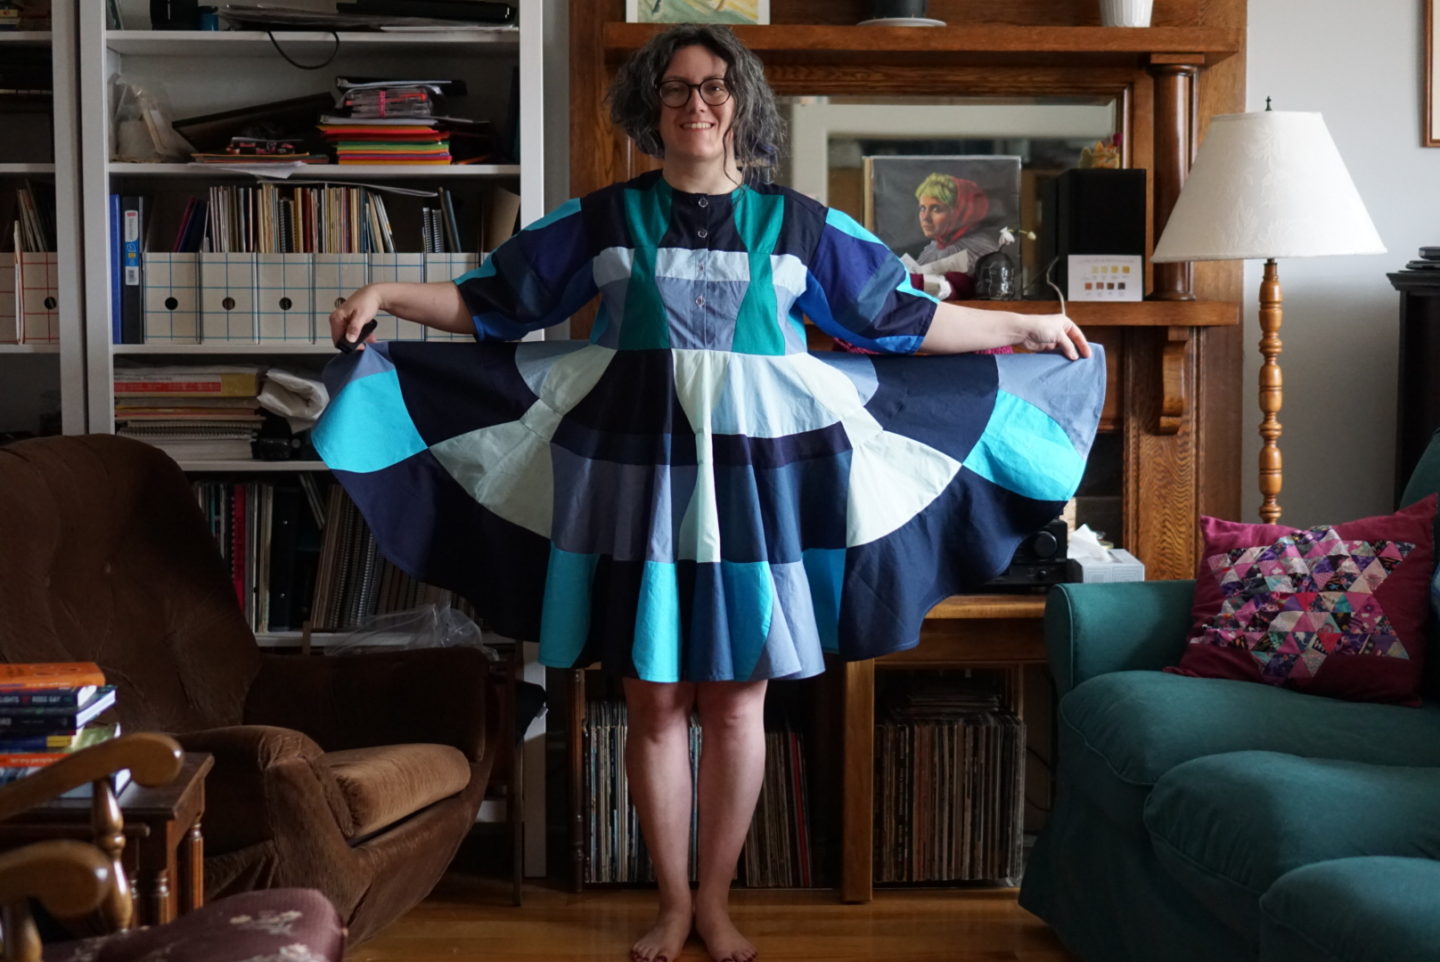
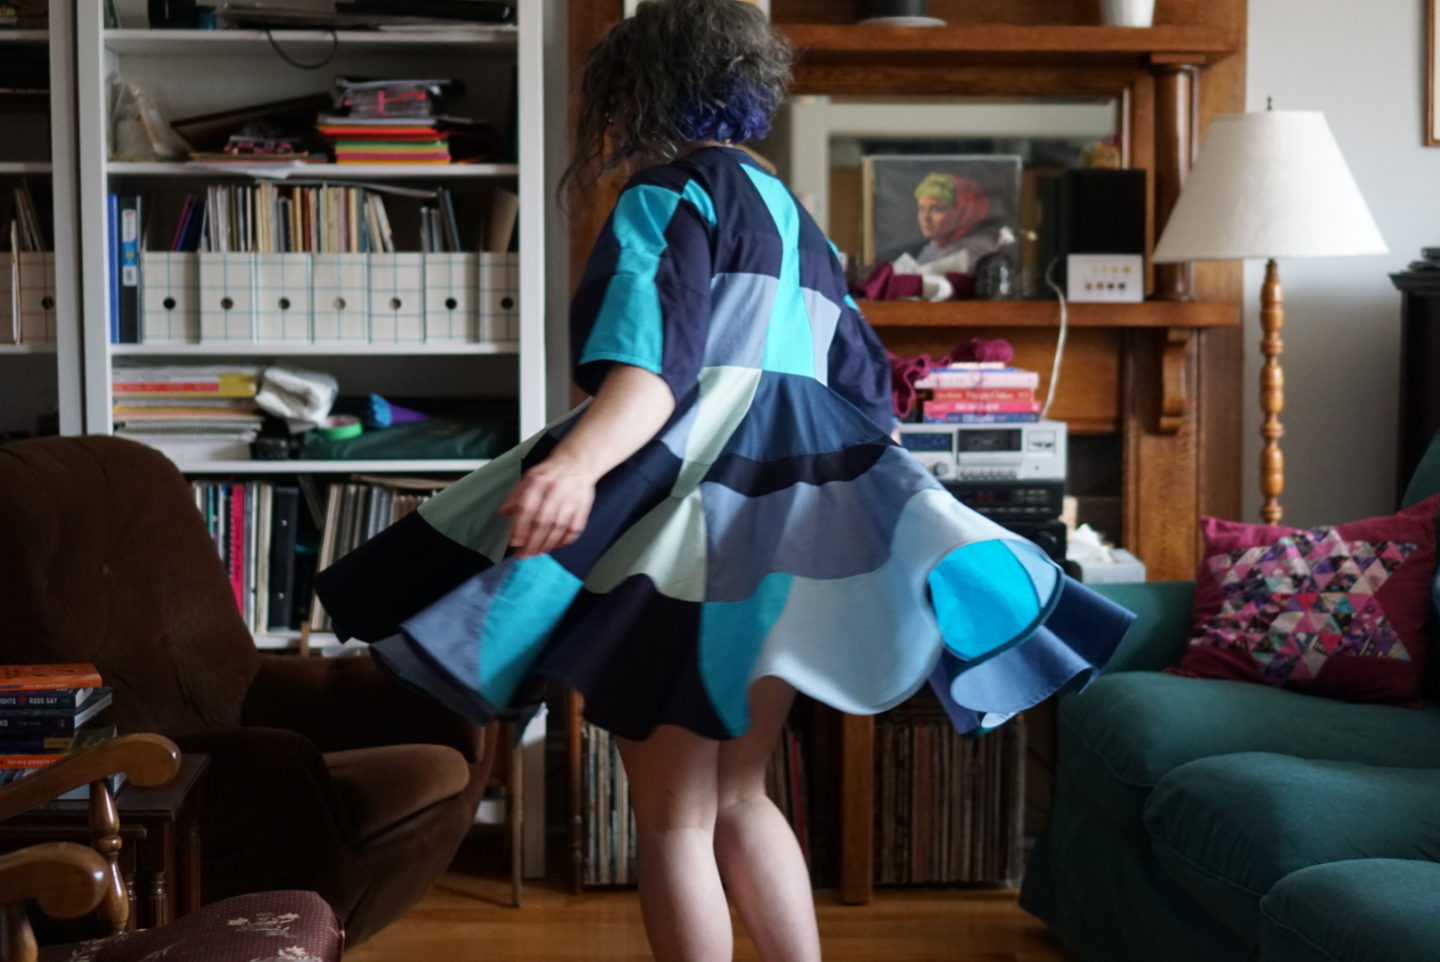
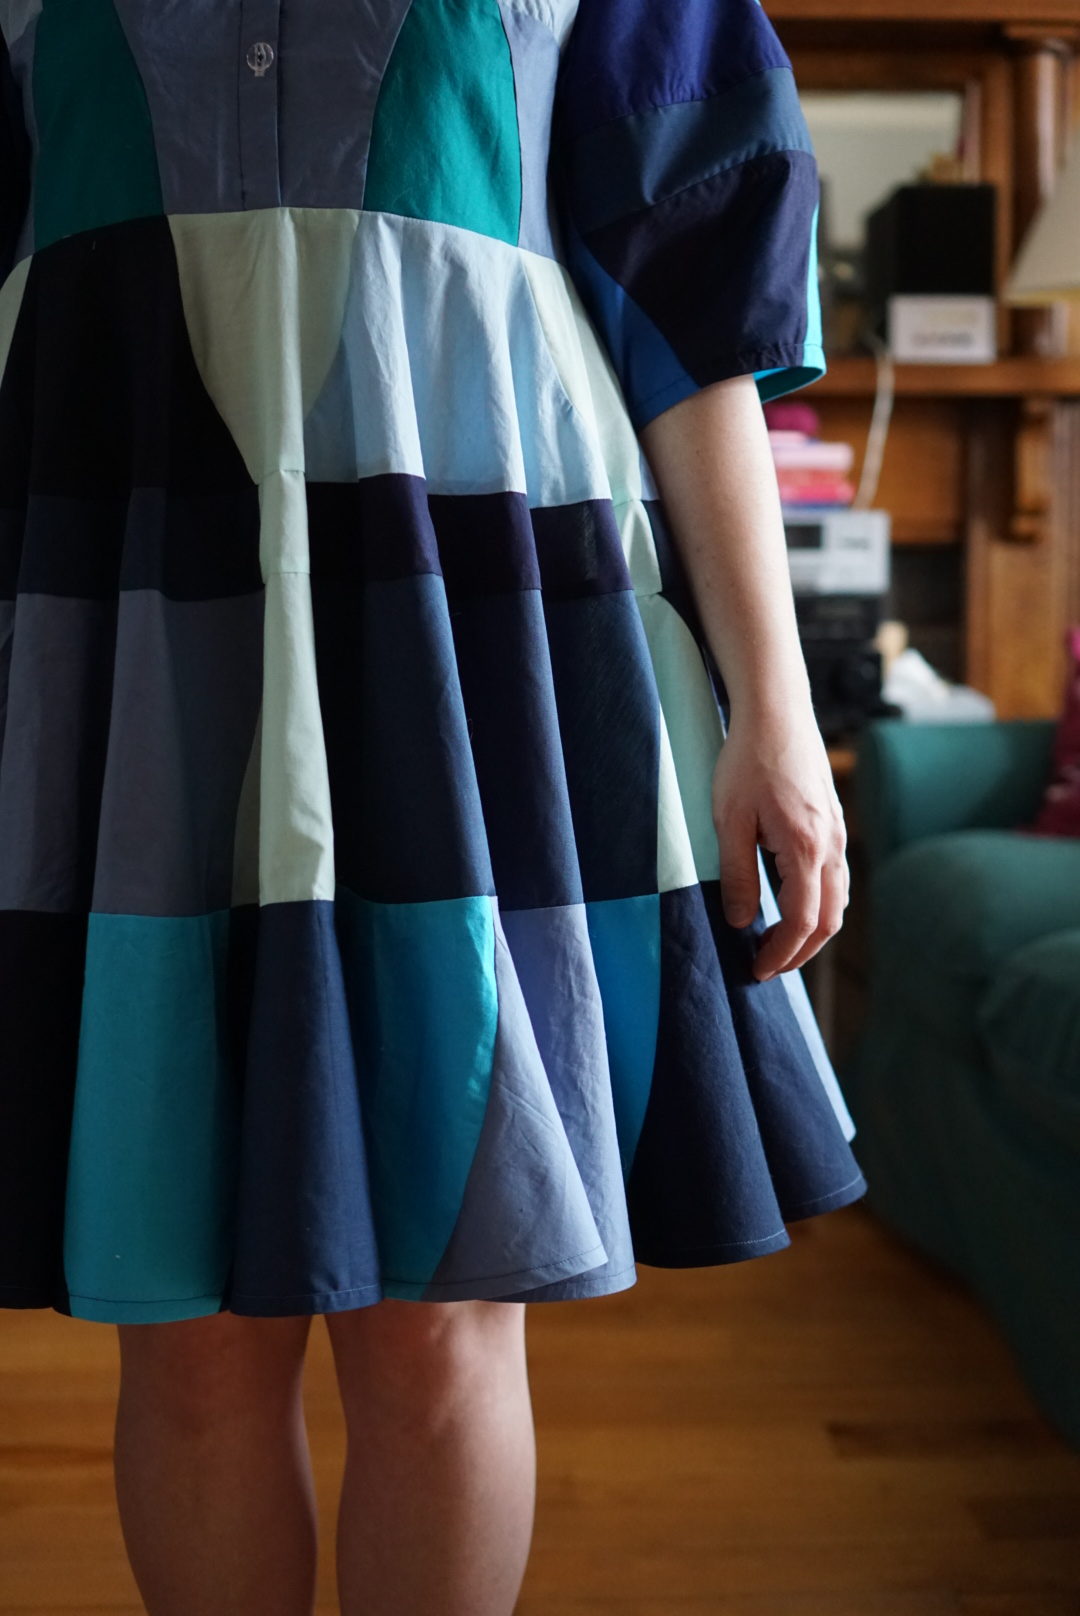
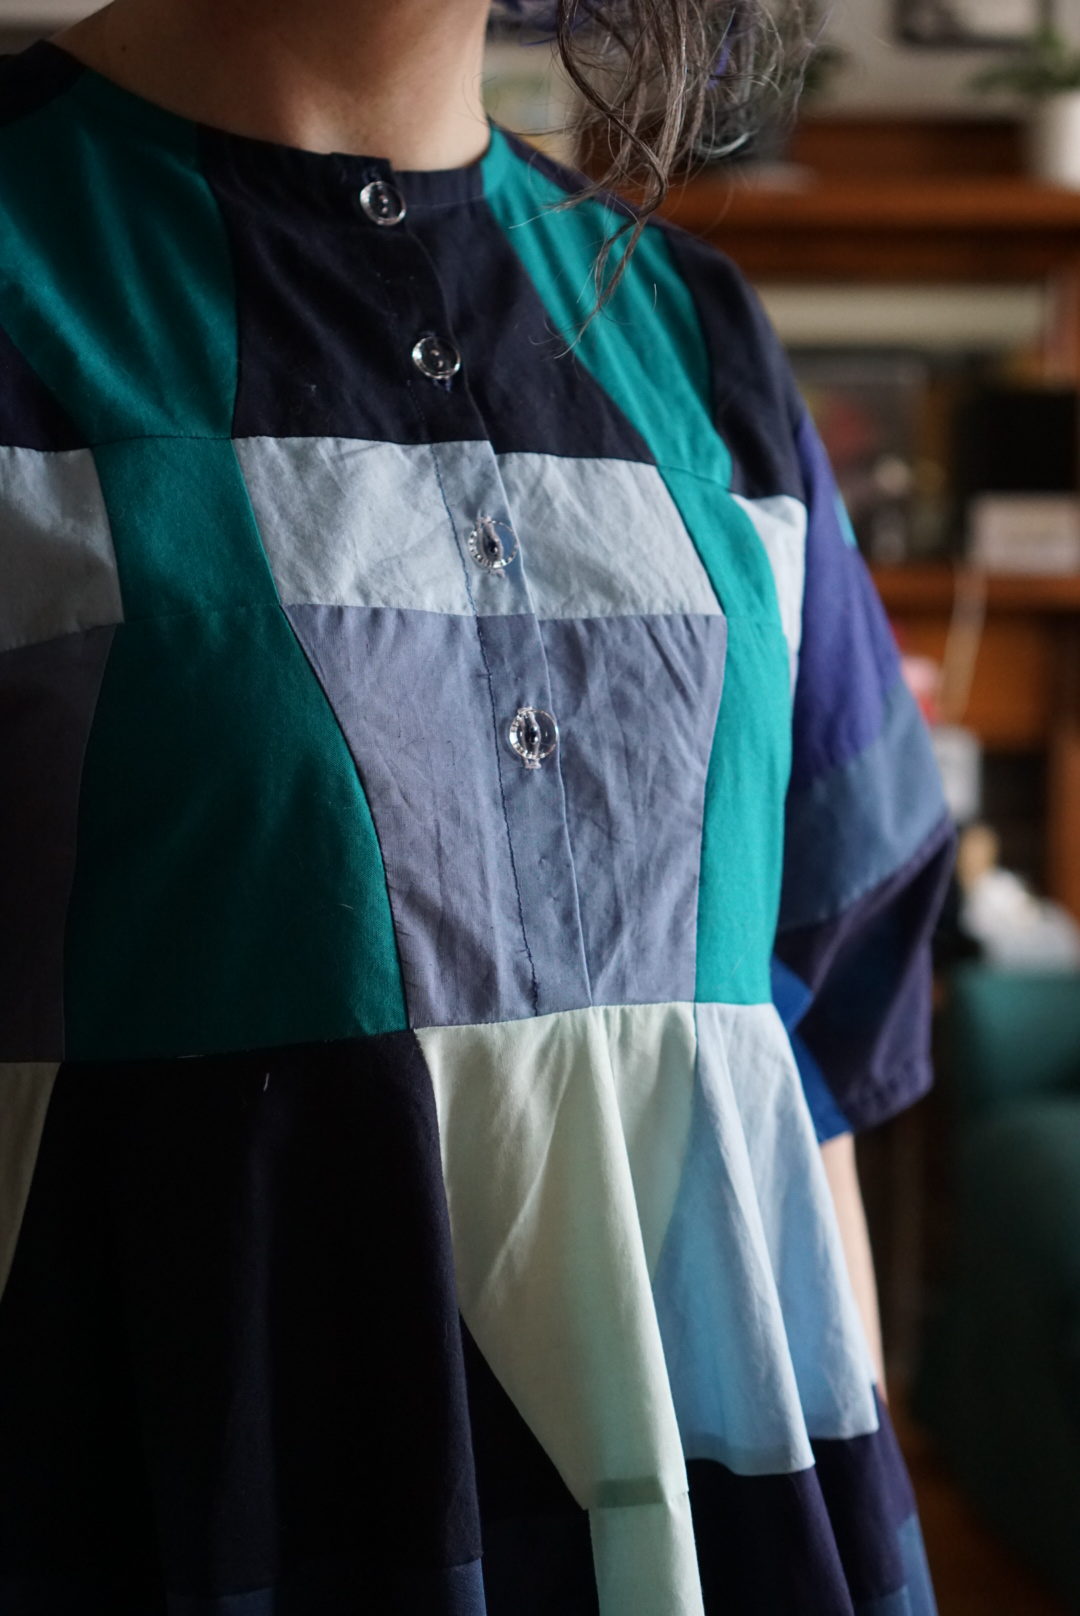
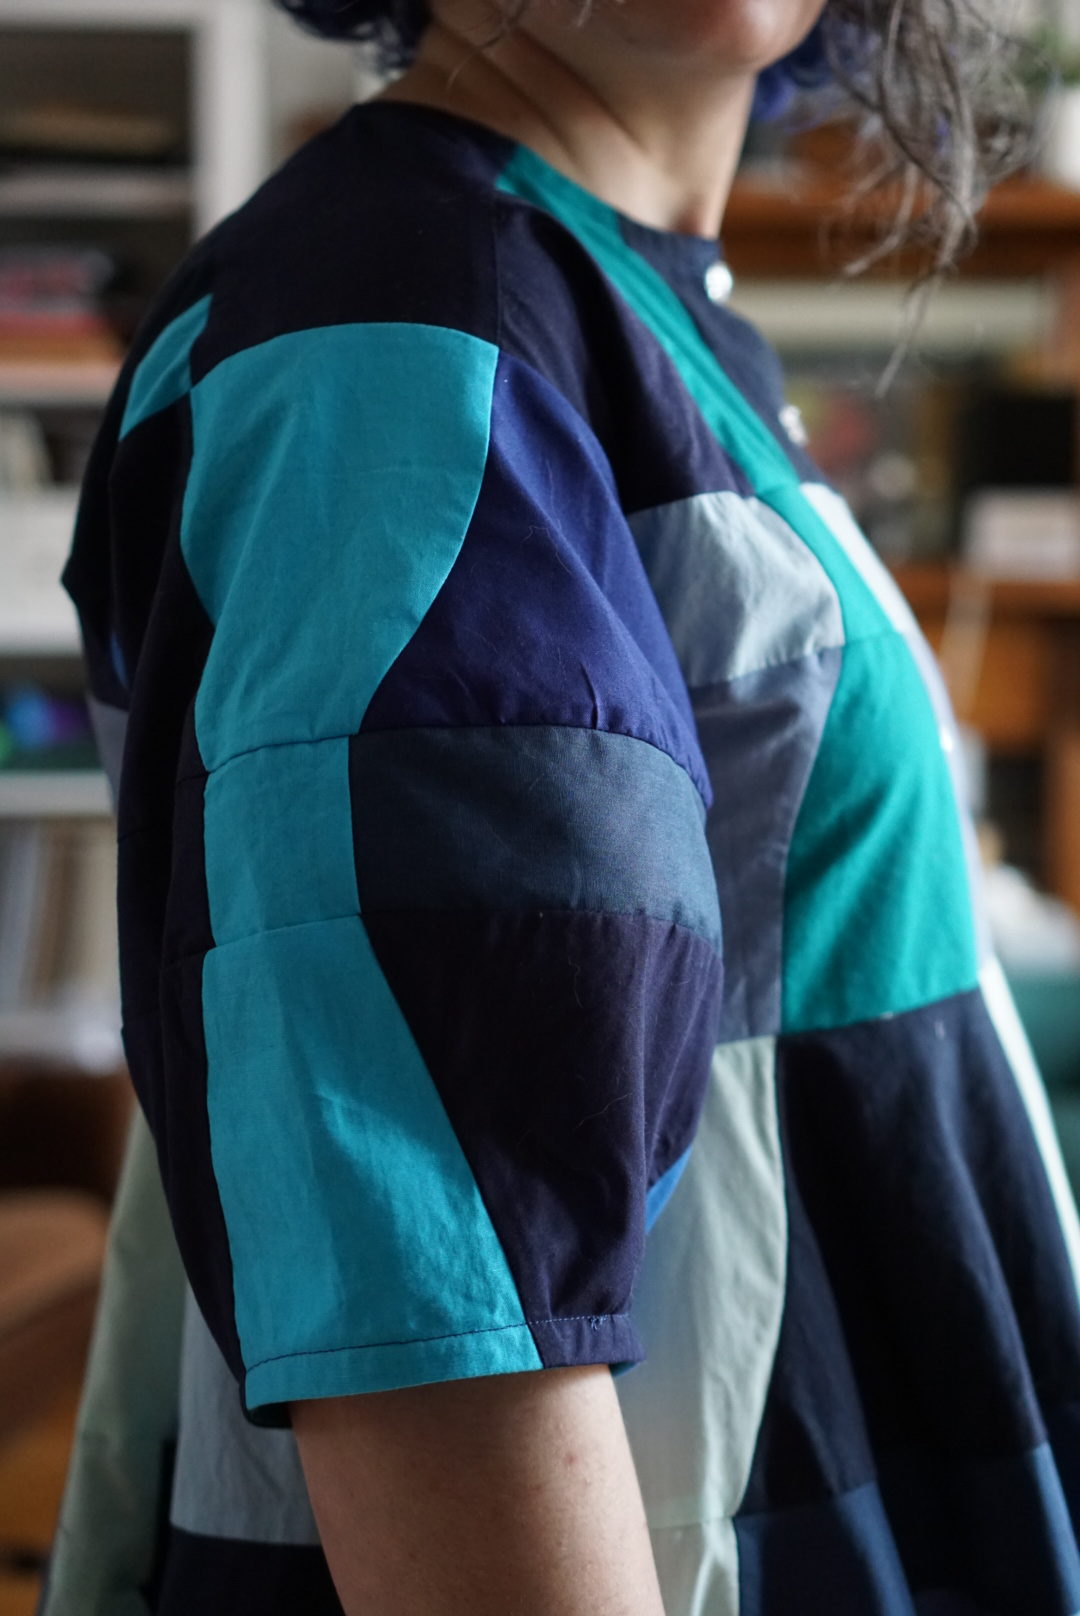
The drafting of the Elysia seems so magical to me?? I have no idea how to draft anything, so obviously having that background might help me understand how this pattern came into existence. (I tried drafting a block one time and the math did not math). But it’s SO SMART. There are no darts or anything any where, but the curves of the pieces somehow create bust shaping on the bodice. And the shape of the sleeves? I’m obsessed! They have this lantern silhouette that I’m really into. They were a bit fussy to sew together themselves, because there is basically a Y-shaped seam in the place where you take it from a flat piece into a tube. But I managed it without any tucks or other issues, I just took my time. There are no notches anywhere on the pattern except for where the last tier joins to the bottom of the skirt, because it has three pieces lining up with one larger one from the tier above, so those seam alignments are notched. Everywhere else, the seams line up with the seams from the corresponding section. It feels like witchcraft, I tell you. So satisfying to get all those points lined up.
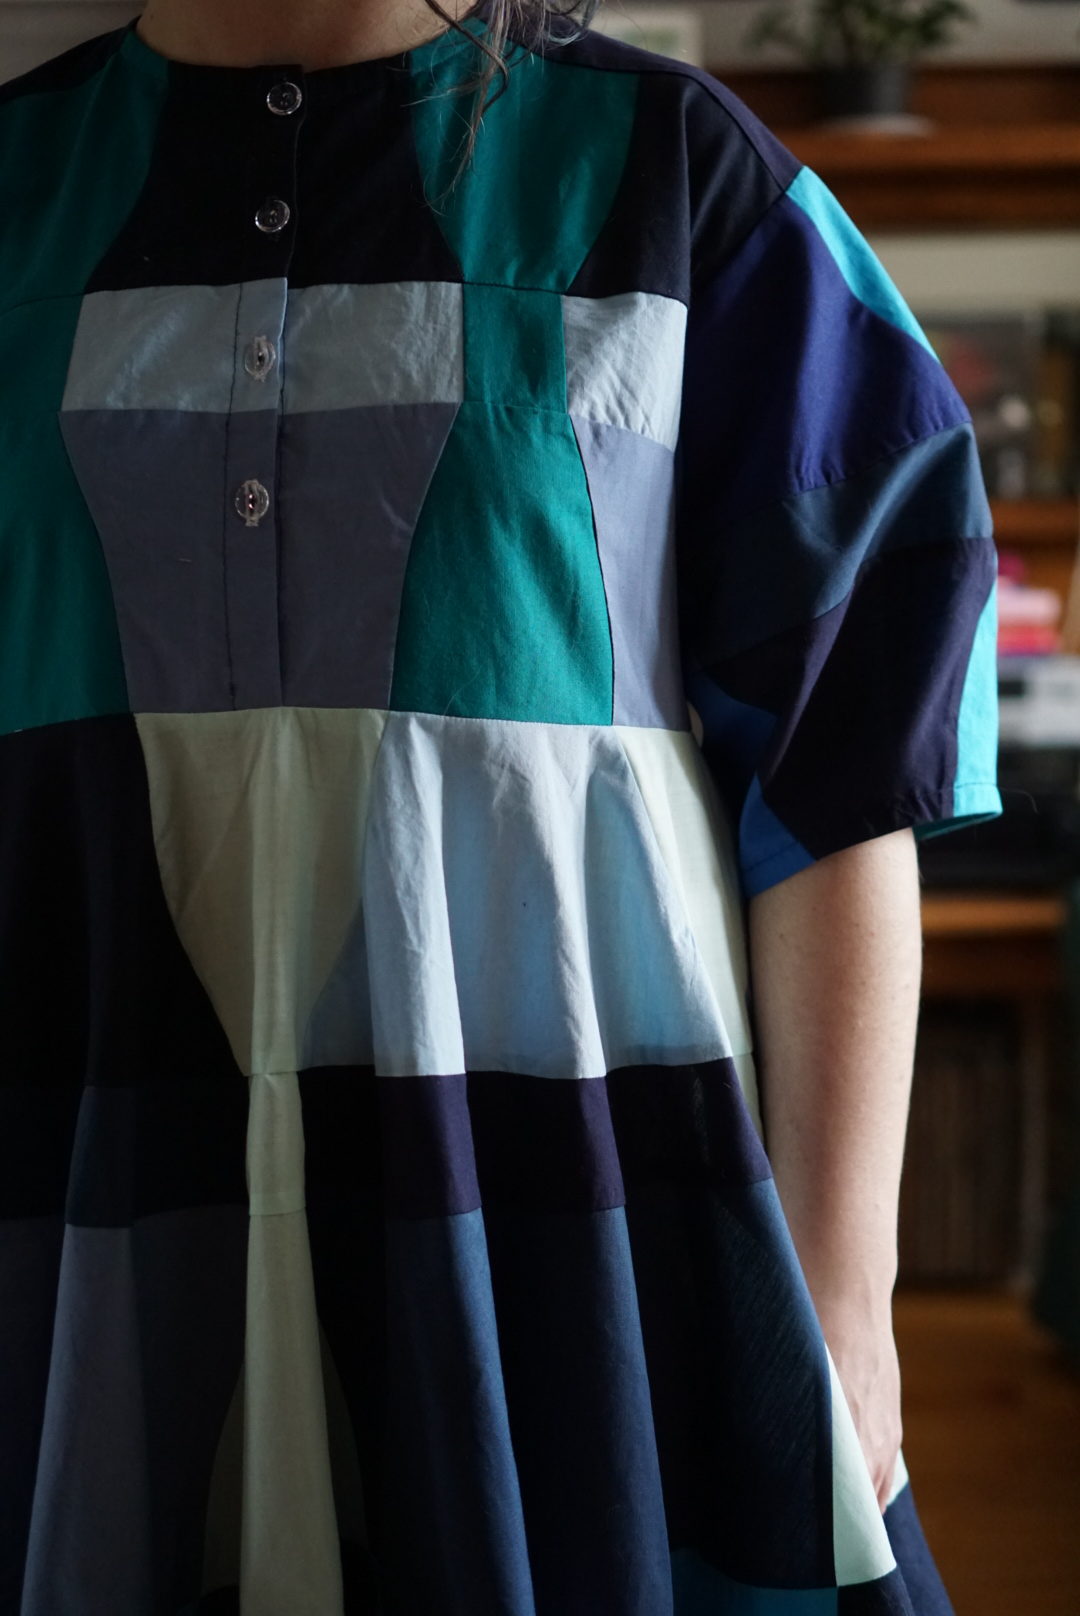
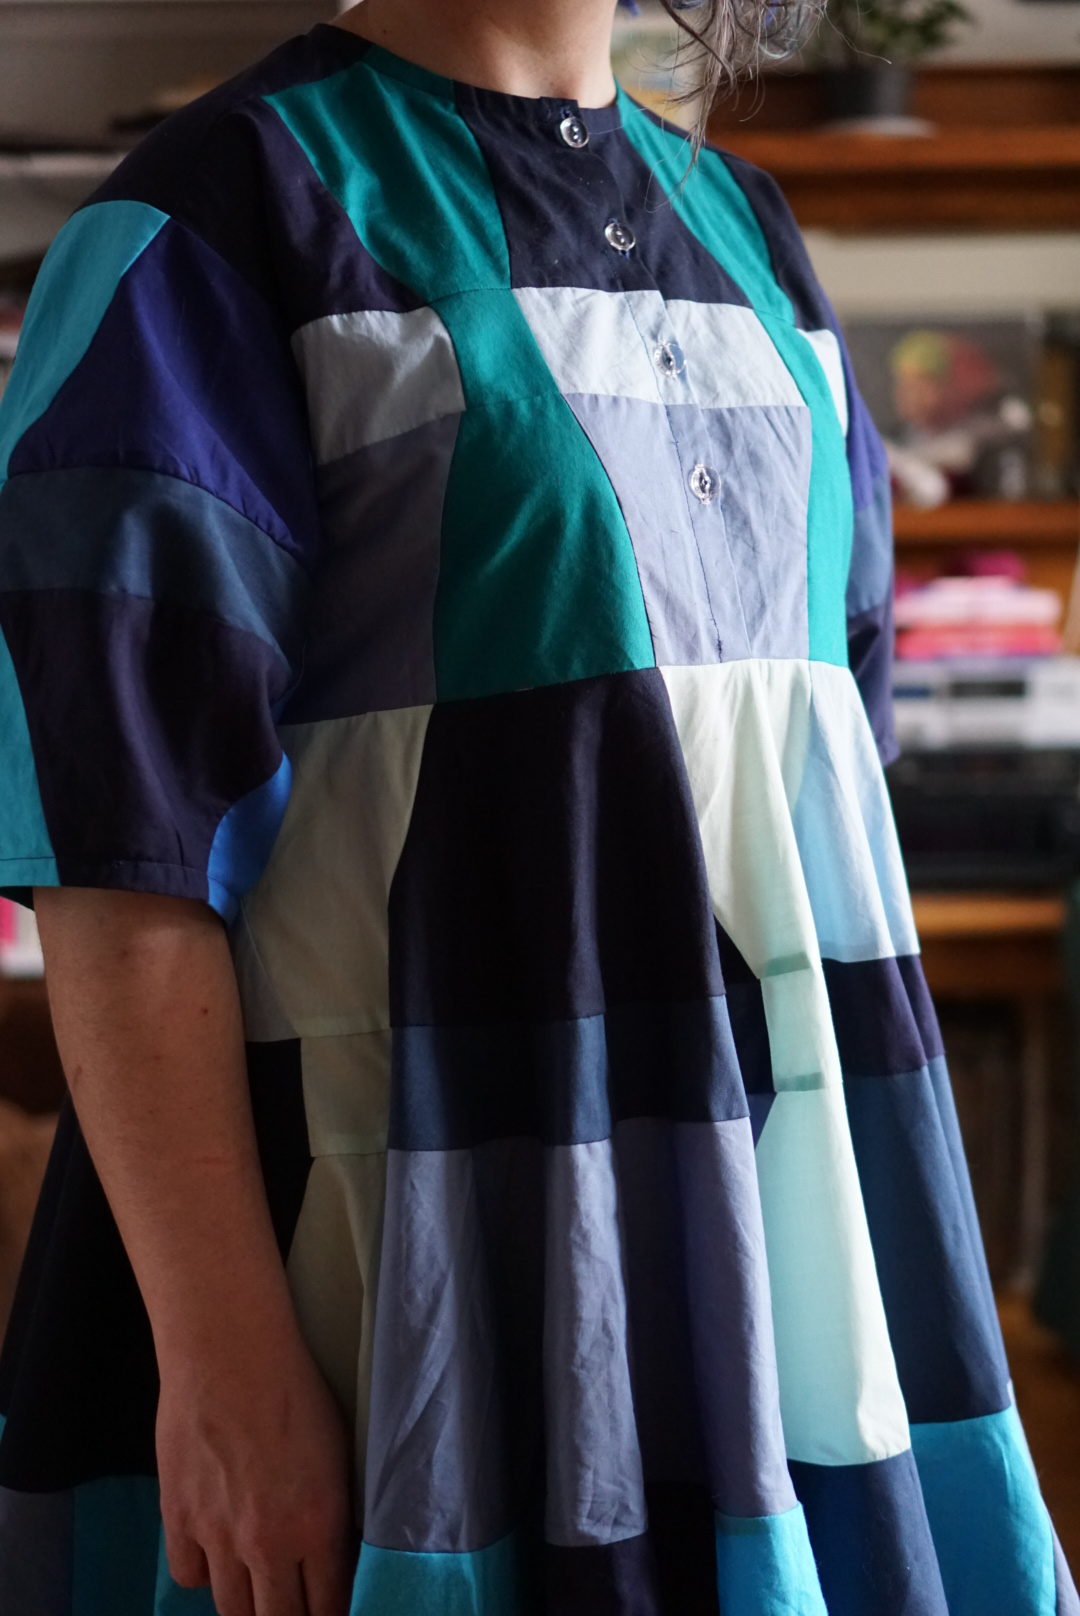
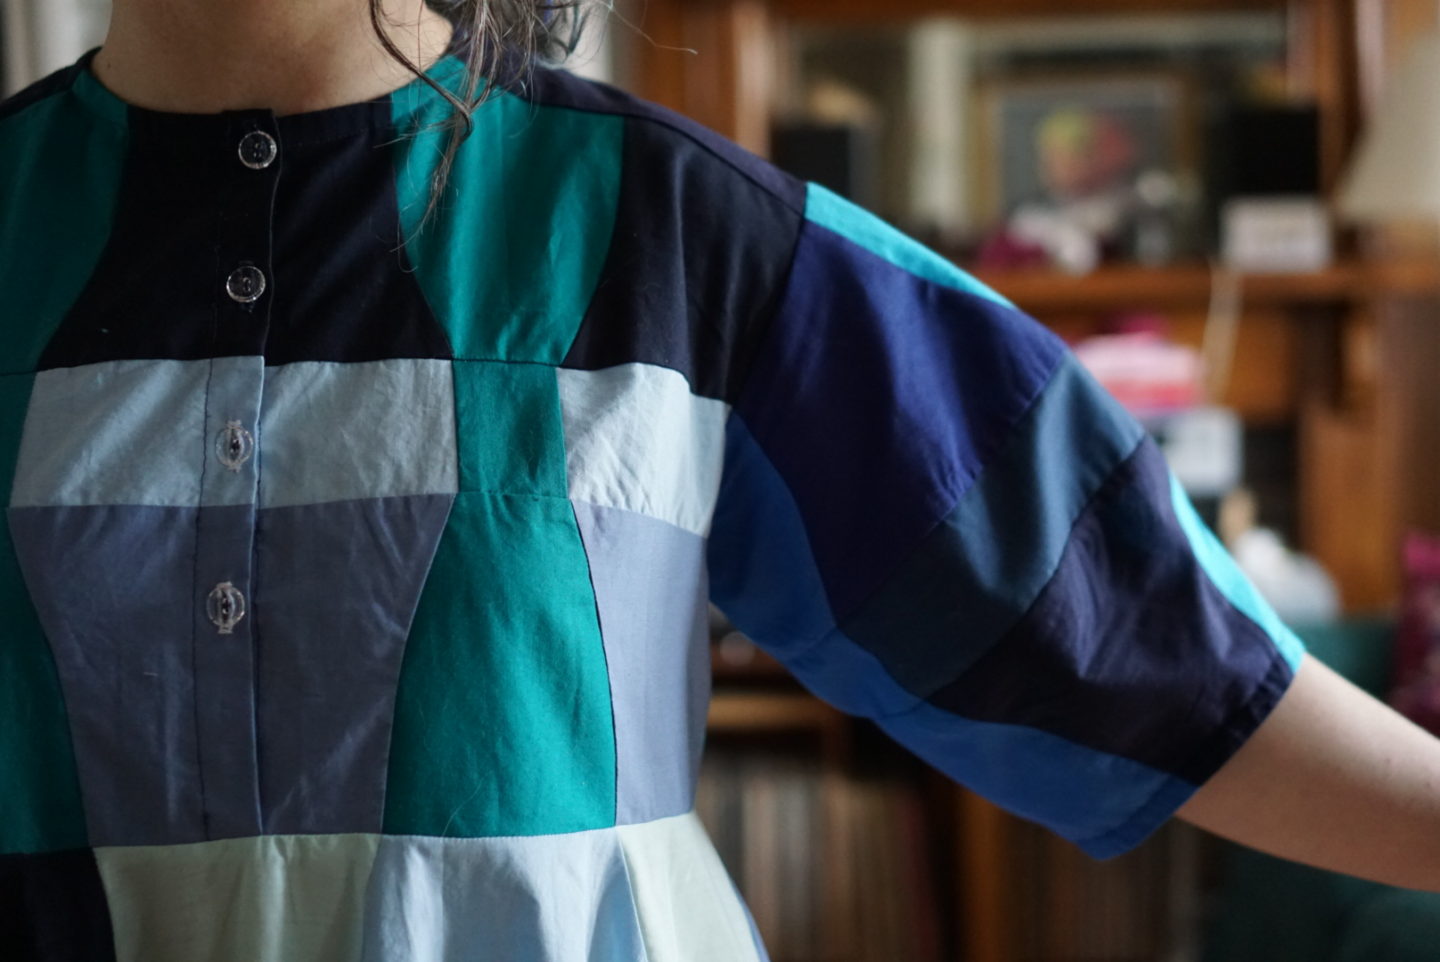
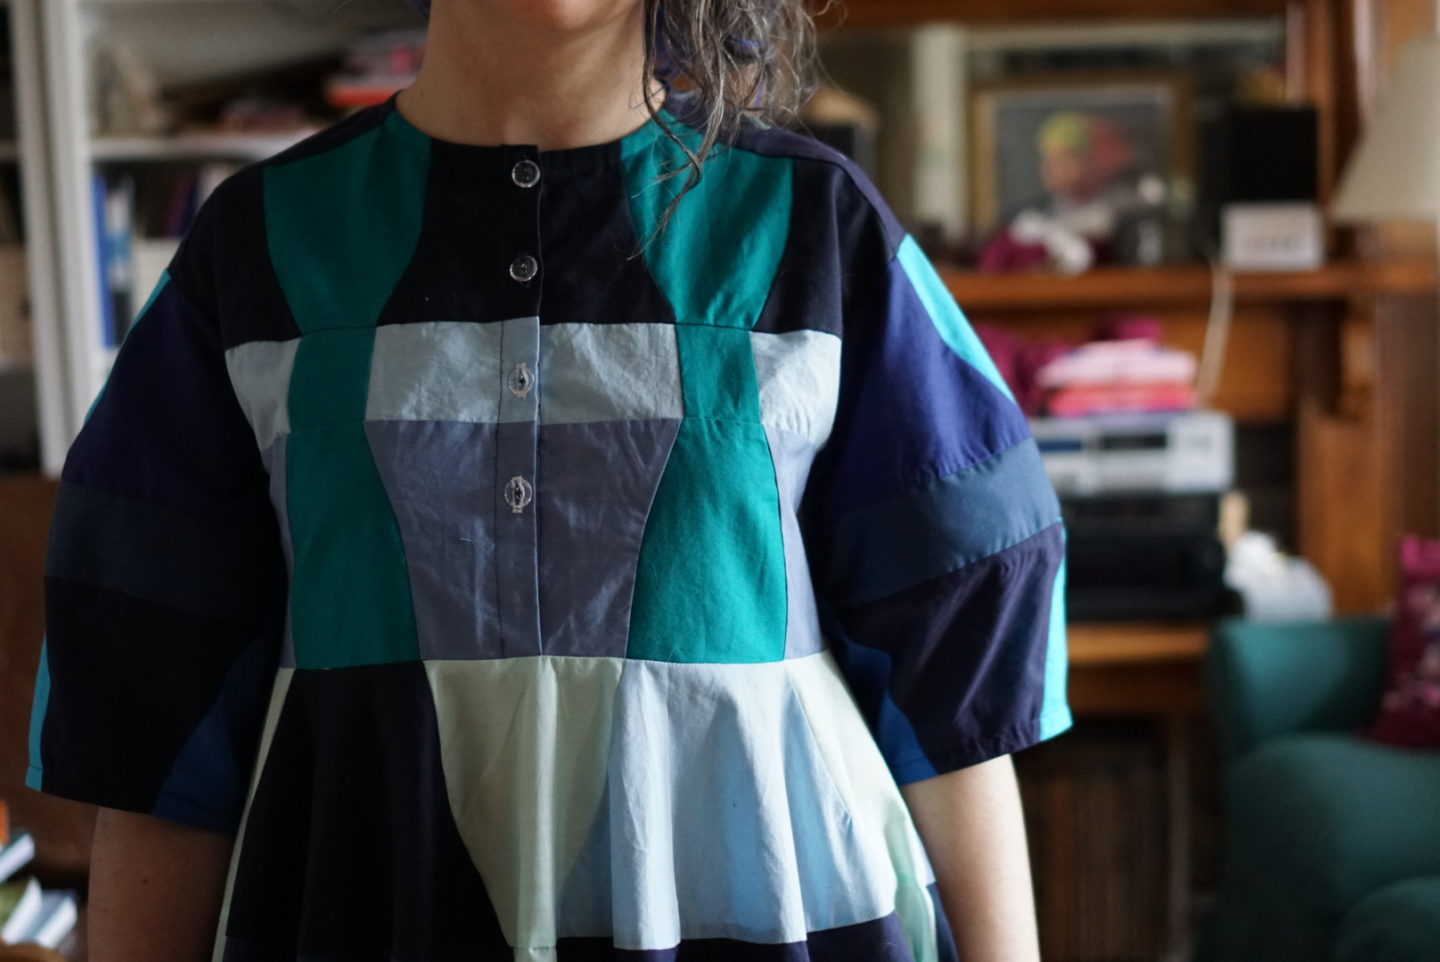
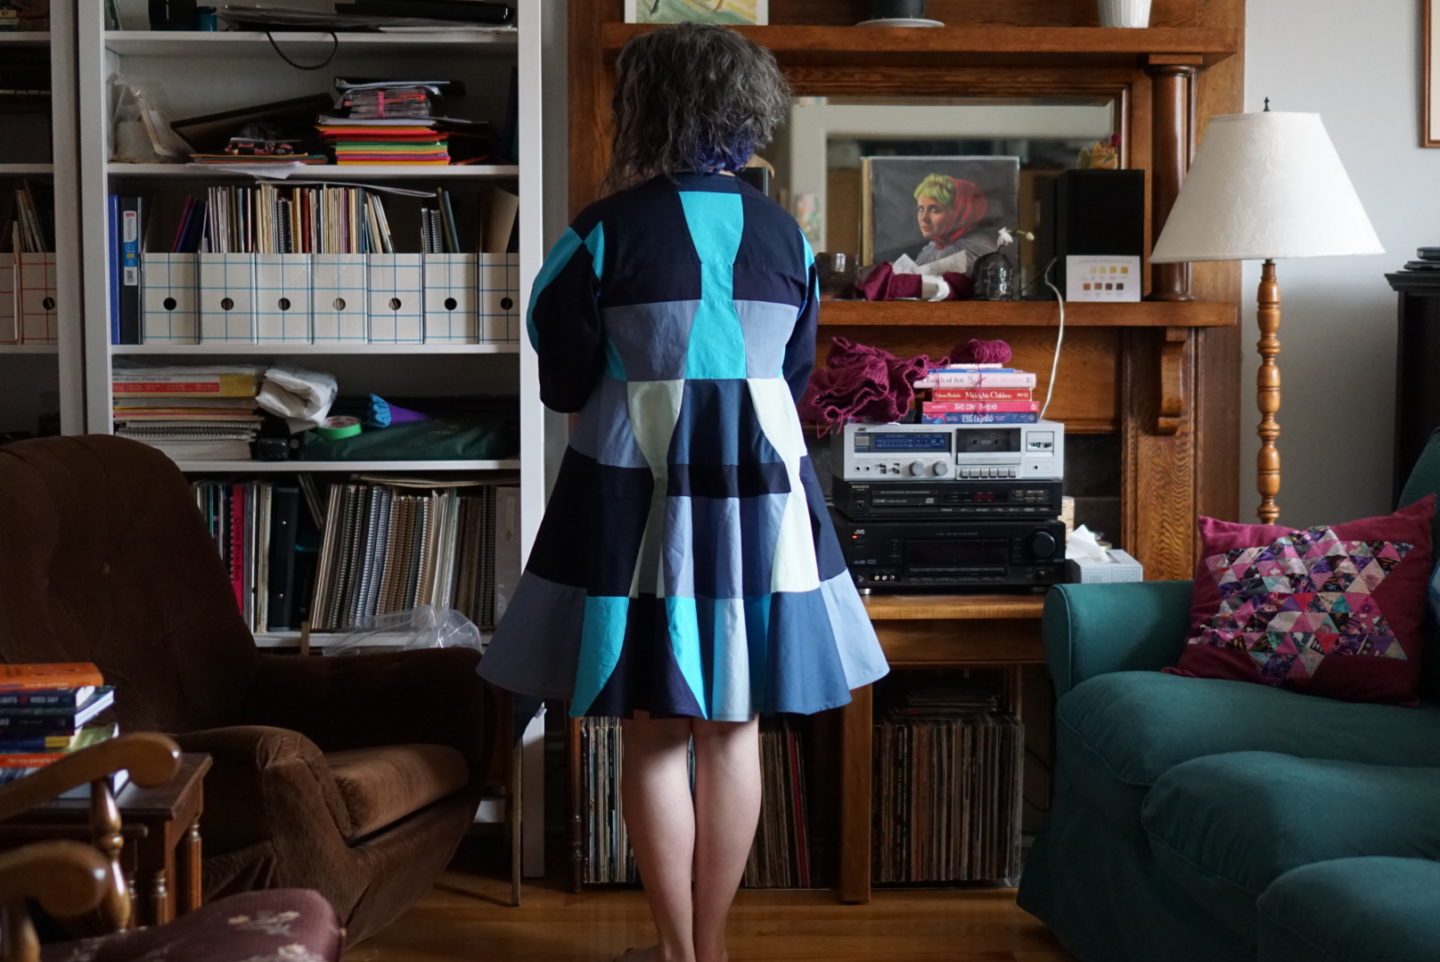
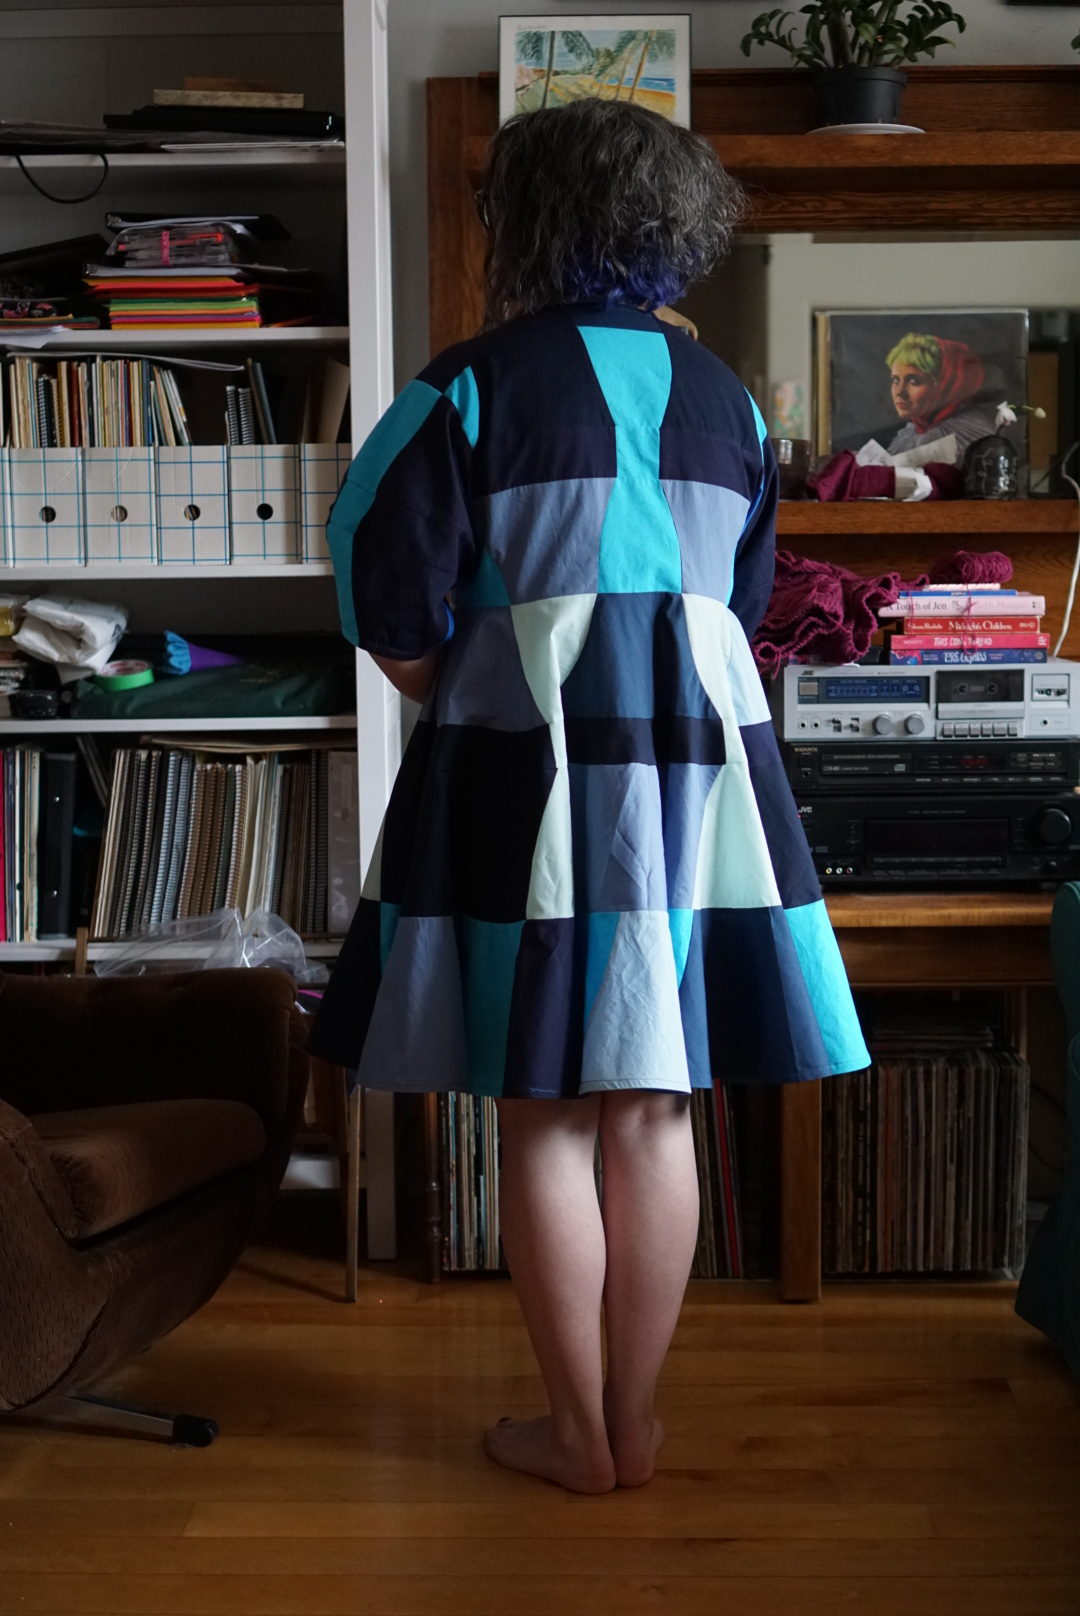
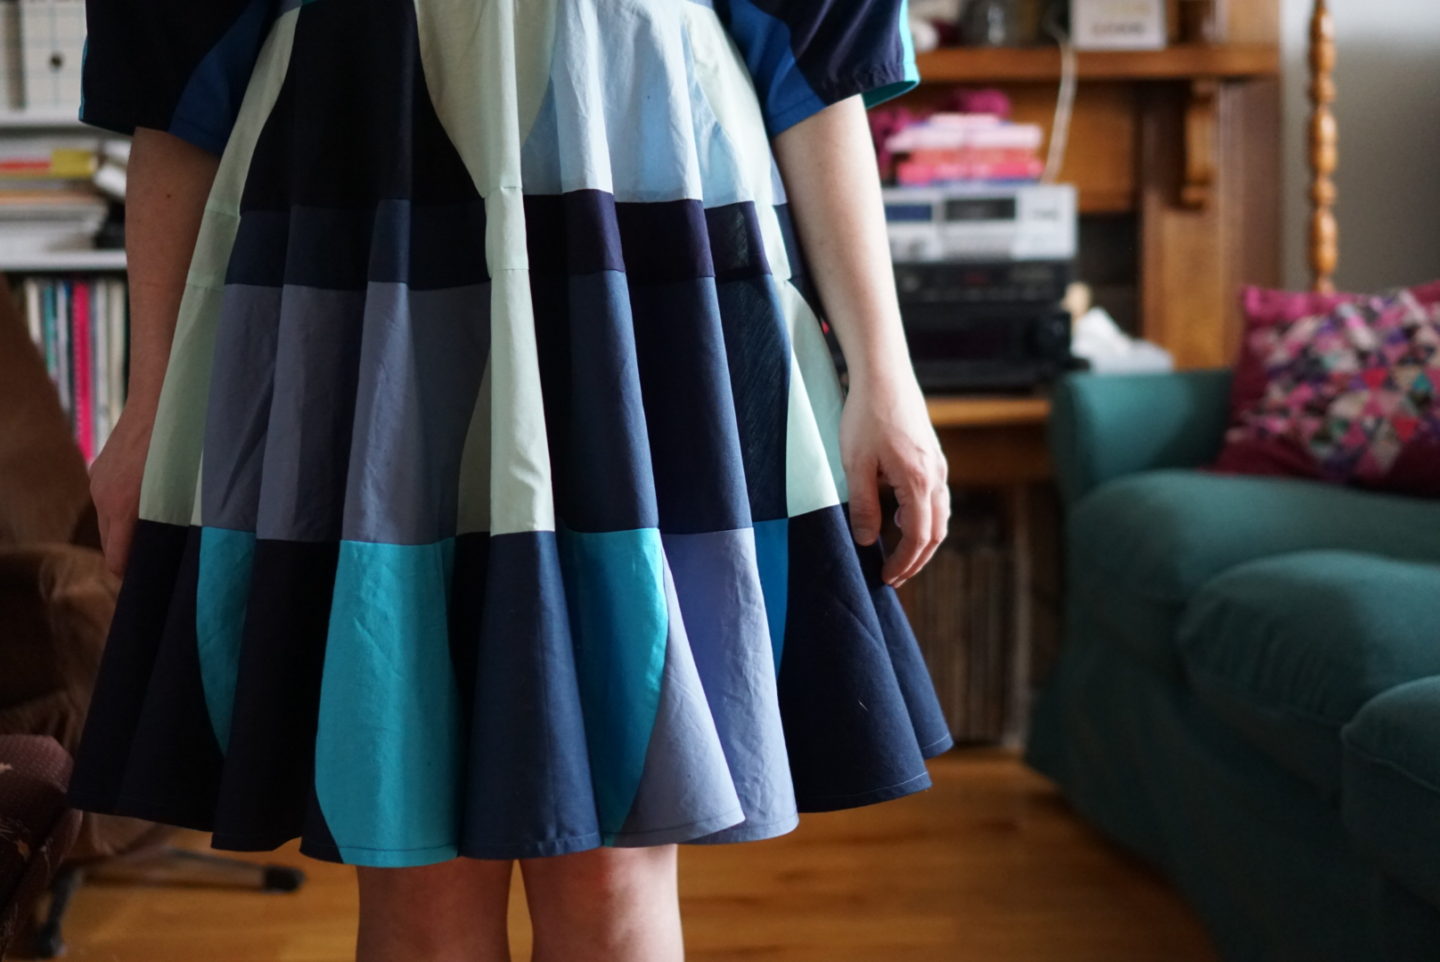
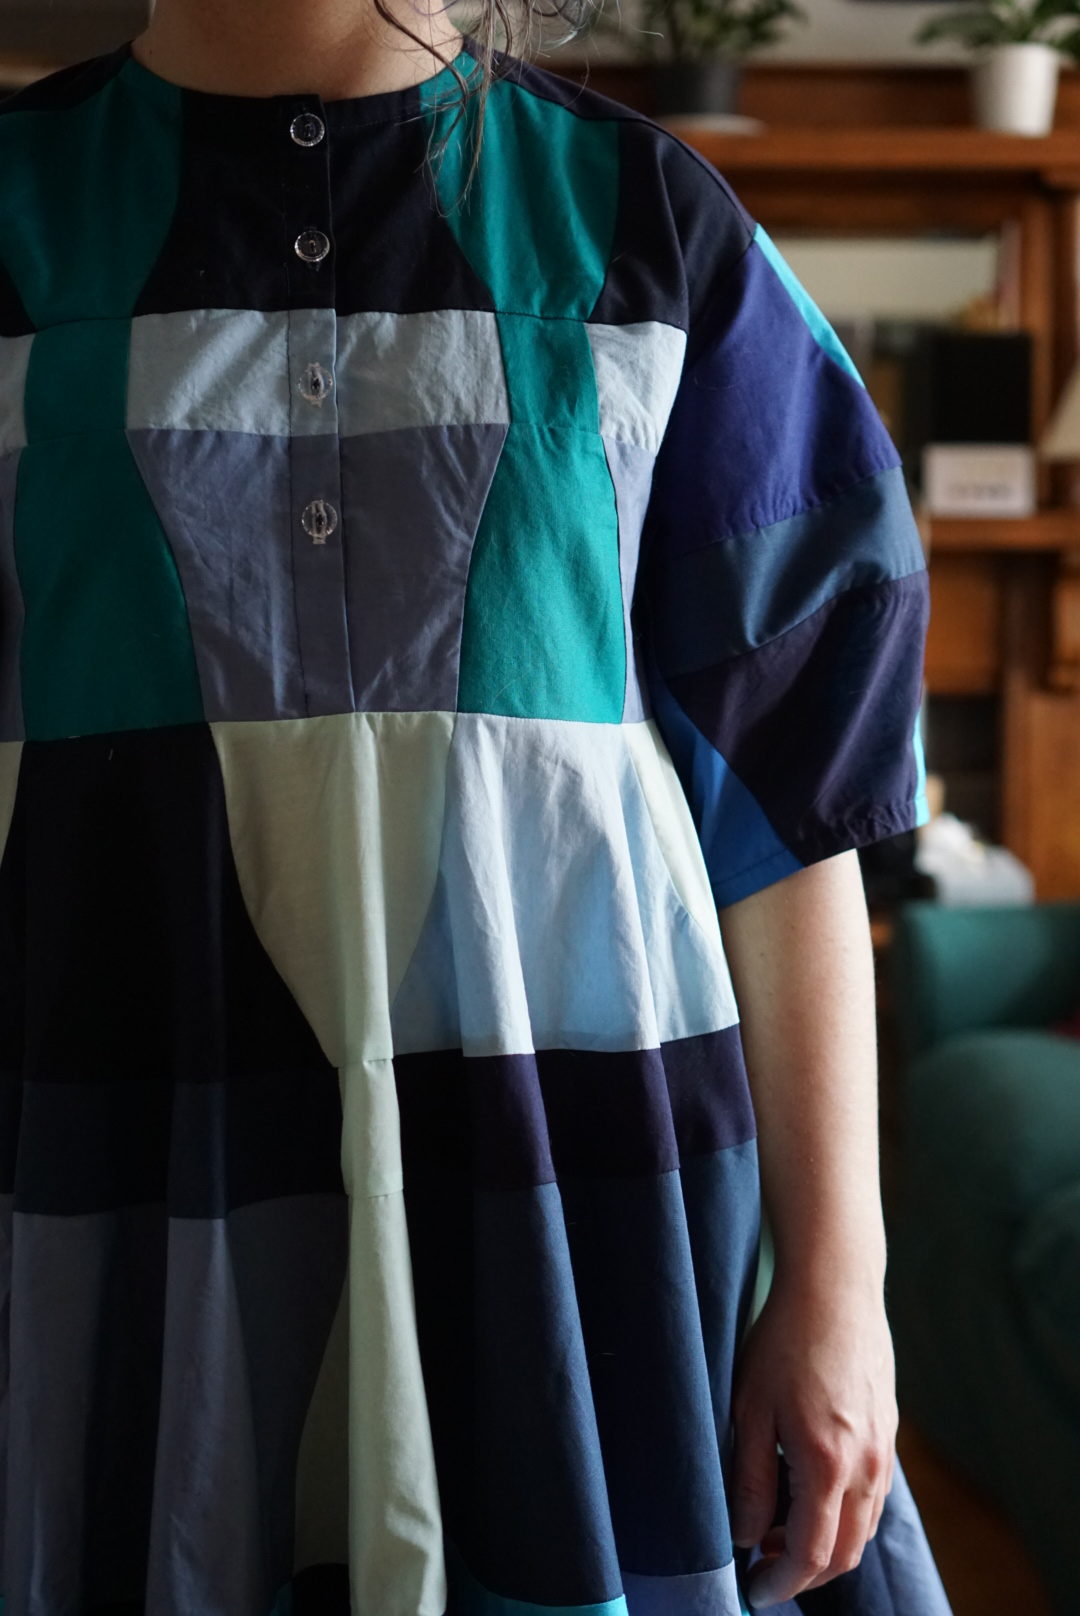
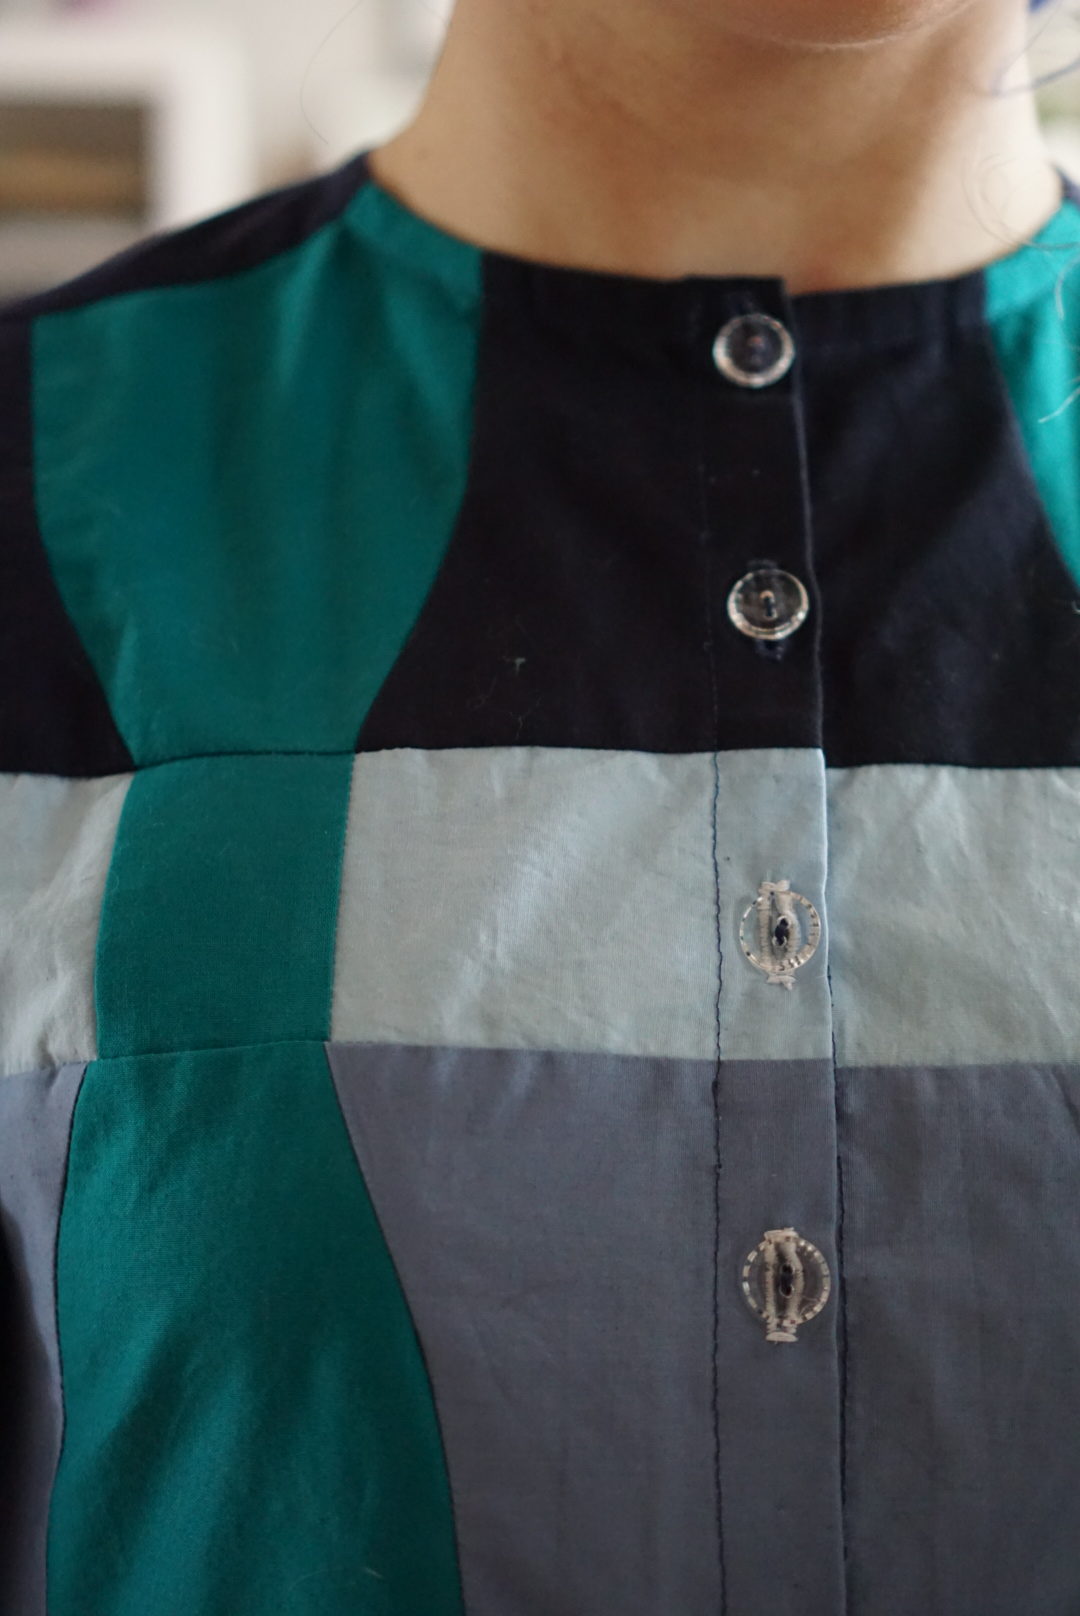
In terms of fabric, since this was my first attempt, I was kind of prepared for it to go wrong so I didn’t want to use anything super precious. Honestly, I didn’t have a huge cut of any suitable fabric in my stash, so I would’ve had to buy new fabric if I didn’t go the scrappy route. In the pattern, Roberts Wood suggests you make the Elysia using three different fabrics, and the pattern pieces have different icons printed over them so that they’re easy to see which fabric you are intended to use (so that the bows on the pattern get emphasized). I used way more than three fabrics because I was using a ton of quilting cotton scraps that I’d had lying around for ages, grouped into a loose palette of greens/blues/greys. This dress was really great for using up such a wide variety of fabrics. My fabrics were all technically quilting cottons, but there was huge discrepancy in weight within that category. Some of these (like the pale turquoise in the skirt) are very lightweight, and some (like the dark blue you can see in the middle of the sleeve above and in the skirt) were very stiff and honestly might have had some polyester in them. But it all evened out through the cutting and piecing, and I was able to use up a huuuge amount of random pieces of fabric I had had lying around tormenting me for a really long time. I kept the bodice and sleeves symmetrical in terms of colour placement, which was easier because the pieces for those parts are much smaller than the ones in the bottom of the skirt. I love how the two bows on the bodice front look! It kind of reminds me of when men are wearing a bow tie, but at the end of the night they might loosen it to take it off and have it hanging around their neck. Perfection! In the skirt, it’s definitely not symmetrical. I couldn’t even keep colours uniform within tier because I had such a variety of scrap sizes and shapes and I didn’t want to veer too far off grainline. What I did keep consistent was the bow motif. They bows on the dress are not all the same colour, obviously, but each bow itself is a uniform colour so that that design element was still prominent. I think this is a good strategy if you are going the scrappy route like I did. I cut out the bows first (bodice, back, sleeve, and skirt), then the bodice front, then bodice back, then the sleeves, and then the remaining pieces of the skirt from biggest to smallest so that I could guarantee the biggest ones would fit on the scraps I had. This worked well, and I had very minimal scraps left over. I already group my quilting scraps into “cool” colours and “warm” colours, so it was easy to pick out a bunch of fabrics that had a similar colour palette before I started cutting.
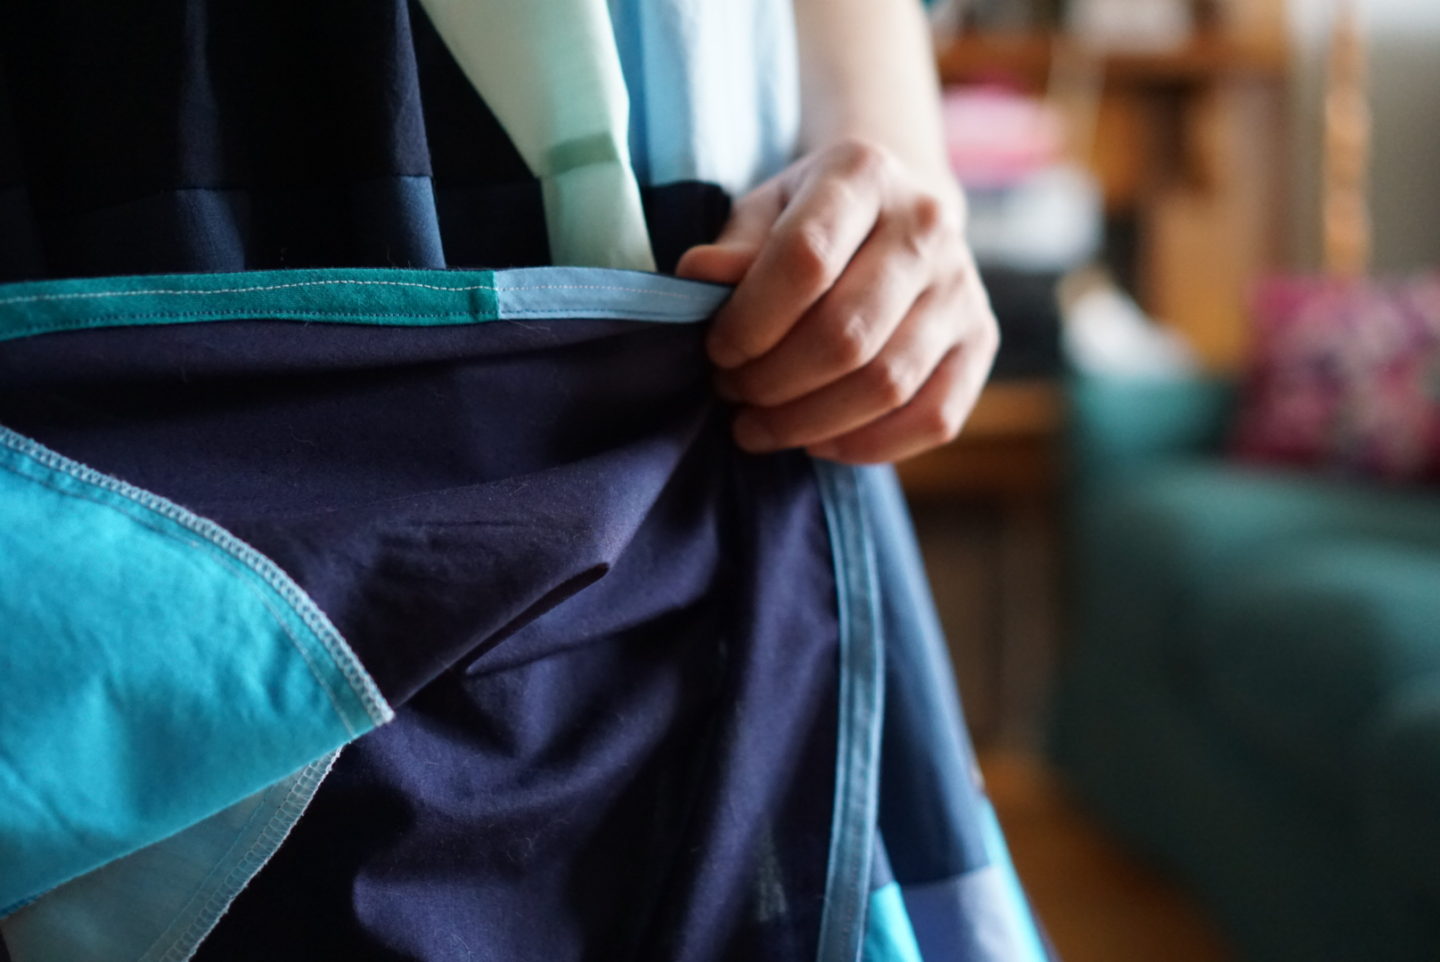
I finished piecing and sewing the Elysia over March break, except for one last part: the hem. I honestly thought it would be a quick hem, but boy was I wrong! It took me another week to get the hem fulled finished. I finished it with bias tape, which was not one of the listed methods in the pattern, but I just couldn’t face the idea of turning up a more-than-circle skirt twice and fussing with that. So I used bias tape to finish the hem, as was already done for the neckline and the sleeve hems. This meant I could use up a bunch more random pieces of bias tape I had laying around from previous projects! The hem ended up using up the entirety of three colours I had, two of which you can see below. They were all different widths of bias tape, but I sewed them together and it all worked out fine during the folding under phase. Excuse my wonky understitching as you can see below; my sewing machine needs to go in for a service and the feed dogs are currently not happy with me. By the time I finished the piecing, I was kind of tired of the project, and then the giant hem just pushed me over the edge. I measured the hem after it was finished, and it’s 336″!!! That’s 28 feet, or 8.5m long. No wonder I felt like I was hemming for all of eternity!
I loved sewing this dress! It was so satisfying, and felt like a quilt without the additional steps of sandwiching and actually quilting it, and with the added bonus of getting to WEAR it. I would not recommend the Elysia bow dress for a beginner sewist. As well, even if you aren’t a beginner, I think if you have never sewn a quilt it might feel overwhelming. It took a long time to cut out (I used a rotary cutter, and I’m normally a scissors girlie for garments), and a long time to sew because of the amount of seams, the volume of fabric, and the precision required. Plus the fact that pretty much all of the pieces are curved, so you have to avoid tucks when sewing and make sure you’re easing them together properly. I finished all of my seams with a serger, so that sped up the process vs if you were going the extra mile and doing French seams. All that to say though, I thought it was really fun to sew, and I’m obsessed with the finished garment!! I can definitely see myself making another one in the future (maybe some silk organza in some subtly different shades of the same colour?), but not soon. I need a break. My next project is already cut out, and it’s a t-shirt!

What a fantastic job! I’ve been eyeing that pattern but was stuck on what size to buy. My measurements line up pretty closely to yours so I feel confident in buying the correct size. I hope that when I make mine it looks as great as yours!
Author
I bet it will be beautiful! Glad I could help a little bit!
Hi there!
I don’t know if I have enough scraps that match so I think I might go to the store to get three different fabrics. How much would you suggest I should get of each fabric, roughly? 1/2 yard?
Author
I’m not sure, it will depend on what size you’re making! If you go to the website for the pattern, there’s a very helpful chart under “Fabric Usage” telling how much of each fabric you’d need for each size.
This is incredible! Good on you giving it a go! Great fun! ((?)
Author
Thank you! 🙂
I am so impressed. For me, even the price of the pattern is a barrier to entry. I am so glad people like you are still blogging. Us beginner sewists need inspiration!
Author
Thank you so much! I hope you make something big and elaborate that you are dreaming of – I bet it won’t be as difficult as you think! 🙂