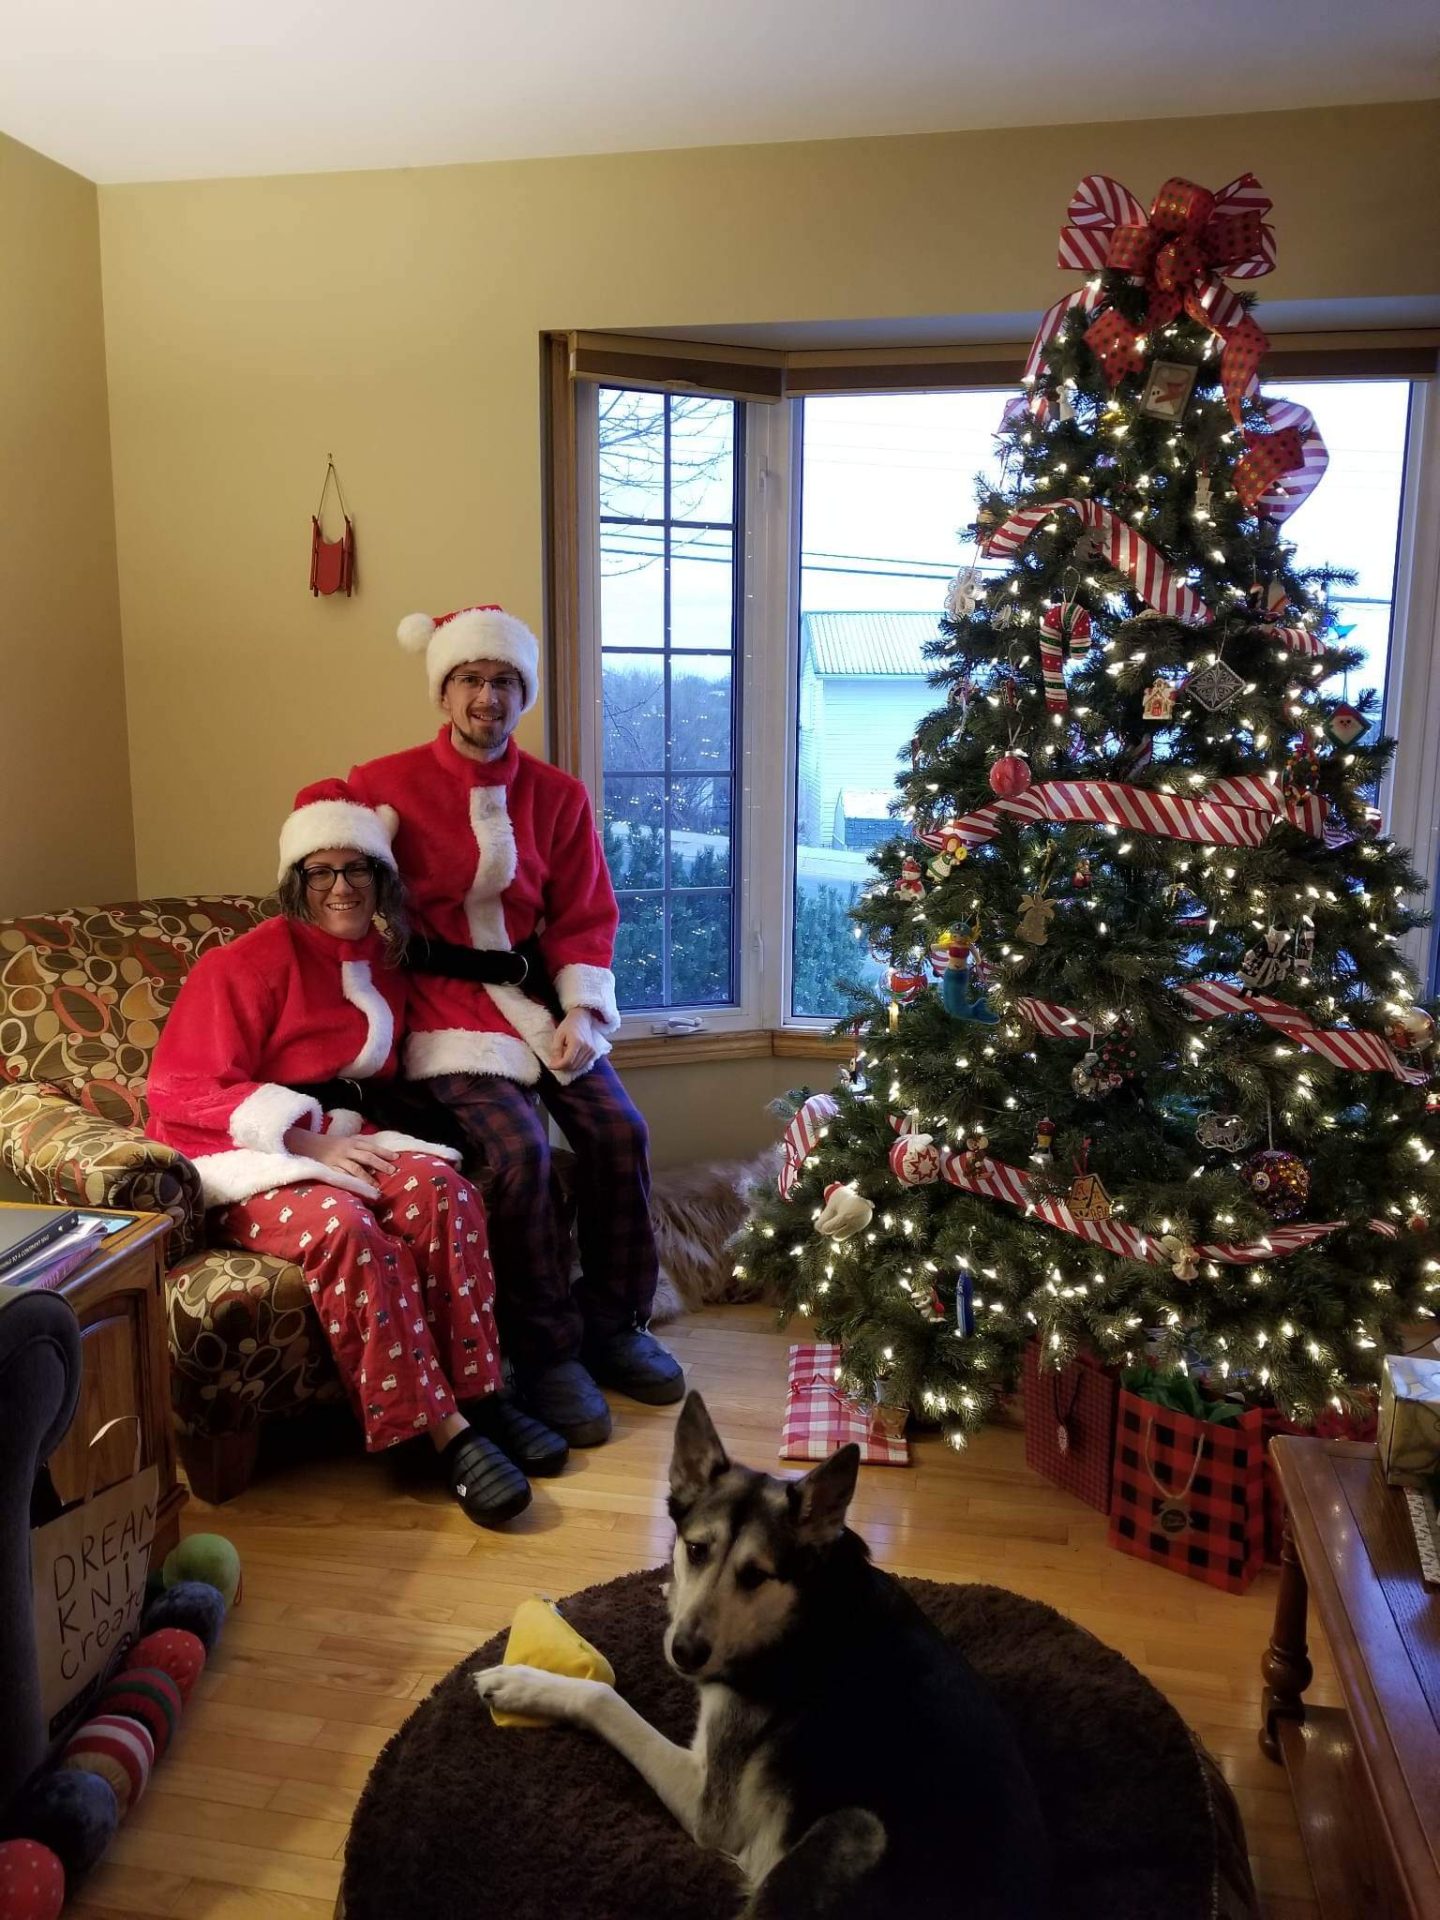
Merry Christmas, to all those who celebrate! I don’t think any project I’ve ever made has been more filled with holiday spirit, because I made not one, but TWO Santa costumes! You may be wondering, what motivated you to make Santa suits for both you and your partner for Christmas? Well, these were originally intended to be Halloween costumes. But I didn’t finish in time. So in order to motivate myself to actually finish them and not let them languish until mid-October next year, I came up with a scheme. I decided that since I had never mentioned anything about these costumes to my family, that I would finish them and then we would wear them when we came out of the bedroom on Christmas morning as a hilarious surprise to my mum and sister! And they were definitely surprised! I’ll talk more about that later, but first let me tell you about the actual sewing.
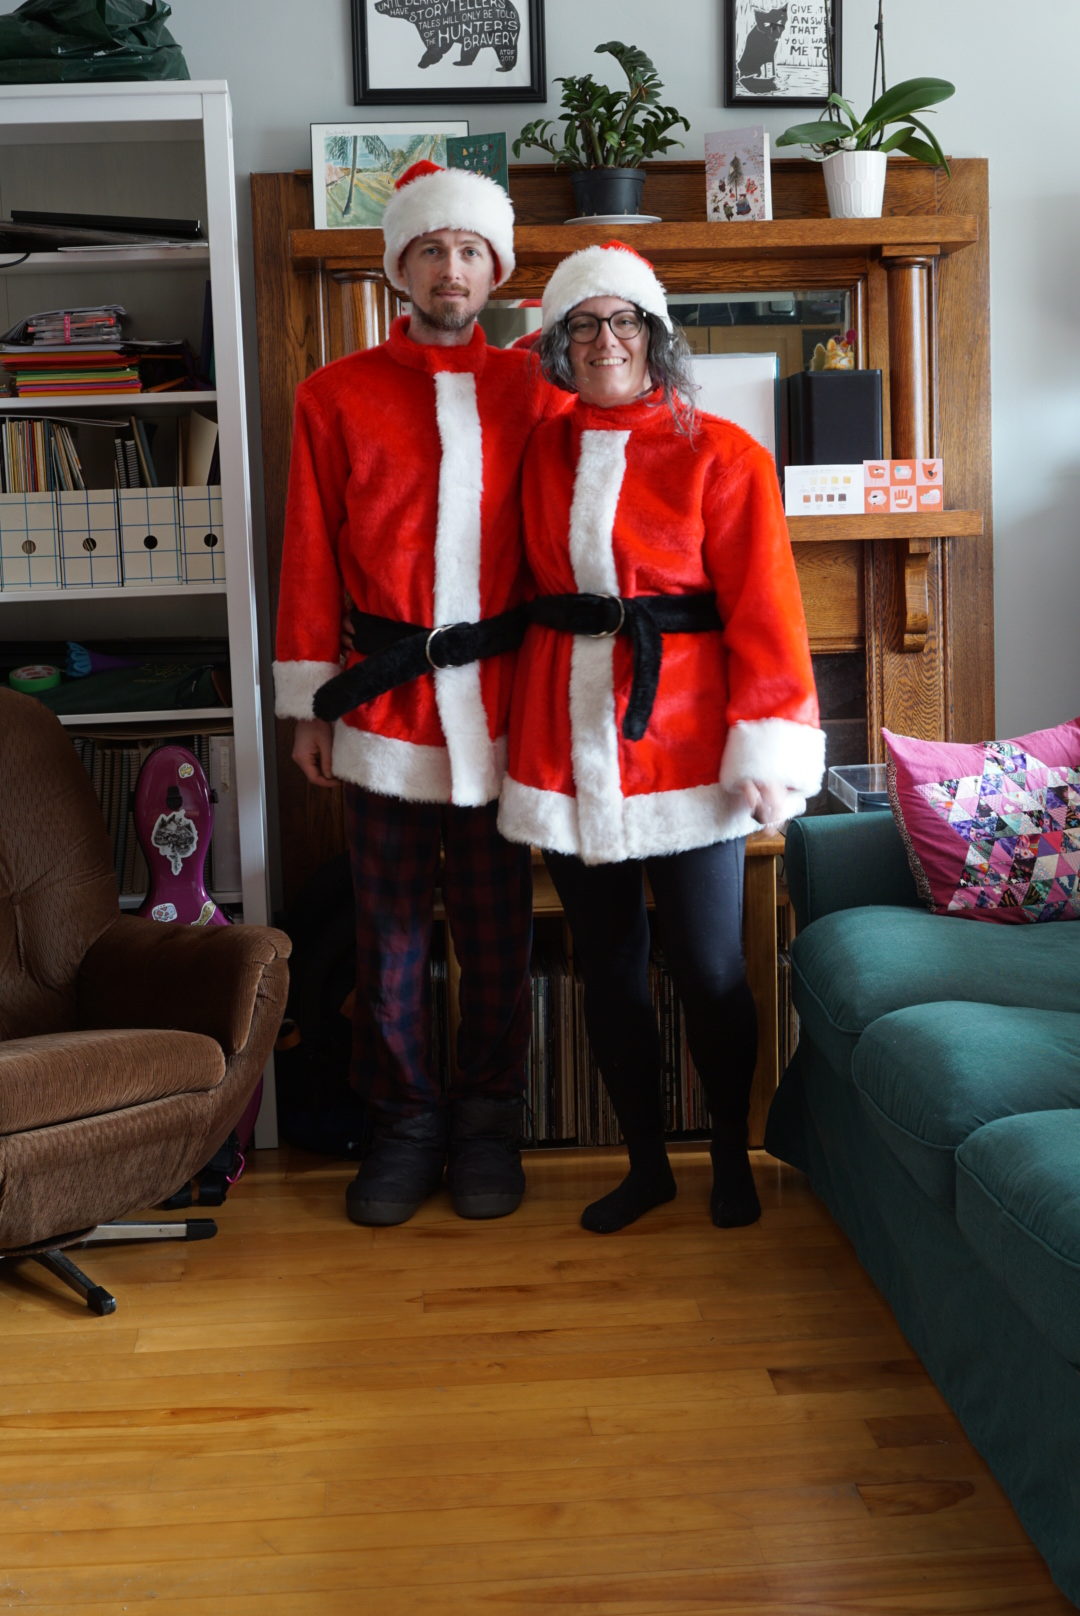
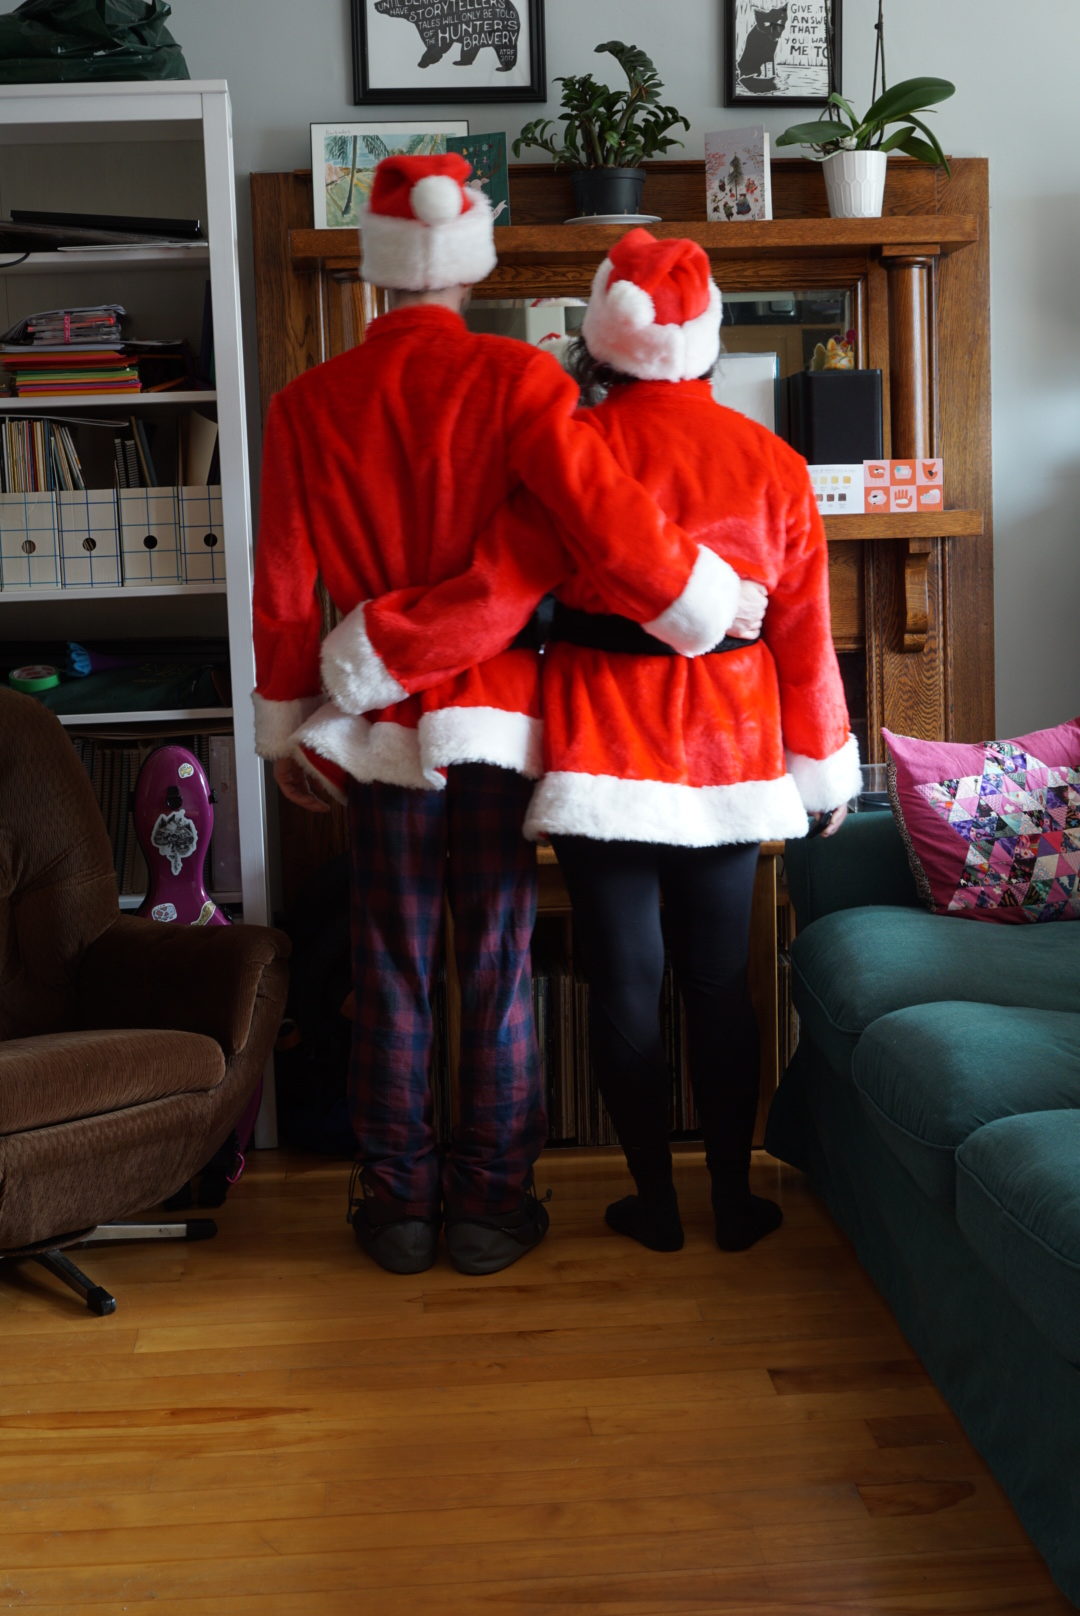
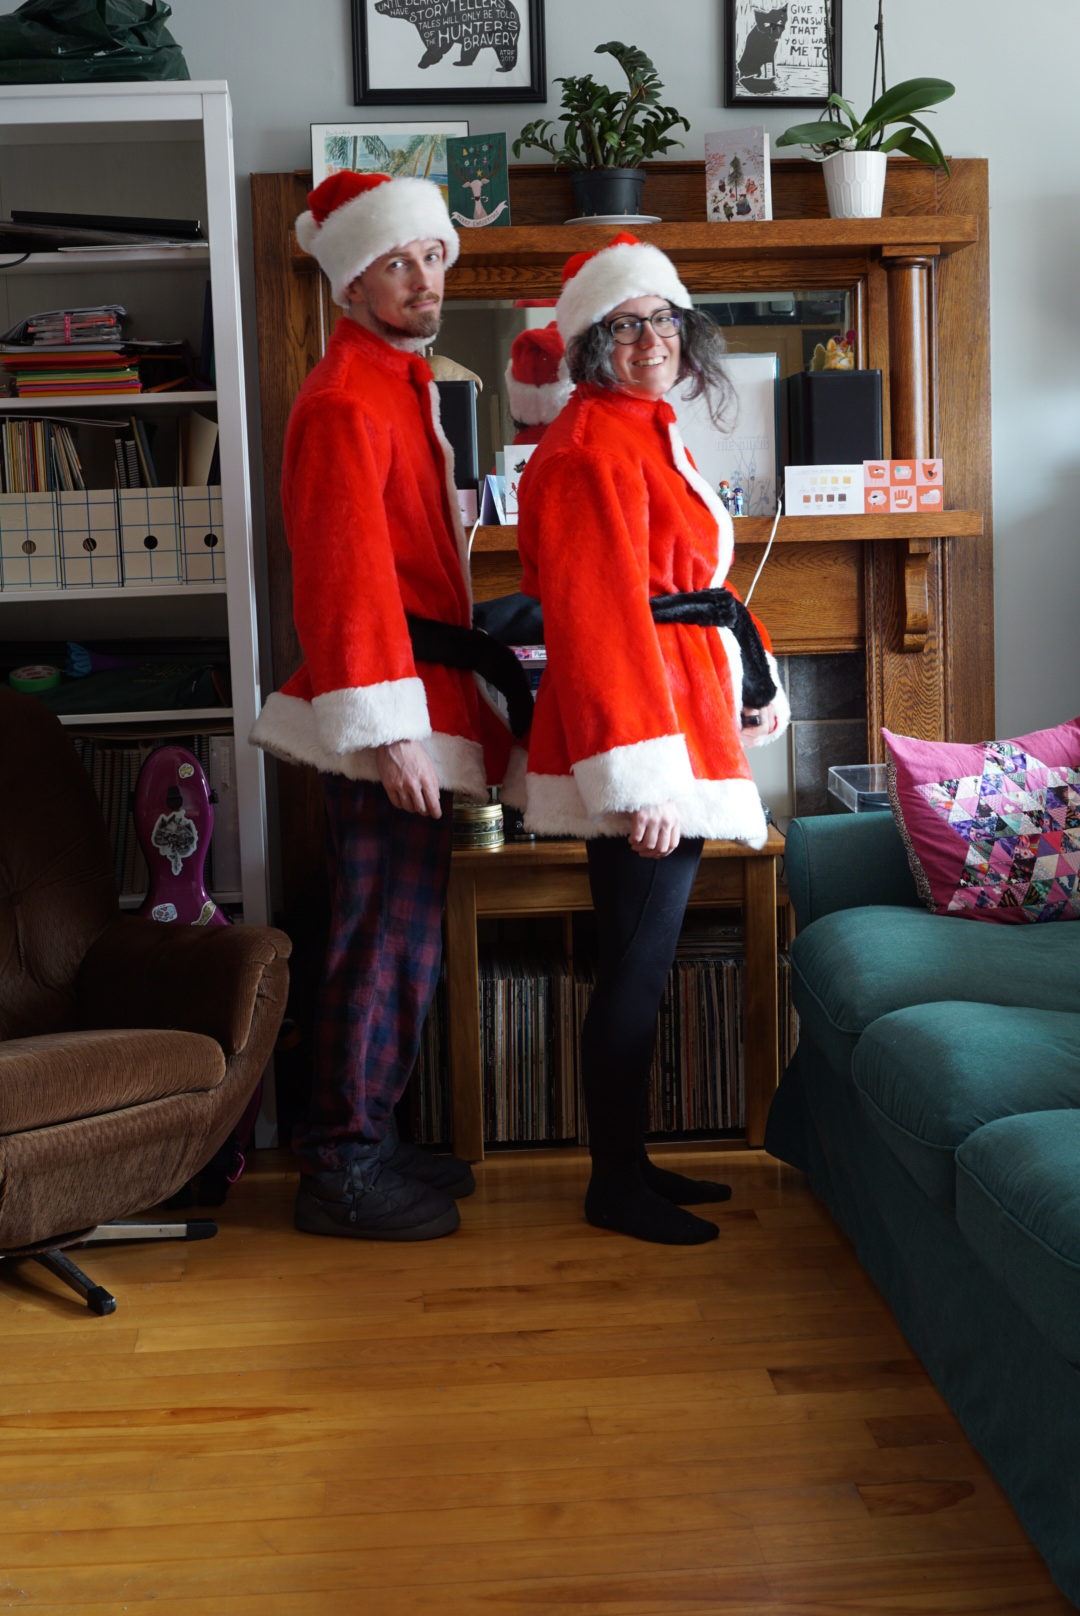
The pattern I used was McCall’s 5550, and it is pretty much genderless, despite the photographs on the envelope. There are two different coats included, and I made the shorter version for both of us. The longer one is more of a traditional Saint Nicholas vibe, and that wasn’t what I was looking for. That coat has more harness-like accessories that go with it, whereas the shorter one uses a belt. There are two different hat patterns included, and I made the shorter one for both of us as well! There are pants with and without pockets, but I didn’t make either of us pants. This was mainly because the coats were already using a lot of fabric and I couldn’t justify having to buy loads more just for pants for a (at-the-time) Halloween costume. The pattern also includes pieces and instructions to make your own stocking to carry with you, a beard, and a Santa sack! It’s a lot of costume for the price of one pattern, and if you are looking to make a Santa suit I think it’s a great option.
For the coats/pants, the pattern says you can use many different kinds of fabric: cotton, cotton Blends, velvet, velveteen, corduroy, wool blends, twill, and gabardine. As you may have noticed, I used none of these. To be honest, I didn’t actually even read the recommended fabric list until just now as I checked in order to include it on this blog post… I had such a strong vision in my head of these very fuzzy, cozy Santa coats that it didn’t even occur to me to check whether faux fur was a recommended fabric. I’ve used faux fur before, so I had an idea of what I was in for. I made this neon pink faux fur coat for my sister four years ago, and I learned a lot from the experience. The main thing was that no matter how much you think you understand that the faux fur fluffs will fly everywhere, they will fly even further and in greater quantities than you could ever imagine. I vacuumed while I was making the neon pink coat, but even after that, I was still finding little pink fluffs everywhere months and now YEARS later. They worm their way into crevices you didn’t even know existed. Which is why I had my vacuum literally next to me while I cut out the pattern pieces for these costumes. Every single piece I cut out, I immediately vacuumed the fluffs that resulted around the perimeter of the piece. This helped a LOT. The other thing that helps a lot with faux fur is to be able to serge/overlock the edges of the fabric. You could do this right after you cut out the pieces if you wanted to. For most of my pieces, I waited to serge until after I’d sewn the seams in question. If it didn’t get sewn into a seam by machine, I finished it before I proceeded to any hand-sewing stages. Once everything was enclosed by the serger, things got MUCH more calm. Once the edges are finished, I vacuumed the pieces/in-progress garment to eliminate as much unattached fluff as possible. These are my tips, beyond what I’ve encountered out there in tutorials for using faux fur. I have been noticing much less extraneous fluff around the apartment compared to my last faux fur experience, so I think my experience has helped!
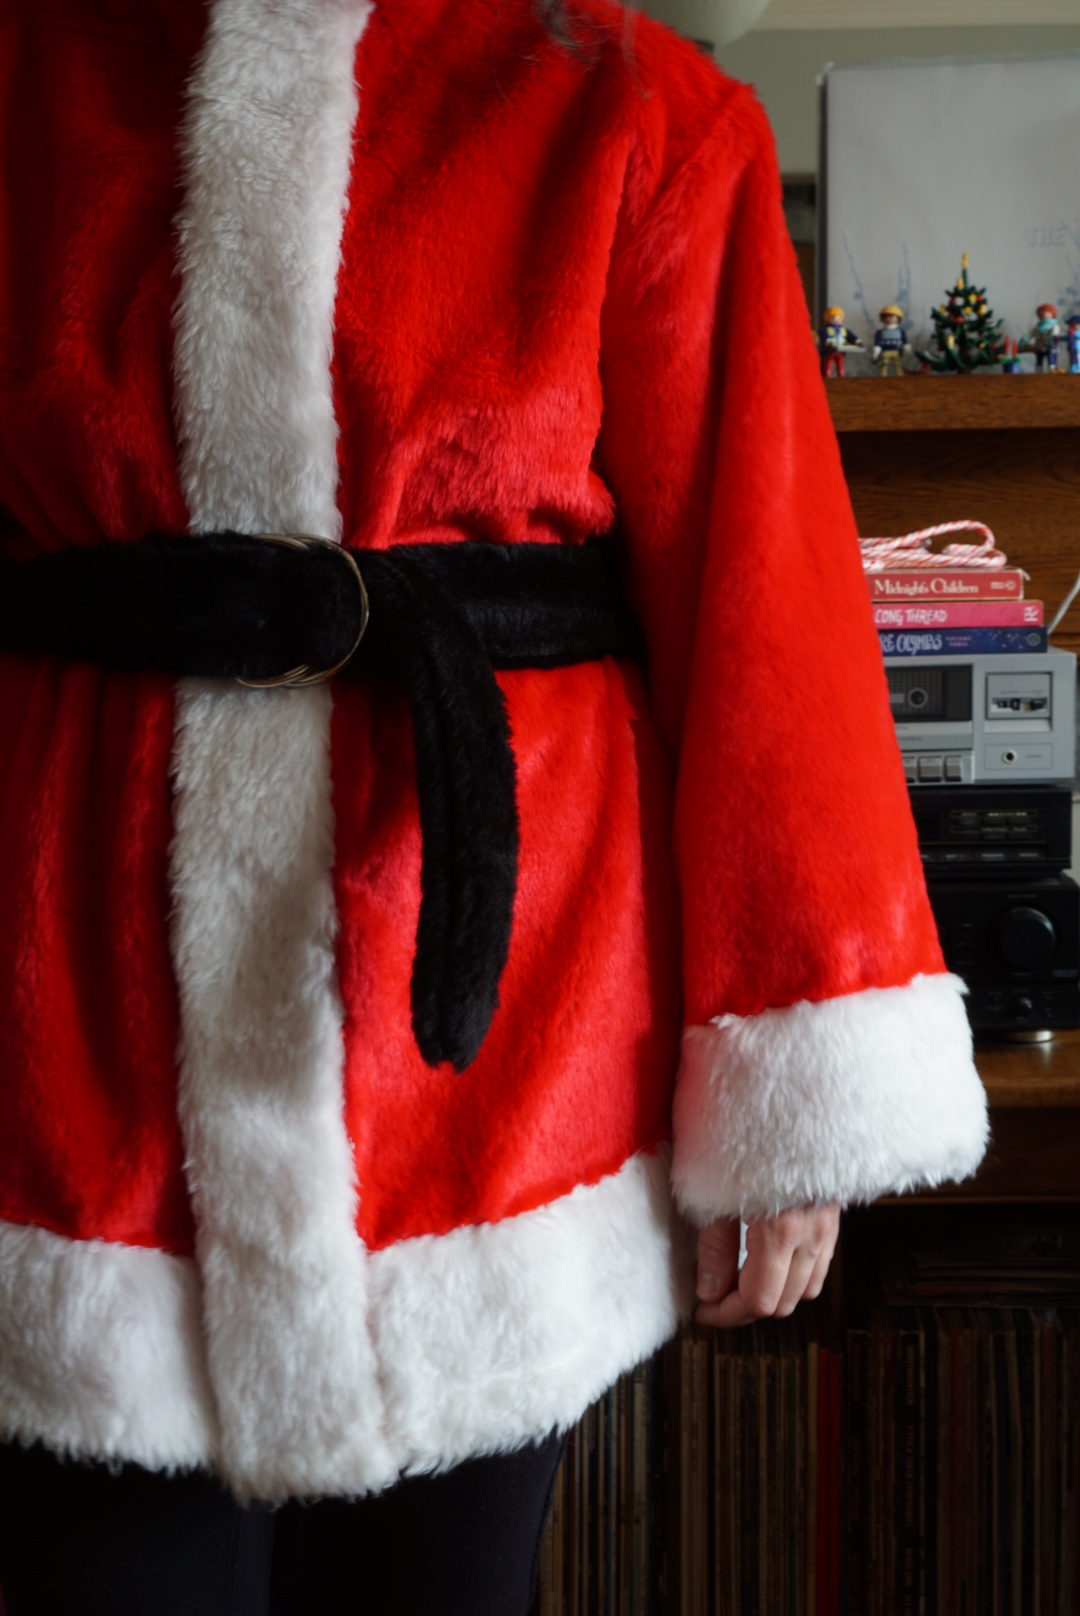
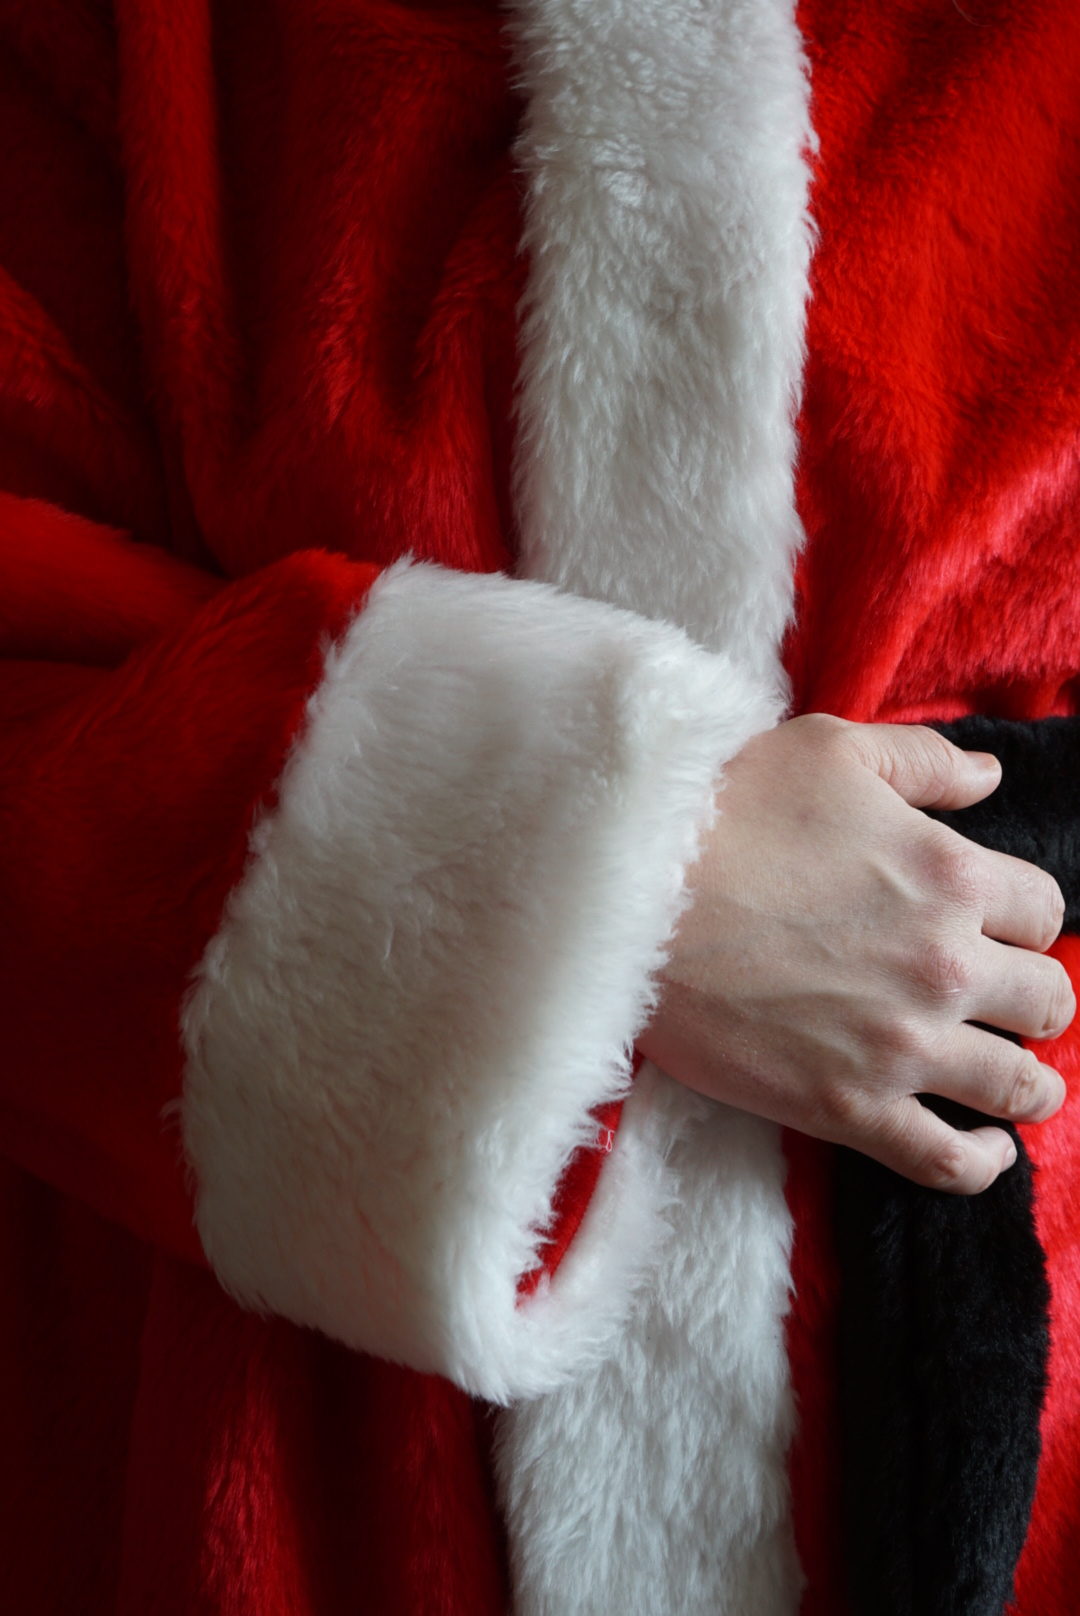
I actually started these Santa suits with a pretty good amount of time to spare before Halloween, which is unusual for me. And yet I still didn’t finish on time. The main cause of this was that I could not sew the facings/trim down by machine. I attached it at the first edge by machine (and then understitched it, even though the pattern didn’t tell me to – this was a big help), but then it folds up and over the outside of the garment and needs to get stitched down again. I honestly did read through the pattern fully before I started, but the issue was that it just said “sew down facings” or whatever, and I didn’t realize until later that I wouldn’t be able to do that by machine. If you were using one of the other fabrics on their list, maybe you could do this by machine because you would just have a little line of topstitching. This WAS a physically possible option for me to do as well, however I knew that it just wouldn’t look good with the faux fur because it would make a divot in the fluff and I thought it would disrupt the look. So, I hand-sewed ALL of the trim. ALL OF IT. It’s so much. Remember, there are two Santa suits. It took hours and hours and hours. The pinning was very fussy because I had to pin across the full width of the facings in order to make sure everything would lie flat and I wasn’t letting one of the fabrics pucker. The pins also really hid inside the fur. Even though my pins have rainbow heads, I still kept finding them days later. I even found a pin in one of my cuffs while I was taking it off on Christmas Day! You also have to gather a circle of faux fur into a little pompom and fill it with stuffing for the top of the hat, and that needed to be hand-sewn on too. I’m not trying to scare you off using faux fur for this Santa pattern, just helping you know what you’re getting into! Then you can make a commitment in full knowledge of what awaits you! I don’t regret using faux fur because they are sooo fuzzy and soft and I love the structure it gives, but it was a much larger commitment than I was mentally prepared for. Even when I was taking a long hiatus from working on these during late November/early December because I kept looking at them and dreading the hand-sewing, I wasn’t doing any other sewing projects because I wouldn’t allow myself to start anything else until these were finished. I’m very excited to sew things that aren’t these Santas!
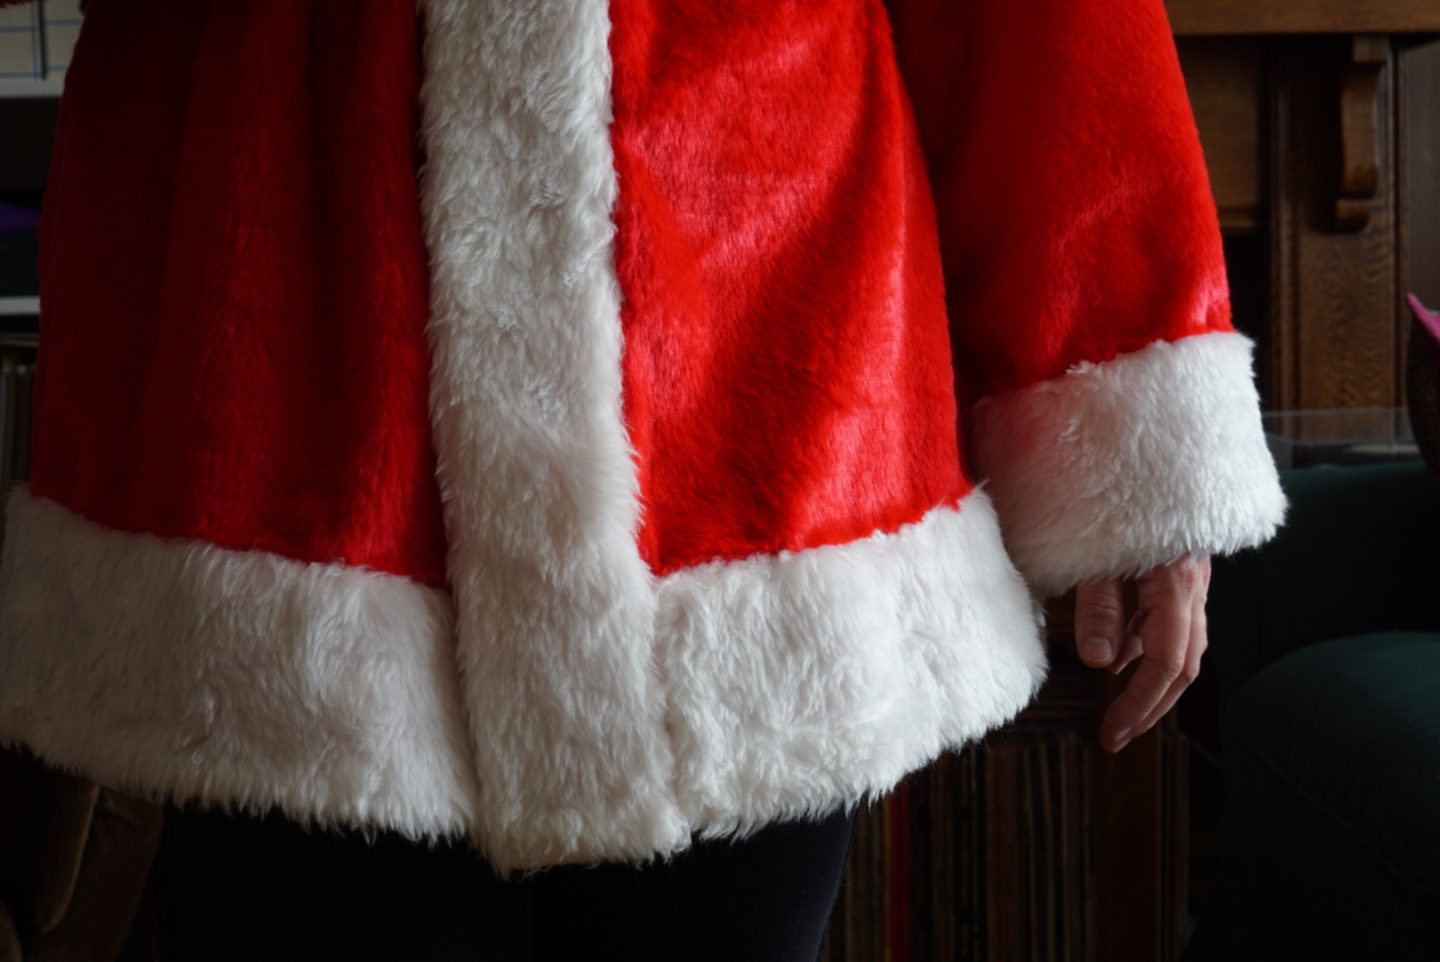
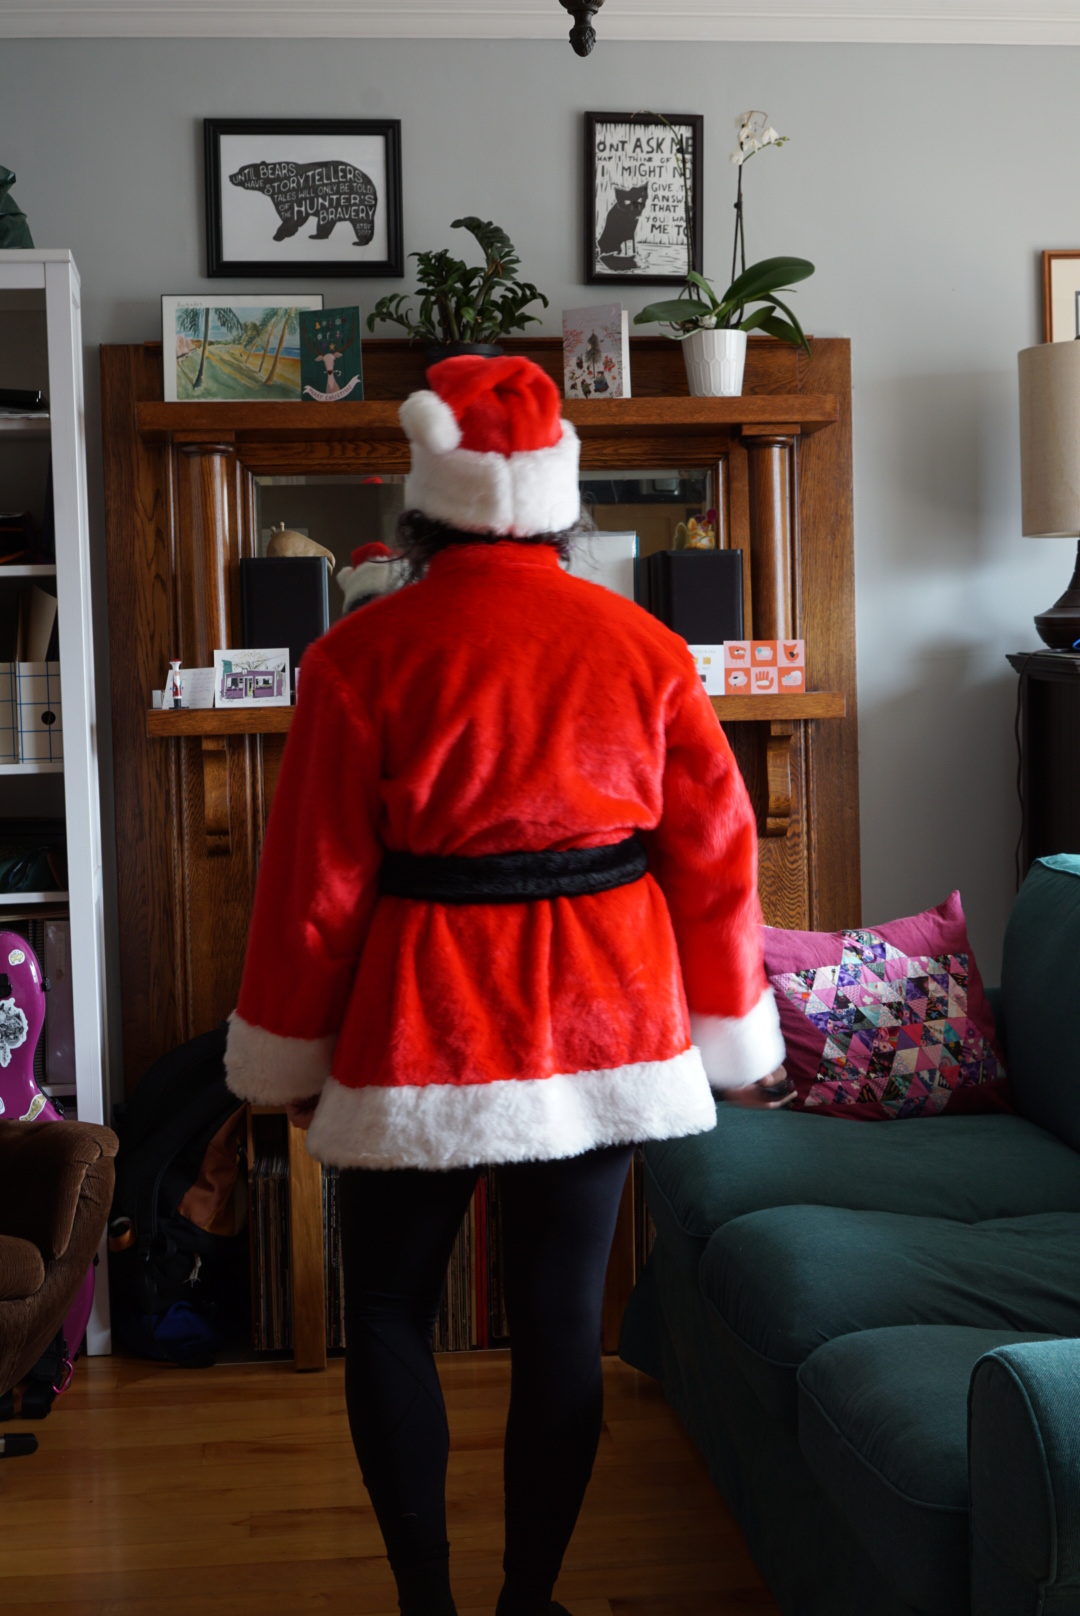
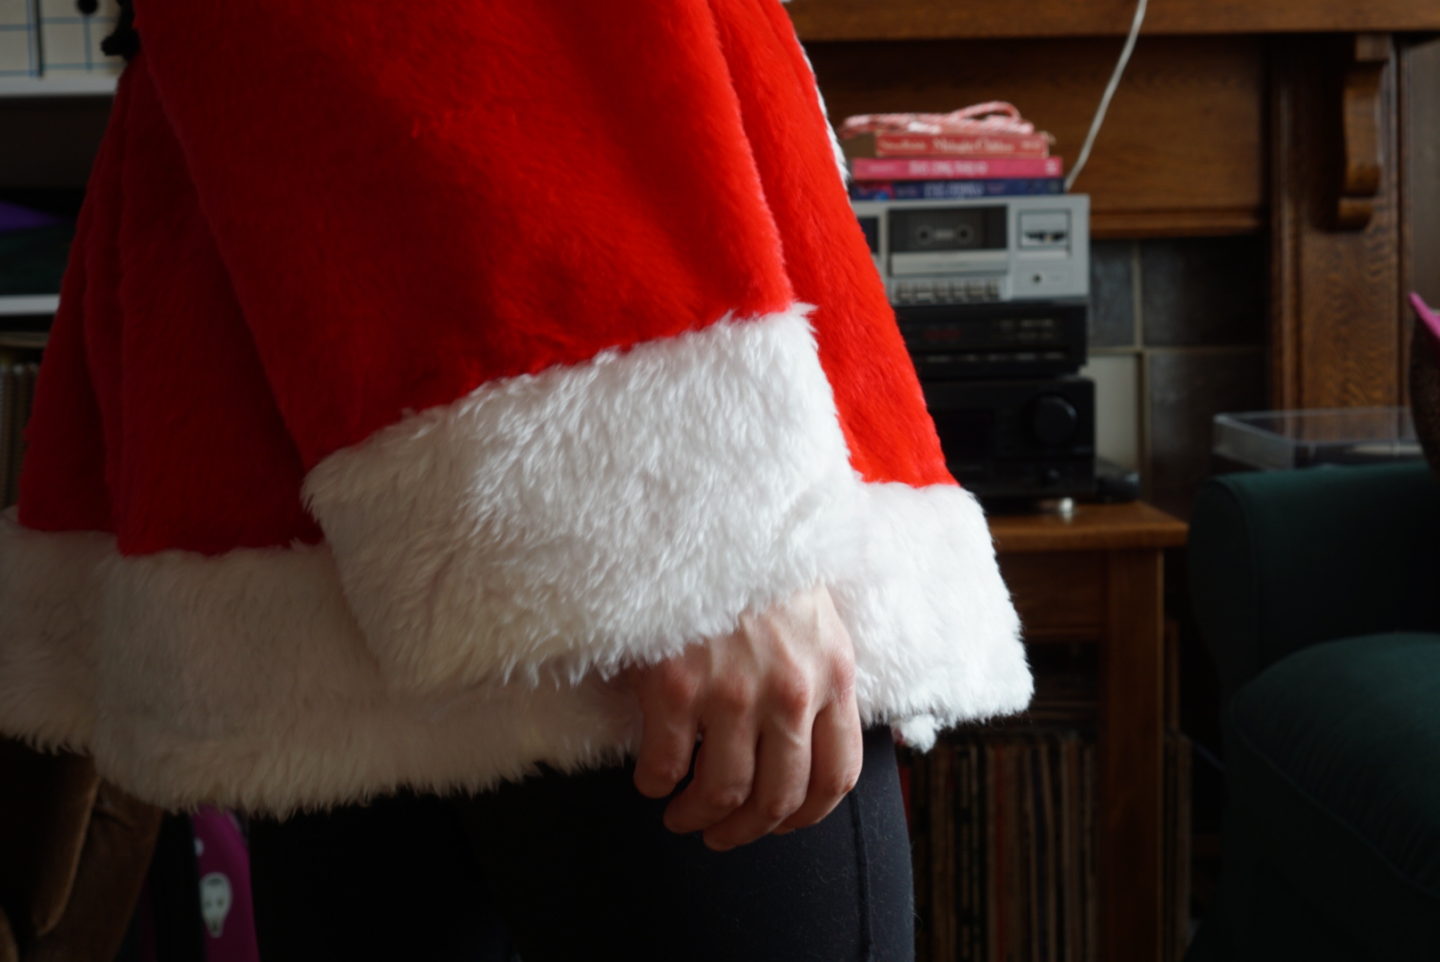
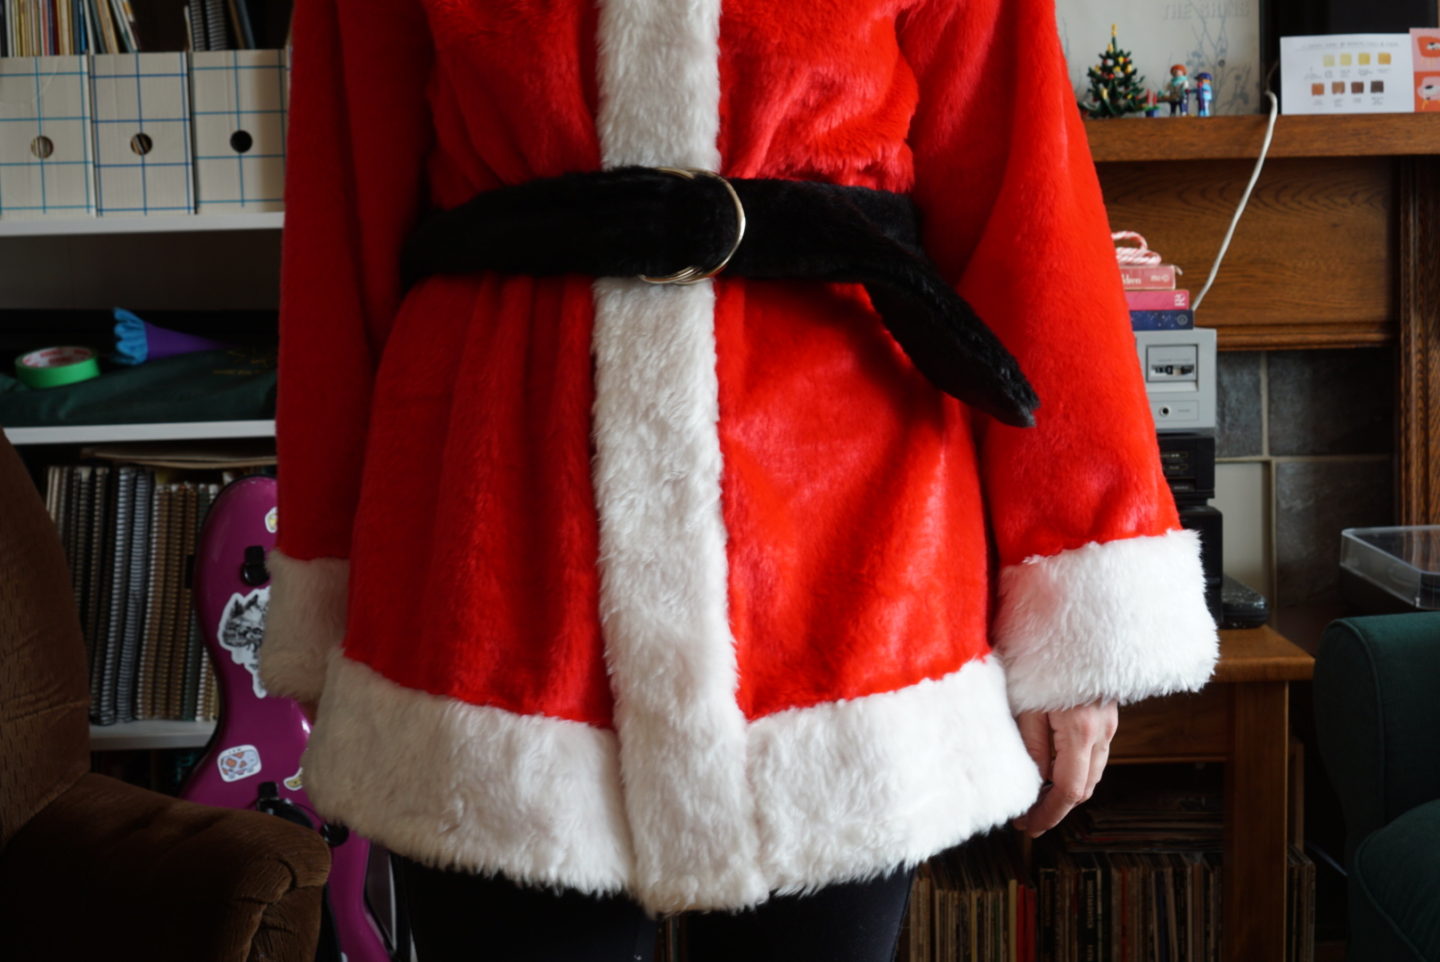
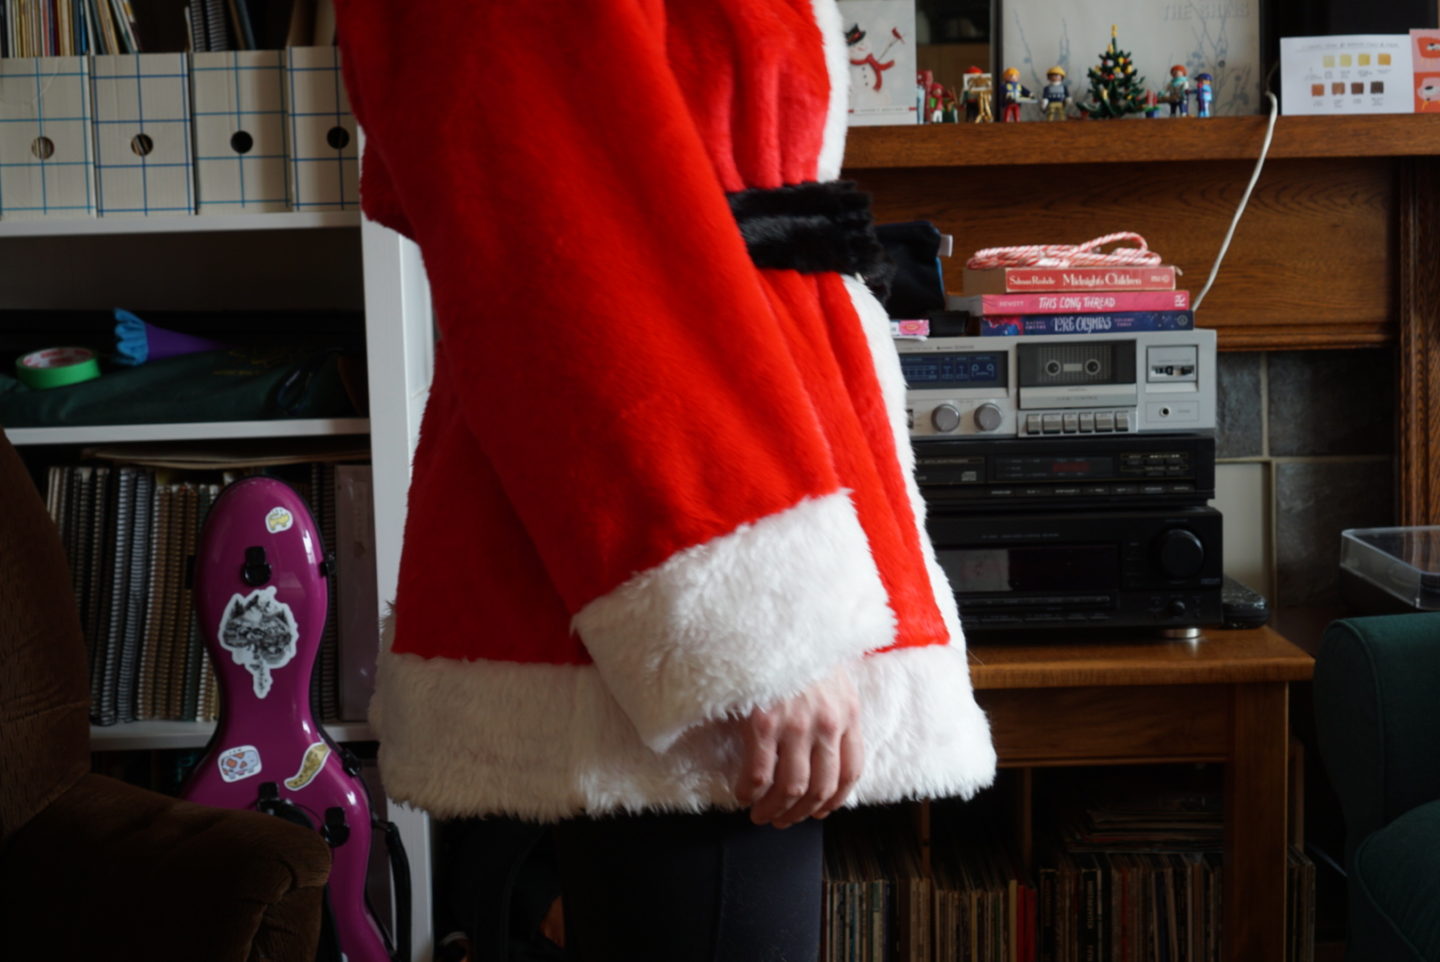
These costumes were the first time I have ever used shoulder pads in one of my projects! They give really good structure to the shoulders, and were not hard to sew at all. I just folded them in half (bottom sides together) and sewed them by hand to the shoulder seam allowance along the fold in the pad. They help support the weight of the sleeves and the overall jacket well, so the shoulders aren’t as droopy as they were before I put the pads in. I wish I took a before photo to show you, but alas!
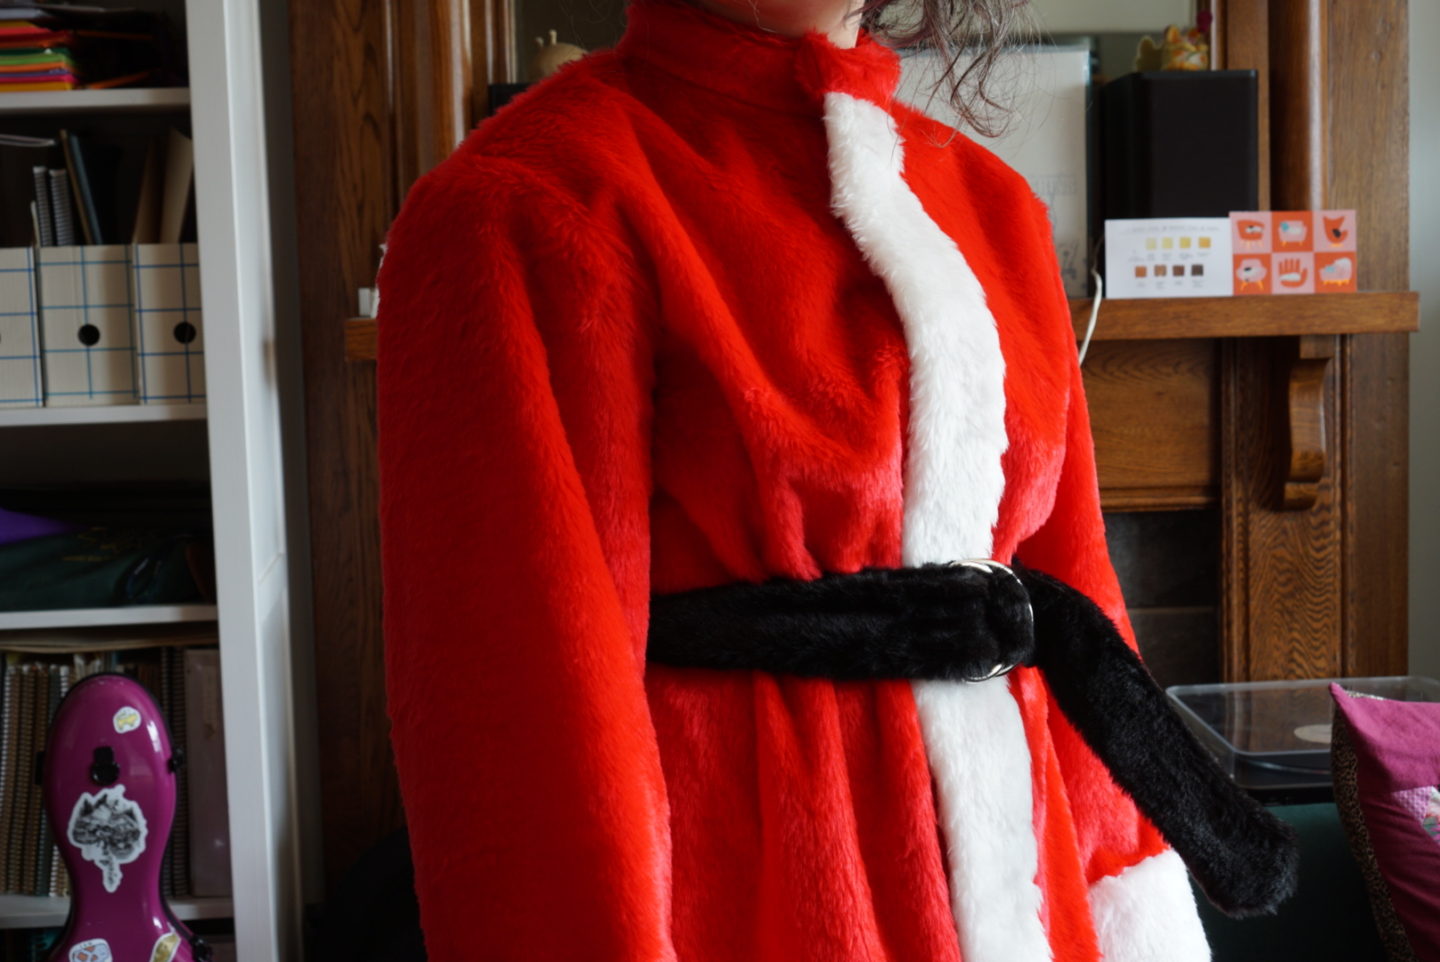
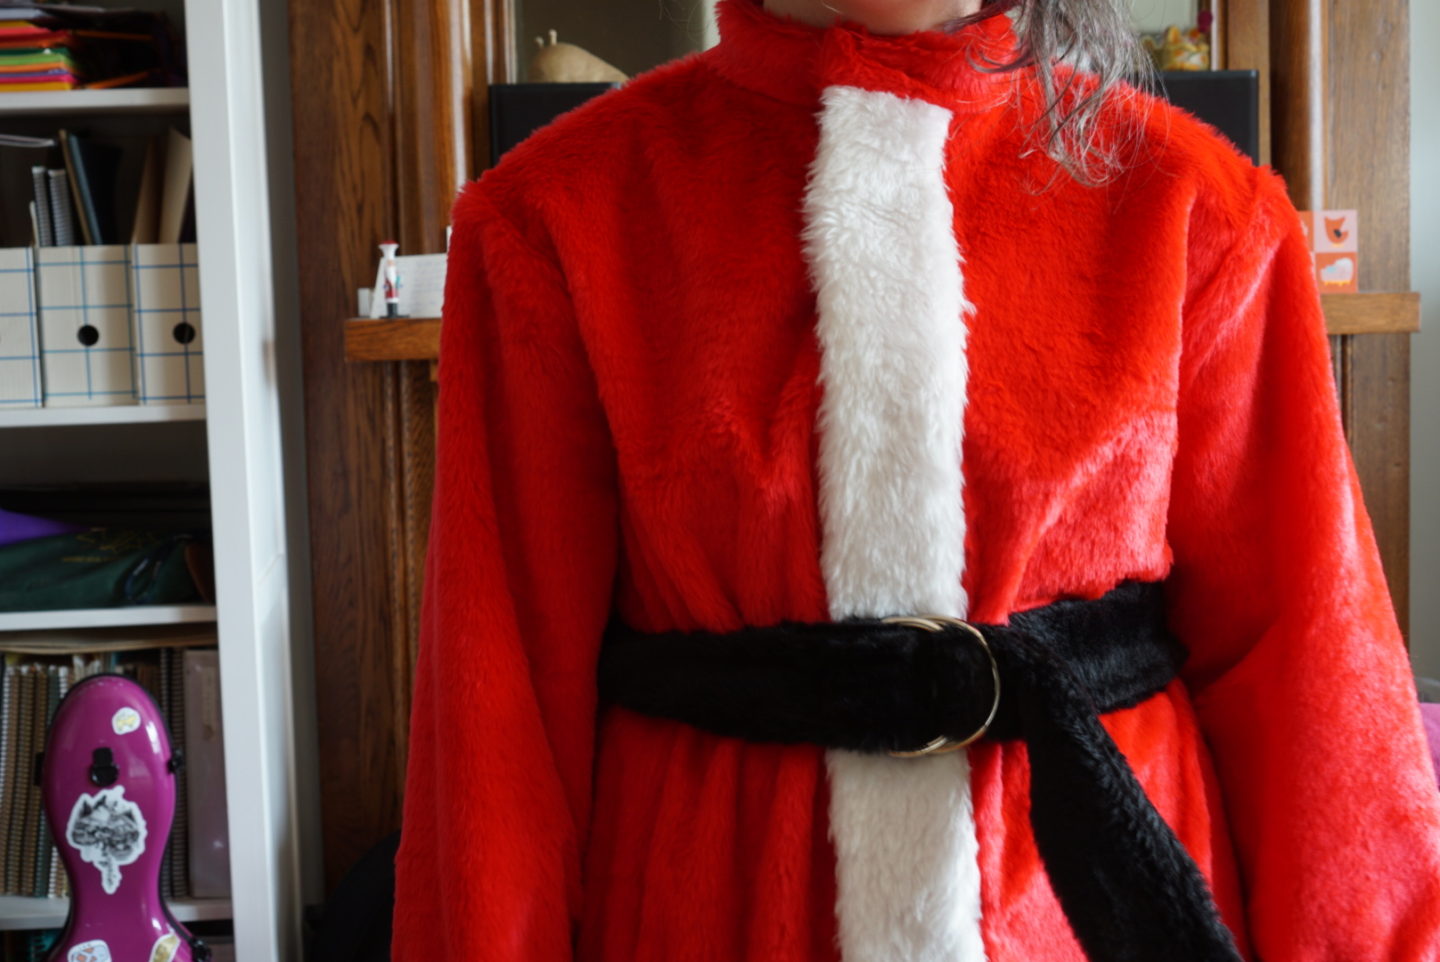
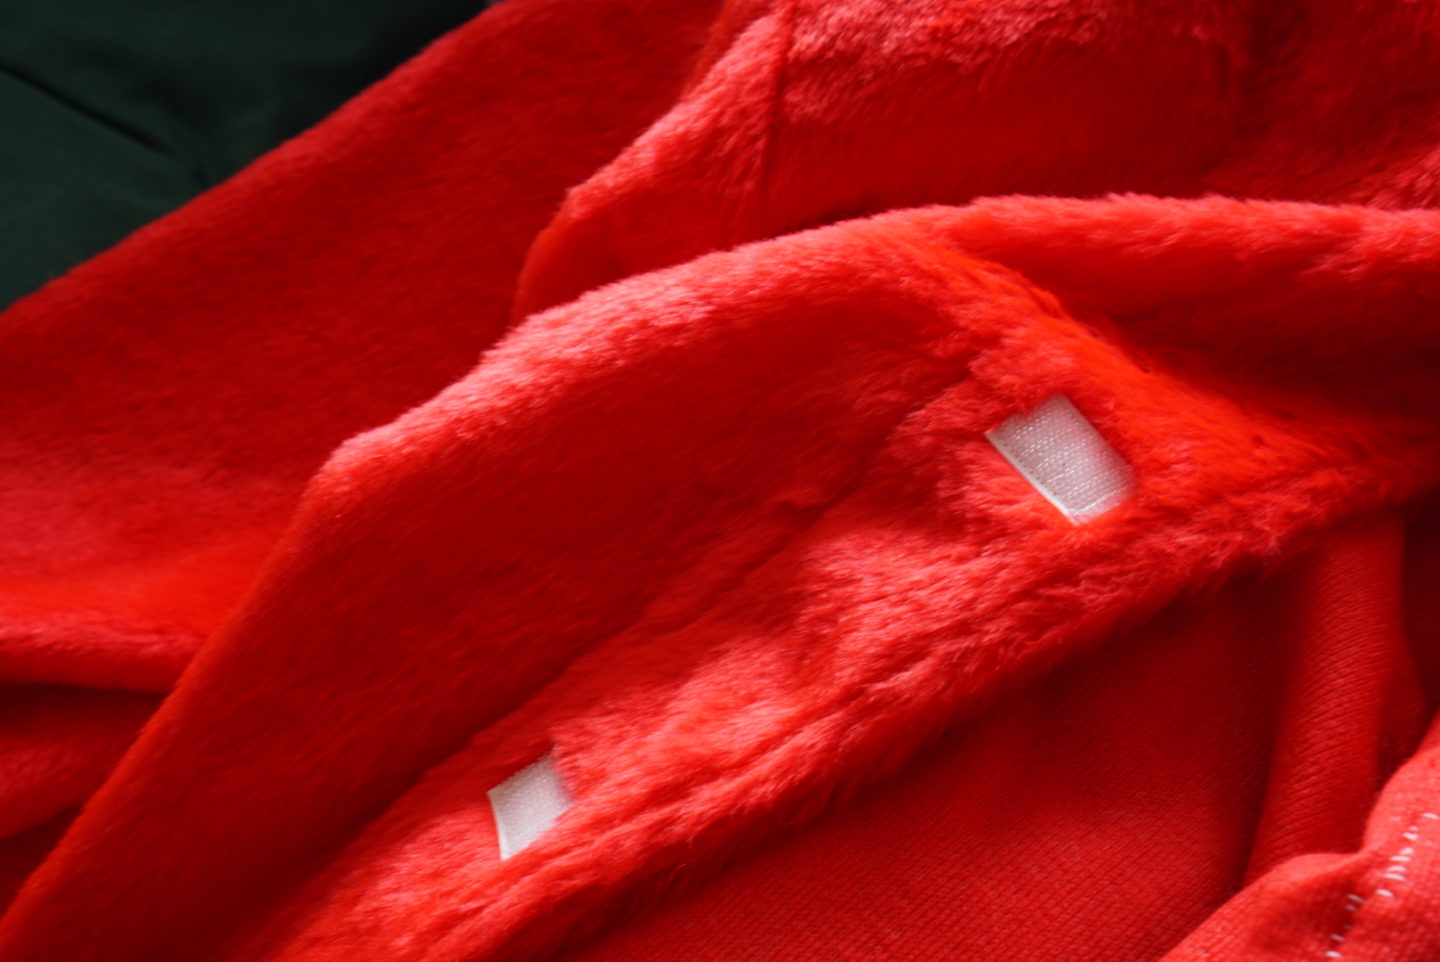
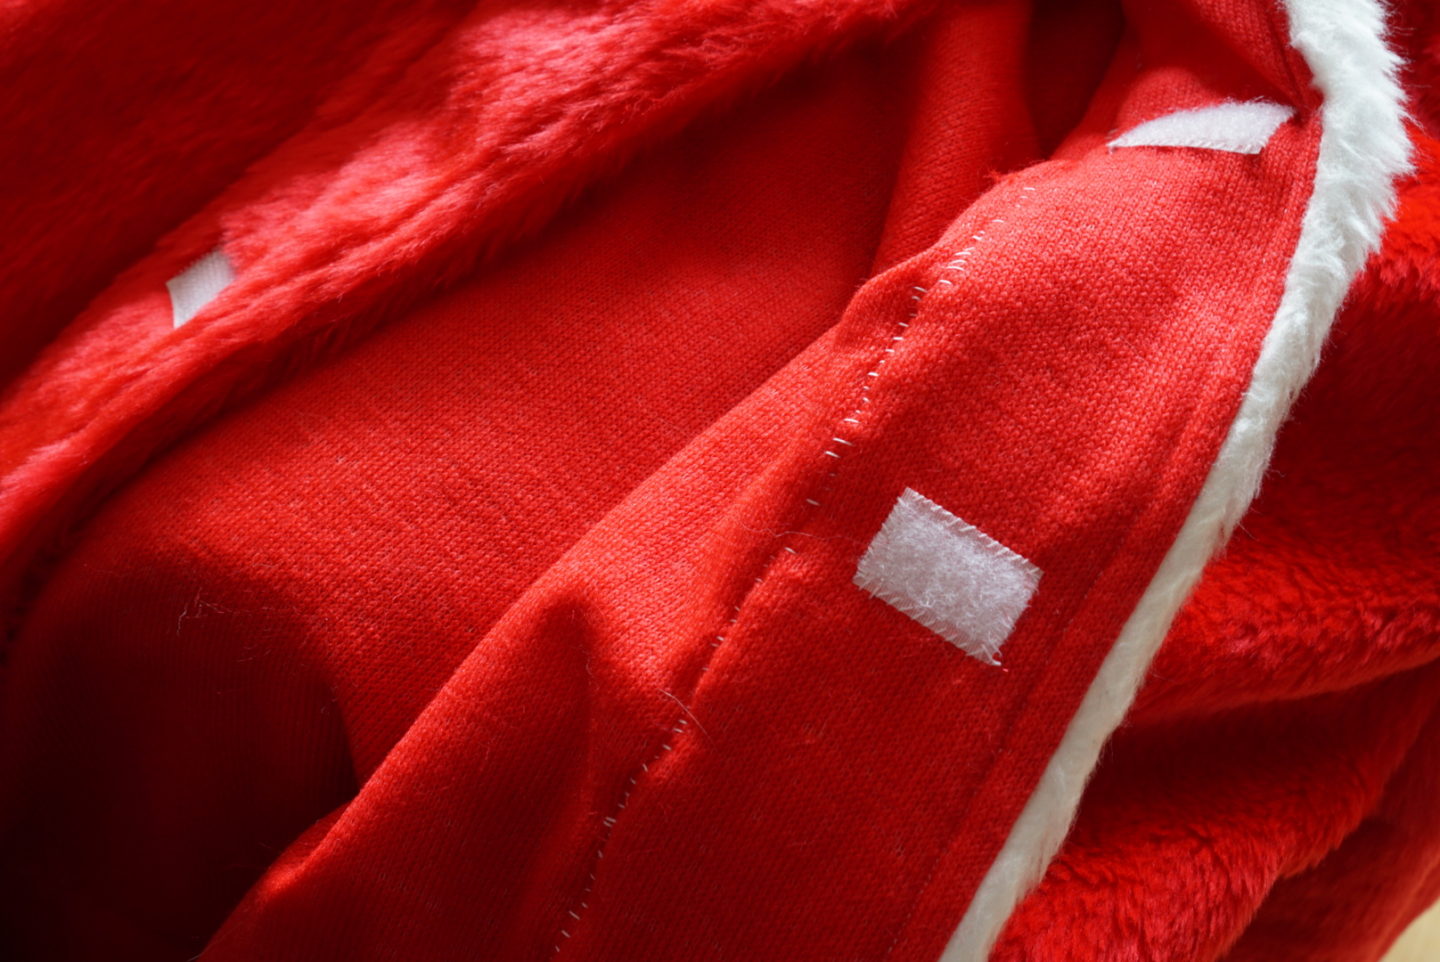
The final stage of the coats was to sew in velcro to hold the fronts shut. I sewed the velcro on the side without the trim by machine, because the back-side of that is the inside of the coat and no one will see it. I wish I had thought ahead for the other side, and I’m here now to give you wisdom for this if you are making this pattern. Sew the opposing velcro using a machine BEFORE you sew down the front vertical facing by hand. Then the back of the machine sewing will get hidden by the white faux fur, and you will have saved yourself a lot of trouble. I had to sew these bits of velcro by hand, because by that time, I had already sewn the facing down and I just couldn’t bear taking it out and redoing it. But sewing velcro by hand is awful. It’s very hard to pierce the plastic-y velcro backing. I used a thimble because it was wrecking my fingers to push it through so forcefully. But I persevered! And they are finished! The surprise went over really well, and everyone was very entertained and full of holiday spirit. And now we have Halloween costumes ready for 2023 already! Annnnddd I am free to sew things that aren’t this! The biggest gift of all! If you want to see a (very badly filmed) video of my mum and sister seeing us in the suits on Christmas morning, head to my Instagram post about the suits! 🙂
