
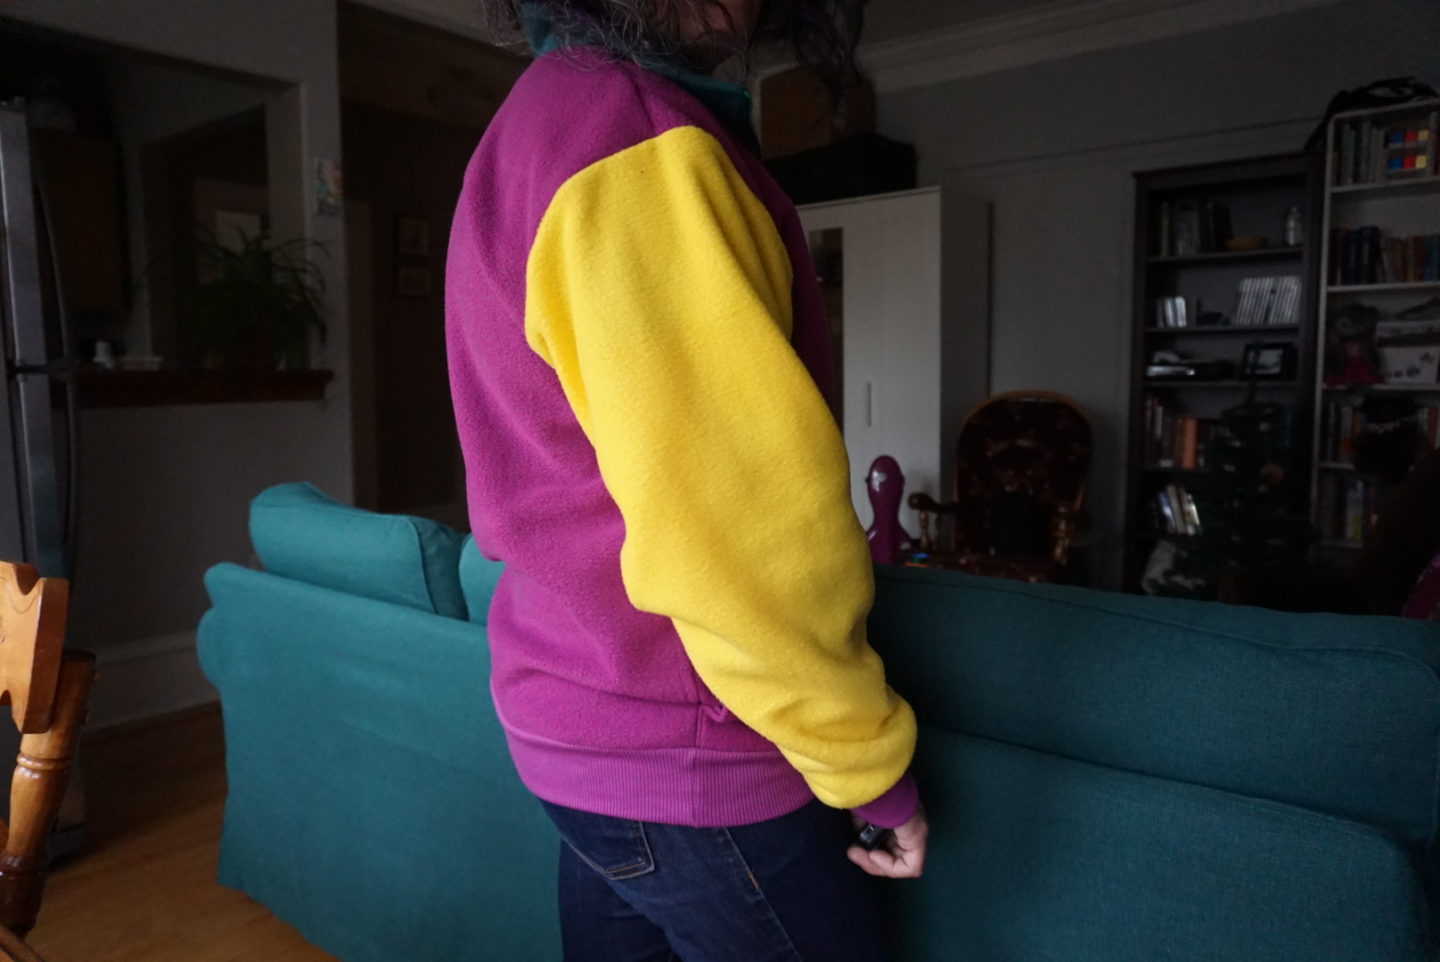
I see you all out there, you amazing sewists making copies of designer clothing, of the outfits your favourite fashionista villain wore on Killing Eve. Over here, I’m devoting my time to copying the sweater one of my favourite climbers always wears on Instagram. Louis Parkinson (@captaincutloose) is a great climber and coach who lives in the UK, and I love following him on Instagram for all his goofy, fun, technical climbing moves, tips, and training strategies. He is frequently wearing this colour-blocked hoodie that everyone always asks him about, but he won’t tell anyone where he got it. So I decided to copy it!

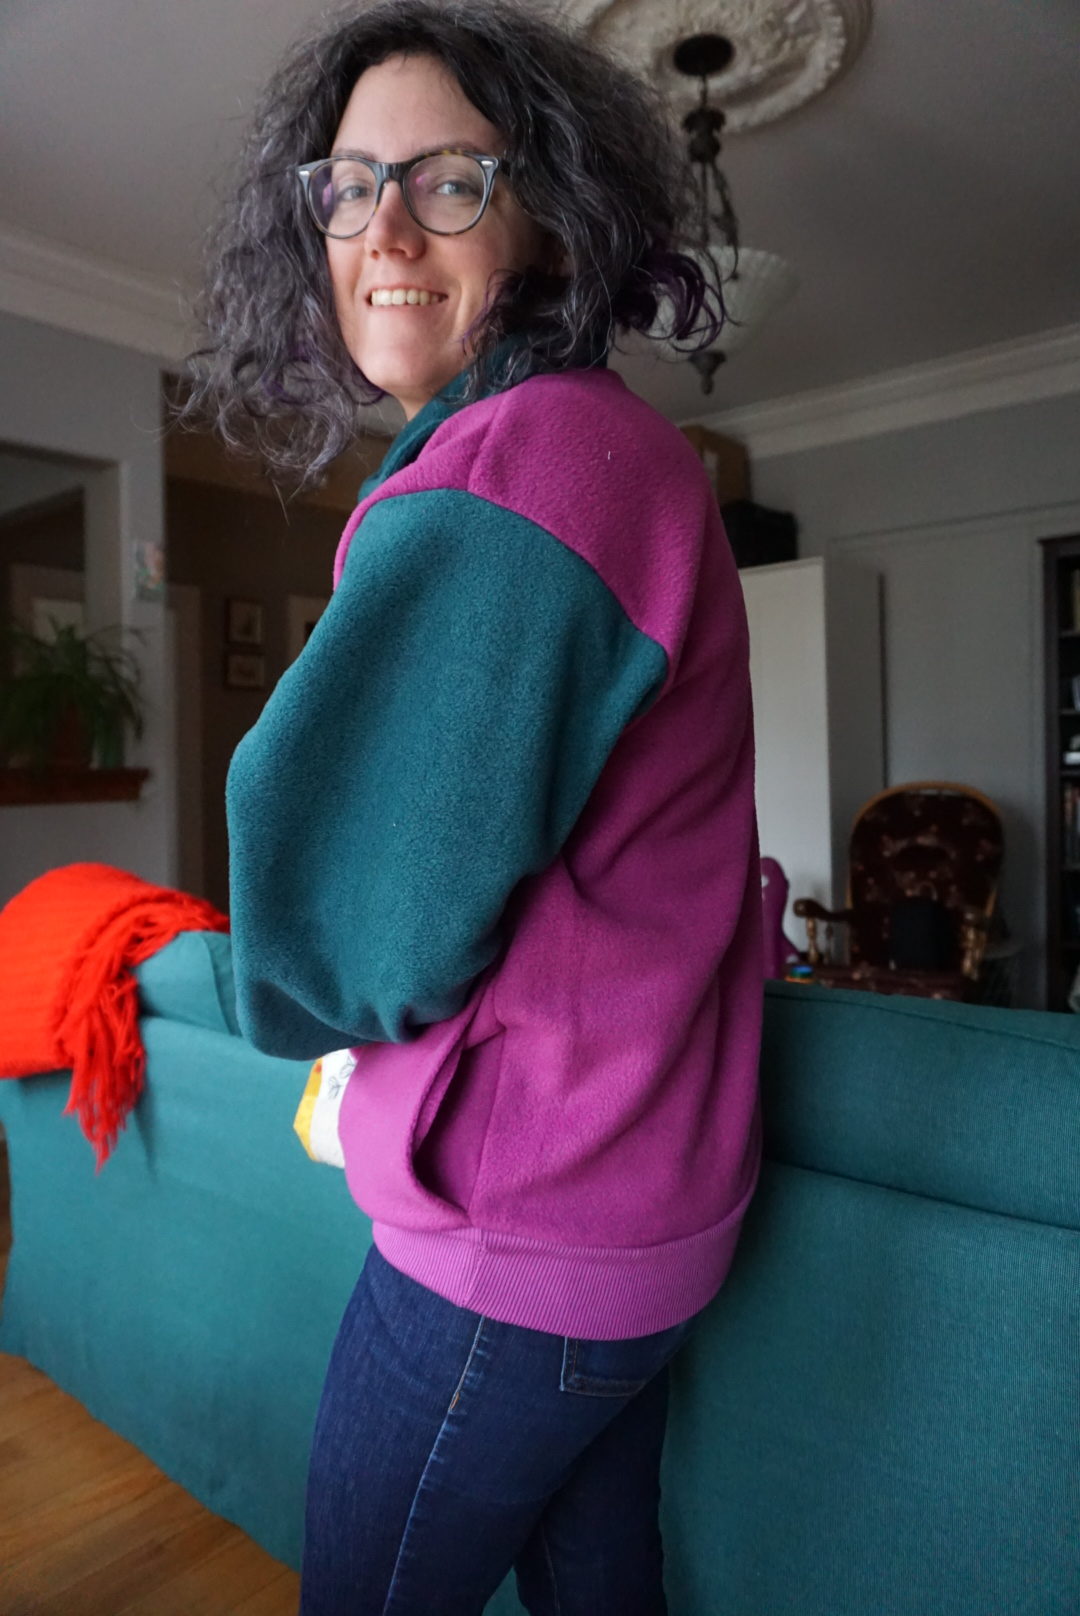
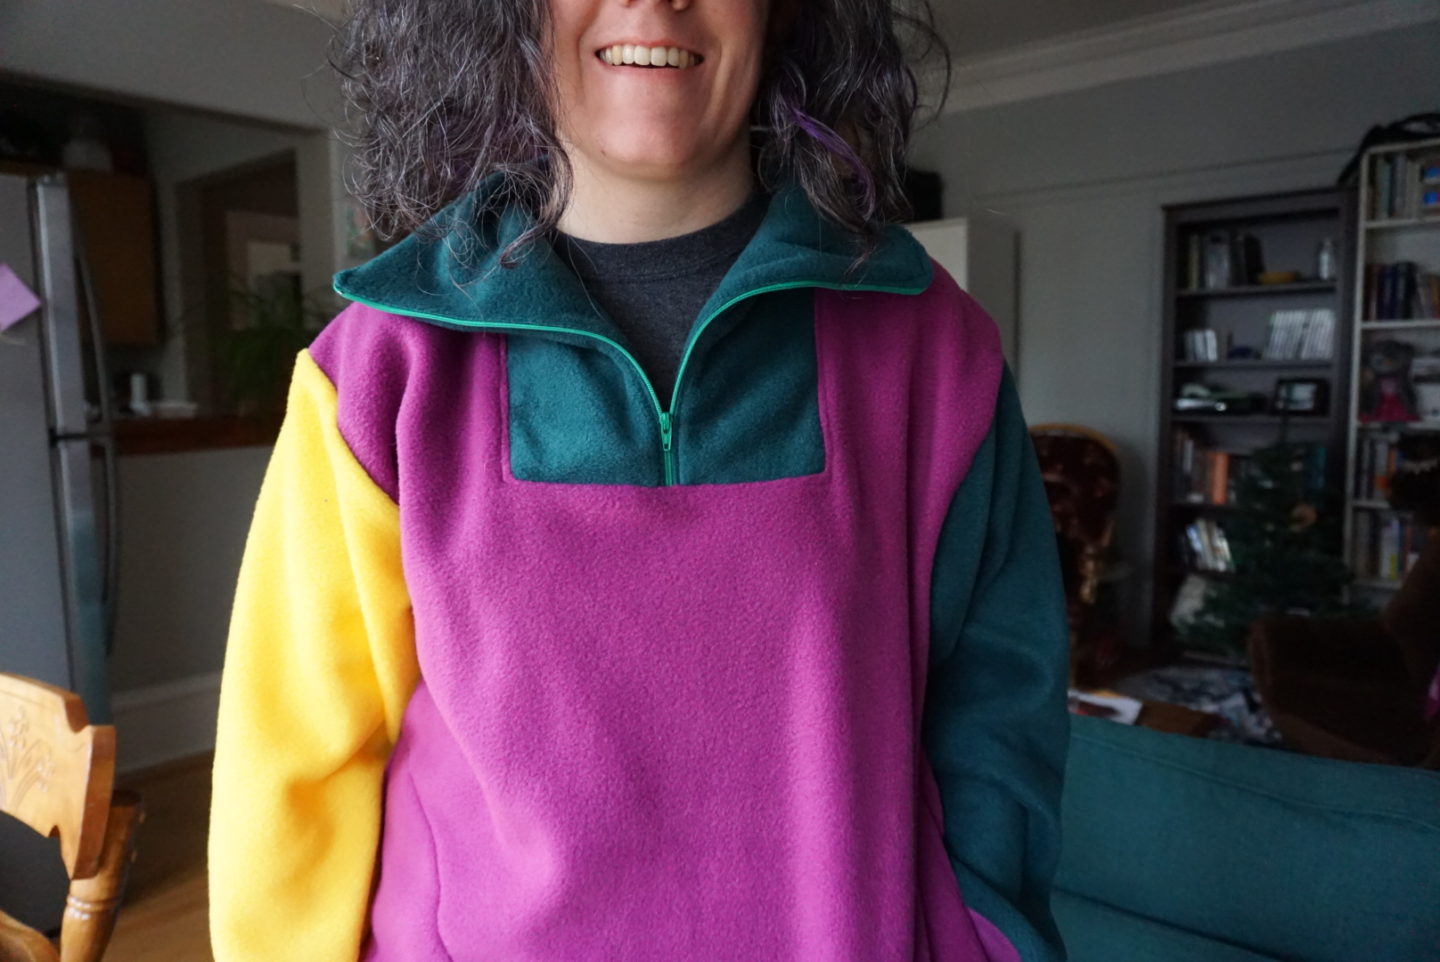
You’ll notice that this isn’t an exact copy. I was having a hard time finding sweatshirt fleece in colours that were actually close to Louis’ sweater. I also don’t have a go-to hoodie pattern (although I really should find one). And I couldn’t find any yellow ribbing. It was a quest to even find ribbing at all in local fabric stores, but somehow I did end up stumbling across this exact colour-match to the magenta so I went with that. I think yellow ribbing would have given the colours a better balance across the sweater, but I’m also not mad about how it all looks together. I ended up going with cozy polar fleece because of the pattern I chose to use (I’ll tell you more about that below). I couldn’t find a close match to the blue in the original sweater, so I went with a slightly darker turquoise for my copy and I think it works pretty well!

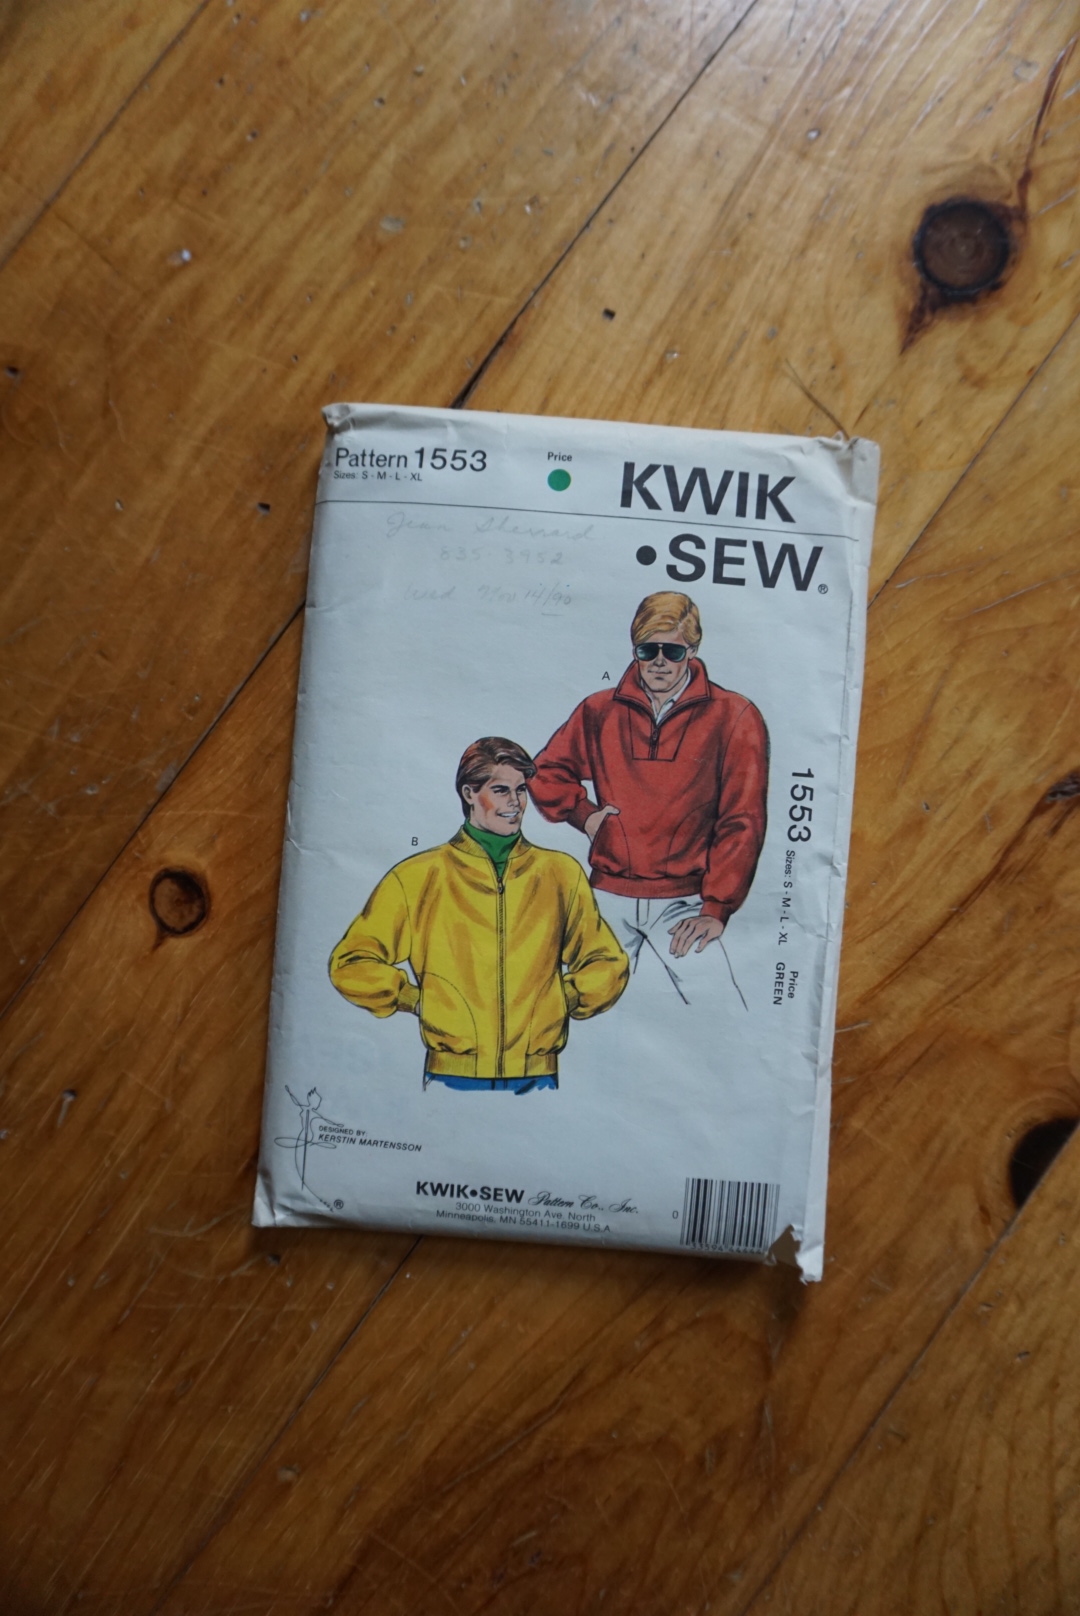
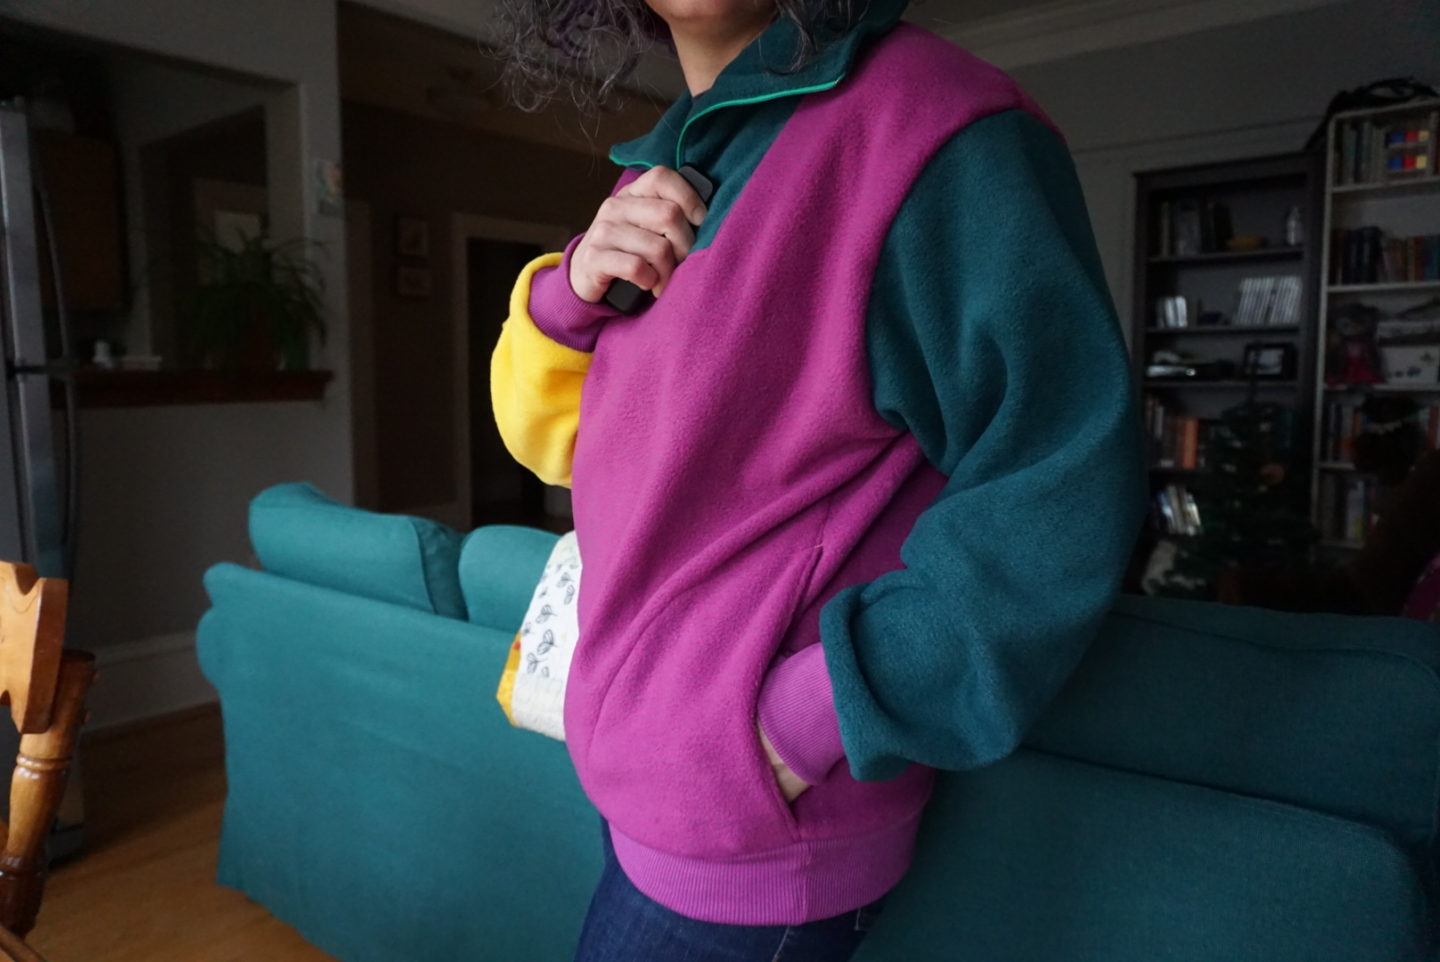
Above you can see a photo of the pattern I used for this garment. It’s Kwik Sew 1553, which is a men’s pattern from the late 80s. This is a pattern that was in my mum’s pattern collection, which I now have at my place. She made one of these for my dad when I was very little, and I have a lot of memories of him in it. My sister now has that sweater, since he died a little more than 10 years ago. It’s navy blue and has multicoloured squiggles all over it. I had been toying with the idea of making my own fleece sweater from that pattern, and it occurred to me that I could combine the two projects into one! It came together quite quickly over the course of an afternoon and an evening this weekend. I made a size S without doing any fit testing, but I did measure the pattern pieces to make sure it would be big enough since the S is the smallest size. I’m happy with the fit! It is more snug in the hips than it likely would’ve been on their fit model, but it’s very stretchy so it’s not uncomfortable or restrictive at all. I think if I make this pattern again I will double up on the ribbing so it has a bit more structure for the cuffs, but it’s not something that’s going to bother me on this copy.
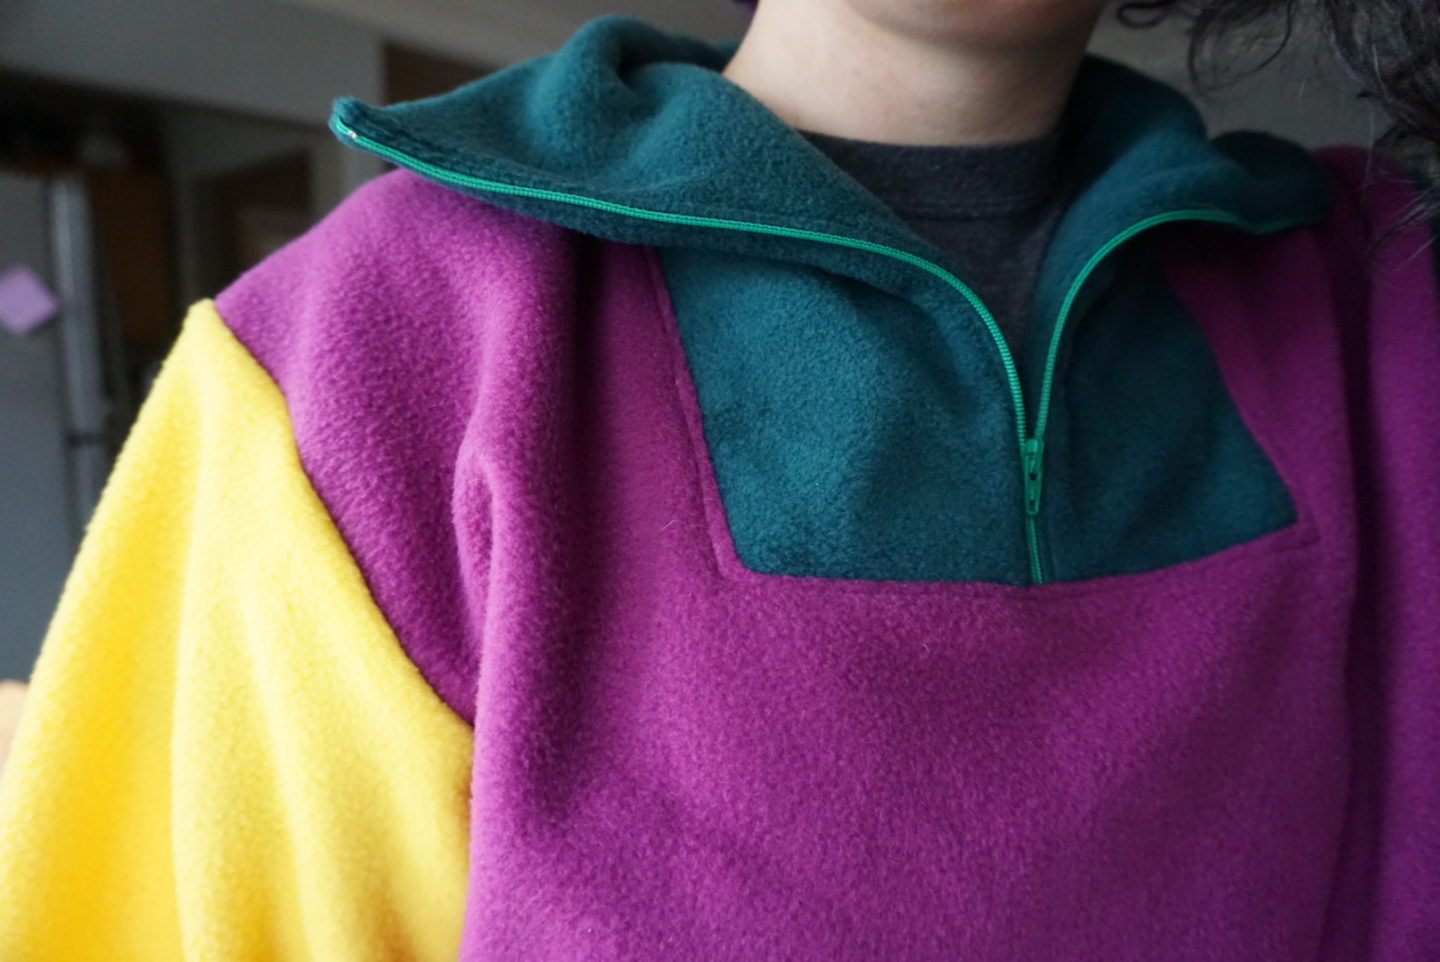
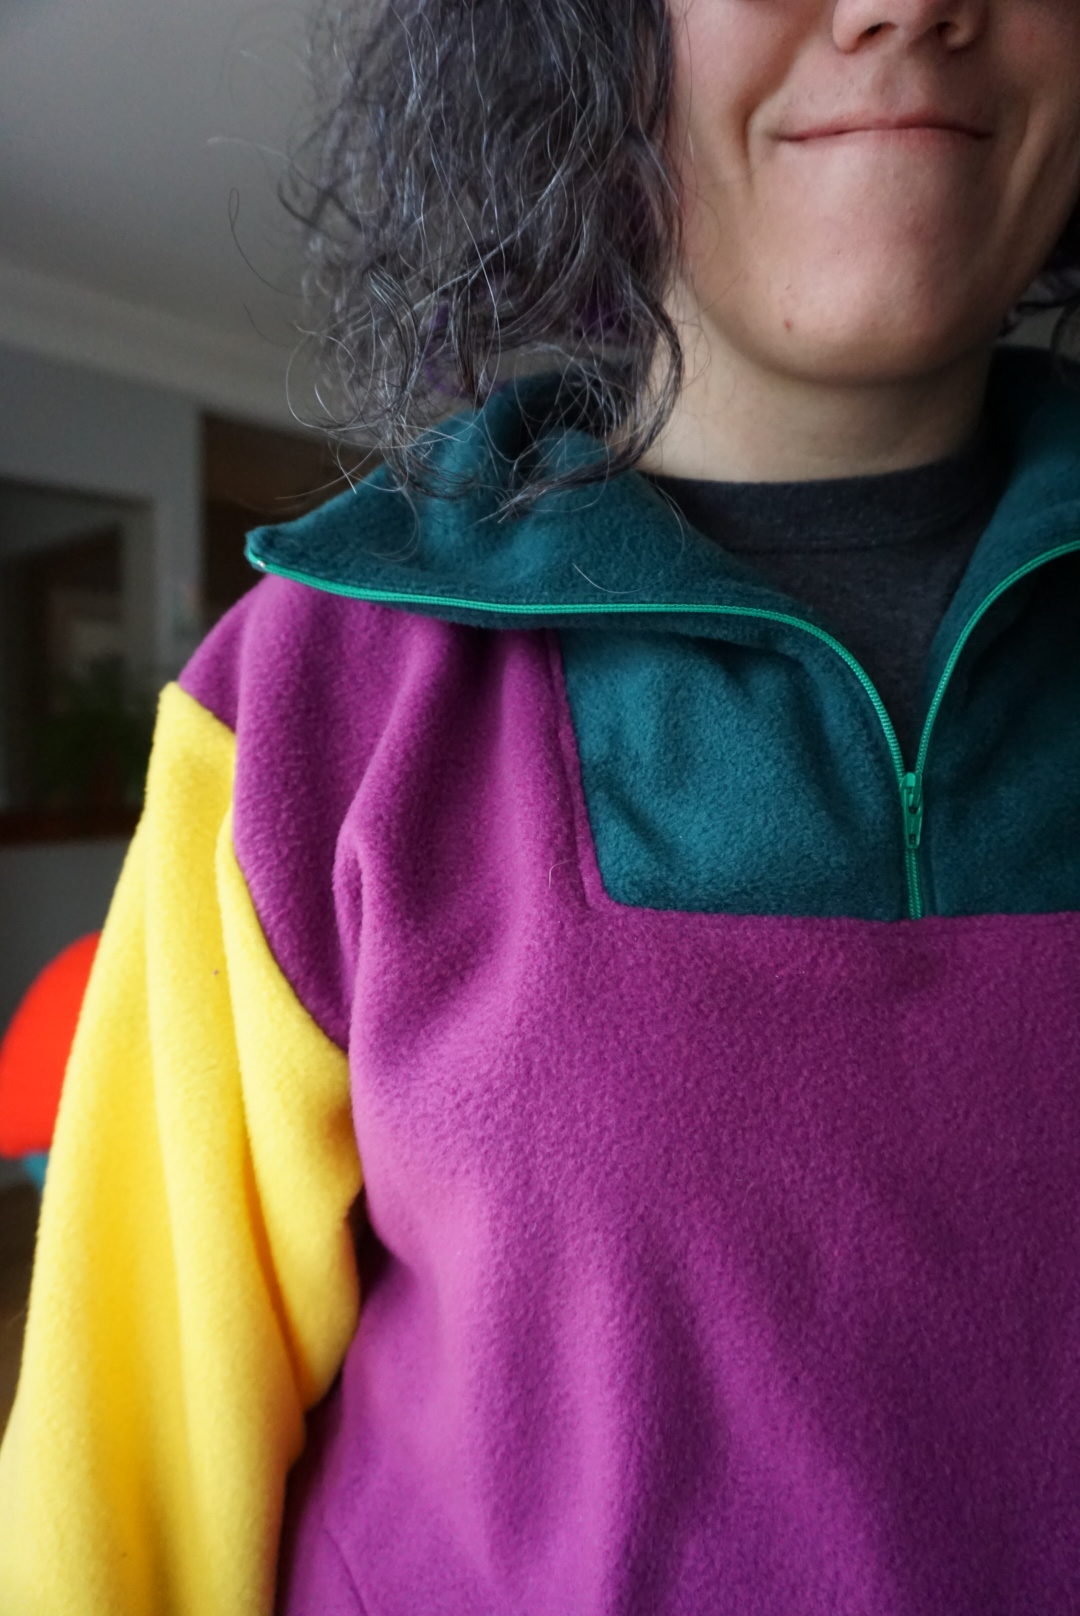
Like a lot of older patterns, this one had some techniques and construction methods that were new to me, but most of it was very easy to follow. One of the things the pattern has you do, which is not super common with modern indie patterns, is only use a zigzag/stretch stitch on areas that require stretch instead of using the same stitch for the whole thing. The collar insert is sewn in with a zigzag but then it’s topstitched with a straight stitch. The zipper is obviously sewn in with a straight stitch because the zipper tape can’t stretch. This pattern is better than a lot of older ones at showing locations where you should overlock the seams, although I didn’t really need those additional visuals on the diagram since I’m more experienced. The collar piece is pretty cool, because you cut it on the fold and it has no seams along it at all, with the zipper completing the loop. The pattern has labels on a lot of the edges that say things like “bottom edge”, “zipper edge”, etc.
One of the construction things that confused me and necessitated talking it through with my partner to make sense of was the way the pockets are sewn. You only cut one pocket piece for each side, instead of two pairs. The front body piece has a little extension on each side in the pocket area, and you fold it in and topstitch it to make the open edge of the pocket. The pocket piece on each side is sewn to the back body, aligned with the bottom edge of the pattern piece. It then gets laid across the side seam toward the front body and topstitched to the front of the garment. The bottom edge gets basted and then sewn in to the ribbing when you attach the bottom cuff. This means that the front body piece actually forms the other side of the pocket, which I had never encountered before. If you wanted the additional pocket piece in there for increased cozyness, it would be pretty easy to modify because you could just cut extra pocket pieces and sew them like a standard side seam pocket.

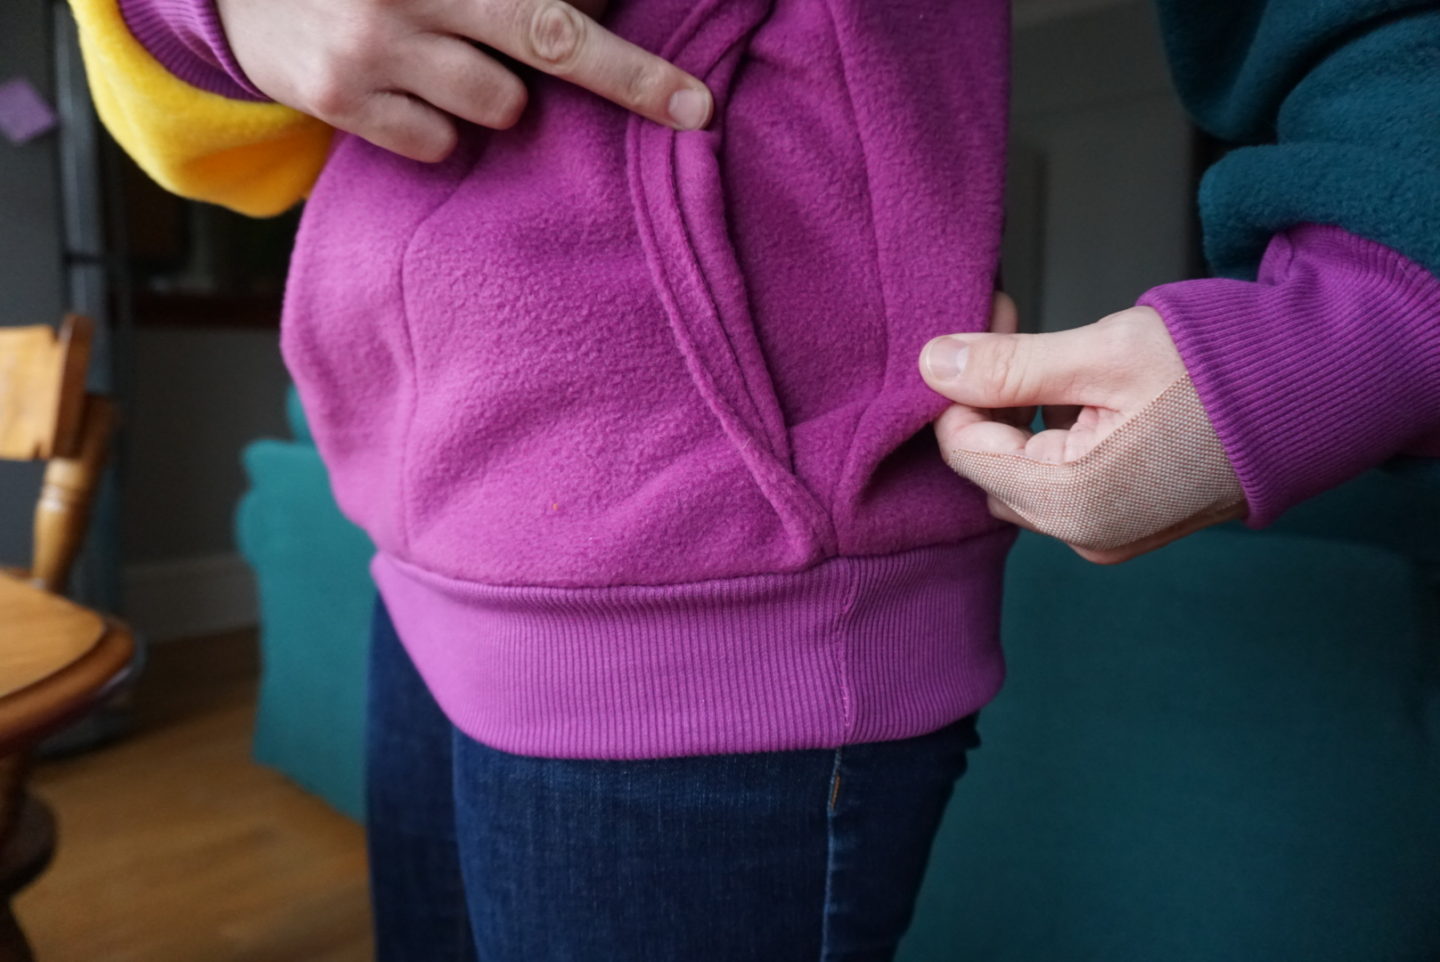
I’m very happy with how my Louis Parkinson sweater copy turned out, and I’m hoping to wear it climbing soon! (After my burn – hiding under the large bandage you might have noticed – heals up). Maybe wearing this sweater will make me magically better at doing dynamic moves like Louis?!

I love this!! I have just bought this pattern at an op shop but it’s missing the instructions, so I really appreciate your description of how you sewed the pockets. Thank you.
Author
No problem, I’m happy that I can help! Especially where it’s an older pattern. 🙂