
Today I bring you some very cute sewing, but for once it’s not a garment of any kind! Instead, it’s my cute new friend Olivia. She’s an owl, and she comes from the delightful book Handmade Animal Dolls, by Melissa Lowry. I bought this book shortly after it came out, but I honestly can’t remember where I stumbled across it. I had it in the back of my mind for more than a year, intending to sew something from it, but the urges didn’t actually push me into action until a couple weeks ago. I bought supplies for four different creatures (all of whom you’ll hopefully see here on the blog once they’re created), and decided to start with this sweet owl. How can anyone resist that face?!

I’ve never made any stuffed animals before, so I was kind of unsure what to expect. I decided to start with the owl because she doesn’t have arms like many of the other animals, and I thought it would be a bit simpler. I wasn’t wrong, but also the wings were a bit of a tricky sew due to the faux fur combined with an 1/8″ seam allowance. I didn’t mind the seam allowance anywhere else since it was felt, but I missed the top corners of the wings on both sides when I was sewing the body together and had to unpick and fix it. Unpicking isn’t my favourite, but it didn’t make me as grumpy as I expected because I was feeling excited to see how cute this little owl was going to turn out. I also had forgotten how fluffy faux fur was. It’s been a minute since I sewed this neon pink faux fur coat and I think I blocked out how much fur I found everywhere for weeks and weeks and months. You guys, the hype is real in terms of how pervasive faux fur fluffs are. It gets everywhere. It doesn’t matter how many times you vacuum, you will think “I finally got the last of it!” at least six times before it’s actually gone, and even then there’s probably still a small fluff lurking somewhere for you to find in a decade. You’ve been warned.
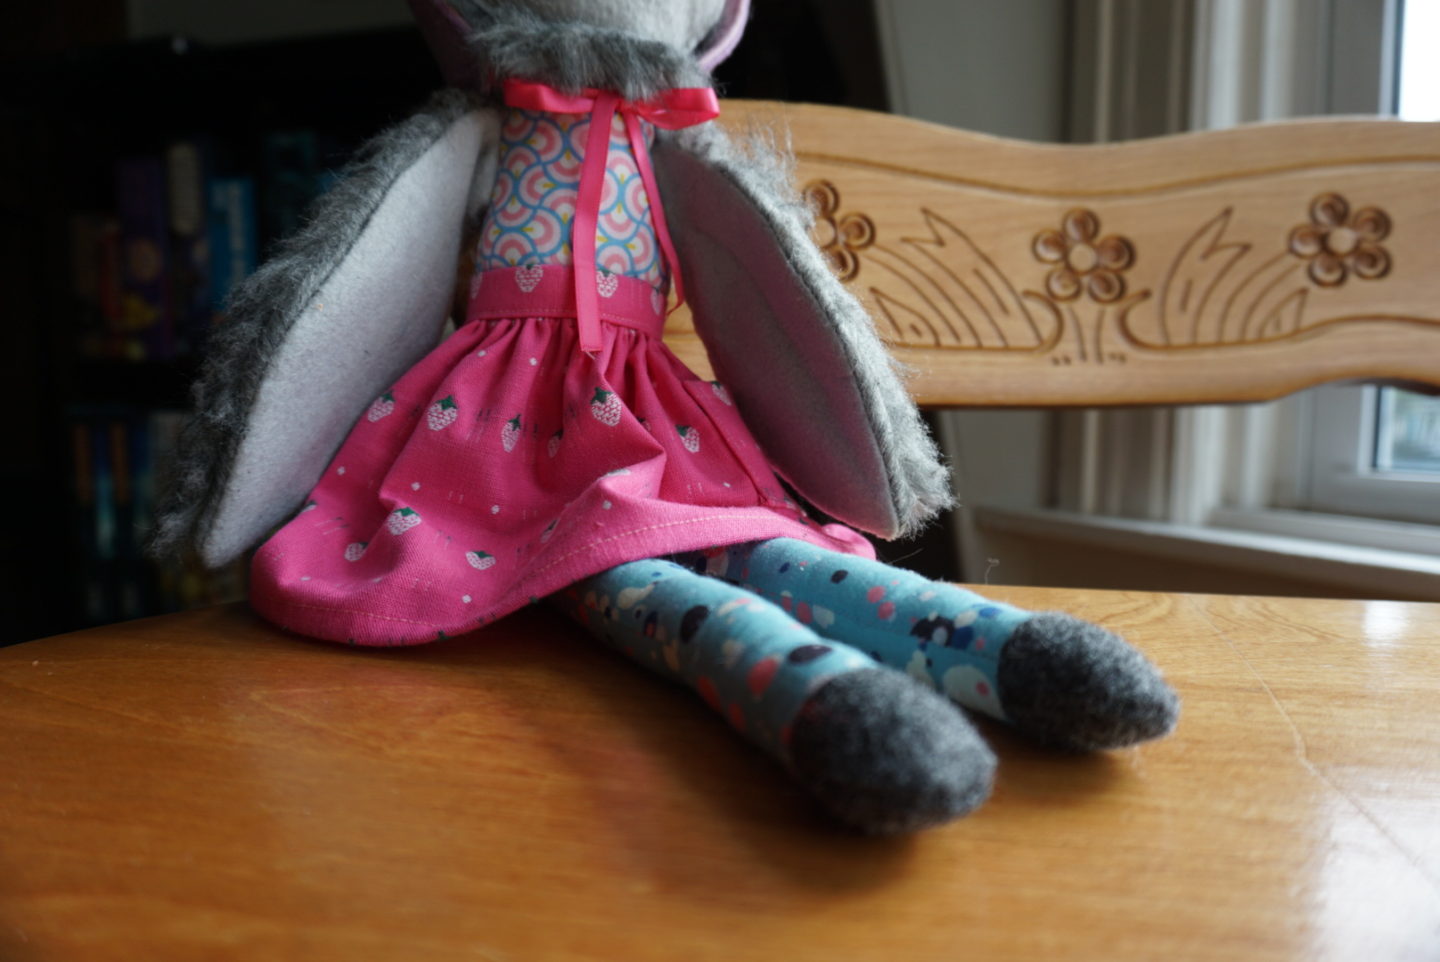
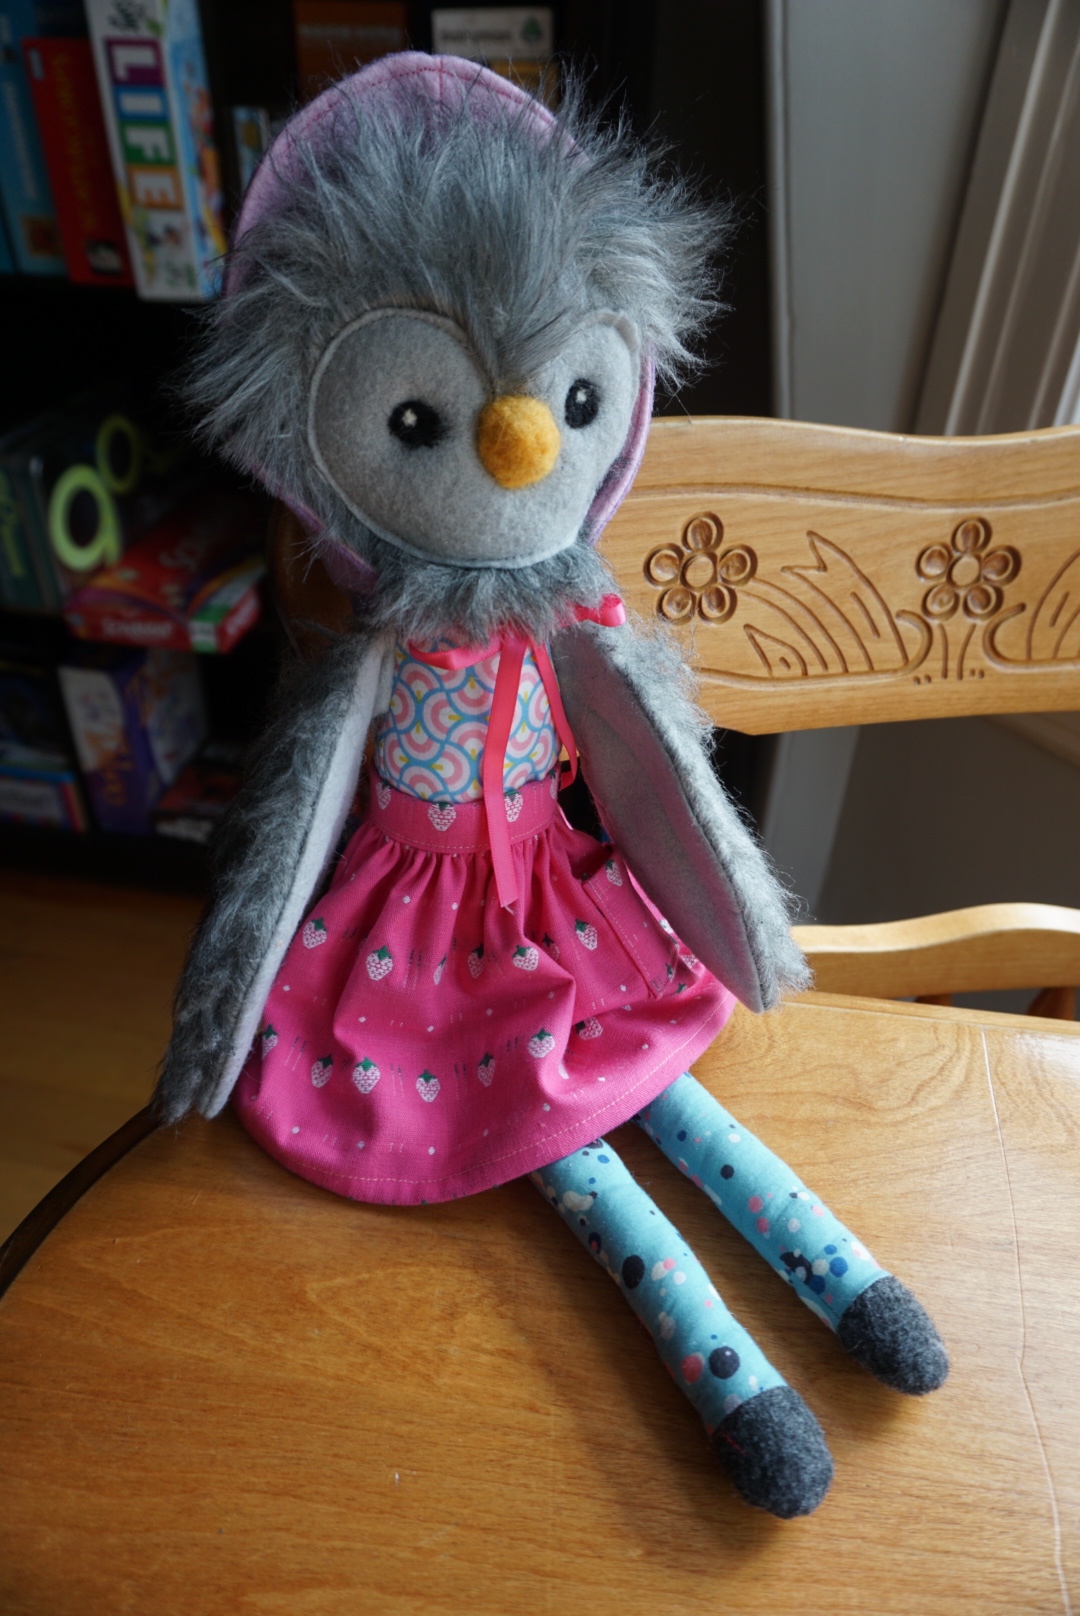
Olivia Owl starts with constructing the face (minus the beak and eyes), and then the top and bottom of the body are attached at the waste to make a front and back piece. You then sew the legs and wings, baste them to the bottom body piece, and then sew together the front and back with the legs and wings tucked inside. It’s a bit bulky, but made it very fun and cute to turn right side out once it was done. I had a really fun time picking fabrics out of my scraps to use for her legs and the upper half of her body. Her legs are from the leftovers when I made this Wiksten shift dress. The top is from the very first dress I made when I gave up buying ready-to-wear clothing. It was purchased from Patch Halifax right after they opened, and I made it into a Sewaholic Harwood dress that I barely wore because it was not my colour palette, made out of quilting cotton, and not the right size. I ended up giving it away a couple years ago, but it’s nice to see the fabric on this lovely owl and be reminded of sewing that dress.
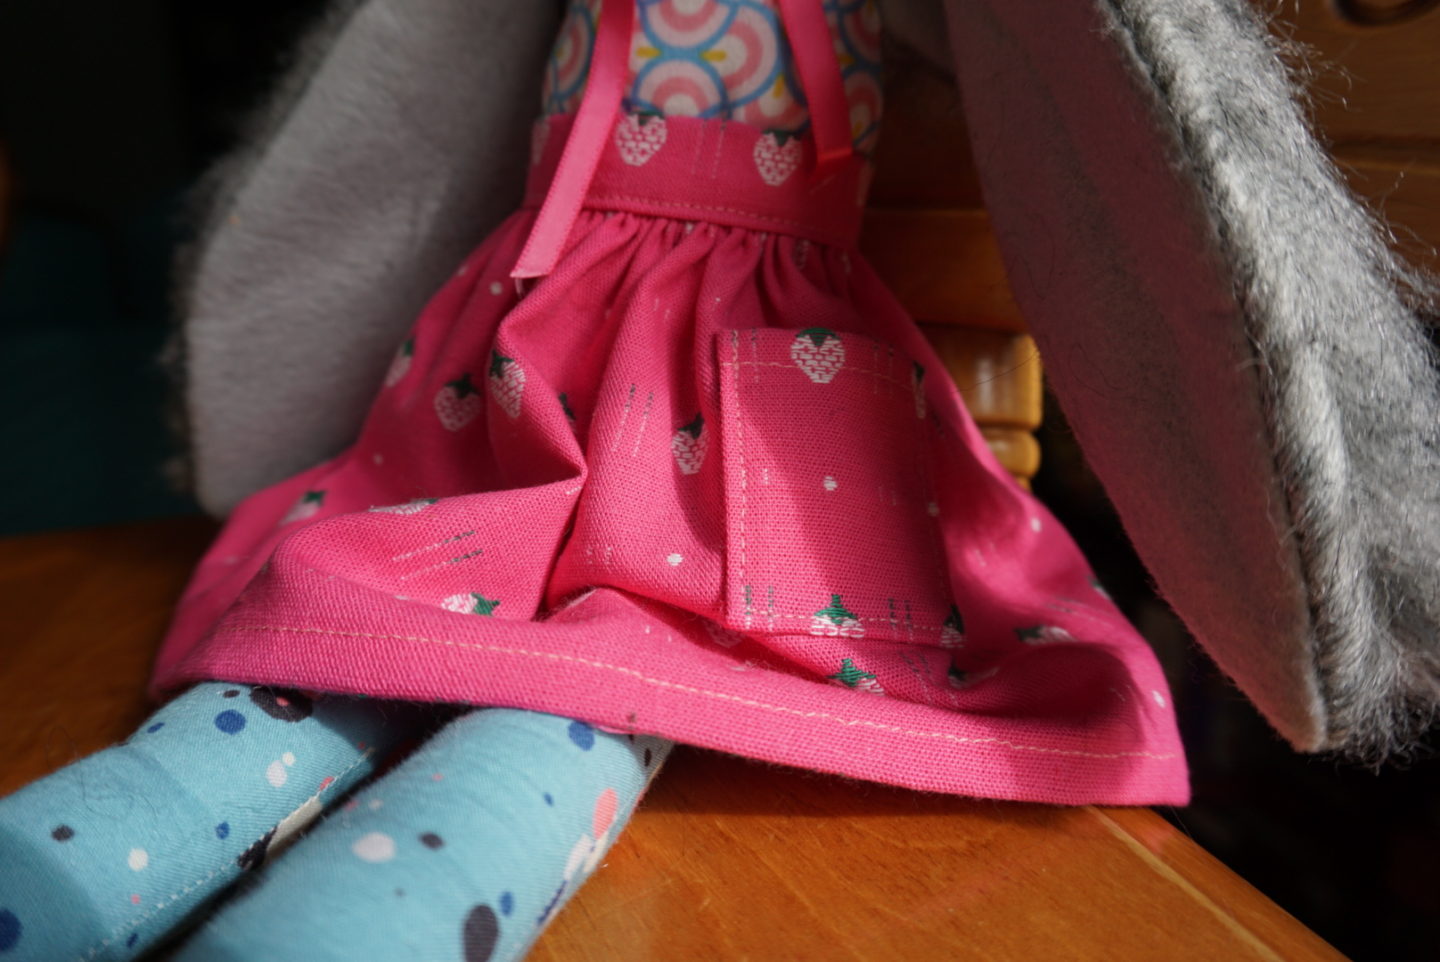
The fabric I used for Olivia Owl’s skirt is one with a long history. My mother used this strawberry fabric to make clothes for me and my sister when we were extremely young, like under the age of five. A big chunk of it lived in my mum’s fabric stash for more than 20 years until I adopted it into my own stash a couple years ago. It’s a medium weight machine embroidered fabric that feels like cotton. It makes me so happy to see this small skirt, since it reminds me of the small clothes my mum made all those years ago for me. I have lots of the strawberry fabric left. Not enough to make an adult item of clothing, but I think I might make another owl or maybe another animal from the book and use it to make another piece of animal clothing. This owl, along with the other creatures I have in the works, are for my friend Heather’s two small sons (both under the age of 5) and I’ll be sending them up to the fly-in community where she teaches in the far north (here in Canada). I honestly kinda want my own now. Maybe not four creatures, but one just for me!
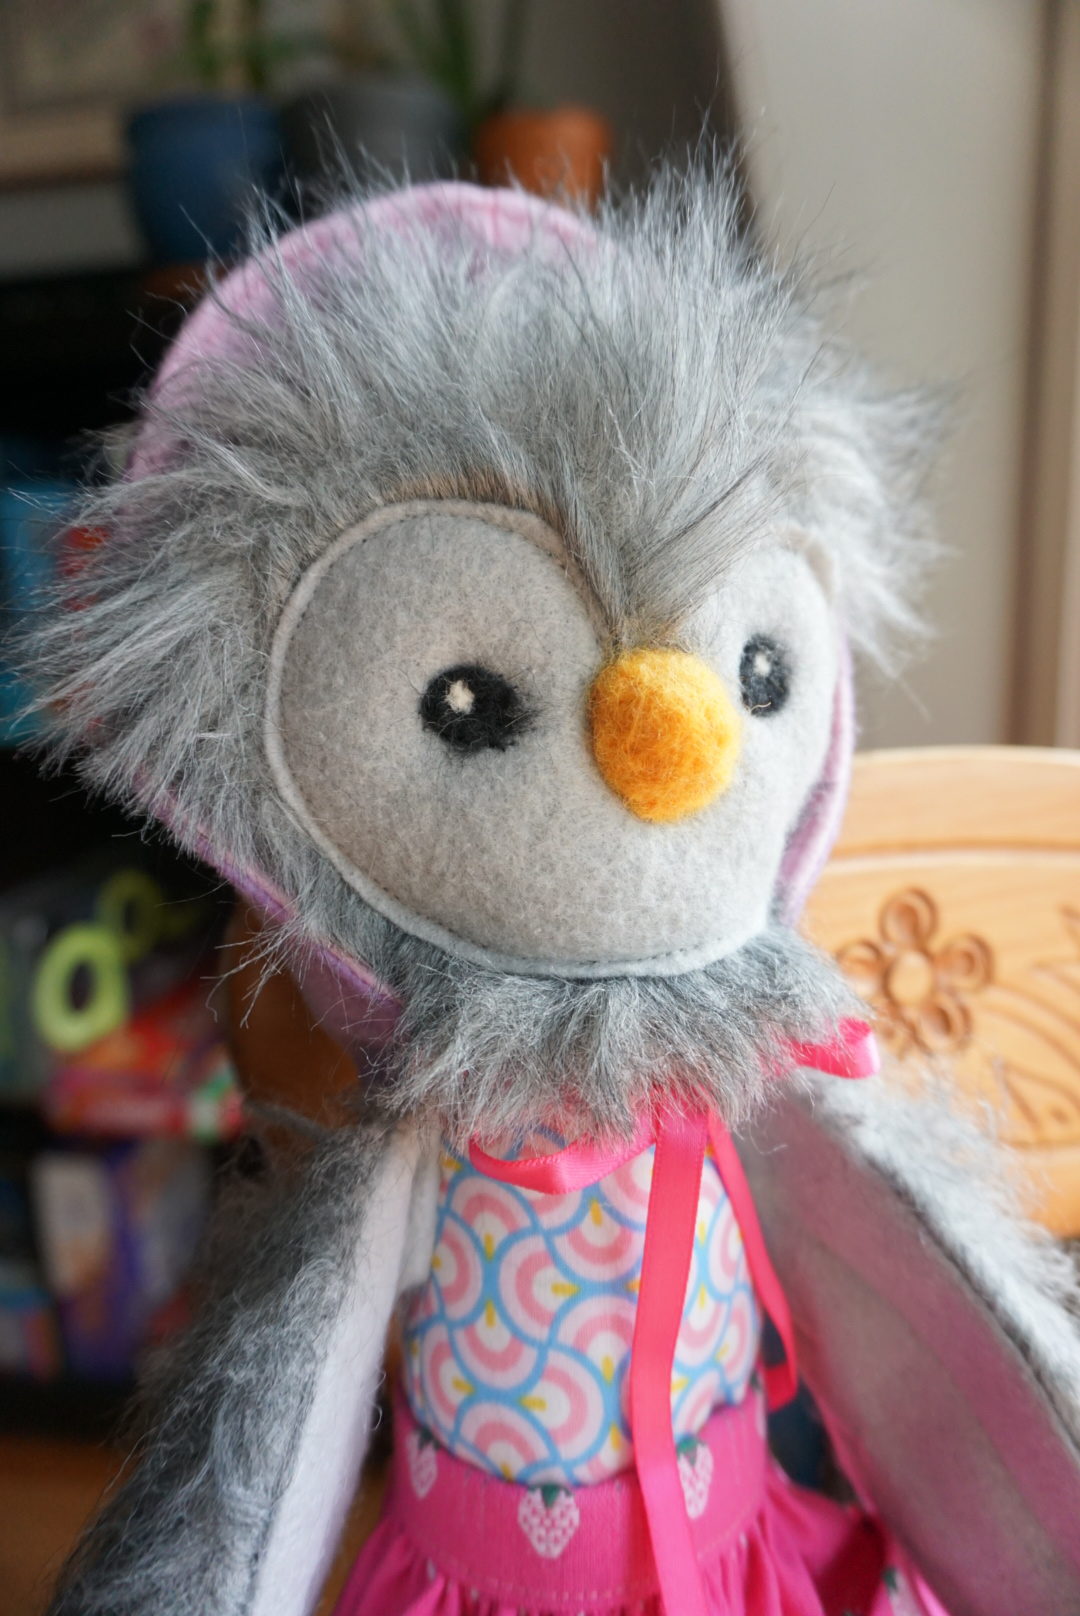
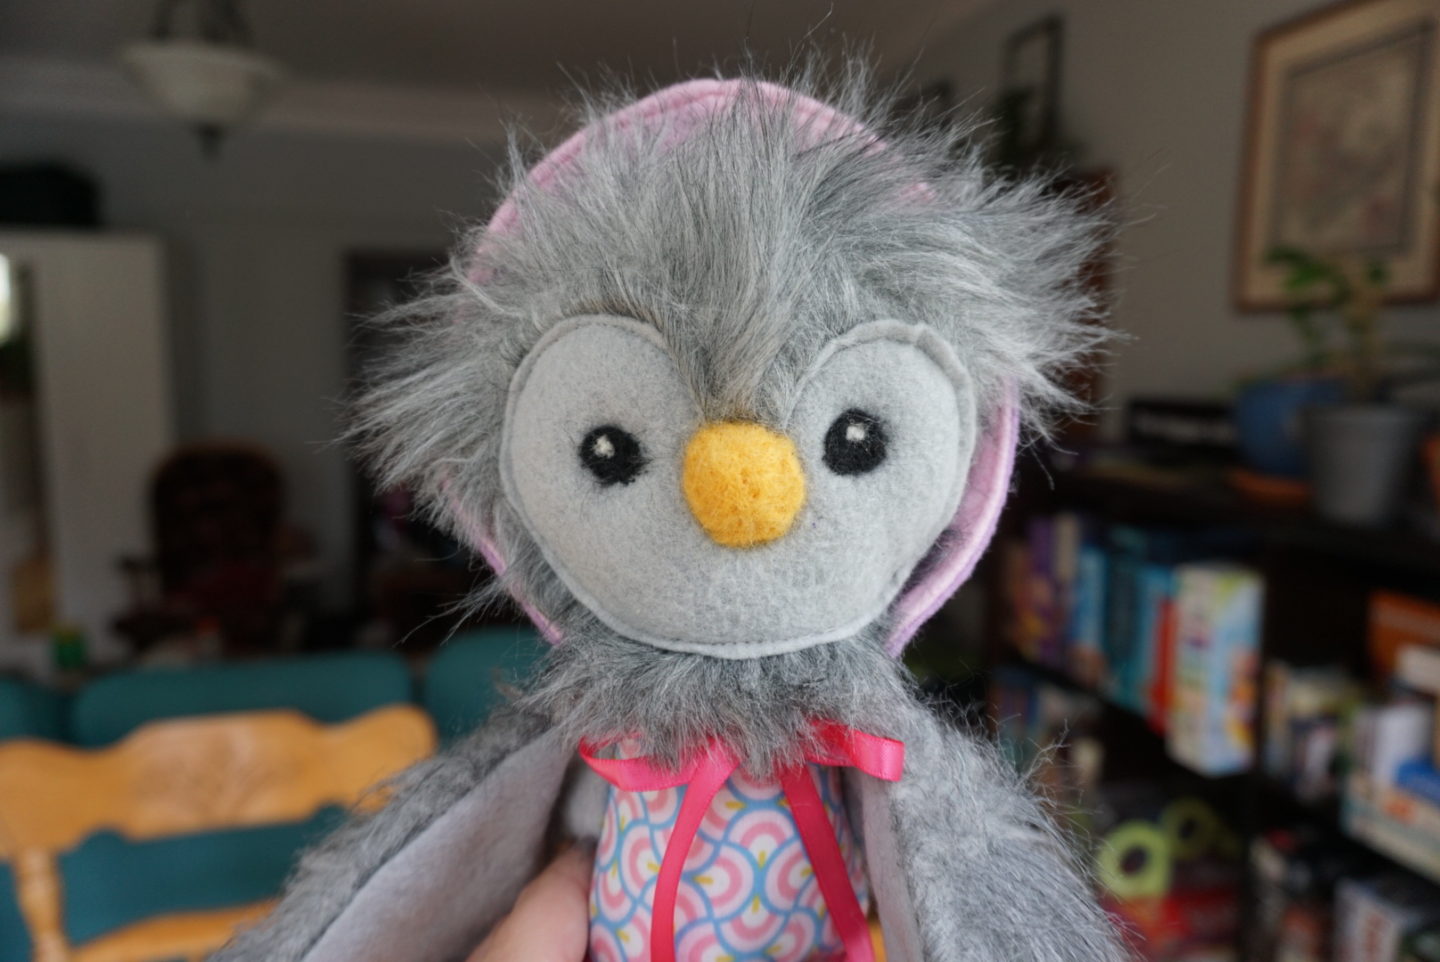
I’d never done any needle felting before this project, and it was the part that made me the most nervous. You don’t do it until the very end, the owl is fully assembled, and then it’s the FACE. The part that everyone will look at first. The part that actually needs to have an expression. I don’t even draw or paint, and I would have been nervous about making a good facial expression even if it didn’t involve stabbing wool into felt with a needle. You use wool roving (unspun wool fibres) to make the eyes by laying little wisps on top of the face in the area you want the eye and then stabbing it a bunch of times with a special needle until it felts to the fabric underneath. The pupil is made with an even tinier bit of white roving on top of the black circles. The beak is made using a ball of yellow roving and stabbing it until it makes a shape you like. I’m honestly really happy with how the face turned out and think she looks hopeful and earnest, but I was extremely trepidatious the entire time I was doing it.
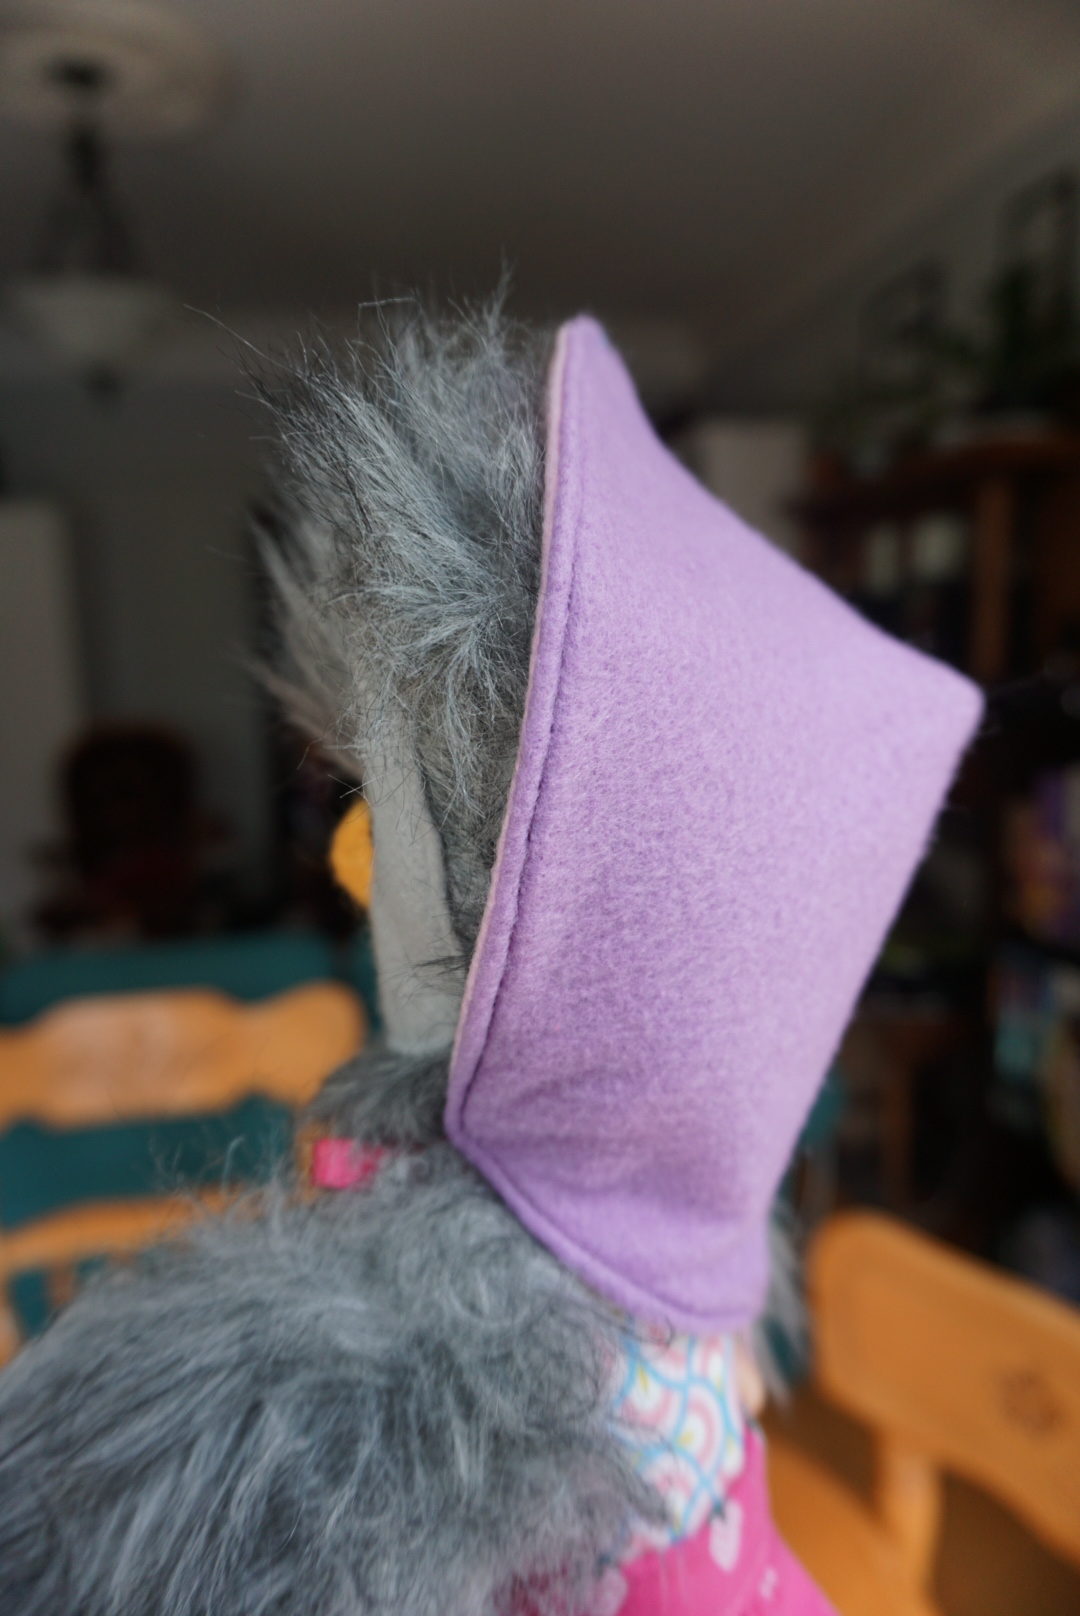
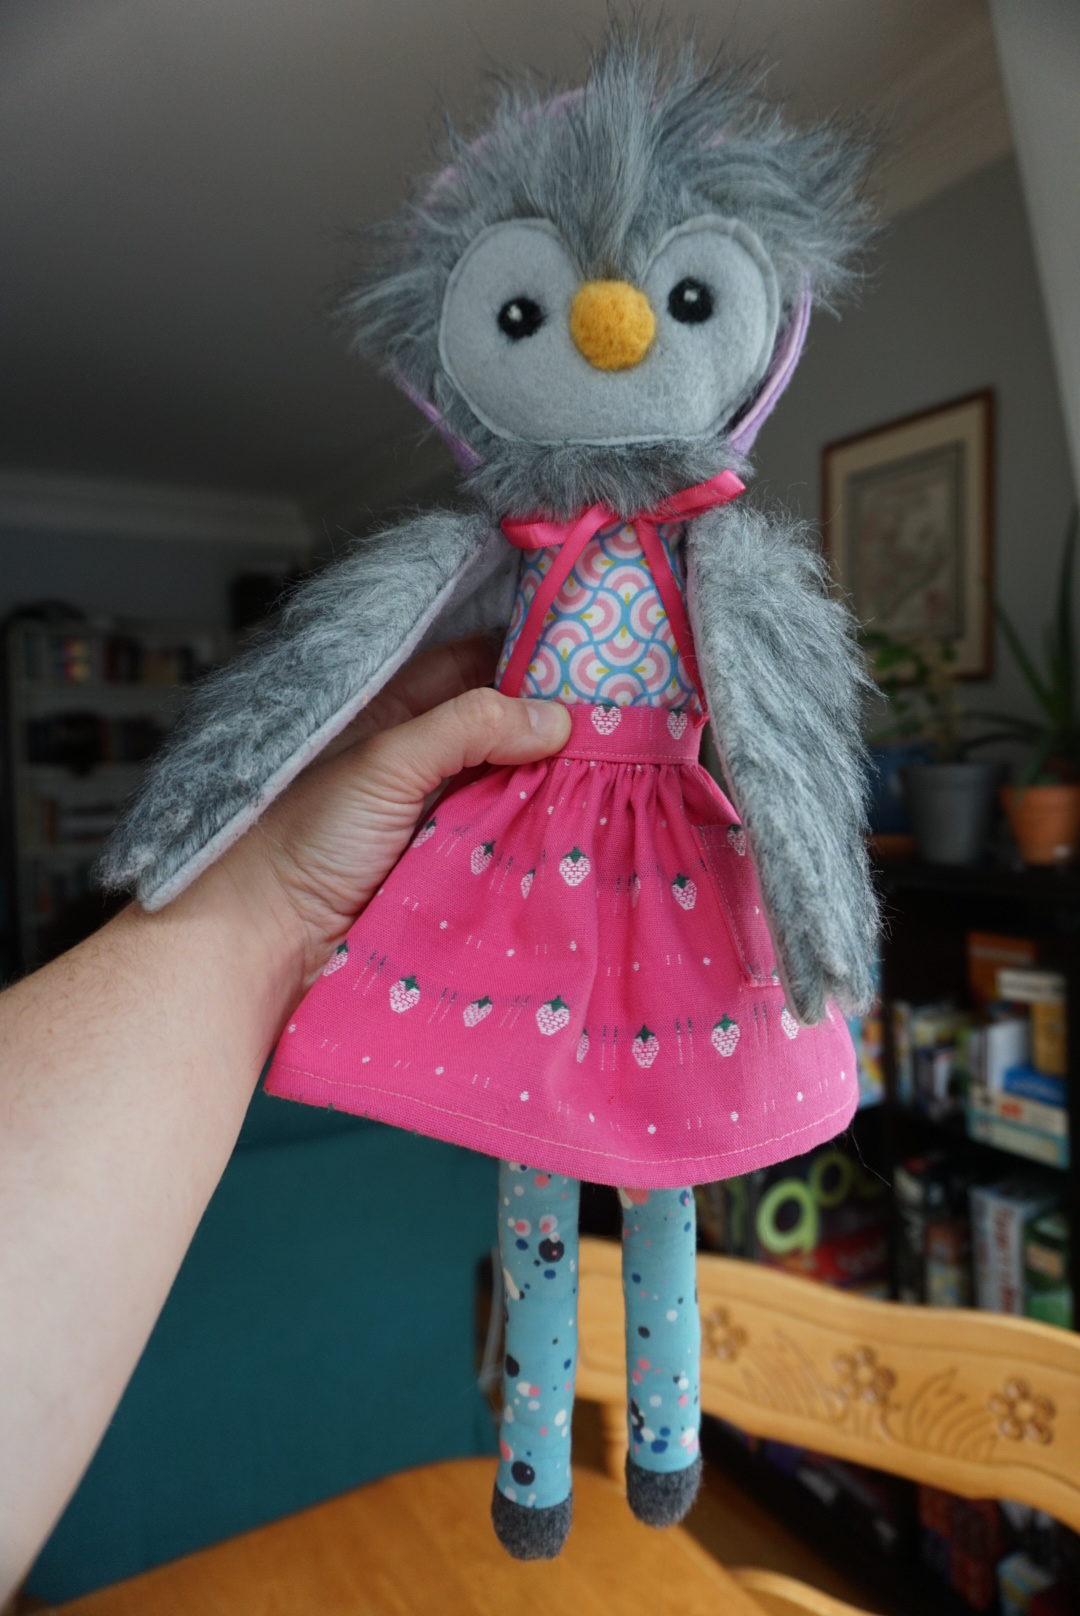
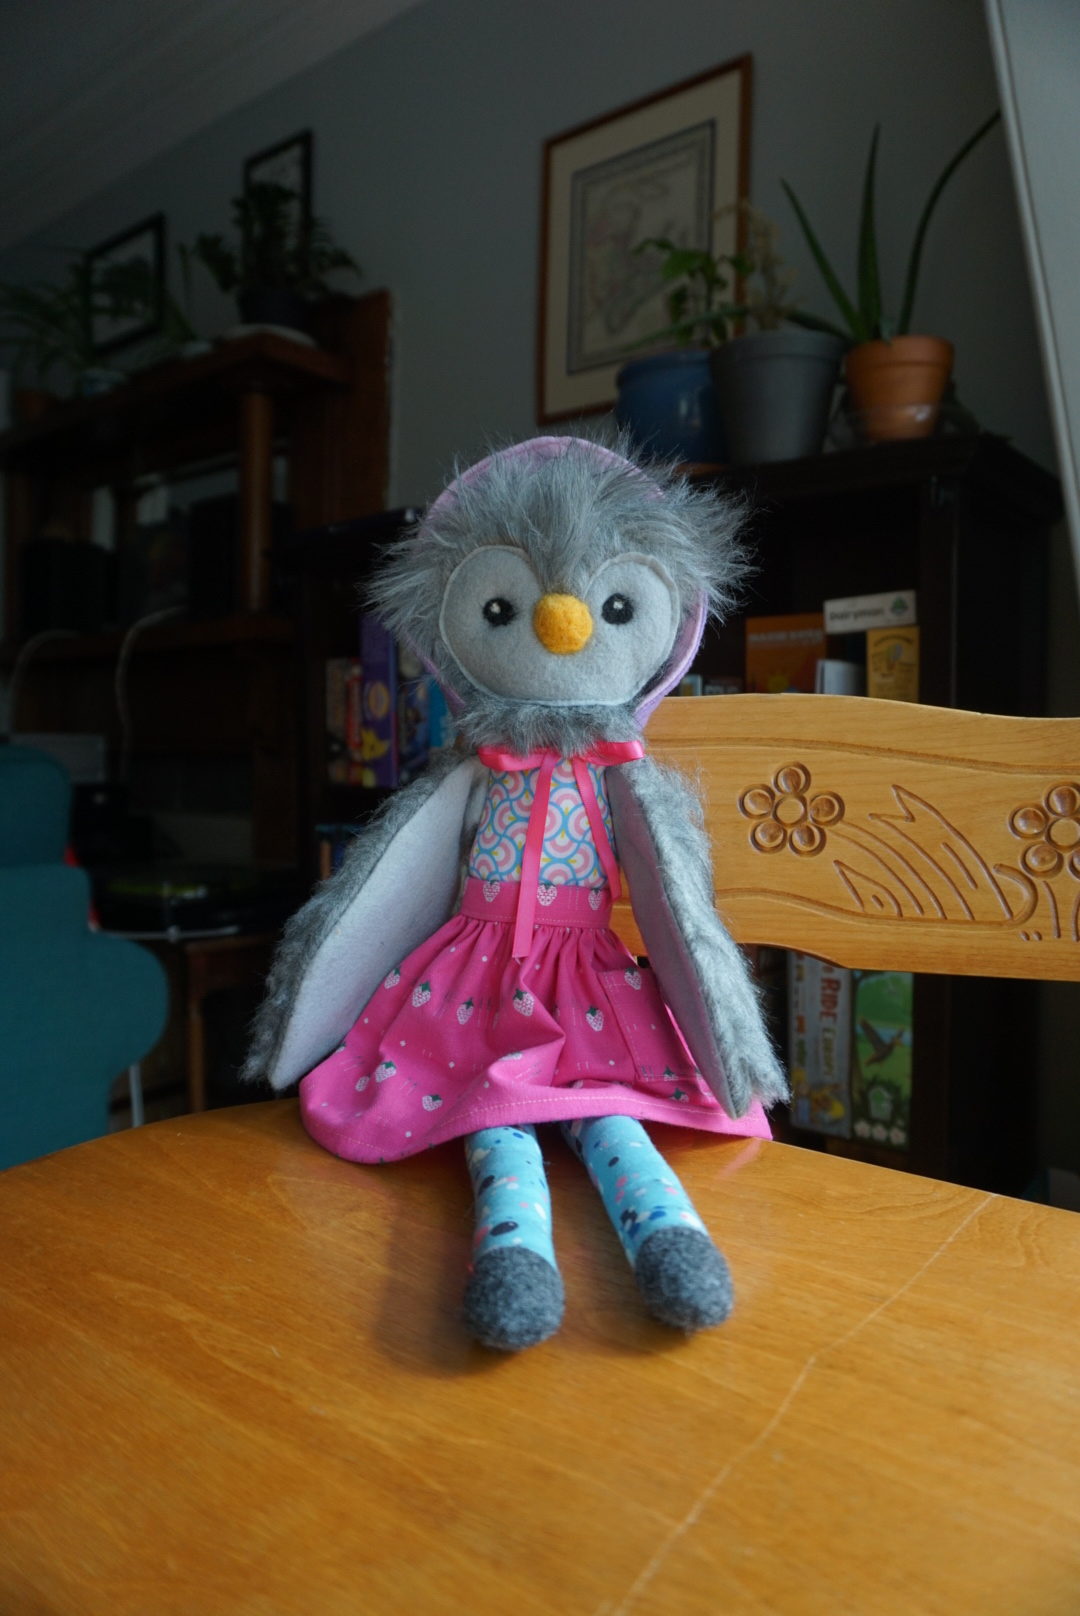
The final touch is her cute little bonnet. It’s reversible, and I love the little point at the top of her head! The final photo is me holding her upright so you can see her size in proportion to my hand. I just love her so much! I want to cuddle and hug her all the time. I can’t wait until she has a few friends!

Loved reading the process of how Olivia was made! Hearing where the fabrics came from make it extra special and I can’t wait to see your creations in person!