
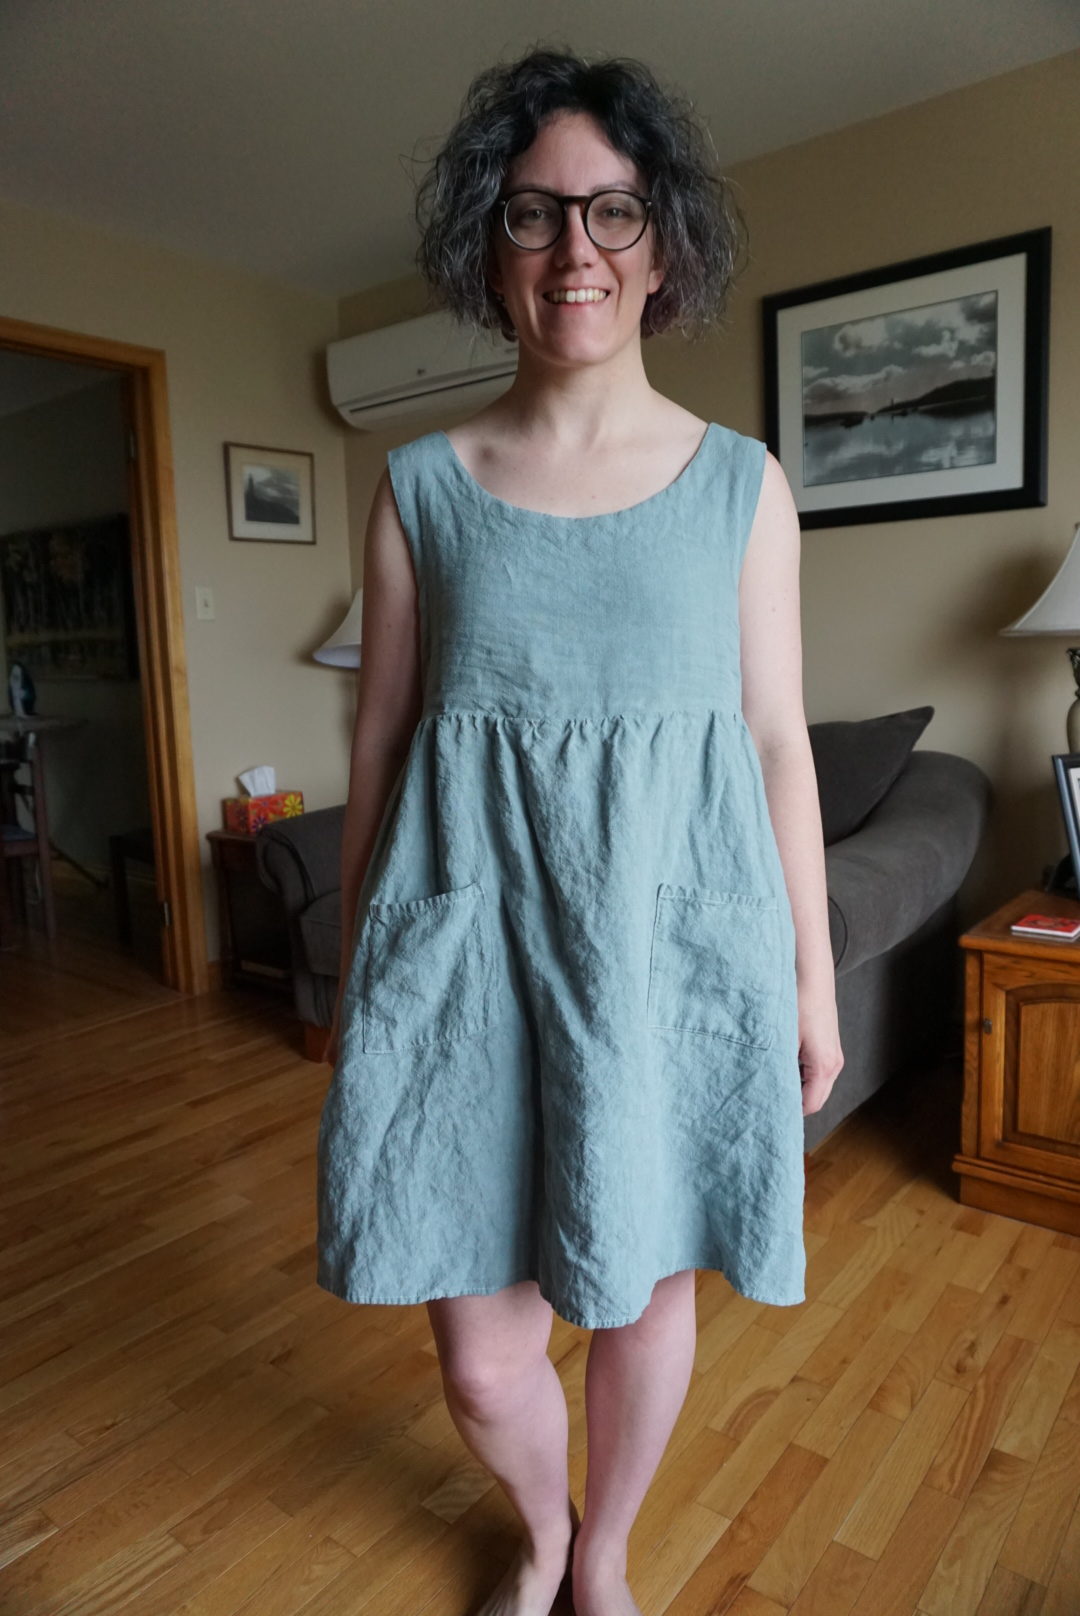
Today I bring you not one, but TWO dresses! Sort of. It’s really one dress, but it’s reversible! Which is totally magical. Two dresses in one! I’d been wanting to make the Sew Liberated Metamorphic dress for a while, ever since I saw a copy of it at Patch at least six months ago. But I had a bunch of other stuff I wanted to make first, especially after reorganizing my fabric stash and sewing area. Plus, I was waiting for the right fabric to come along, since I didn’t have anything suitable or in sufficient quantities in my stash. But the stars aligned and here we are!
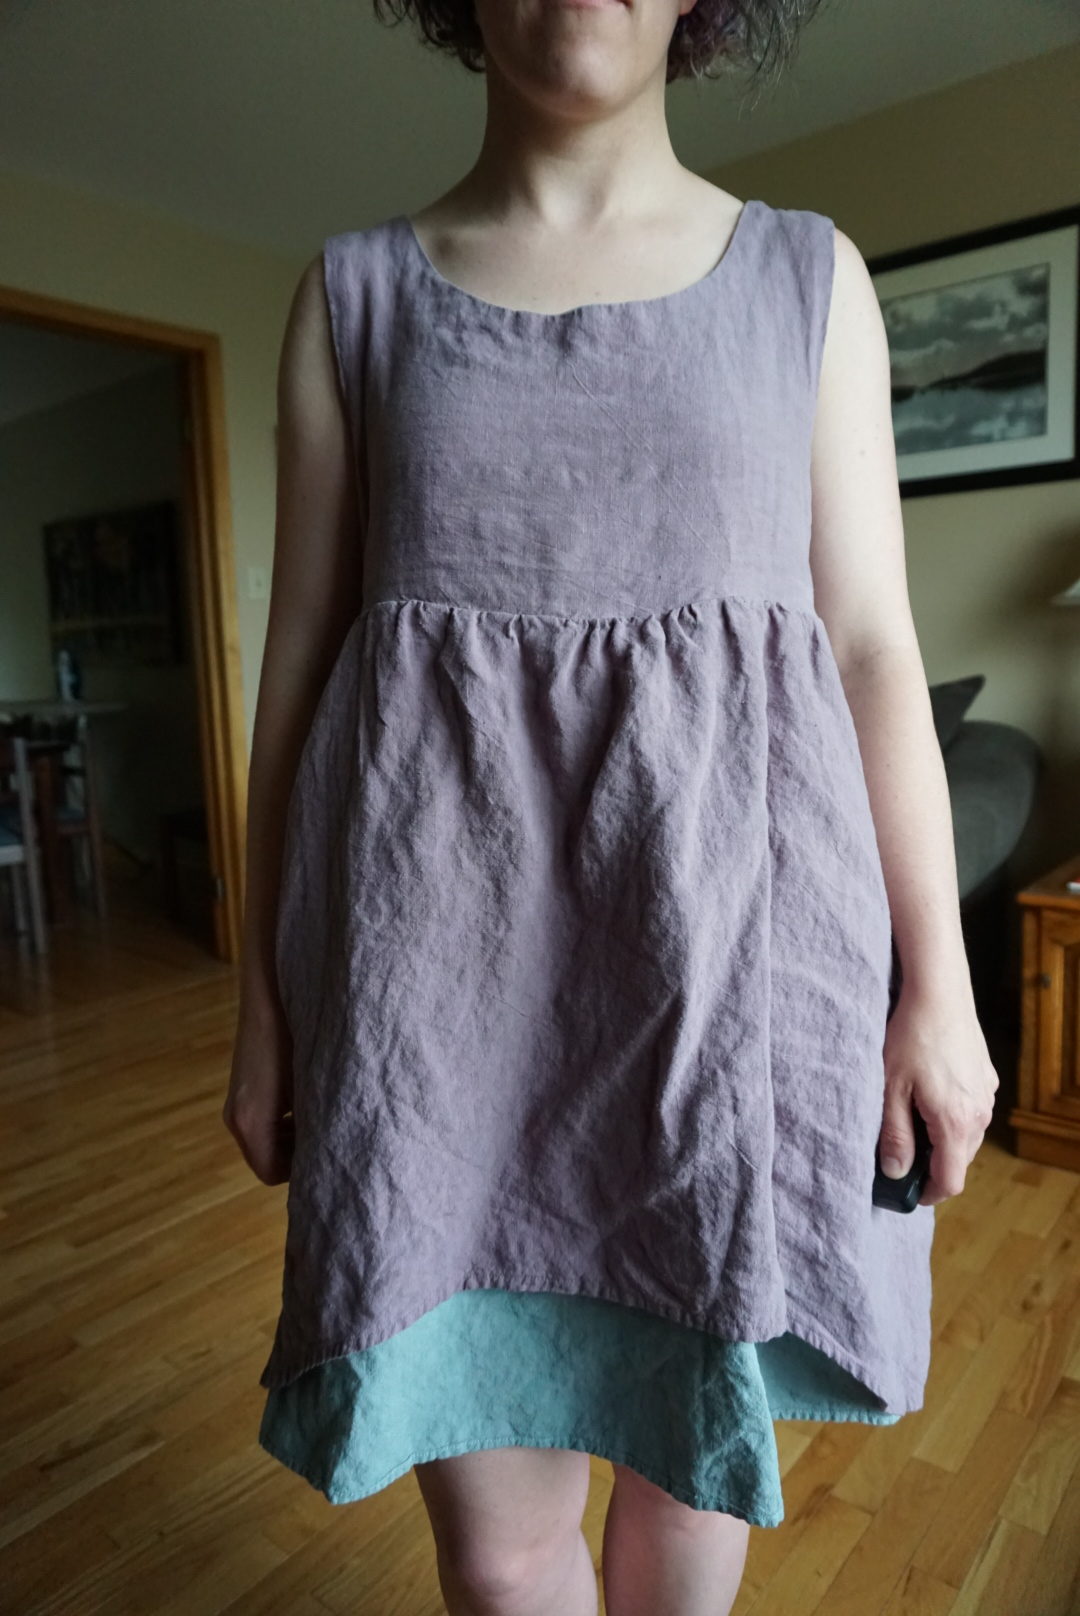

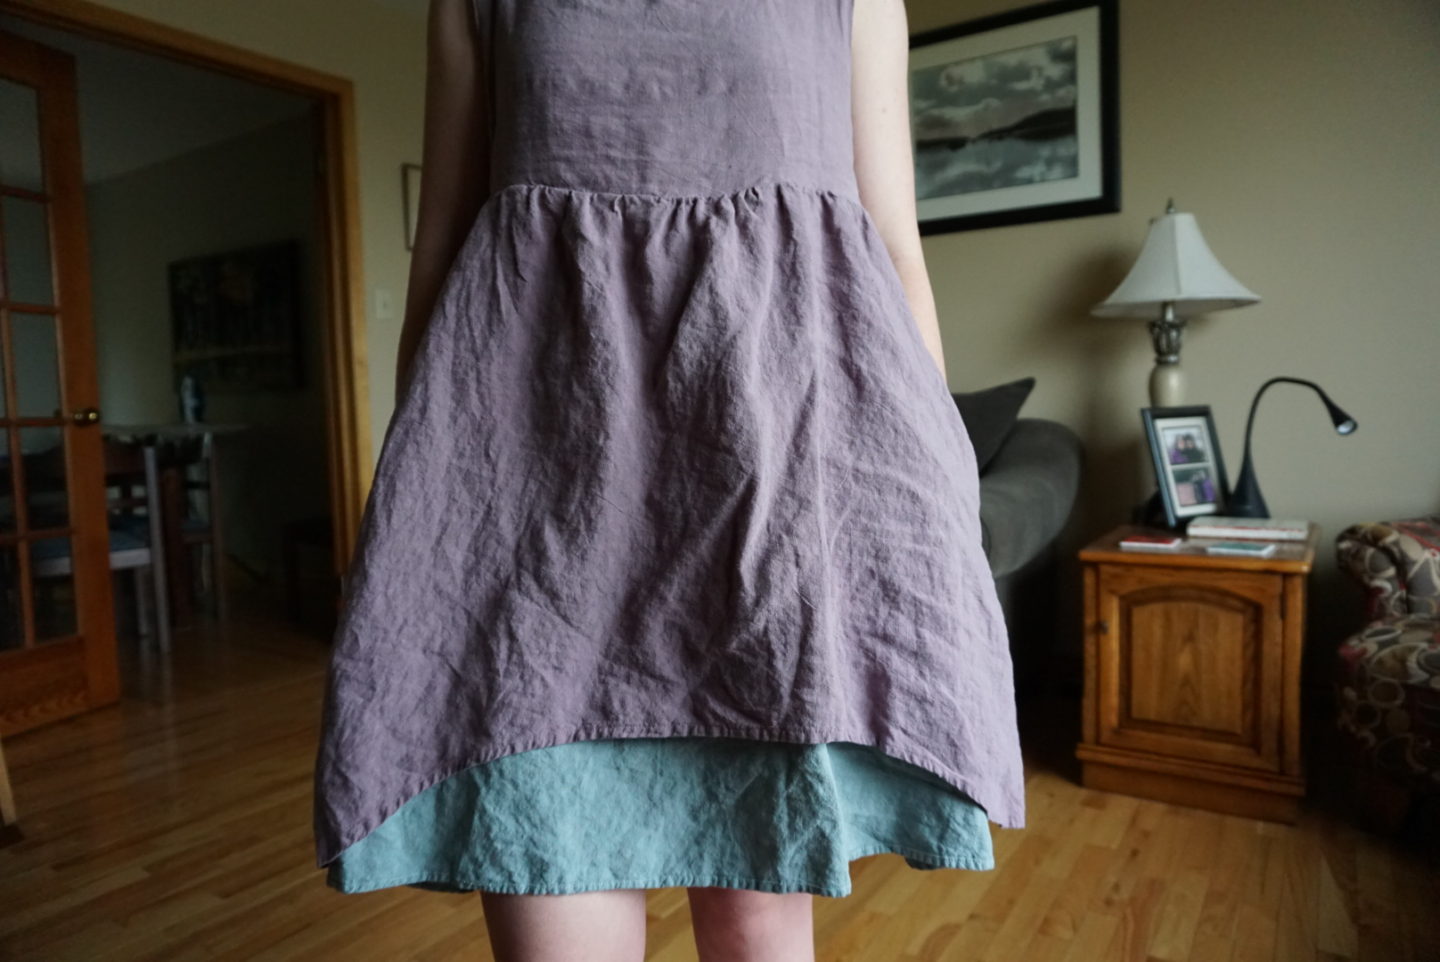
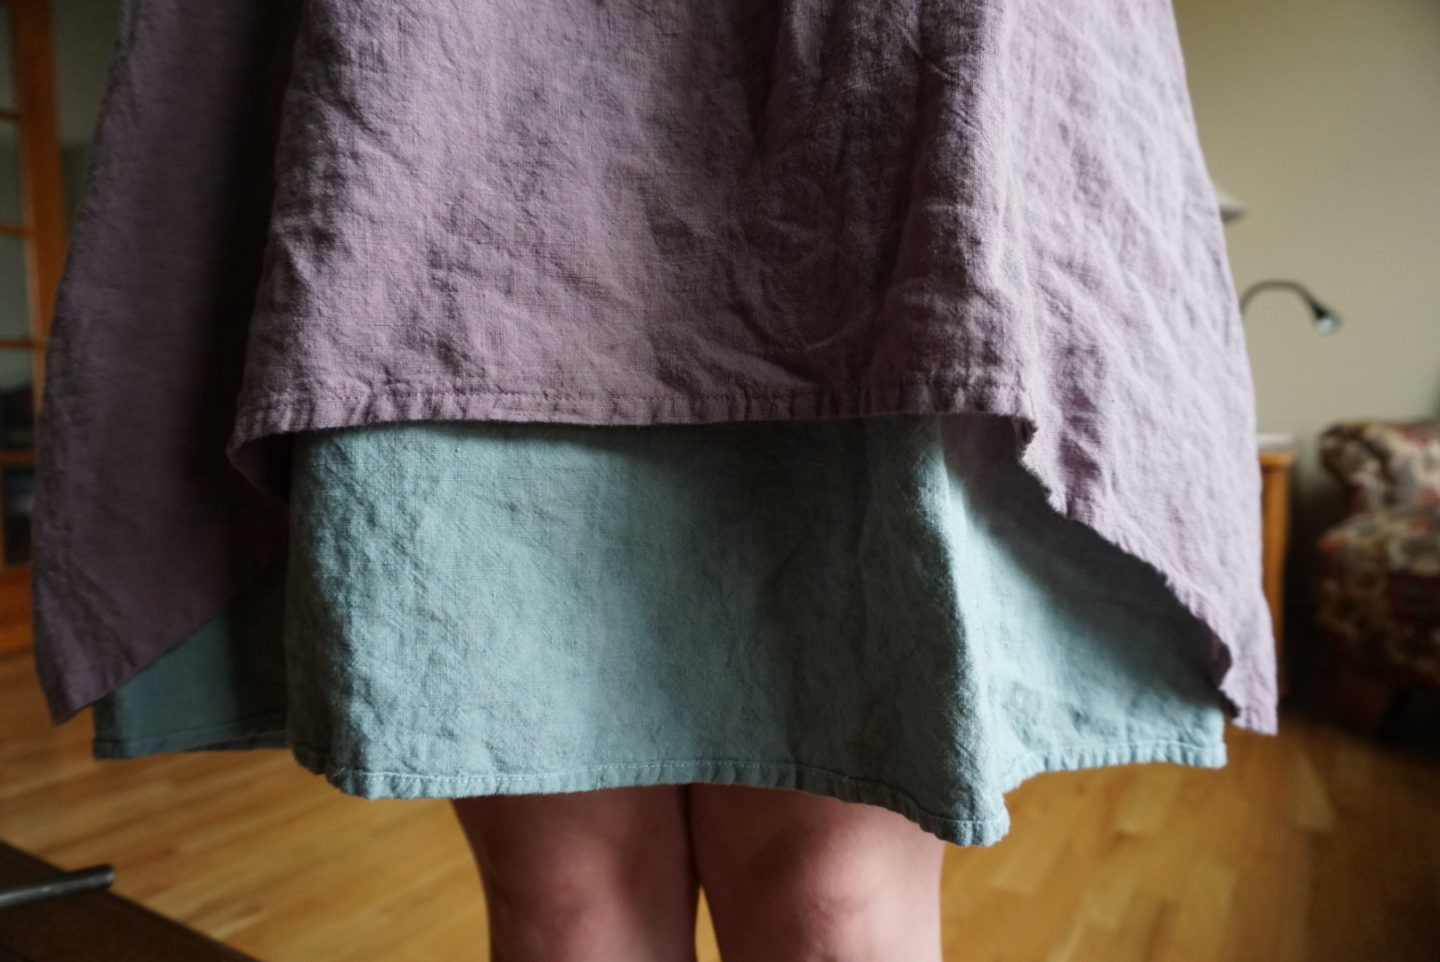
Patch got this washed linen in stock a few weeks ago and I knew it would be perfect, so I snapped up enough for this project in light purple and blue. I’m not sure what brand/company makes this fabric, but it’s SO soft and dreamy, even before I prewashed it myself. I knew I would likely wear it with the two coloured view visible most often, so I put the purple on top as the main colour for that side with the blue acting as an accent colour at the hem. The thing with fabric for this dress is that the one you use for the full length skirt needs to be two-sided, meaning that the wrong side of the fabric still needs to look good and not like a wrong side, because the back of it will be visible at the hem when you wear it this way out. This definitely limits what you can use! As you can see below, this also means that the “wrong” side of the hem will be visible on the blue skirt peeking out, but it’s such a little hem that I don’t notice it at all.
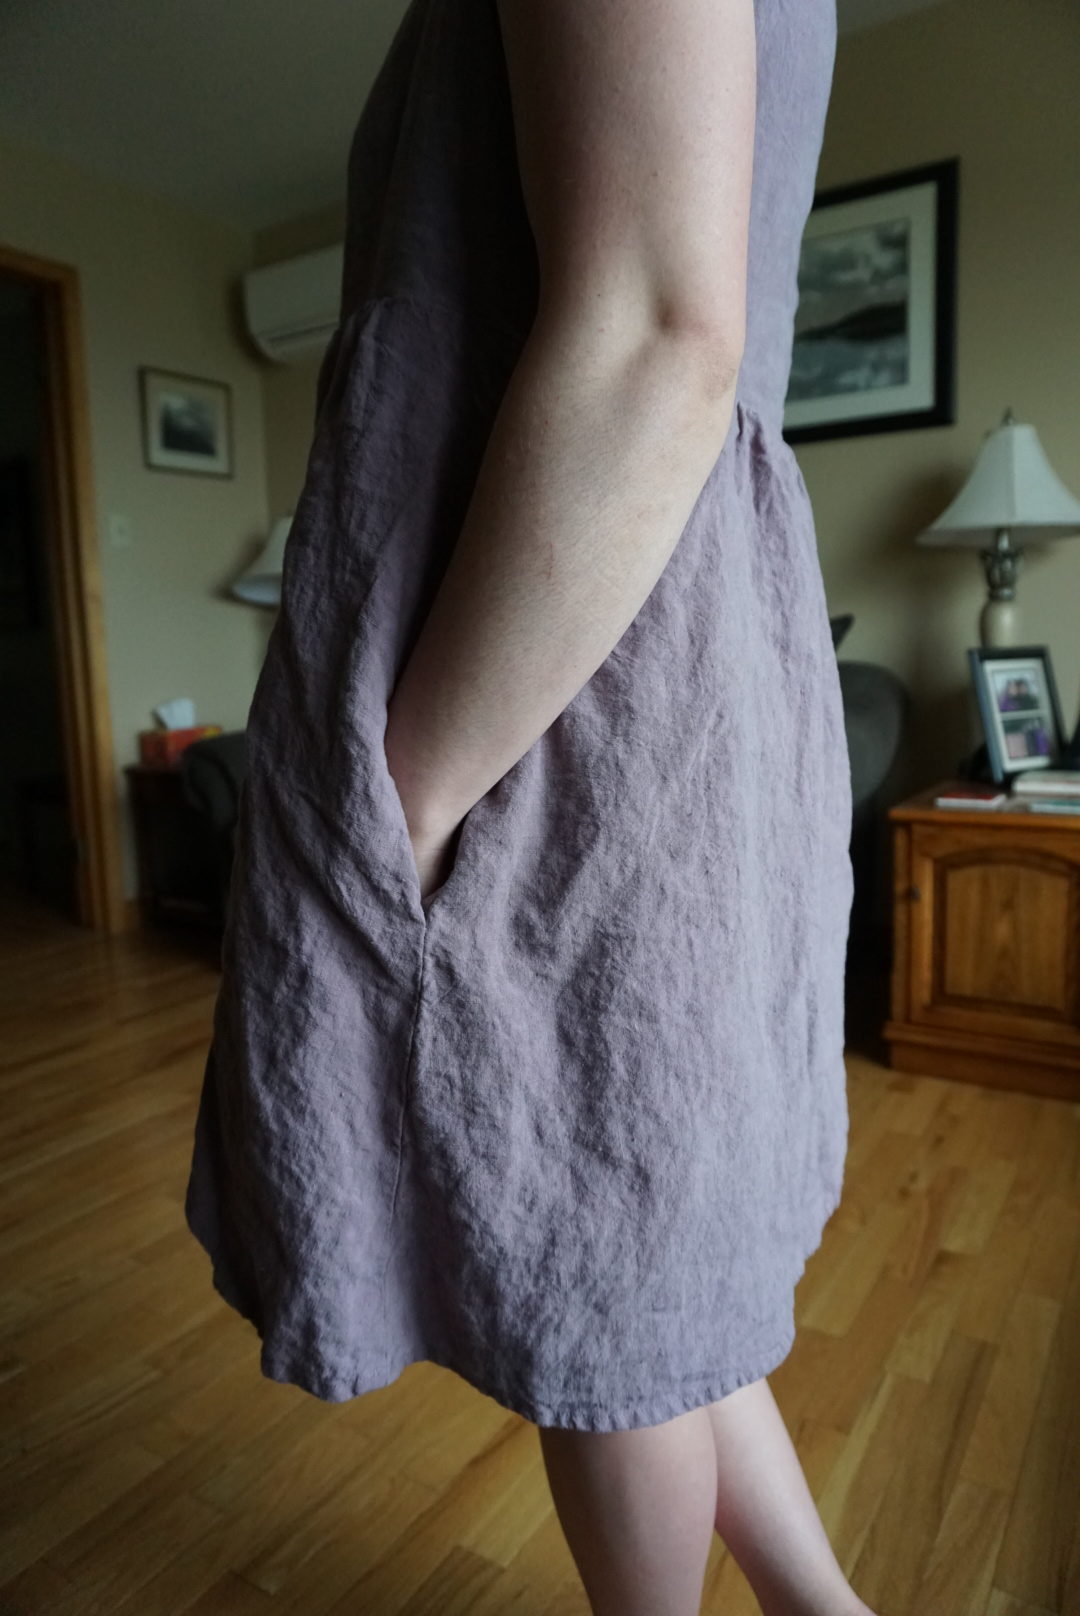
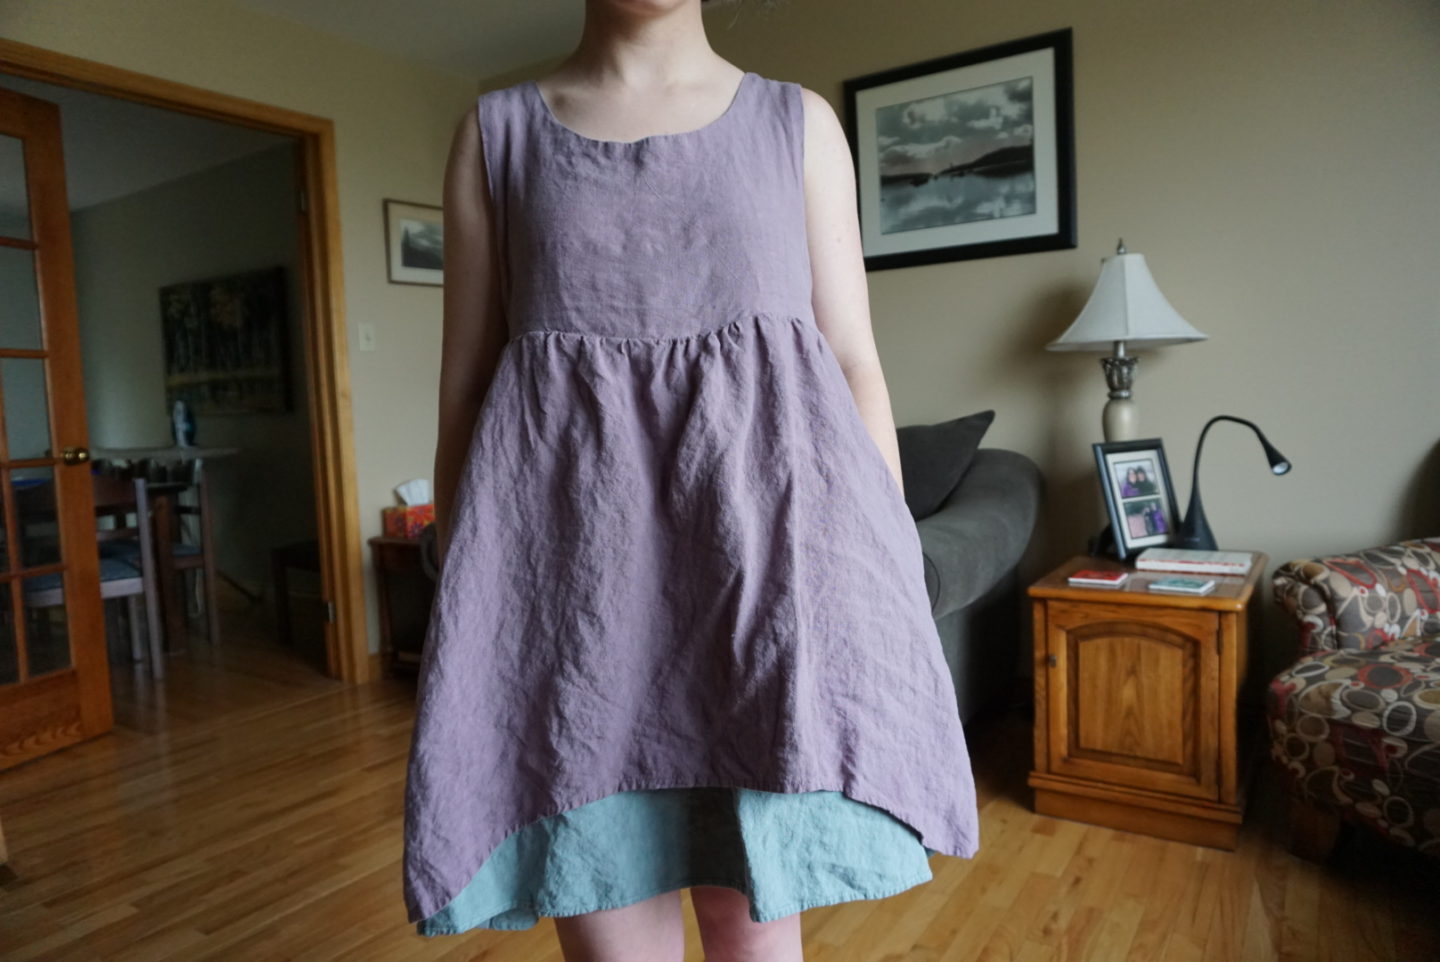
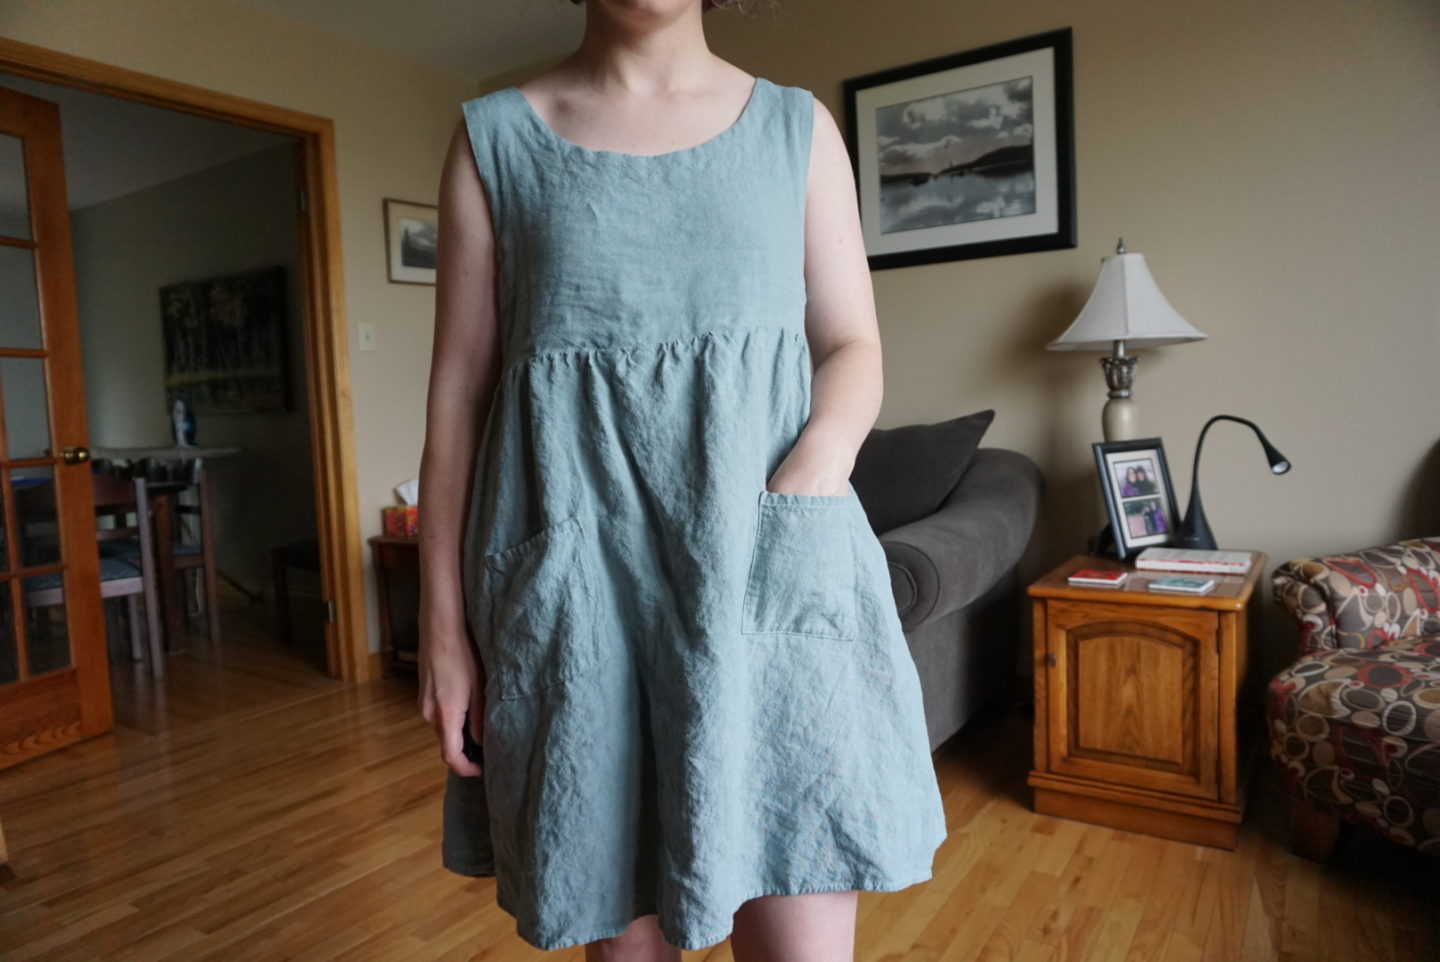
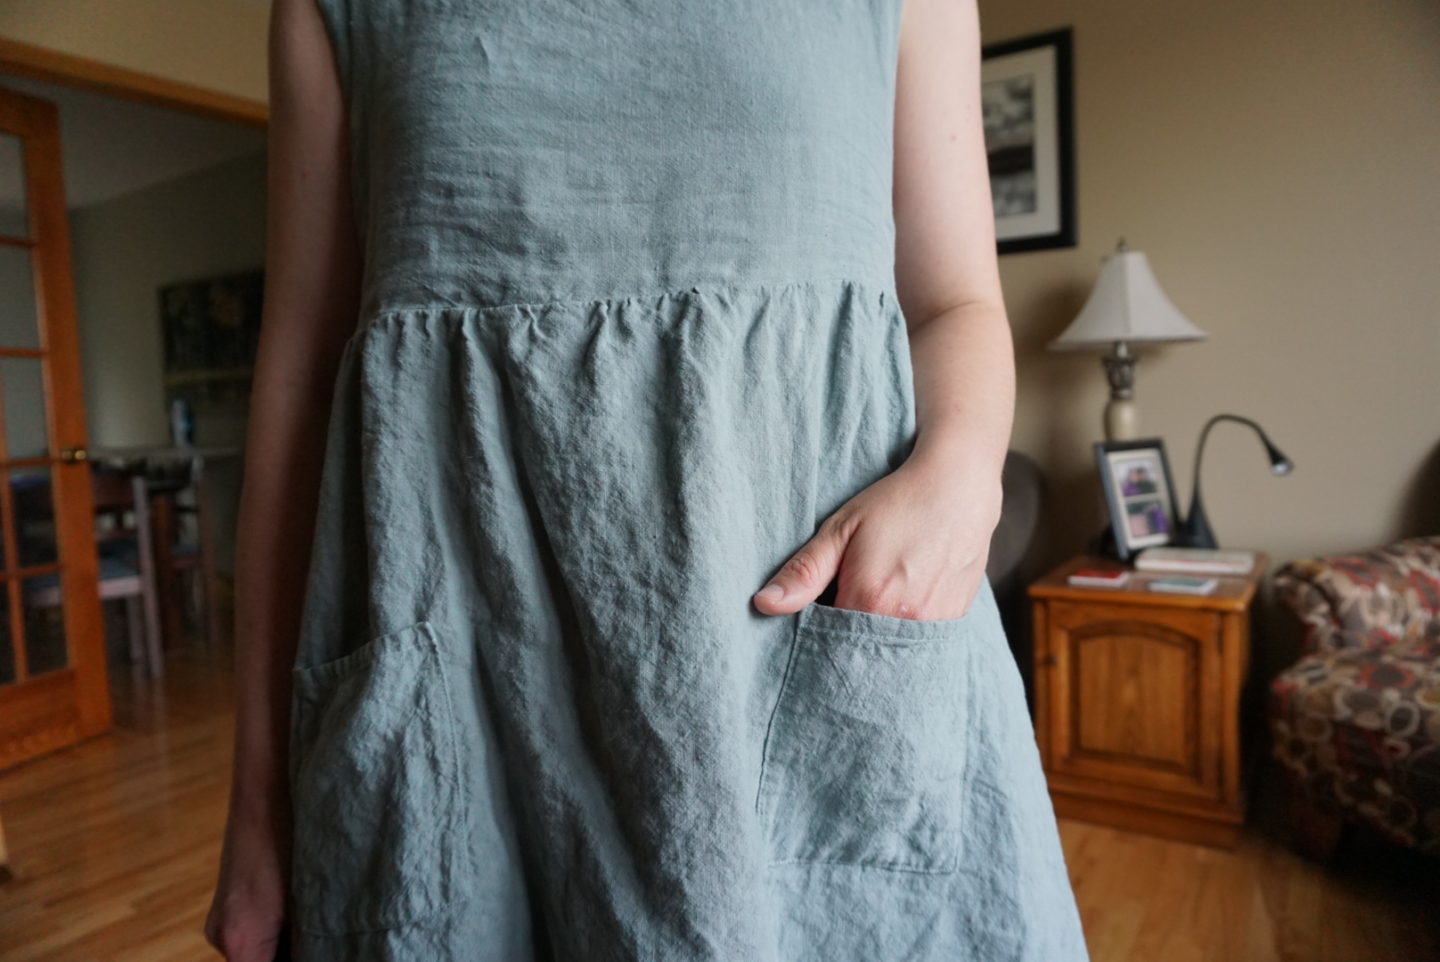
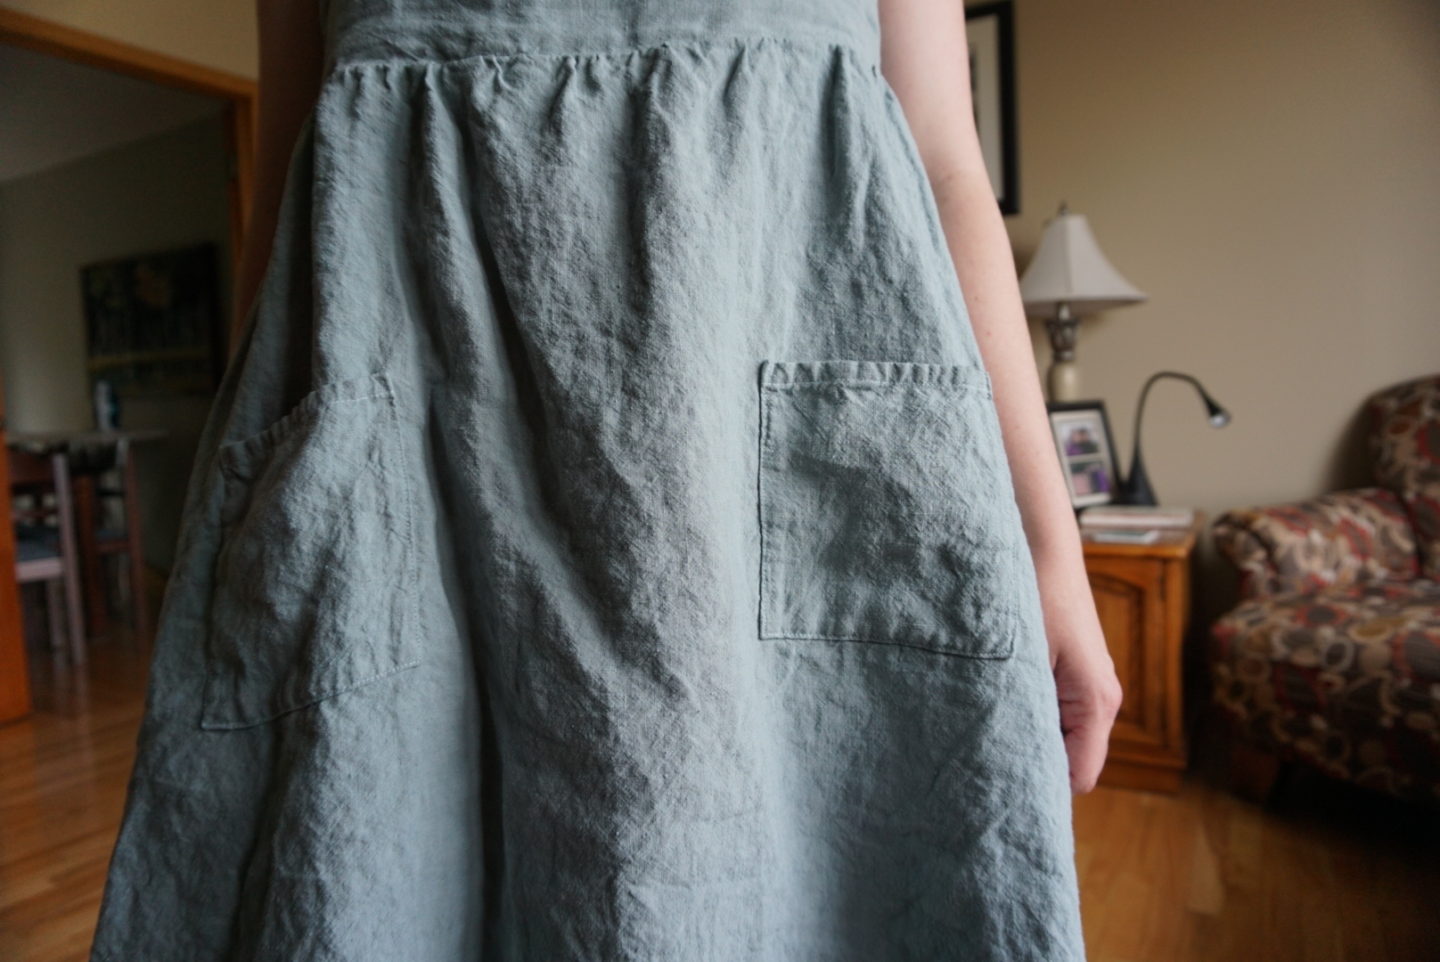
One of the especially magical things about this pattern is that both layers have pockets. In the instructions, the patch pockets are supposed to go on the shorter layer (the purple one), and side seam pockets are indicated on the blue layer, but I decided to swap them since I prefer side seam pockets and knew the purple side would be facing outward more frequently. This wasn’t hard to do at all. I swapped the markings on the skirt pieces so that the pocket placement lines went on the longer skirt and the notches for the side seam pockets went on the shorter one. I did this by just laying the opposite pattern pieces over the fabric after I’d cut it out and marking them at that point, nothing fancy. The skirt pattern pieces are identical along the side seam edge and the fold edge, with the only difference being at the hem, so it was very easy to line them up with the cut fabric edges.
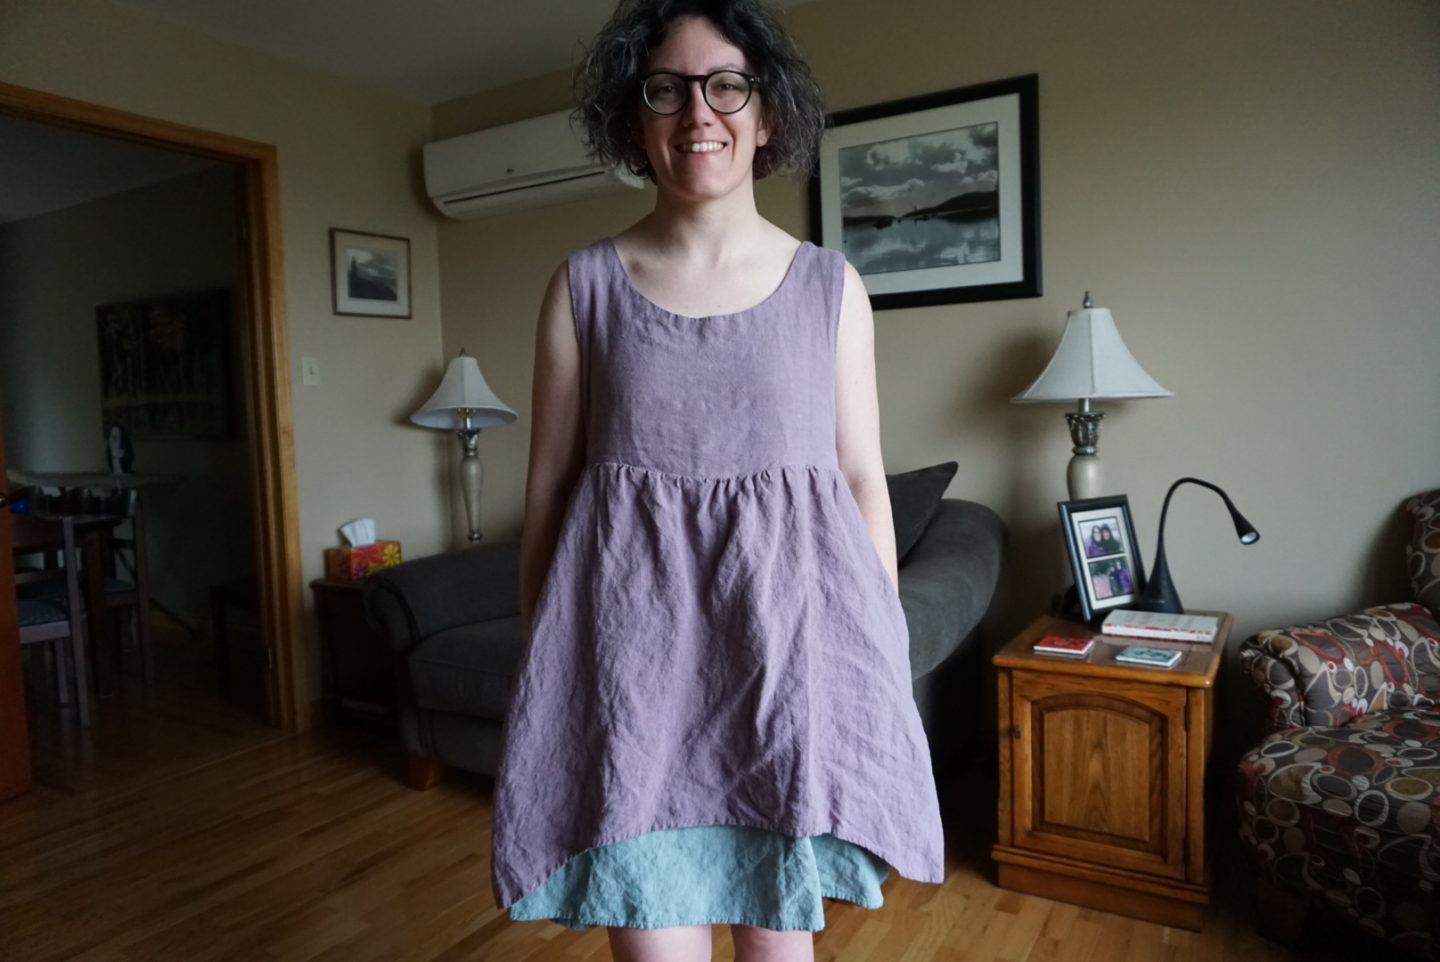
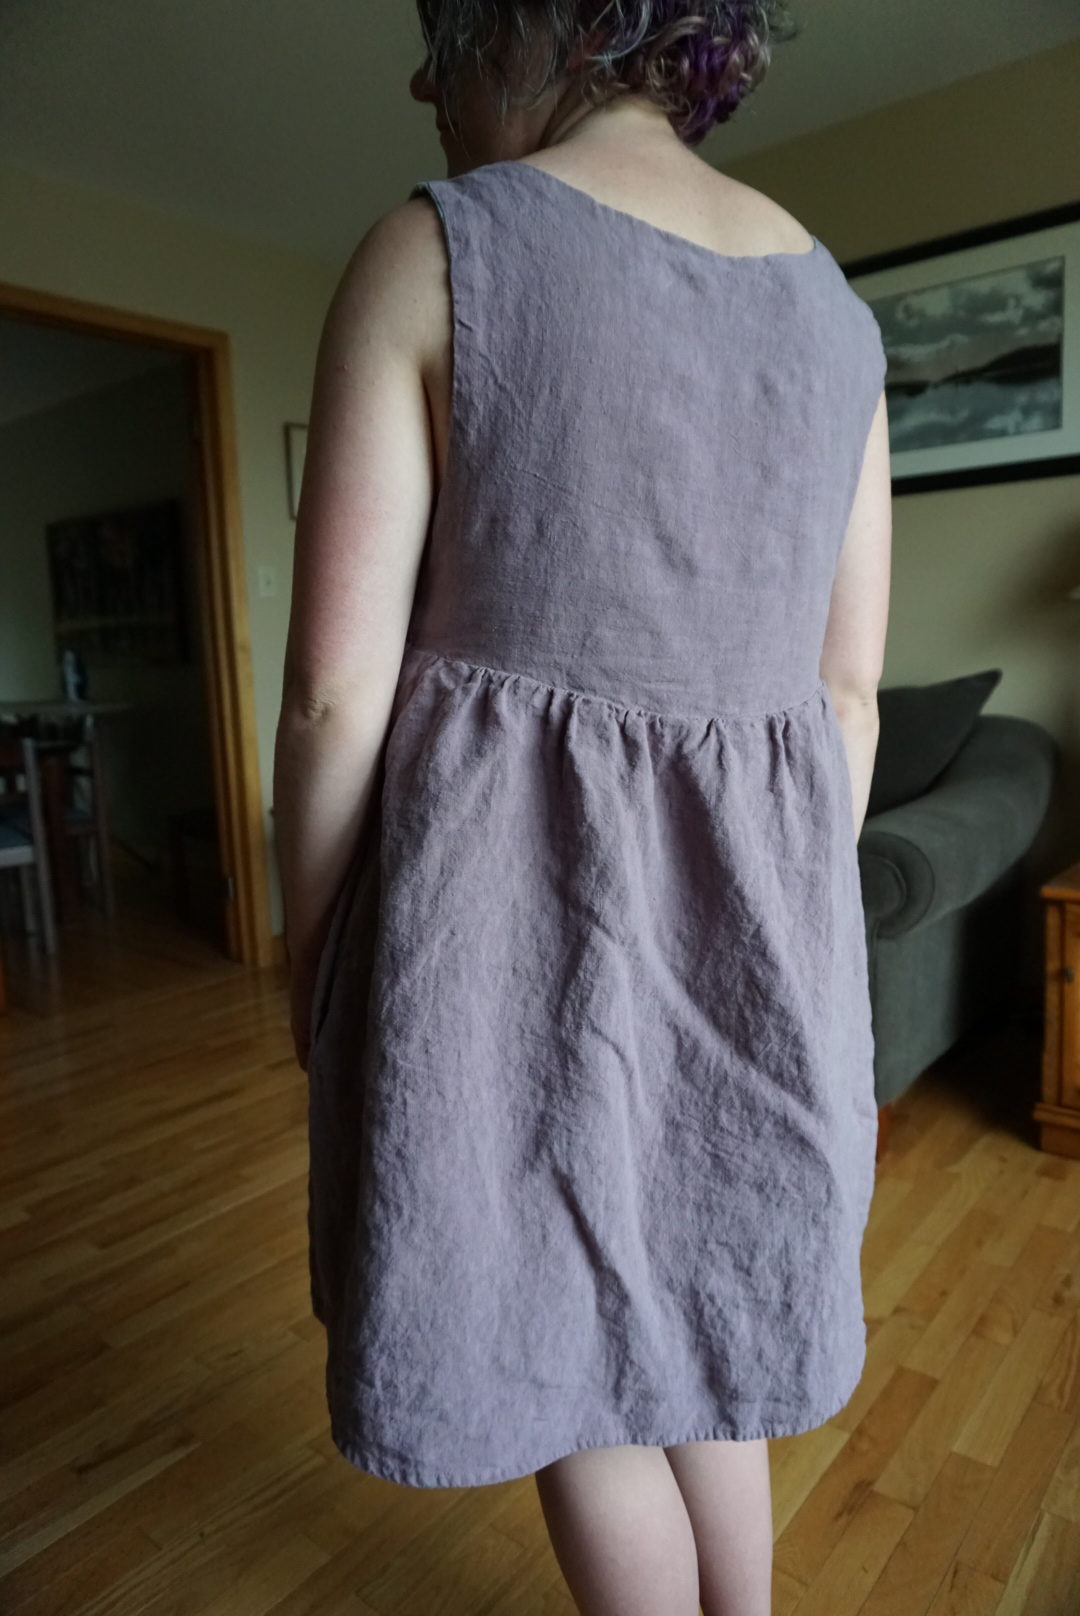
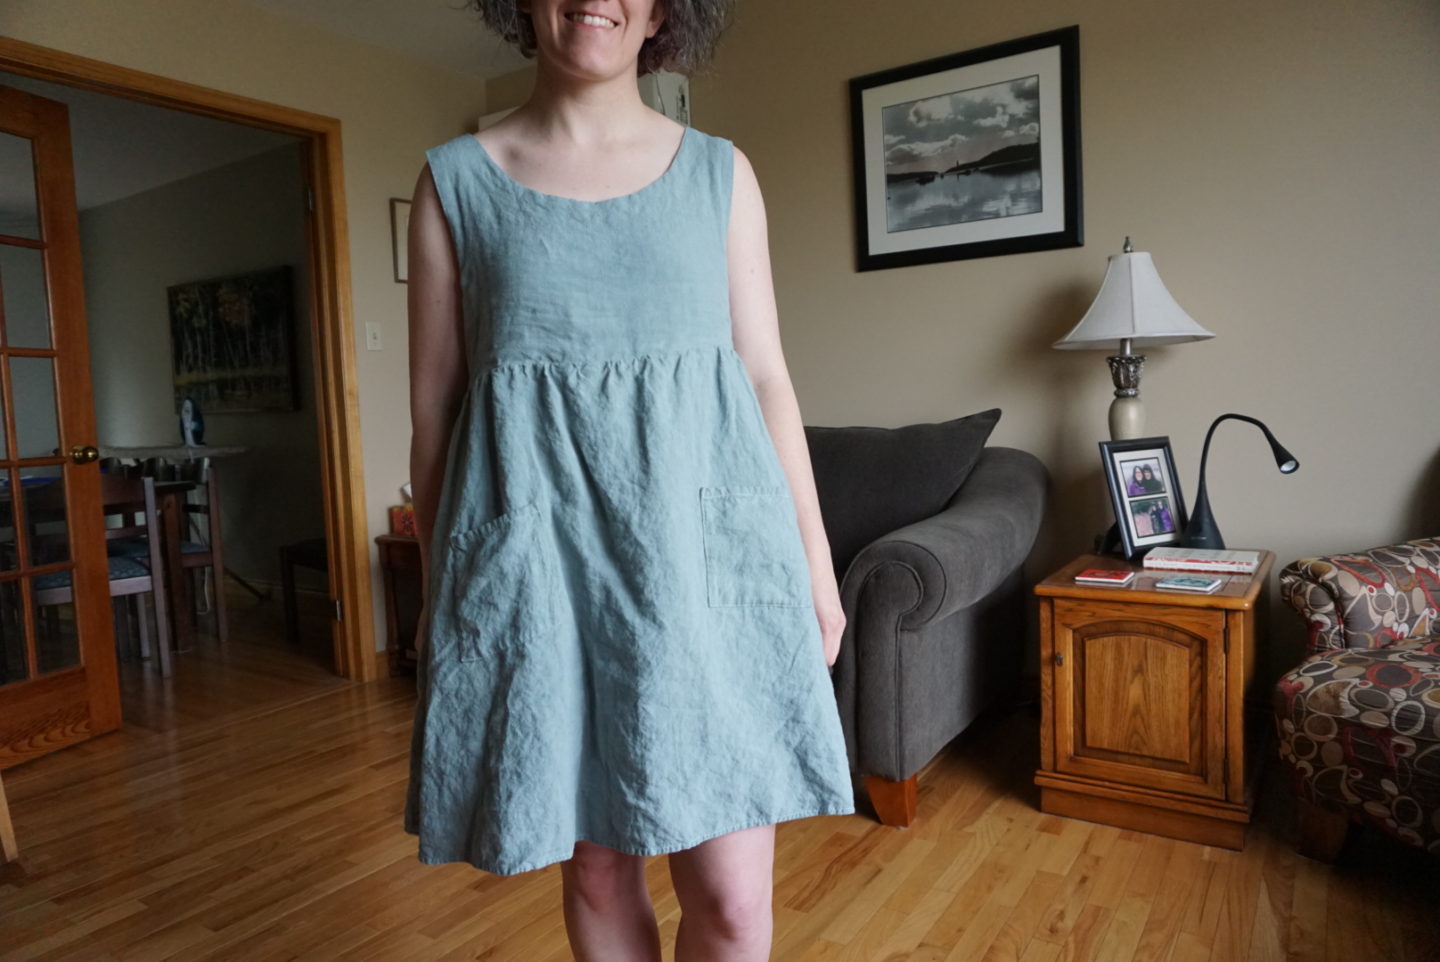
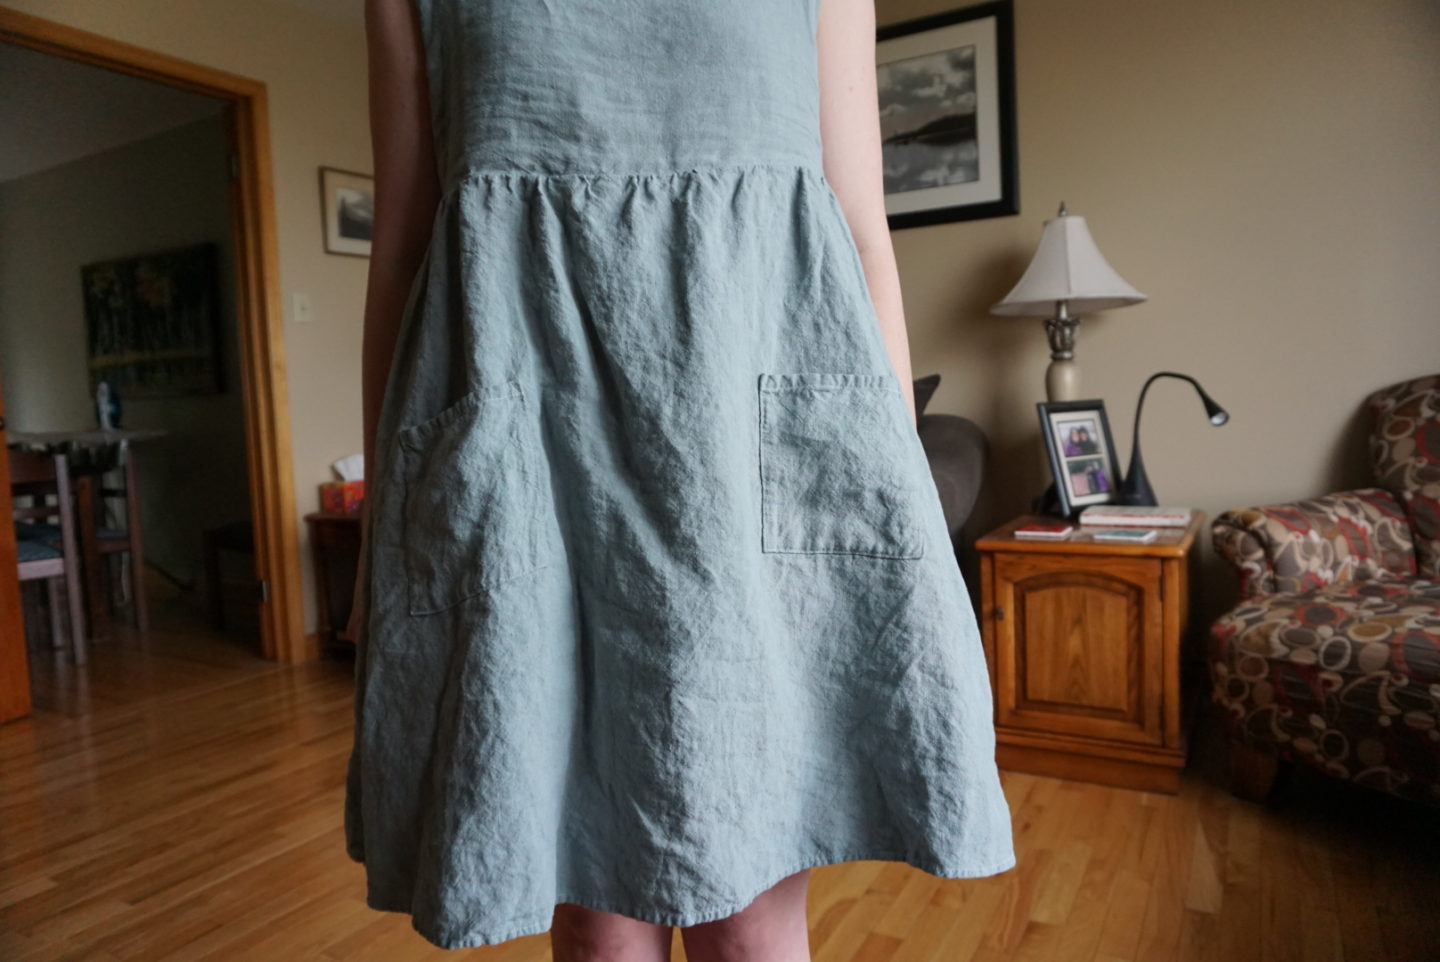
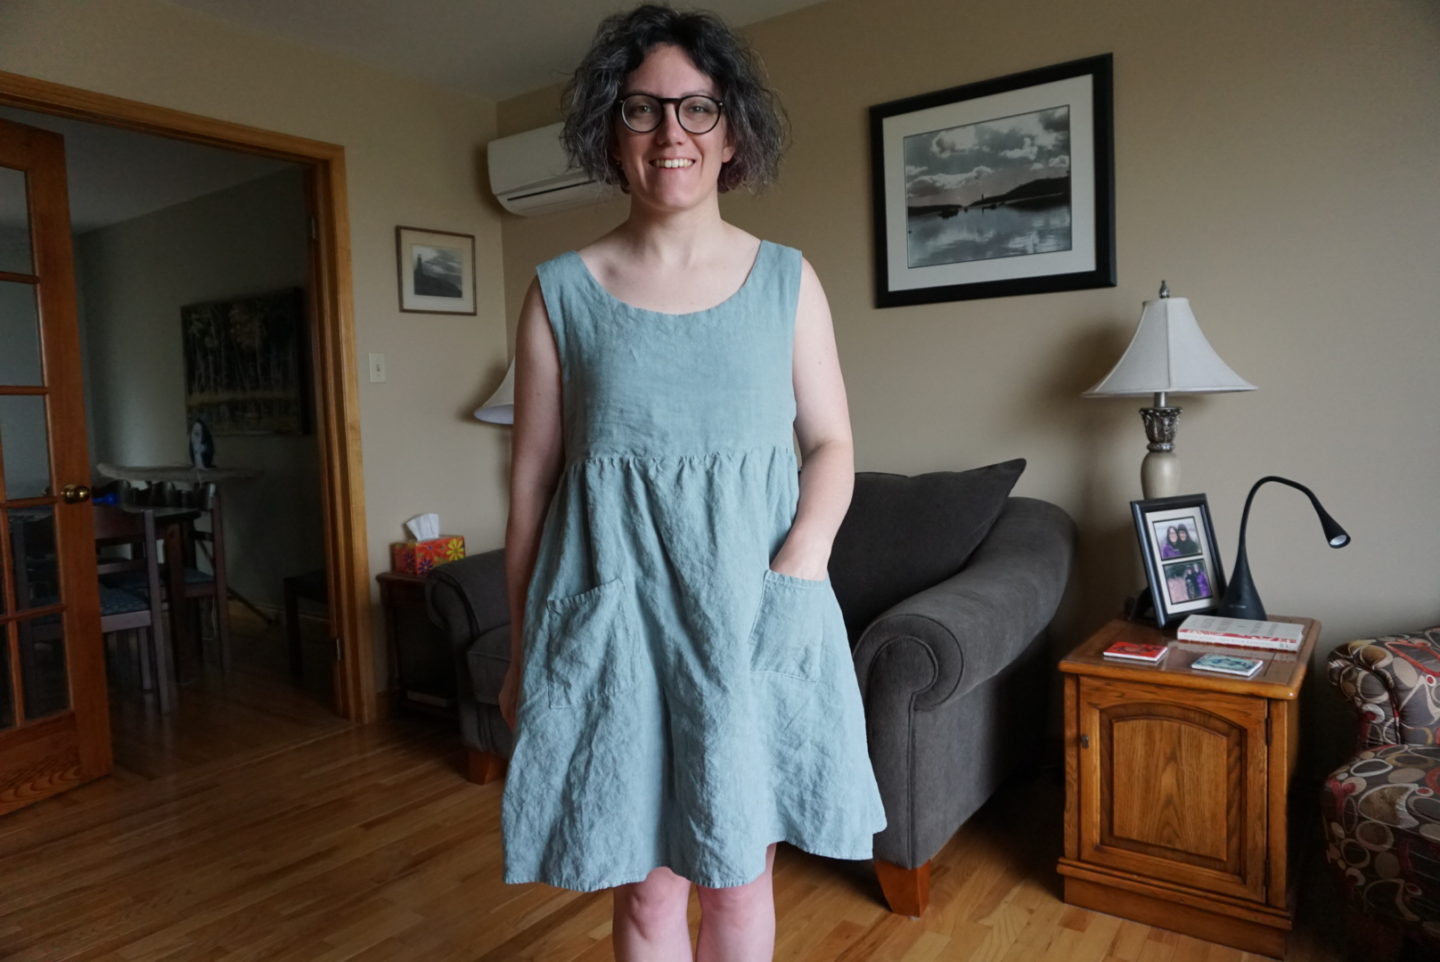
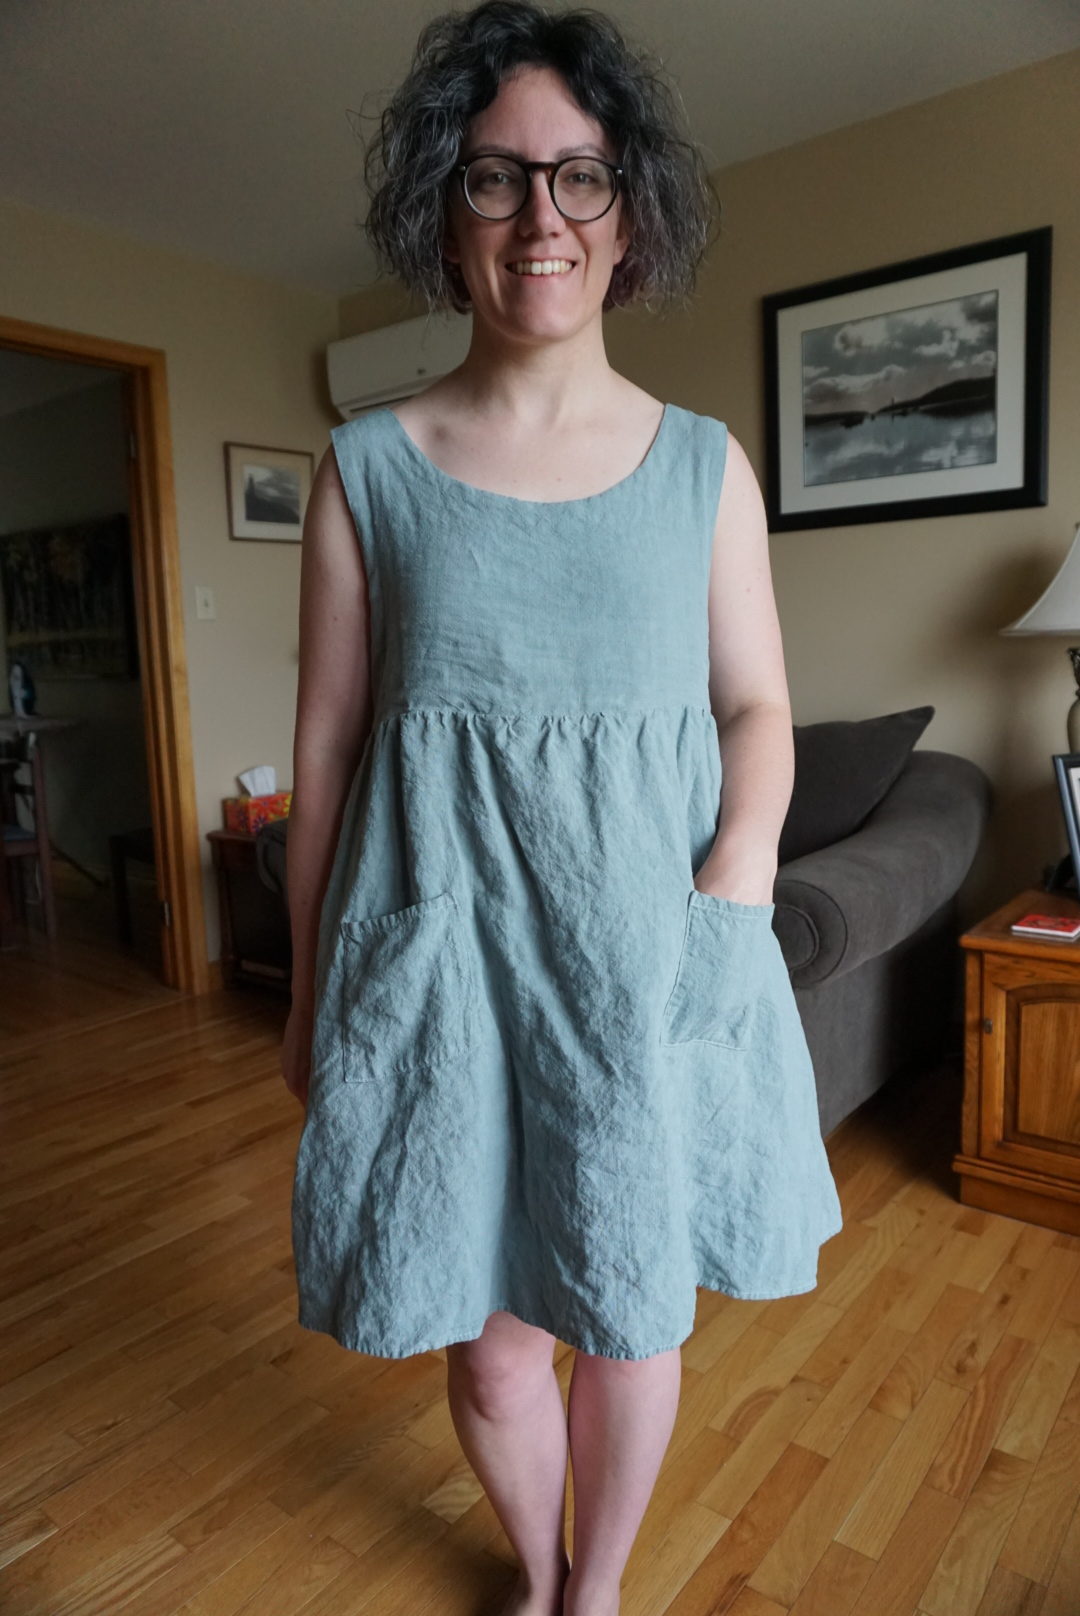
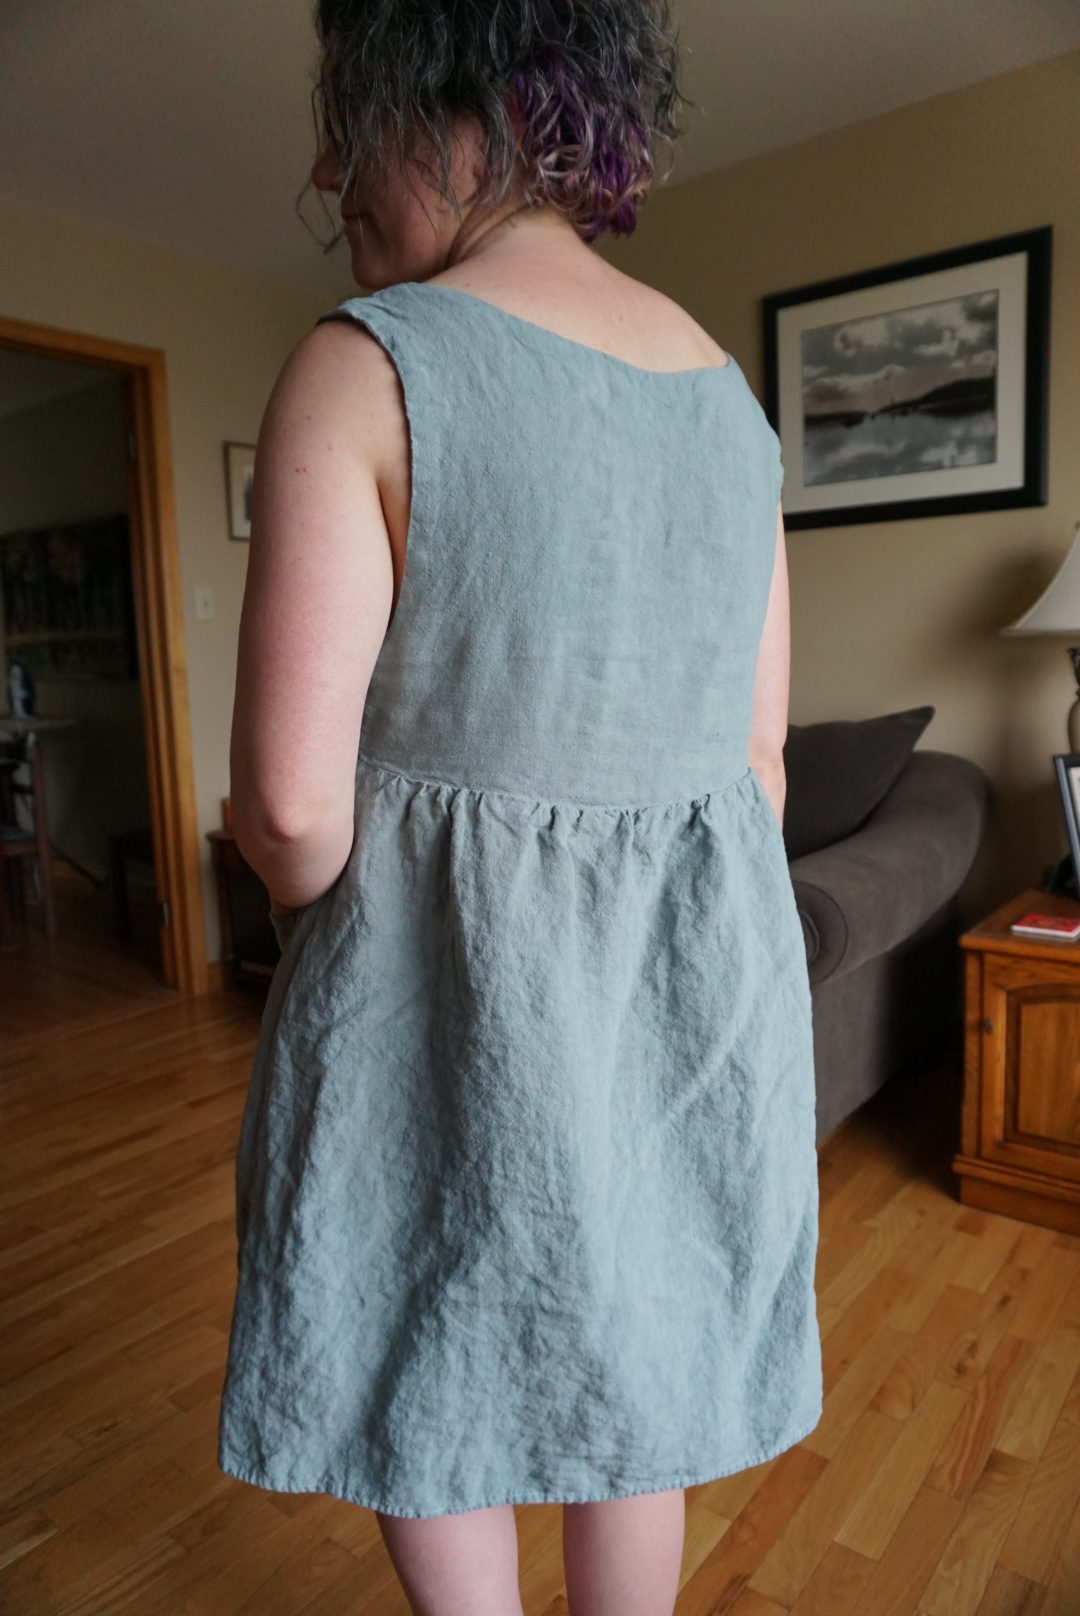
And now for the other side! For the record, these photos were taken after the dress was just out of the washing machine and dryer post-make, and I didn’t iron it at all! I love the rumpled look, and find the hem is laying nice and flat and not flipping up like it sometimes does on dresses immediately out of the dryer. I think this dress will be great for travelling, because you can just flip it and wear it again, whether it’s the next day or because you got a bit dirty. As well, if it doesn’t need to be ironed when it comes out of the wash, that’s a huge bonus for me!
In the pattern instructions for the Metamorphic dress, there isn’t anything about attaching the two layers together except at the armholes and shoulders/neckline. You do finish the edges at the waistline prior to sewing anything, so that’s not a problem, but I decided I wanted a bit more security in the attachment of the two dresses, plus I felt like the shoulders had a lot of weight on them (which is noted in the pattern, I believe). So I pressed the waist seams downward and then after finishing all the other steps, sewed the seam allowances at the waist together within the seam allowance. I think this really helped it stay less haphazard during the washing process, and it also makes me feel like there will be less fraying at the armholes and neckline on the inside, since they aren’t serged, because this way the two dress bodices act more like linings for each other and enclose the bodice innards.
Let’s talk sizing for a minute. My measurements are: 37.5″ full bust, 29.5″ waist, and 39″ hip. I made a test version of the bodice in a size 12 at the shoulders/bust grading to an 8 at the waist, and it fit fine so I plowed ahead with the real deal aside from narrowing the shoulders 3/8″ at the shoulder edge. I didn’t think it through that this dress uses the burrito method on both shoulders in order to get fully finished and enclosed arm and neck edges aaaannnd that involves pulling the whole dress through the shoulders. Which I knew. Because I’ve done this before. So the 3/8″ narrowing of the shoulders made this phase much more strenuous than it should have been, and I ended up popping a seam on one of the shoulders and having to redo that spot from the inside once the dress had been pulled through. C’est la vie!
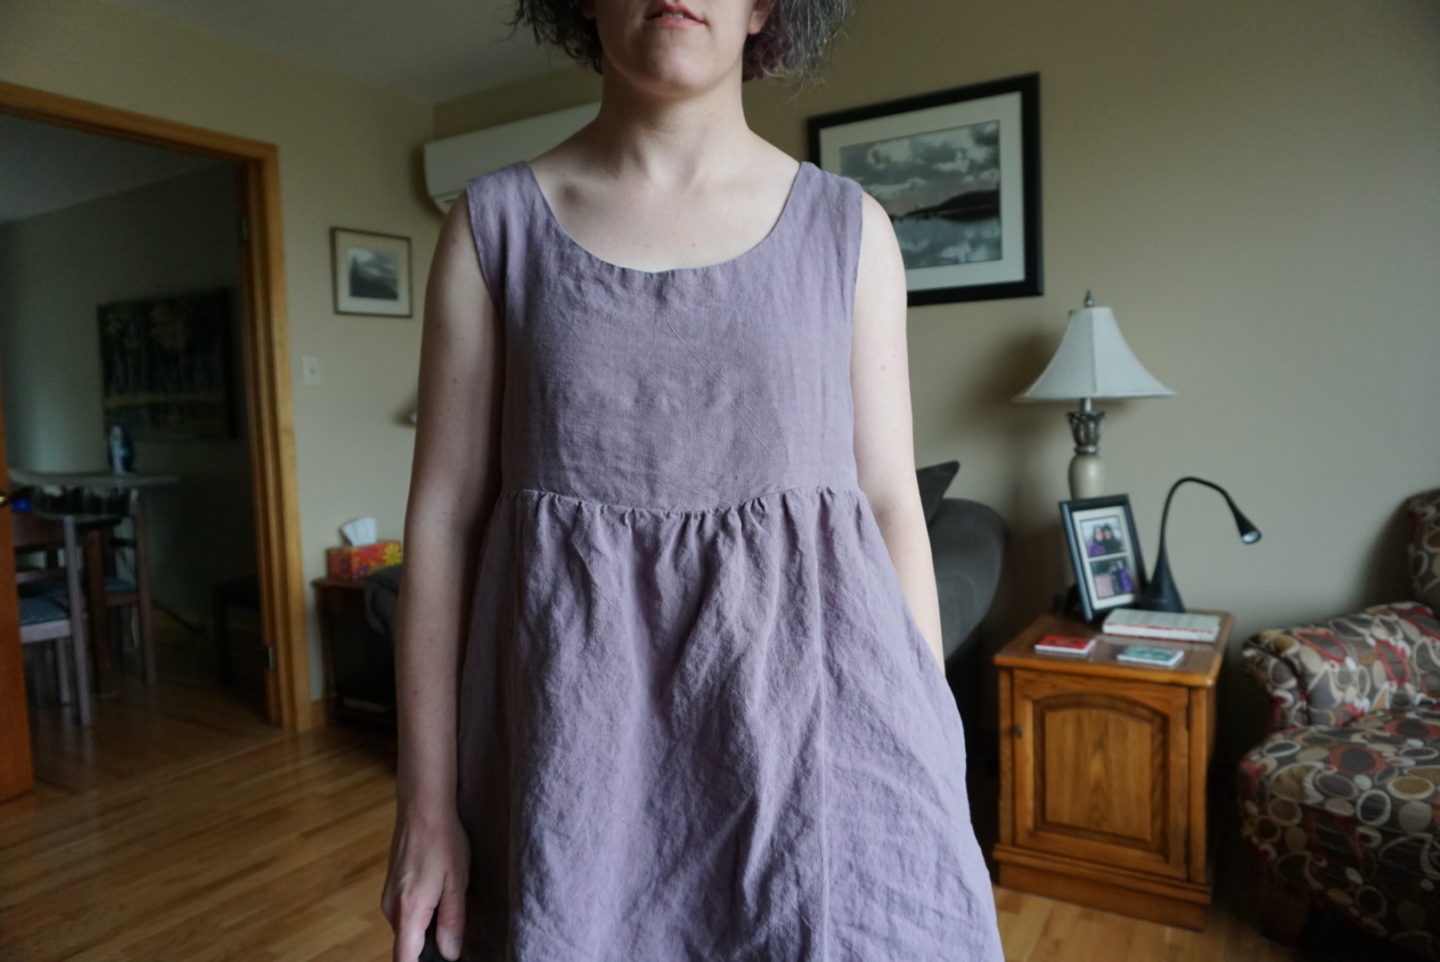
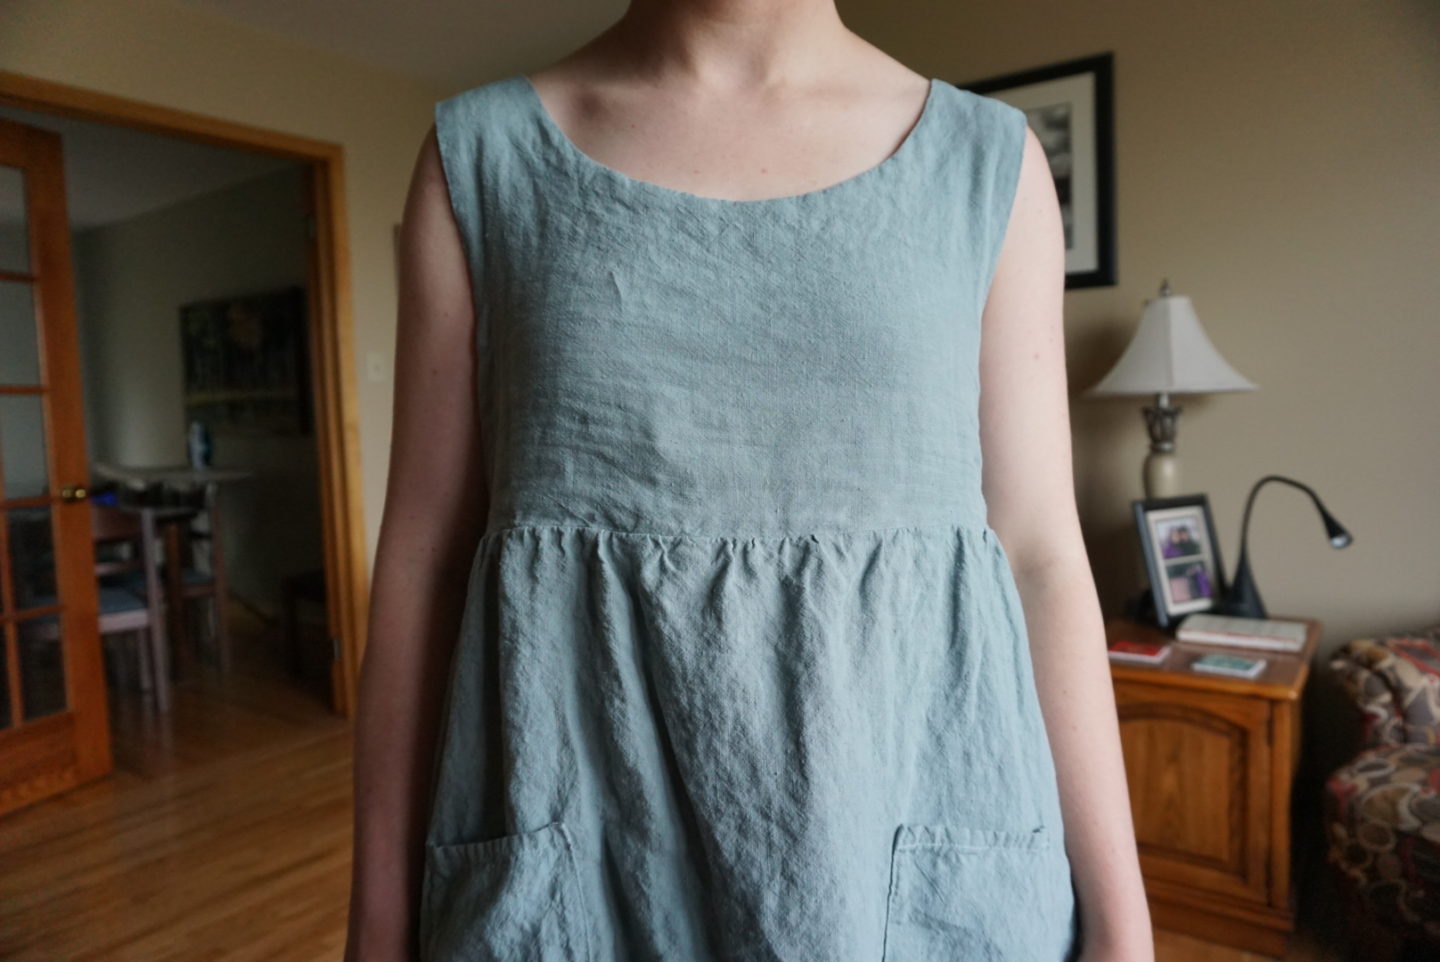
When I finished the whole thing and tried it on, I had a bit of gaping at the front neckline (which I think was related to me feeling like the shoulders were too widely spaced and continuously pushing them a bit inward on my shoulders). I wish I could tell you that I nobly pulled apart the dress and fixed the problem through some magical alteration. But what I actually did was throw the dress in the washing machine and wash it with reaaalllyy hot water and then dried it in the dryer on the really hot setting and that basically solved the problem. And the dye didn’t run, which I was willing to risk but luckily didn’t come to pass! For my next version, I think I will instead remove 1″ from the front center bodice (within the armhole, because overall the dimensions of the bodice did fit me), moving the shoulders inward by 1/2″ on each side instead of narrowing them, which will solve the initial gaping problem, and the wide shoulders problem. And then I’ll just retrace the armhole to match it up.
I was listening to the Love to Sew podcast while sewing this dress, and in the Brittany J. Jones episode, they were talking about sewing in 30 minute increments. My friends, I have tried multiple times to be the kind of person who can do that, and I’m just not! This dress is a prime example of that. I cut out three little things that I’m making as a gift (will reveal more on that later after they have been delivered) and thought that I would do a bodice muslin for the Metamorphic dress in order to get that hurdle out of the way before bed and make me more likely to start sewing the dress itself the next day. Which then turned into “I’ll just cut out the pieces before bed”. Then, “I’ll just serge all the edges before bed”. Then suddenly it was 3:30am on (technically) Thursday morning and the only thing stopping me from fully finishing the dress was the fact that I didn’t have matching thread for the purple hem. And the worst part is I thought I didn’t have to be at work until 1pm otherwise I wouldn’t have stayed up so late, but then when I was going to bed at 3:30am and looking at my date book, there was a pesky line in there saying “massage @ 10am”. Which at that point was too late to reclaim the sleep I had given away and I was forced to set an alarm that told me it would ring in “5 hours and 15 minutes”. It wasn’t even the fact that I really wanted to finish the dress that kept me up so late, although that’s definitely been the case in the past. I was just having such a good time and was so in the zone that I didn’t want to stop! So I didn’t. Does anyone else get really stuck into a project like that? Or are you incremental sewists? I recognize it is a privilege of not having kids and not having a 9-5 job to be able to spend so many consecutive hours, but I’m just curious what people’s natural dispositions for sewing time are!

I’m a childless freelancer who lives with an academic, so yeah, “I’ll just pin these pockets on” often transforms into “I’ll just get anything that takes a serger out of the way” and finally ends with “What do you mean I shouldn’t hammer in rivets at 1:00 a.m.?! Our apartment neighbors will love it!”.
Clever fix for the neckline! Your fabrics look so soft and lovely.
Love this dress on you! I recently started sewing everything in linen. Thanks for a great informative post.
Author
Thank you! I’m definitely also obsessed with linen. Would like to wear it 24/7 and also my sheets and duvet cover are linen! It’s the best fibre! 😍
I am struggling with the neckline of this dress, followed instructions right sides together but then when finished there is no neck hole anymore? What am I doing wrong? Any suggestions welcome
Author
Hi Lisa, I’d recommend checking out tutorials for all-in-one facings as from what I remember, I think this is a similar process. I definitely understand the struggle, as I think I had the same issue the first time I sewed a dress like this!
Please help me to understand what you mean by narrowing the center front “within the armhole”. I will need a narrow adjustment for sure but do not understand. Thanks!
Author
Hi Ruth, you’re right that that was phrased in a confusing way. Sorry about that! The phrase “within the armhole” does not refer to narrowing the bodice, but shortening it. What I meant by that was that I wanted to shorten the bodice and also raise the bottom of the armhole at the same time, so I would want to shorten it along a horizontal line that fell somewhere between the top of the shoulder and the bottom of the armscye. For the part that discusses narrowing the shoulders, I intended that I would cut off the top of the shoulder on the pattern piece and move it inward, and then retape it. I didn’t need the whole bodice to be more narrow, just the “straps” at the top so that was my unorthodox plan to achieve that. After I did those two things, I would redraw the armhole using a curved ruler. I hope that makes sense!