
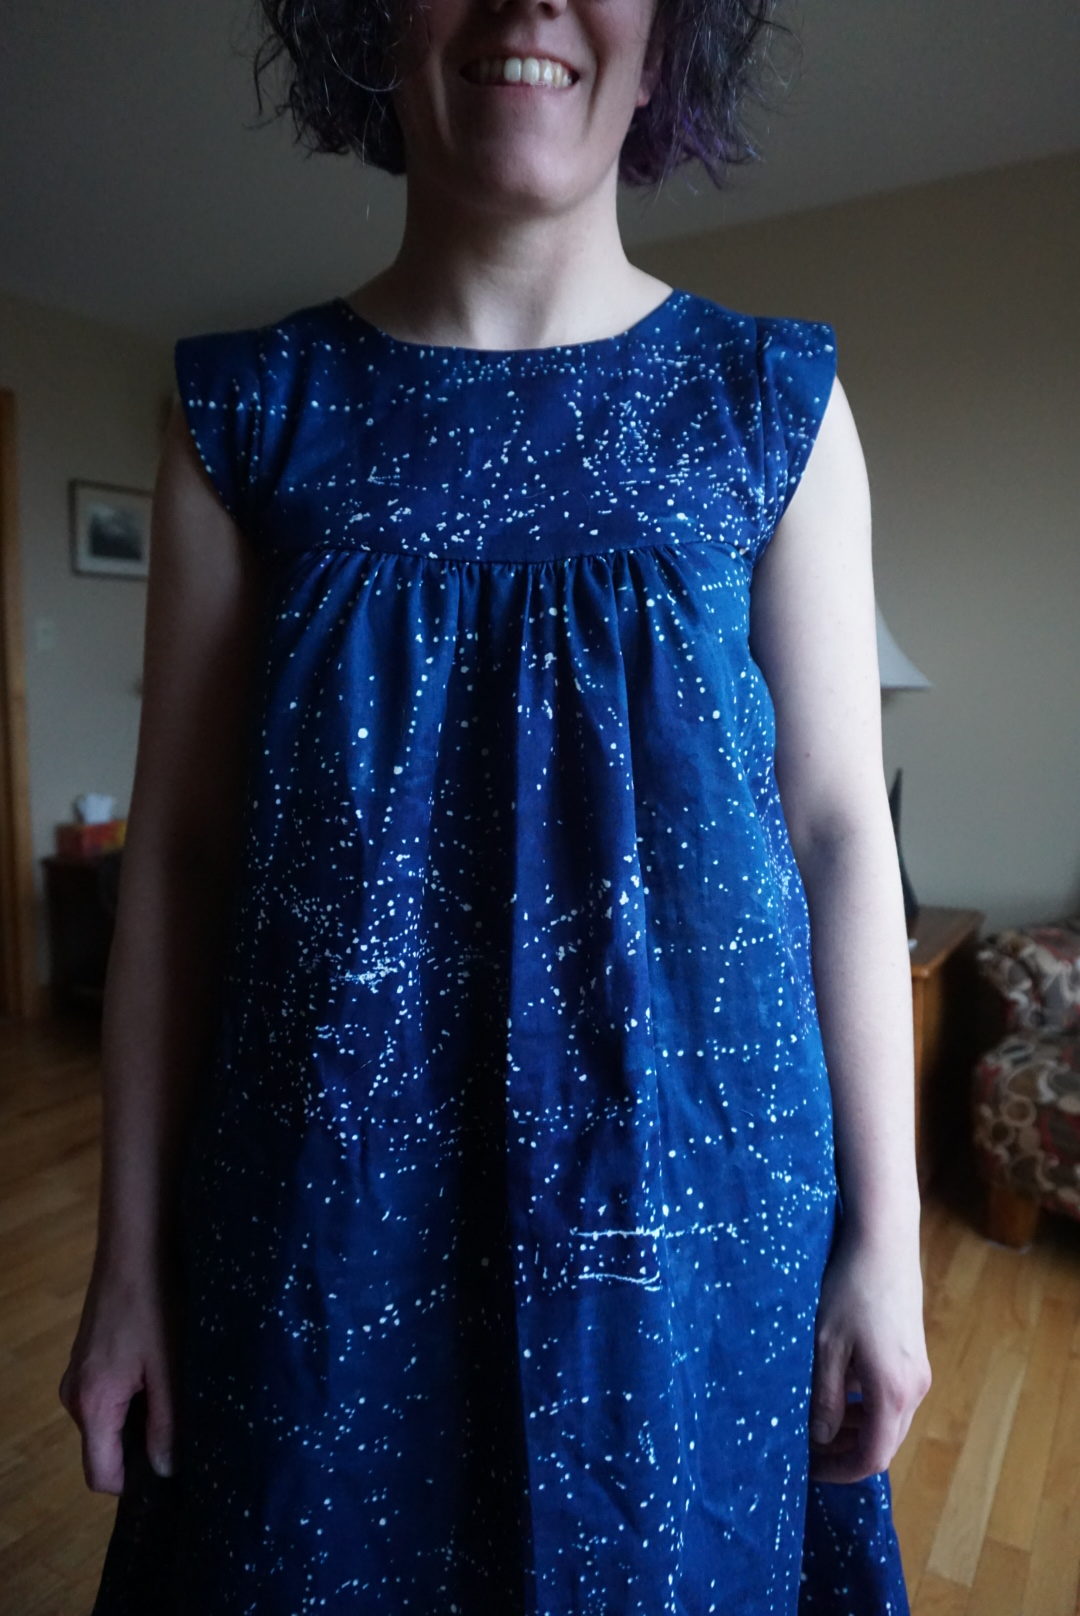
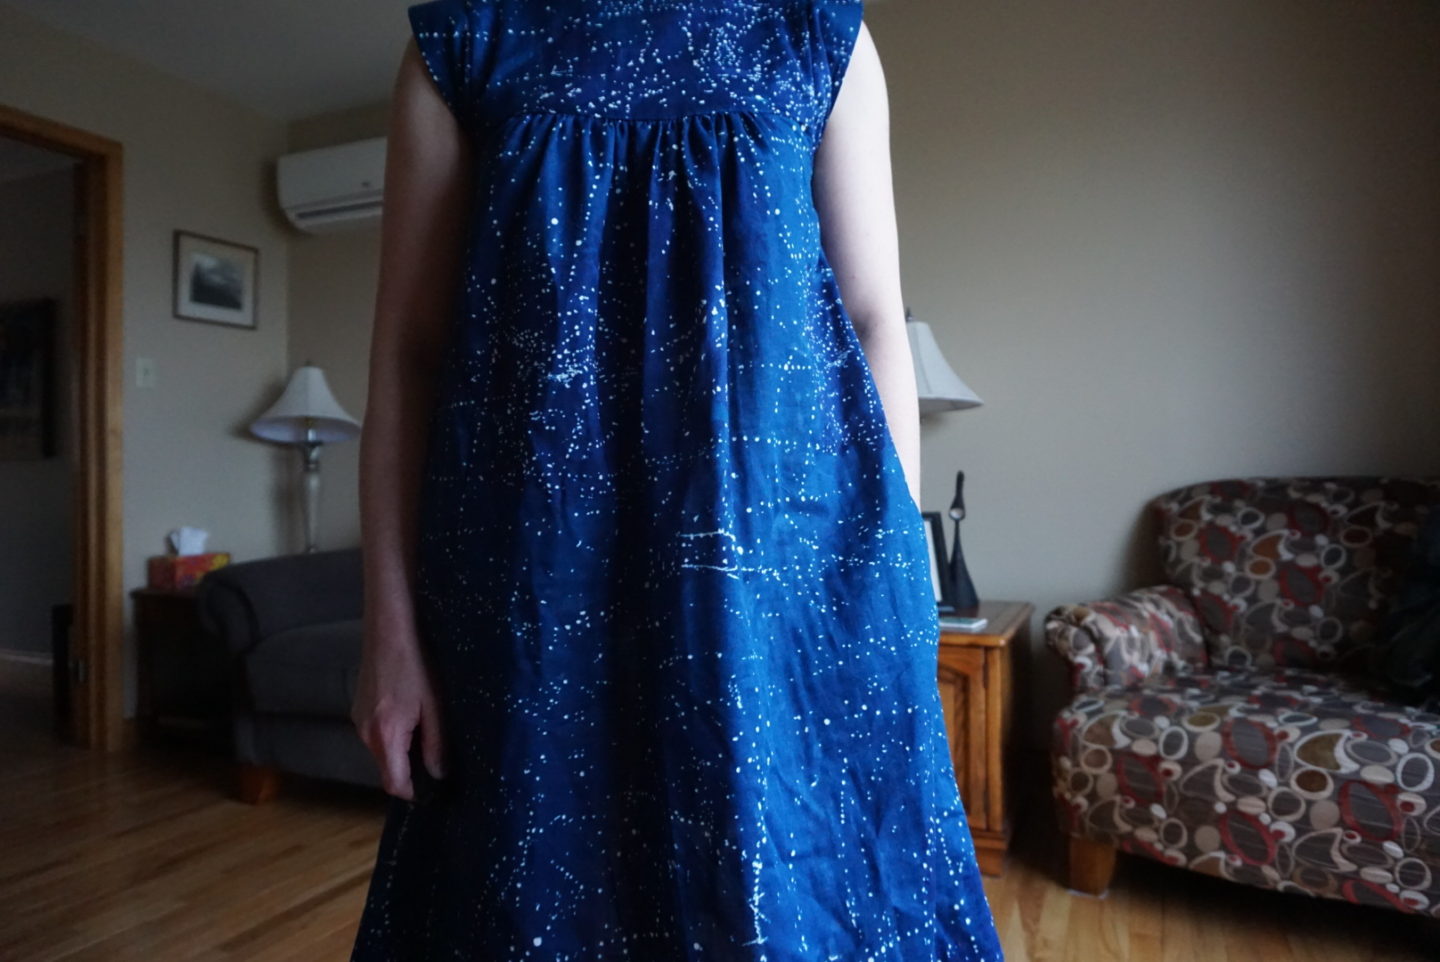
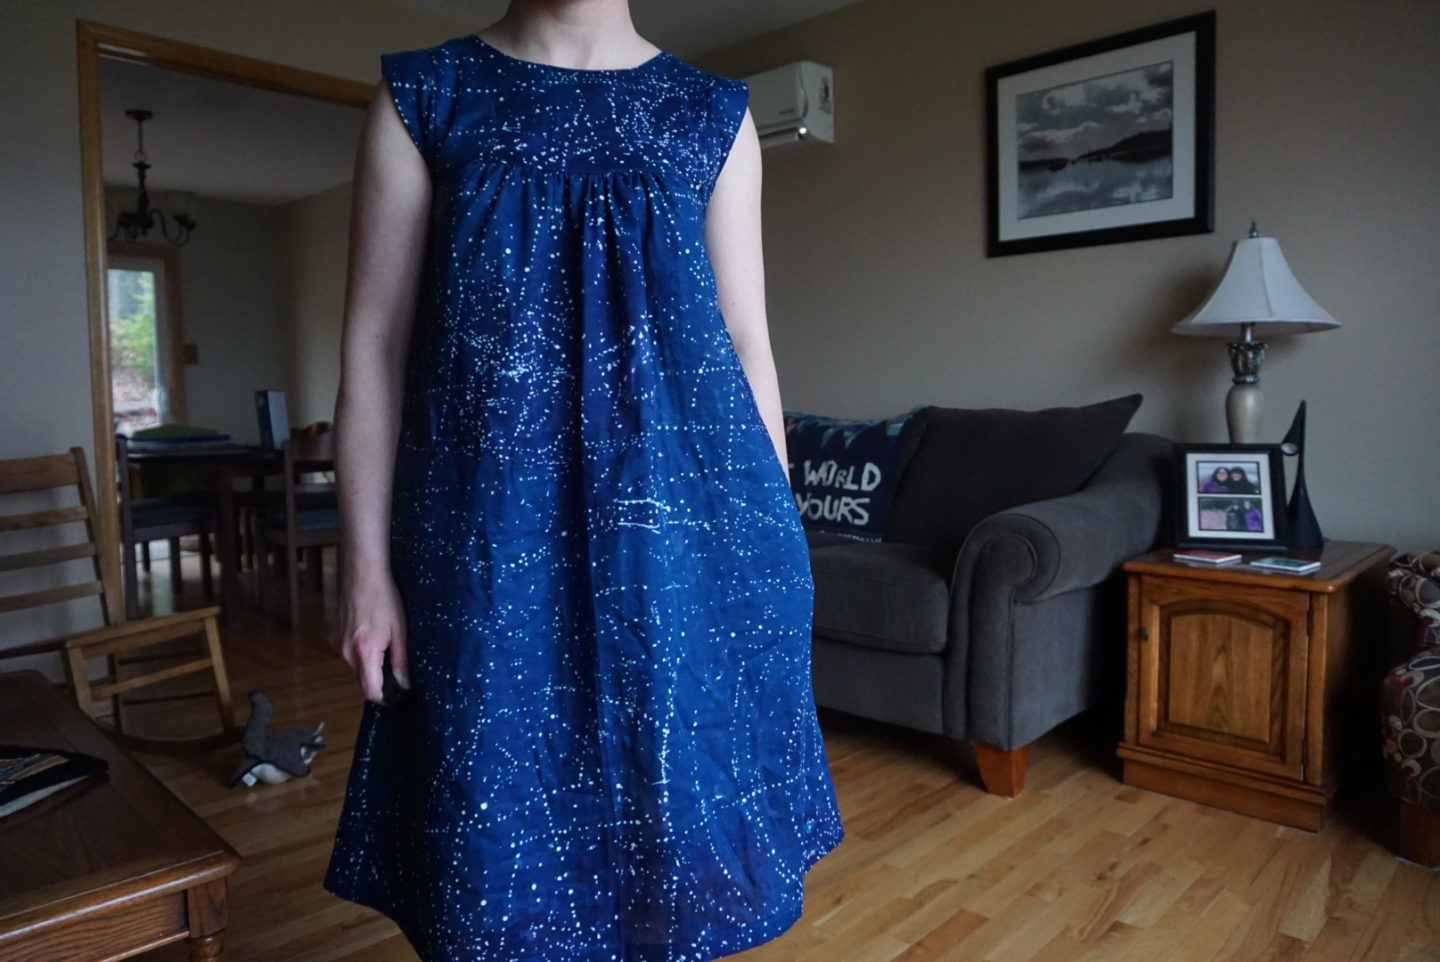
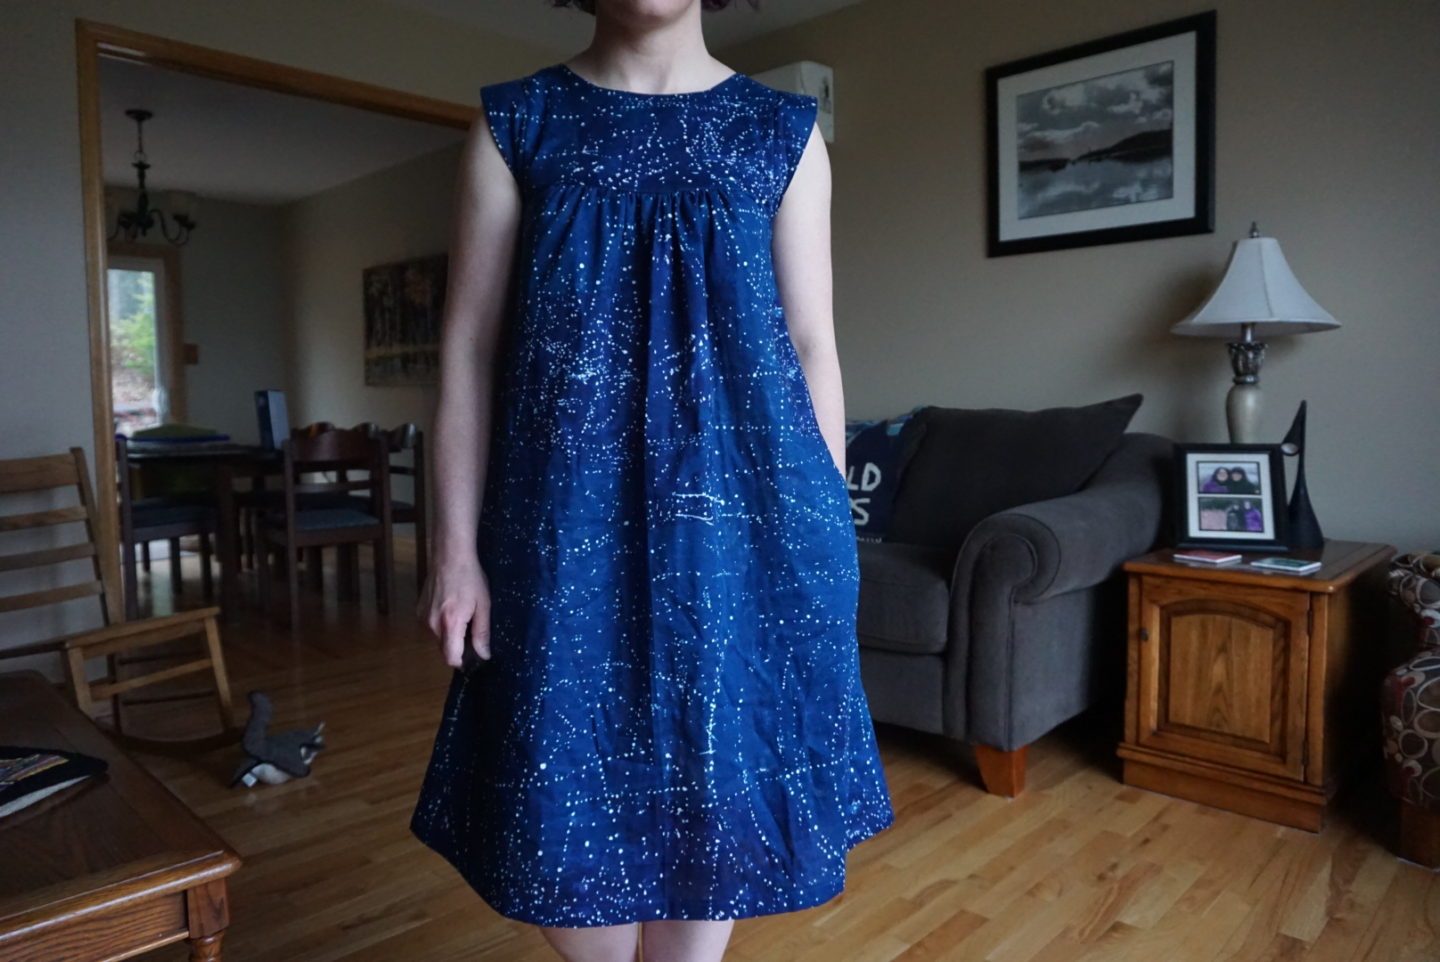
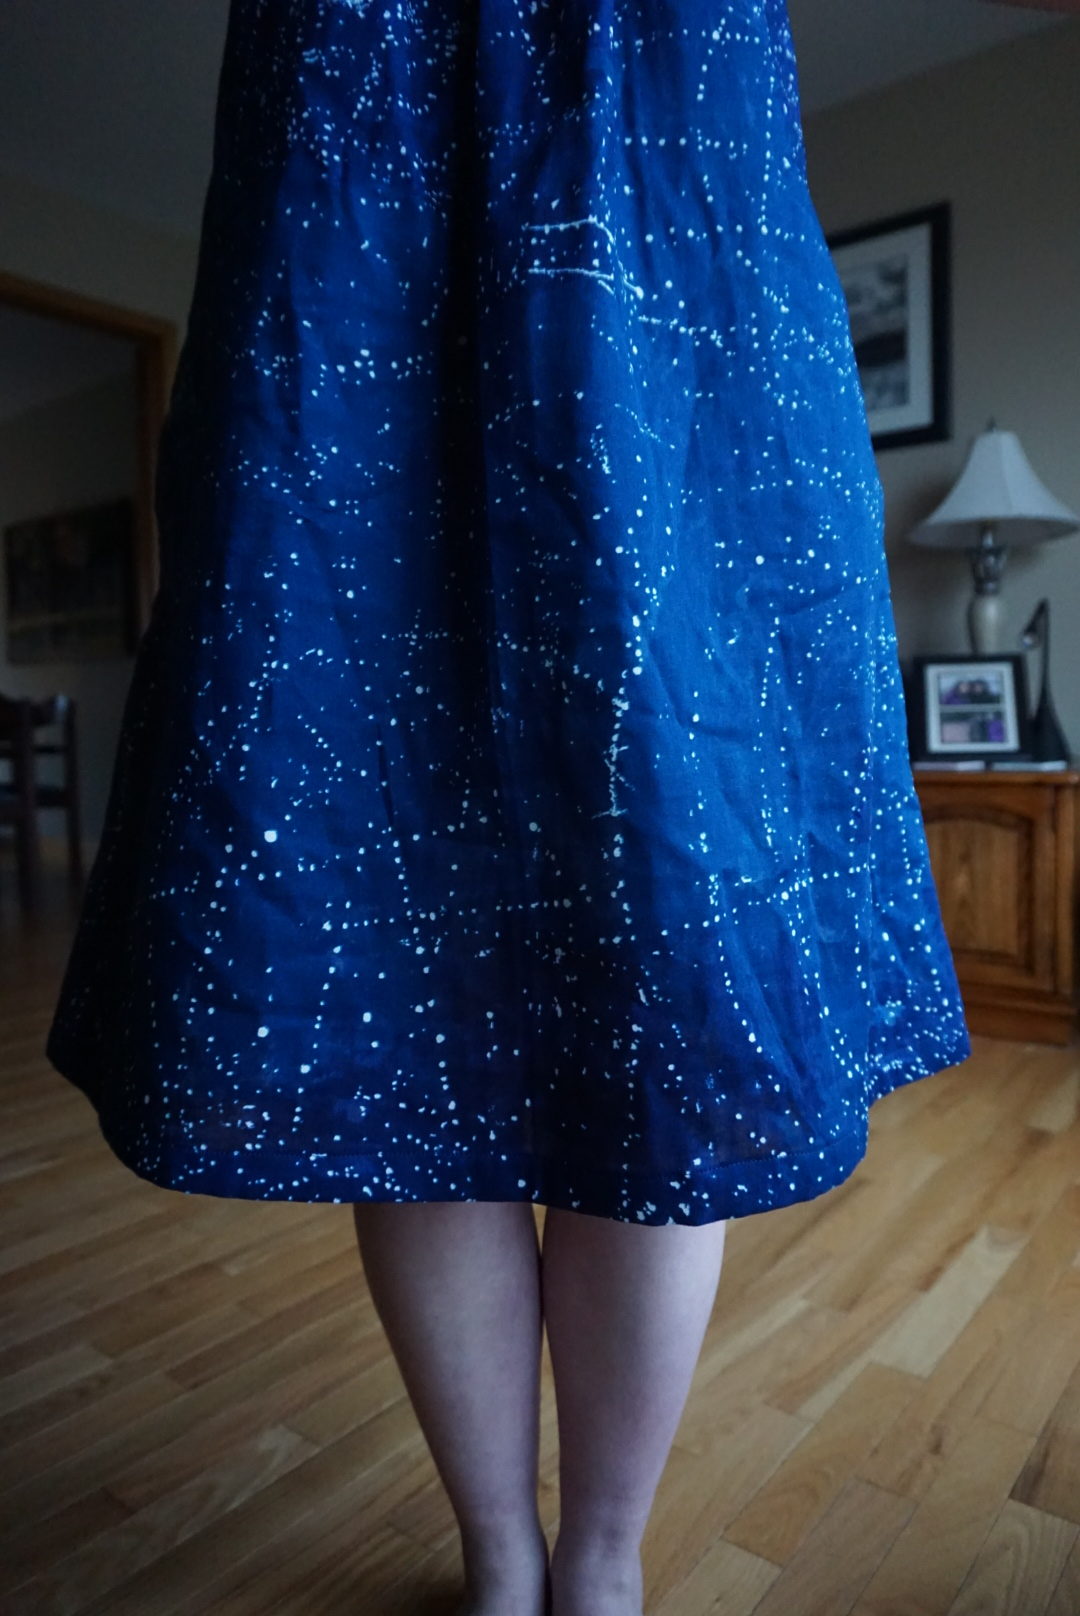
I think it’s time to officially give the Tessuti Alice top/dress its place in my tried ‘n’ true hall of fame. I’ve made three versions of the top (all in Nani Iro double gauze, actually), but until Sunday had never tried the dress version. The top and dress use the same front and back yoke pieces, as well as the armbands, but the front and back gathered sections are different pieces as opposed to just longer/shorter versions of the same one. I was honestly worried that it was going to be a shapeless sack on me – long drapey things with no defined waist are generally not a good look for me and drown my short self. Although apparently I wasn’t worried enough to not cut directly into this Nani Iro double gauze… In any case, the fit of the top combined with the modest structure of the double gauze made a great A-ish shape that I think really works on me!
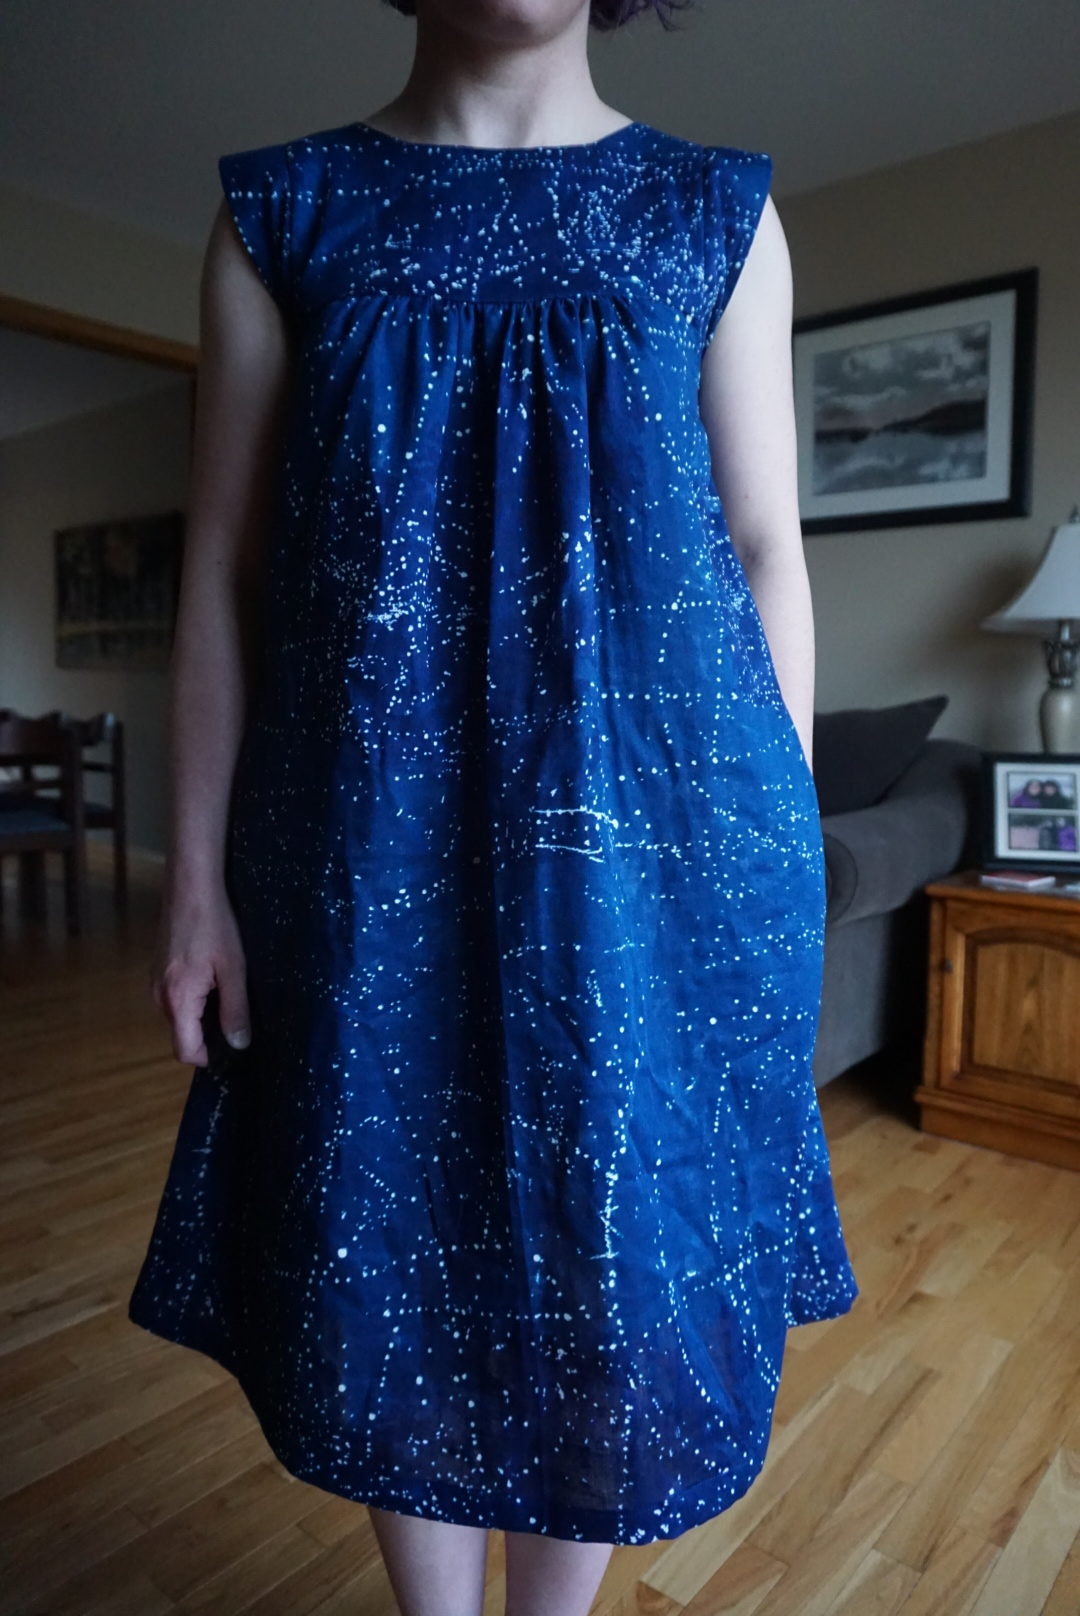
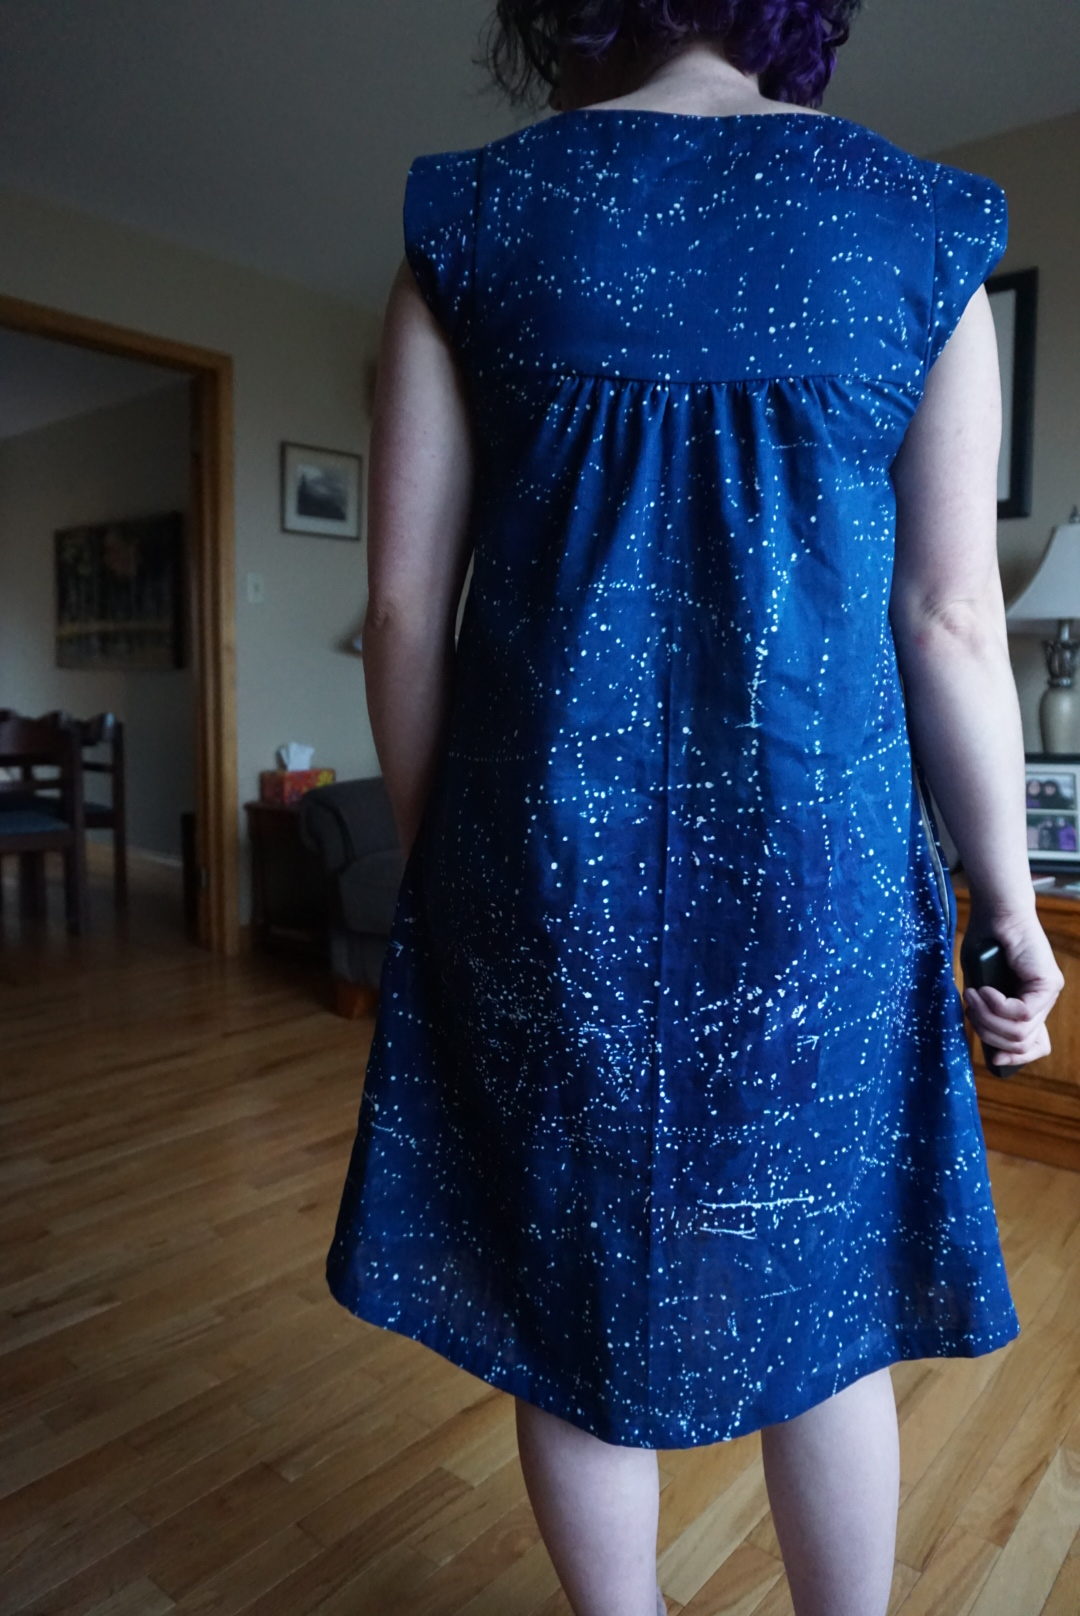
When looking at the pattern pieces, I was intrigued by the fact that the back piece was noticeably more narrow than the front. Once it was sewn up, however, it made total sense – obviously I don’t want a big unsightly billowing cape in the rear, whereas in the front it has to make it over the boobs. I made the size XS as usual, which is a size down from what my measurements would suggest. I never made the S in the first place to discover it, I just went with XS for my first version of the top after reading on a few blogs that they had found the fit was better if they sized down. (Can confirm that this is accurate.) When I make the top, I usually shorten it by 3″ at the hem because it would completely cover my butt otherwise. With this dress, I essentially only shortened by 3/8″ and that was only because I didn’t want to deal with folding the edge over by 1/8″ to neaten it so I hemmed a total of 1.5″ instead of 1 1/8″ to make my life easier.
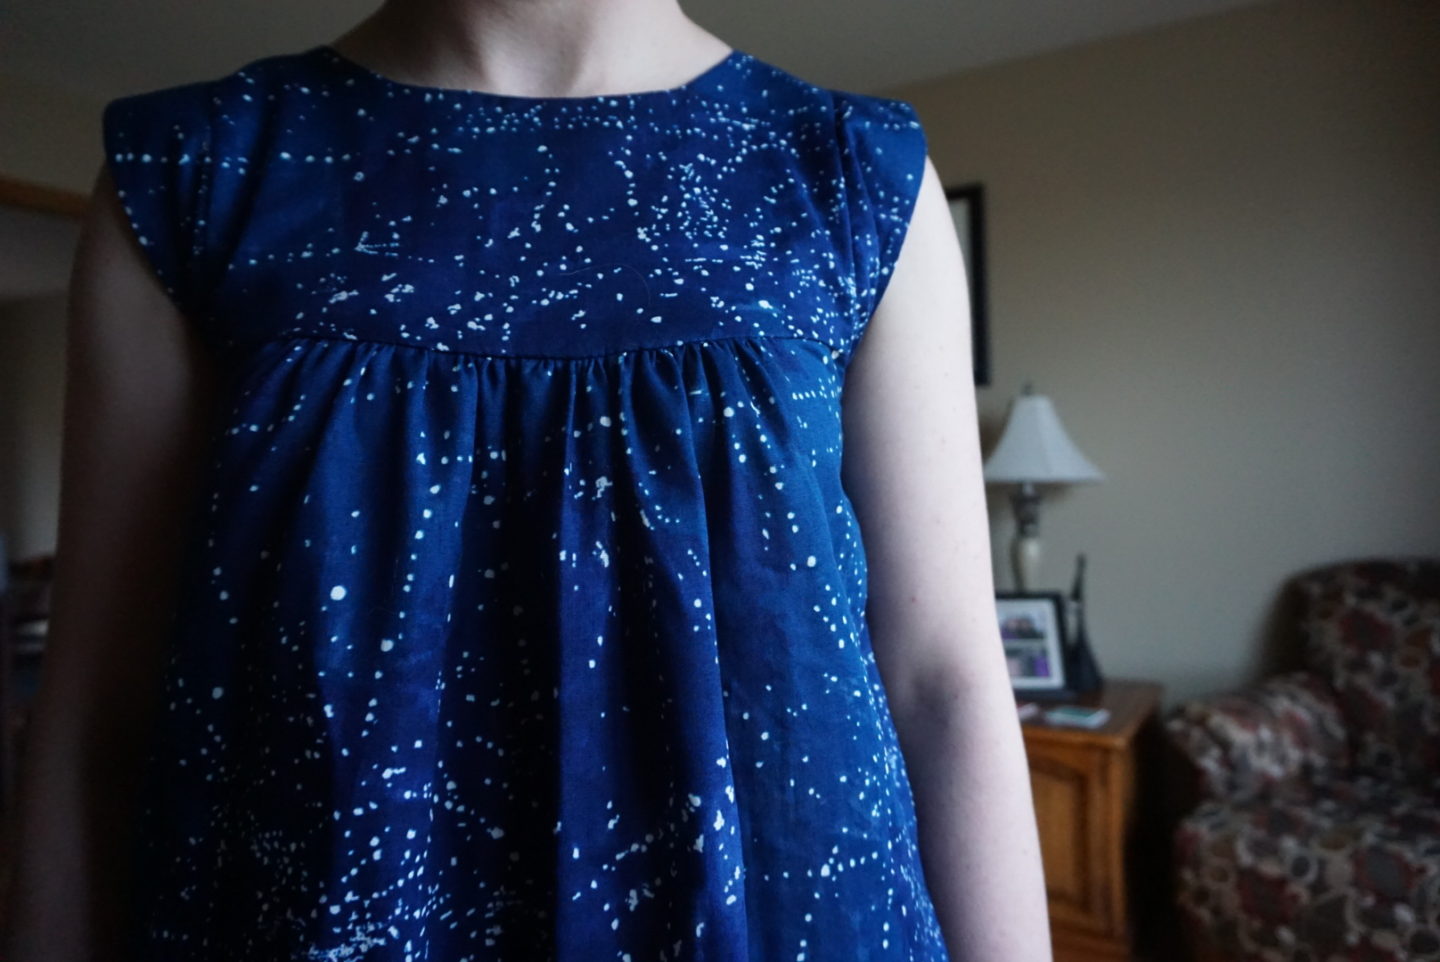
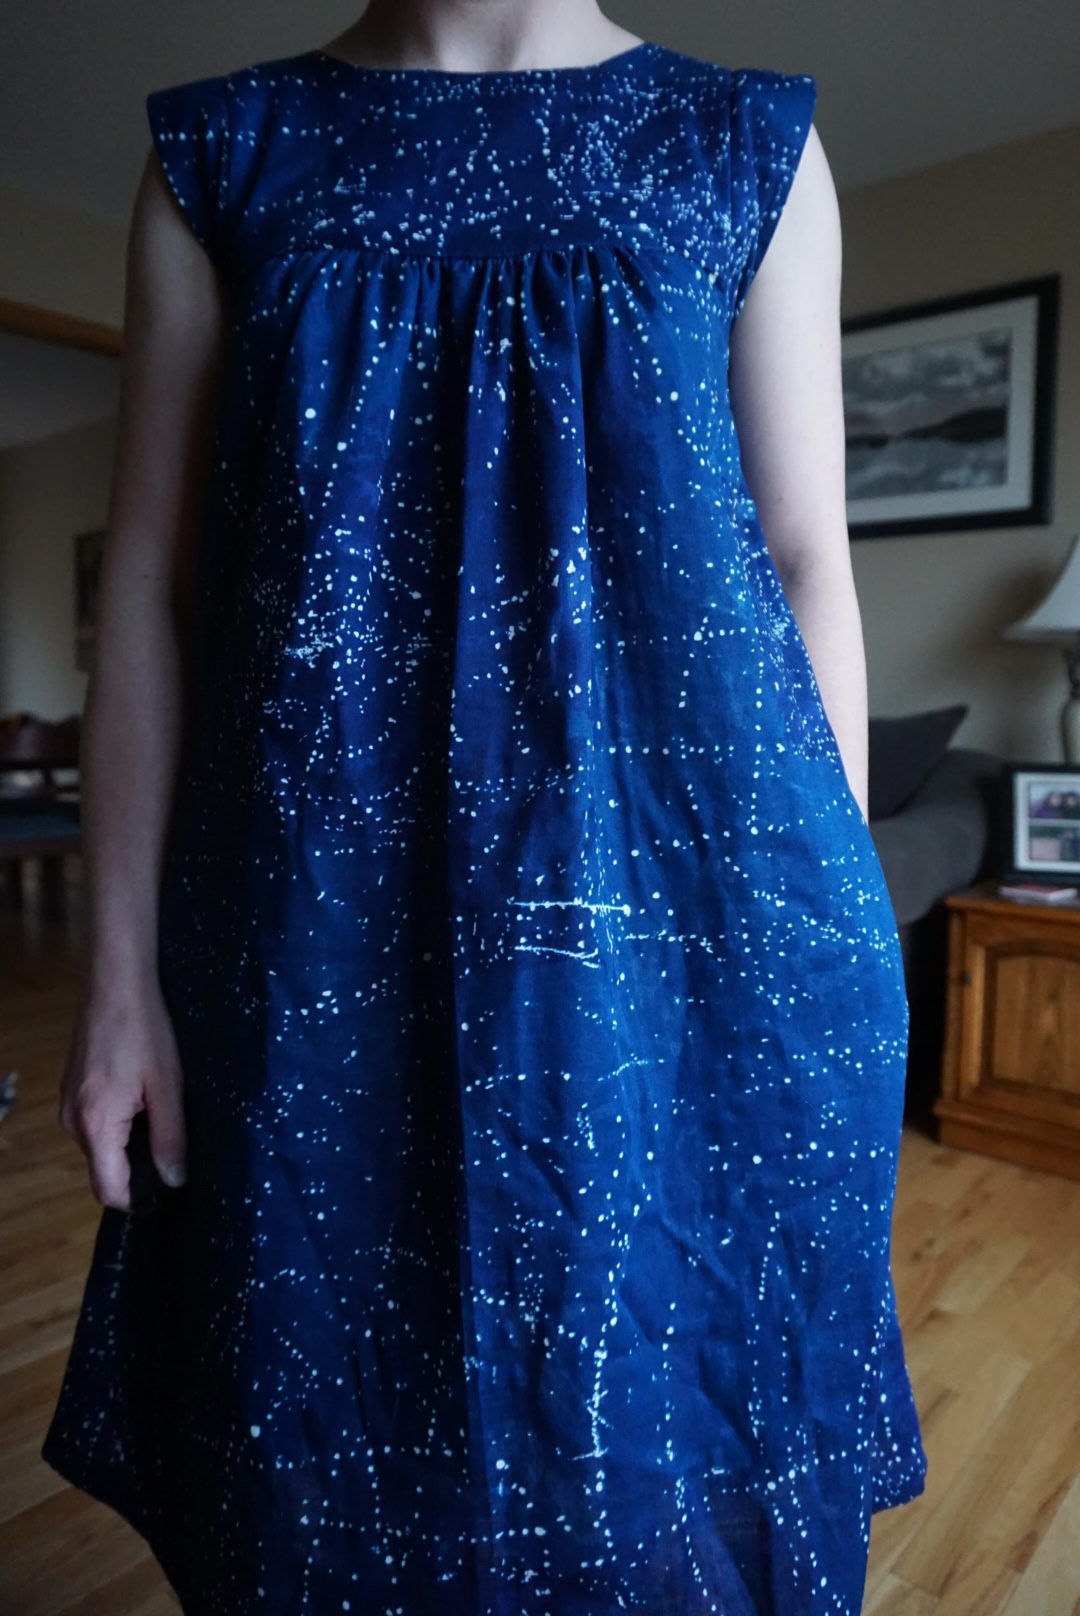
If you’re thinking this fabric looks familiar, it IS. If you follow me on Instagram, you’ll know that I have made an Alice top in the dark green version of this print, as well as the Deer & Doe Myosotis in that same green (that dress might make it to the blog eventually). I’ve said it before, but this might be my favourite print of all time. In this and the dark green colourway, it’s SO BEAUTIFUL. It’s not a trick of the light – there are shadings of dark and light patches in the background colour like a swirling Milky Way, and I love the constellation effect. Plus, my love of double gauze is well known. I would love to swan about in a cloud of double gauze at all times. I’ve been saving all my gauze scraps since I first used it, and in the distant future I want to make a completely double gauze quilt. I think it would be so dreamy!
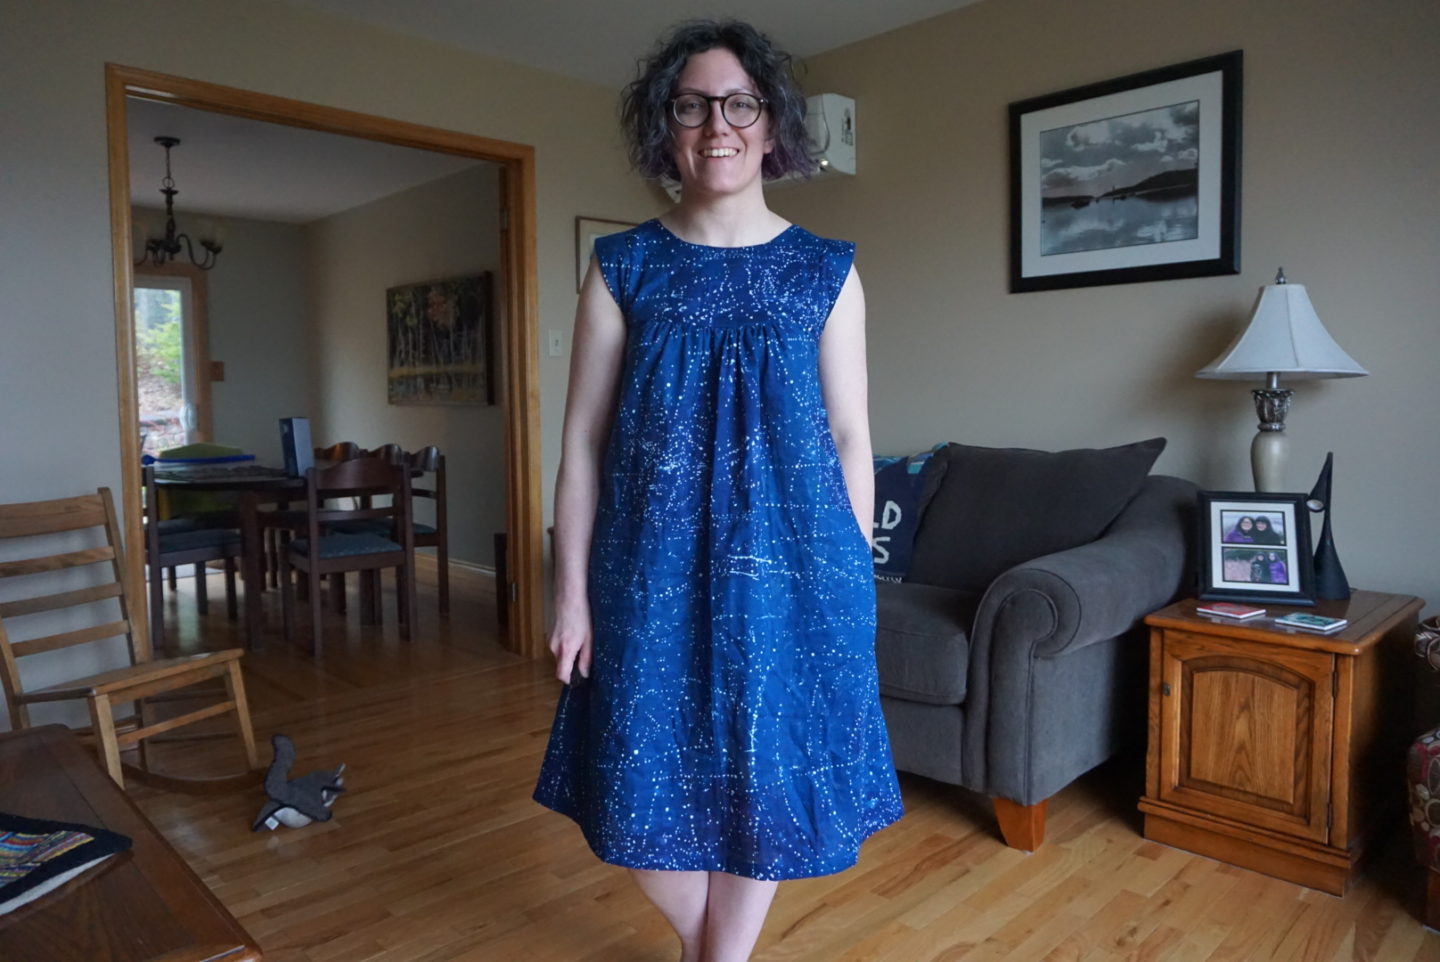
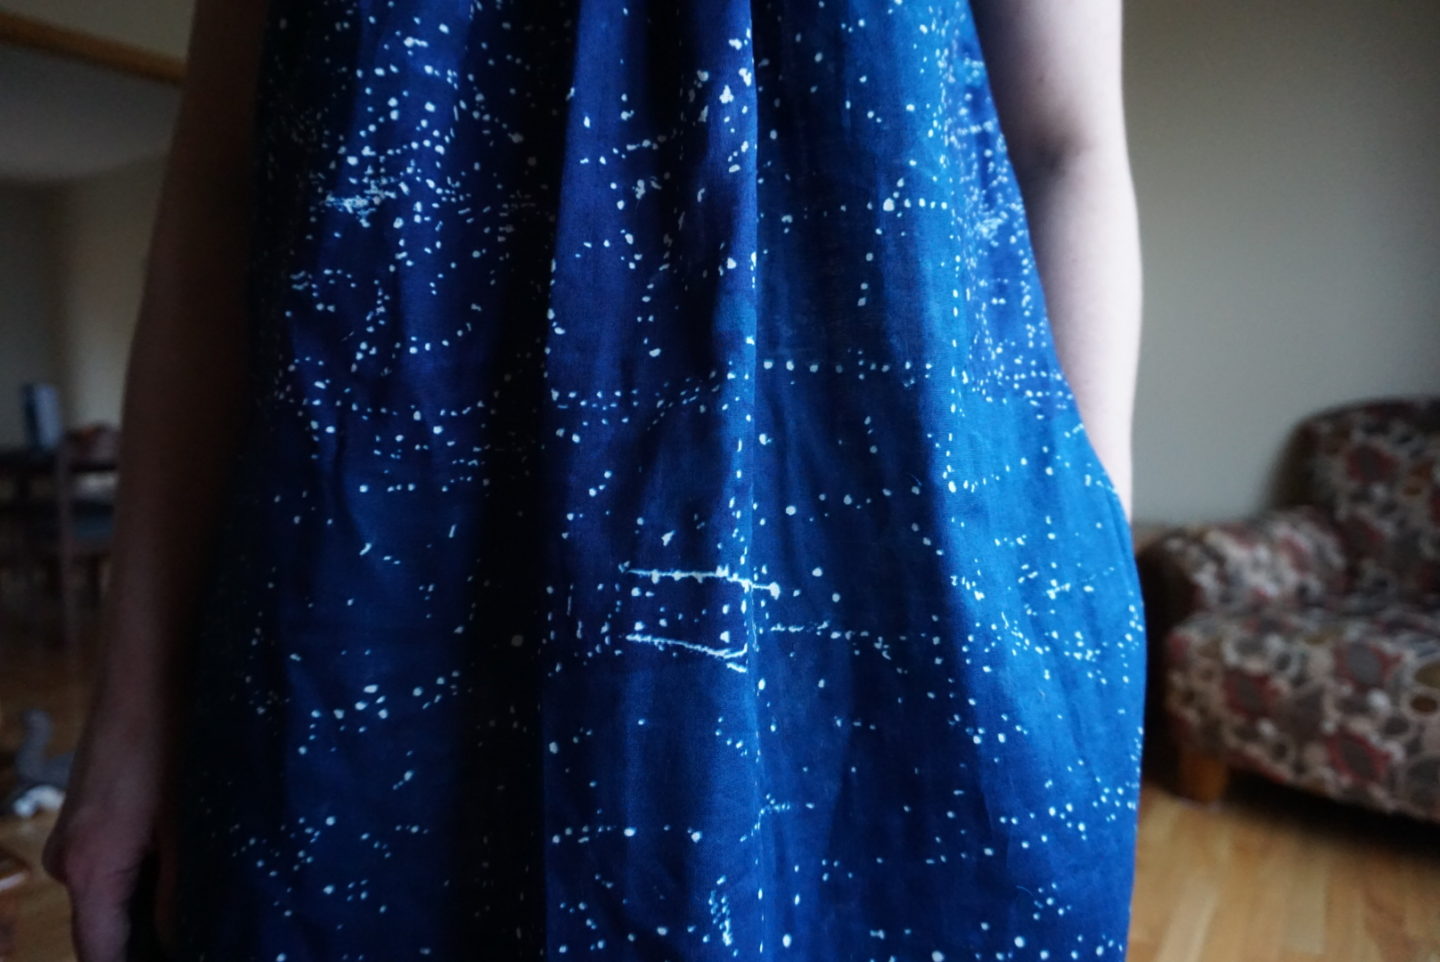
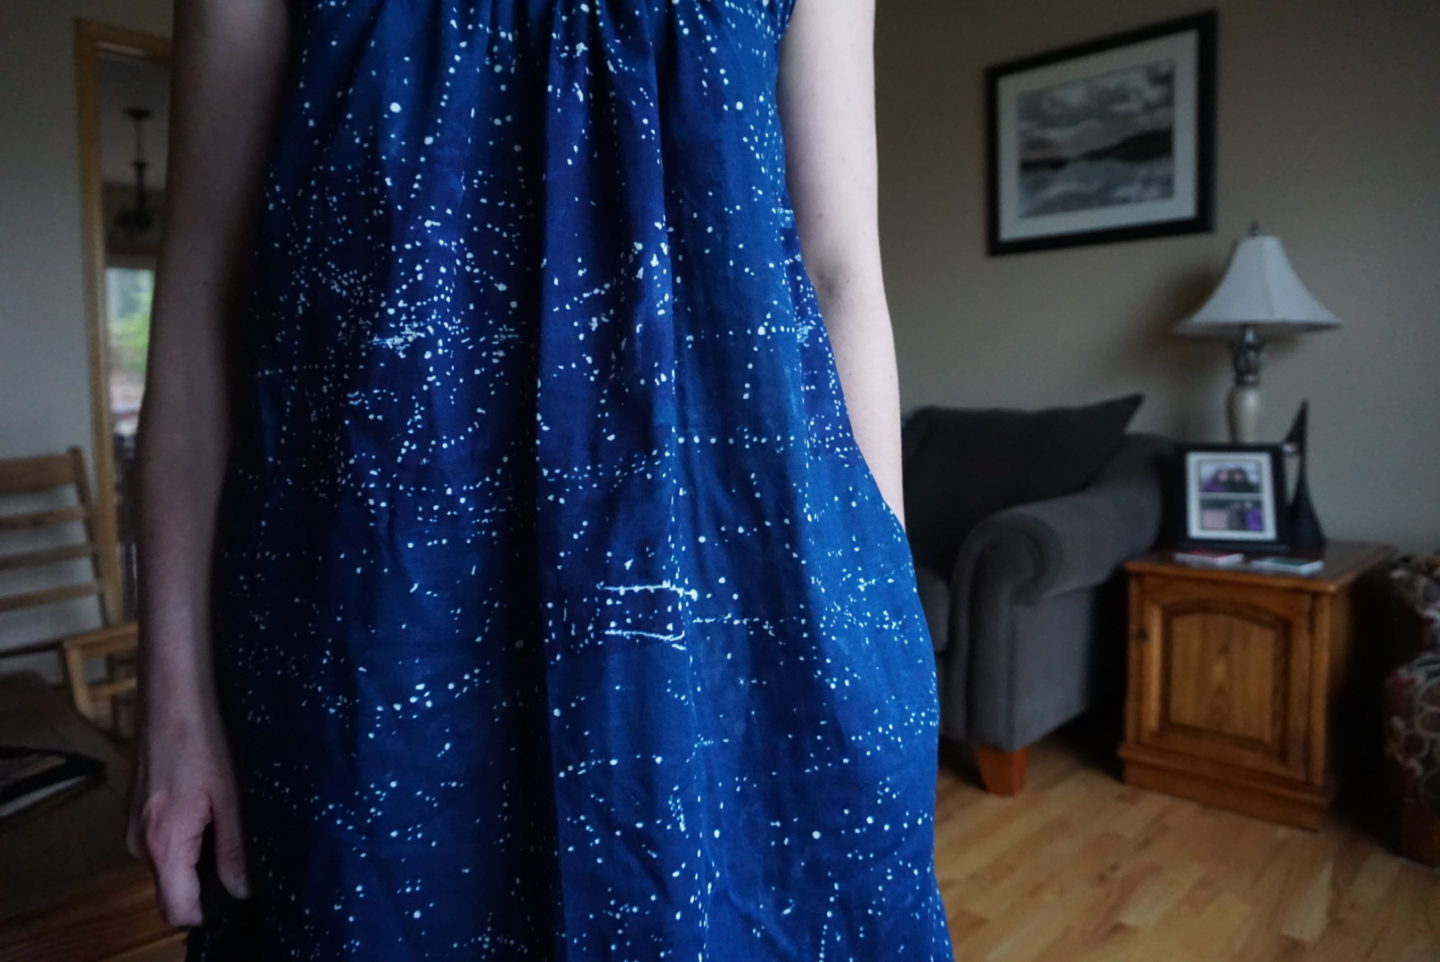
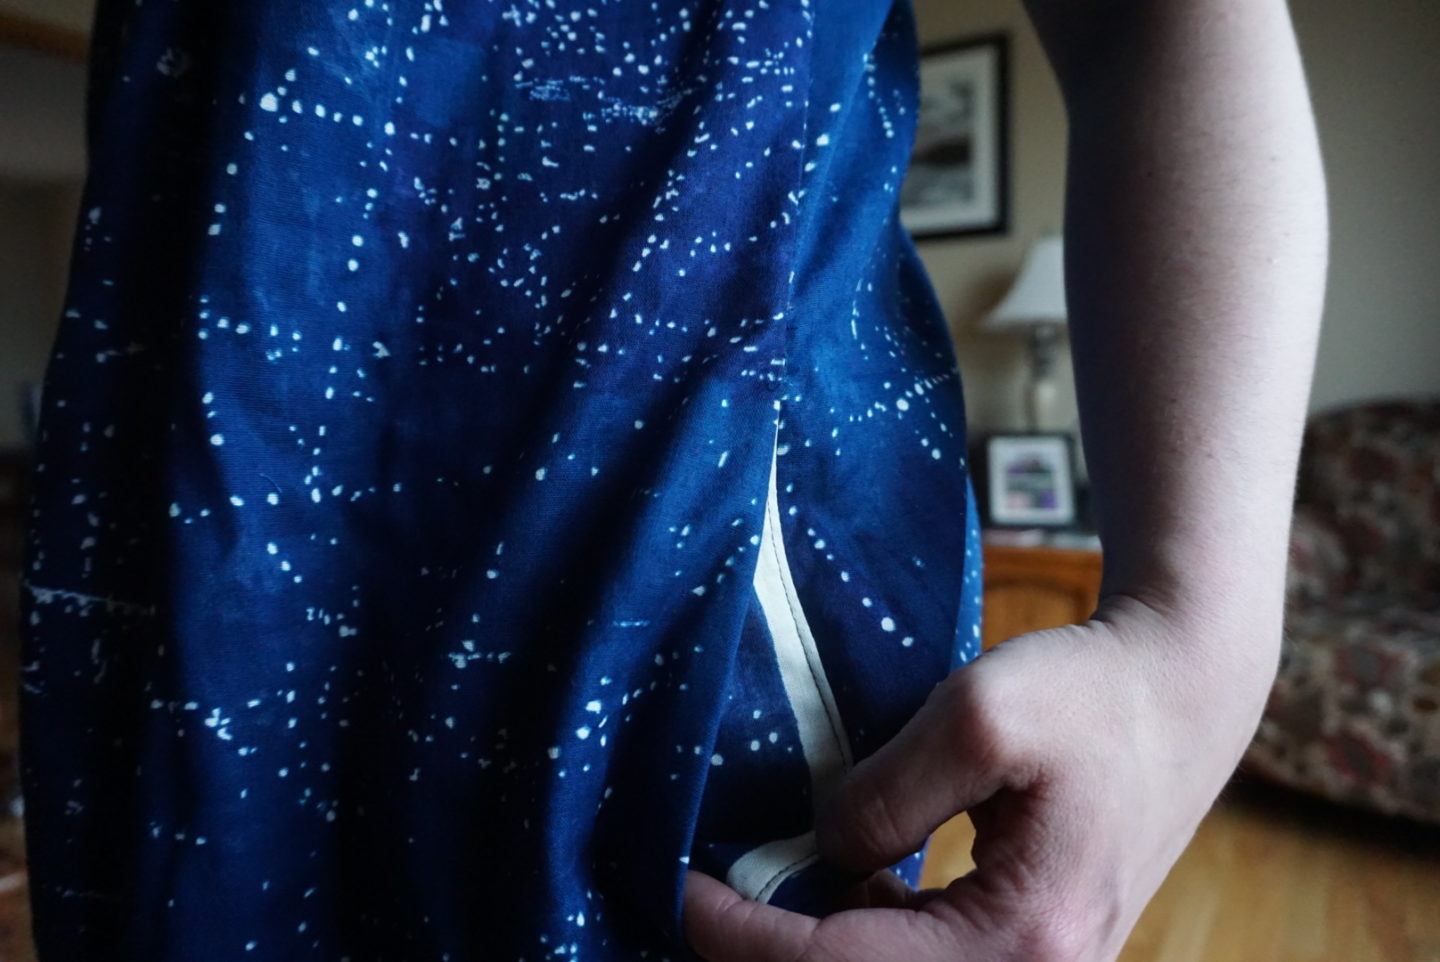
Speaking of dreamy, I love the lighting in these photos. It was really foggy out yesterday when I took the photos, which isn’t the nicest for you know, living your life. But it made the light so diffuse and even and resulted in these photos, so I definitely can’t complain. You can see below that I used the selvage for the straight edge of the pockets. You might think this was a planned out, special detail. Really what happened was I got lazy and didn’t want to cut an extra edge on the pockets so I just put the piece up against the selvage and avoided it. In retrospect, it maybe could’ve been a better idea to NOT put a bright white edge on the inside of a pocket that’s nearest to the side seem buuuut it’s not visible from the outside because of my ironing and under-stitching and slightly smaller seam allowance on the pocket attachment. So I think I’ve gotten away with it. I think in my mind I also thought it would be helpful to have an edge I didn’t need to finish, but because they’re being attached to the side of the front and back pieces, which are raw, I ended up doing French seams anyway so it was all irrelevant.
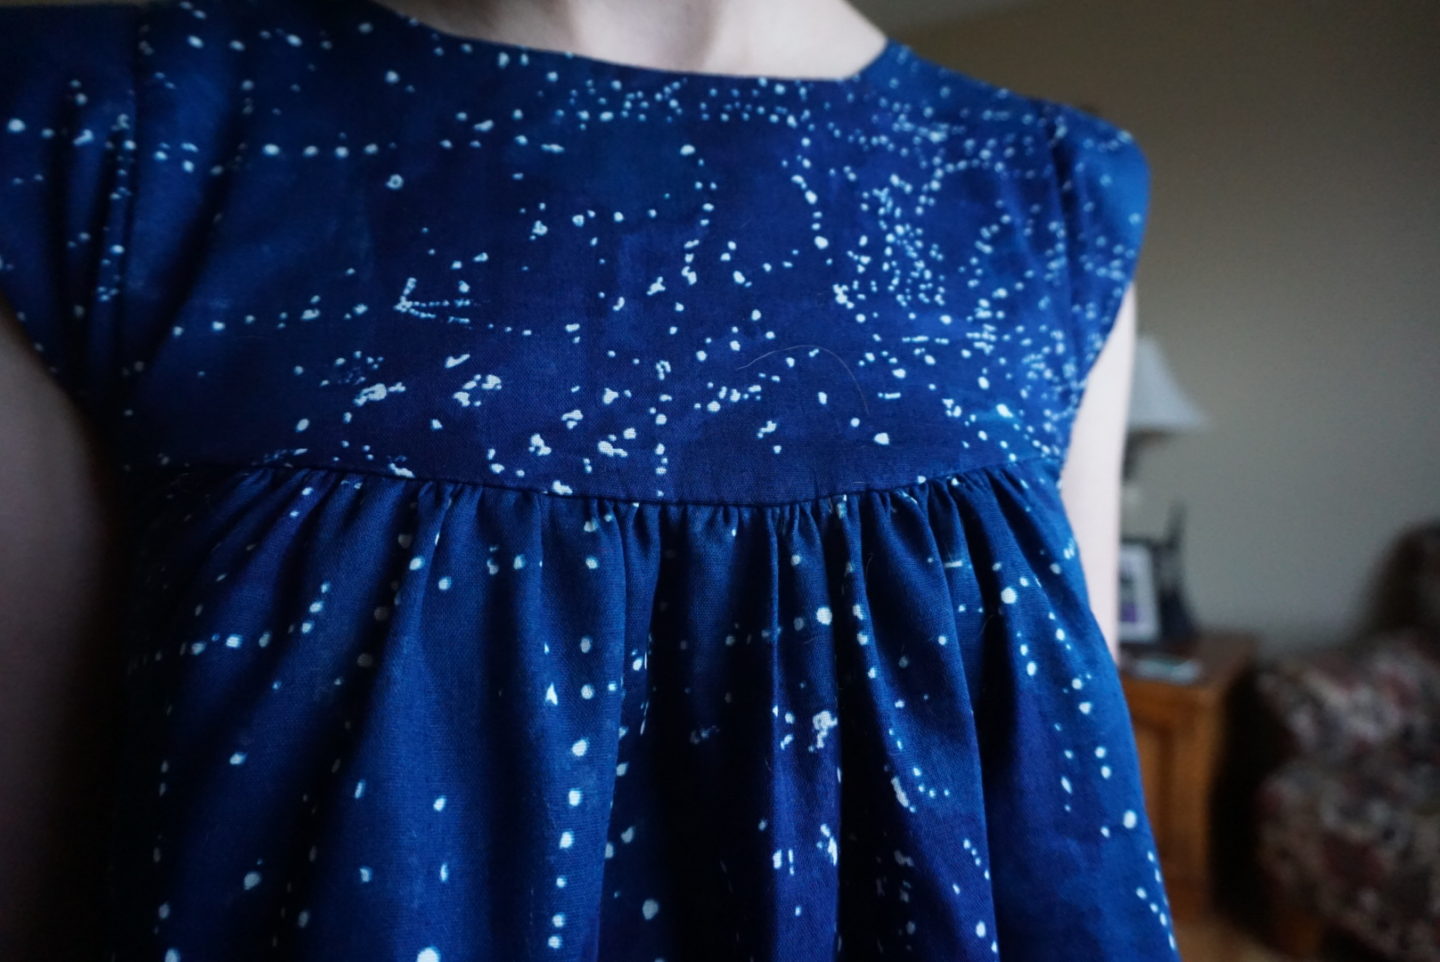
Speaking of, for the finish I did all French seams on the pockets/side seams. The way the instructions tell you to construct the dress in general leaves you with an edge where the yoke and skirt are attached together where you’d have to finish it in some way, but I construct it in a modified way. You can do a double burrito on the front and back yoke attachments so that all of the gathering raw edges are enclosed inside the exterior and interior yoke pieces. It’s very manageable on the top version, however it was definitely a bulky time on this dress due to the much increased volume of fabric to enclose within the burritos. Where the armbands attach to the armhole, you COULD technically do a French seam if you were obsessed with not having serged edges, but I think it would be really bulky and affect how the garment would lay around the arm and shoulder. The armbands are two layers of double gauze and one is interfaced, and then you’d be attaching it to a double layer of double gauze on the upper portion because of the yoke facing. Because of this, I just sew the armbands on regularly and then serger the circular opening. I haven’t had any issues with unraveling/fraying on the armholes of my previous versions so I think I’ll be safe with this one as well.
I’m really happy with how this dress turned out! If you haven’t made this pattern before, I recommend you consider it because now that I’ve tried both versions of it, I can say that it’s two great options in one! Also, I have to admit that I’m basically addicted to Nani Iro double gauze. Have you ever sewn a garment in double gauze? Leave me a comment!
