
I know I said in a previous post that I was going to wait to share my Jasika blazer with you until I had made a matching set of shorts. But I don’t feel like making shorts right now and I’m trying to do better at sewing what I want, when I want. So you get to see the blazer now, and then I’ll show you the full outfit whenever it happens! I’m at the whim of my whims!
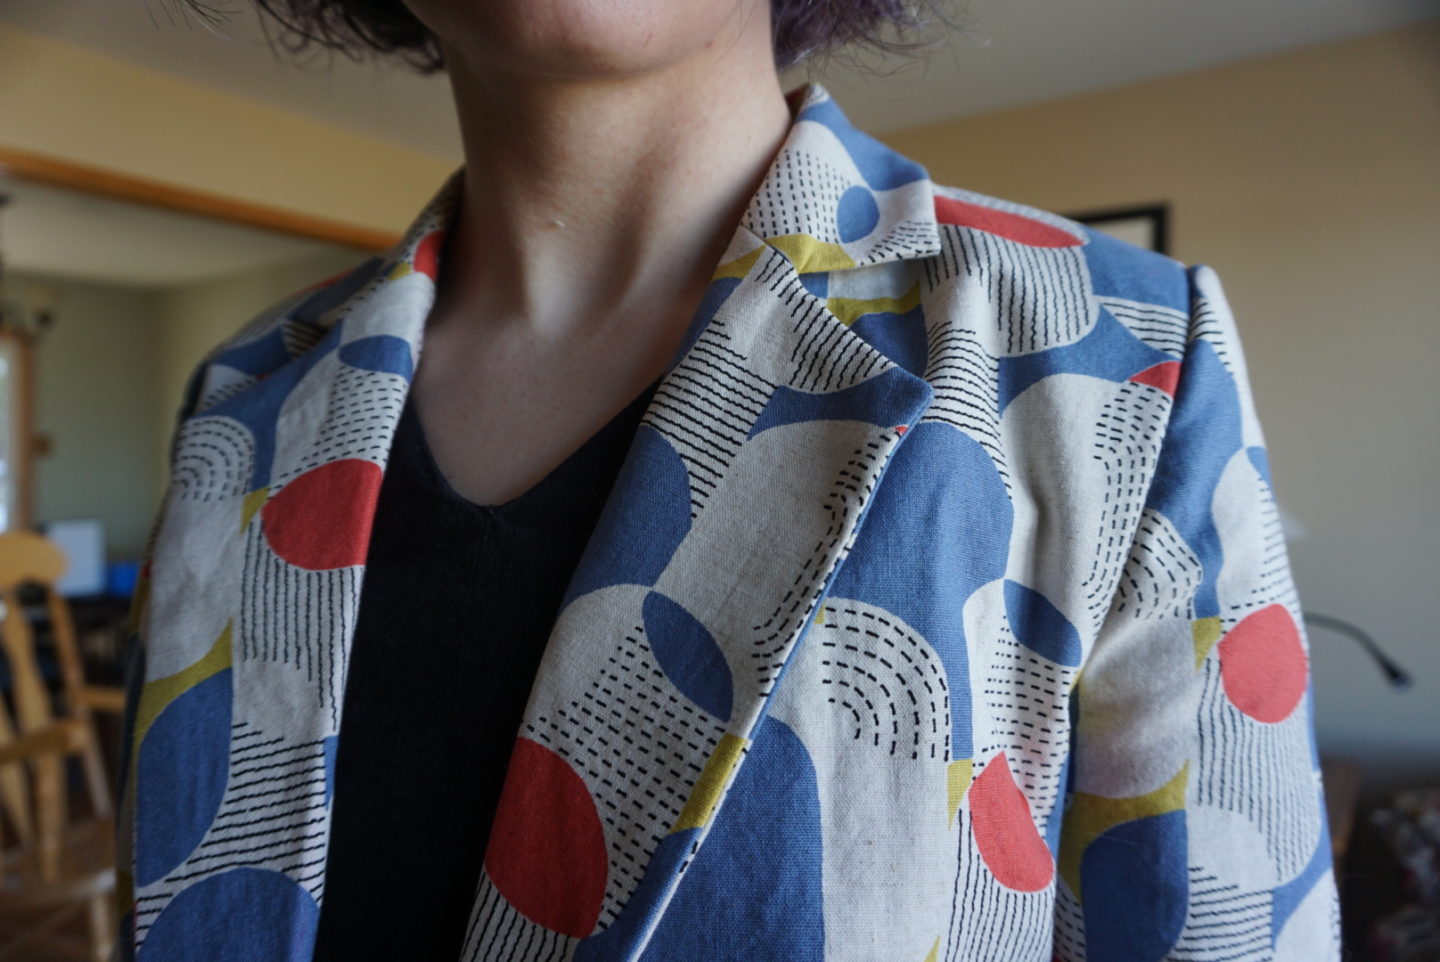
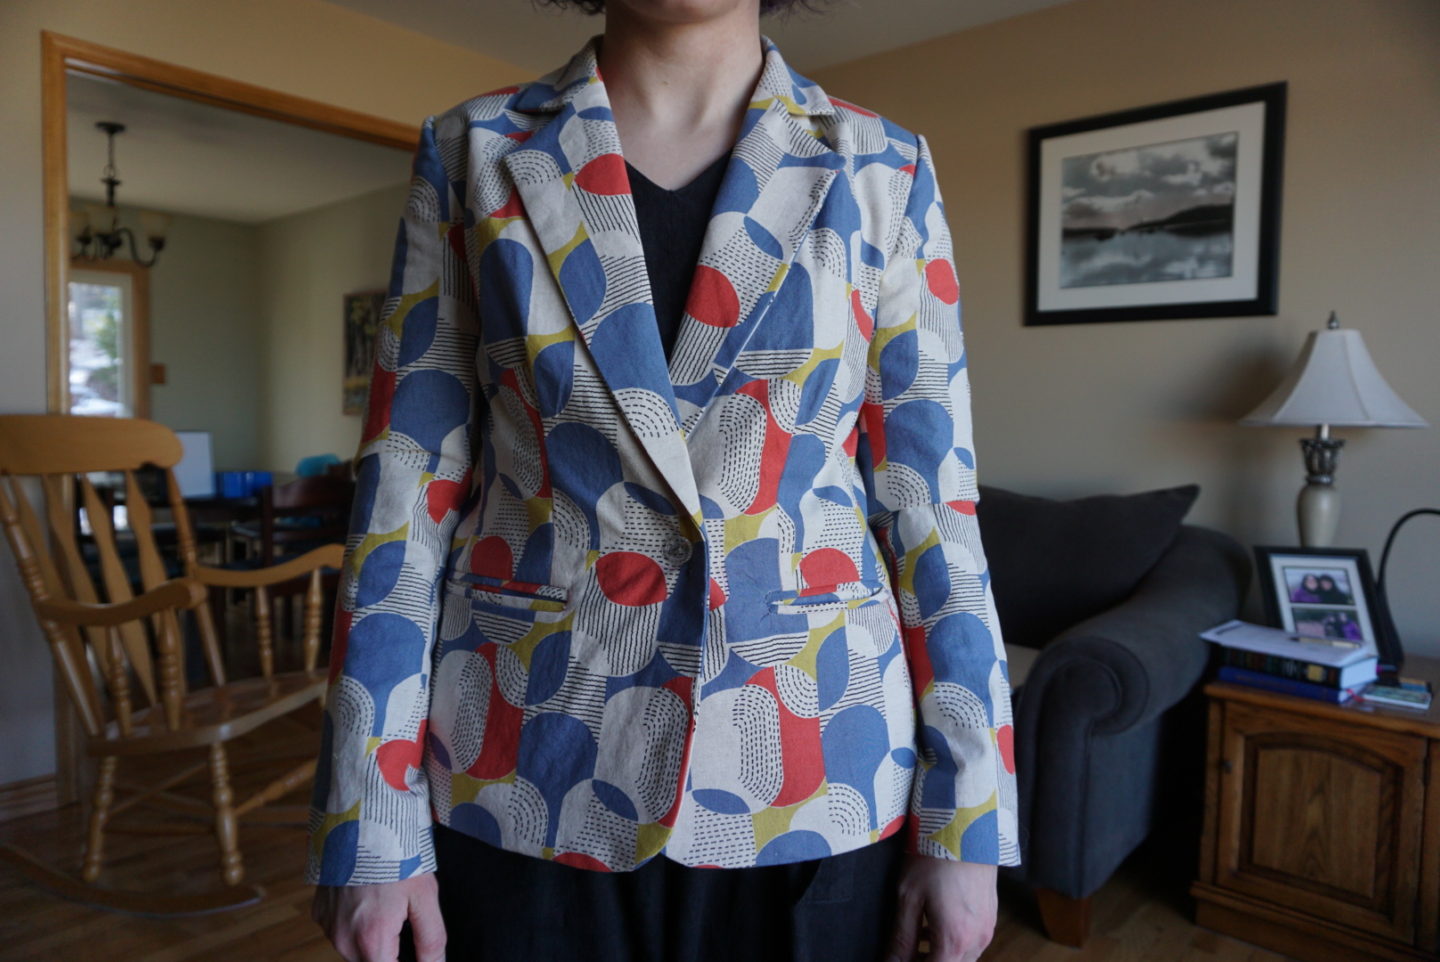
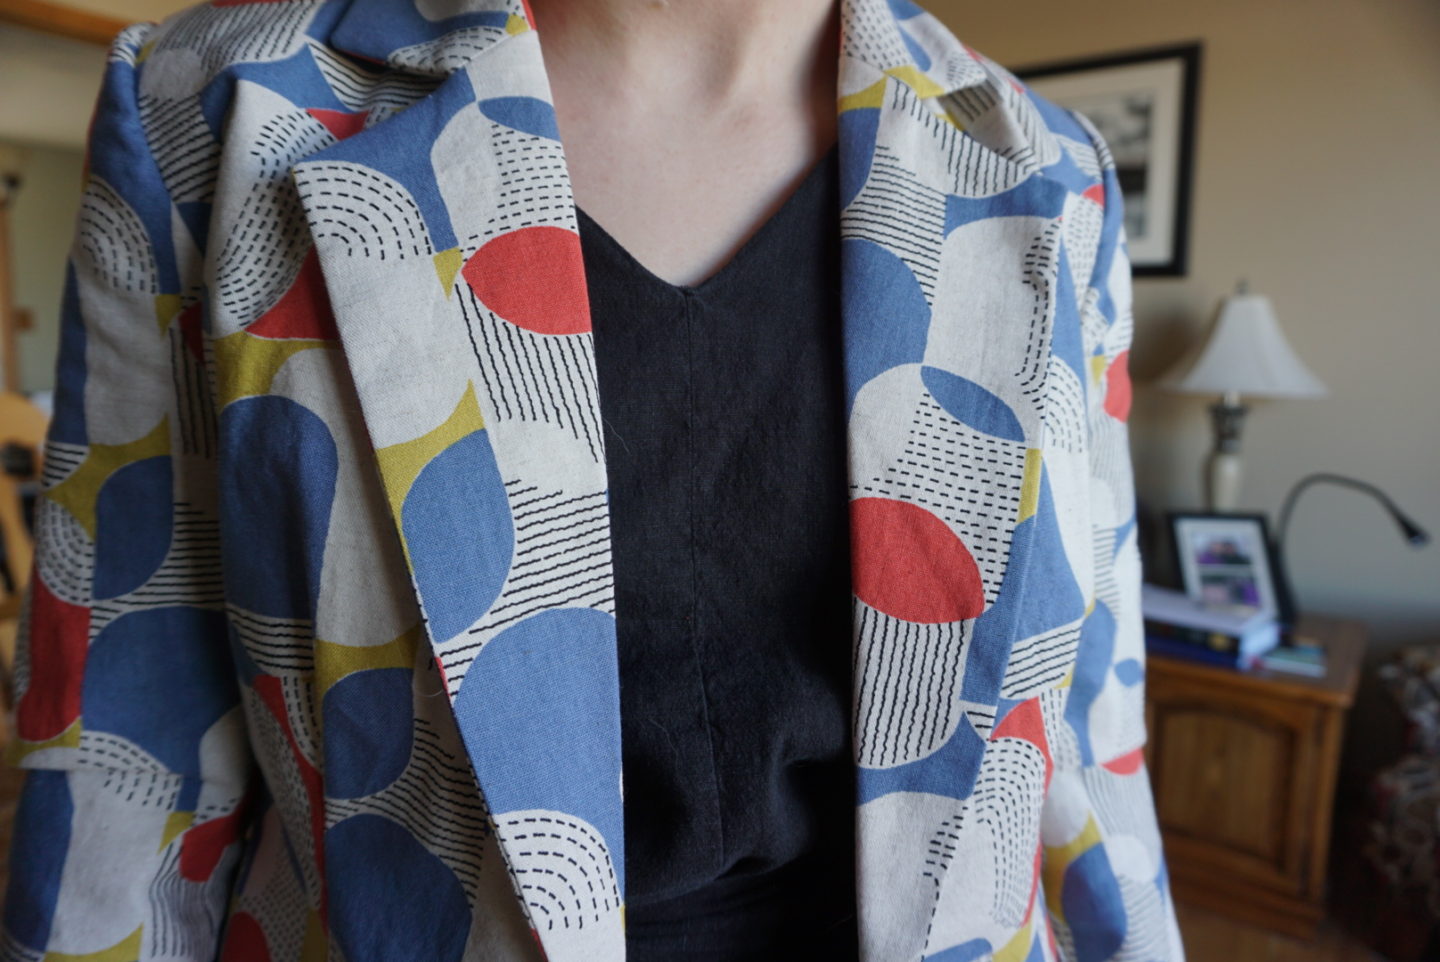
I finished actually ahead of the Blazer of Glory challenge schedule, but then I was hung up on wanting to make shorts and I didn’t even post about this ON TIME with the challenge. Basically I’m behind even when I’m ahead? But here we are. It’s the Jasika Blazer pattern from Closet Case Patterns, which I was super into the second I saw it. I love how blazers look, especially ones with a sort of menswear vibe, and I wanted to try to do it the “proper” way so I bought one of the tailoring kits along with the pattern so that I could see what the interfacing was supposed to look and feel like. I often feel like I’m kind of winging it with interfacing at fabric stores. Even though I pick stuff that works based on experience, in the back of my mind I’m like, “but is this REALLY medium weight interfacing? Does it need to be more light? Or heavier? What does medium really mean, anyway? AM I OVERTHINKING THIS?” So I appreciated the concrete examples.
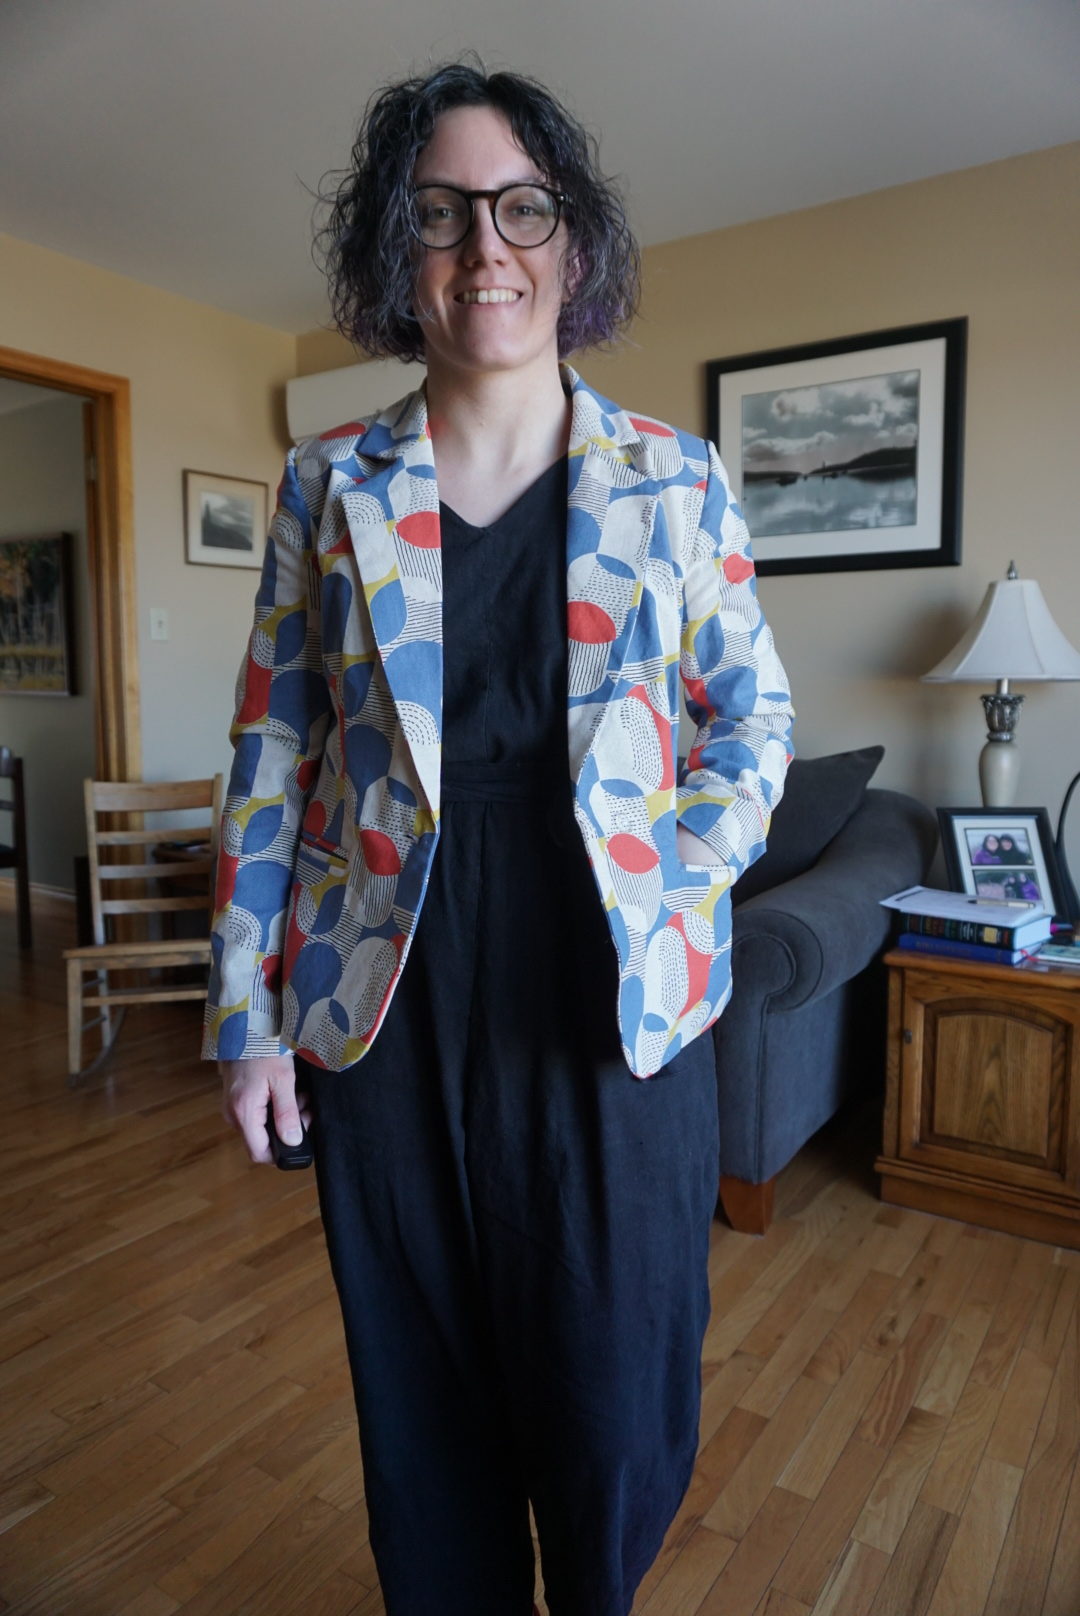
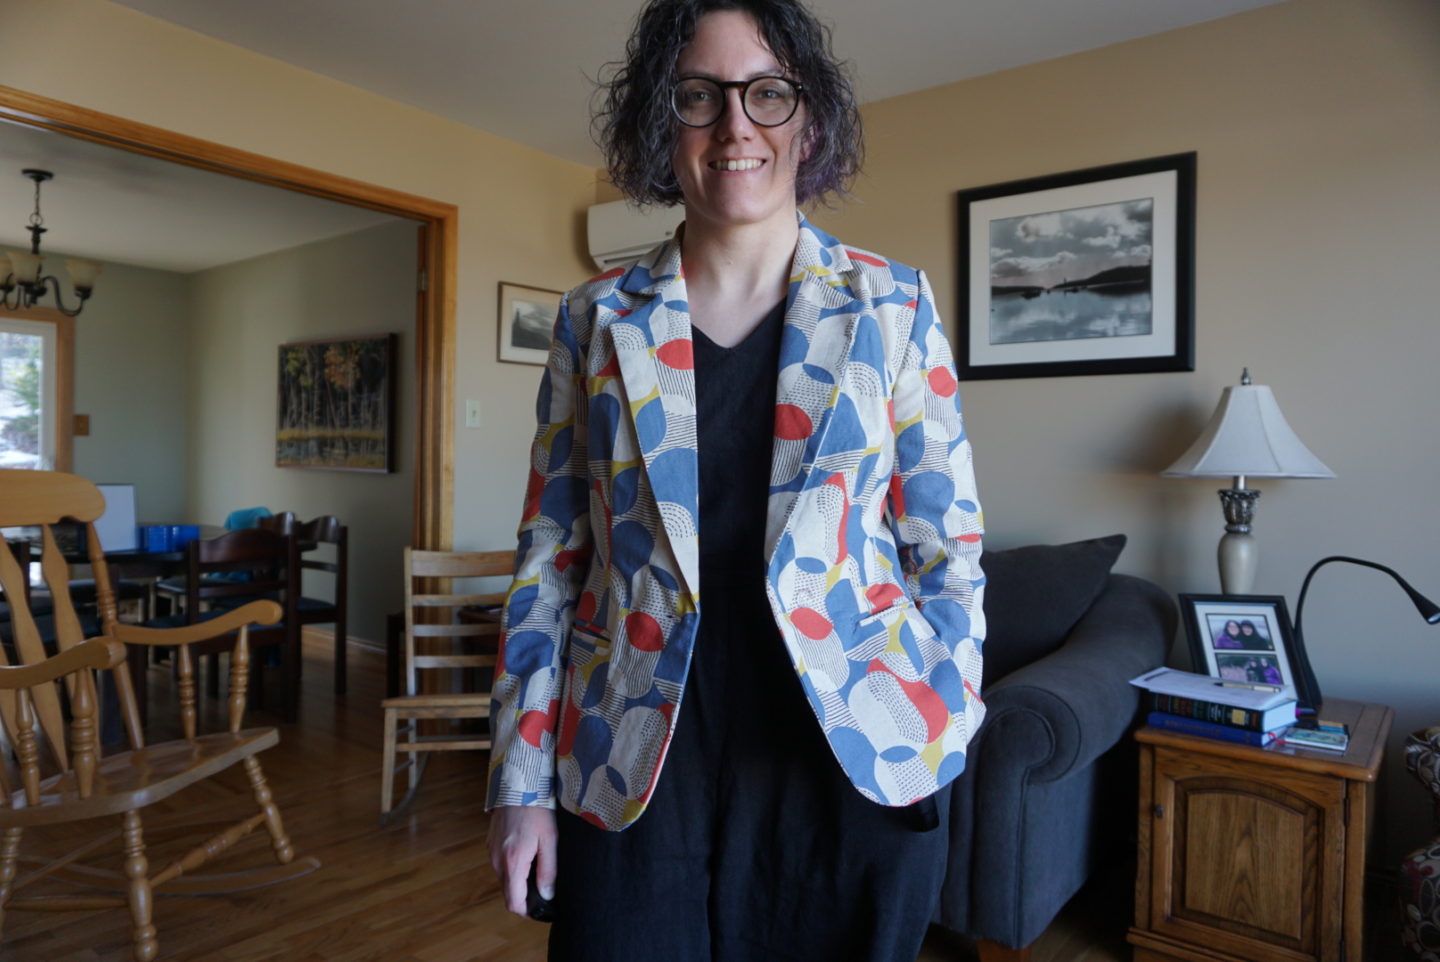
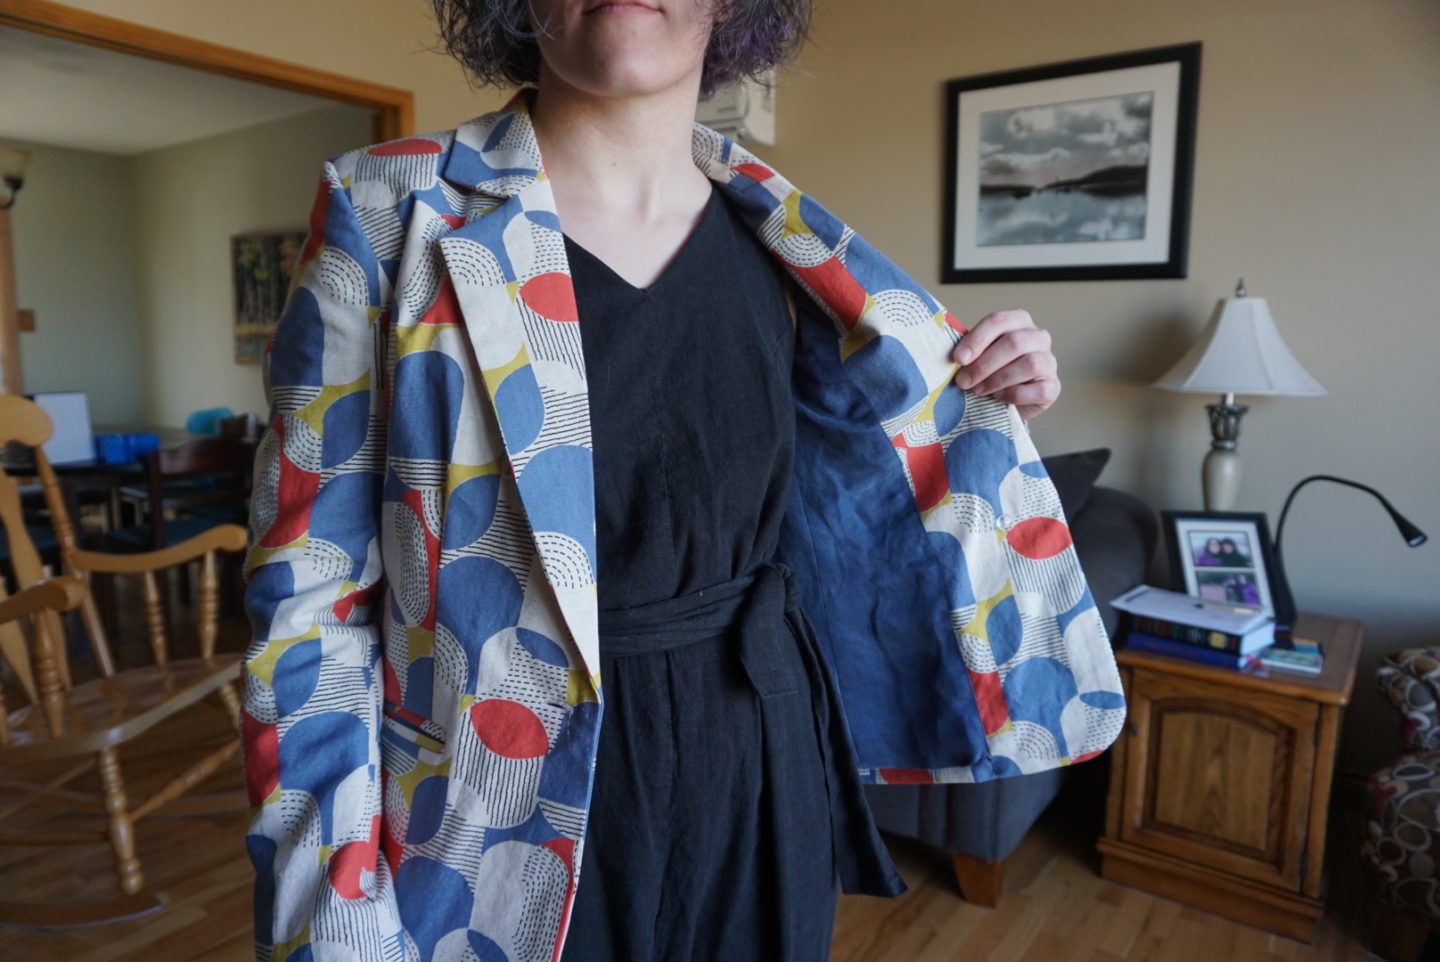
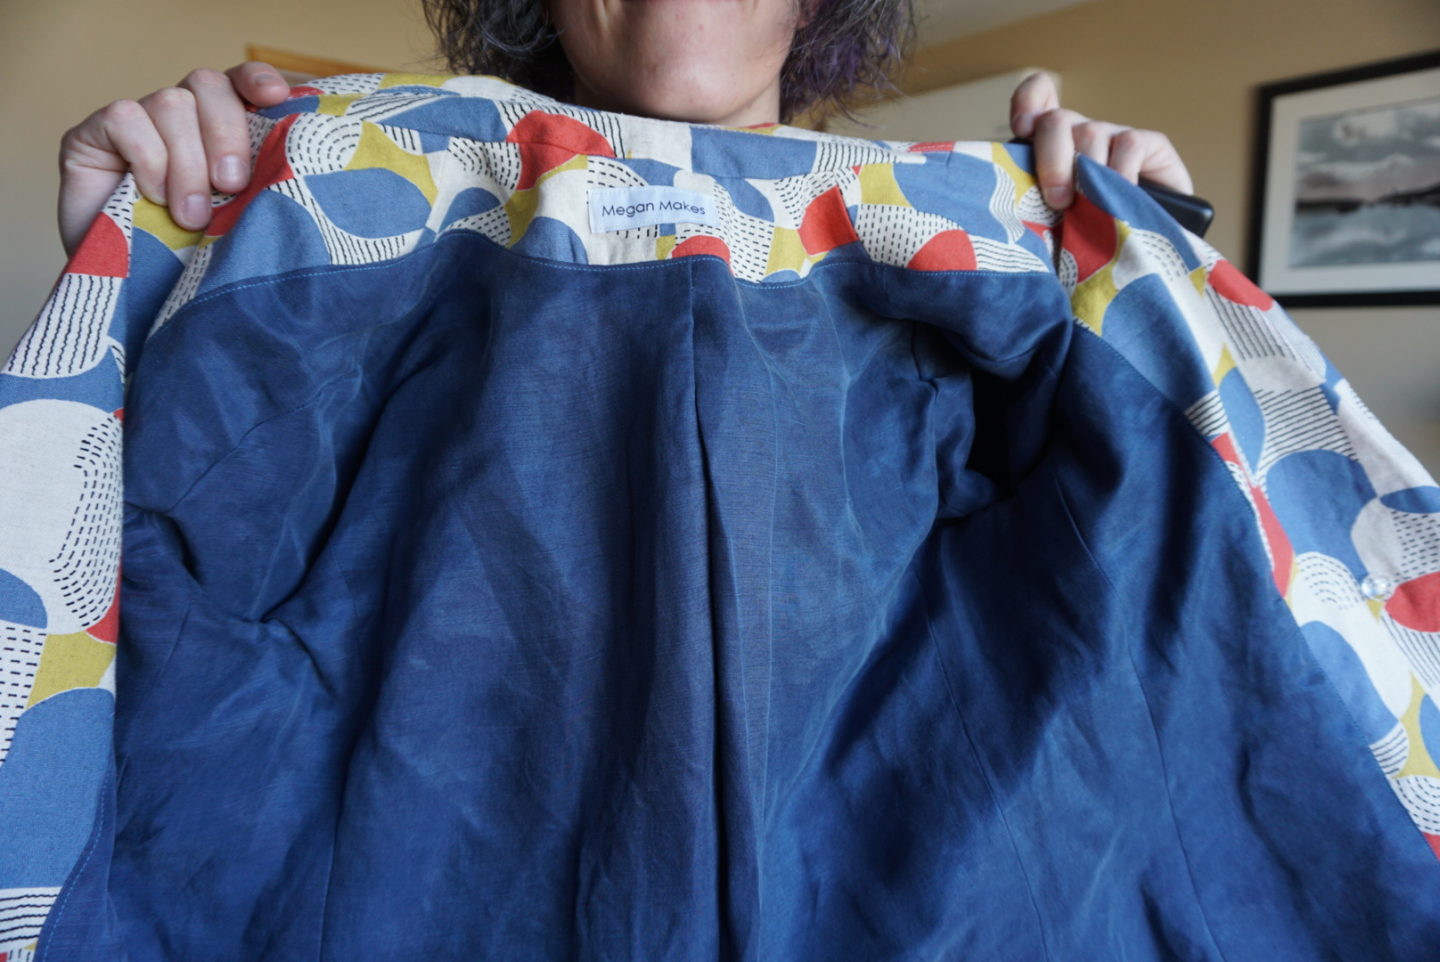
I also didn’t want to just make a classic black blazer because I already have one, so I got this Koboyashi “retro print” cotton/linen canvas from Patch along with a tencel blend (I can’t remember what the other fibre is) for the lining in a pretty well-matched blue. And voila!
I made basically a complete muslin in actual muslin fabric. The only thing I left out was anything that would be made using lining fabric (which ended up biting me in the butt later), so I had a practice run at the collar and lapel but didn’t do the welt pockets. You can see a few photos of this muslin on my Instagram. I wrote all over the whole thing with Sharpie and labelled the pattern pieces so I made sure I knew which side was the right side of the fabric, and just drew the notches right on it. I started with a straight size 10 (I’m 37.5″-30.5″-39″ and 5’4″), and ended up shortening the body by 2″ and the sleeves by 1/2″.
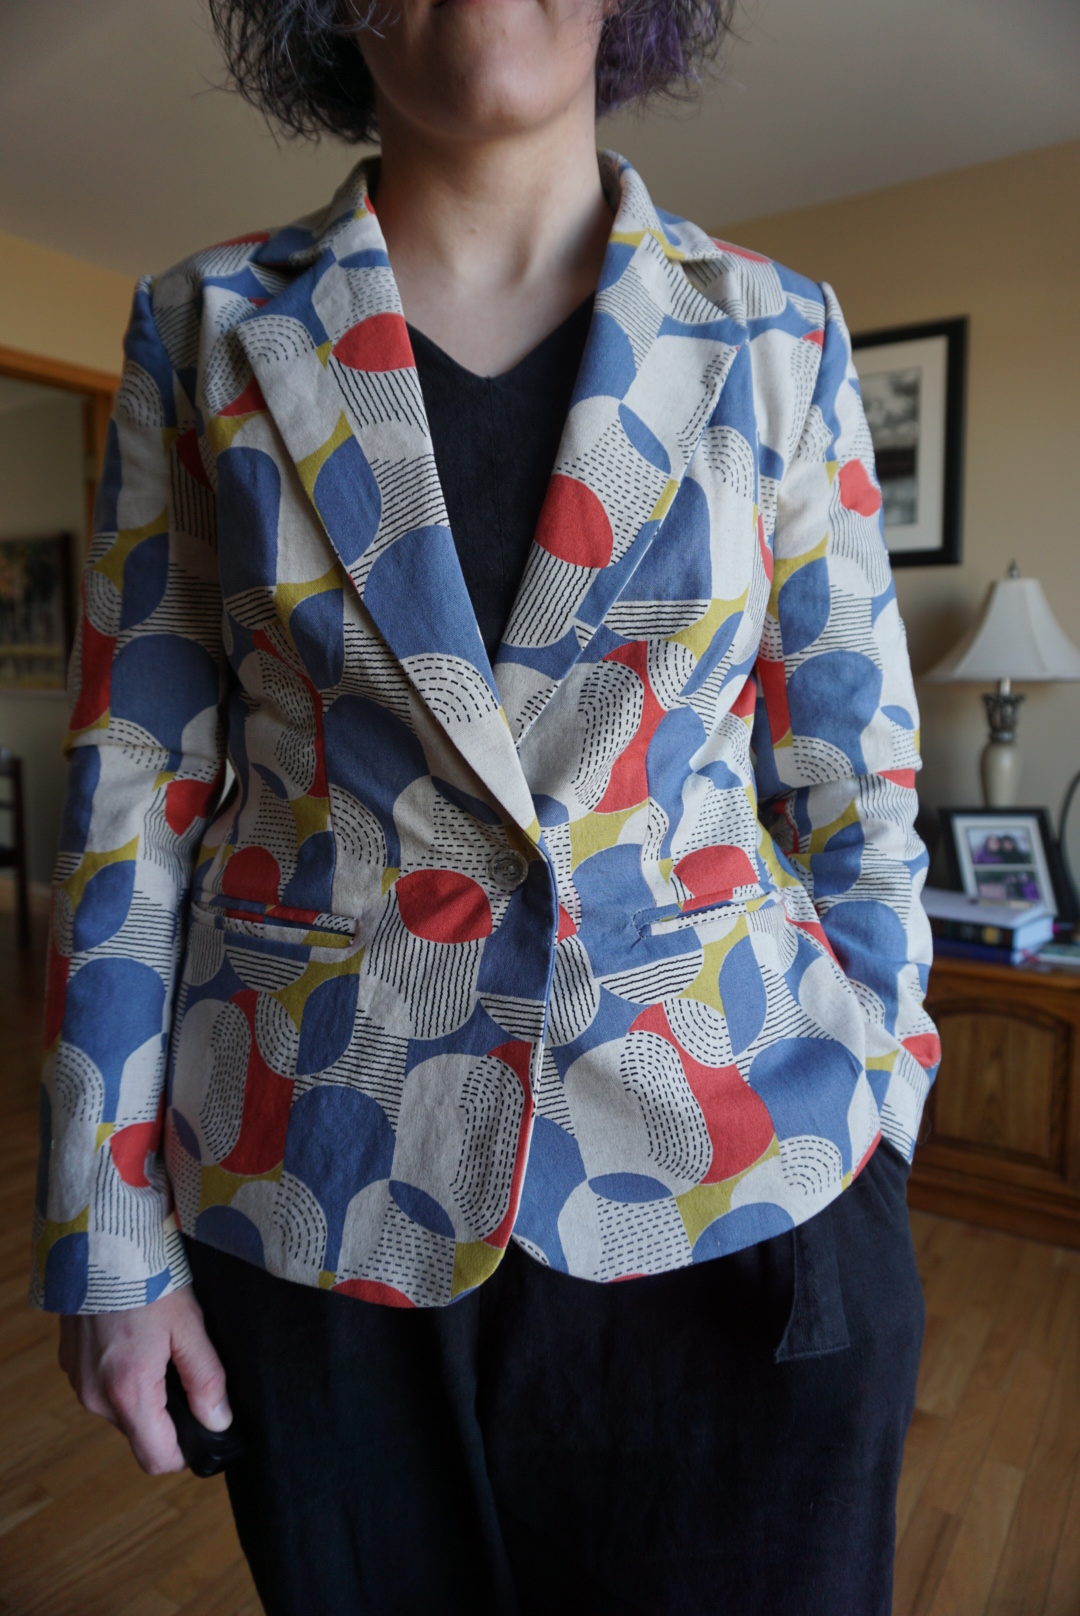
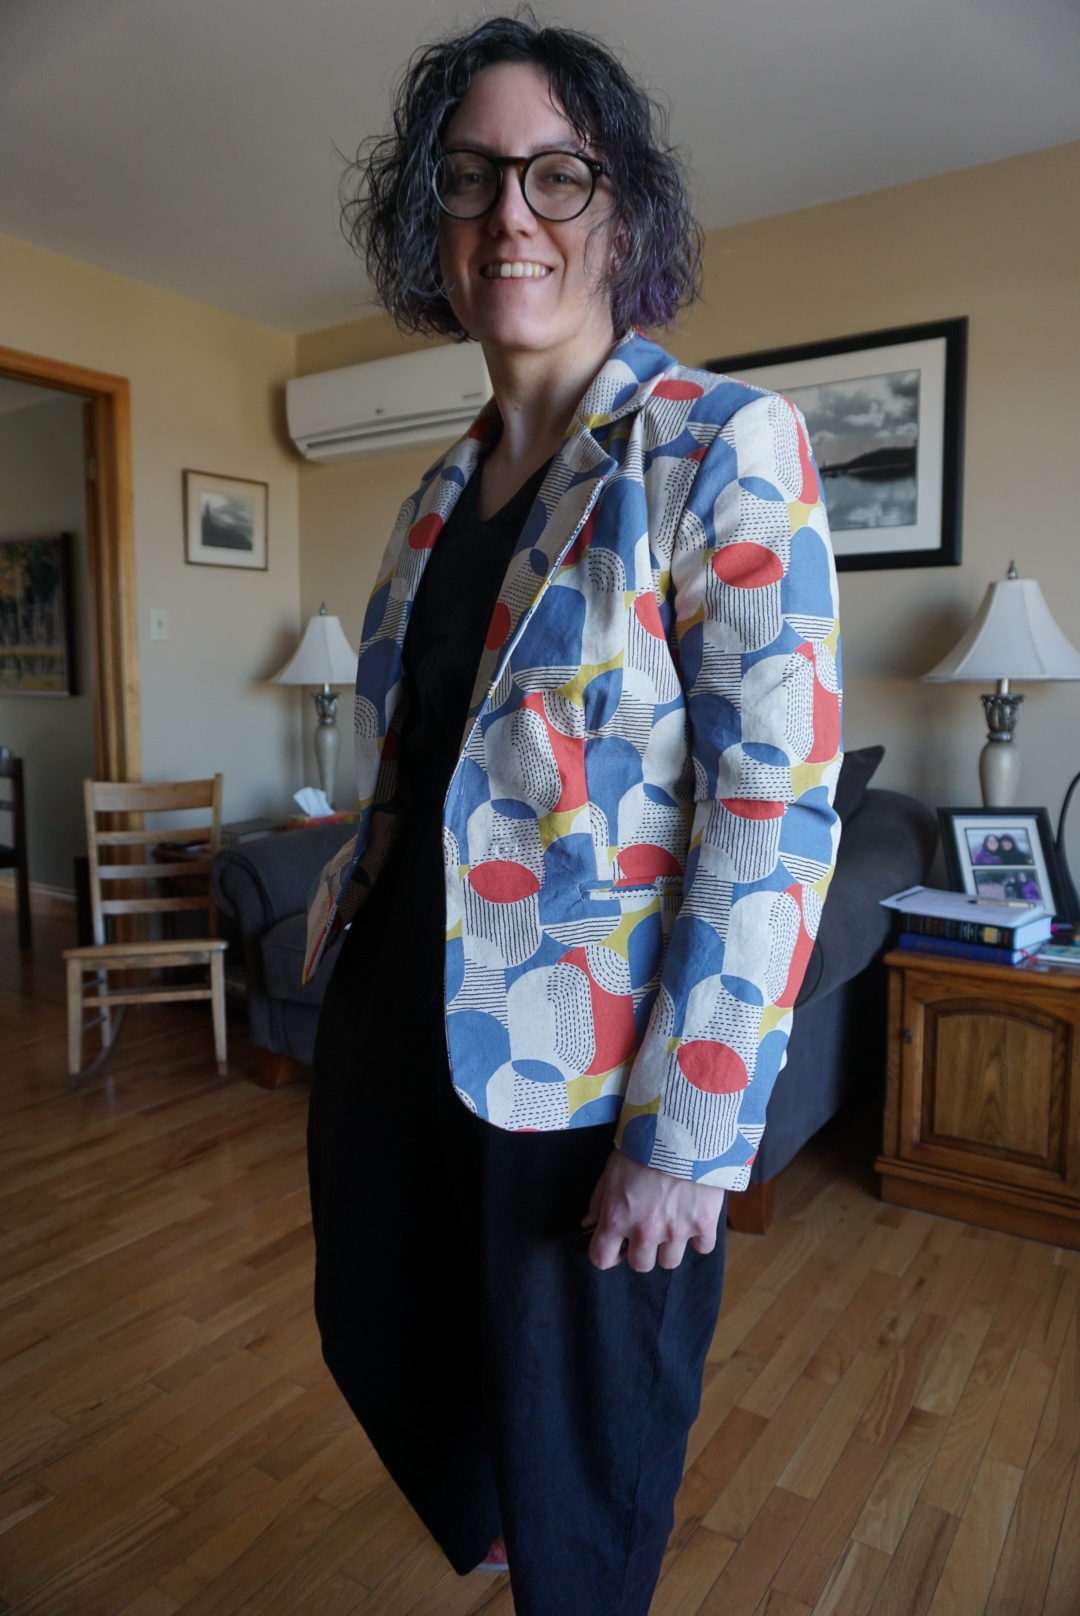
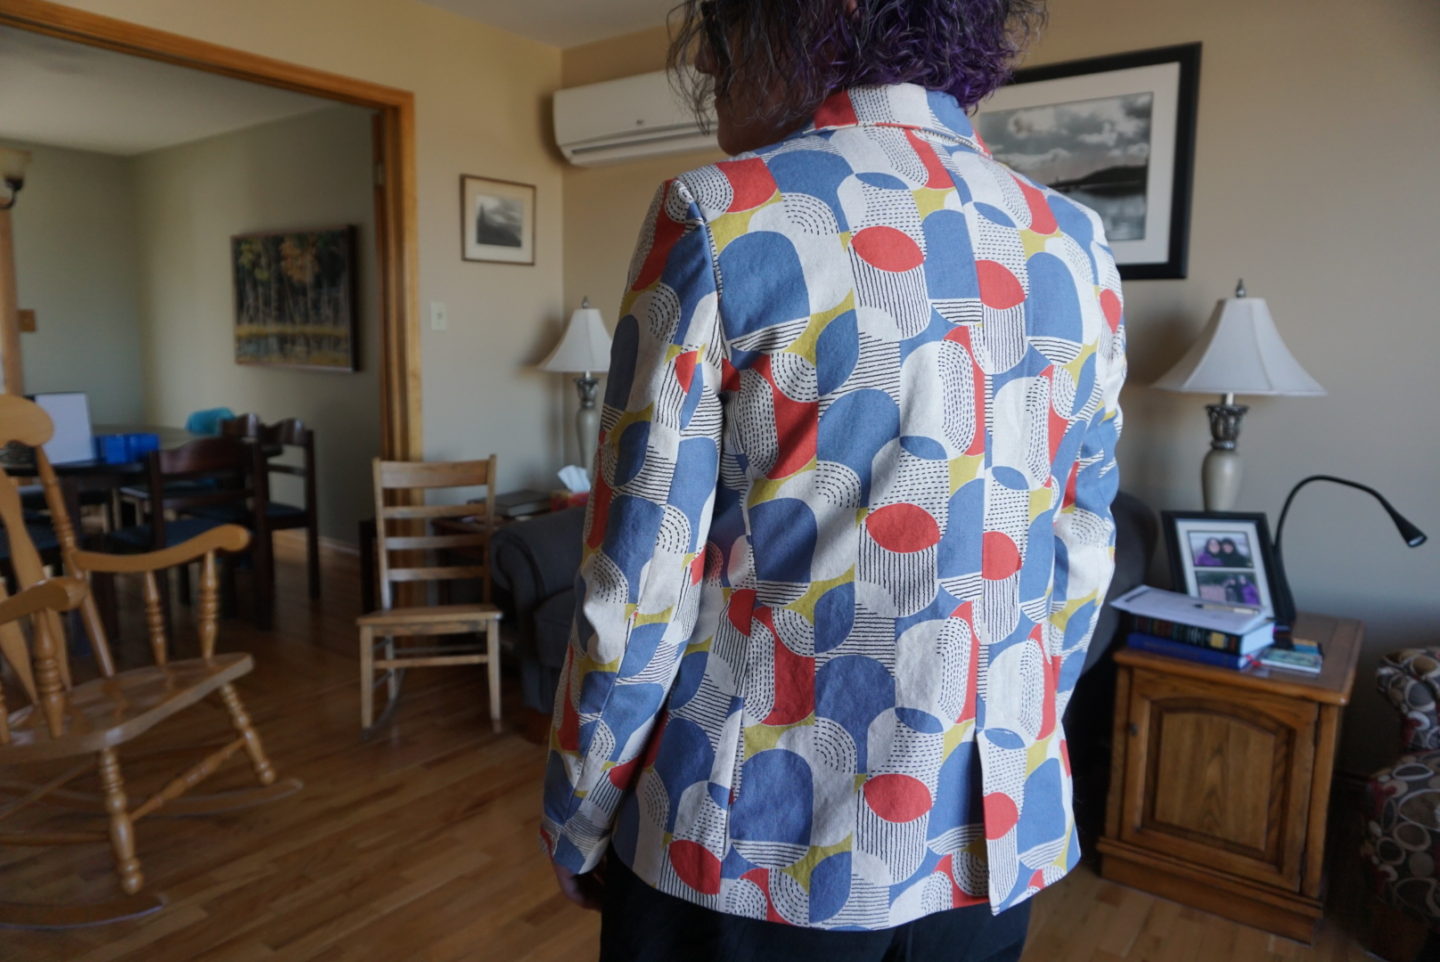
I debated about using any shoulder pads at all, because I have pretty big shoulders from bouldering and swimming, but I’m glad I used them. I think they give good structure to the sleeve cap, and I also used strips of quilt batting to make sleeve heads. When I ordered my tailoring kit, I was thinking I would make a navy blue one (which I still might) and got the dark notions, so I was worried my sleeve head would show through in this lighter fabric. The quilt batting worked well, although I’ll be interested to see how it compares to the actual sleeve heads once I get around to using them.
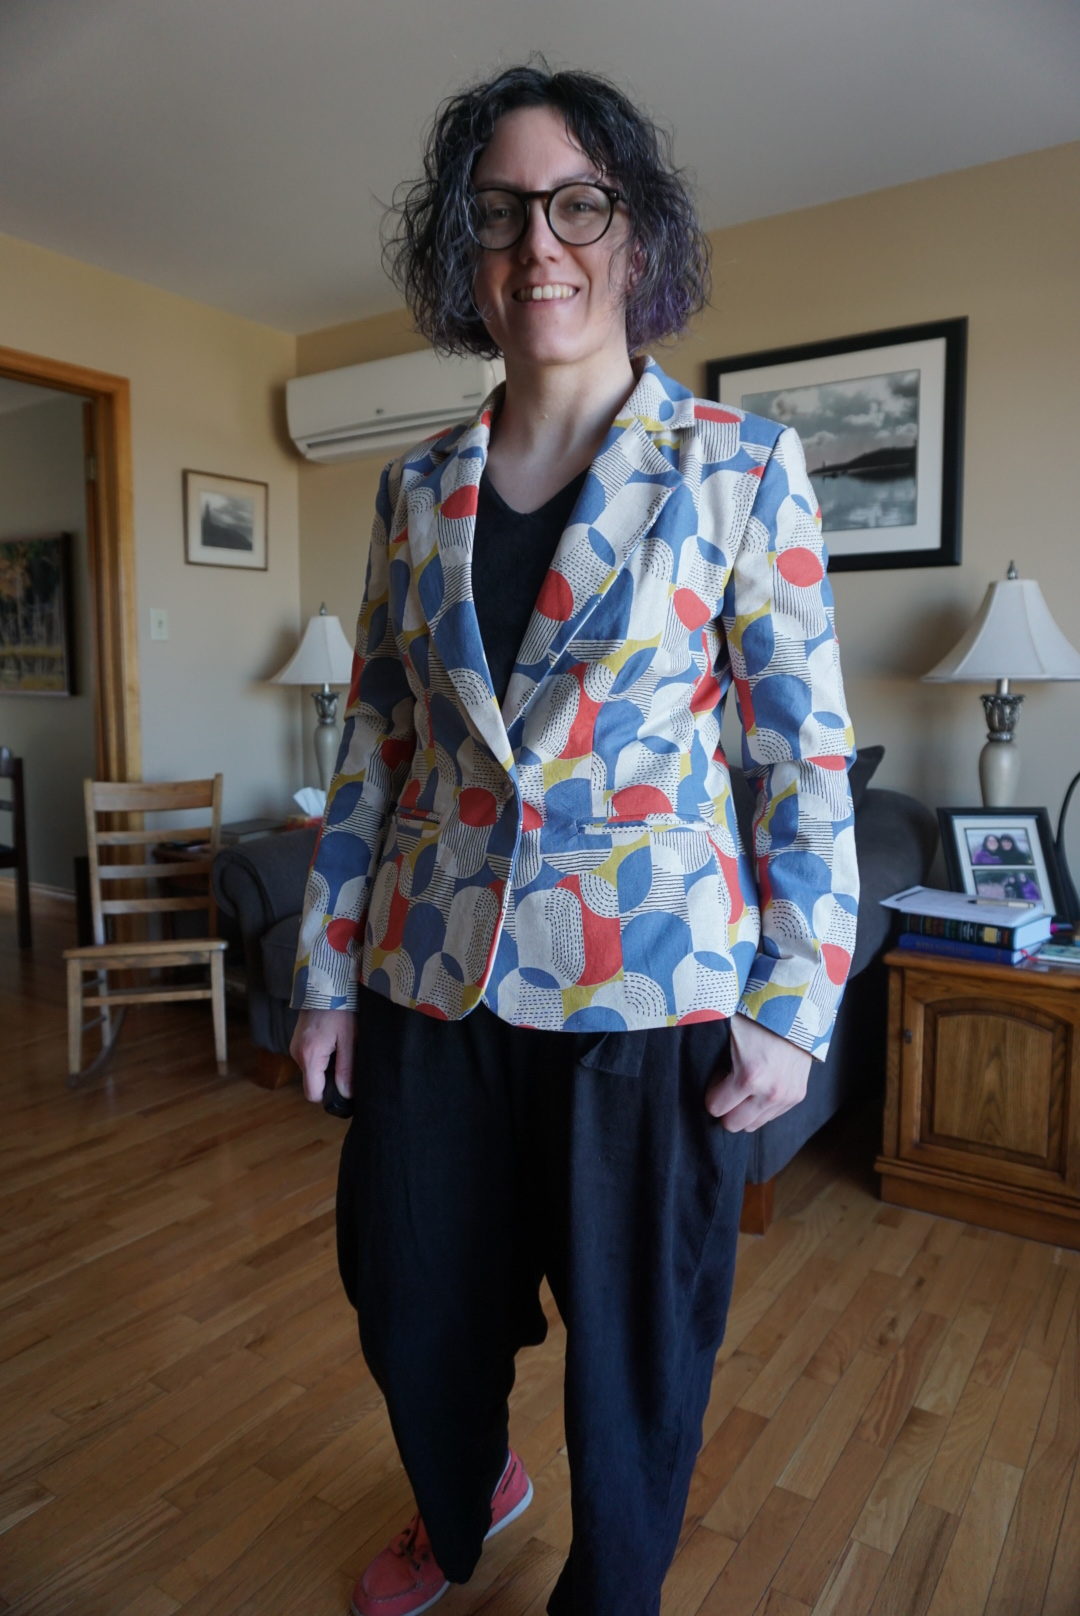
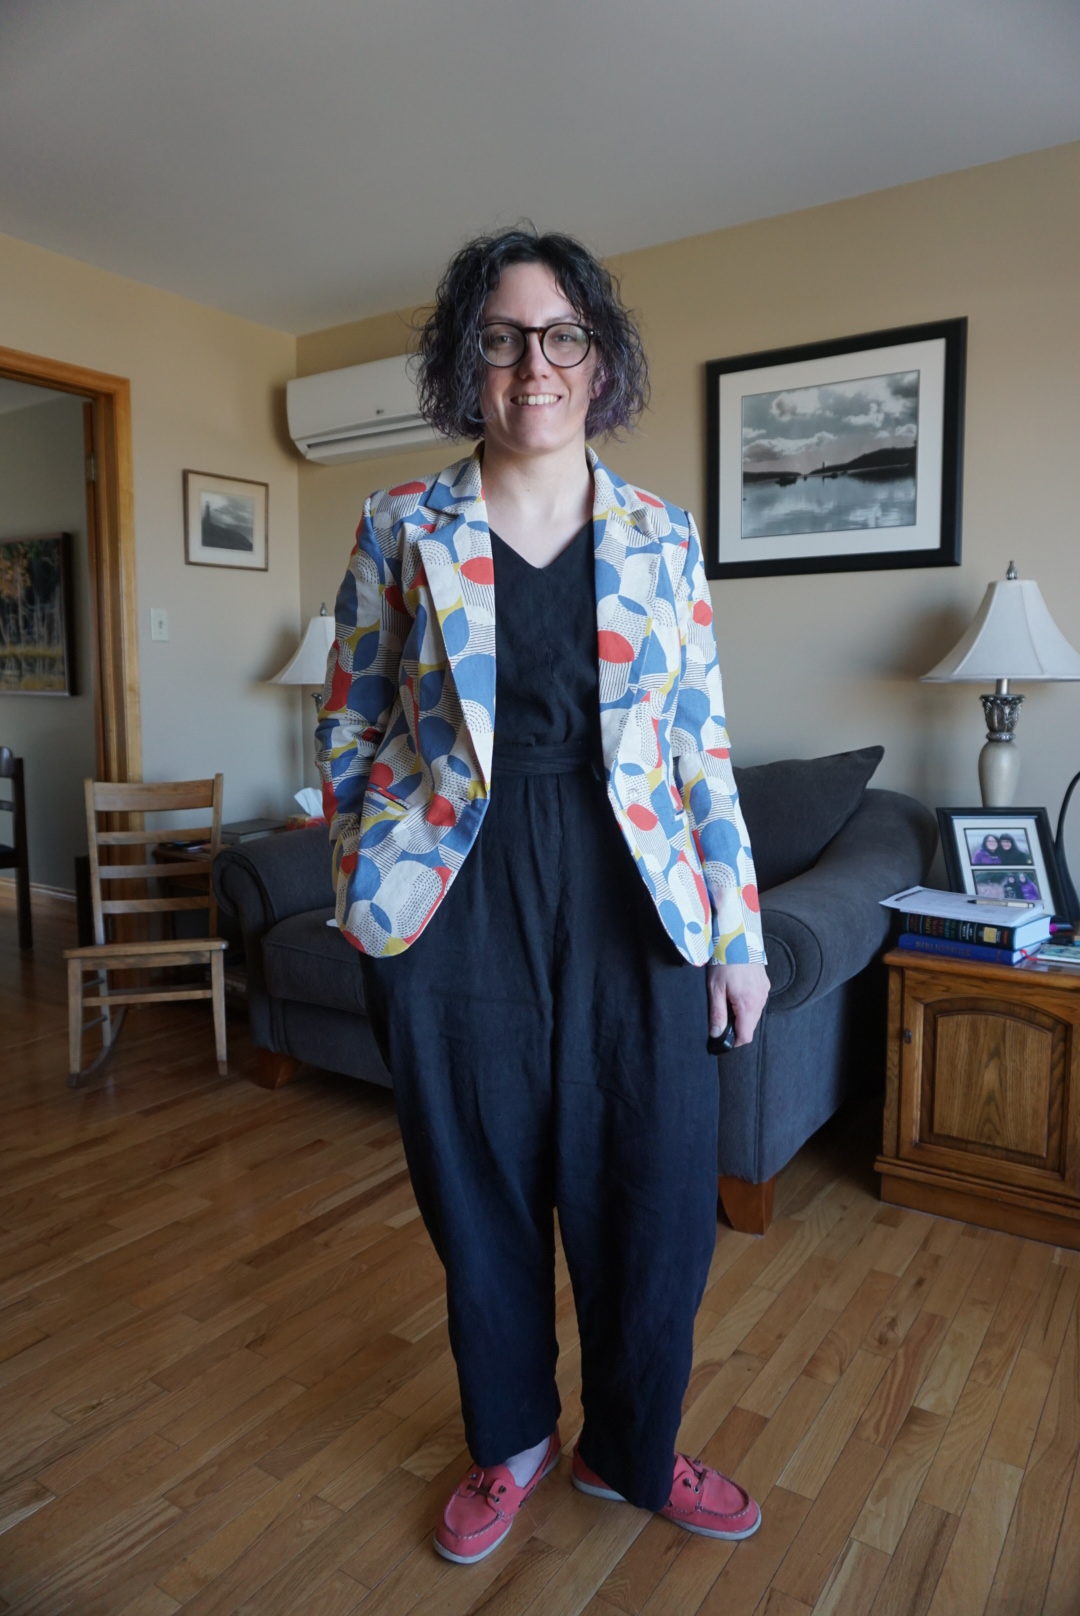
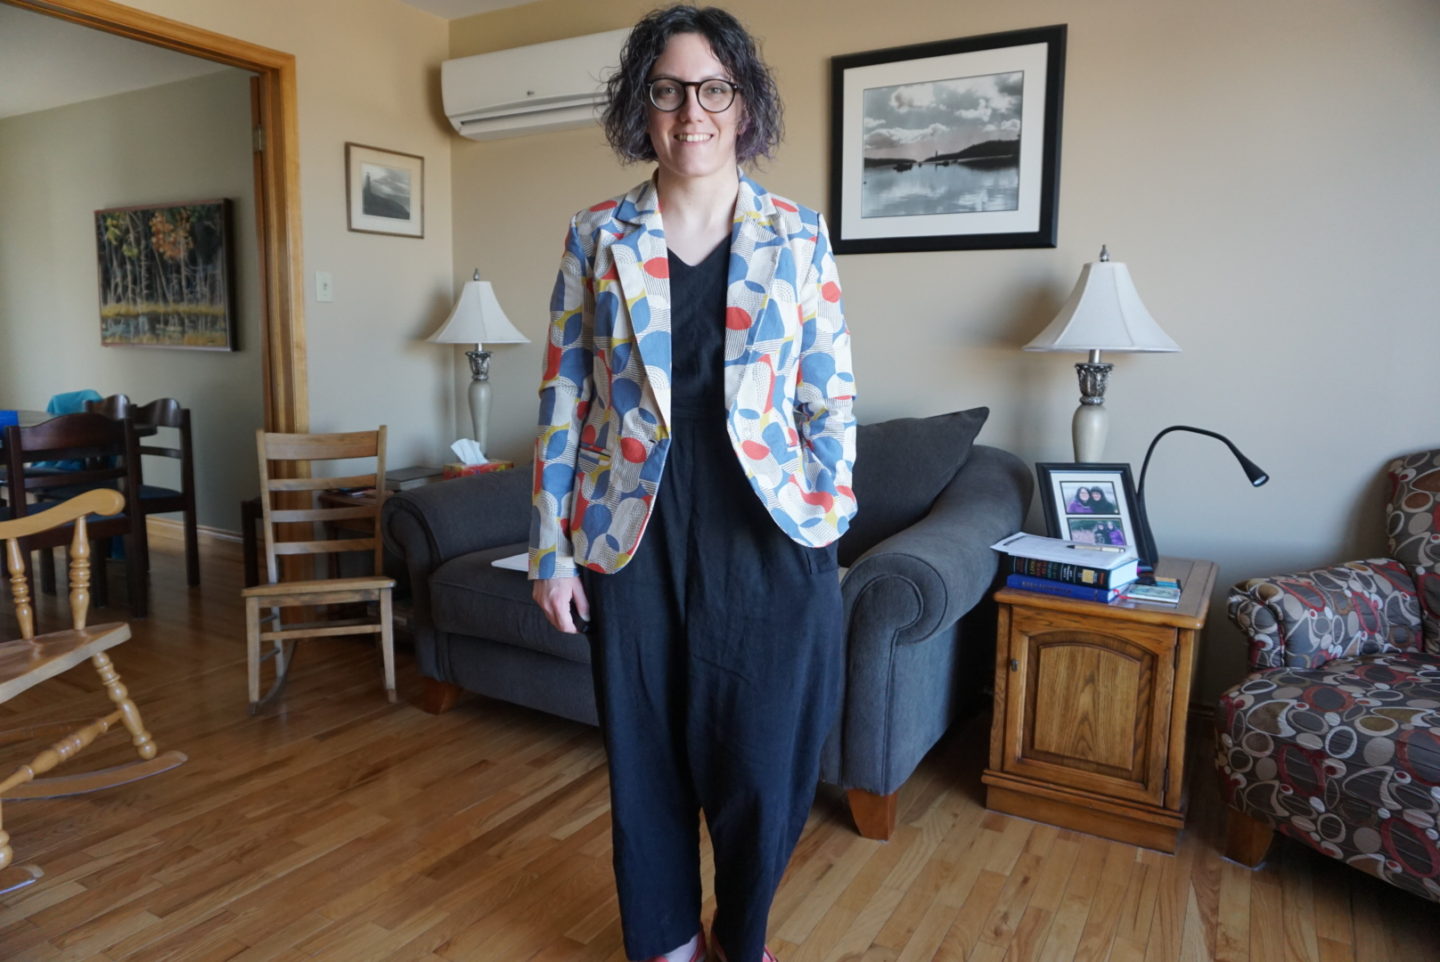
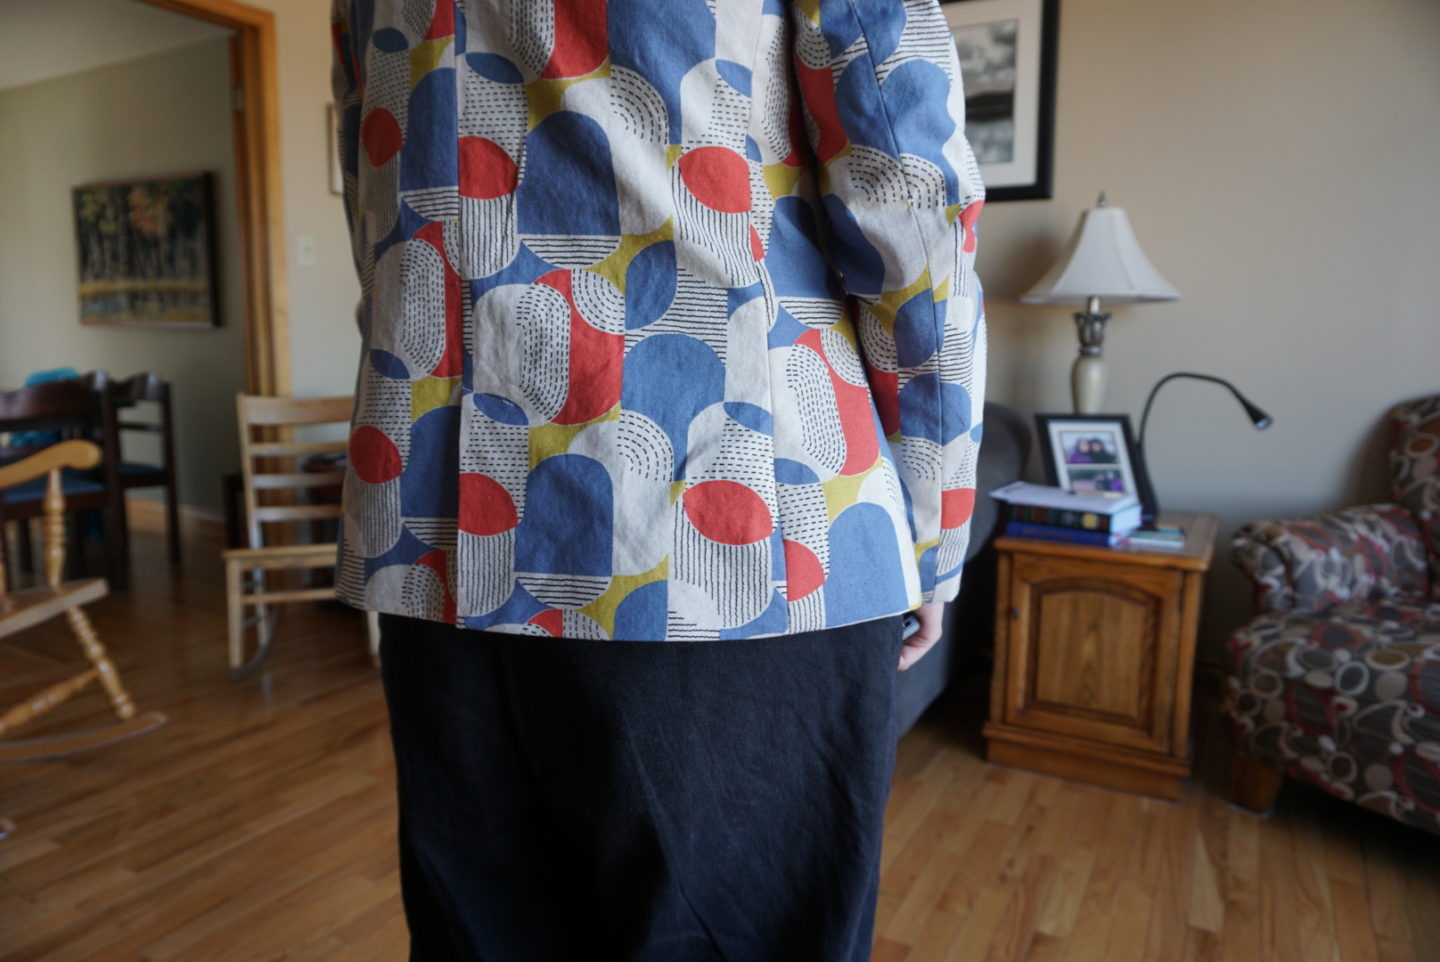
I think in future I’ll likely style this with my regular skinny jeans and a t-shirt or maybe an Odgen cami if I get around to making them in colours I actually wear (not sure what possessed me to make a red one and a yellow one other than a Blackbird Fabrics remnant sale, haha). I think a black Ogden could go well with this. In these photos, I’m wearing it with my black linen Peppermint/In The Folds jumpsuit (free pattern!) which I just realized I made nearly a full year ago(!) – time flies! I think it works pretty well with the blazer, although I think in future I will prefer a more fitted silhouette on bottom with the bolder blazer on top.

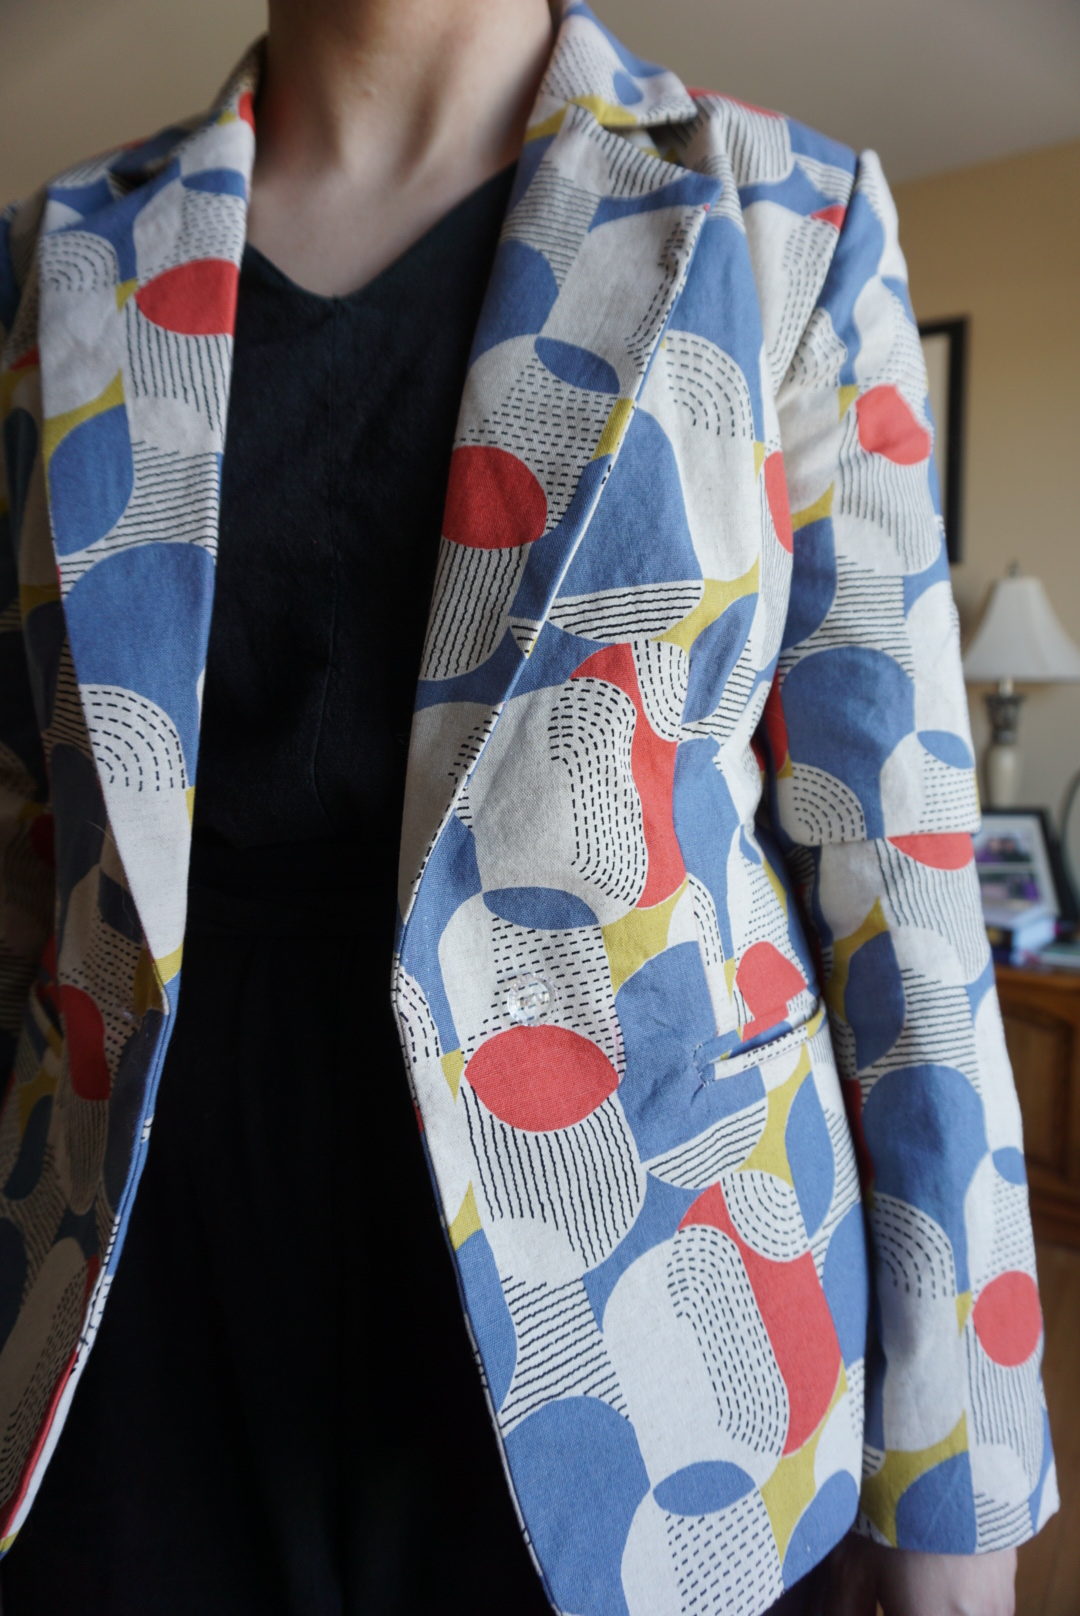
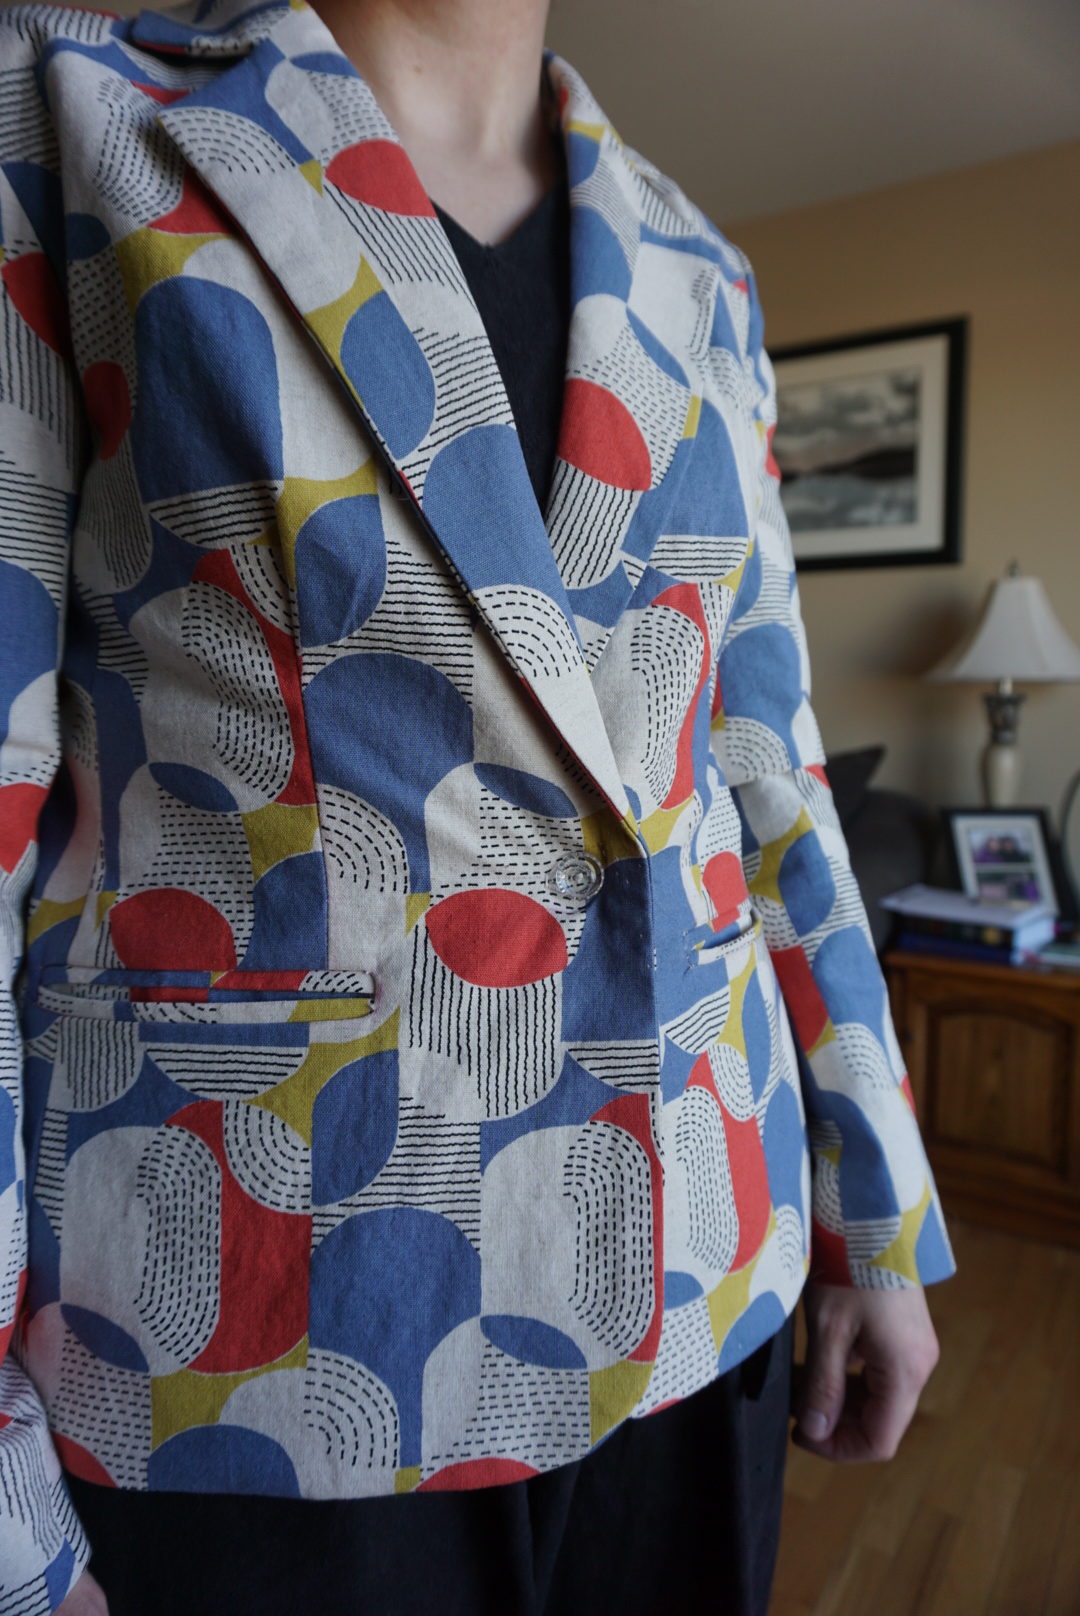
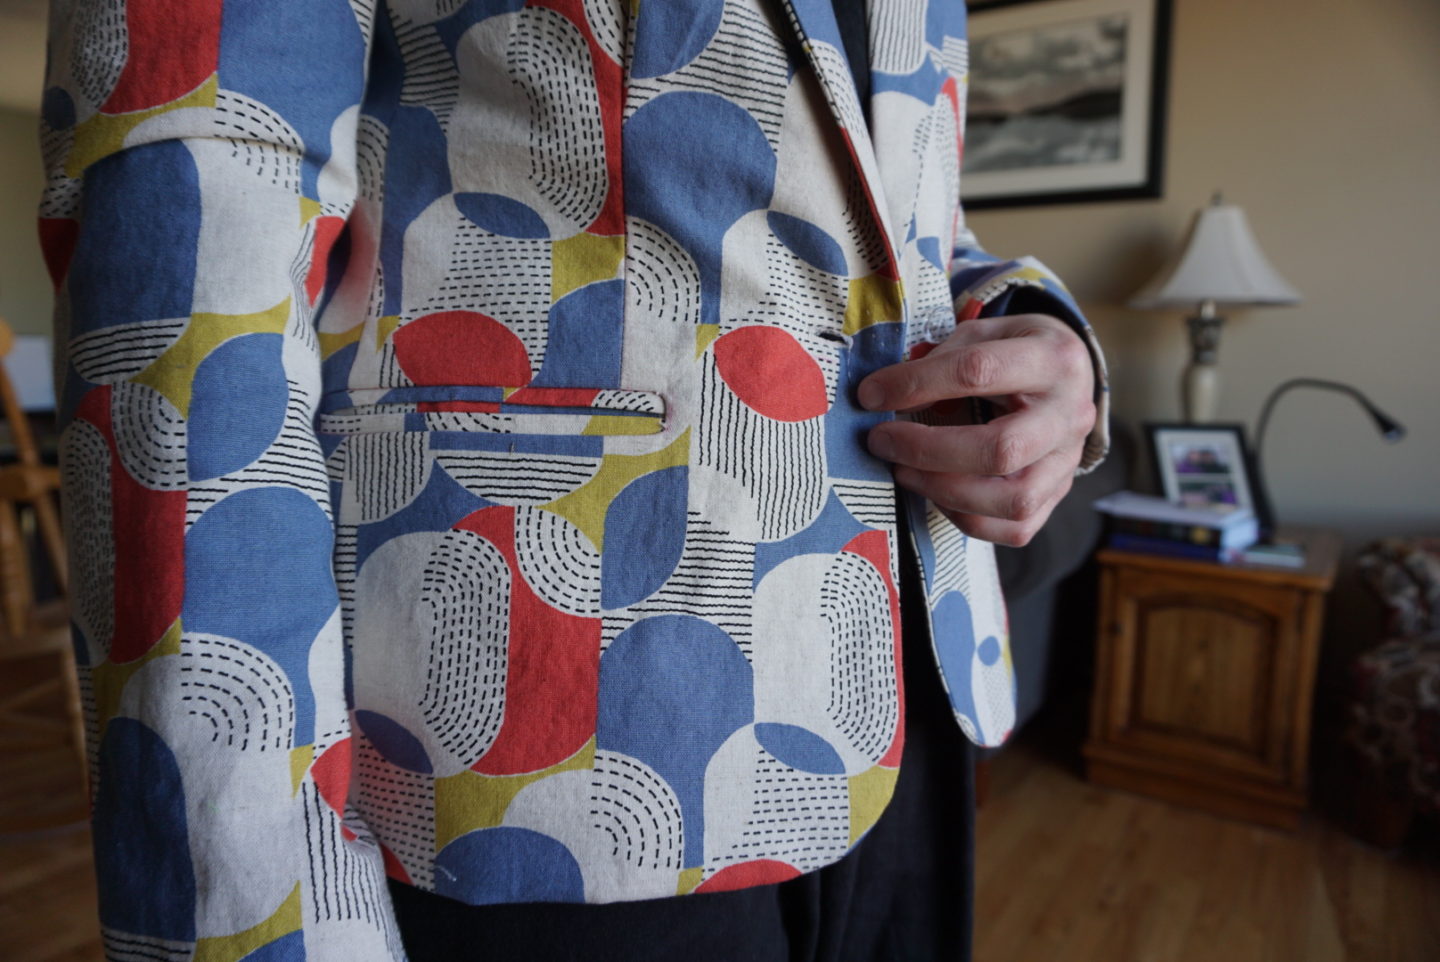
I STRUGGLED with the first welt pocket. I should’ve done a practice one, but I’ve done them before and didn’t have problems in the past, so I had dangerous confidence. The one in the photo below is my better one, although I salvaged the first one thanks to lovely Instagram commenters suggesting I try cutting further into the corners to help it lay more flat before I went so far as to unpick all the interfacing and horsehair from the front piece, throw the piece in the recycling bin, and recut that front piece (and resew the dart). Yes, this was actually something I was considering! A bunch of people were like, no one will notice! And probably they wouldn’t. But it was reaaalllyyy bothering me how puckery it was, and I knew if I didn’t get it to lay flatter it would torture me for all of eternity given the care I was taking on the rest of the garment. But I got it to bend to my will and got it below the annoyance threshold.
Remember how I said not making a muslin of the lining messed me up later? Well. I shortened all of my lining and main fabric front and back pieces by 2″, which I did meticulously and took my time on. I spent a lot of time precisely cutting out my fabric. But when I went to center back seam of the lining, it did not match up at all in length in terms of the actual center back meeting the top of the vent on each side of the lining back. This sounds weird – to clarify, the two sides of the back are different pieces because of the way the vent overlaps so it isn’t just a symmetrical situation. But I could tell it wasn’t lining up the way it was supposed to, BUT the bottom edge was still lining up correctly so it wasn’t that I had shortened one piece by the wrong amount. I referred back to my pattern pieces, and it turned out that there was an issue with the location of the lengthen/shorten lines that occurred when the pattern was graded (I notified Closet Case about it and I think it’s been fixed). In the size I was making (size 10), on one back piece, the lengthen/shorten line was ABOVE the vent, and on the other it was INSIDE the vent. This meant that on three of the four back pieces (one side of the lining and the two self back pieces), the shortening happened above the vent, and on one lining piece it was shortened inside the vent. To translate into practical terms, the piece that got shortened inside the vent ended up not having the sticking-out-overlap-vent bit extend high enough to meet the other one and cover properly inside the jacket. I ended up solving this by patching in a little bit of my scrap lining fabric using Y-seams (luckily I have done this type of seam in quilting before!) to make it meet up. It’s not the most beautiful thing, but it solved my problem considering I didn’t have enough lining fabric leftover to recut the back piece that was messed up. If you’re going to make the pattern in a size 10, maybe take a peek at your pattern pieces to make sure you don’t have a similar lengthen/shorten issue from an old download!
And that’s it! I made a blazer! I’m someone who’s usually really into big involved projects, so this was right up my alley! (I have a coat-making problem too.) I’ve been feeling a craving to make jeans lately, and I’m intrigued to try out the Megan Nielsen Dawn jeans pattern, but I’m on a fabric-buying ban as part of my Me Made May pledge, and I don’t think I have any non-stretch denim in my stash. So we’ll see.
I think today I might do a quick t-shirt that’s been in my queue for ages. My Me Made May experience so far has been making me realize that my me-mades don’t necessarily suit what I want to wear on days when it isn’t sunny and warm and I just want to hermit in coziness. I’ve also been working on my Violet Crafts Elephant quilt, and I’m making good progress! The fact that there are tangible units in the form of the templates makes it fun to measure how much you’ve got done, but also helps me be able to walk away and not get so obsessive because there are very clear stopping points more frequently! I hope everyone’s Me Made May is going well – I love seeing everyone’s outfits in their actual day-to-day life instead of fresh off the machine!

HOT DAMN, MA’AM. That is a very, very cool blazer.