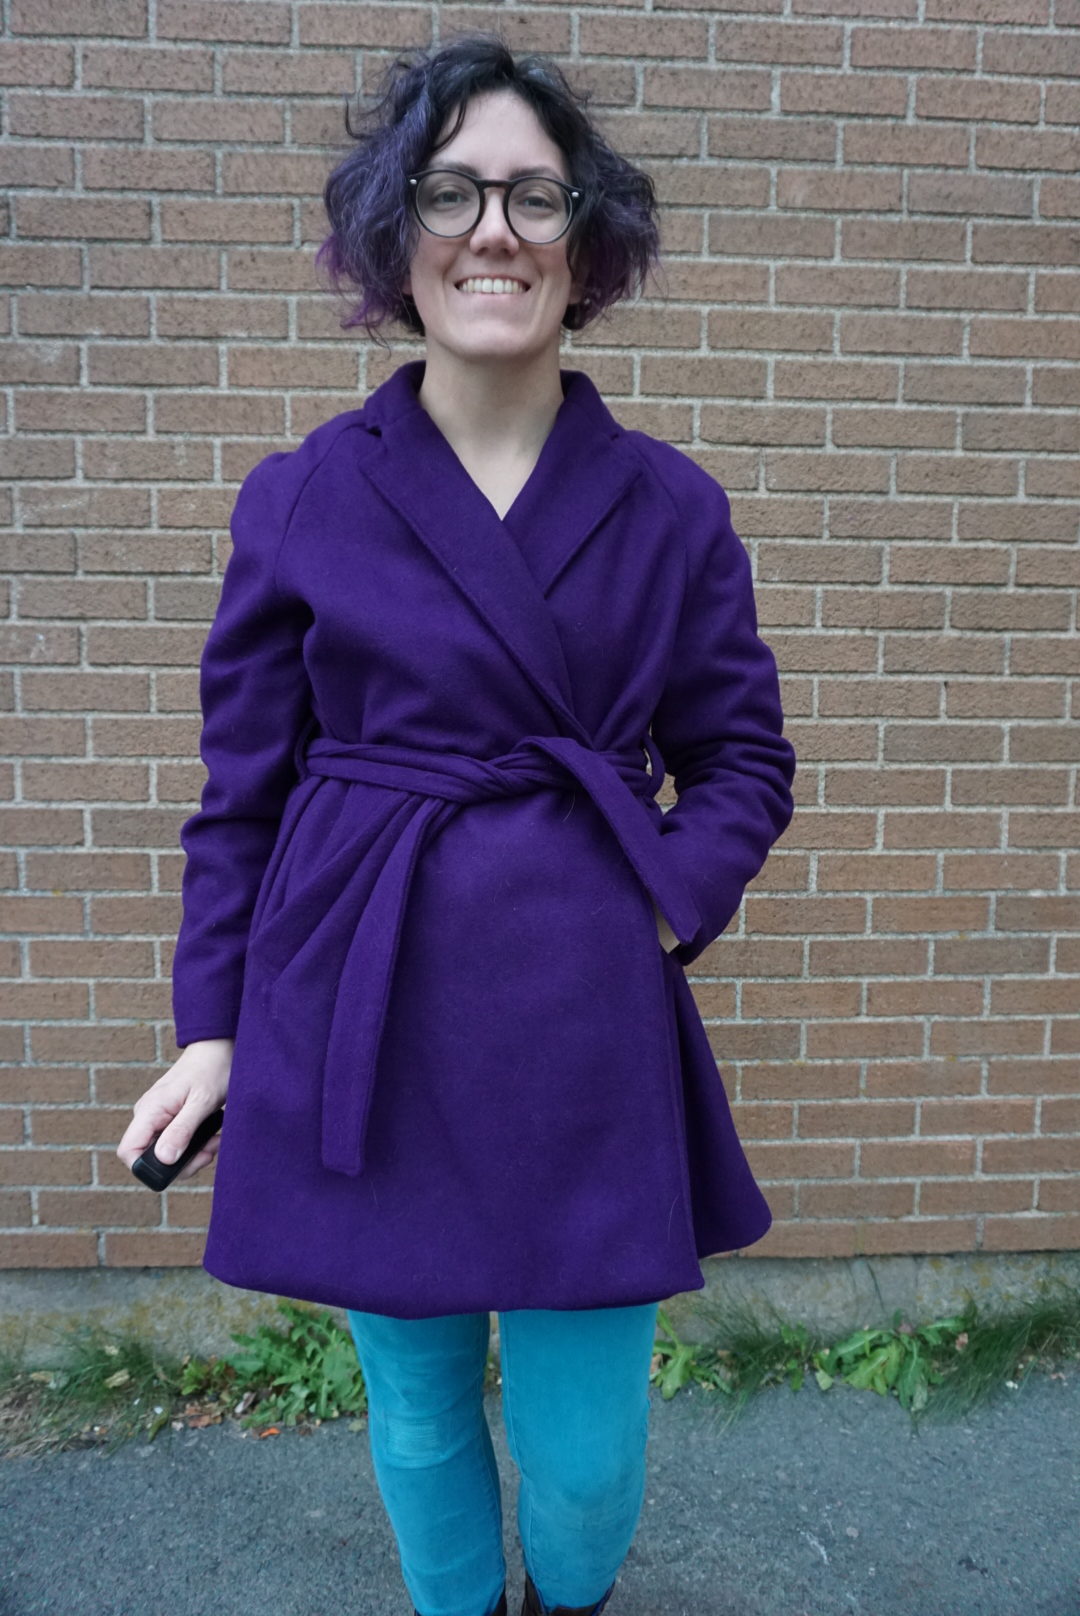
I finished my Opium coat and I love it a lot! I had a crazy couple of weeks and didn’t get much sewing time, and was sort of losing my mind because of it. I carved out a chunk of time on the weekend and a bit more Monday and Tuesday in order to reclaim my sanity and finished this coat! It’s the Opium coat by Deer & Doe, from their latest pattern release. I bought this wool/polyester blend from Fabric.com (exact fabric at the link), and it’s a wool melton made of 55% wool and 45% polyester. I also got the lining from the same site, and it’s 100% polyester. I normally wouldn’t go for a full-on polyester lining (I prefer rayon Bemberg or kasha usually), but it was the only way to get a fun print like I was hoping for. And then I used a homemade turquoise piping from my stash that I had left over from a previous project, which was handy because it was already made up and I even had loads of extra bias tape in case I needed more than what I had. Which luckily I didn’t! And voila!
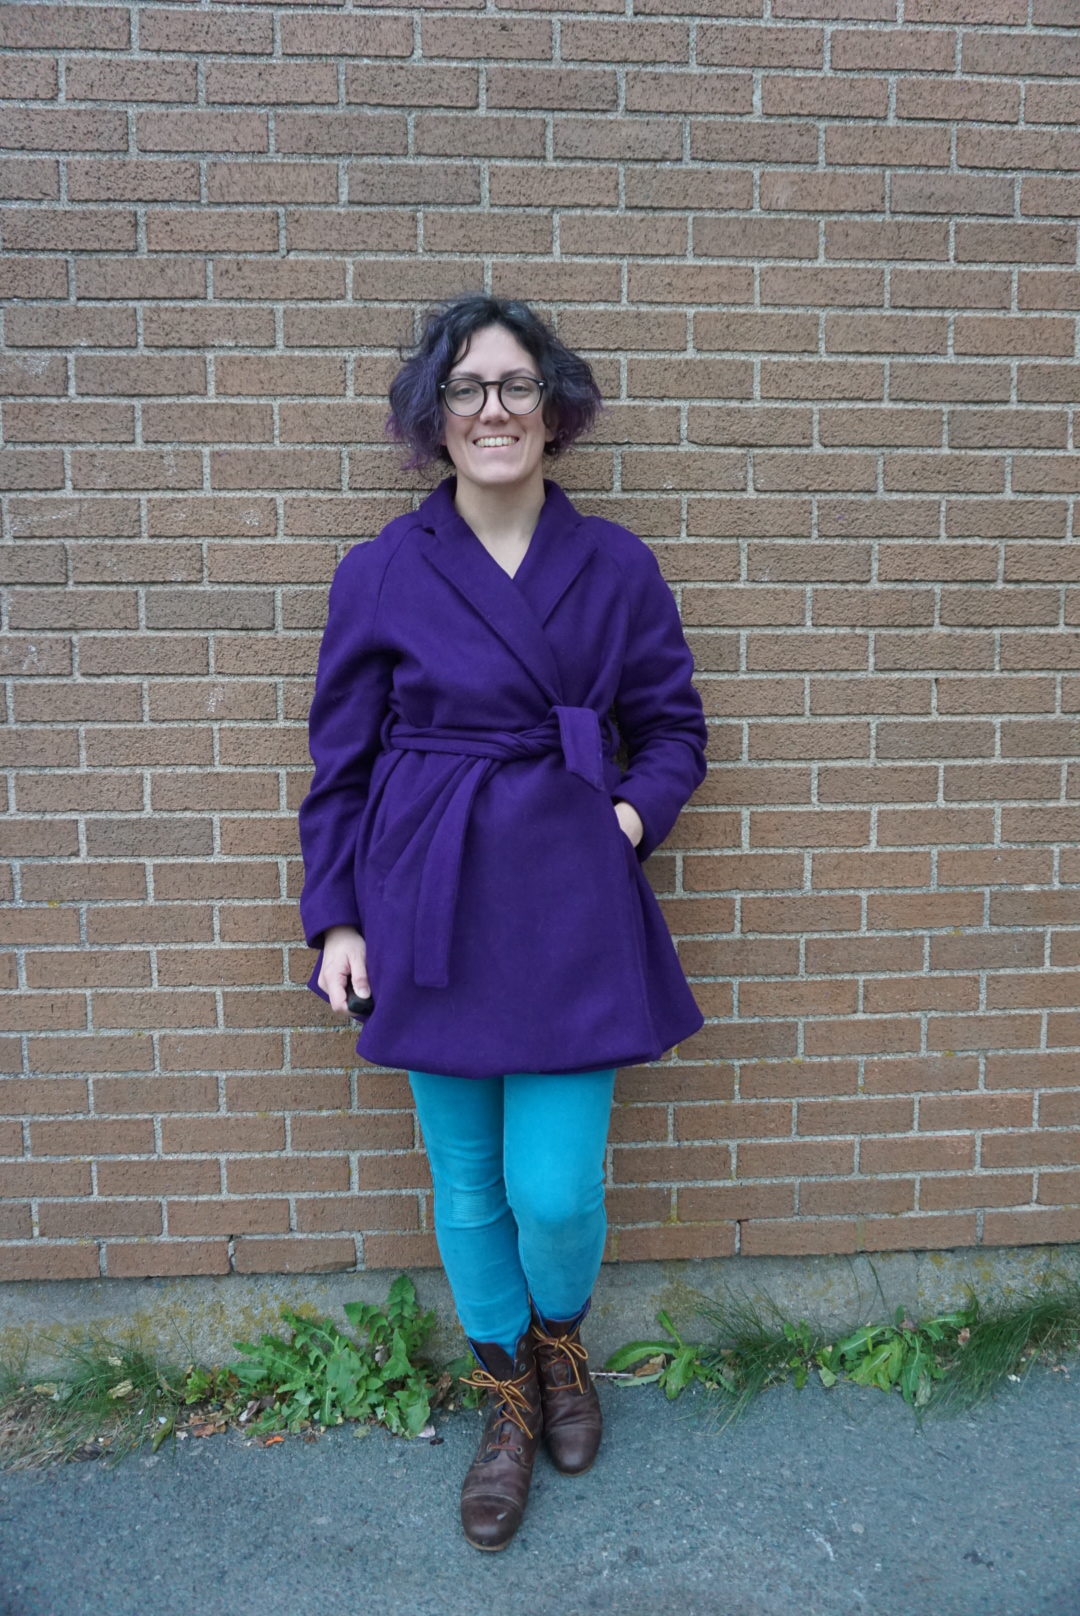

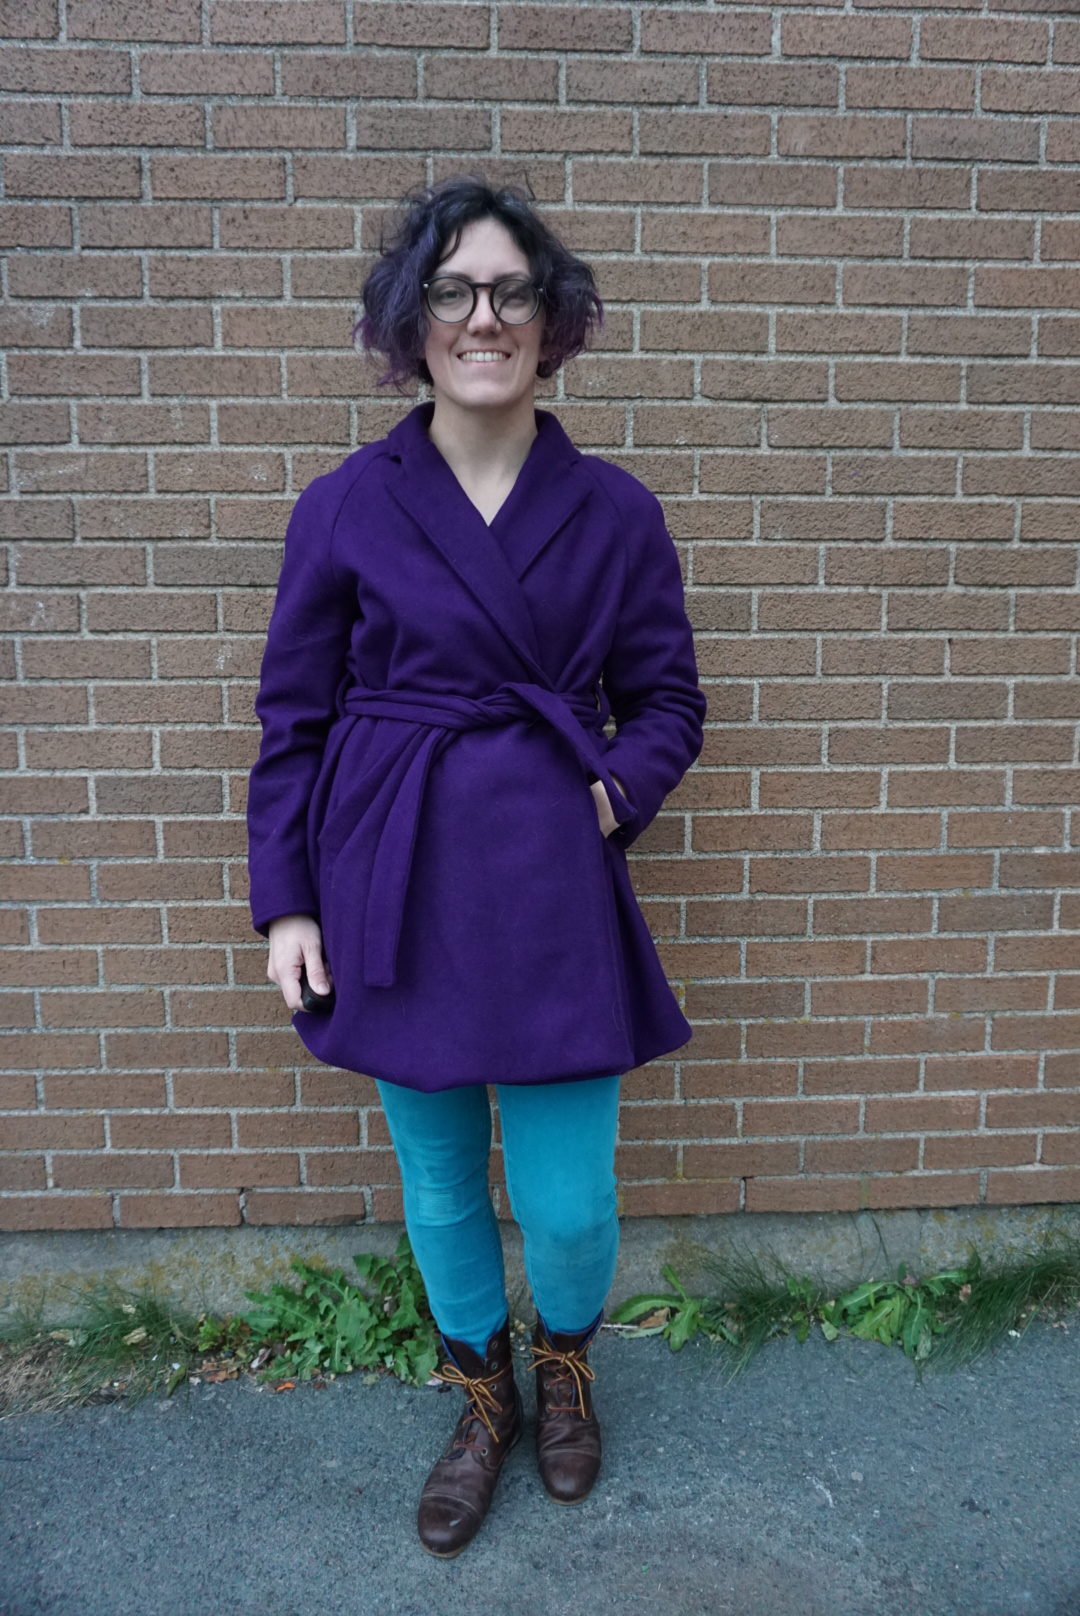
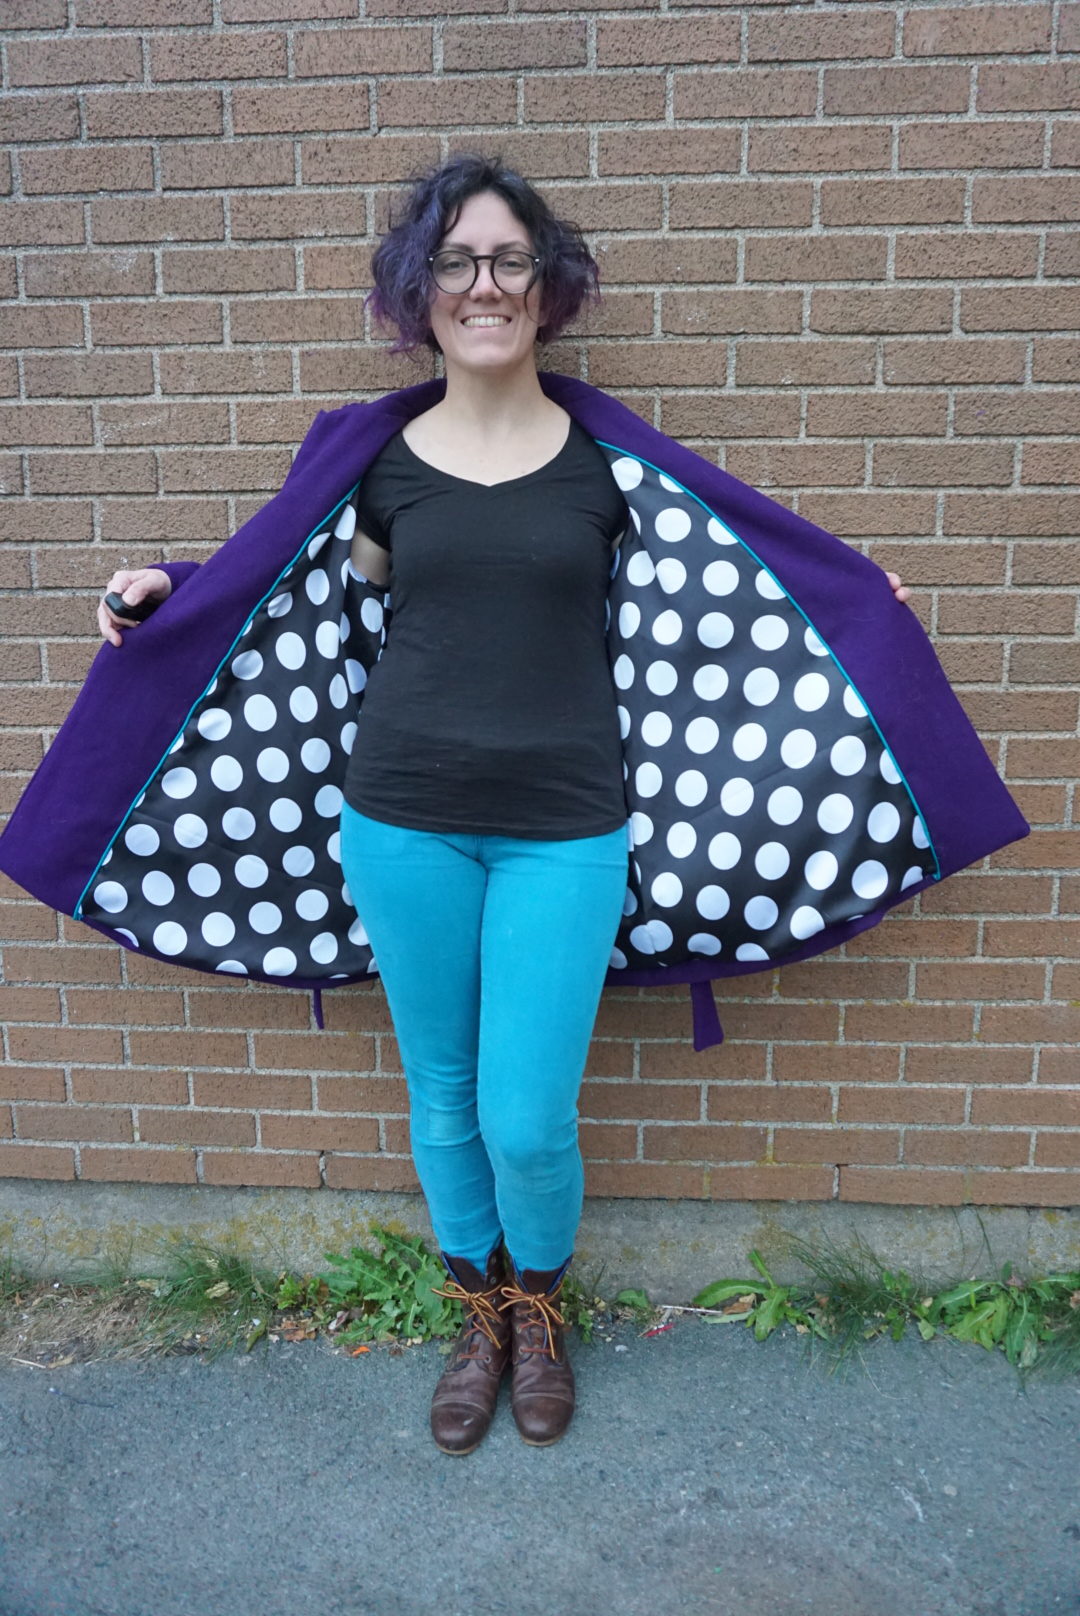
I made view B, which is the version with a waist tie instead of snaps. Oversized drapey things never look that great on me (or at least, I don’t like the shape on myself) so it was an obvious choice. I made a straight size 38, which I hemmed and hawed on a lot because my shoulders have gotten a bit bigger lately from doing lots of bouldering. I ended up opting not to go up to the 40 because I have done that in the past and then when it was a bit big all over, didn’t end up wearing the coat at all, so I thought it was worth the risk.
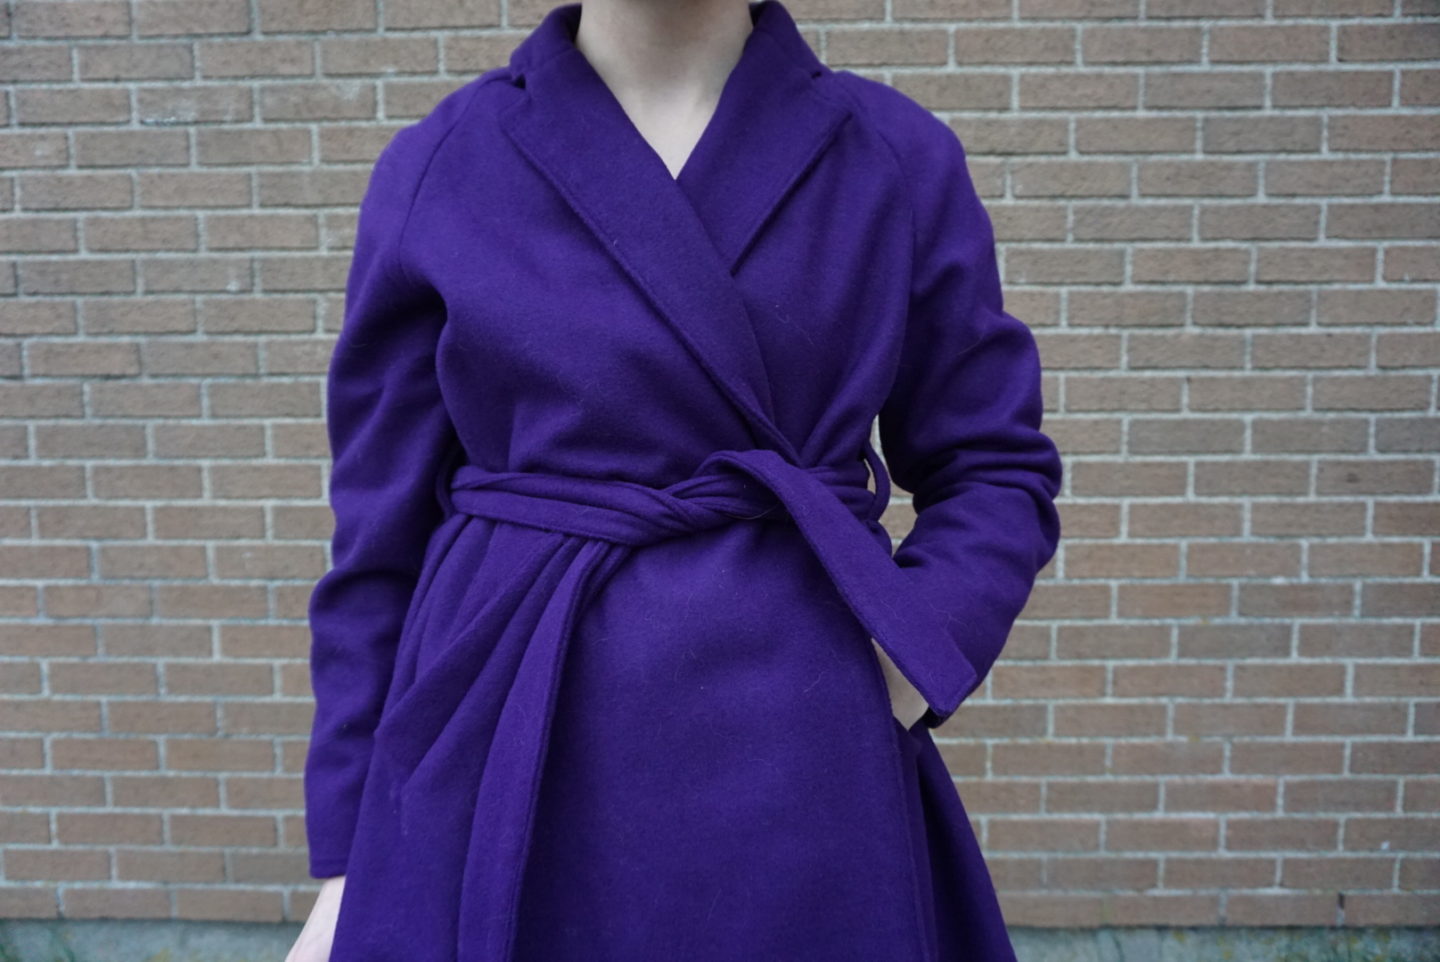
Design-wise, I think if I were to make the coat again I would make the upper portion of the collar bigger and more exaggerated. To me, the notch is a bit delicate and I’d like it to be more bold. The way that was constructed was a little strange for me also, compared to other notched collars I’ve sewn in the past (such as the one on the Carolyn Pajamas). The upper collar was not sewn together prior to attaching to the neckline, and instead was sewn onto the neckline and facing respectively and then all of it attached together in multiple steps. I found it quite bulky around the notch of the collar, and ended up top-stitching the whole front edge including the collar in order to get it to lie flat because pressing was not as effective as I would’ve hoped. But I think it turned out well in spite of my struggles!
Construction-wise, I decided to do exactly what the instructions told me to do even though it was different from coats I’ve sewn in the past. And I don’t think I would do it this way in future. Most coats I’ve sewn have you treat the exterior shell as one part, and the lining + facing as the other, and then attached the two pieces around the entire outer edge at once. In this pattern, you are instructed to sew the facing to the exterior before you assemble the lining. I found this made it quite awkward at the front bottom corners, which normally I would have a bit of hand-sewing to hold it together and that would be all. Instead, the instructions have you fold up the bottom of the lining wrong sides together in order to line the raw edge up with the already-pressed raw edge of the bottom of the outer coat. I found this really confusing to picture/understand, and also found that I was unclear on how far down the lining fold should hit on the jacket. I ended up winging it, but I debated about whether it should extend all the way to the edge of the outer coat, which seemed wrong since the lining normally doesn’t extend all the way to the bottom so that it doesn’t inadvertently poke out/become visible. But then having it not go all the way down (which is what I went with) made it so that part of the piping I’d attached to the edge of the facing wasn’t covered by the lining. I ended up having to whip-stitch over the raw edge of the piping in order to hide it/prevent fraying. I don’t think it’s that noticeable, but it does bother me a little bit that it’s not completely clean on the inside, especially where it’s a fully lined coat. Oh well! Live and learn! I’ll do it my usual way next time, regardless of what the instructions say.


My sewing machine (and me!) had quite a hard time with the collar and with the welt pockets especially. There was a lot of cursing and being stabbed by pins and having the safety mechanism on my machine engage to prevent needles breaking on the many layers. I wouldn’t even say that this fabric was that thick, compared to other coat fabrics I’ve worked with (such as the wool I used to make my Cascade Duffle Coat), but even with a 90/14 needle it was a cranky time. I love how the welt pockets look with the double welts and sort of an origami look, but having four layers of fabric from welts plus the exterior fabric plus lining PLUS on the edges of the welts, an extra four layers of seam allowance, IT’S A LOT. It’s partly why it took me so long to start this coat in the first place after I’d had it cut out, because I don’t like sewing welt pockets even though I like how they look, and I knew my sewing machine wasn’t going to be happy. Plus it hurts my brain with all the layers and the flipping and the double welts and I was always too tired in the evening every time I had a bit of time, and couldn’t face wrapping my head around it. My friend Chelsea came over on Saturday to hang out in the afternoon, and she traced off one of my patterns to have for herself while I finally tackled the welts. I found having someone else there made me stick with it and power through, and I’m glad I did. I would recommend if you’re making this coat to top-stitch down the lining pieces to the seam allowances underneath once you’ve flipped and pressed. It doesn’t say to do it in the lining and I was in a frenzied state in the midst of welt-ing and didn’t think to do it and ended up having to sew a line of stitching by hand after the coat was halfway done in order to prevent the lining from flipping out of the pockets and becoming visible.
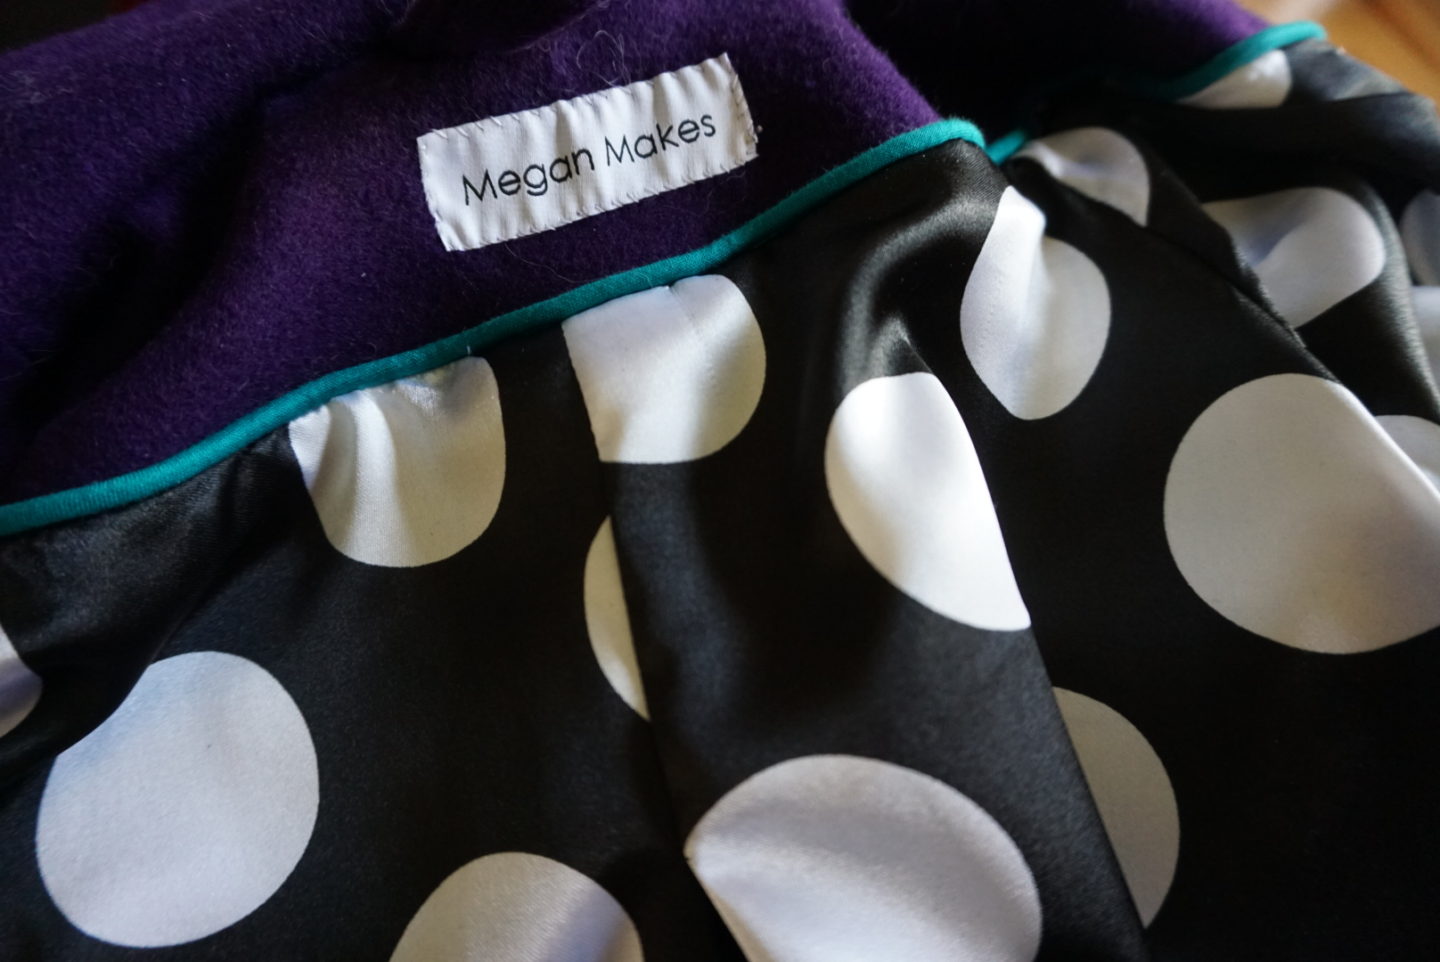
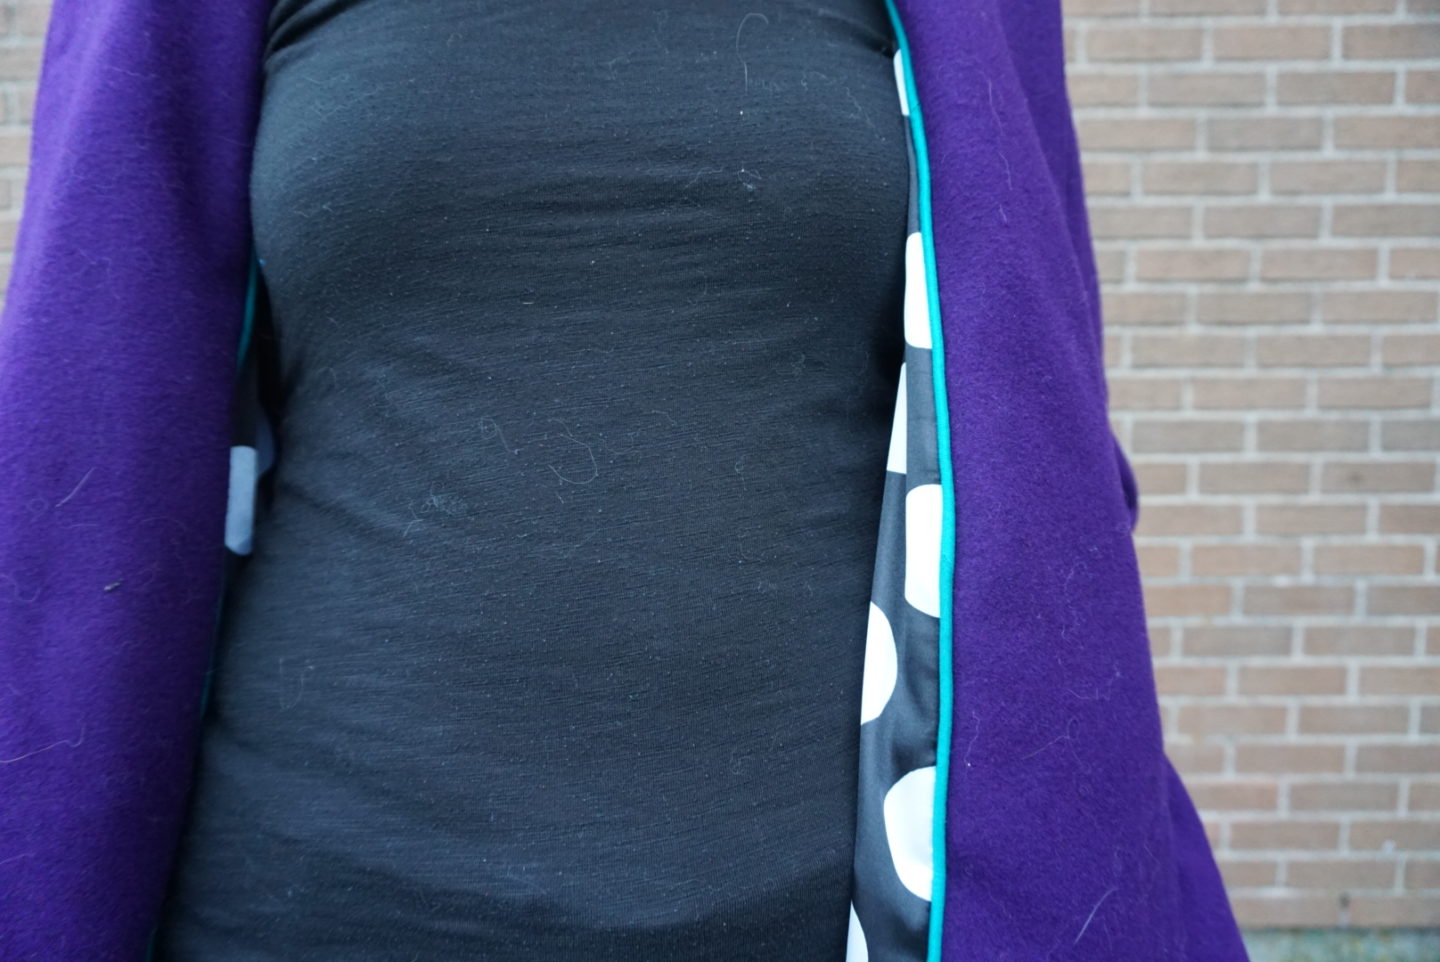
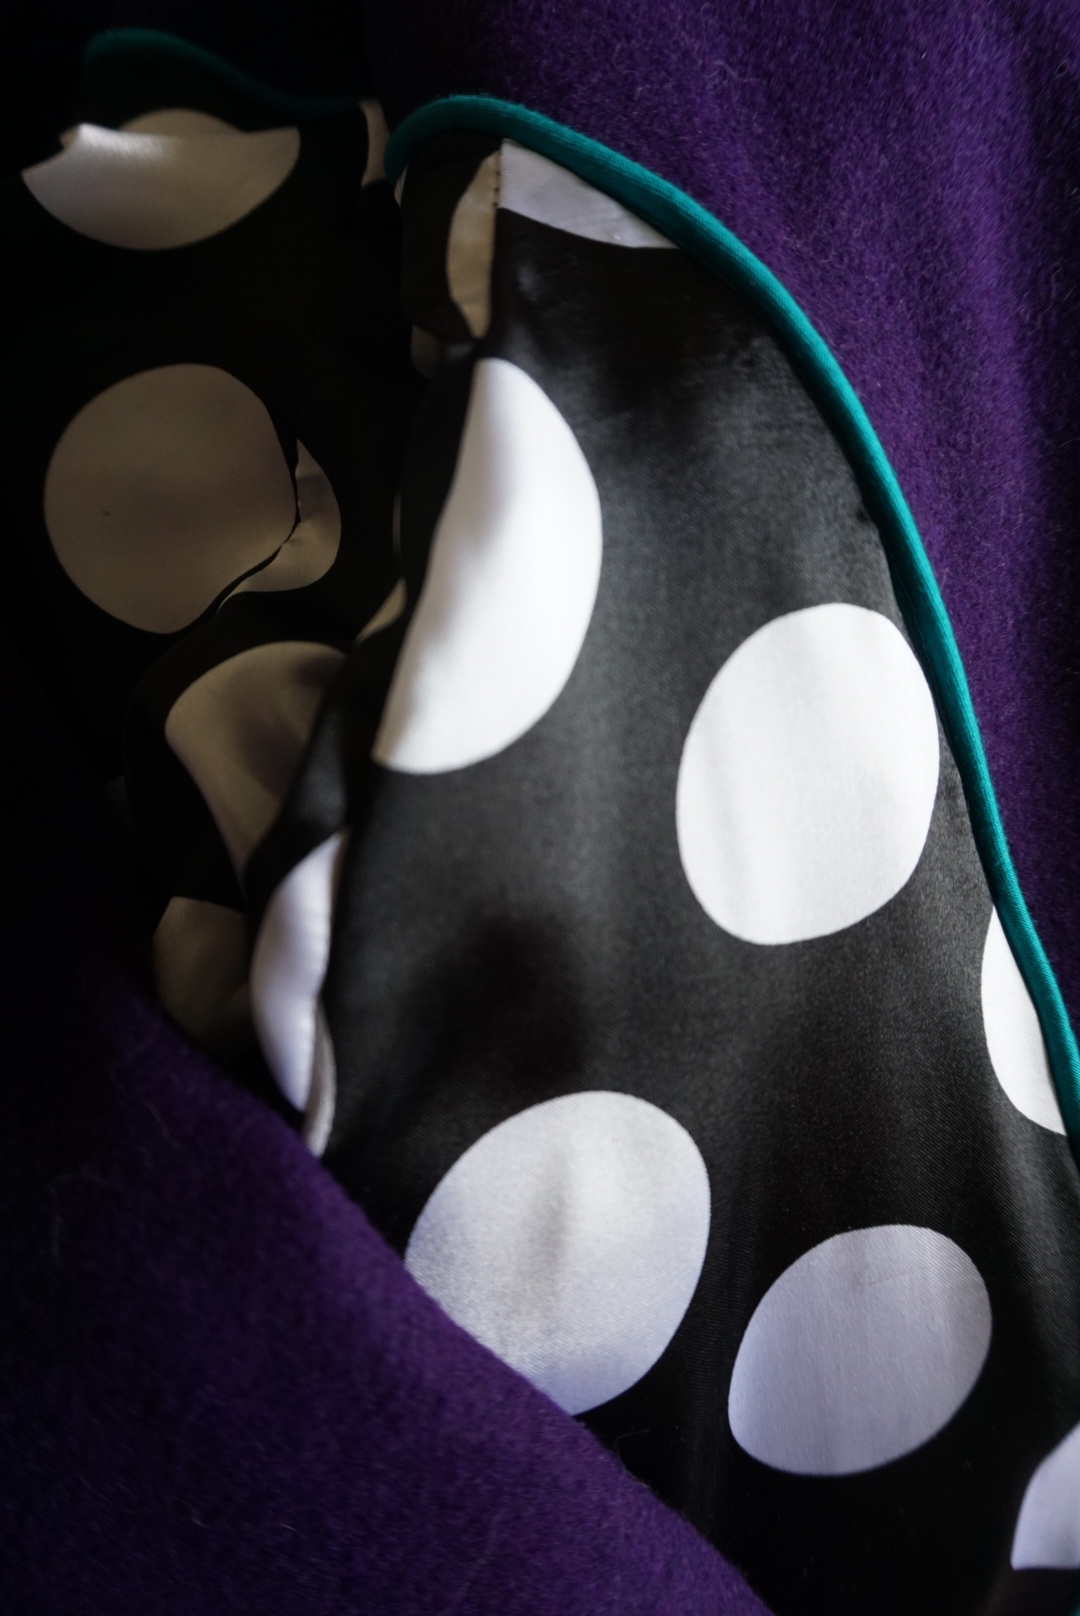
Something I’m super excited about and proud of is the piping around the lining edge! I’d been wanting to try this for a long time and finally remembered to do it! I love how the turquoise really sets off the polka dots and the purple of the coat, and think it really elevates it. It’s just solid turquoise quilting cotton for the piping, by the way. Piping is WAY easier to make than you might think even if you don’t have a piping foot, which I don’t. A zipper foot is very effective at getting close enough to the cord, and it’s totally manageable. And if you make your own, you can do any colour you want instead of being limited to pre-made piping colours, and you could even do a print if you wanted to! As well, I’ve always wanted a really bold lining in a coat, and went for these giant black and white polka dots. I love how it looks and how it’s such a surprise when you open the coat. The great thing about it being black and white is that even though it’s very graphic, it won’t clash with any of my clothing. I think it might even be fun to wear a black and white polka dot dress underneath just to be extra cheeky. 😉


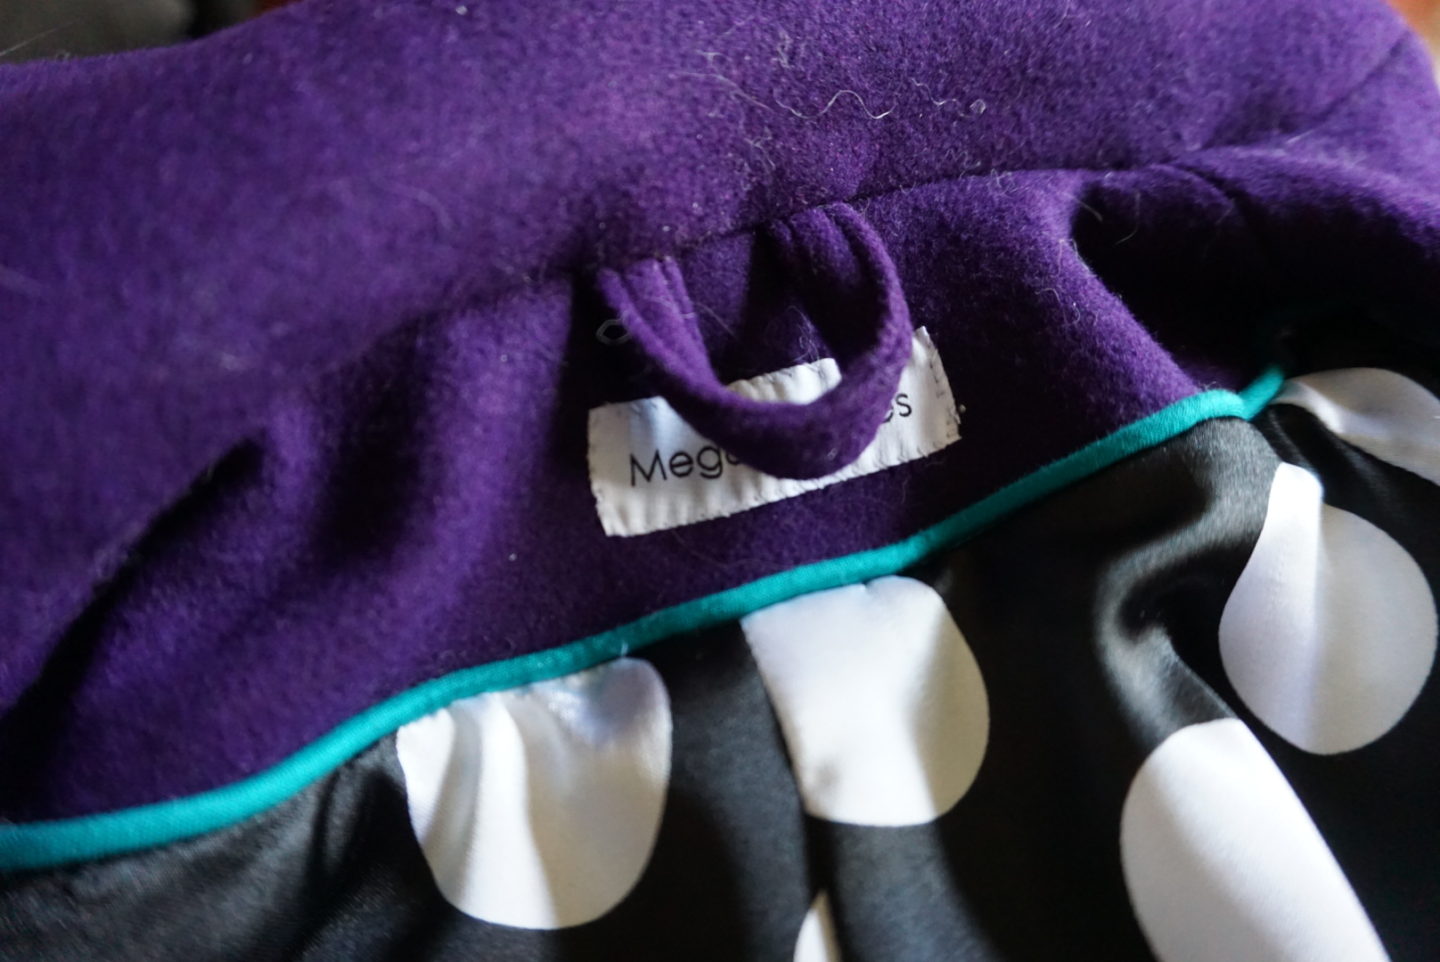
Finally, I added a loop into the neckline in order to have a way to hang it up when I’m out at other people’s houses. Right below that, you can see something I’m very excited about! I finally decided to order woven labels to put in the clothes I make, and they arrived a couple days after I finished the coat so I sewed one in straight away. I love how it looks, and I’m really looking forward to sewing them in future clothing I make. I may even go back and put them in some of my more substantial previous makes. The labels are from Dutch Label Shop, and I highly recommend them. They have tons of options and they were very quick and prompt. I also ordered a bunch of size labels that say “M” on them for medium. I had been reading that if you donate handmade clothes without labels and stuff that they often don’t get sold or even put onto the floor because they can’t categorize them by size. So in future if I’m passing along things I’ve made, I’ll sew a size label in (and one of my Megan Makes labels) so that it will increase the likelihood of them finding a new home.
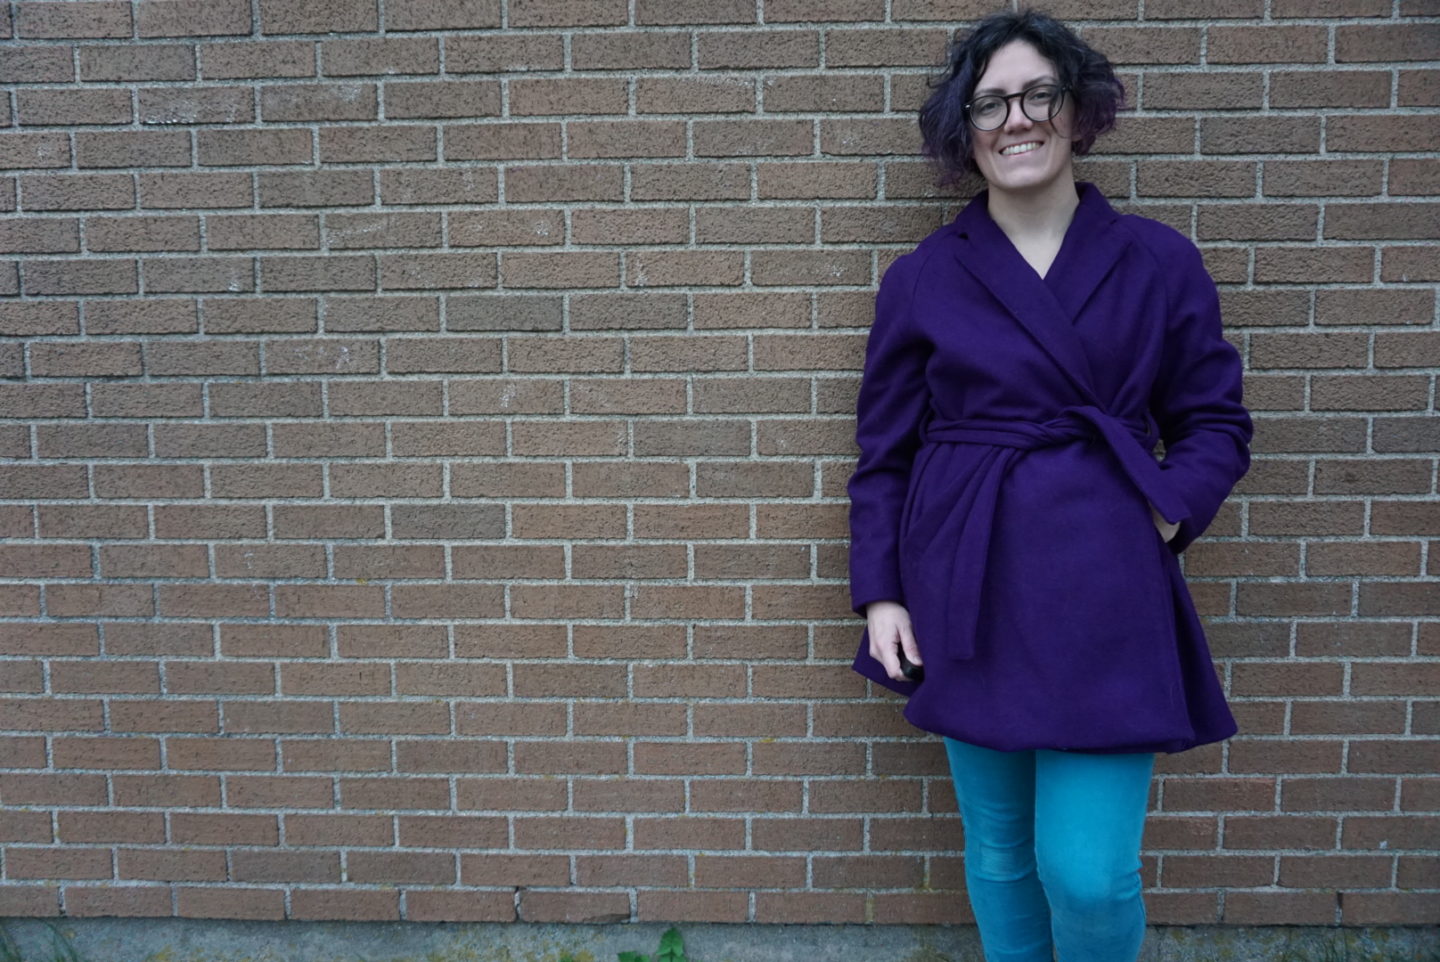
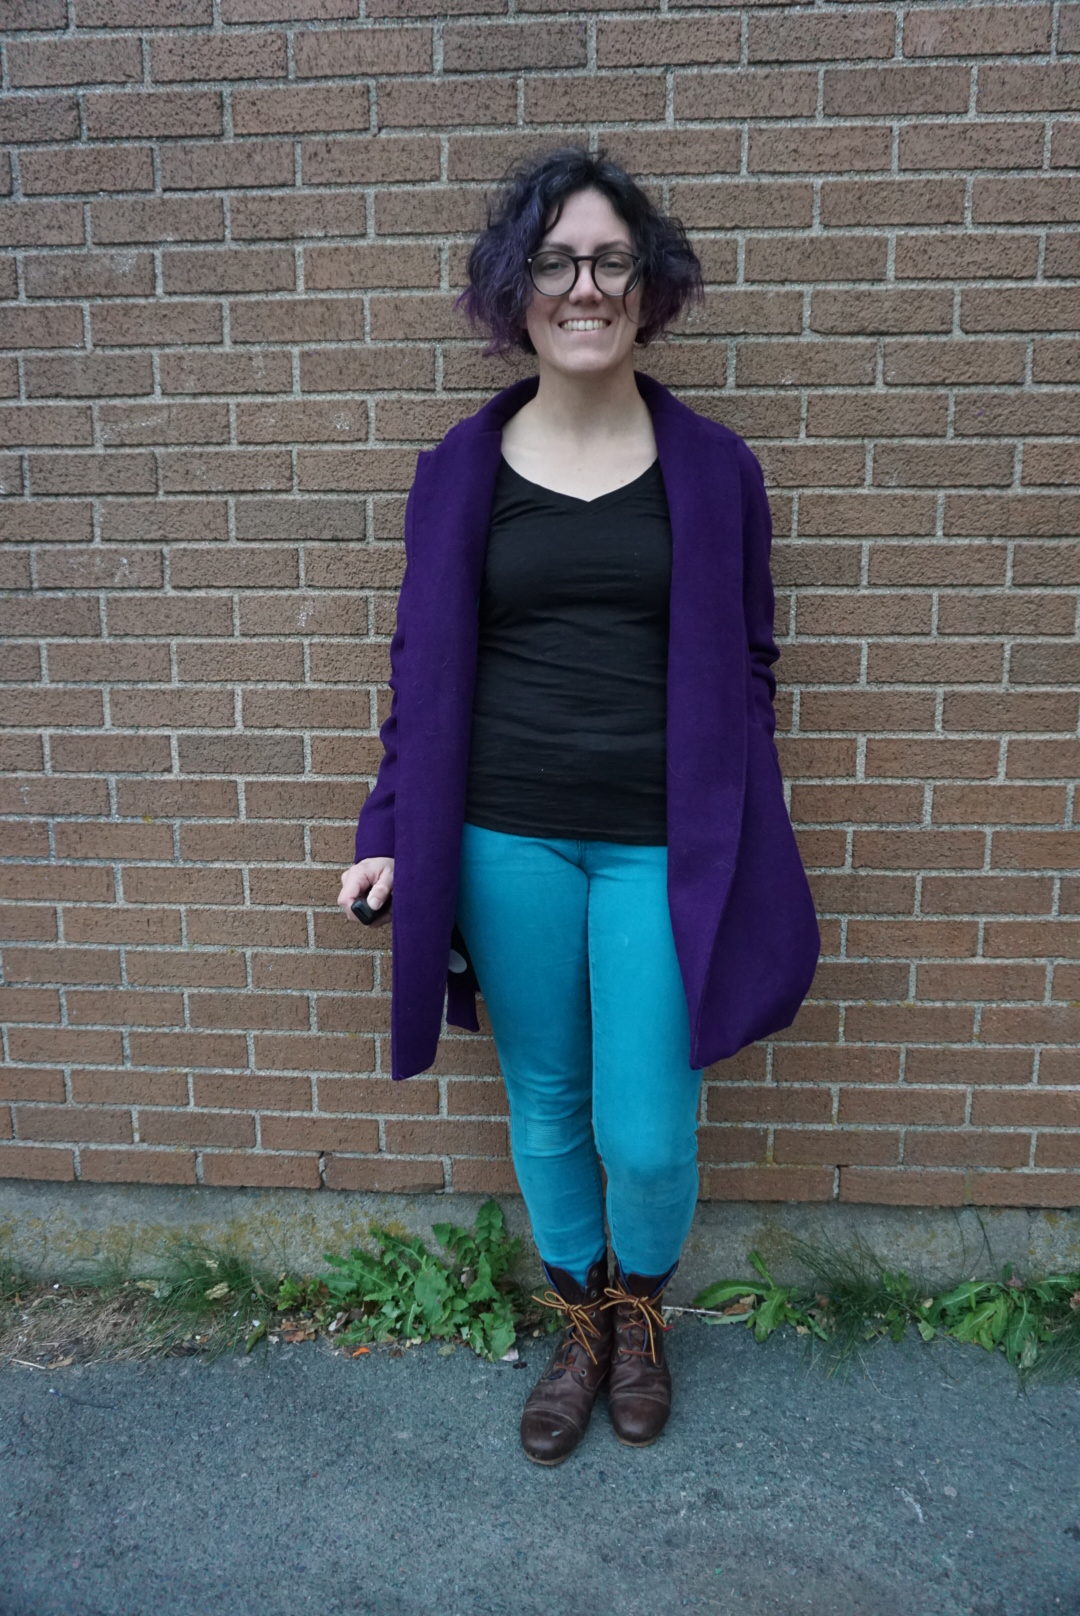
I’m so excited to wear this out and about! It’s the perfect time of year to finish it, and I’ll be able to get lots of use out of it. It even works really well open as well as tied shut. Has anyone else made this pattern? What was your experience sewing it?