
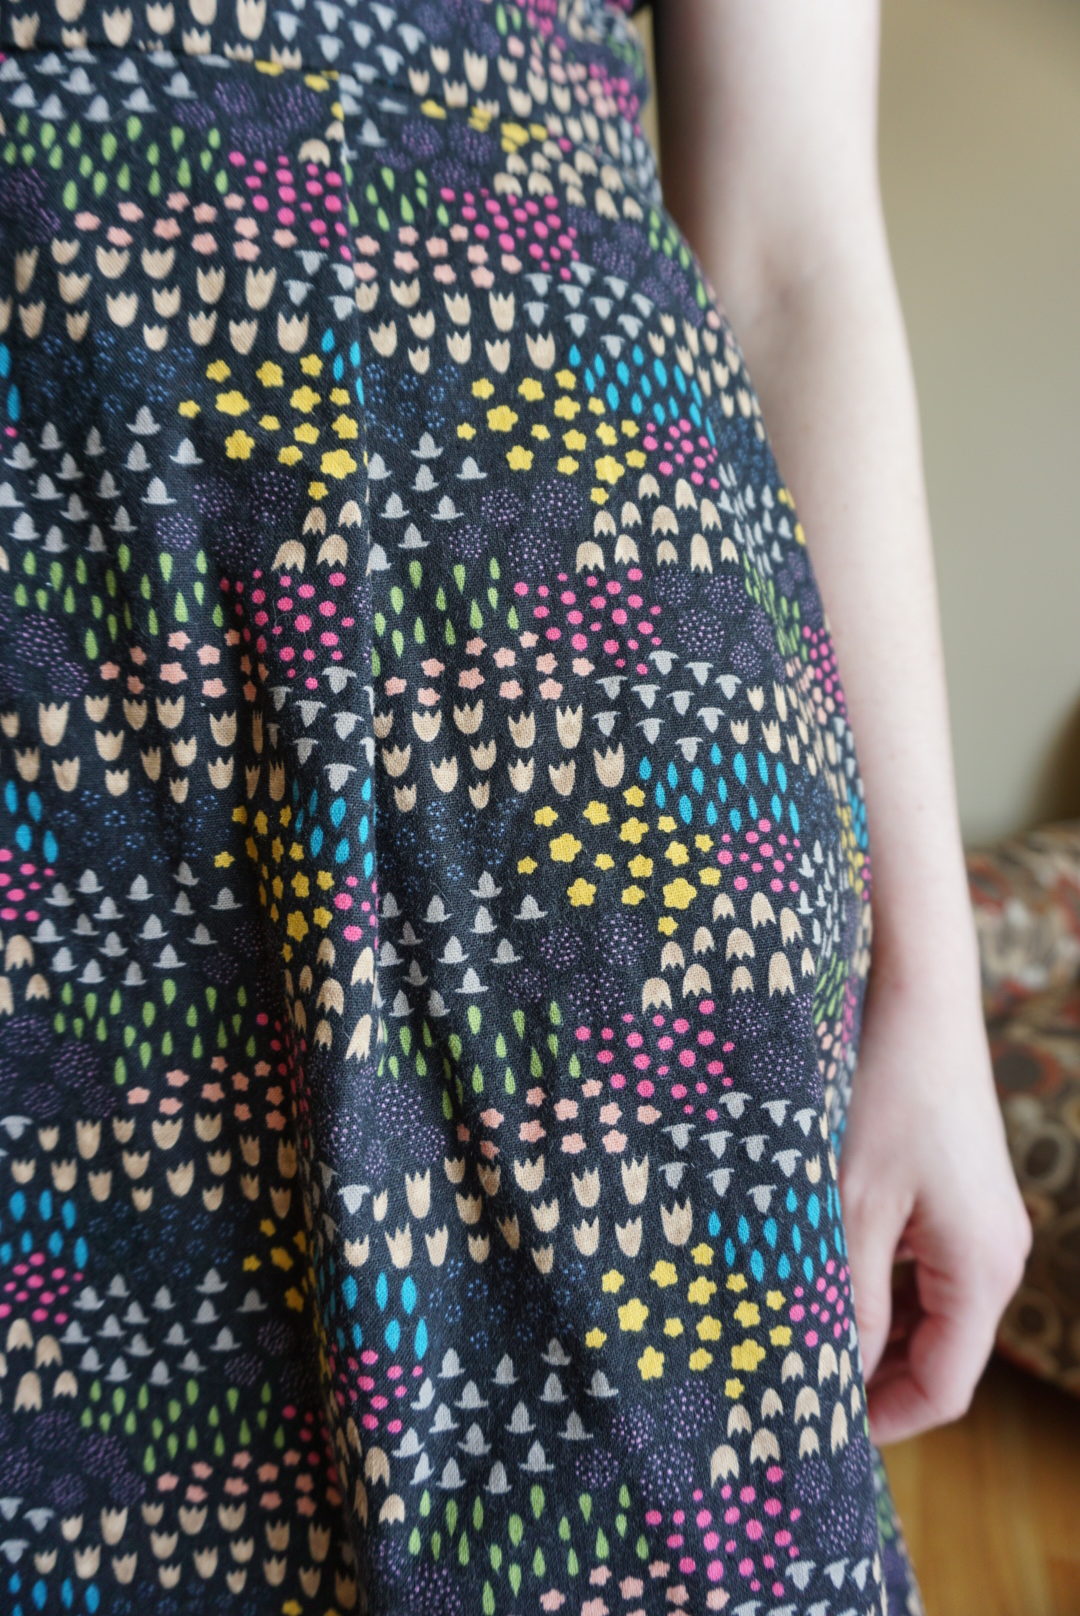
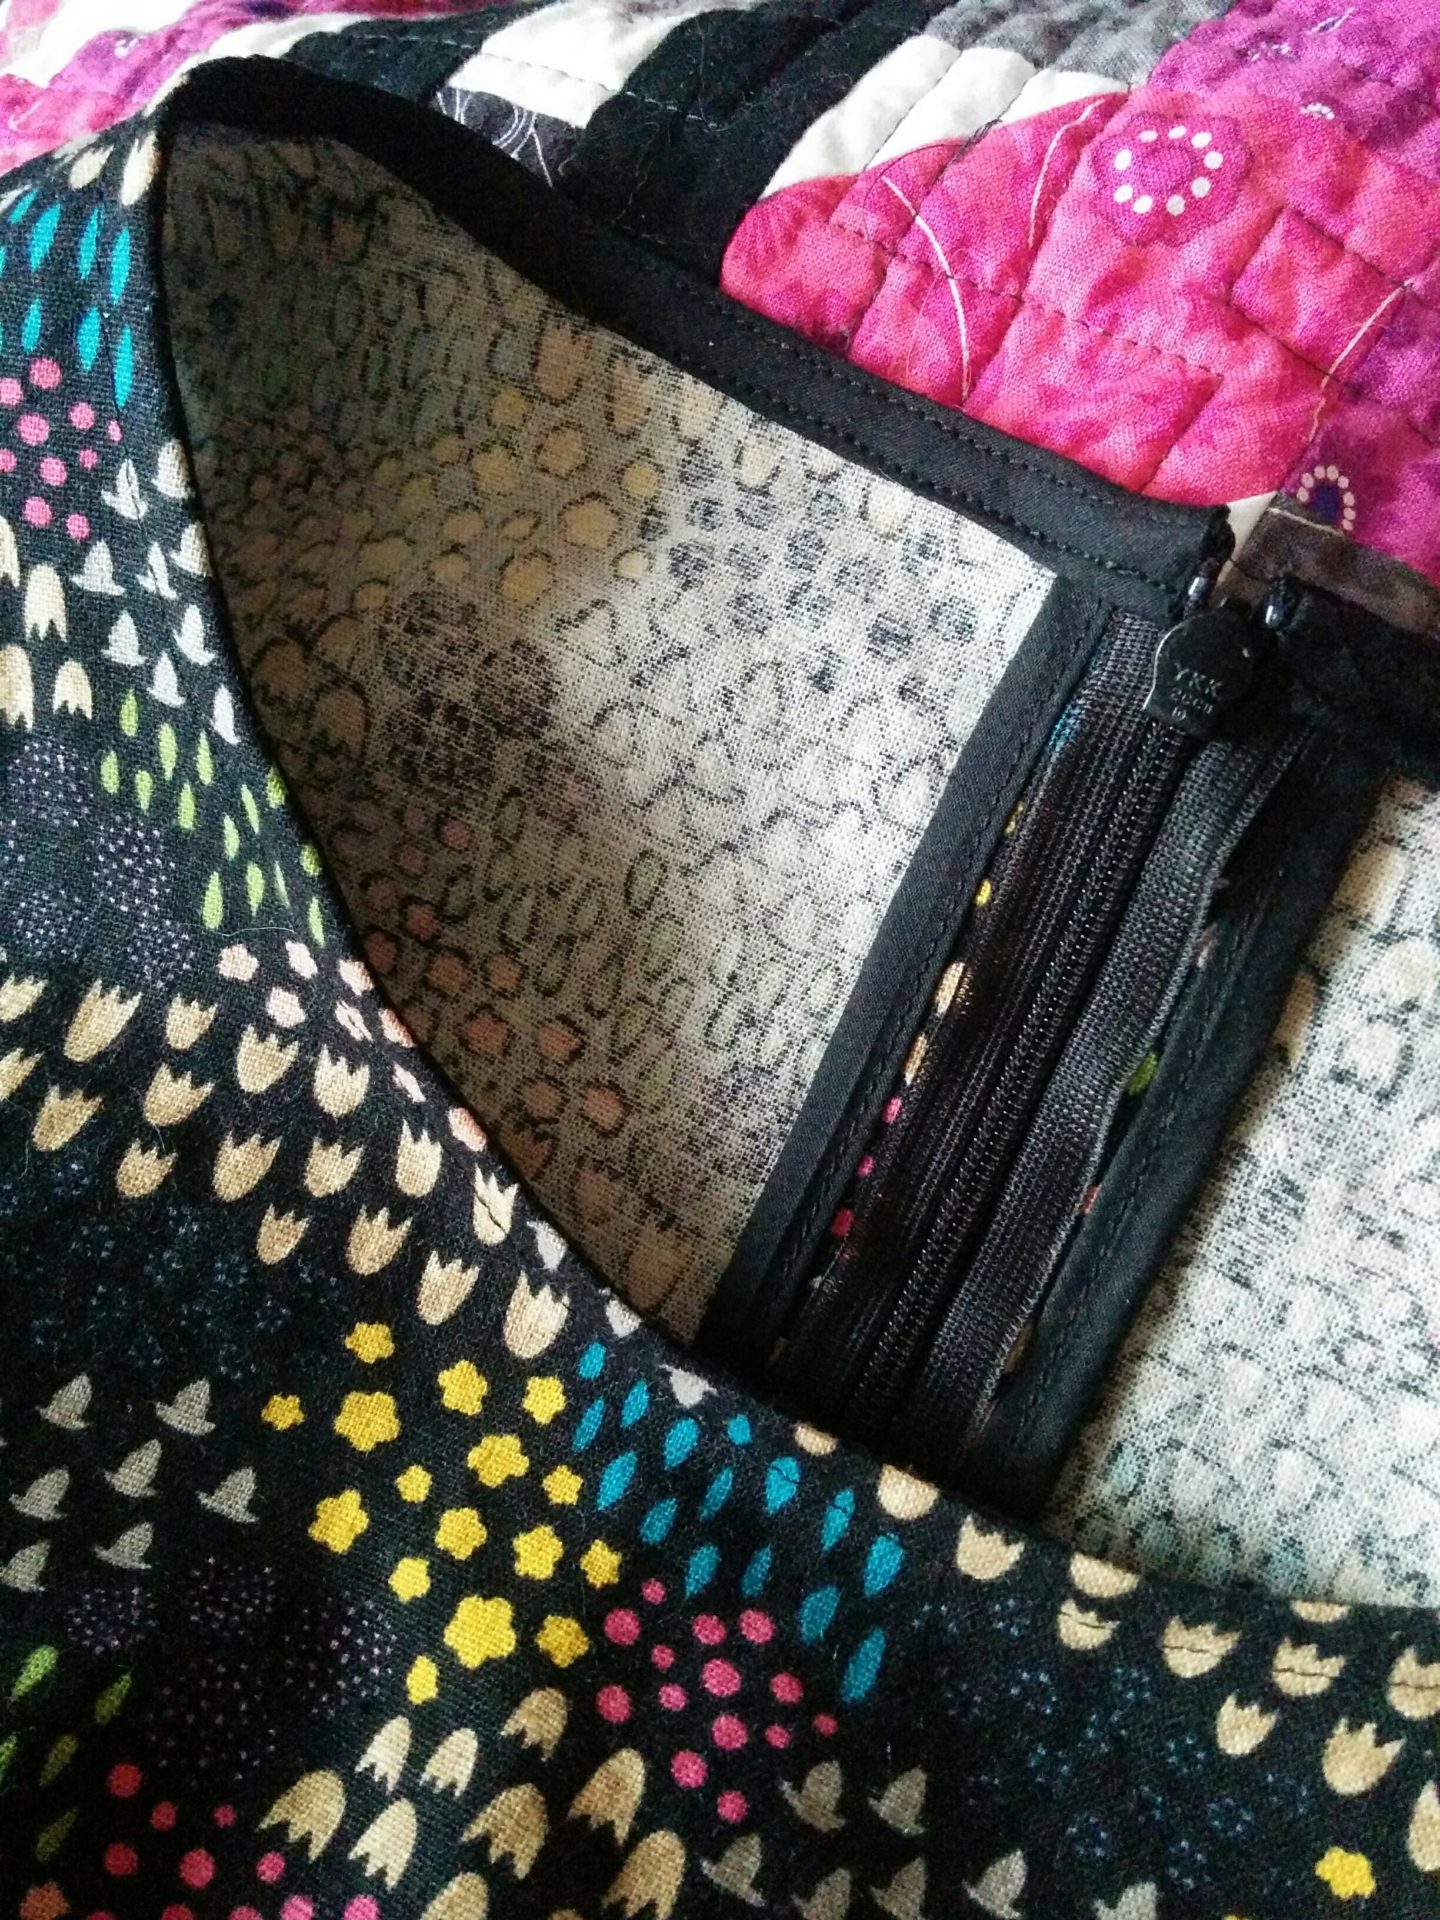
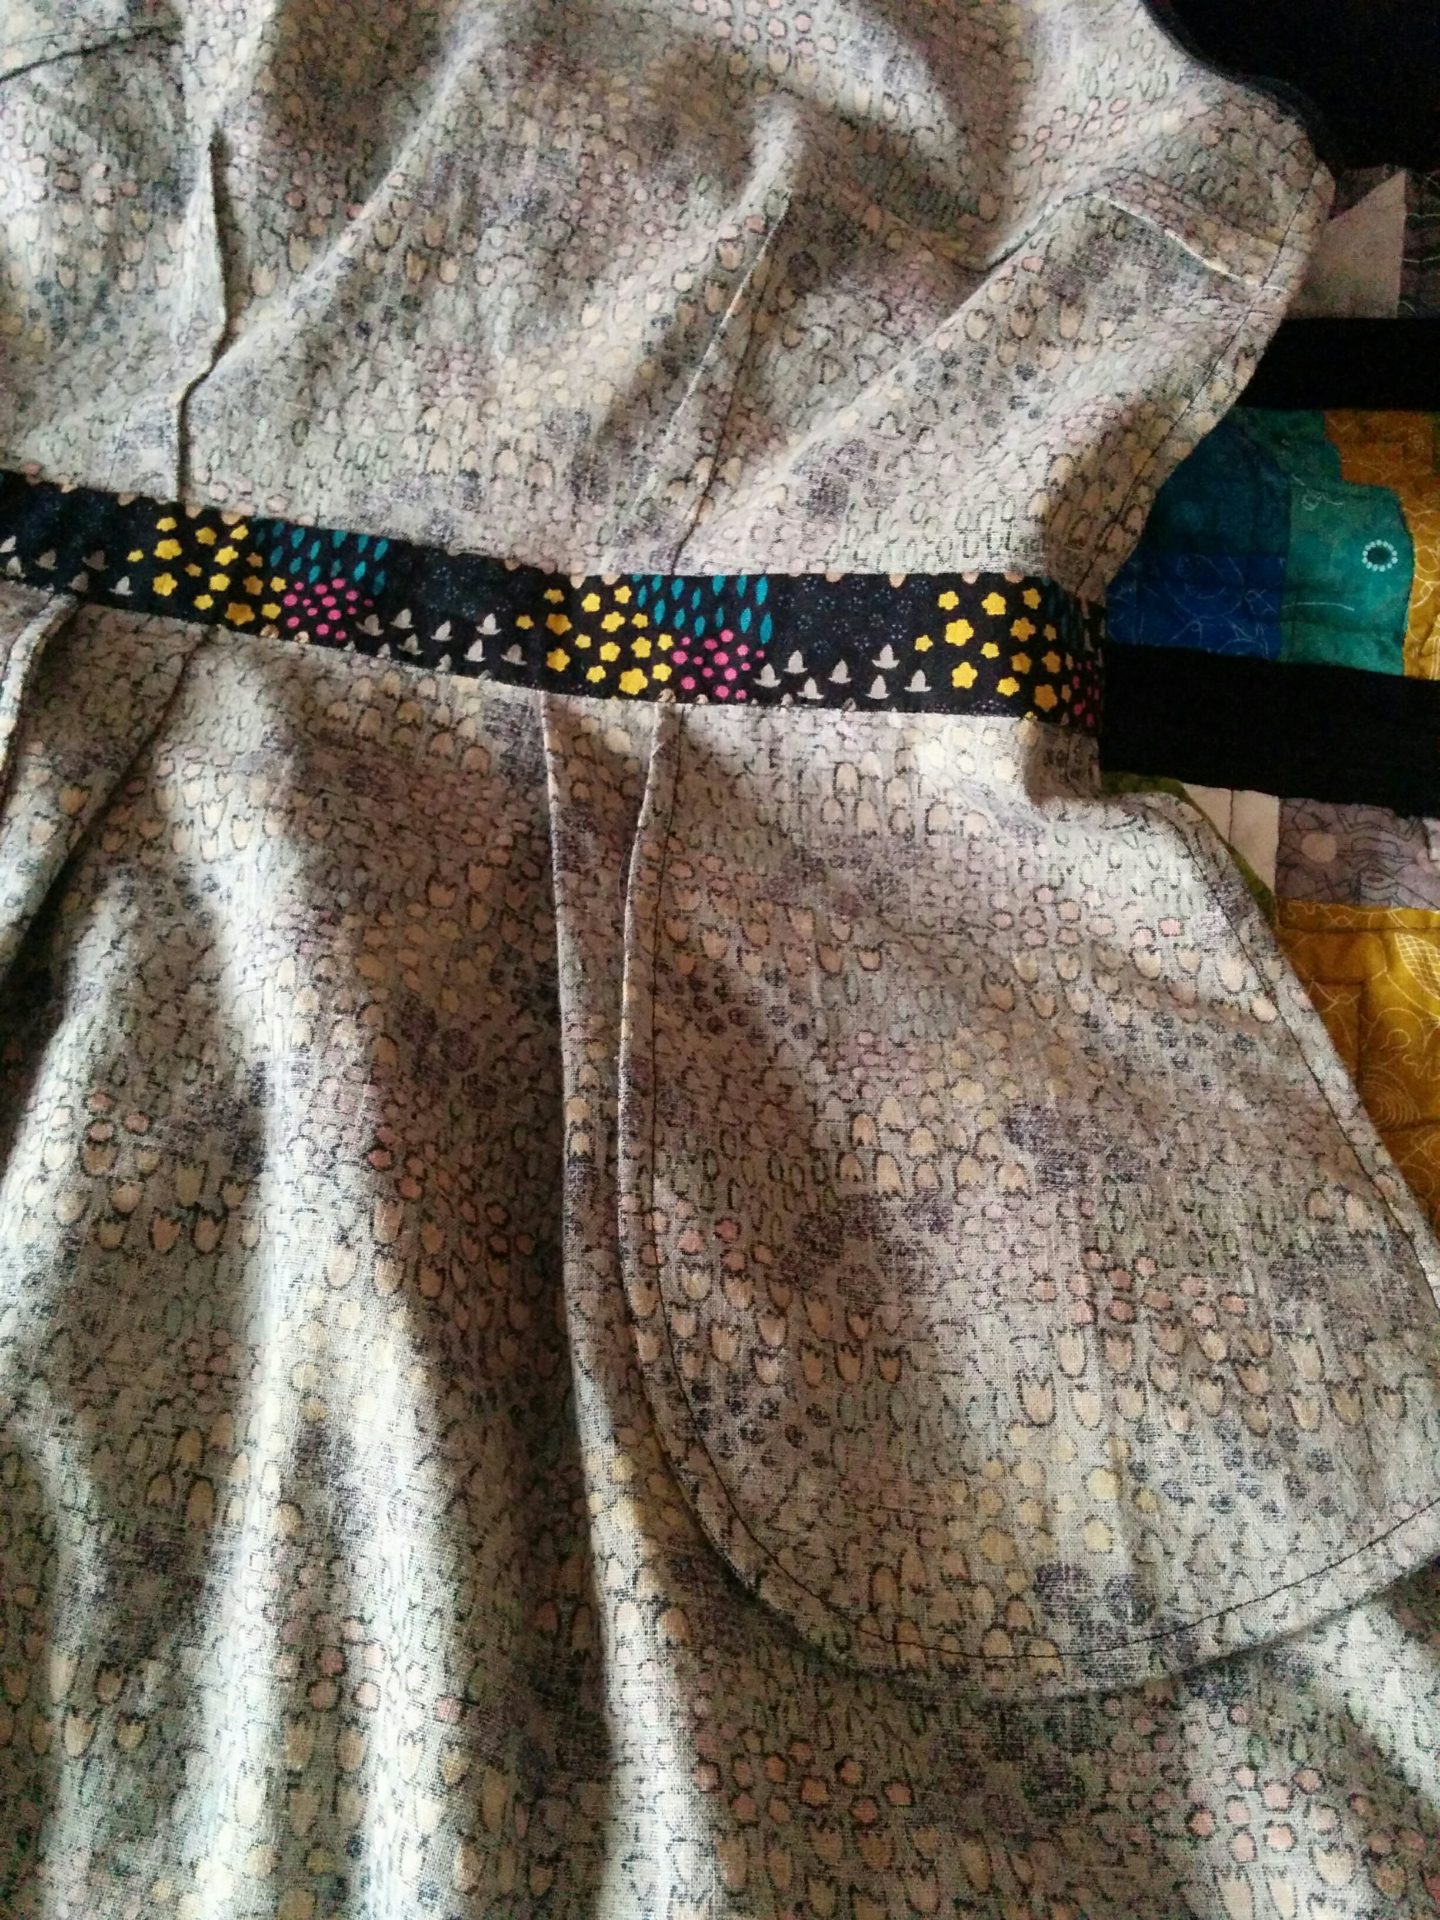
Up until recently, I thought that the cotton/linen canvases that have been popping up everywhere lately were mostly for bag-making and home decor and not garments. But then I saw Karyn make this beautiful dress with it and I LOVED the shape and structure of it so much (and dat exposed zipper)! And then I found this lovely fabric designed by Sarah Golden at Patch and decided I’d make a Belladone dress.
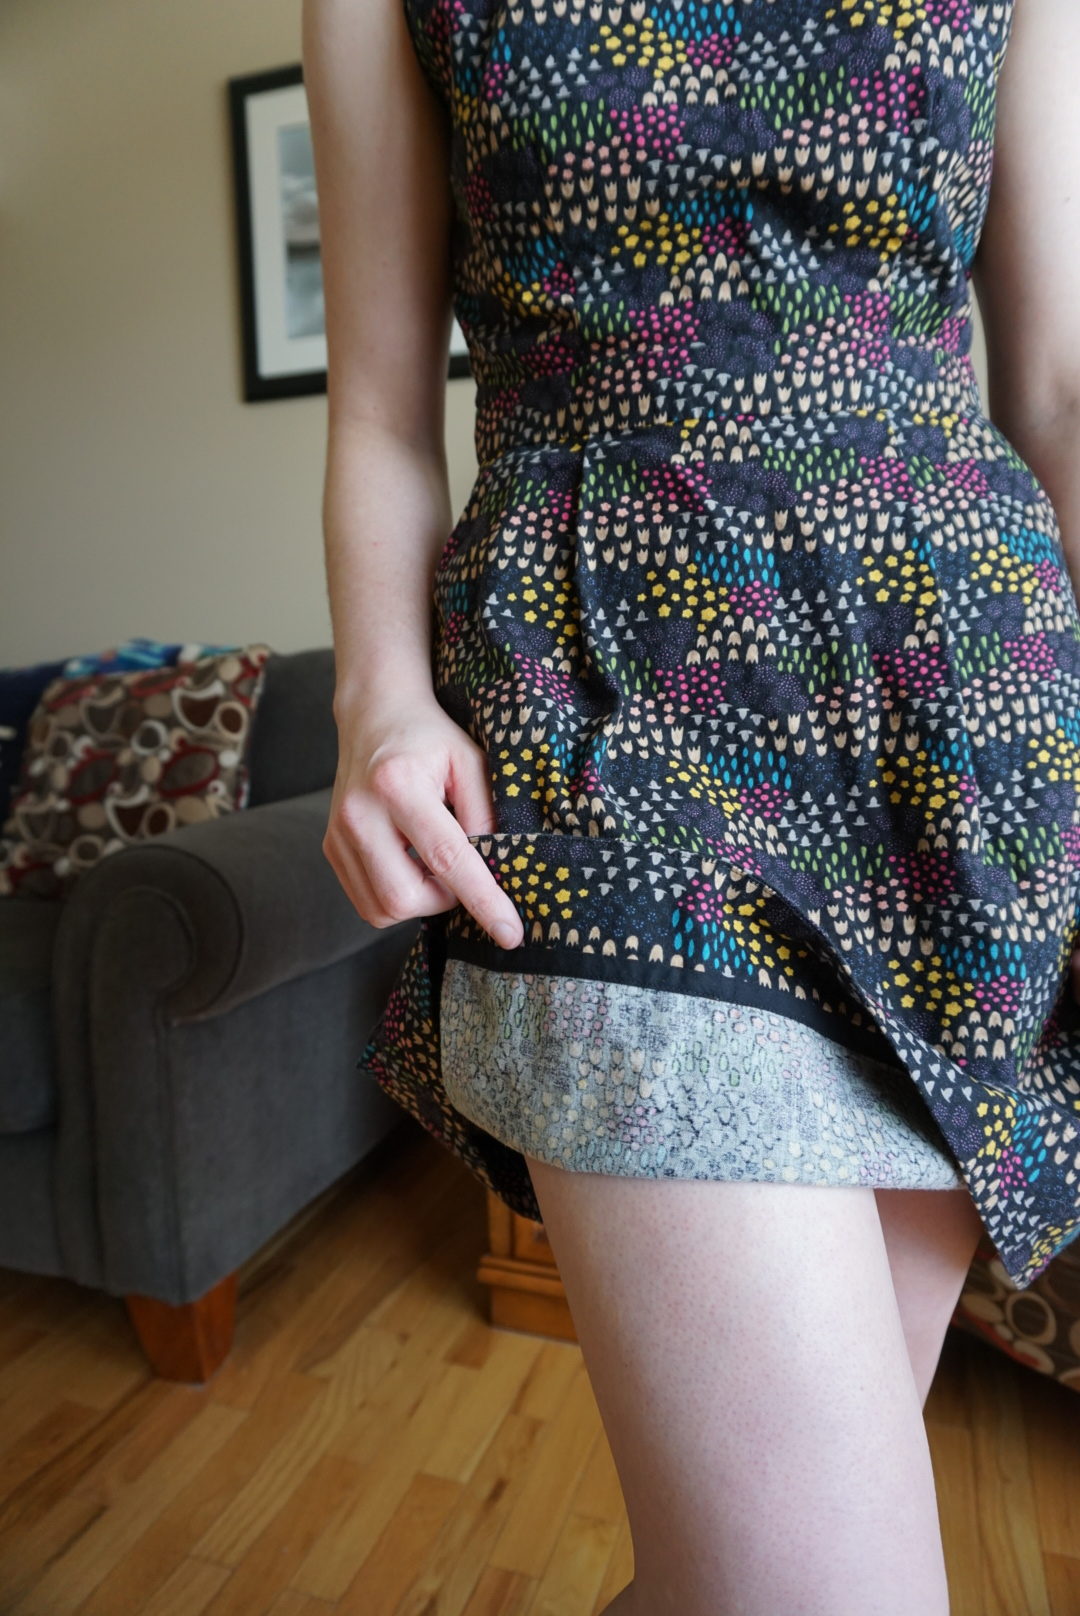
I have made a few of these in the past, and I find that the pattern is really great for showing off a quilting cotton print that might be too stiff for another dress. Plus, I totally love hem facings. I love the structure and shape they give to a hem. Although (as many others have noted in posts about this pattern), I find it super odd that Deer & Doe included a hem facing but not a waistband facing. It seems so strange to go to the effort to have a beautiful hem facing, and then have the instructions tell you to just finish the raw seam allowances of the waist instead of something more high end. So I always just cut a second waistband piece and do it that way.
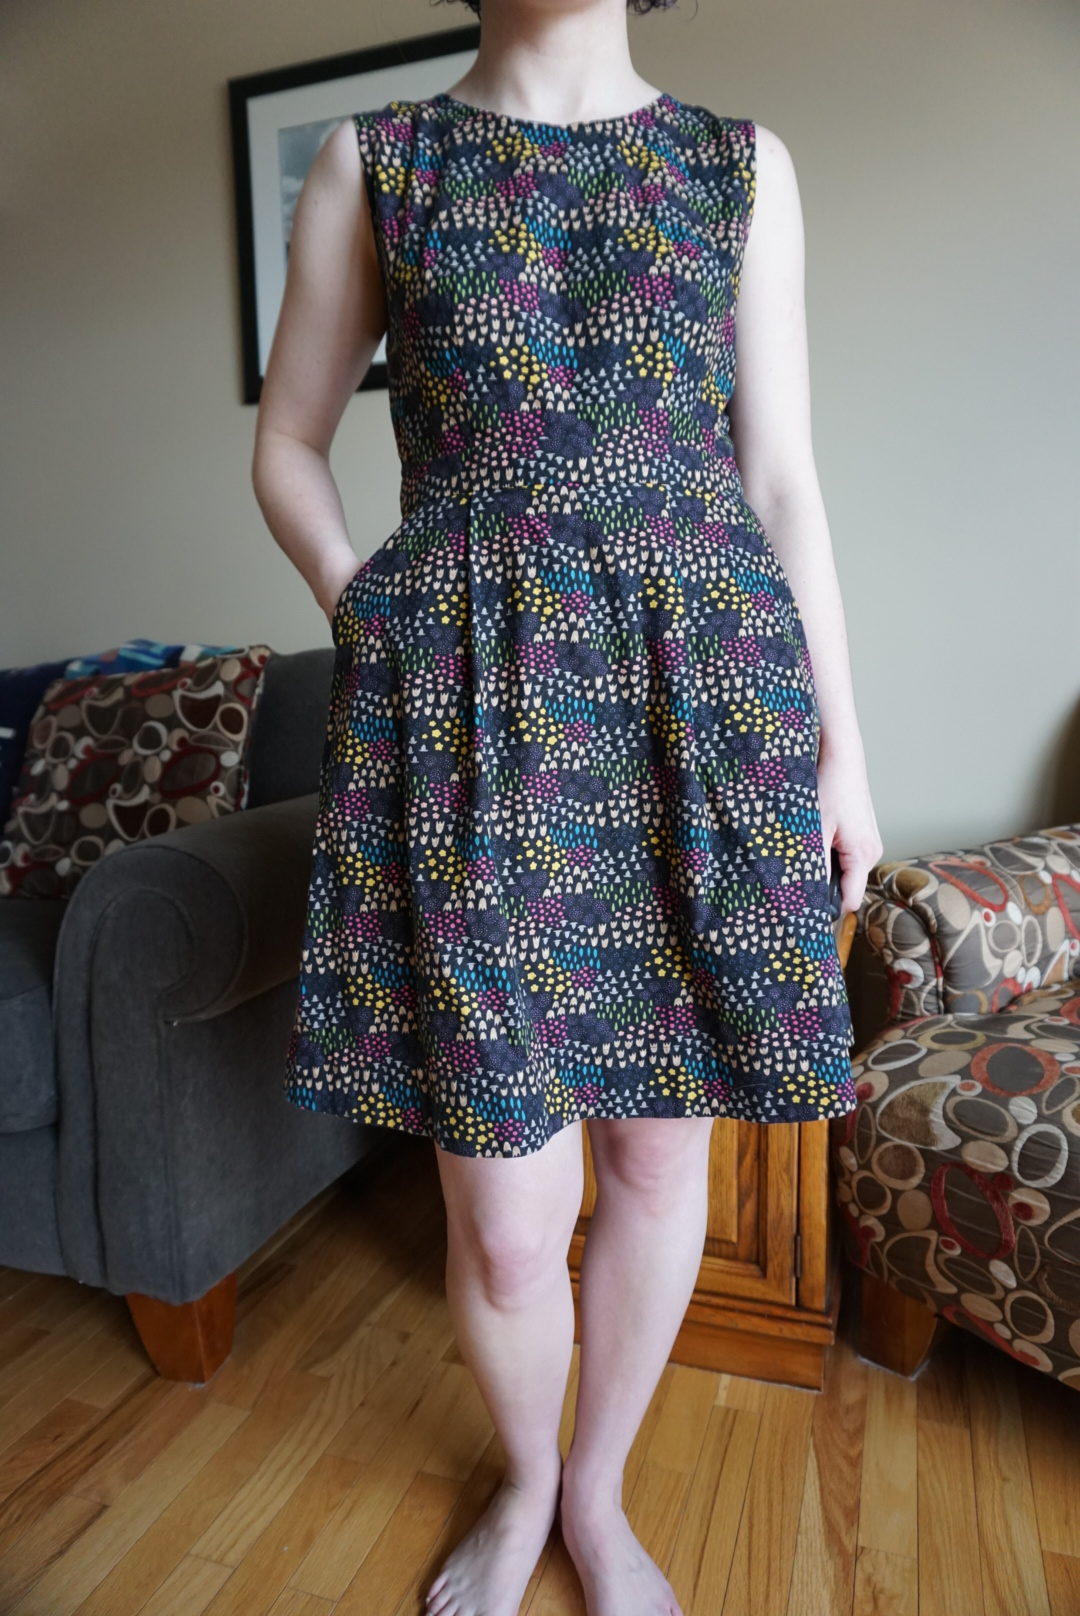
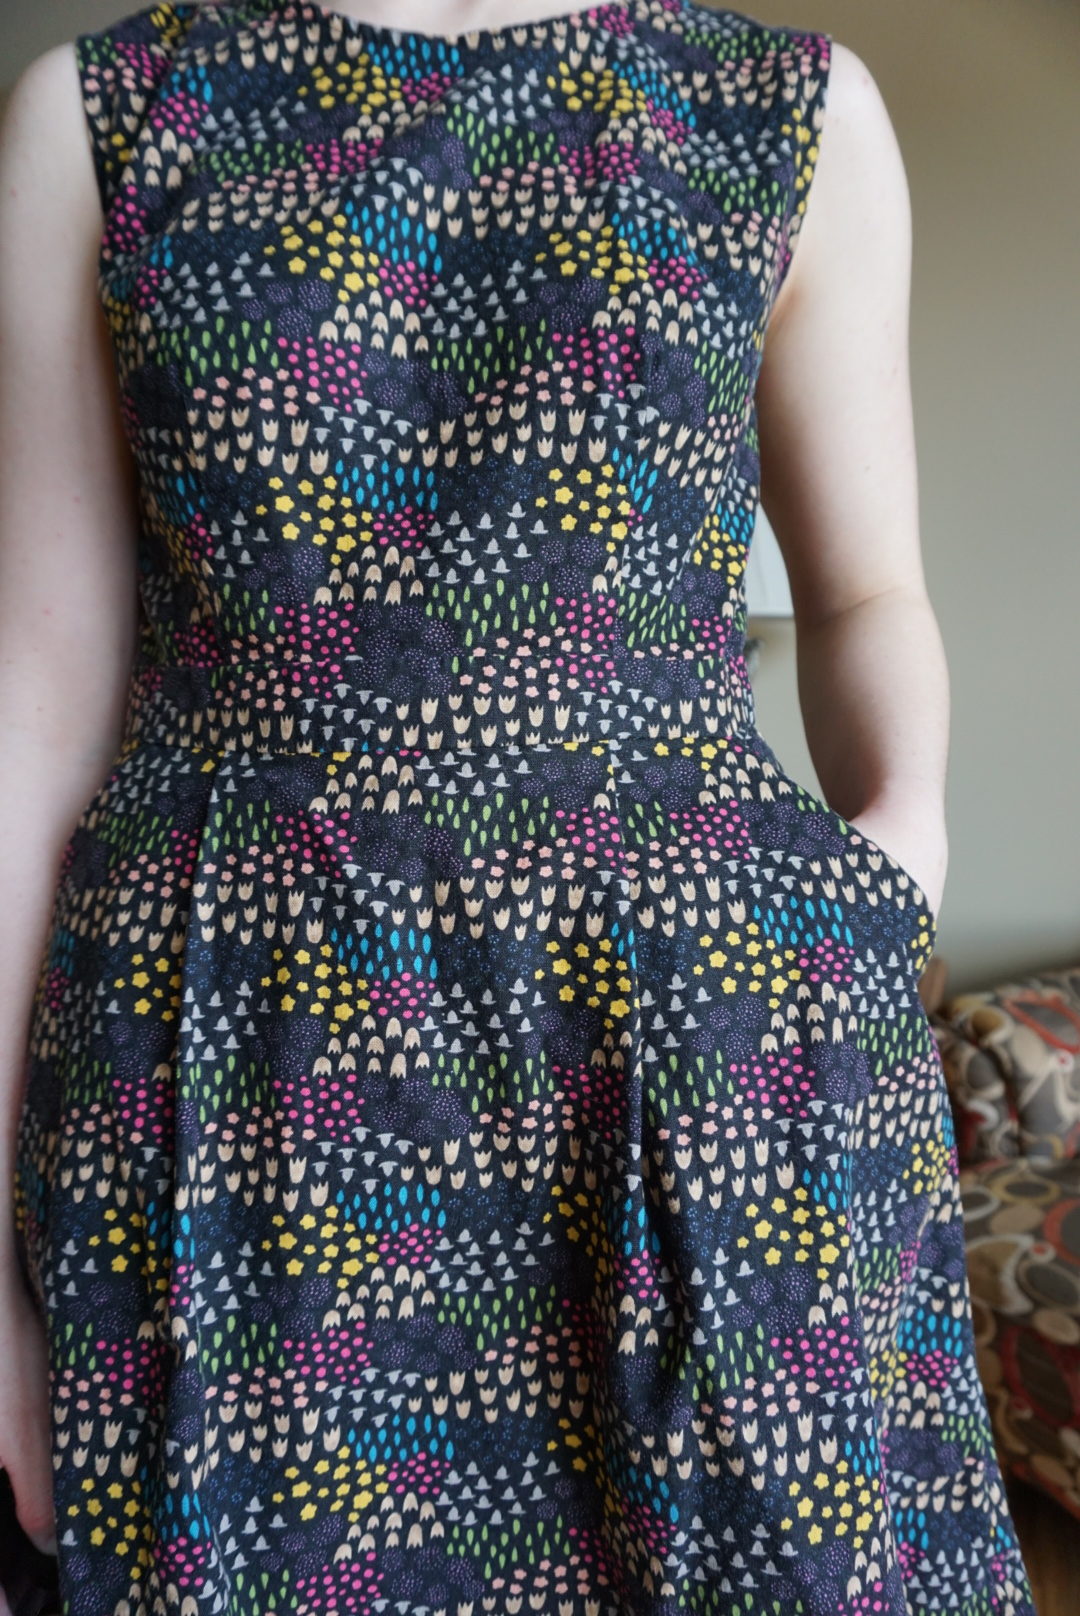
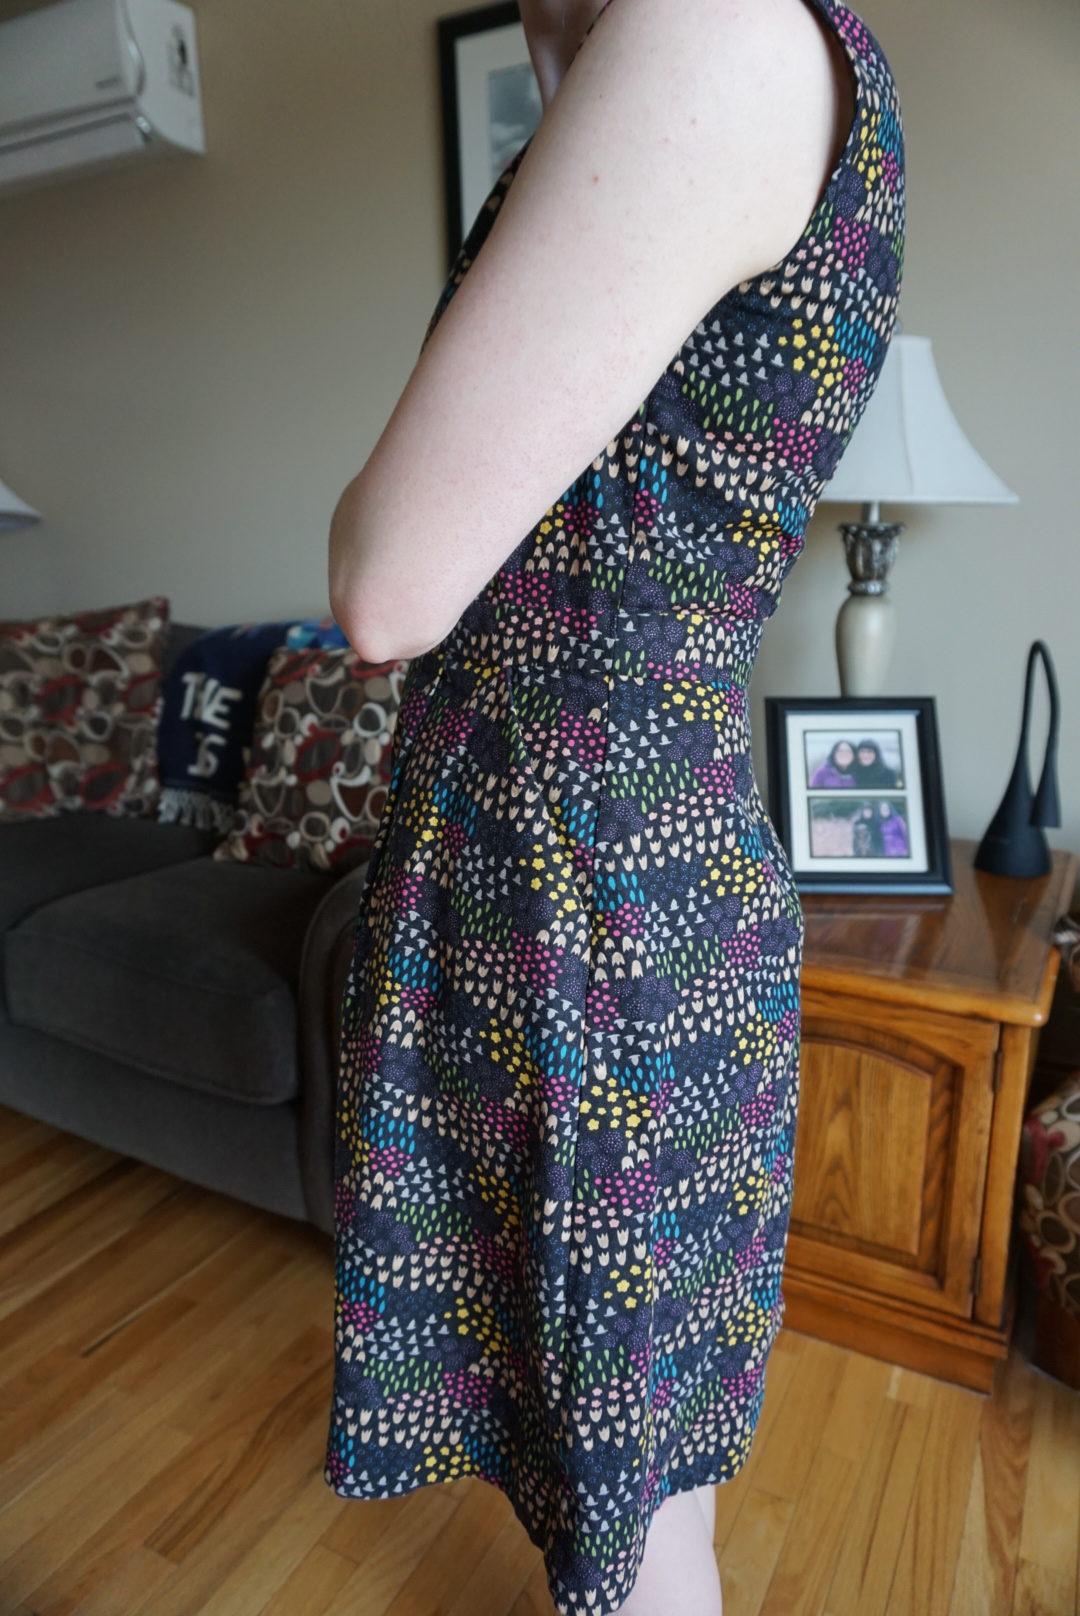
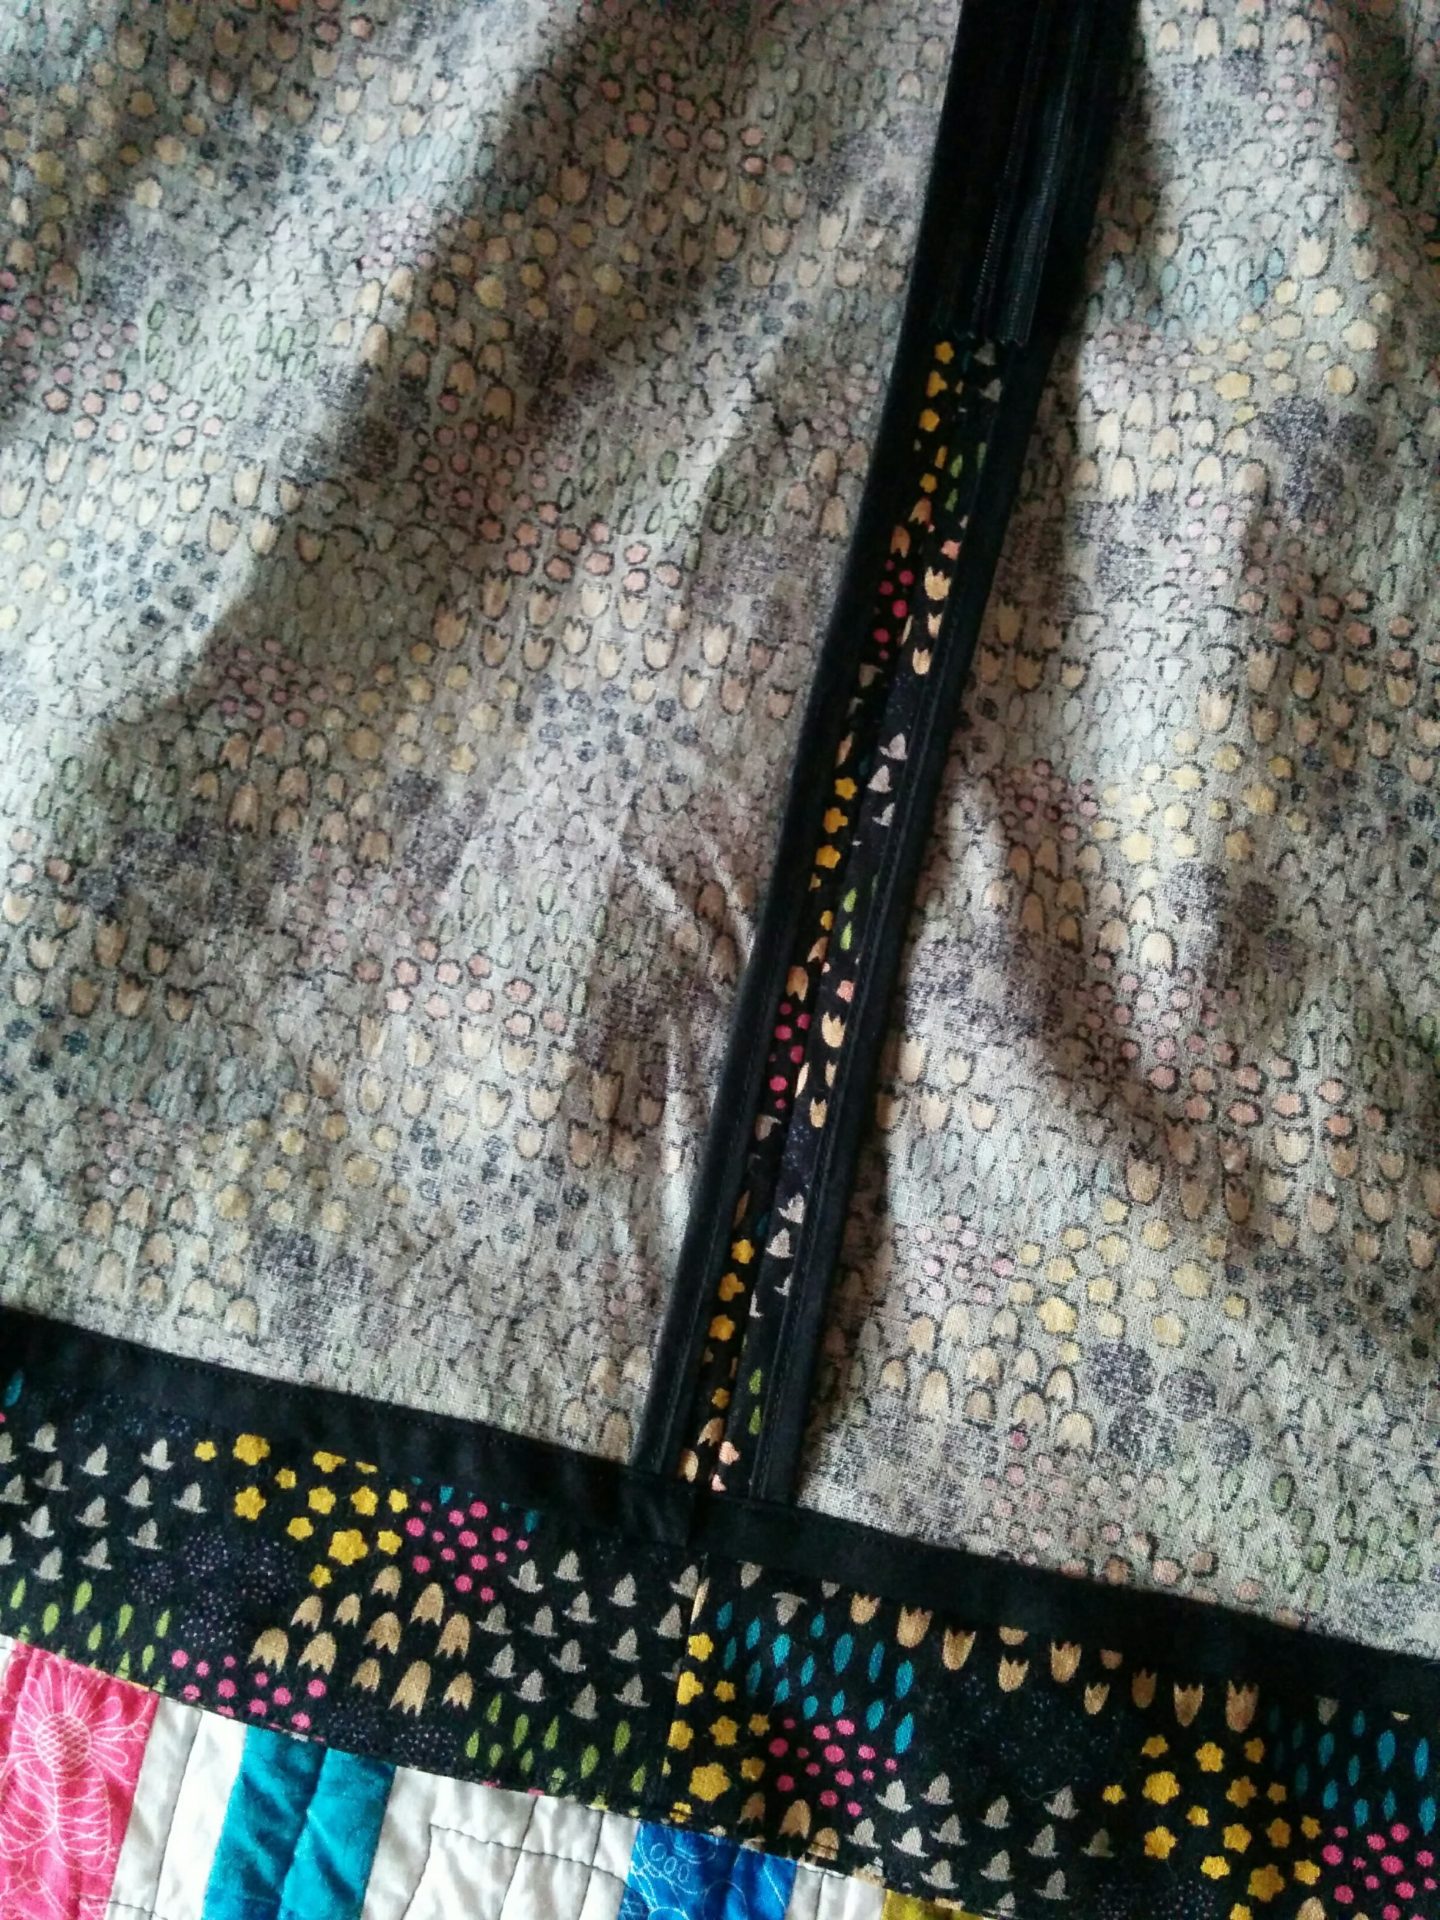
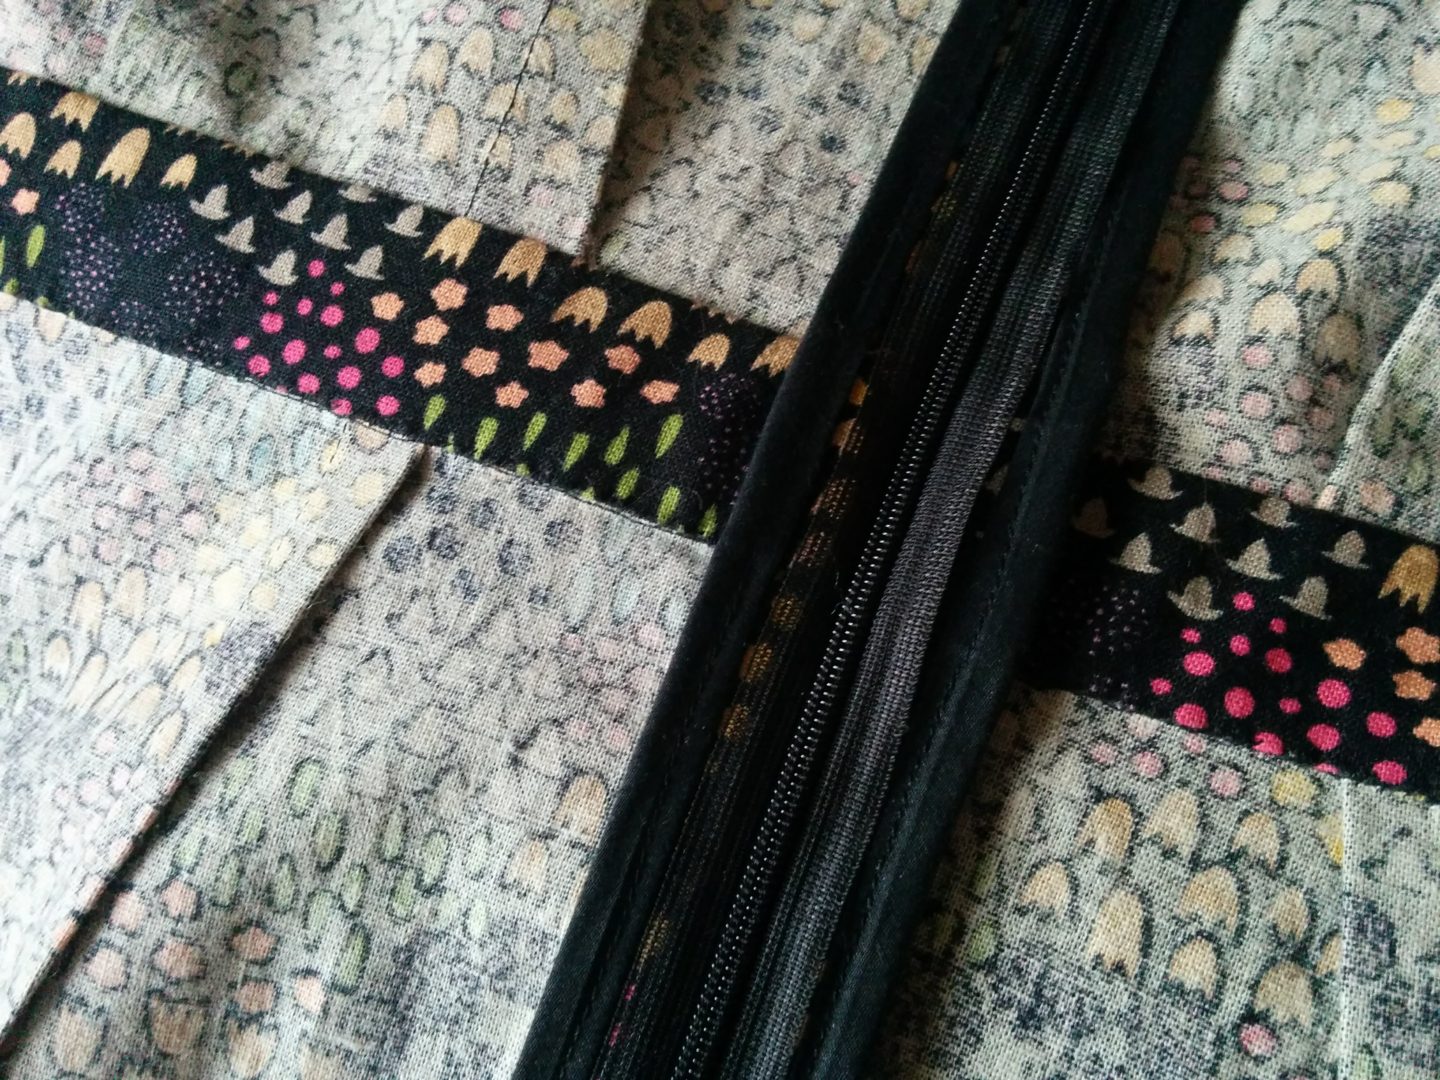
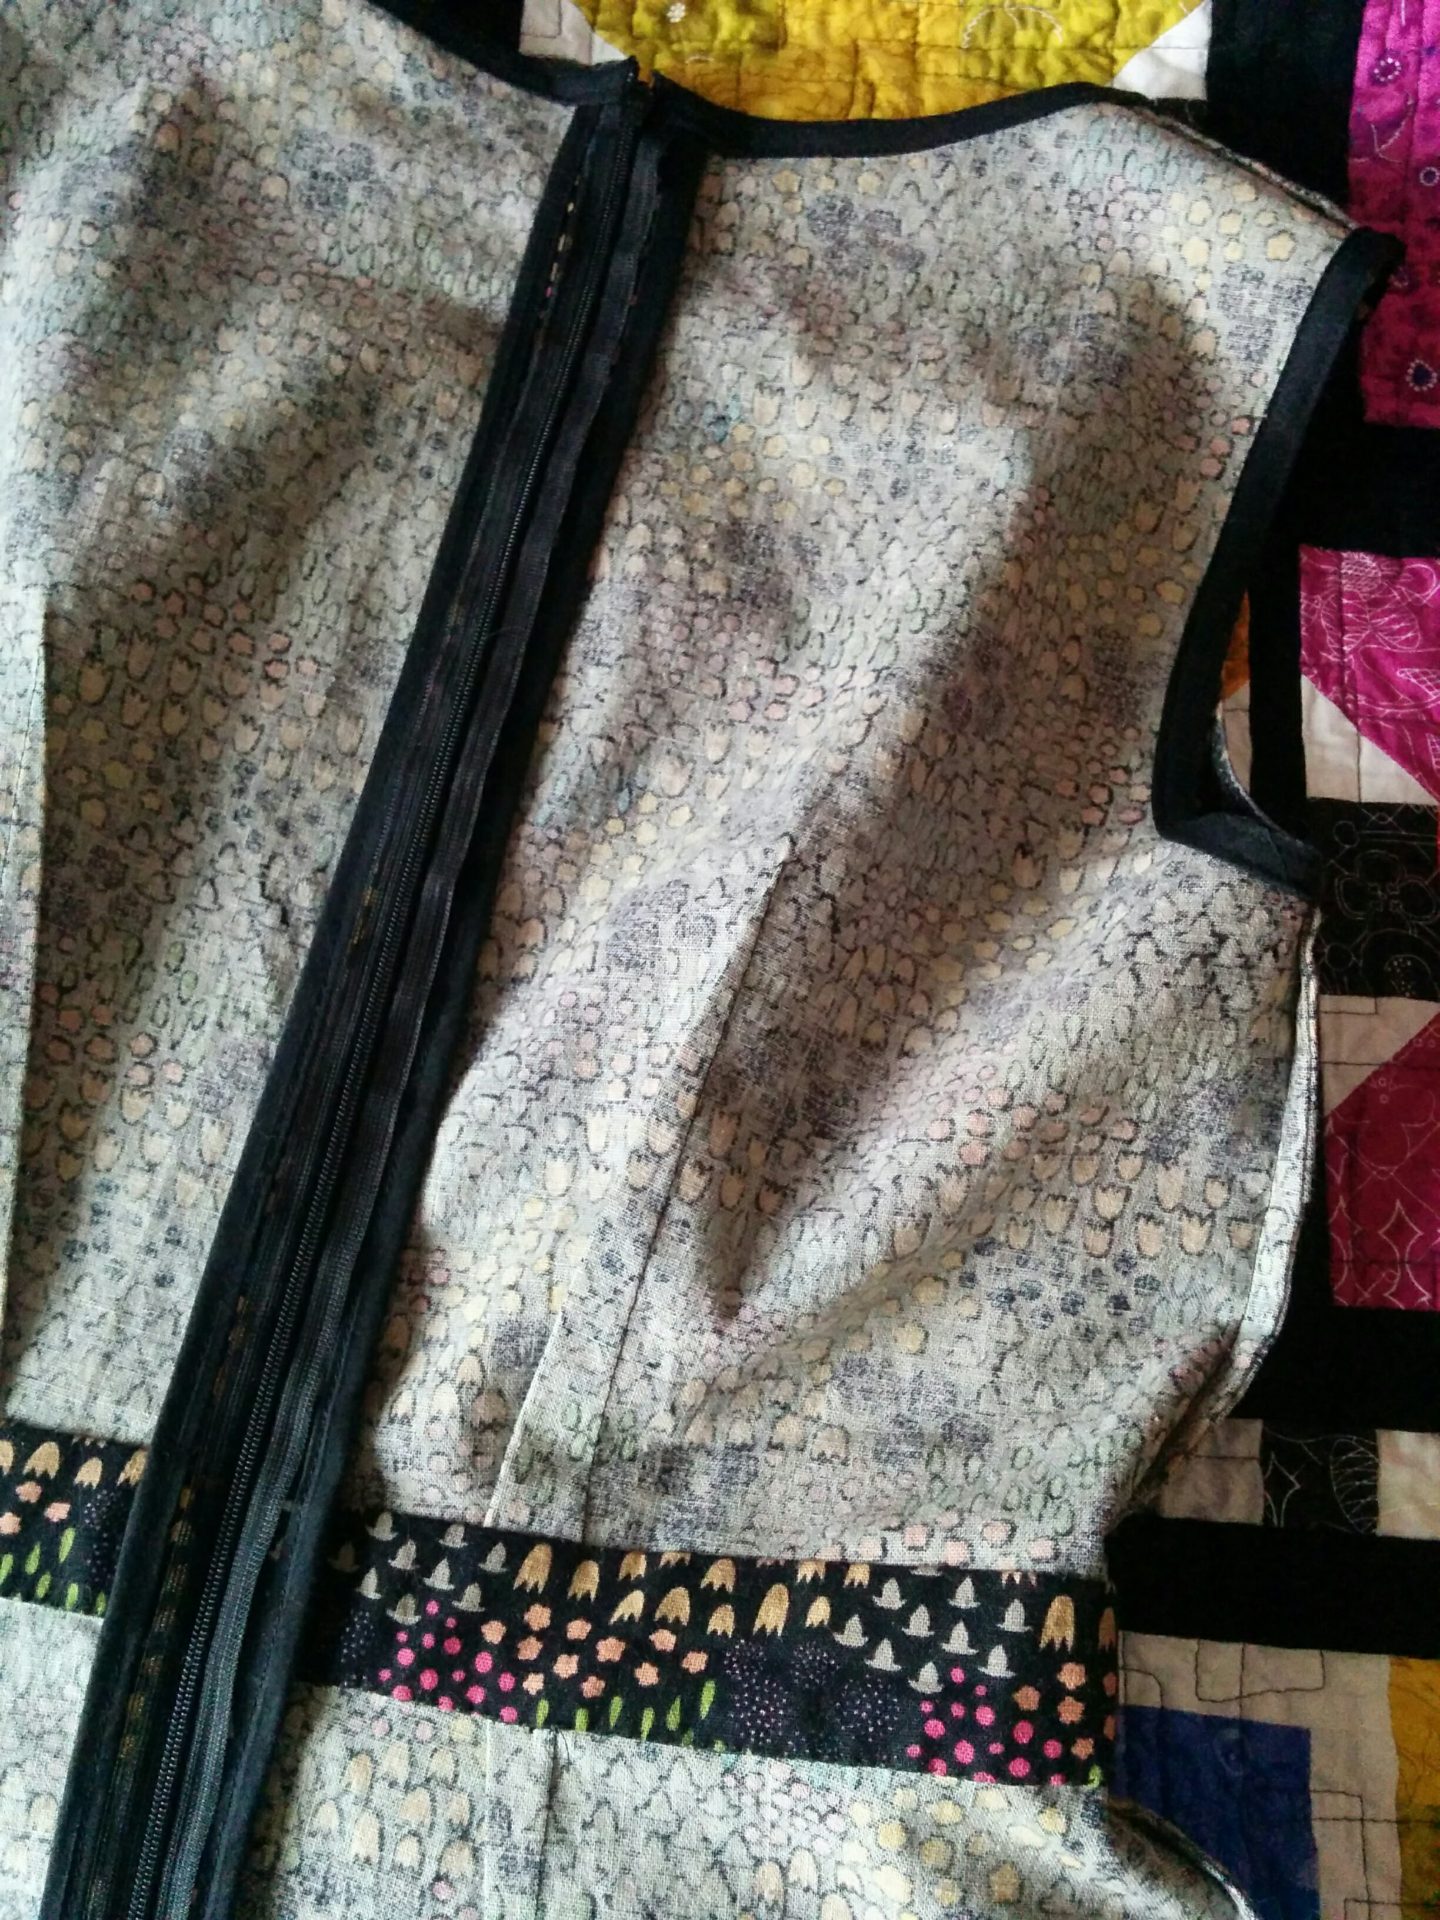
I have to confess that I am usually a bit avoidant of hand-stitching at the end of garments. It’s not even that I don’t like handsewing, I think it’s just that I get in that zone of wanting to be done and it’s just SO much slower than machine stitching. So I often end up top-stitching down the waistband/facing and looking the other way in terms of how the inside looks. Because let’s face it, unless you actually hand baste the facing down, it’s nigh impossible to get the inside to actually look decent. But this time I HANDSEWED IT. I often find that the hem facing weirdly inspires me to get completely fixated on all the finishes inside my Belladones, and this one was a little next level. I bias-bound the edges at center back, and the upper edge of the hem facing. I also French seamed everything, including the pockets. As well, I got very particular about my bias binding on the arm and neckholes. In the past, I’ve had so many problems with my bias binding not lying flat and it drives me batty. I refuse to give up, however, and I think this time my stubbornness paid off because looking at the finished results does not irritate me as it usually does! (Such a victory.) Also take care to admire my pale pale legs. Thanks, Canadian winter.
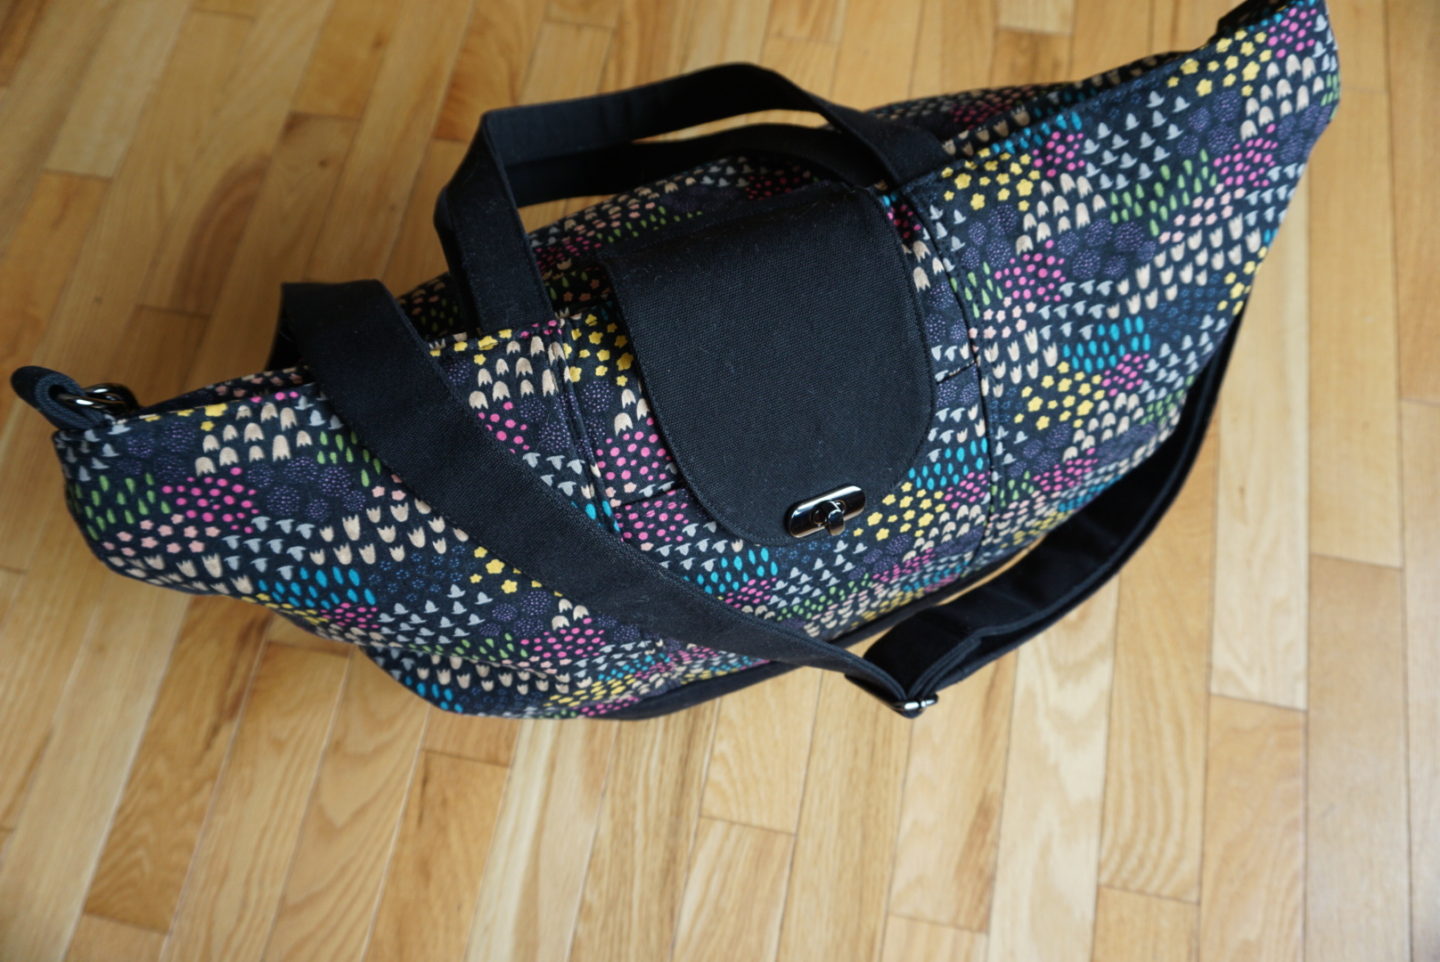
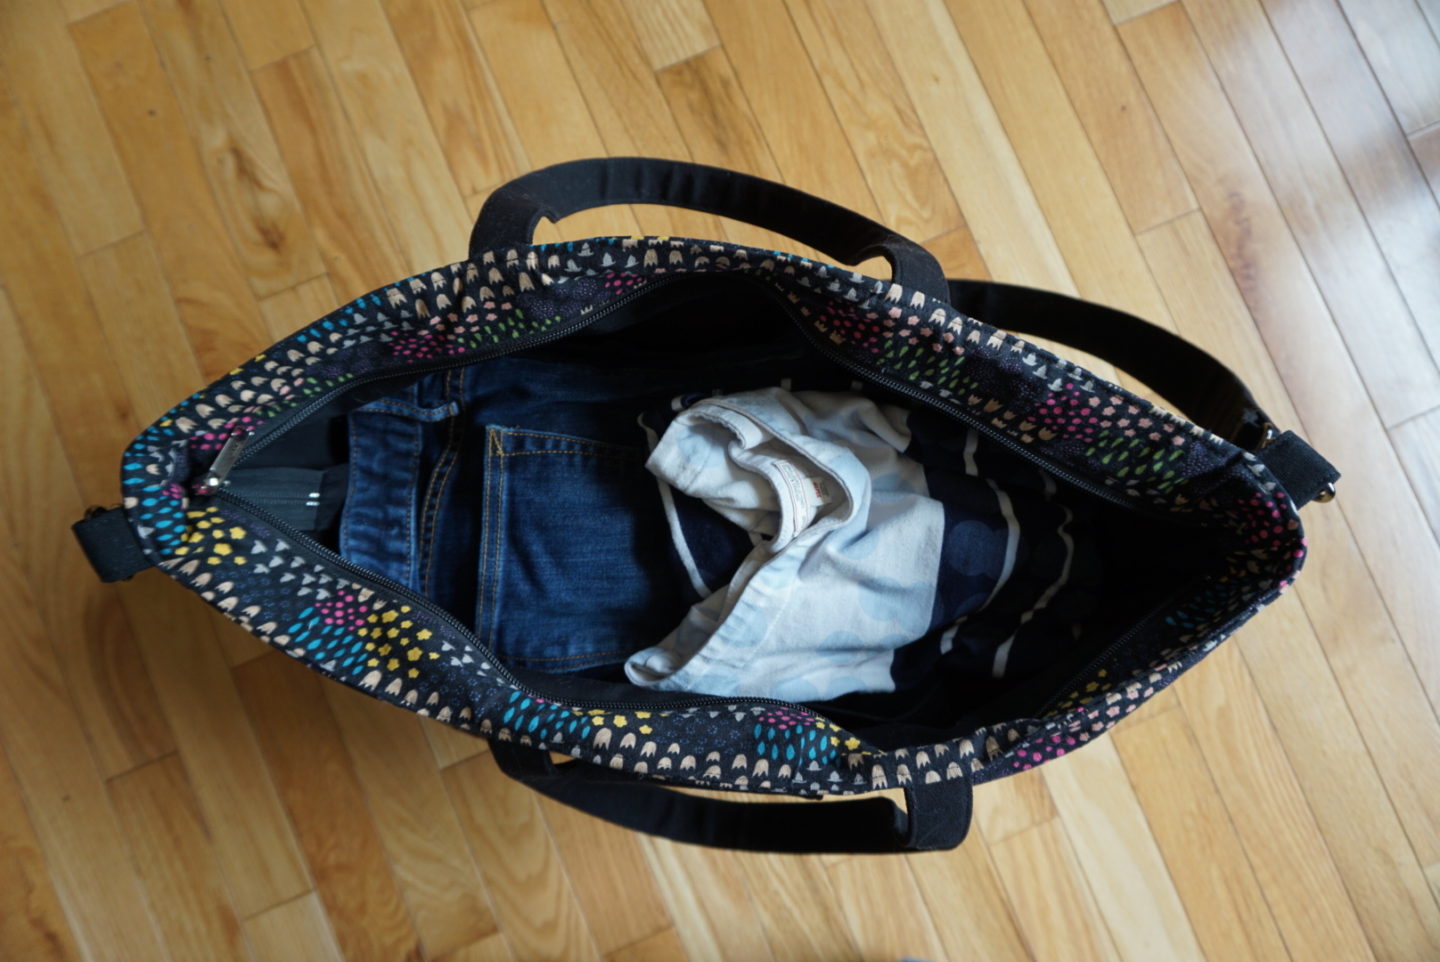
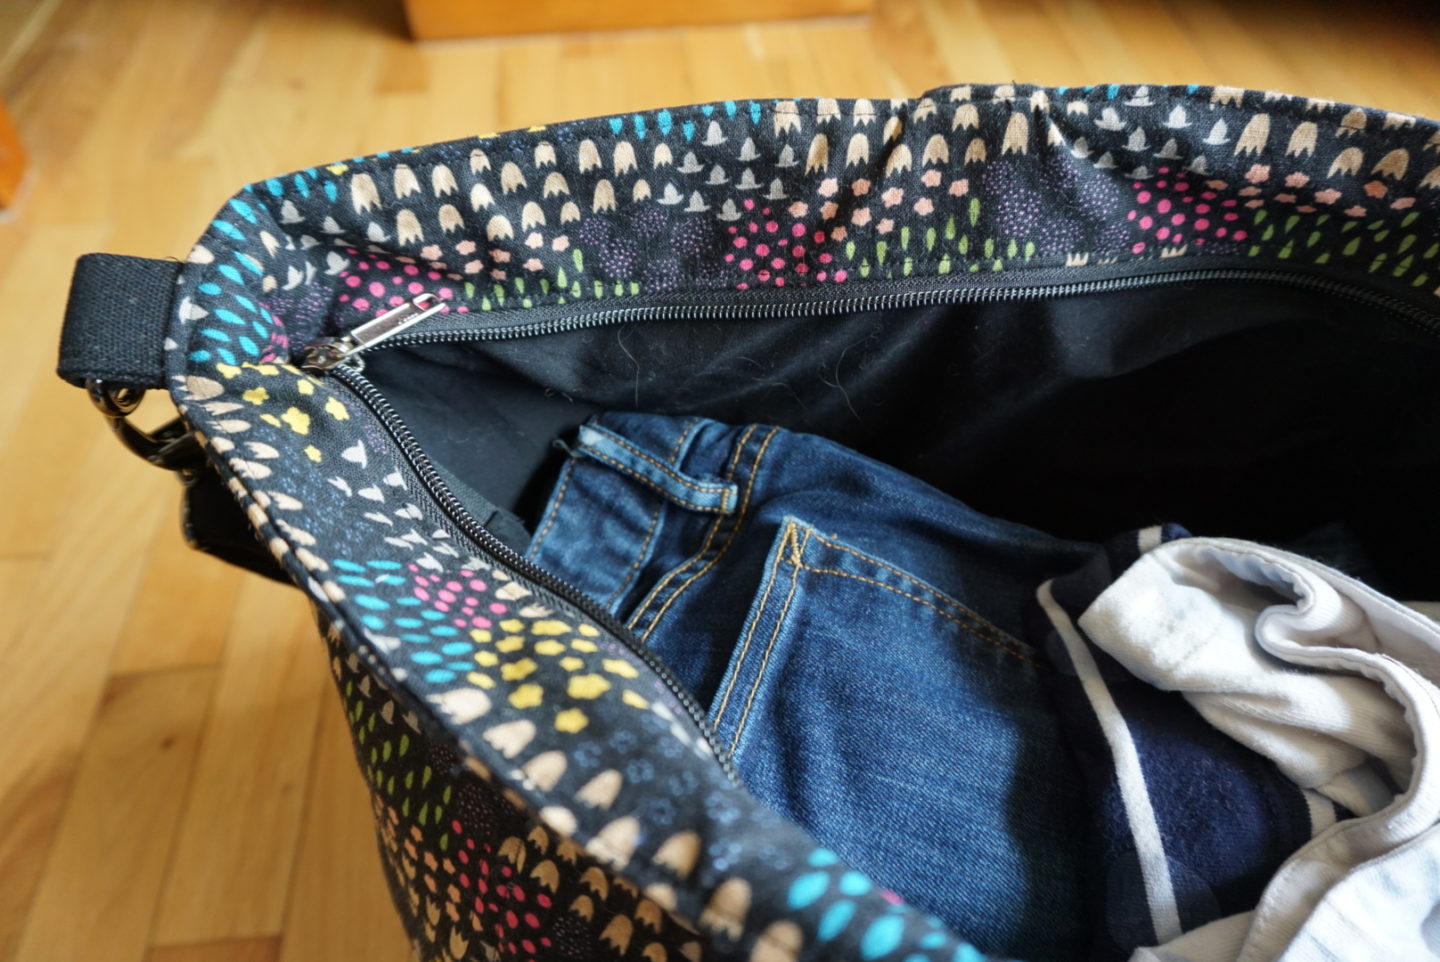
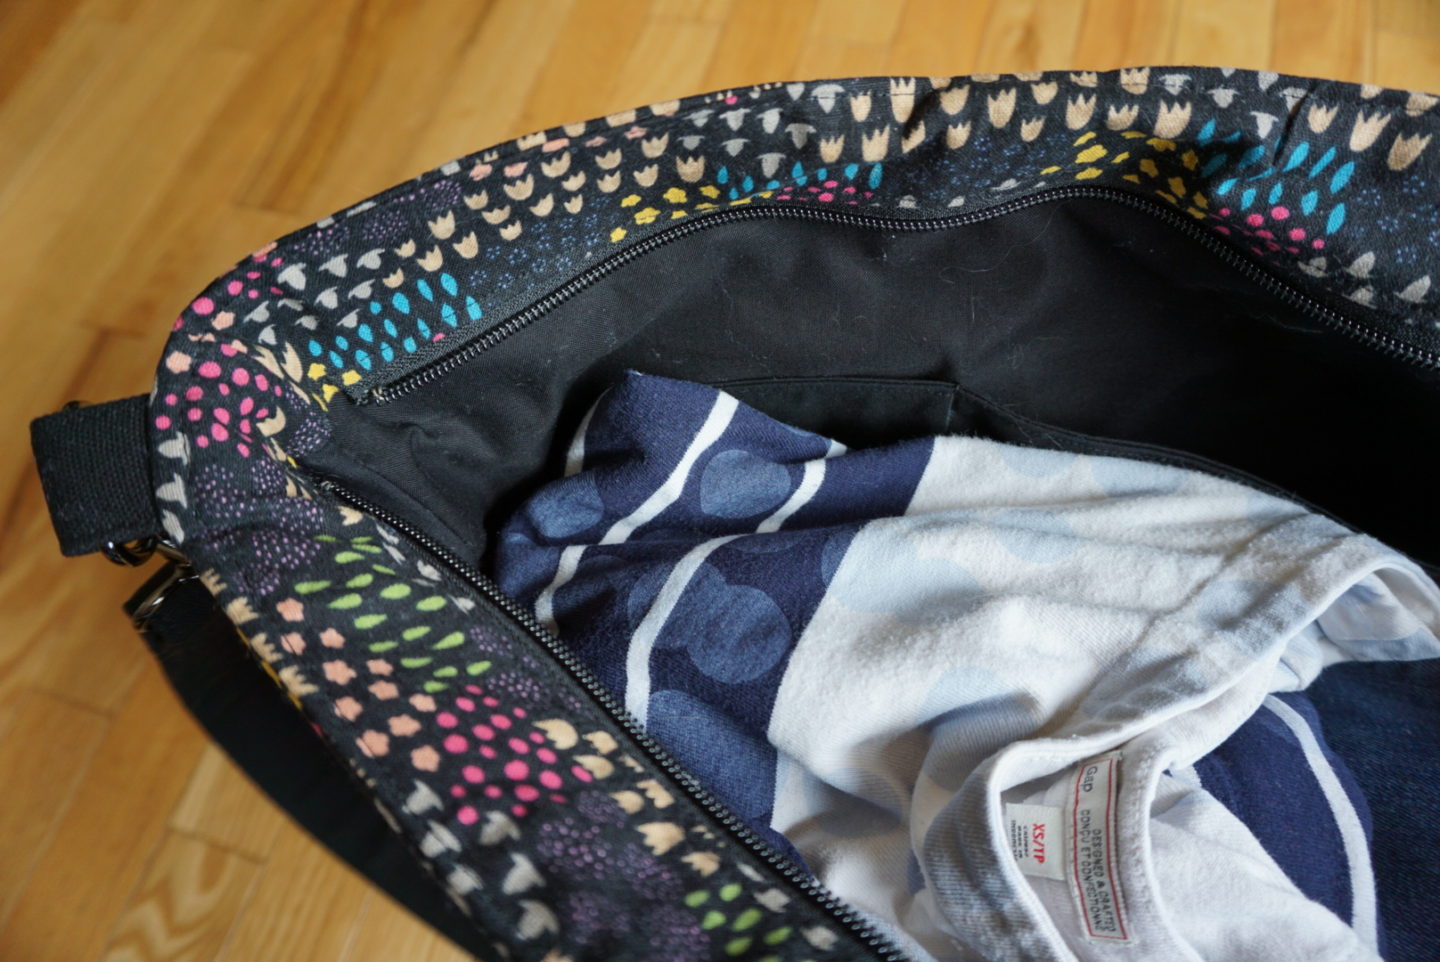
I had a decent amount of fabric leftover after making the dress, so I made a large version of the Noodlehead Explorer Tote. I organized my fabric stash a lot a couple months ago, and started keeping all my canvas leftovers in one place. It’s lead to me making a lot more bags, because then all I have to pick up is hardware and sometimes a bit of solid canvas for accents. I’d made the Explorer Tote once before in the smaller size but I’d initially intended to make the larger version before I realized quite HOW large it is, so I had the hardware already around from when I’d been planning for that (from Emmaline Bags). I use my smaller one as an every day bag, and it’s amazing for my teacher life because I can fit sheet music and my iPad in it, as well as a BlueTooth speaker if I need to. This larger one I hope to use as an overnight/weekend bag. In the photos below, I have two towels and a pair of jeans and shirt in it, and it’s not even near stuffed. I have an overnight orchestra trip coming up for work to go to a music festival, and I’m excited to use this for that one night as its maiden voyage! (Please forgive the dog hair. I live with a very hairy and affectionate golden retriever named Sophie. I used a lint roller prior to this, I swear!)
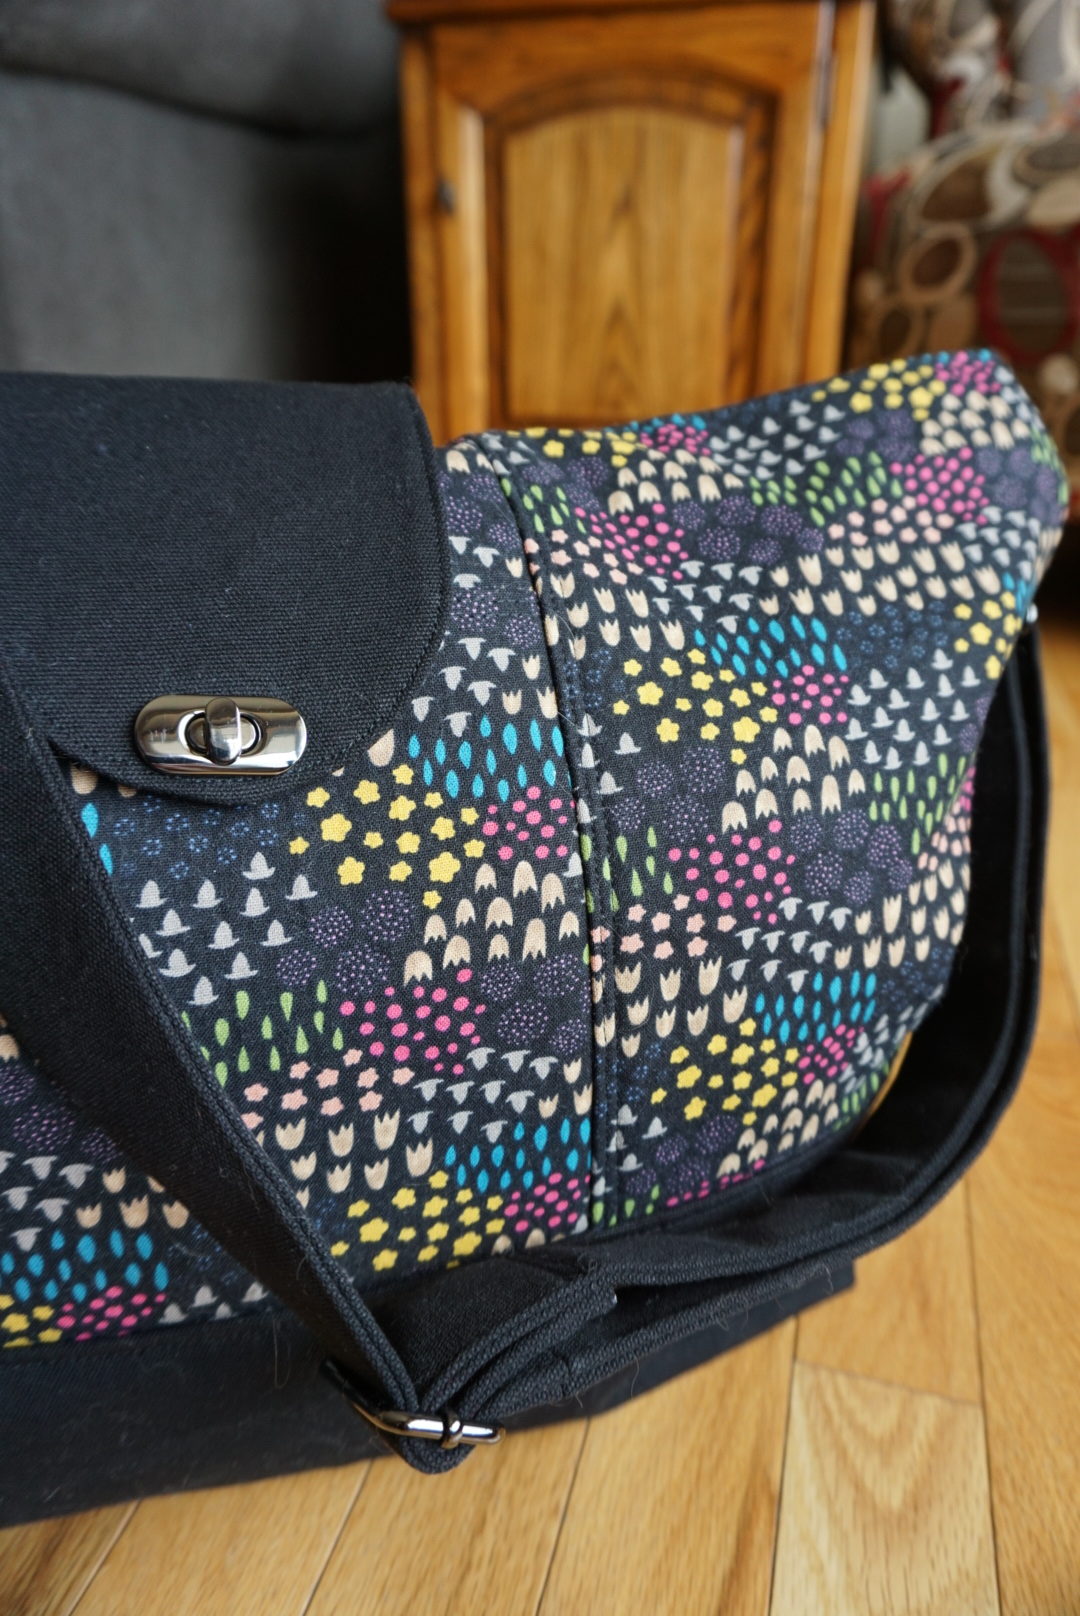
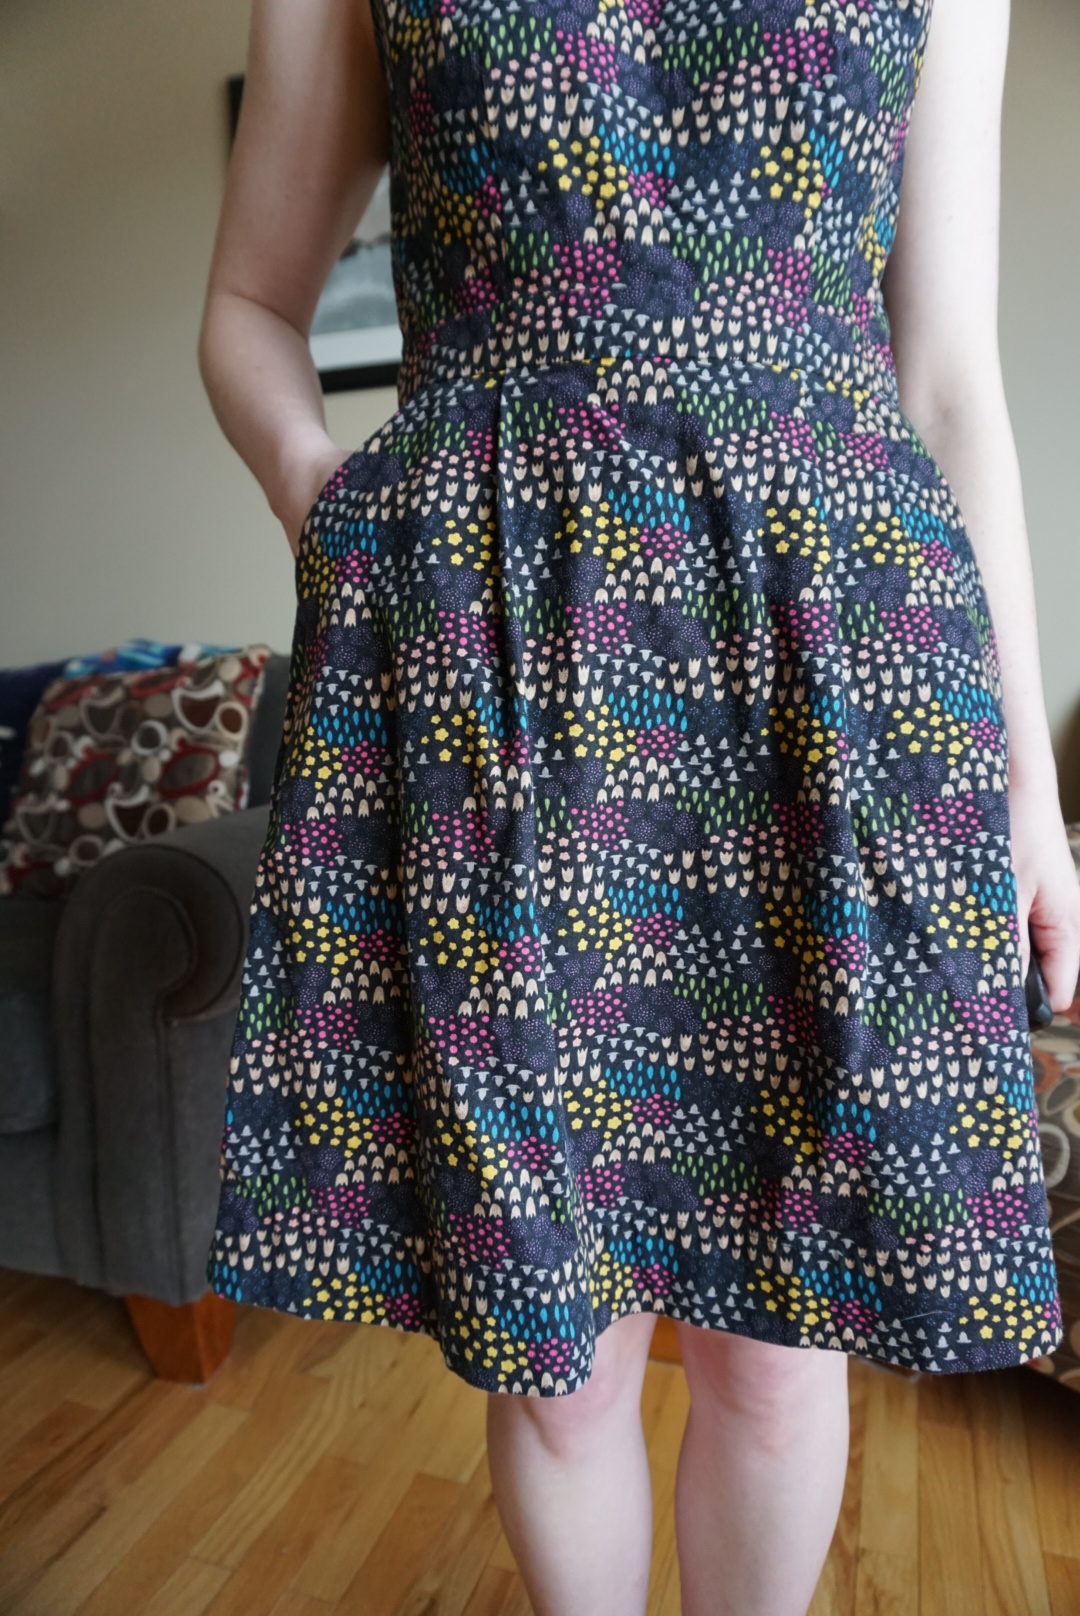
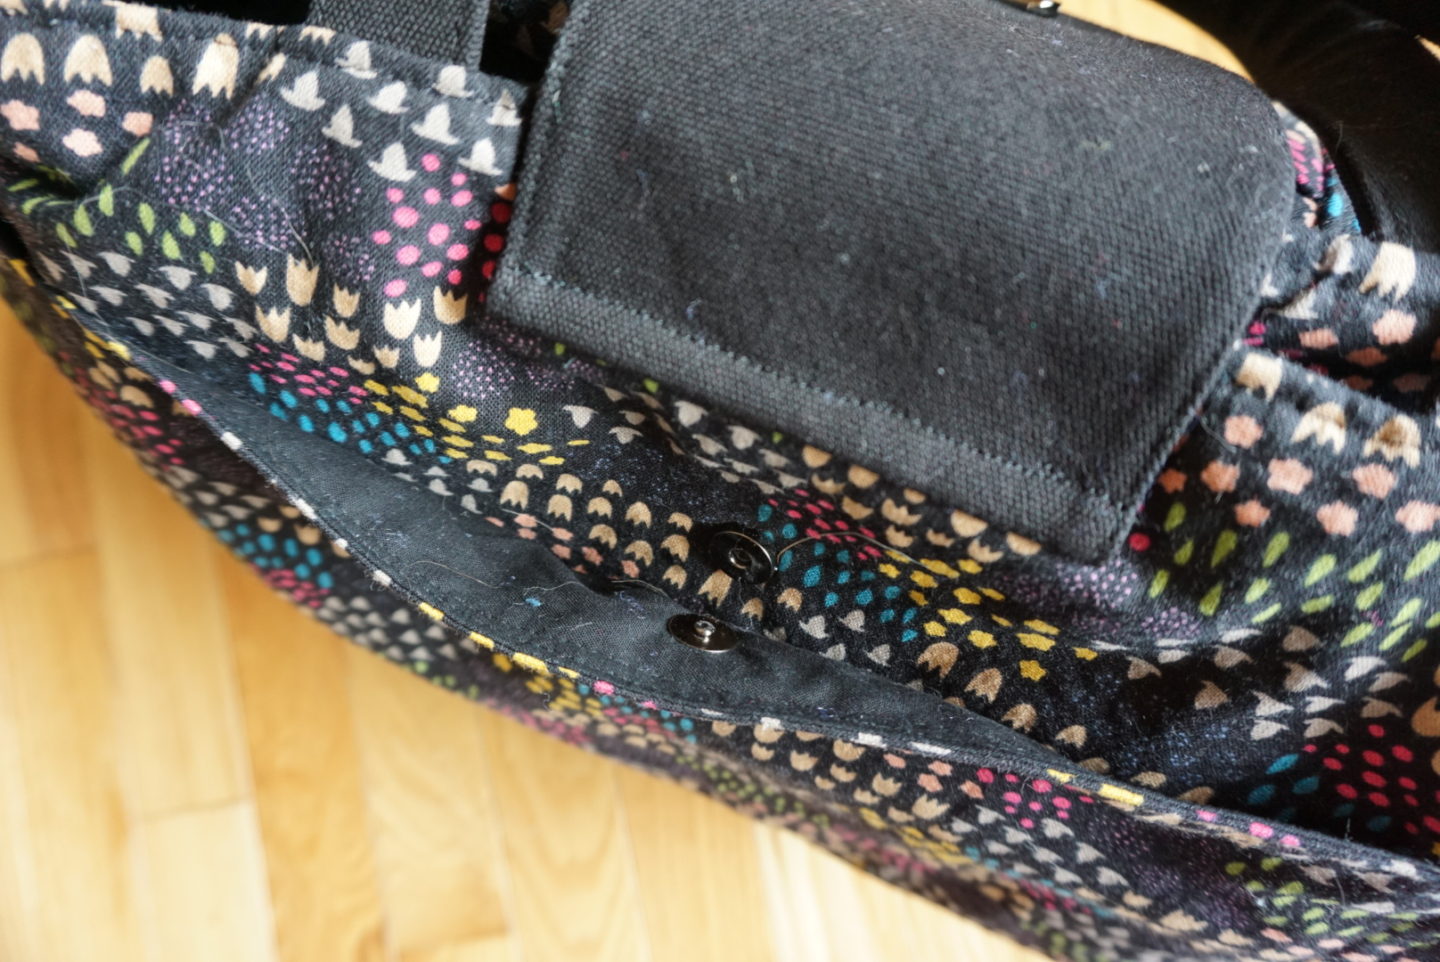
Pretty much the only modification I made was to the back center pocket. In the pattern Anna Graham suggests that you can add a snap to help keep the pocket closed, but I didn’t really want anything to disrupt the clean look on the back. But I rummaged through my hardware drawer and found a rogue magnetic snap, which really appealed to me because I’d get the closure without the visual disruption. However…by this point, I’d already lined the back pocket and top-stitched it, and basted it onto the exterior back piece, aaannnd done the top-stitching to create the divides between the pockets. But I was in that mode of “make a beautiful luxurious thing that you actually took your time on” as opposed to “just finish the damn thing”, so I ripped out the basting at the bottom of the center back pocket. Because I was too stubborn to undo more stitching than I absolutely had to, this necessitated awkward rummaging around with snips and interfacing scraps and the use of a phone flashlight (I’m not convinced that it wouldn’t have been quicker to just take out more stitches…). But I got it in there, and I’m really happy with the decision (you can see it in the photo below).
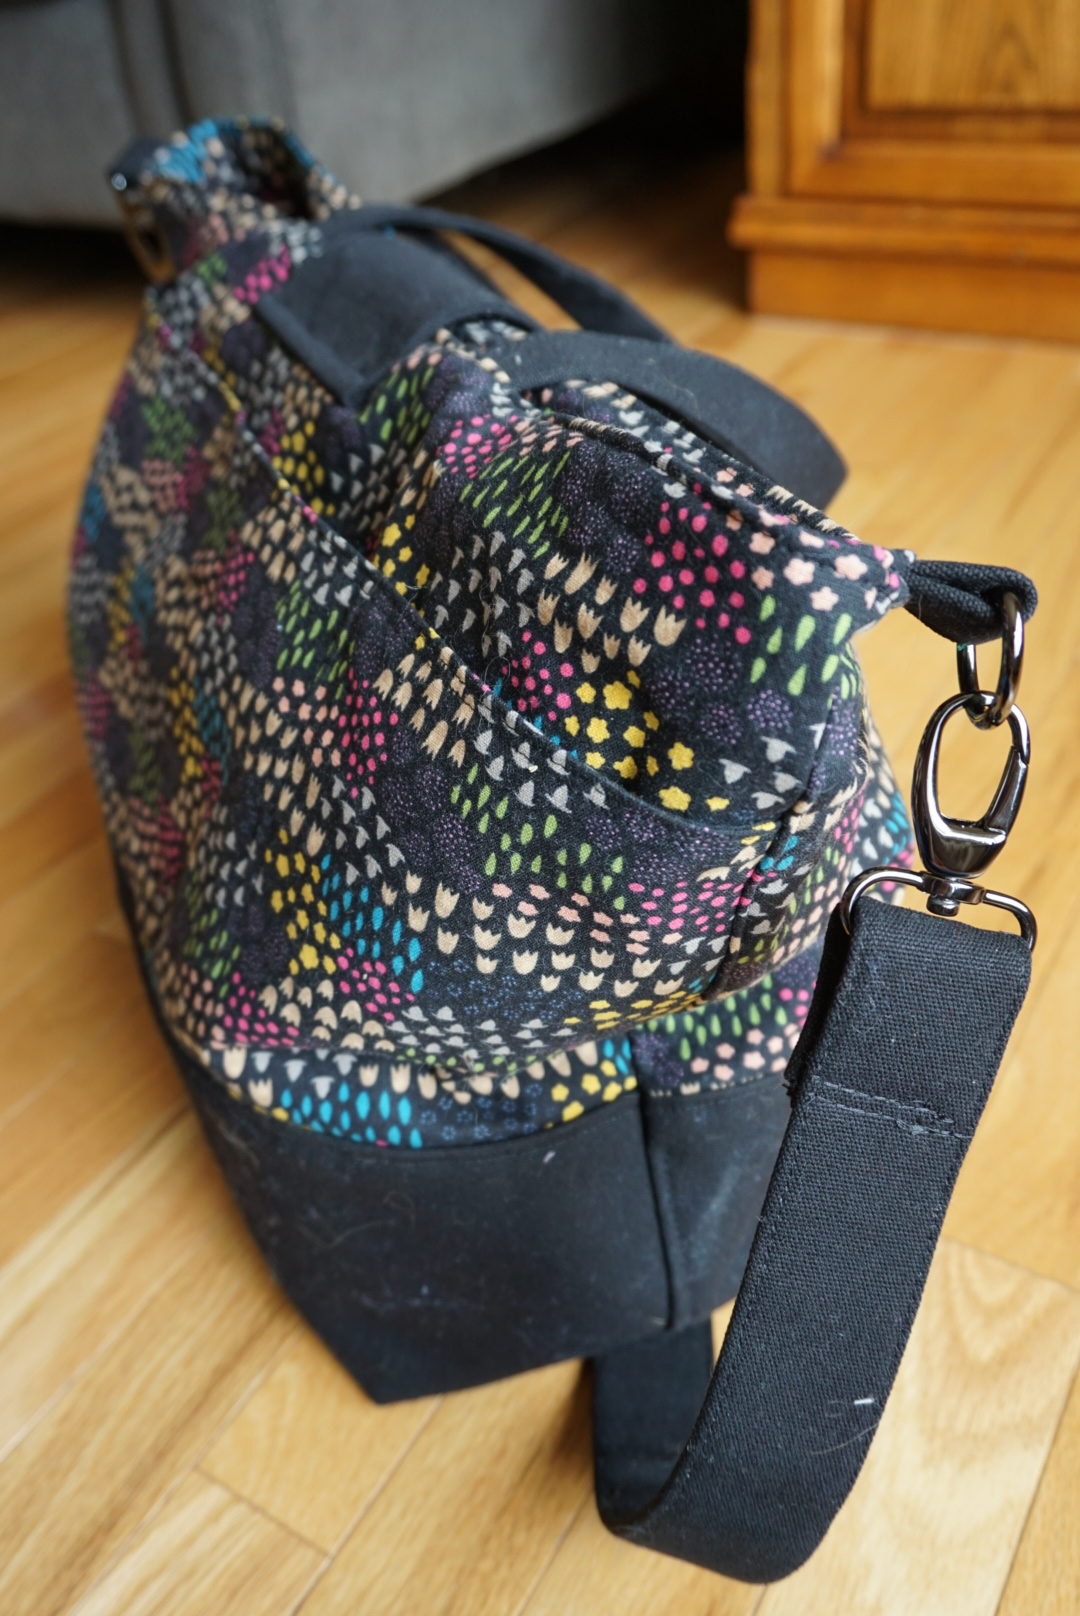
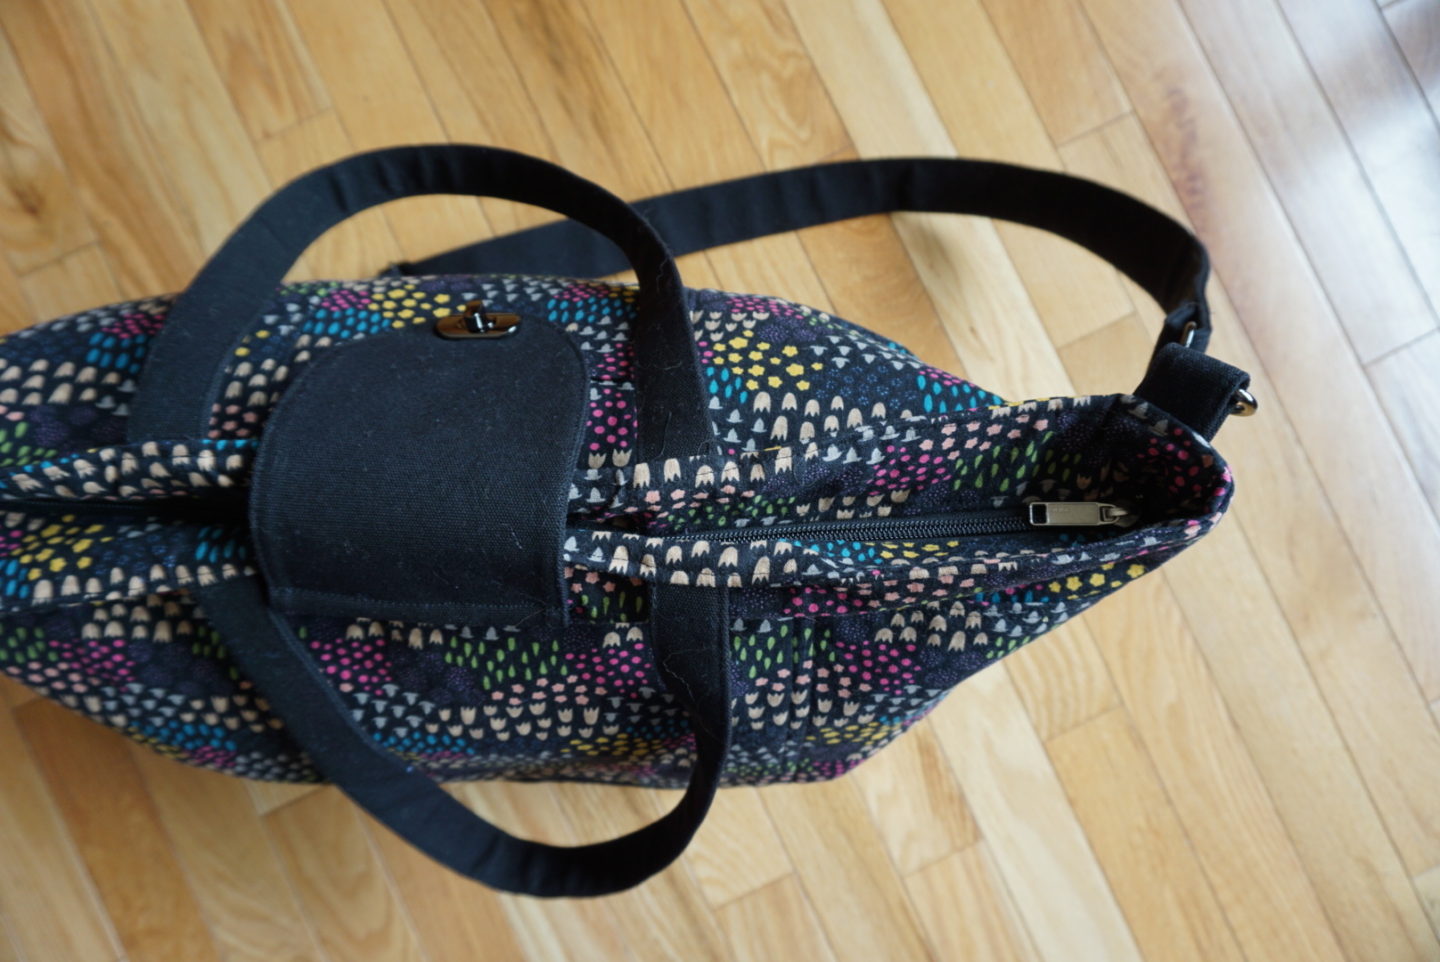
My machine had a horrible time with sewing the overlapping strap bits, because at that point there was six layers of canvas, all interfaced as well. So I just ended up cranking the machine by hand, and it got the job done, luckily. I was worried I was going to have to try to jab a hand-sewing needle through all of those layers, but I persevered and am pretty happy with how it looks! I have to say that I’m such a fangirl of Anna Graham’s patterns. I’ve made a few of them and also own her book. She has an adorable backpack pattern in the latest issue of Making zine, so there might be one of those on the horizon for me.
